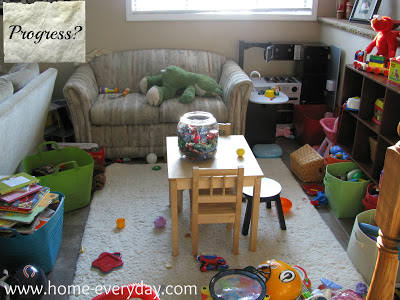
We put up two trees in our house every year. One is a big traditional tree with ornaments collected over time. The second tree is a small one my Mom gave us last year. We put it in the corner of our family room since the kids spend most of their time there.
Category
Home Decor
Change Up: Fall Tablescape
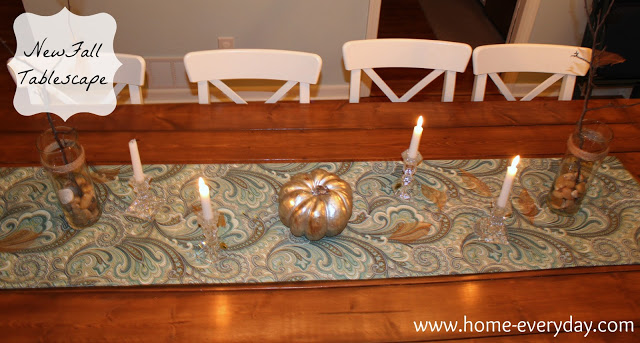
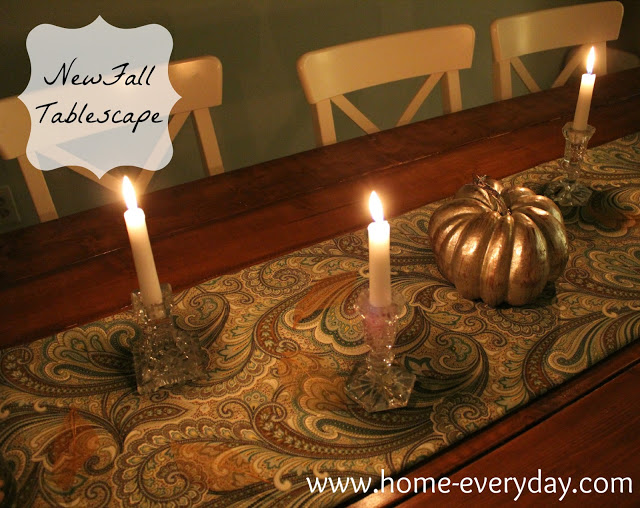
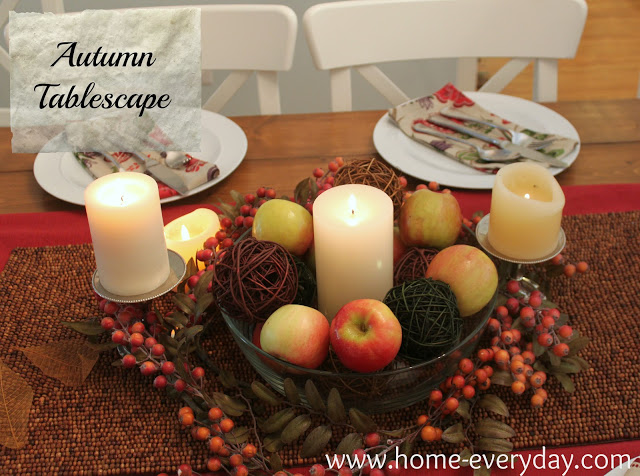
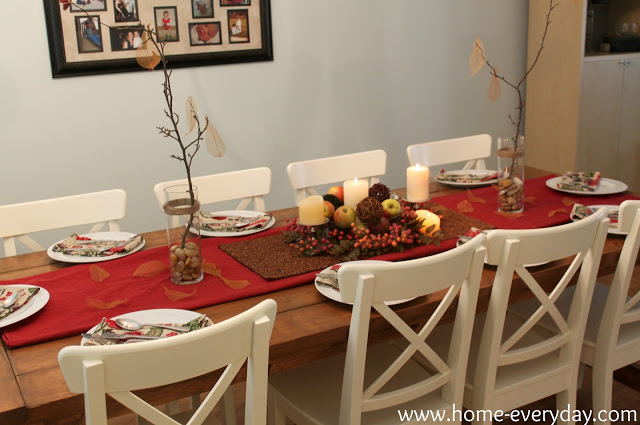
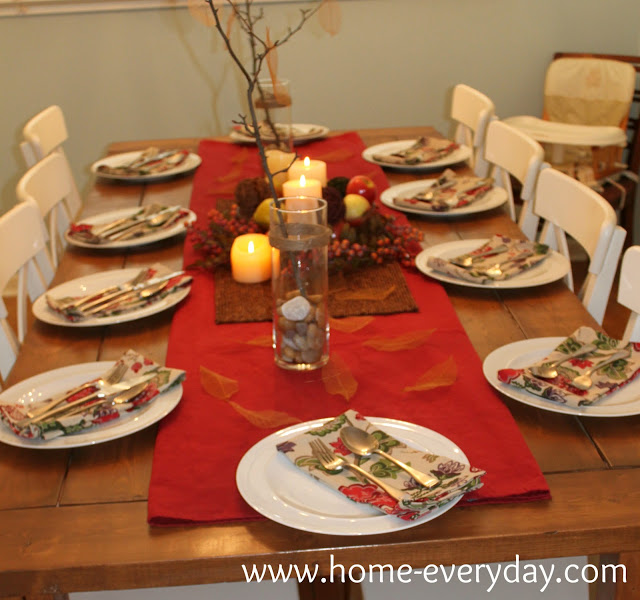
Because I love autumn so much, I think I started decorating for it a bit too early this year. Also, since Brian and I built and finished our dining table, we eat dinner in our dining room pretty much every night. It was time for a bit of a change with our table decor for autumn.
Here is what is going on now:
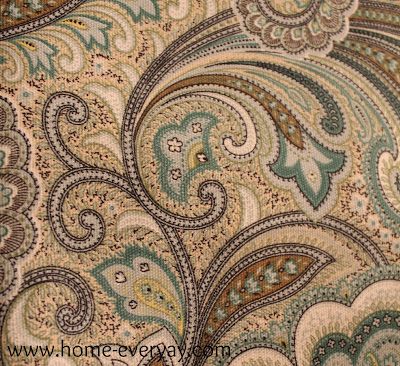
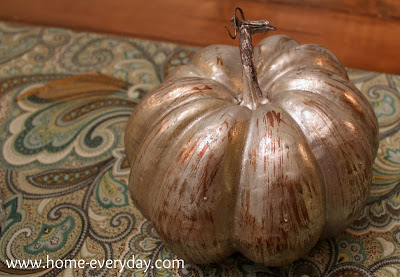
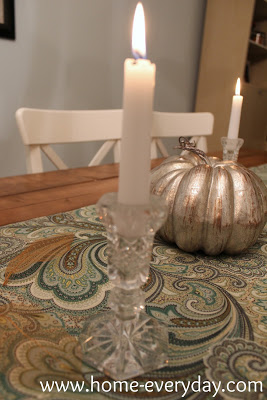
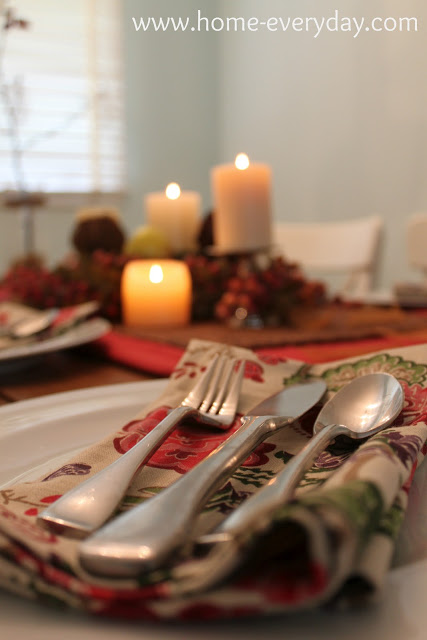
The color scheme is not traditionally fall, but I really loved the dark browns. I folded some fabric that I had on hand from when I recovered some chairs awhile back.
Linking up at Serenity Now.
Oops… I did it again: Faux Curtains
Leftovers: More Autumn Decor
So, I’m finally finished decorating the house for Autumn. I know most people go all out, but I only decorated three small areas of my home. I first put together an Autumn tablescape for Sunday Dinner, put a few small decorations near the front door, and then I put together a spooky Halloween mantle. All of these decorations only took a few minutes each to put together, and they help to make the house seem a little more festive.
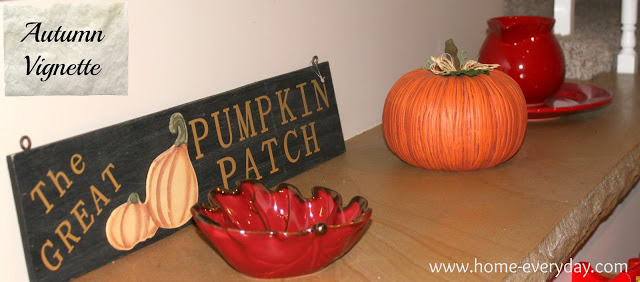
Which brings me to this shelf.
It is the perfect place to create seasonal vignettes like a mantel, but, Houston, we have a problem. It is right above where we keep all the kids’ toys. So, to be honest, I didn’t want anything too fancy there, and most of the time it is empty as practicality tells me something could get knocked over. Someday, when I come up with more of a cohesive look for the family room, I will probably have a better idea of what to do in this space.
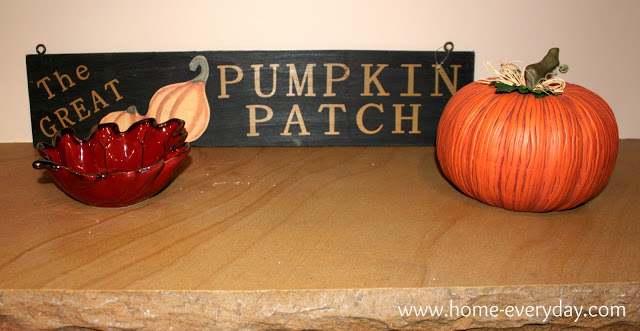
So this is what I came up with to spruce it up a little for the season:
These are all things that I have had on hand for years. I thought the red canisters bowl and pitcher added a nice pop of color in an otherwise very neutral space. The pumpkin sign, ceramic pumpkin, and maple leaf bowl helped to bring some seasonal flair. Also, the framed photo is of Brian and I the Autumn before we got married. You cannot tell from this photo but the picture has some pretty fall foliage behind us.
So that is it for fall decor around here. Now, I think it is time for cooking up some comfort food and finding some more indoor projects to do with the kids.
Linking up today at Thrifty Decor Chick for the last installment of the “It’s Fall Ya’ll” Autumn Decor Link Parties!
Spoooooooky: Halloween Mantel
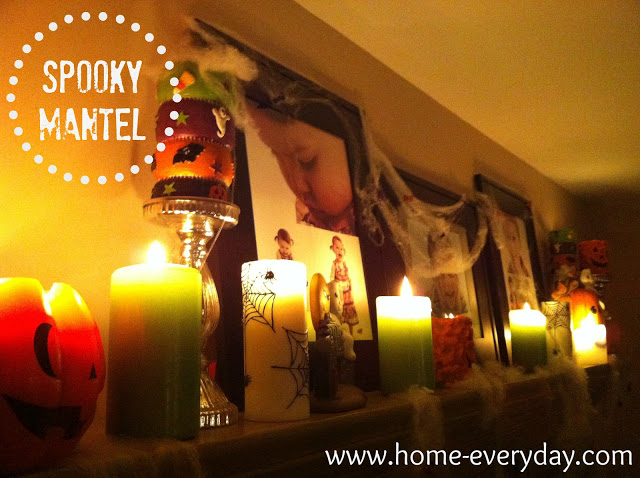
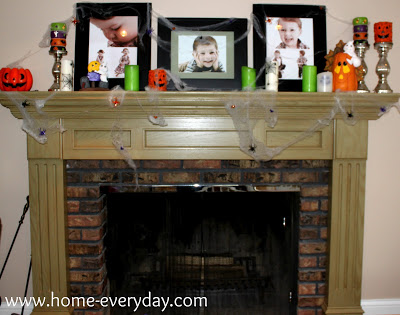
Sometimes, more is more. I usually do not subscribe to this methodology as I like clean lines, simple decor, and practicality, but when it comes to Halloween candy… er I mean decor, I cannot get enough.
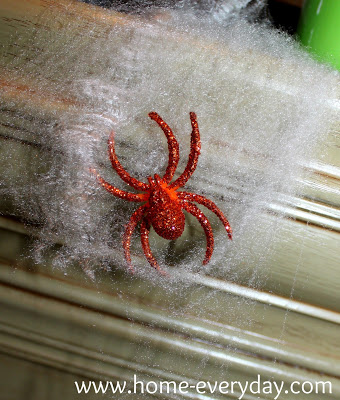
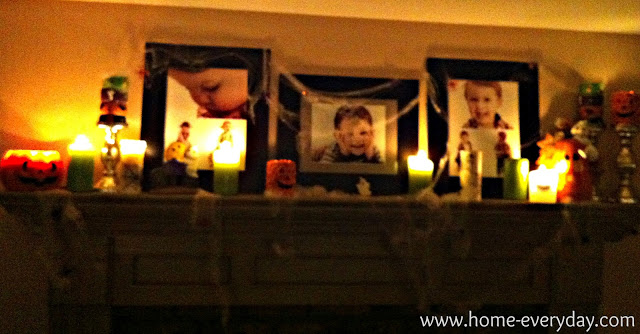
This year, again, with the help of my niece Allison, I have put together a Halloween Mantel with all of my Halloween candles. These candles have been collected slowly over time. I can usually find them after Halloween at places like Party City and Target for deep discounts. Together with some ceramic decor made by my mother in law, some faux cobwebs, and glittery spiders, I think we came up with a pretty spooky mantel.
Linking up at Centsational Girl as part of It’s Fall Ya’ll Link Up Series. Come and see everyone’s Autumn Mantels.
Autumn is here… Sort of: Outdoor Decor
I absolutely love Autumn. It is my favorite season. Crisp weather perfect for running, hooded sweatshirts perfect for snuggling, hot chocolate perfect for drinking, and the colors. Did I mention the COLORS?
Well, so far, my area didn’t get the memo that fall is on the way. The weather has been a little too warm for my taste. I just feel like there is something wrong with still having to wear shorts this time of year. I was kind of resisting putting out any fall decor outside because I thought it was still too warm to fully embrace it, I mean I still have pentunias in full bloom, but I couldn’t take it anymore. So here is what I did.
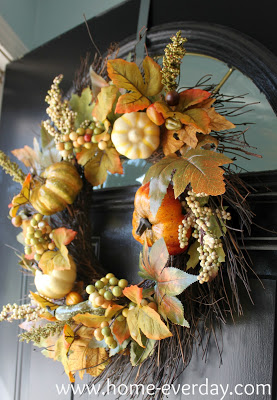
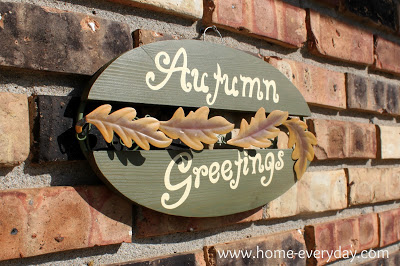
I started slow and hung a wreath, which I found at Michael’s. I love that the colors are a little muted. Just some small pops of soft orange, but mostly green and gold which contrast nicely on the black door. The autumn greetings sign I hung on the brick to the side of the door. I bought this years ago at Michaels.
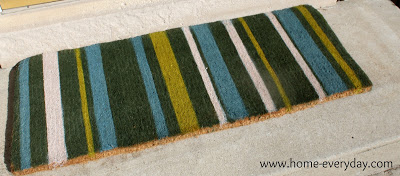
Also, our old door mat was kind of yucky, so I replaced it. I found this one at Target on clearance for $7.48. It was a great find and freshens things up around the front door.
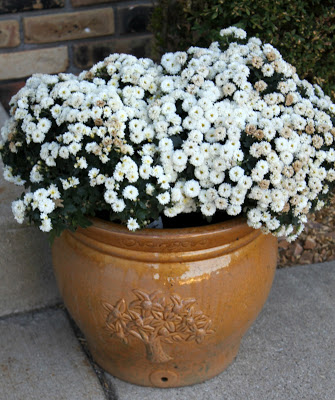
Finally, using this beautiful gold pot that the previous owners of our house left behind, I planted some neutral mums. I love how everything I used has a soft golden tone to it.
Anyone else having a hard time putting out fall decor in this weather?
Linking up at Southern Hospitality outdoor decor link party.
Sunday Dinners: Autumn Decor
When my Mom was growing up, my Grandma Nano hosted Sunday Dinner every single Sunday for whoever wanted to come. Most of the time it was family, but often the parish priest or friends were known to stop by for my Grandma’s cooking. My Dad used to talk about coming over for Sunday Dinner while him and my Mom were dating. Over the years, Grandma Nano kept the tradition alive. I even remember helping her set the table for Sunday Dinner at her house, and my sister helping her clean up in her kitchen after dinner.
Recently, I have picked up the Sunday Dinner tradition, and while we don’t do it every single week (seriously I don’t know how Grandma cooked for that many people every week), I host my family once a month.
This past weekend, I hosted Sunday dinner, and wanted to dress up the table with some autumn decor, but wasn’t really keen on spending any money to do it as I already have tons of fall decor (it is my favorite season after all). Since, Brian and I built and finished the plank table, I have been having some trouble coming up with tablescapes that aren’t dwarfed by the size of the table.
So, I called in some reinforcements. My niece, Allison, just graduated from college with a degree in Film, and she has had some experience with set design. I asked her if she would help me decorate the table.
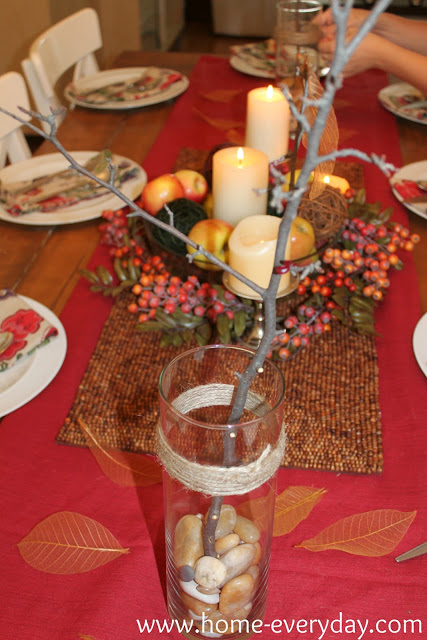
She started with a red table cloth and folded it to make it a runner. Then added the beaded runner for some texture. Then she filled two simple glass vases with some river rock, a branch (which we found outside), and wrapped a little twine around the vase for some extra texture. She placed them on each end of the table.
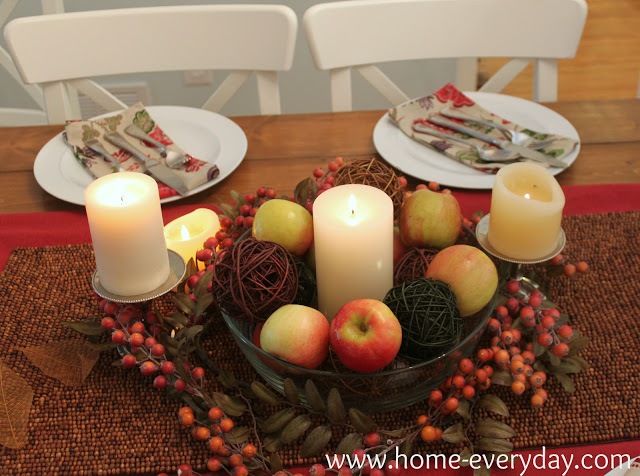
Then, for the centerpiece, she placed some candles at different heights, filled a shallow glass bowl with apples and wicker balls, and placed a faux hypericum wreath around the container.
Finally, for each place setting she used some cloth napkins that I found on clearance awhile ago (I originally planned to use them for Christmas, but she thought they were perfect for autumn, and now I agree).
Voila! Simple, elegant, and inexpensive. What do you have around your house to create a tablescape? Anyone go outside and grab a few sticks? How about using twine to make something a little more rustic?
Linking up at The Lettered Cottage for their Autumn Tablescape link party.
Also sharing at DIY By Design for the Fall into Fall Link Party.
Fast, Easy, Cheap: No Sew Curtains
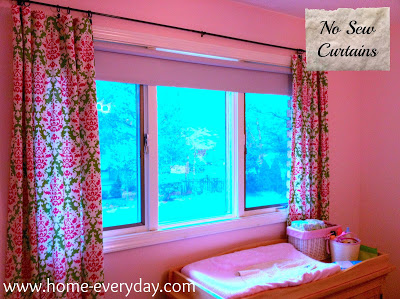
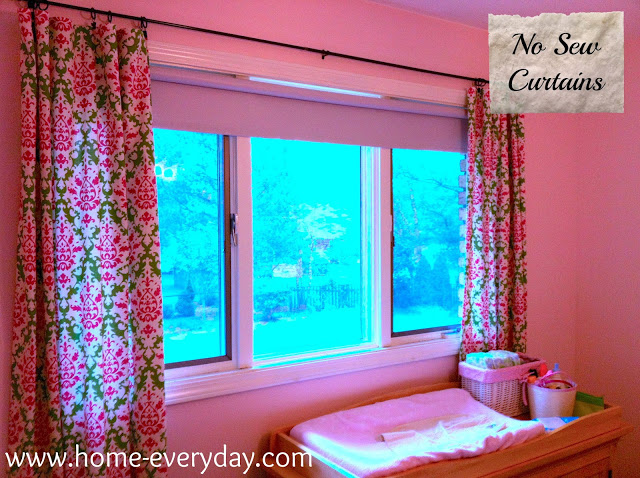
When we first moved into this house, we removed a lot of things, especially upstairs. One of the things we removed was all the window treatments. They were dusty and in various stages of disrepair. I figured I could do something on the cheap. The first step was to get everyone room darkening shades for privacy and for sleeping. This held us over until we could do something a little more decorative. I did a little research and found this tutorial on Young House Love. I’m going to share how I made these curtains, but the Young House Love tutorial is great for tips on how to hang curtains.
I don’t own a sewing machine (someday I hope to). So, the idea of doing something with just an iron made me so happy (my iron doesn’t get the workout it used to since my hubby has decided to outfit his entire work wardrobe with wrinkle free apparel).
Since Coco, already has a room darkening shade, and these curtains are purely decorative, there really is no need to open and shut them, therefore I only needed a few yards of fabric to make floor length curtains. Overall this project was quite inexpensive, especially if you have a 40% off coupon to JoAnn Fabrics, and a home sale at Target where I bought the hardware. After doing this project, I’m totally convinced I could make curtains for my whole house. It only took me about an hour and a half, which for me any project that can get finished during afternoon naps is a dream project (just like this sentiment art).
Supplies:
Fabric
Heat n Bond (it comes in different widths and strengths)
Fabric scissors
Iron
Ironing board
Curtain rod
Curtain ring clips
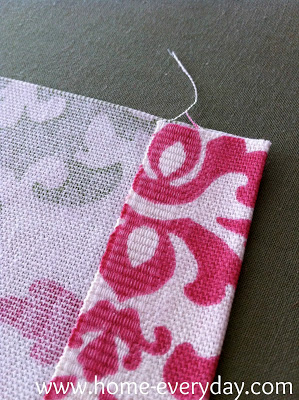
Measure, Measure, Measure! I always follow the measure twice (three times), cut once philosophy. Also, make sure you leave enough allowance for the width of the heat and bond. That will be how wide your hem is.
No, seriously, cut it out! Cut your fabric to length and width. Really, does there need to be more explanation?
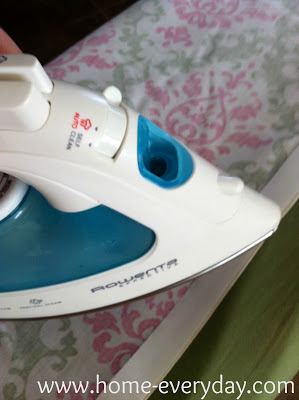
Iron ’em out! Iron ’em out! Smooooooth! This step could not be any easier. All the directions are right on the back of the Heat n Bond. My only tip here, is just make sure you hold the iron in place for the correct amount of time while “hemming” otherwise if there is not enough heat, there will be no sticking. Keep in mind, if your fabric is thicker you may want to hold the iron in place for a few seconds longer.
Hang ’em up! This part I left mostly to the hubby, because the kids woke up, and he could hang the new curtain rod without having to use a step ladder. I clipped the curtain rings about every 6 inches, so that they would gather nicely.
So viola, there you have it! Fast, easy, cheap… curtains.
Linking up today at Serenity Now and Tater Tots & Jello. These are great places to check out anything from home projects to recipes, crafting to organization tips.
Flashback Friday: Family Room
Welcome to another installment of Flashback Friday. If you would like to read more about all the sprucing up we did upon purchasing this home you can check out our kitchen progress, the bathroom spruce up, the living room/dining room updates, and the upstairs bedrooms.
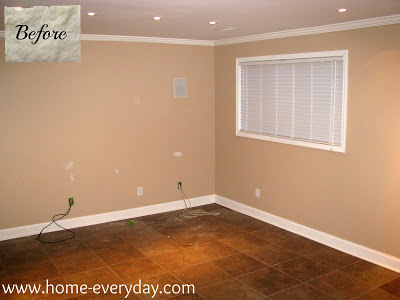
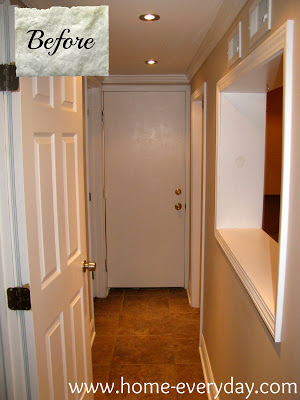
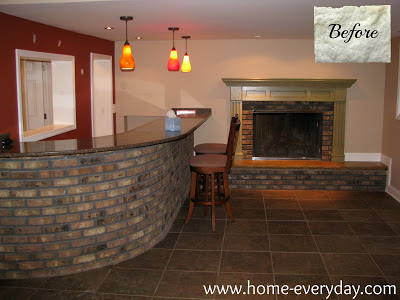
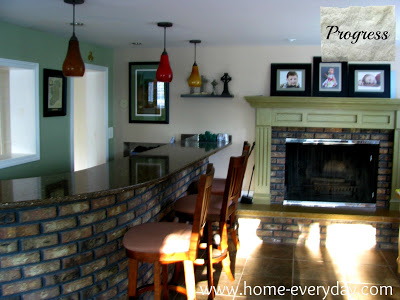
The family room needed very little work when we moved in. The floors, crown molding, paint, and fire place mantel had all just been replaced right before we purchased this house. The bathroom on this level was also recently remodeled. The only change that was made is the wall behind the bar was painted from blood red, to the same sage green that we used in the upstairs bathroom.
Here are a few before pictures.
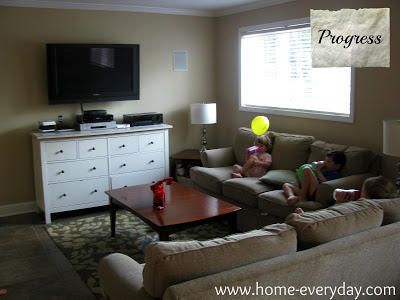
This room is where we spend most of our time. The kids toys are here, the TV is here, and the comfier couches are here. Because this room is usually a mess of toys and Brian and I’s projects stacked up on the bar, we are just happy that it happens to be sort of clean right now (just keeping it real). Here is what our family room looks like now.
Short but Sweet: Master Bedroom Updates
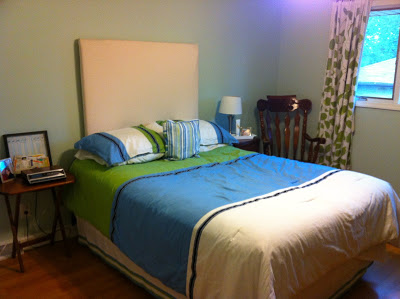
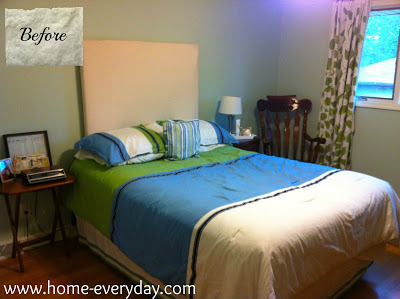
Last week, as a part of Flashback Friday, I showed off the bedrooms. I realized that I had made a few updates to the Master Bedroom a few days before those pictures were taken. A few weeks ago our bedroom looked like this.
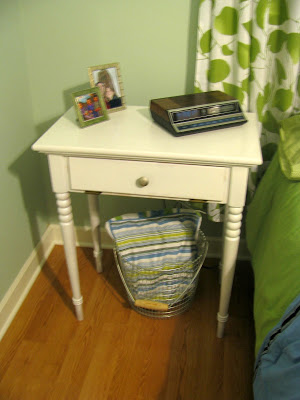
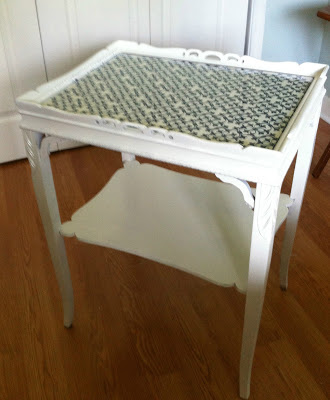
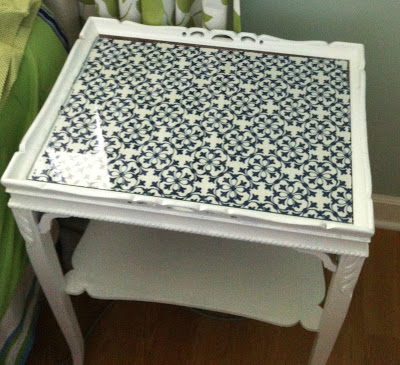
The first project was I FINALLY finished the bedside tables that I had spray painted awhile back. I just added some fabric that I had found at JoAnn Fabrics on clearance. I cut it to size and placed under glass on the top of one of the tables. Then for the other, I spray painted the hardware with a brushed nickel spray paint. Here are the finished products.
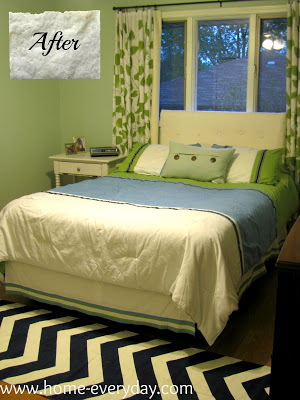
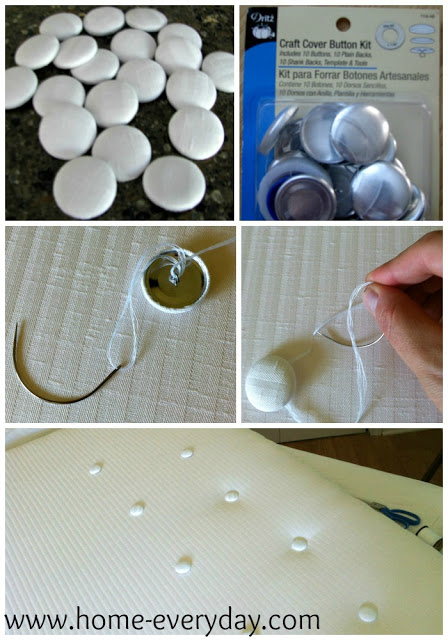
Then, a LONG time ago I made an upholstered headboard for our room. I wasn’t crazy about the fabric anymore because I preferred a pure white. So, I did a quick update by replacing the fabric ($4 a yard), and adding some fabric covered buttons with a button kit.
It is amazing what crossing some things off your to do list can do. Here is another before picture.

