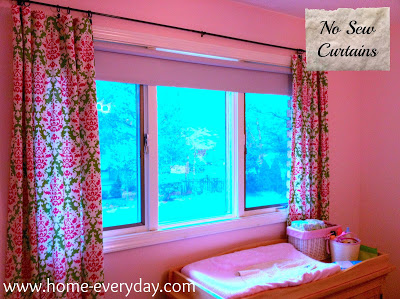
When we first moved into this house, we removed a lot of things, especially upstairs. One of the things we removed was all the window treatments. They were dusty and in various stages of disrepair. I figured I could do something on the cheap. The first step was to get everyone room darkening shades for privacy and for sleeping. This held us over until we could do something a little more decorative. I did a little research and found this tutorial on Young House Love. I’m going to share how I made these curtains, but the Young House Love tutorial is great for tips on how to hang curtains.
I don’t own a sewing machine (someday I hope to). So, the idea of doing something with just an iron made me so happy (my iron doesn’t get the workout it used to since my hubby has decided to outfit his entire work wardrobe with wrinkle free apparel).
Since Coco, already has a room darkening shade, and these curtains are purely decorative, there really is no need to open and shut them, therefore I only needed a few yards of fabric to make floor length curtains. Overall this project was quite inexpensive, especially if you have a 40% off coupon to JoAnn Fabrics, and a home sale at Target where I bought the hardware. After doing this project, I’m totally convinced I could make curtains for my whole house. It only took me about an hour and a half, which for me any project that can get finished during afternoon naps is a dream project (just like this sentiment art).
Supplies:
Fabric
Heat n Bond (it comes in different widths and strengths)
Fabric scissors
Iron
Ironing board
Curtain rod
Curtain ring clips
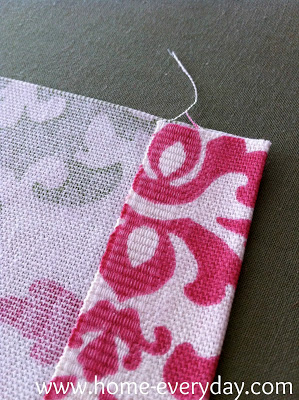
Measure, Measure, Measure! I always follow the measure twice (three times), cut once philosophy. Also, make sure you leave enough allowance for the width of the heat and bond. That will be how wide your hem is.
No, seriously, cut it out! Cut your fabric to length and width. Really, does there need to be more explanation?
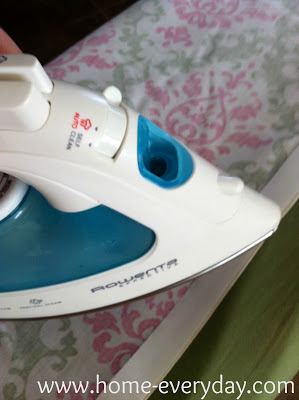
Iron ’em out! Iron ’em out! Smooooooth! This step could not be any easier. All the directions are right on the back of the Heat n Bond. My only tip here, is just make sure you hold the iron in place for the correct amount of time while “hemming” otherwise if there is not enough heat, there will be no sticking. Keep in mind, if your fabric is thicker you may want to hold the iron in place for a few seconds longer.
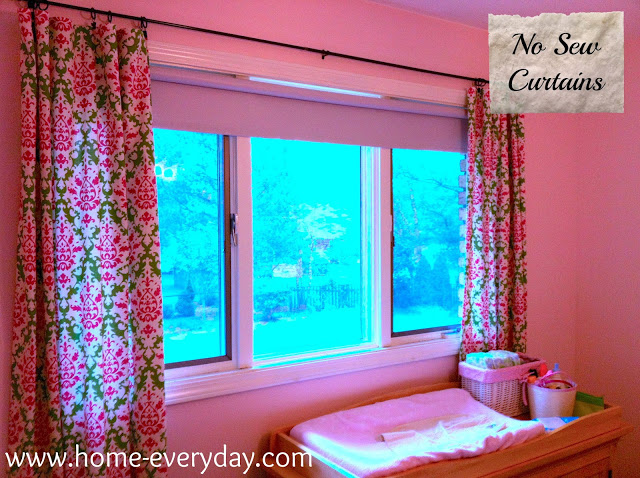
Hang ’em up! This part I left mostly to the hubby, because the kids woke up, and he could hang the new curtain rod without having to use a step ladder. I clipped the curtain rings about every 6 inches, so that they would gather nicely.
So viola, there you have it! Fast, easy, cheap… curtains.
Linking up today at Serenity Now and Tater Tots & Jello. These are great places to check out anything from home projects to recipes, crafting to organization tips.


12 comments
They came out great! We've been in our house for over two years, and there are still a few windows that I need to get to. Perhaps I'll try this shortcut.
Thanks! You'll be happy with the results, they take no time at all, and can be made pretty inexpensively.
Take care.
Stopping by from Serenity Now! I love the fabric you chose for the curtains. I just made something similar but used hot glue gun to hold the seams down instead of the heat and bond. It worked out pretty well!
Hope you will stop by and visit me back at http://the-life-of-faith.blogspot.com/
I will have to check out your hot glue version! Thanks for stopping by.
Take care,
Erin
Those curtains look fantastic! Love the pattern and that they were DIY.
Thanks, Morgan!
Take care,
Erin
They look great!! Love the fabric.
Jan @Door251
As soon as I saw this fabric I was in love. Thanks for stopping by.
Take care,
Erin
Very good idea! I have been looking for drapes and they are so expensive! This would be a quick fix!
p.s. Thanks for dropping by my blog!
Drapes are incredibly expensive! In the coming weeks, I will be sharing some other quick and inexpensive tips for drapes.
Take care,
Erin
Love them! Once I figured out how easy it is to make curtains – I have been kicking myself for how much money on dropped on them in the past!
Thanks, Nikki! Now that you know, you will be able to make quick updates, like your new slipcovered sofa 🙂