I finished painting the upstairs bathroom over a week ago, but there have been a few other things that I wanted to do before showing the finished product. One of the things I wanted to do was add a little bit of art. There are lots of blank walls in this space, and with the new neutral wall color, I wanted to add some fun color and a bit of texture.
I created these.

I scoured the internet and Pinterest looking for ideas. I saw a few things I liked, but nothing that I loved. Also, I decided to create a few things of my own using PicMonkey (which I’m sharing with you today).
I first found some 8 x 10 frames at Target (on sale of course). I thought it might be fun to incorporate something personal and fun. I was happy when I found a great link for free chevron printables. This is one of my favorite patterns. I couldn’t decide on just one color, so I decided to do four. I printed them out on card stock. I had to trim them slightly to fit into the frames.
Then, I found these cute free printables at Hollywould Blog. I liked that they were simple. The Lather, Rinse, Repeat is my favorite. I also printed these on cardstock. I trimmed them and then using some scrapbooking double stick tape centered them and attached them to two of the chevron sheets of paper. They were then ready to be framed.


Finally, I had some trouble finding any other bathroom printables I liked so I decided make my own. (If you would like to download these for yourself, click the caption)
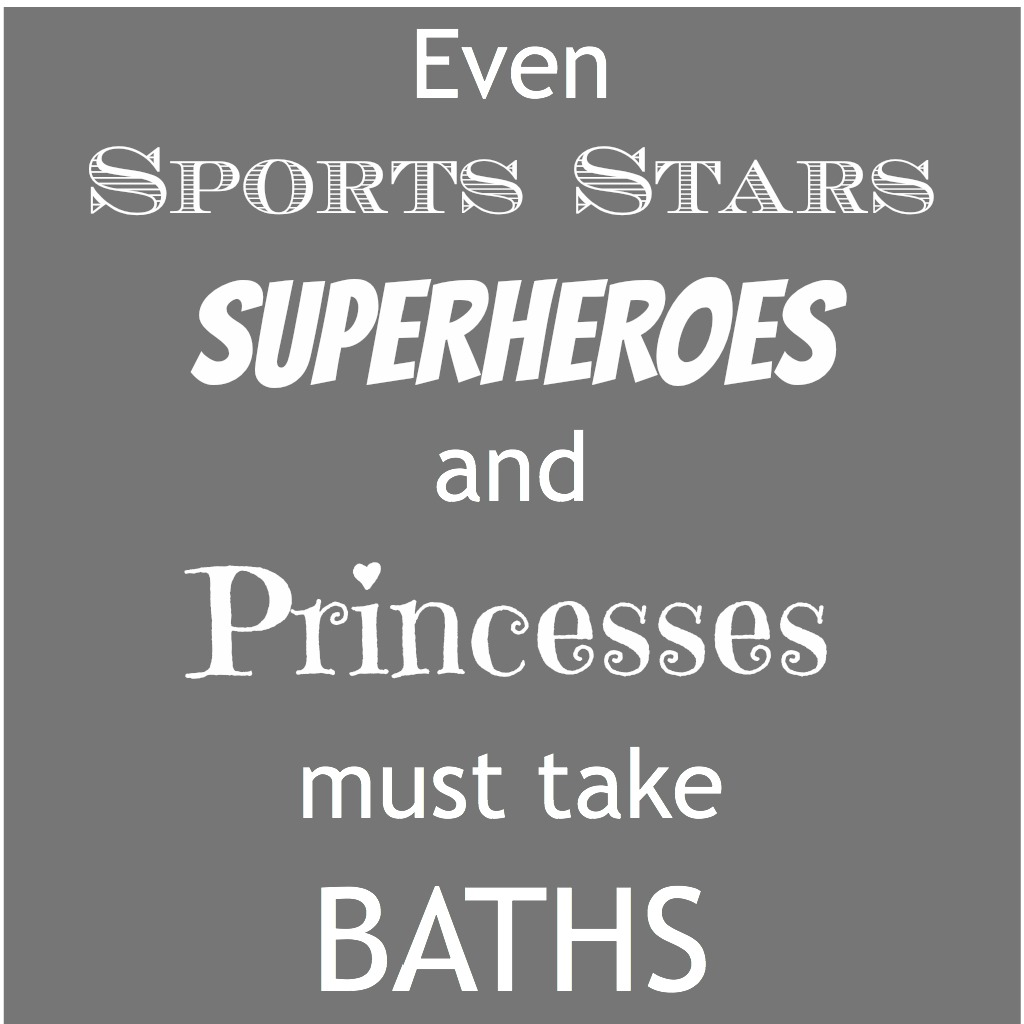 |
| CLICK HERE TO DOWNLOAD |
 |
| CLICK HERE TO DOWNLOAD |
I printed, trimmed, and attached, and was amazed at what I was able to do in PicMonkey. I think they came out pretty cute.


This might just be one of my favorite art projects. It was easy, fun, and only cost me the price of the frames.
Thank you to my wonderful husband, Brian, for helping me figure out how to use Google Drive 🙂