Tag

crafting

If You Say So: Rocket Ship Construction

My kids are learning about outer space in school. Planets, rockets, stars, moon, etc. You can only imagine the questions. I have been a little scared to mention the whole NASA space exploration thing to them. I know they would be heartbroken, but by the time they are of age, maybe they can go to space.

If you follow me on Facebook or Instagramyou saw that my kids created something.


A few weeks ago, the teachers asked us to save boxes of all shapes and sizes for in class projects regarding space. They also asked for paper towel and toilet paper tubes. I guess I went a little overboard. When my husband dropped them off, they said they didn’t need this many boxes. So, we brought some of them back home. I was going to throw them in the recycle bin, but the kids squealed, “Let’s make a rocket!”

So we did.

I gave them all the boxes we had, aluminum foil, duct tape, stickers, popsicle sticks, and this is what happened.


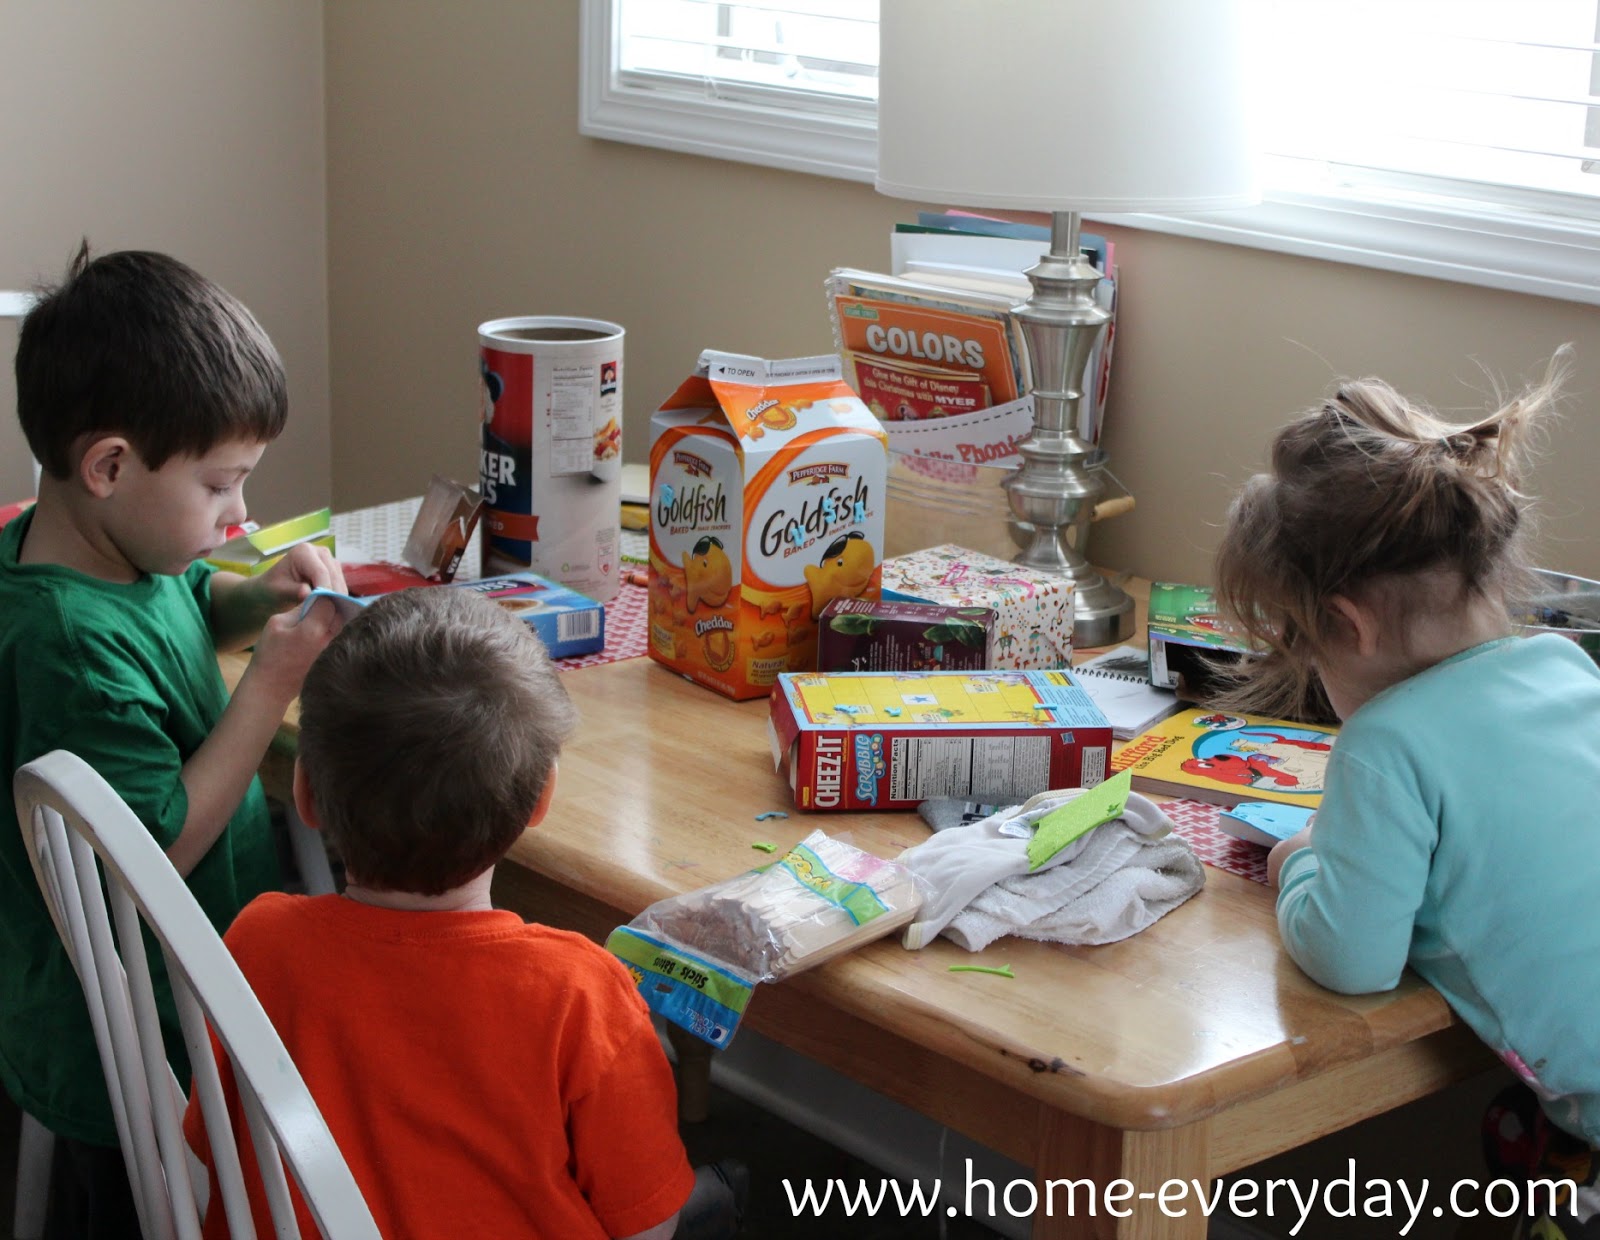
Caroline lost interest in the rockets, and decided to color instead.


They boys say they are very advanced rockets. I said, “If you say so.” Here are the final products again.


I’m still not convinced that these could make it to space, but the kids are happy.

No Two are Alike: Snowflake Garland

Check out the kids and I’s latest craft.


No two of the snowflakes are alike. My kids love anything to do with paint and glitter so this was the perfect craft for them. Plus, I love how simple and rustic it turned out.

The inspiration for this project came from a table runner I found Target on clearance last year. The runner has stitched snowflakes (I will show pictures when I reveal my holiday tablescape). Instead of ornaments, I thought a garland would be more unique and actually more useful as I keep trying to find the perfect decor for our entry way and dining room.

Last week, at Michael’s getting supplies for another project, I grabbed some popsicle sticks for around $3.00 and then I saw a bag of pre-cut snow flakes for around $2.00. The total cost for this project was about $5 and we still have plenty of supplies to string enough snowflake garland around the entire house (which I may do as it kept the kids busy, and turned out so cute).

First, I covered the craft table with some paper and then covered the children with some of Brian’s old shirts. Next, I laid out some paper plates with brushes for each kid to have a work surface. Finally, I gathered some red paint (I kept it to one color to cut down on color mixing), glitter, and glue.

We first made some snowflakes out of popsicle sticks by gluing them into a star pattern.


Then the kids started painting.


Then came their favorite part: GLITTER!


After painting and glittering, I let everything dry for about 8 hours. Then, using a small hole punch, I made some holes in the snowflakes, and then carefully strung each of them on some twine I had on hand.


The kids are so proud they made the snowflakes themselves, and I am happy to have such a beautiful new decoration hanging in our entryway.

Linking up at Hi Sugarplum for the Christmas Cheer to the Blogosphere. Come check out all the amazing holiday crafts and projects. It seems like a Pinners Paradise!

Also linking up at Centsational Girl for the Holiday Home link event. Another great place for Christmas craft ideas.

Good Outweighs the Bad: Play Doh Fun

When I was a kid, I have to say, I was never a fan of clay or play dough. I didn’t like the smell and I hated how it would get caught under my finger nails. I know its weird. I was an old soul. What can I say? Now as an adult, I pretty much don’t like play dough for the same reasons in addition to having a fear of it getting in my area rugs or couches.

My kids, however, did not inherit my anti play dough mentality, and for that I am grateful. Excuse the stacks of laundry baskets of clothes waiting to be folded, just keeping it real. Plus they go perfectly with all the toys on the floor.

I’m so happy the kids like play dough. Not only is it something they can do on their own but also gives me a chance to fold laundry er pick up toys ummm… sit and catch my breath. Also, after doing a lot of research on the educational benefits of play dough from a few websites, I found that play dough has several educational and developmental benefits.

According to the National Association for the Education of Young Children play dough helps to strengthen fine motor skills.


Also, it can help with social skills such as peer conversation, interaction, and sharing.
Lastly, it can lead to exploration of different topics such as science.
After learning so much about play dough, I definitely think the good outweighs the bad, however, I still hate when it gets caught under my finger nails.
For more information about the benefits of play dough, check out this link.

Kid Craft Time: Canvas Art

As the weather begins to get cooler, more time is spent indoors with the kids. While the boys are in school now, it is only for a few mornings a week, so sometimes I am trying to find something to do indoors other than bringing out the Play-Doh again (ugh, someday I will talk about my love hate relationship with Play-Doh).

A few months ago, I pinned a few awesome craft ideas for the kids, so I thought it was time to break one out. My kids really like crafting and they also like when we display their work. Armed with a 40% off coupon and a sale on canvas I hit up JoAnn Fabrics, and got some supplies.
Here’s what we created: 


Here is how we did it: 


Supplies:
Canvas
Froggy Tape
Acrylic Paint
Stencil Sponge Brushes
Paint Smocks
Plastic Bags 

Prep the Site: First, I covered my children with smocks (basically Brian’s old shirts), and covered my table and floor with plastic bags. This made for easy cleanup.


Tape it Up: Then, I taped off a small section of the canvas with Froggy Tape. 


Pour it Out: I put a small dot of each color paint on a take out container top. I deginated one sponge brush per color to help keep things a little cleaner and help the colors not bleed into each other so much. 


Let Them Create: The kids started blotting the entire canvas with dots of paint. 


Dry: I let the paint dry for a few hours, and then VERY carefully removed the Froggy Tape. Then, in the empty space I added a sticker I found at Archiver’s with one of my favorite quotes. 


The total cost for this project was under $20. The kids got to participate, and we made some awesome sentimental art for our living room gallery.What a perfect way to spend a cool afternoon indoors. The only thing that would make this better is some cookies.


LInking up at Hi Sugarplum. Everyone there is posting ideas for crafts that can be done in about an hour. Check it out!

 
Also, linking up at Serenity Now for plenty of quick and easy weekend project ideas.


Where We’ve Been: Sentimental Art

TGIF! As I write this, I’m baking a birthday cake and gluten free brownies to get ready for a weekend of celebrations. I will share more on Monday about birthdays, Sunday dinners, and best of all, some fall decorating ideas.

To conclude anniversary week, I wanted to share a fun and easy sentimental art project.

Before Brian and I were married and had children, other than going to concerts (which I talk about here and here) we did a little bit of traveling. The best part of traveling with Brian is he likes to see everything, and get around like the locals. When we went to NYC, we traveled all over on the subway, and pretty much walked all over Manhattan. Unlike most people who gain weight on vacation from eating rich food and relaxing on the beach, we usually come home with loose jeans from walking EVERYWHERE.


With three little ones, and with us finally finding a house, and me FINALLY not being pregnant, we are hoping to maybe take a few small trips in the future.

For right now though, I would like to mark all the places we’ve been so far. I found these adorable free printables. Lately, I have kind of embraced all the free art printables that are available online. I find them so cute and simple, and an easy way to spruce up an empty wall.

Here are some free printables in our kitchen:


And this one in our Dining Room:

So, I printed out the entire USA, and used a Sharpie Pen (I love these pens, they don’t bleed or run and I literally use them for everything) to mark all the places we have been so far. I put it in a black frame to match the rest of the art work hanging in our bedroom.


Ta Da. For the cost of a frame (which if you know anything about me you know I already have a few black frames on hand), you too can have adorable prints in your home. Also, you can make any additions that make them personal to you (like marking all the places you have been together).

Linking up at Serenity Now. Check out some other great recipes and ideas!

Rock On: What I did with our ticket stubs

Brian and I love music. Pretty much any kind of music. When we were dating, we went to concerts all the time. Our first “real” date was at Ravinia to see the BoDeans. Which speaking of music, is there anyone out there who is digging Mayer Hawthorne or JD McPherson lately? I love their old school sound! Anyway, I digress.

I have all these ticket stubs…


…and until today, I kept them in a file folder.
I am pretty sentimental. I scrapbook, take tons of photos, save things like ticket stubs. So, I decided I wanted to display them.
This is what the look like now.
I found this idea on Pinterest. All it took was a shadow box, and some things I had on hand, and about 30 minutes during nap time (which left plenty of time for me to take a little snooze too). Since this project was so short, I linked up with Hi Sugarplum for the “In About an Hour” project link party.
I printed some cute font on some scrapbook paper, cut out the letters in little circles using a Creative Memories Punch, and using some double stick tape, taped them to a larger patterned piece of paper.


Then, I just slipped the paper and the tickets in the shadow box I got at JoAnn Fabrics on sale and with a coupon (BOOYA).
Voila! A perfect and sentimental way to display all the cool concerts we’ve seen.


Wouldn’t it be cute to make these for kids too? I’ll get on that.
Right after I take a nap.