Fabrics and Crafts, the thoughts and opinions are my own.
Thanksgiving is right around the corner and I thought it might be fun to have a week of preparing for one of my favorite days of the year. I know that there has already been a lot of talk about that holiday in the winter with the trees, wreaths, and cards and such, but around here I do like to celebrate Thanksgiving with a little something (speaking of a little something, at the bottom of the post is a coupon to Jo-Ann Fabrics and Crafts just for you).
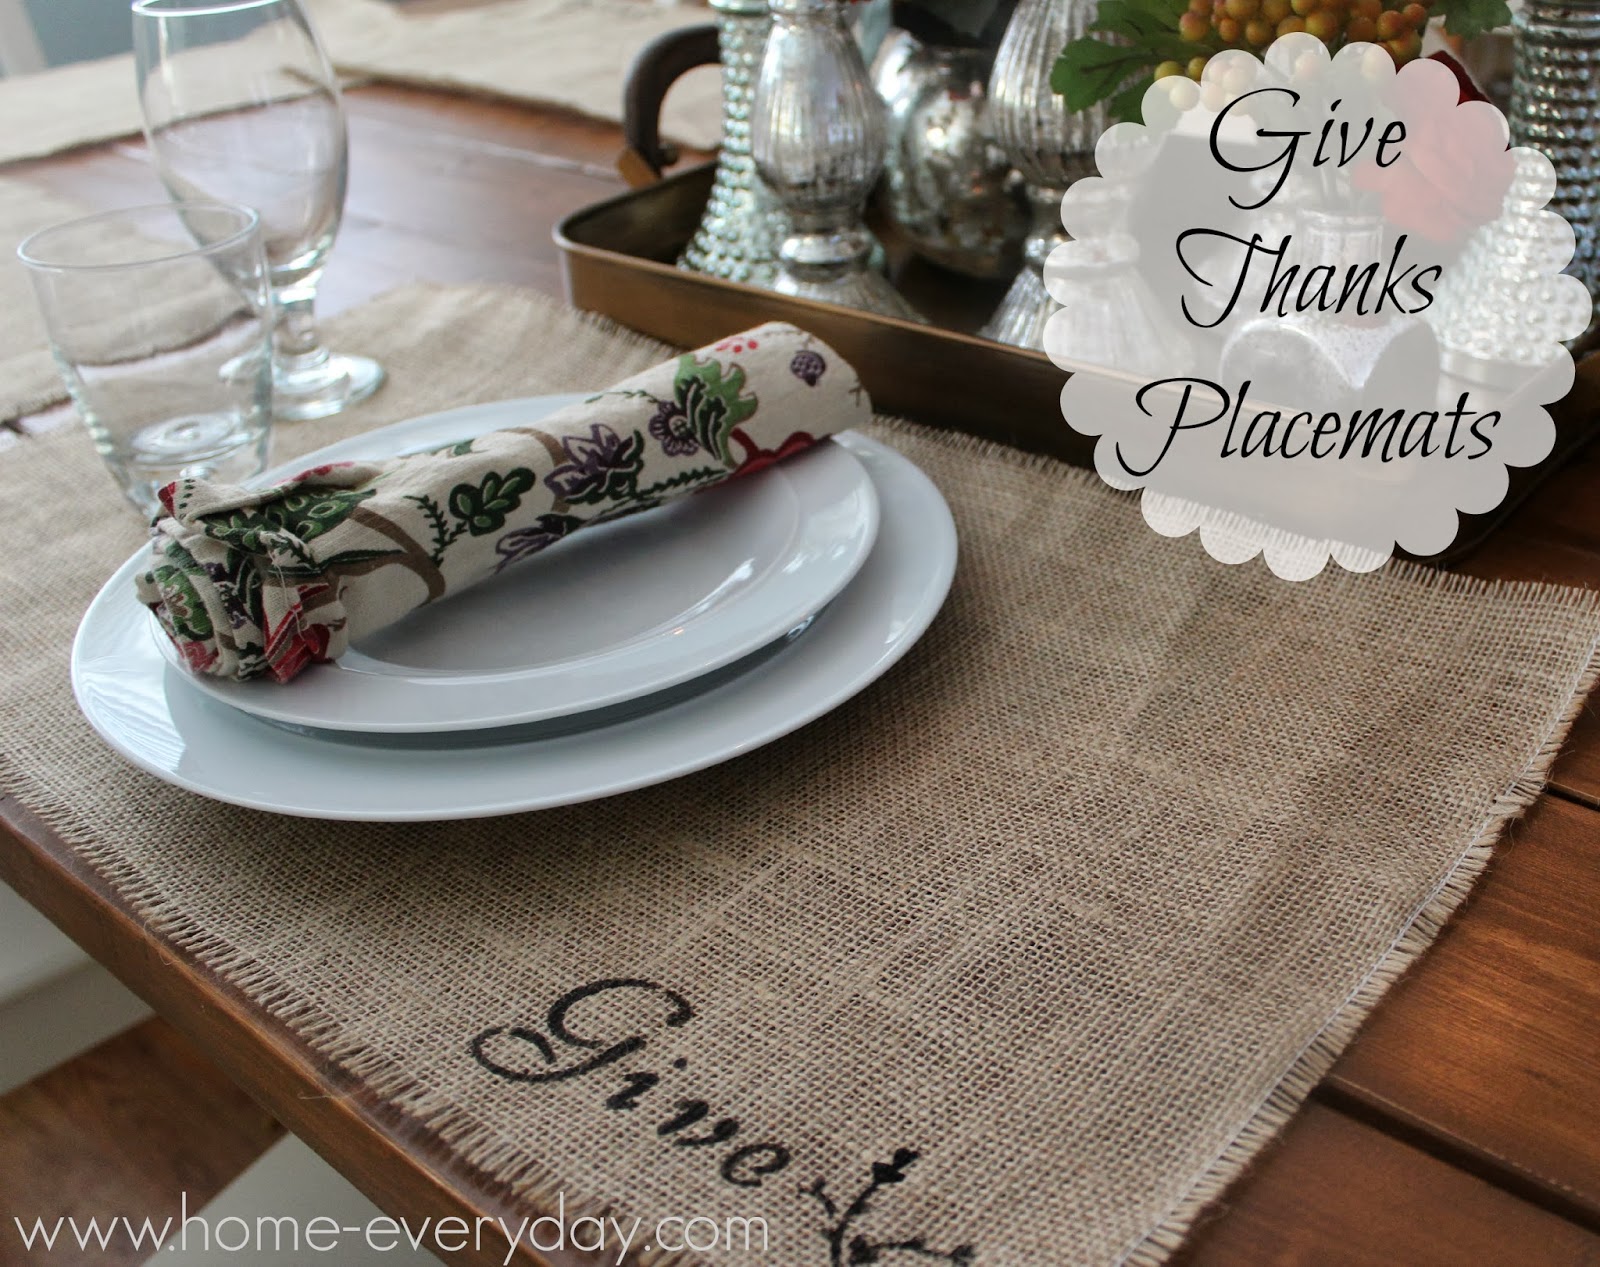
Since so much time will be spend in the dining room for Thanksgiving, I decided to make some Thanksgiving placemats using some supplies from my favorite craft store Jo-Ann Fabrics and Crafts. These were extremely inexpensive and simple to make. They only took me about an hour to create.
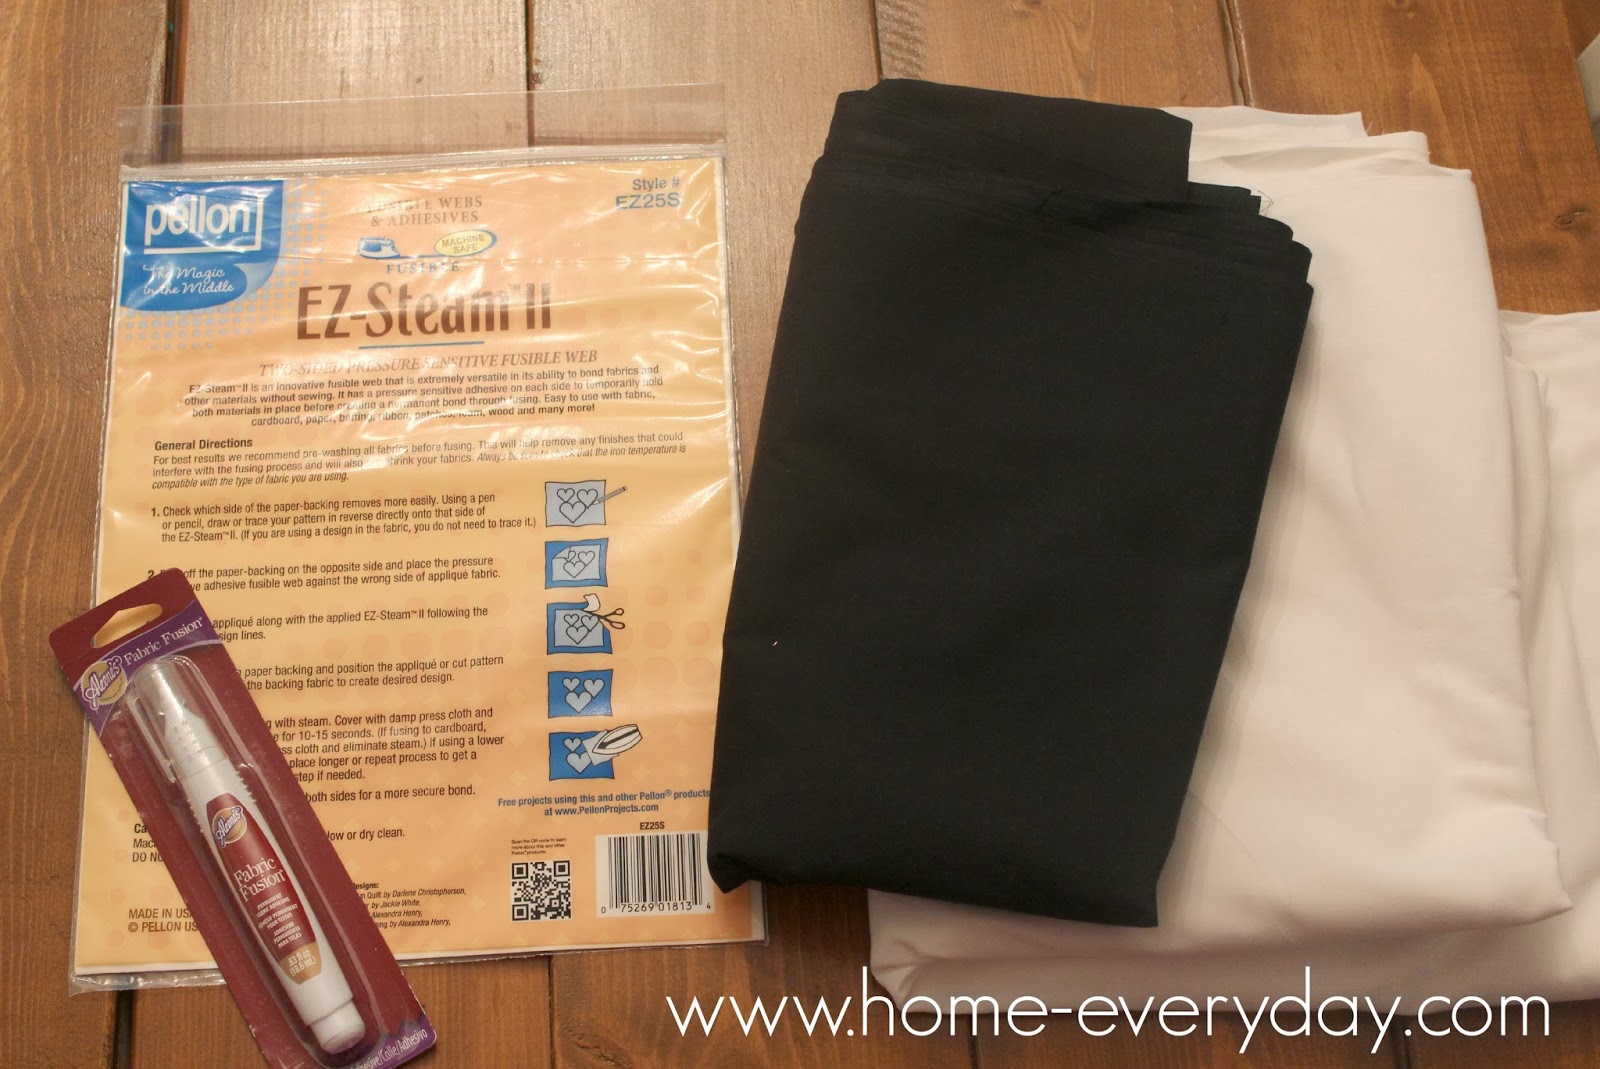
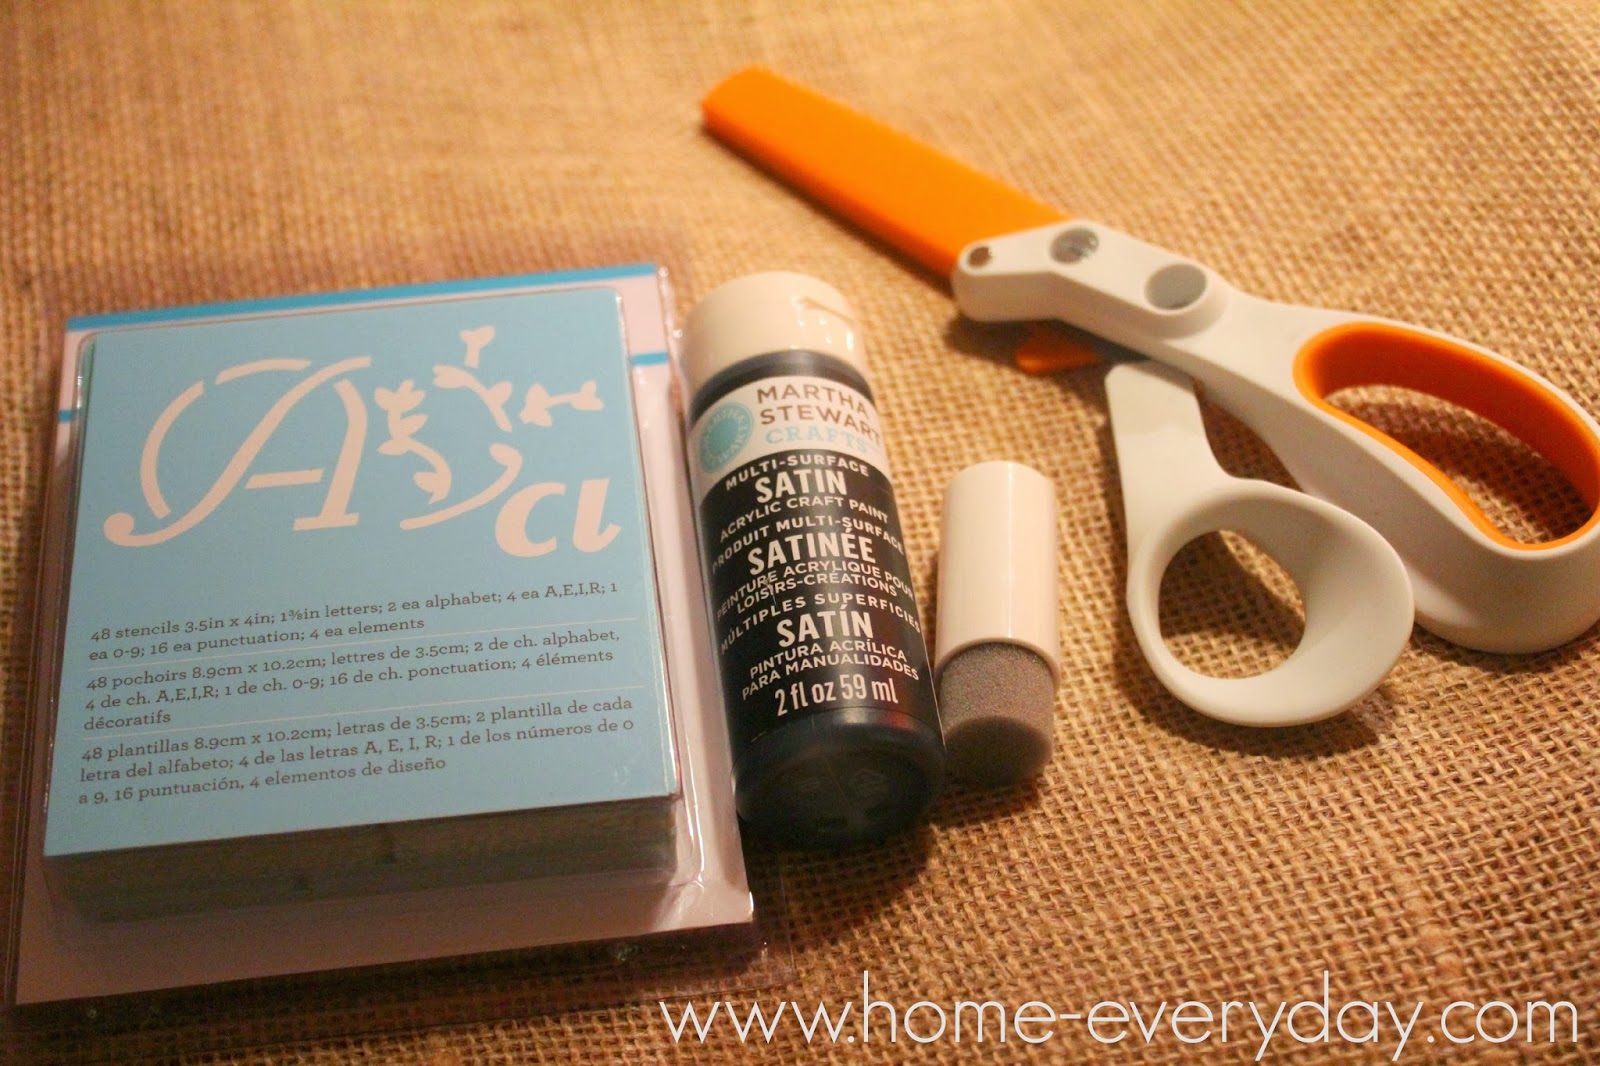
Supplies.
2 yards of burlap
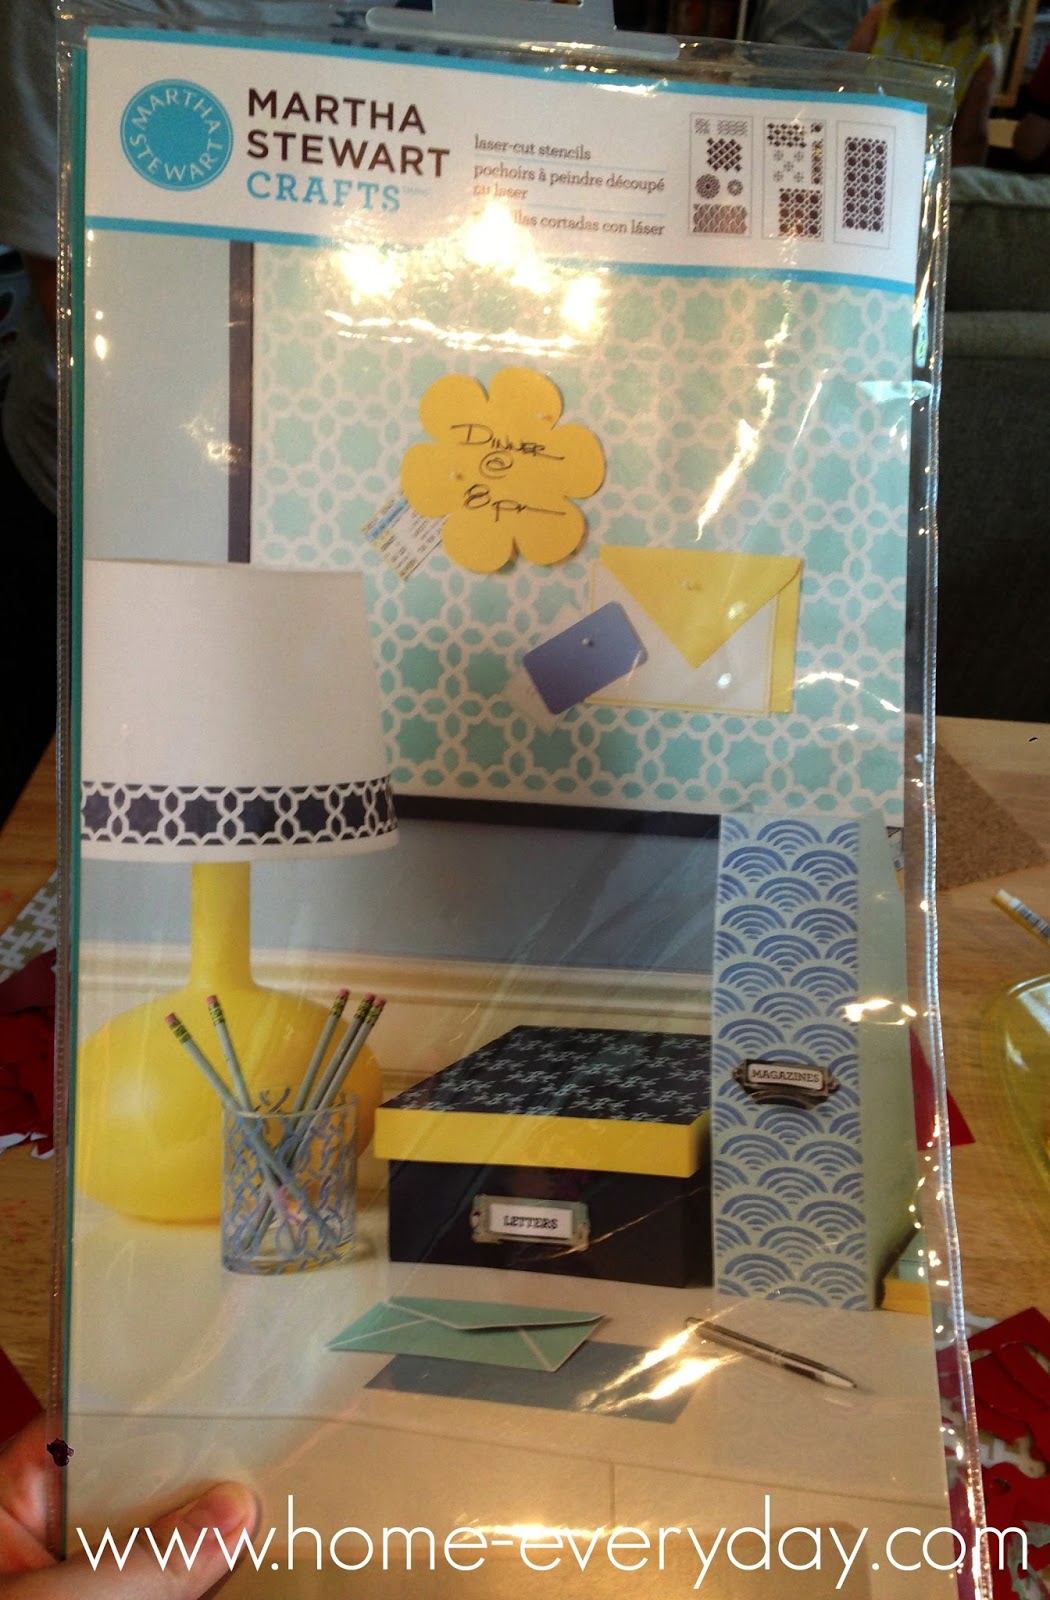
Stencils
Black Acrylic Paint
Pain Brush or Paint Sponge
Scissors
Measuring Tape
Scrap Paper
Tricky Measuring: Burlap is a fabric that frays very easily, so in order to cut down on having a huge mess of threads, it is important to cut it in a straight line. To do that, I measured my fabric and marked on the fabric how big I wanted each placemat. Then, at the edge of the fabric, I very carefully tugged the thread closest to my mark and gently pulled it all the way through to the end of the fabric.


You will notice a gap in the fabric where there used to be a thread. I did this wherever I had marked my fabric and then I was ready to cut.
Careful Cutting: When all the threads had been pulled, I cut in all the places where there was a gap in the thread. I was very careful to stay within the gap as I was cutting. When I was finished, I had eight placemats.

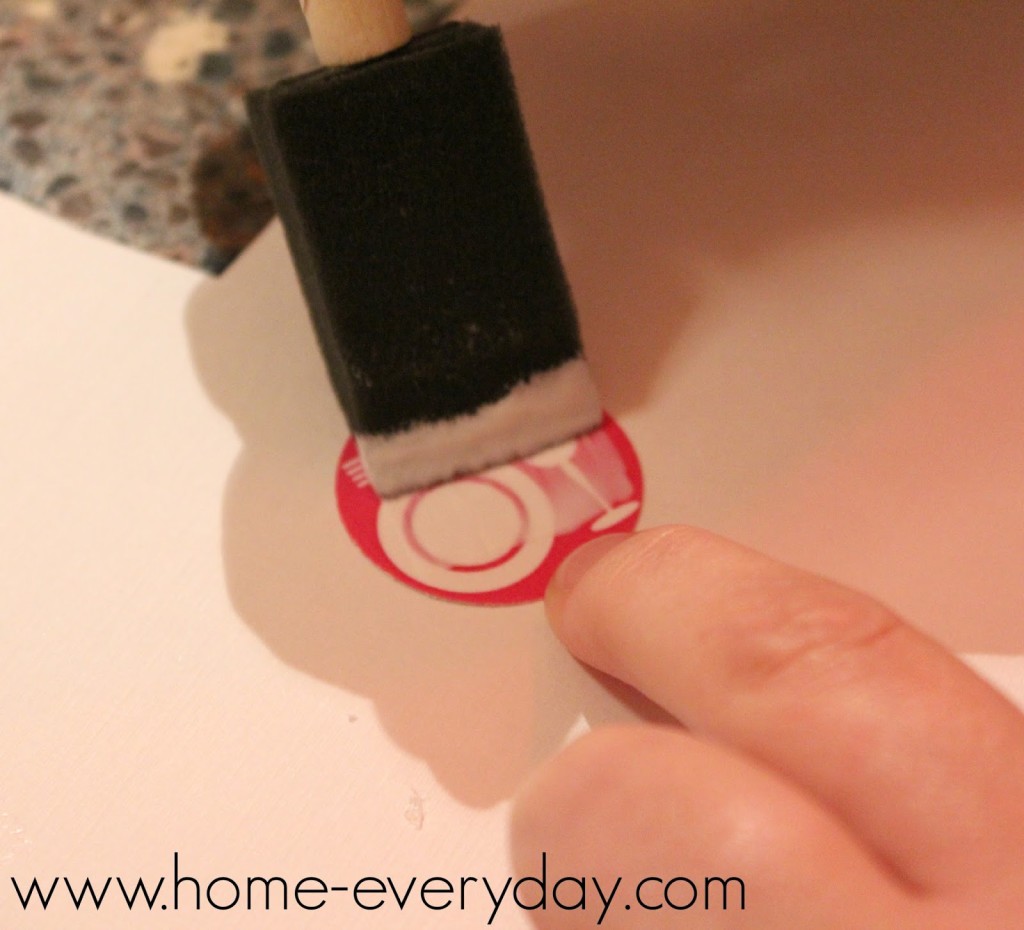
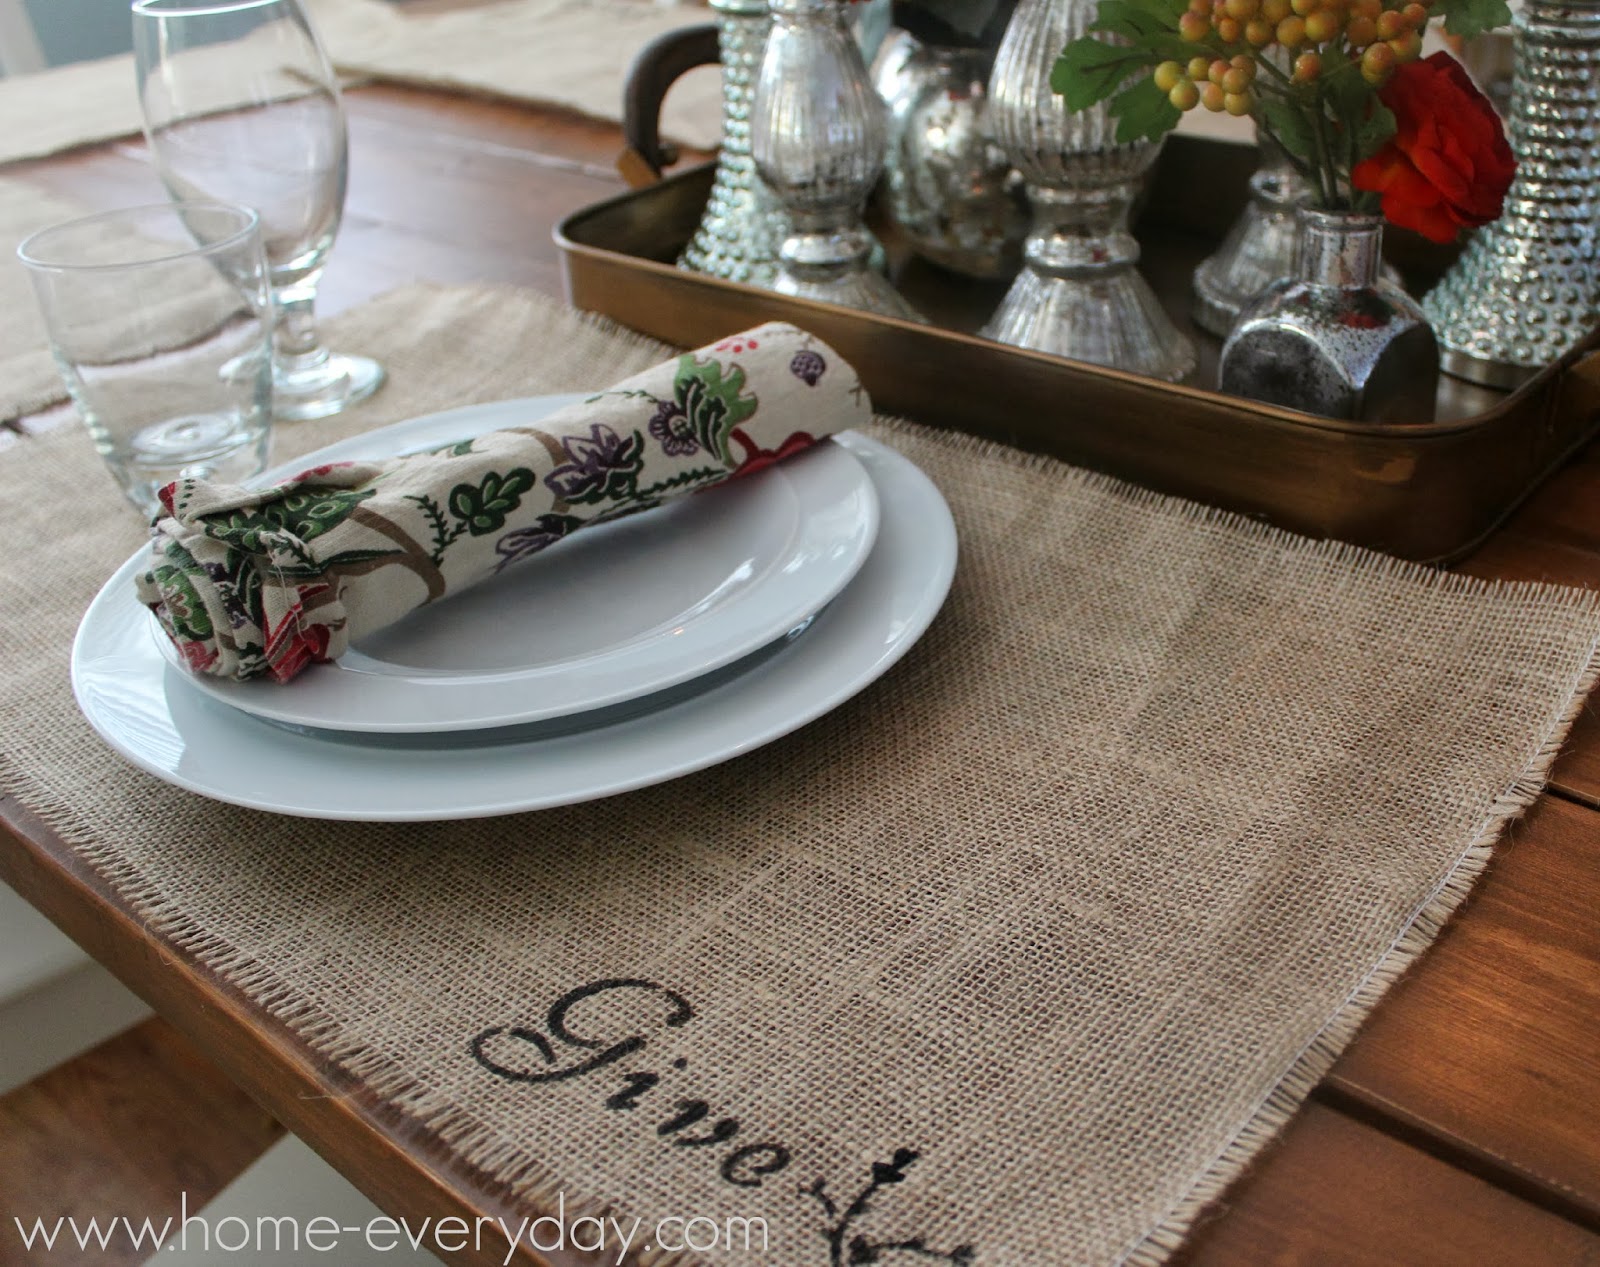
Clever Stenciling: I thought of a few of my favorite words when it comes to Thanksgiving, and using a paint sponge, black paint and some letter stencils I carefully painted the words in the bottom right hand corner of the placemats (NOTE: Make sure to place scrap paper or cardboard underneath your placemat as you paint as you don’t want to paint on your table or flat surface).

Let the placemats dry over night or for a few hours before using them.

I am so happy how they turned out. They are the perfect addition to our table for Thanksgiving.


To see this craft or to browse other Thanksgiving craft ideas visit the Jo-Ann Fabrics and Crafts catalogue HERE.
Also, as a THANK YOU, Jo-Ann Fabrics and Crafts is offering my readers a coupon to create your own #TurkeyTablescape.

Happy Thanksgiving, and stay tuned the rest of this week for other Thanksgiving ideas and recipes.
If you like this post and would like to read more about DIY, gardening, cooking, baking or all other things domestic, become a Home Everyday follower! For blog updates or to see other places I write follow Home Everyday on Facebook, Twitter, or Pinterest.