*Normally on Friday, I do a series called Flashback Friday where I feature a different area of the house and the improvements we have made since moving here, like our kitchen update, our bathroom spruce up, and our living room/dining room improvements. Flashback Friday will be back next week with the bedrooms.
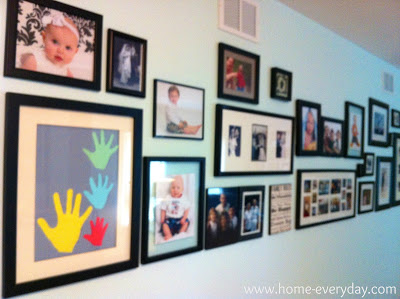
After talking about our living room improvements last week, someone asked me how I went about creating our photo gallery. Creating a photo gallery was a must for Brian and I. We love family photos and wanted to have a place where we could place them all together. This was one of the first projects I did after painting the living room, so there aren’t a ton of pictures (again, this blogging thing is new to me), but I will try to explain as best I can.
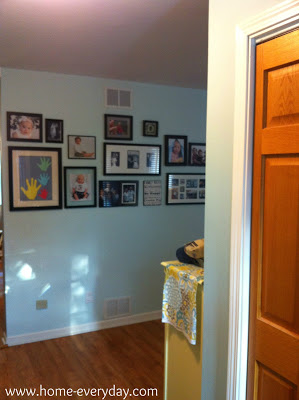
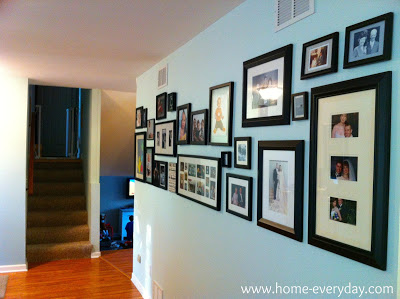
Location, Location, Location: When we bought this house, we had quite a few ideas of where we could put a huge photo gallery. After some discussion, we decided the living room. The wall we chose is one that you see right as you enter our front door, but can also be seen from every angle of the living room. Also, this wall is twelve feet long. We figured that this is enough space to add a number of photos as well as have room to grow.
Gather ’em up: The next thing I did, was gather up all the black frames that we owned. A photo gallery doesn’t have to have to have all the same type or color of frame, but Brian and I like uniformity. Even in our previous home we typically only bought black frames so that if we ever wanted to move pictures around the house, nothing would ever look out of place. There are a few exceptions to this rule, but for the most part every picture frame in our home is black.
Shape Up or Ship Out: Once all the frames were gathered up, and I saw what I had to work with, I measured off a twelve foot area of our living room floor and I started laying the frames in that space. I tried arrangements, and I even tried putting them into some kind of shape, but then I tried to think of what kind of furniture might be near the gallery, and the hope is to someday put a long desk there. In the end, I decided that the best arrangement would be to line up the bottoms of all the photo frames in the bottom row and work my way up from there.
Hang ’em Up: Once I decided on an arrangement, I took a picture of the arrangement, and then Brian recreated what I did on the floor up on the wall. He used simple picture hangers, and sometimes would measure the distance between frames to make sure they would all fit. He also used a laser level to line up all the pictures on the bottom.
There you have it. Our family picture gallery.


