Tag

painting

Measuring Up: Pinterest Challenge

Last week when John and Sherry of Young House Love,  Katie of Bower Power , Megan of The Remodeled Life, and Michelle of Decor and the Dog announced their quarterly Pinterest Challenge Link Up, I knew exactly what project I was going to tackle.


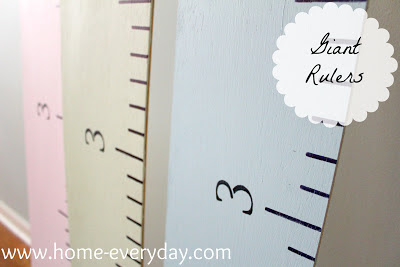
These giant rulers to measure the kids are something I have seen all over Pinterest. Also, it is something that I have been meaning to do for awhile, and actually had bought the lumber a few weeks ago.


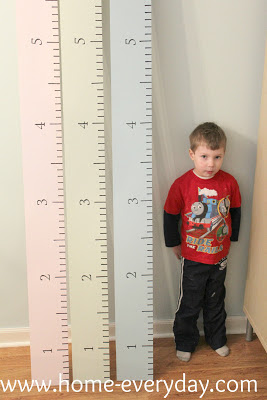
After reading a few tutorials online, I thought I could handle it, but I had two concerns. The first, I didn’t want to use a standard 1″ x 6″ or 2″ x 4″ boards. I didn’t want anything that heavy hanging from the wall. Especially something that the kids would be touching or wanting to be near often. The second problem I had was that I wanted three. One for each kid. I thought it might be fun for them to have their own measuring stick to take with them someday as a memento.

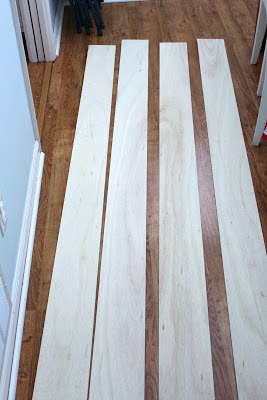
The planning began. The first thing I did, was walk around Home Depot (aka my second favorite store) with Brian and take a look at trim and other types of thin woods. We then looked at plywood. We saw 1/4″ plywood and realized that instead of buying three different planks of wood, we could just ask, someone to cut this in 6″ wide pieces right in the store. This was perfect, and much cheaper than buying three pieces of trim.


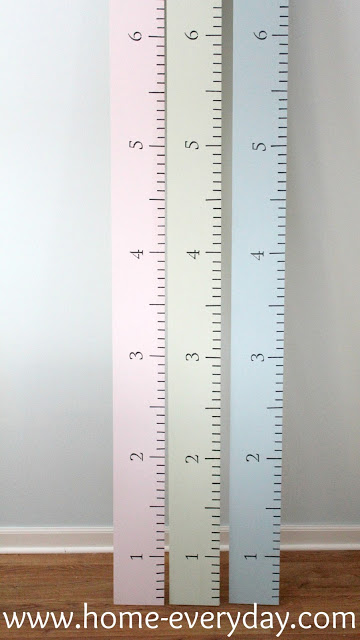
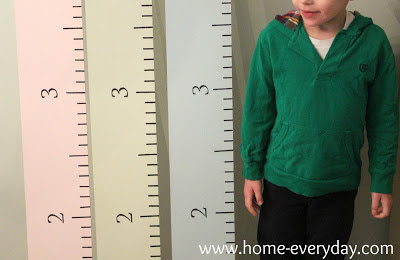
The next thing I did, was decide how to personalize their measuring sticks. Each of my kids has been kind of assigned a color. We color coordinate a lot in this house, toothbrushes, sippy cups, water bottles, etc. It keeps everything straight, and the kids picked their own colors to represent them. So, I decided to color coordinate their sticks too with some leftover paint I had from painting bedrooms.


Now, that I had figured out my concerns it was time to get to work.

Supplies:
3 1/4″ x 6″ x 7′ boards cut from 1/4 inch plywood at Home Depot
Paintbrushes
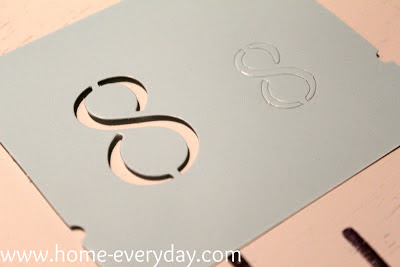
Letter and Number Stencils
Paints (I used Behr’s Pink Reverie, Behr’s Palm Breeze, and Behr’s Rainwashed)
Tape Measure
Pencil
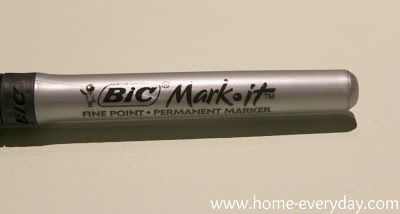
3 or 4 Permanent Markers


Process:

1.) First, I gave the boards a light sand. Then, I painted each board a different color and let it dry for about 6 hours. After a quick inspection, I thought it best to give them another coat of paint, and I let it dry overnight.

2.) Once the paint was dry, I then grabbed my tape measure and pencil I marked inch by inch the length of each board.

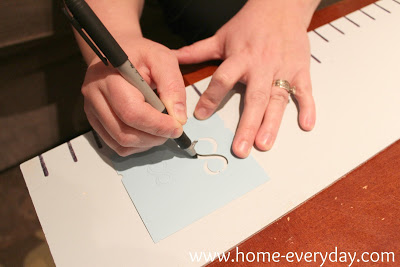
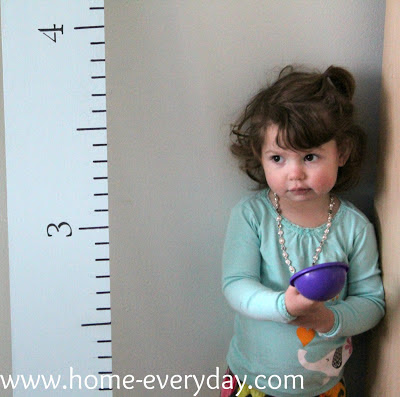
3.) Then using my stencils and permanent markers, I created a ruler line for each inch on the board. To make the board look more like a ruler, I created a one and half inch (1 1/2″) mark for every six inches and then drew 3/4″ lines for all the other inch marks. Basically, every six inches the mark to indicate an inch is longer (here is a picture).


4.) Then, I grabbed my number stencils and traced some numbers to mark each foot on the board. TIP: I knew that I would have to hang these boards a few inches from the floor, so I marked the first foot, at the six inch mark. When I hang them, I will make sure they are six inches off the floor to allow for the trim on the wall. (If you are planning to hang your ruler right next to the floor, you can skip this tip). Once that was done, I stenciled the rest of the numbers 12″ or 1′ apart.


I still have to hang them, and I might have to trim a little off the top to allow for ceiling height. Also, I have all their measurements since birth in their baby books, so I thought it would be cool to mark the boards with their birth length, and each year until now so they can see how much they have grown.

I am thrilled with how they turned out.


The kids like them too.


PS If you liked this post and would like to see more projects from Home Everday, BECOME A MEMBER HERE!

Finally: Upstairs Bathroom

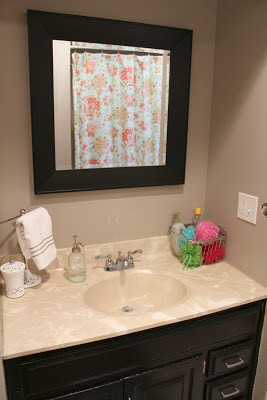
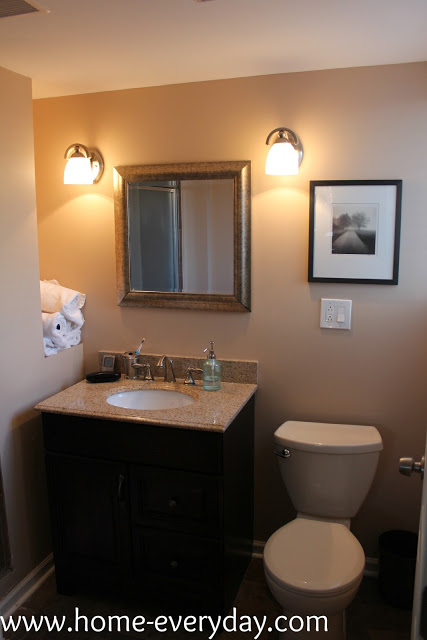
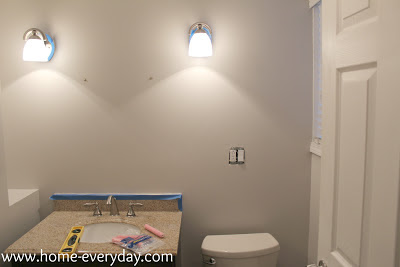
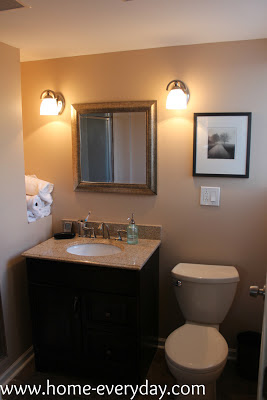
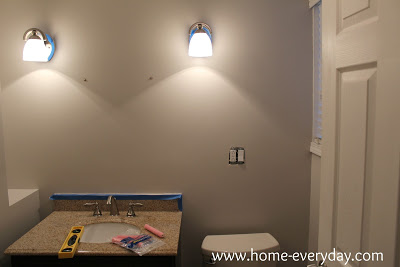
A few weeks ago, after painting stripes in the downstairs bathroom, I thought since everything is already out I would paint the upstairs bathroom as well. We had lots of paint leftover from the downstairs bathroom (Behr Barnished Clay in Satin and Behr Perfect Taupe in Satin) we thought it would be nice to give the upstairs bathroom a little spruce up.

Let’s get to the pictures shall we?
The Before:
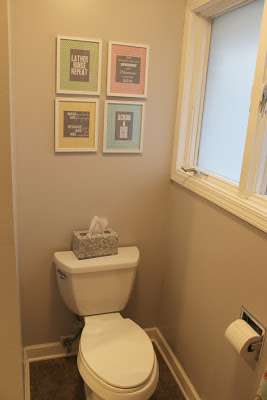
The After:
I painted most of the walls Barnished Clay. Here is a picture against something white for you to see the actual color.


Here is the artwork I created.


I painted the walls surrounding the sink Behr’s Perfect Taupe for a bit of contrast.

Stripes: Bathroom Reveal

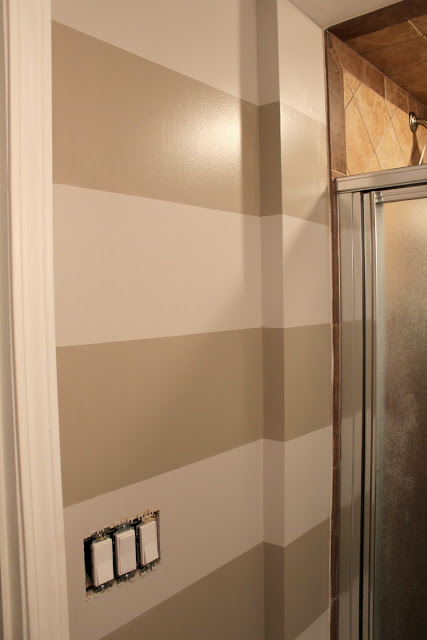
On Tuesday,  I told you I started striping the bathroom. Well, I think I have a problem. Now that I am finished, and it is functional again, I am already thinking of other places I can paint stripes. So far… it is everywhere. I know I cannot/should not do that, but the technique was so easy and it created such an awesome effect. Let’s get to the pictures shall we?

Before:


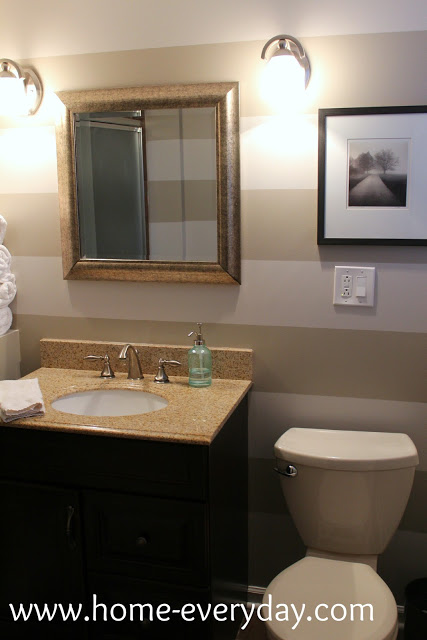
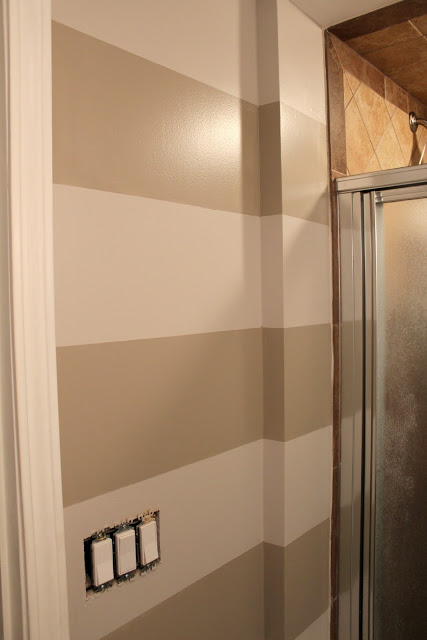
After:


I also repainted the trim in Behr’s ultra white in semi-gloss since the previous paint job wasn’t so good. Now everything looks crisp and clean.


As I said on Monday, I used these directions for measuring and painting from Skinny Boppy’s tutorial which can be found here. She took a lot of the guesswork out of painting the stripes.

I first, patched up any holes left behind from the water damage we had. Then I sanded any uneven parts, and painted the entire bathroom a base coat of Behr’s Barnished Clay in satin (I typically love flat paint with glossy trim, but in the bathroom is just makes sense to use satin). I actually did two coats of this color to help fully cover the peachy tan that was in the bathroom before.


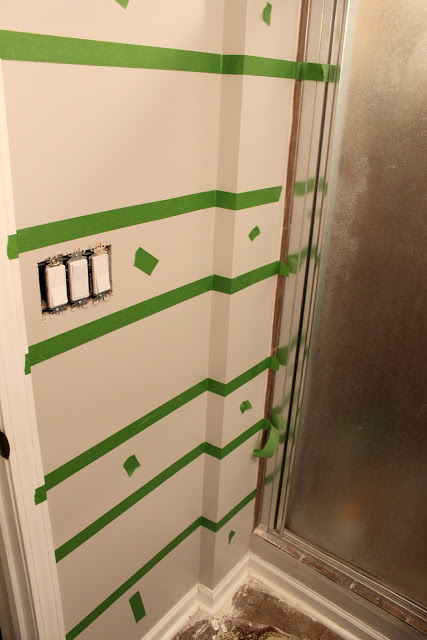
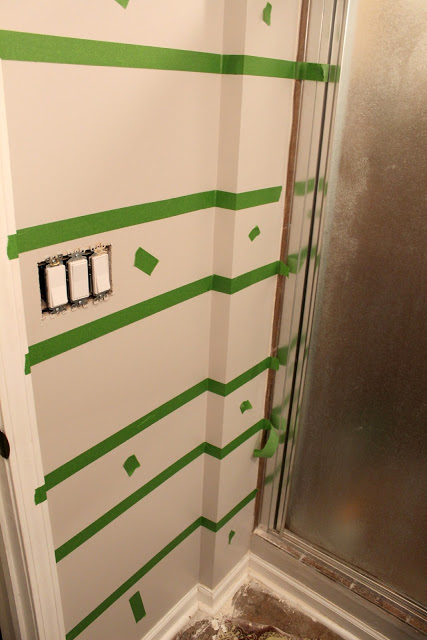
Once I was sure that was dry, I began measuring. When you paint stripes, you want to keep cutting in again at a minimum. Therefore your bottom stripe and top stripe should be your base coat color. In order to make sure this happens, I measured from where the top of the wall meets the ceiling to the top of the baseboards. Then, I took that measurement and divided by an ODD number. Most people when painting stripes divide by seven, but that is typically for a larger room. This bathroom is so small that stripes that wide I thought would be a bit much, so I divided by nine. For example: 83″/9 = 9.222222 inches. That is not an even number of inches, but I started from the top of wall and measured 9″ from the ceiling and using a laser level I began taping. Then I repeated the process for each stripe measuring 9″ from the previous stripe. This causes the bottom stripe to be a little larger than the other, but it is barely noticeable with the toilet, vanity, shower,  and door in the way. When taping I also made sure that I noted which stripes would be the base color and which stripes would be the darker color. This helped me determine in which side of the level line I would put the tape. You always put the tape on the BASE COAT side of the stripe. Also, I put tiny pieces of tape on the base color stripes to remind me not to paint there.


After everything was all taped up, I cut in around windows, doors, shower, and corners, and then rolled on on the stripes with Behr’s Perfect Taupe also in satin. Finally, I carefully peeled the painter’s tape right away (while the paint is still a little wet) to get a perfectly clean line.


TA DA! I love it! Now to convince Brian we need stripes in the family room.


P.S. Today, I am Linking up at Serenity Now for Weekend Bloggy Reading! Check out all the awesome recipes and projects. It is a Pinner’s paradise.


Not as Hard as I Thought: Painting Stripes

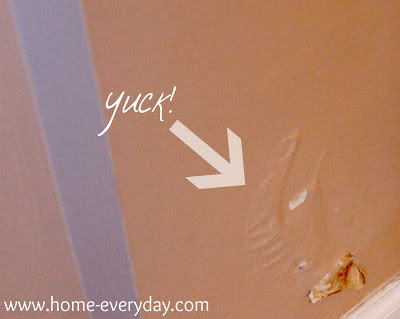
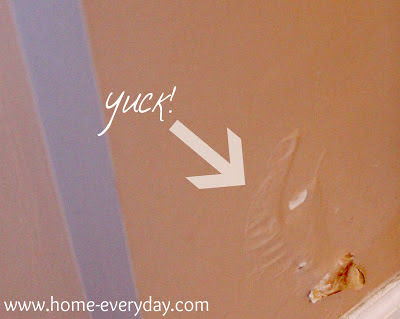
Over the summer, we noticed that some of the paint around the shower in our downstairs bathroom was starting to peel and bubble off the wall like this:


After talking to some bathroom experts, they advised us to re-caulk everything in the shower to prevent water seeping onto the drywall. We hired a professional to come and make sure that every corner of the shower was water tight. After a few weeks of making sure there were no more leaks, I decided to re-paint the bathroom.

This room was left pretty much untouched out of necessity. It was the only working bathroom in the house when we moved in, as the upstairs bathroom was getting a few facelift type upgrades (you can check that out here). Now that I have the time to paint (sort of) and we have another bathroom we can use while I work on this one, I thought I would patch up that nasty drywall and give it a fresh coat of something new.


The room is so so small, however it gets a great deal of sunlight from the window, so I wanted to do something light and soft. I also wanted to take into consideration the fact that Brian and I have been mulling around painting the nearby family room in the next few months and we like rooms to kind of flow. After seeing these beautiful pictures from my favorite blog Young House Love (I actually got to meet these creative geniuses in November, you can check that out here), I thought I would try some horizontal striping in our small bathroom too.

Brian and I made the trip to Home Depot and picked out the two perfect shades of soft gray. The base color for the room is Behr’s Barnished Clay in satin and the darker stripe is Behr’s Perfect Taupe also in satin. The paint expert at Home Depot said the satin finish is perfect for bathrooms for easy clean-up.

This is what it is looking like so far:


Brian and I think it has turned out better than we could have imagined. This technique is pretty easy and I used time saving tips for lazy people on striping from this Skinny Boppy for help (anything that caters to lazy people is up my alley). We are already thinking of other places to incorporate this easy technique. I still have to do the other walls, and as you can see I still have paint supplies all over the bathroom, but I couldn’t wait to share the progress. Hopefully, I can have a finished room to show at the end of the week. In the meantime it is time to put the paint clothes back on and finish up the stripes.


Oops: Painting a Dresser

I don’t know if you could tell yet, but I like hand me down furniture. We do have a lot of new furniture in our home, but I do like to collect old pieces and give them some new life. So far, our house has become a hodge podge of the old and new, and I thought this would bother me, but I like how nothing in our house is too matchy.

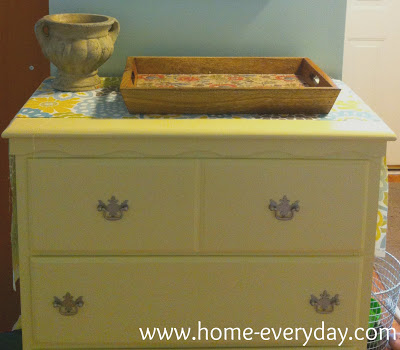
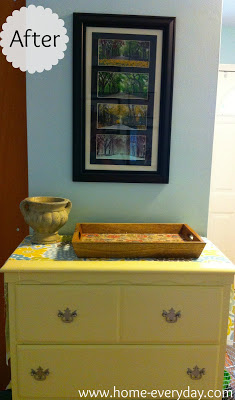
My sister gave me my nephew’s old dresser, which actually belonged to my brother-in-law as a kid. I originally thought it might be nice as some extra storage in the boys’ room, but then I realized I needed some extra storage in our living room. For awhile, it acted as  place for all of my table and kitchen linens, but now it serves as a drop zone near the front door.


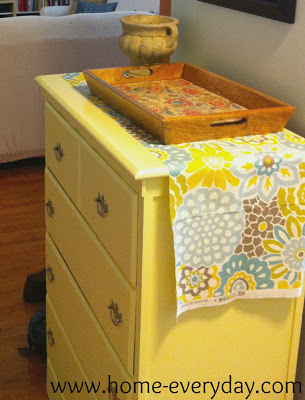
The original color was a medium toned, very shiny, stain. I knew eventually I would want to paint it, but I could not decide on the color. I knew I wanted something different, and perhaps a stand out color. So, I went to my home away from home. Home Depot. I decided that rather than make the difficult decision myself, I would look at the Oops paint section. I found a gallon of this Glidden light yellow color in semi-gloss (which is my favorite finish for painting furniture) for $3. For three measly bucks, I found my new paint color, and there wasn’t a lot of thinking involved.

I have painted a lot of furniture using a few different techniques, but for this project I used the same plan as the dining room chairs. (I didn’t have to strip paint like the bookcase, nor did I use spray paint like my new bedside tables).

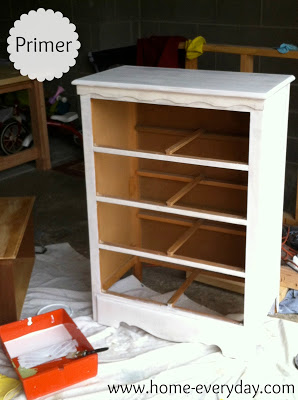
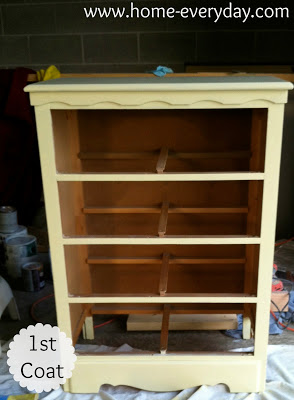
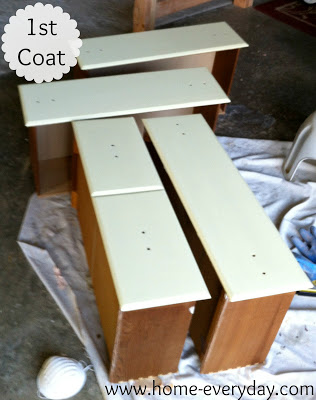
After removing the drawers and hardware, I just did a little sanding, priming, and painting.


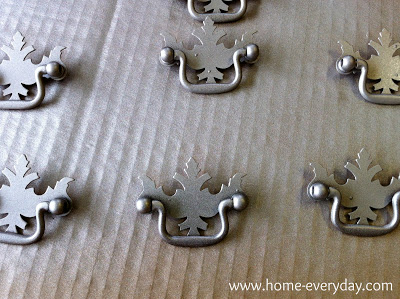
Then, while I was waiting for the second coat of paint to dry, I spray painted the hardware using some Krylon Metallic Spray Paint in Brushed Nickel.


Once everything was dry, I put everything back together, and plopped by the front hall. We drop our mail in the tray and put our keys in the stone urn that was used for floral arrangements at our wedding. The drawers hold all kinds of things that we need to grab as we are heading out the door.


For three dollars of oops paint and some spray paint I already had on hand, I am happy with the results.

Flashback Friday: Living Room/Dining Room

This week’s installment of Flashback Friday covers the Living Room and Dining Room. These rooms required a coat of paint for move in purposes, but there are some plans that we have for the future of these rooms.

I think our eventual goal would be to make the Living Room more family friendly. One of the projects that is coming soon is a desk that Brian will be building (we already have the lumber).

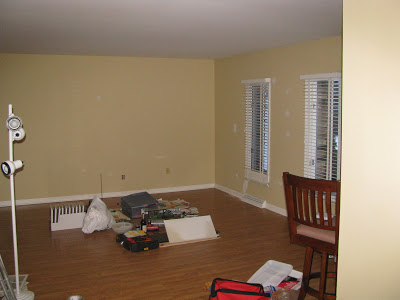
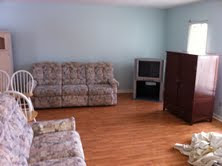
I have one before picture, but this level consisted of more mustard yellow. You cannot tell from this picture but we are talking French’s Mustard. Also, all the walls and some of the trim had marks and dings from the previous owners.

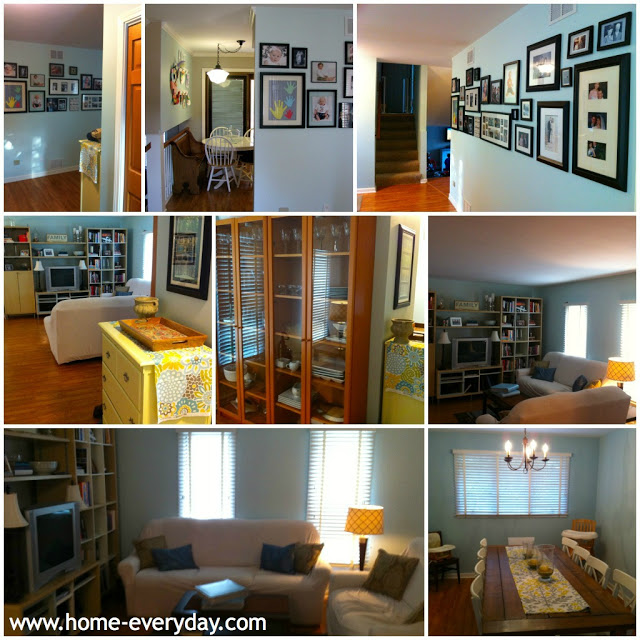
Then with a little help, I chose the perfect shade of blue and started painting. These rooms flow into each other so I knew I would have to choose a color that I really liked as it would be everywhere. I didn’t want to go the neutral route as a lot of the furniture we had planned for the room, was pretty neutral. Also, I wanted to play off all the light these rooms get. I wanted something clean and bright so we chose Behr Aqua Breeze (I apologize for the iPhone photos. I didn’t know I’d be writing a blog when I took these).


So here is our entrance, living room, and dining room after our personal touches. We added a picture gallery, a dining room table that Brian built and I stained, and lots of  other furniture that we already had on hand. Here is our progress thus far.


Flashback Friday: Bathroom Spruce Up

Welcome to the second installment of Friday Flashback. The first Friday Flashback was last week where I talked about our kitchen progress.

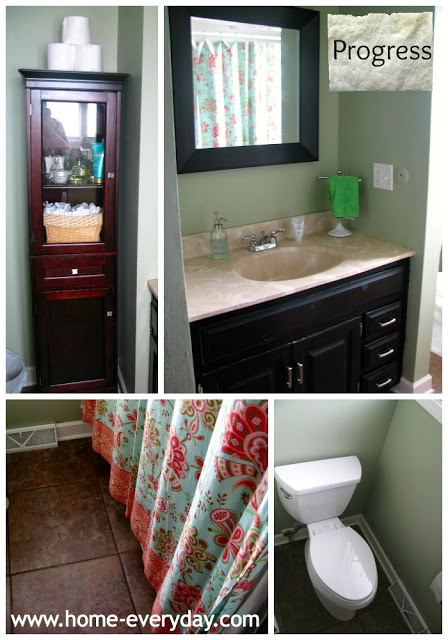
This is our upstairs bathroom. Just like last week, this is a primo example of where some paint and a few small changes can make a big difference. So in true HGTV fashion you will see a quick before and after transformation.

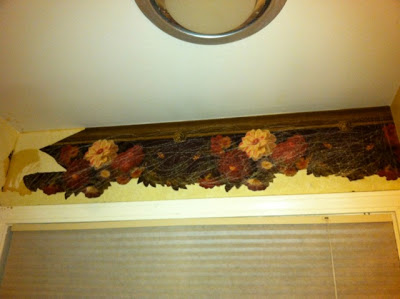
We will begin with dark floral border and sponge paint.


Gold mirror, beige painted vanity, and dated hardware.
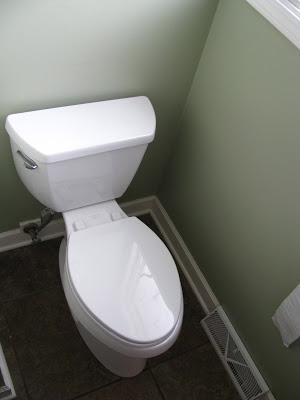
Old almond toilet, and white tile with yellow triangle pattern.
And this…
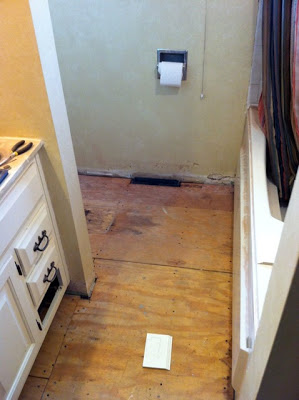
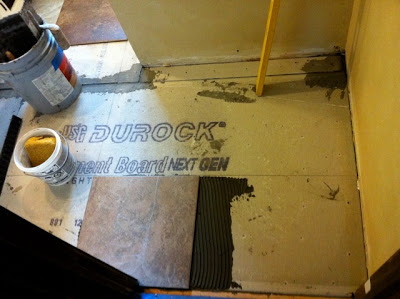
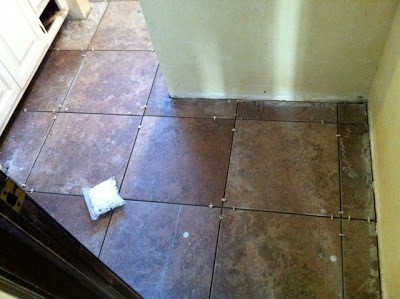
First, Brian ripped up all the tile, and we had some help with installing some leftover porcelain tile that the previous owner had leftover from the downstairs bathroom remodel (we only had to get thin set and grout).


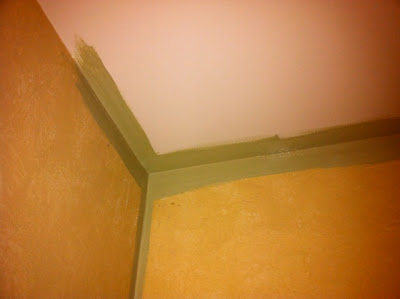
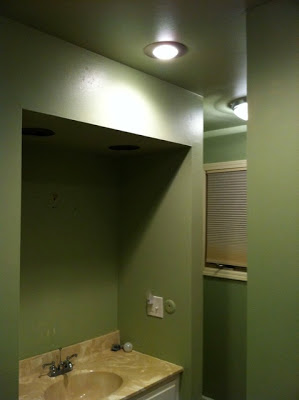
Then, on another late night, my mom and I scored and steamed the border and removed it. Sanded down the drywall to remove the sponge paint finish and repainted the bathroom a pale green.


Brian removed the almond toilet, and with a little research and the help of his brother installed a new Kohler toilet in white.
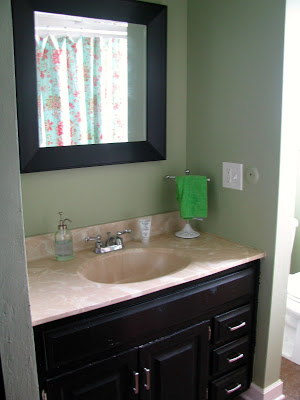
Next, I sanded, primed and painted the vanity in black semi gloss and added brushed nickel hardware and a matching black mirror to freshen it up.
Then we added a few finishing touches.
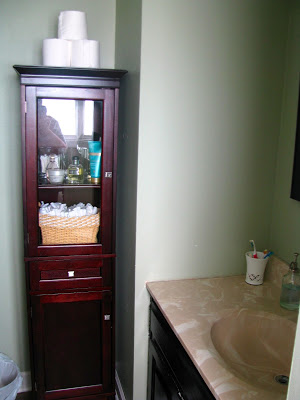
Like some extra storage with this great cabinet from Target.
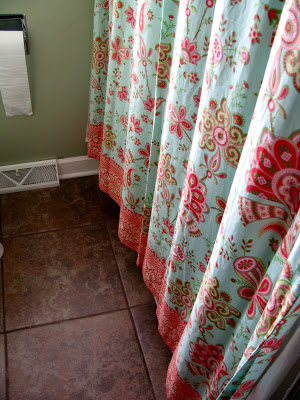
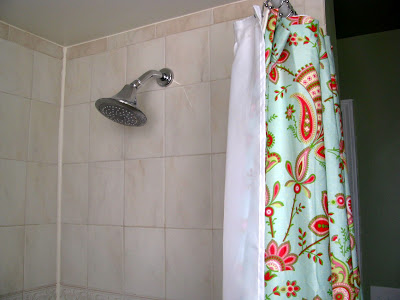
And this adorable Amy Butler shower curtain I got a Bed Bath and Beyond on clearance and with a 20% off coupon (Ca-ching).

Finally, a nice new shower head.

So there you have it. Our upstairs bathroom spruce up. Thank goodness for paint and clearance shower curtains!


And Oldie but a Goodie: Refinishing a Painted Bookshelf

This bookshelf is an Oldie but a Goodie. My Dad built this bookshelf for my oldest brother’s bedroom when he was a little kid, then it got passed around to all of the siblings and even a few of the grandchildren. Growing up, I can remember my Dad building a few sets of bookshelves as well as other furniture and tackling a lot of DIY home improvement projects.

Anyway, his love for doing projects has been handed down to me, and when my sister said I could have one of the bookcases Dad built, I of course said yes. This particular bookcase has been passed around and repainted so many times it looked pretty
shabby (as in it needed some serious TLC).
The original paint color was red, then yellow, then pink,
then white. I decided to bring it into the boys room for their toys, money
banks, and books, and paint it a fresh coat of white with a different color on
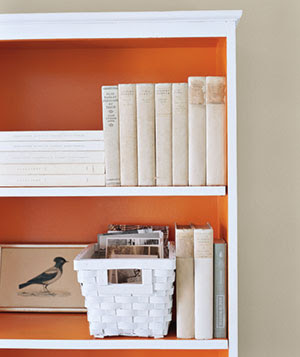
the back part of the shelves. Similar to this photo I found in my favorite magazine, Real Simple.

I loved the orange, and thought it would be ok to tie that
into the boys room because their room has become hodge podge of a bunch of
different colors to accommodate their likes.

So here’s how I freshened up this old bookcase, built by my
Dad probably 40 or more years ago.
Supplies:
Paint Stripper (Citristrip)
Putty knife
Mineral Spirits
Steel Wool
Electric Sander (Black and Decker)
Sand Paper (course and fine grit)
Primer (Behr)
Painter’s Tape (Froggy Green Tape)
Behr Decorator White in Semi-Gloss (leftover gallon)
Behr Orange Peel in Semi-Gloss (I bought 1 quart)
Gloves
Face Mask
Safety Glasses
Shop Vac
Sponge
Bucket of Water
Paint Brushes
Small Roller
Painter’s Trays.
Strip, Ooo la la: I decided to strip the bookcase simply because of the
number of layers of paint it had. I used a very gentle paint stripper I
found at Home Depot called Citristrip (I’m starting to see an orange citrisy theme here), and followed the directions to a T. Which, I know is so
un-Erin like, but since I’ve never used paint stripper before, I figured this
was the best way to go. Depending on the kind of paint stripper you use, you
may or may not need the steel wool and mineral spirits. I liked this step as it
removed any paint stripper residue and got rid of all the yucky leftover layers
of paint. I made sure I wore gloves and my face mask for this step. 


Getting Sandy: I put
on my mask and safety goggles, and got sandy. Using my electric sander, I first used the course grit
sand paper to try and remove any paint that the stripper couldn’t get. I also
tried to sand away as many knicks in the surface as possible. Then, I used the
finer grit sandpaper and sanded until the surface was smooth to the touch.
There was still some paint on the surface but if I closed my eyes and ran my
hand over the surface I couldn’t even tell. Also, to get in the corners I couldn’t use the electric sander, so I just used some pieces of sandpaper.So fresh and so clean: For this step, I used my shop vac to suck up all the dust from
stripping and sanding. Then, I used a damp sponge to wipe away all excess dirt
and dust from the surface and in the corners to get it ready for priming. After all this prep work
I’m finally ready to break out some paint brushes.

Prime: This step
was very easy. I used Behr Primer. I find it easy to use, and it goes on and
dries quickly. To get in all the corners I used my favorite paint brush, and
then on all the flat surfaces I rolled using a small roller. The picture below is after a coat of primer. 


Sticky Situation:
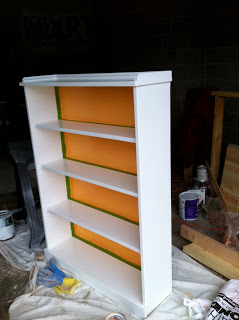
I went back and forth on where I wanted to tape off the bookcase to do the two
colors. I finally settled on only painting the back the bright orange color.
Once, the primer had time to cure, I taped off the the back of the bookshelf
and painted the back portion using the same mehod as the primer. I used a paint
brush to paint in the corners and then used a roller for the flat surface. This
required two coats. Before the second coat was too dry,  I peeled of the tape and was
ready for the last step.
Last but not least: The
last step was to paint the outside of the bookcase as well as the shelves a
good clean white. Once the orange paint was dry (about 24 hours), I taped the orange corners to
help prevent any white paint getting on the orange back. Then using the same
method with a paintbrush and roller, I painted the bookshelf white.
Here is the finished product: The boys love it and enjoy
putting their book, toys, and money banks on it.

In The Hot Seat: Painting and Recovering Old Chairs

As in, check out this HOTNESS!
Pretty cute right? Especially considering this is what they looked like when I got them. The eighties called, and they want their powder blue back.
Why three new chairs? Well, once a month, I host my whole family for a Sunday Dinner. My
grandma used to host people EVERY Sunday. After Grandma Nano passed away, my
sister kept it going for awhile, and since moving to our “new” house (I guess
its time I stop saying new), I decided have everyone over once a month for good
food and to catch up.
When everyone is here, it is over 20 people, so I was
constantly using folding chairs, and even running out of those. That is when my
Mom said I could have her old kitchen chairs. It is an incomplete set, but any
extra chairs would work, so she sent over three sturdy chairs.
According to my Mom, these chairs were hand me downs from a
neighbor when her and my Dad were first married. And once I removed the layers
of paint and seat coverings, it was apparent these chairs were OLD.
Here is how I refinished these chairs from luke warm to HOT,
and had them done in time for Sunday Dinner!
Supplies:
Electric Sander
Sandpaper
Paint brushes
Primer
Behr Decorator White Paint
Batting
Fabric
Drop clothes
Staple gun and staples
Flat head screwdriver
Phillips head screwdriver
Take it off: Using a Phillips head screwdriver, I removed
the seats and set aside.
Rough it up: The chairs had a few layers of paint, but not
enough layers that I felt I had to strip them with paint stripper. I just
sanded them using my electric sander, and roughed them up everywhere. This was
an important step, as the last layer of paint used seemed pretty glossy, and I
knew the new coat of primer and paint wouldn’t stick to that. These chairs have
a lot of different surfaces and corners, so on the areas that I couldn’t reach
with the sander, I just ripped a few pieces of sandpaper and did it by hand.
Prime Time: I cleaned the chairs up with a damp cloth to
remove all the dust from sanding. Once completely dry, it was time to put on a layer
of primer.
Thinner the Better: I used Behr’s Decorator White Paint in
Semi-Gloss. Using a pant brush, I painted using an almost a dry brush. What this
means is, I didn’t slap too much paint on the chairs, as this causes a lot of
dripping which you then later have to sand and also causes there to be lots of
visible brush strokes. Once finished, I let the chair dry for a few hours
before doing the next coat. I did a total of three coats, which while I know
this can be a pain, and time consuming, but I wanted them to look sleek.
That’s a Wrap: The last few steps involve recovering the seats. I
found this awesome paisley fabric at JoAnn Fabrics that had a lot of the
colors I’m hoping to incorporate in our house. This is where the fun part comes
in. Using a flathead screwdriver to remove the staples, I first removed all the layers of old wallpaper that the chairs had been
covered in. I took pictures of each layer. Uncovering each layer felt like I was uncovering a decade.
80’s powder blue:
70’s Brady Bunch plaid:
60’s Jimmy Hendrix floral
 50’s burnt Orange (which you can see a tiny corner of underneath the floral).
I, next, measured the seat and cut my batting and fabric to
size with about 4 or 5 inches extra on each side to allow for wrapping around
the seat. Then, pulling tightly, I stapled the fabric in place (for another
look at how to upholster check out my post on making a headboard HERE). Once the seats were recovered, and I had the chairs cure up for a few days, I reattached the seats.
VOILA! Three extra comfy, sturdy, and cute chairs for Sunday Dinner.