Tag

home decor

Building Built In Storage: Part One

This project started out as me reorganizing the cabinets in my dining room to create some more space.

Built In Cabinets Phase One 3

To Brian saying, “Sweetie, you need more storage. Let’s not buy anything, let’s build something. That way it is exactly what we need.”

Built In Cabinets Phase One 15

I went from a simple reorganizing project to prepping the dining room for built-ins. As Ron Burgundy would say.

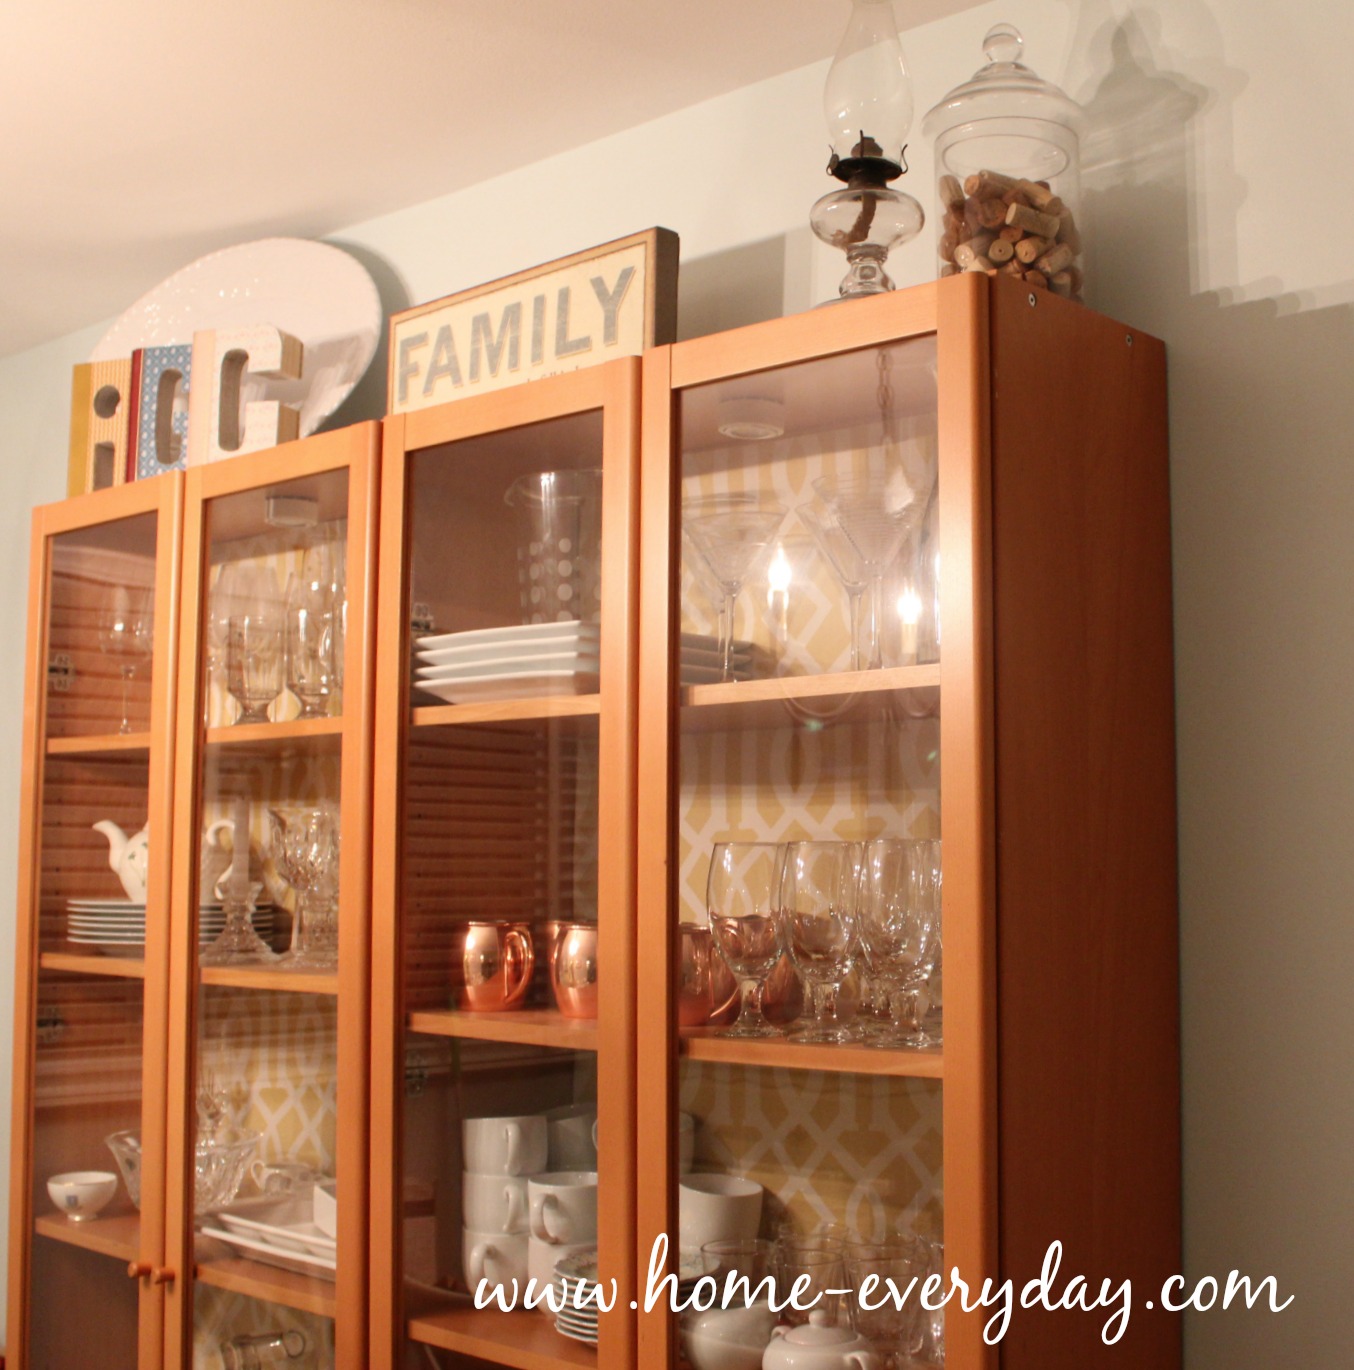
As we sat together at the kitchen table scrolling through blogs for inspiration like Thrify Decor Chick’s gorgeous built ins and Addicted to Decorating awesome built in entertainment center.  We knew we wanted some open and closed storage. We also knew that to maximize storage, we should probably try and use the entire length of the wall in the dining room. Finally, we wanted to add some cool style elements to the bookshelf to kind of mimc some other elements in the house like stain the countertop the same color as the dining room table we built and maybe paint the wall behind the shelves a different color like when I put  fabric in the cabinets before to help make the dishes pop.

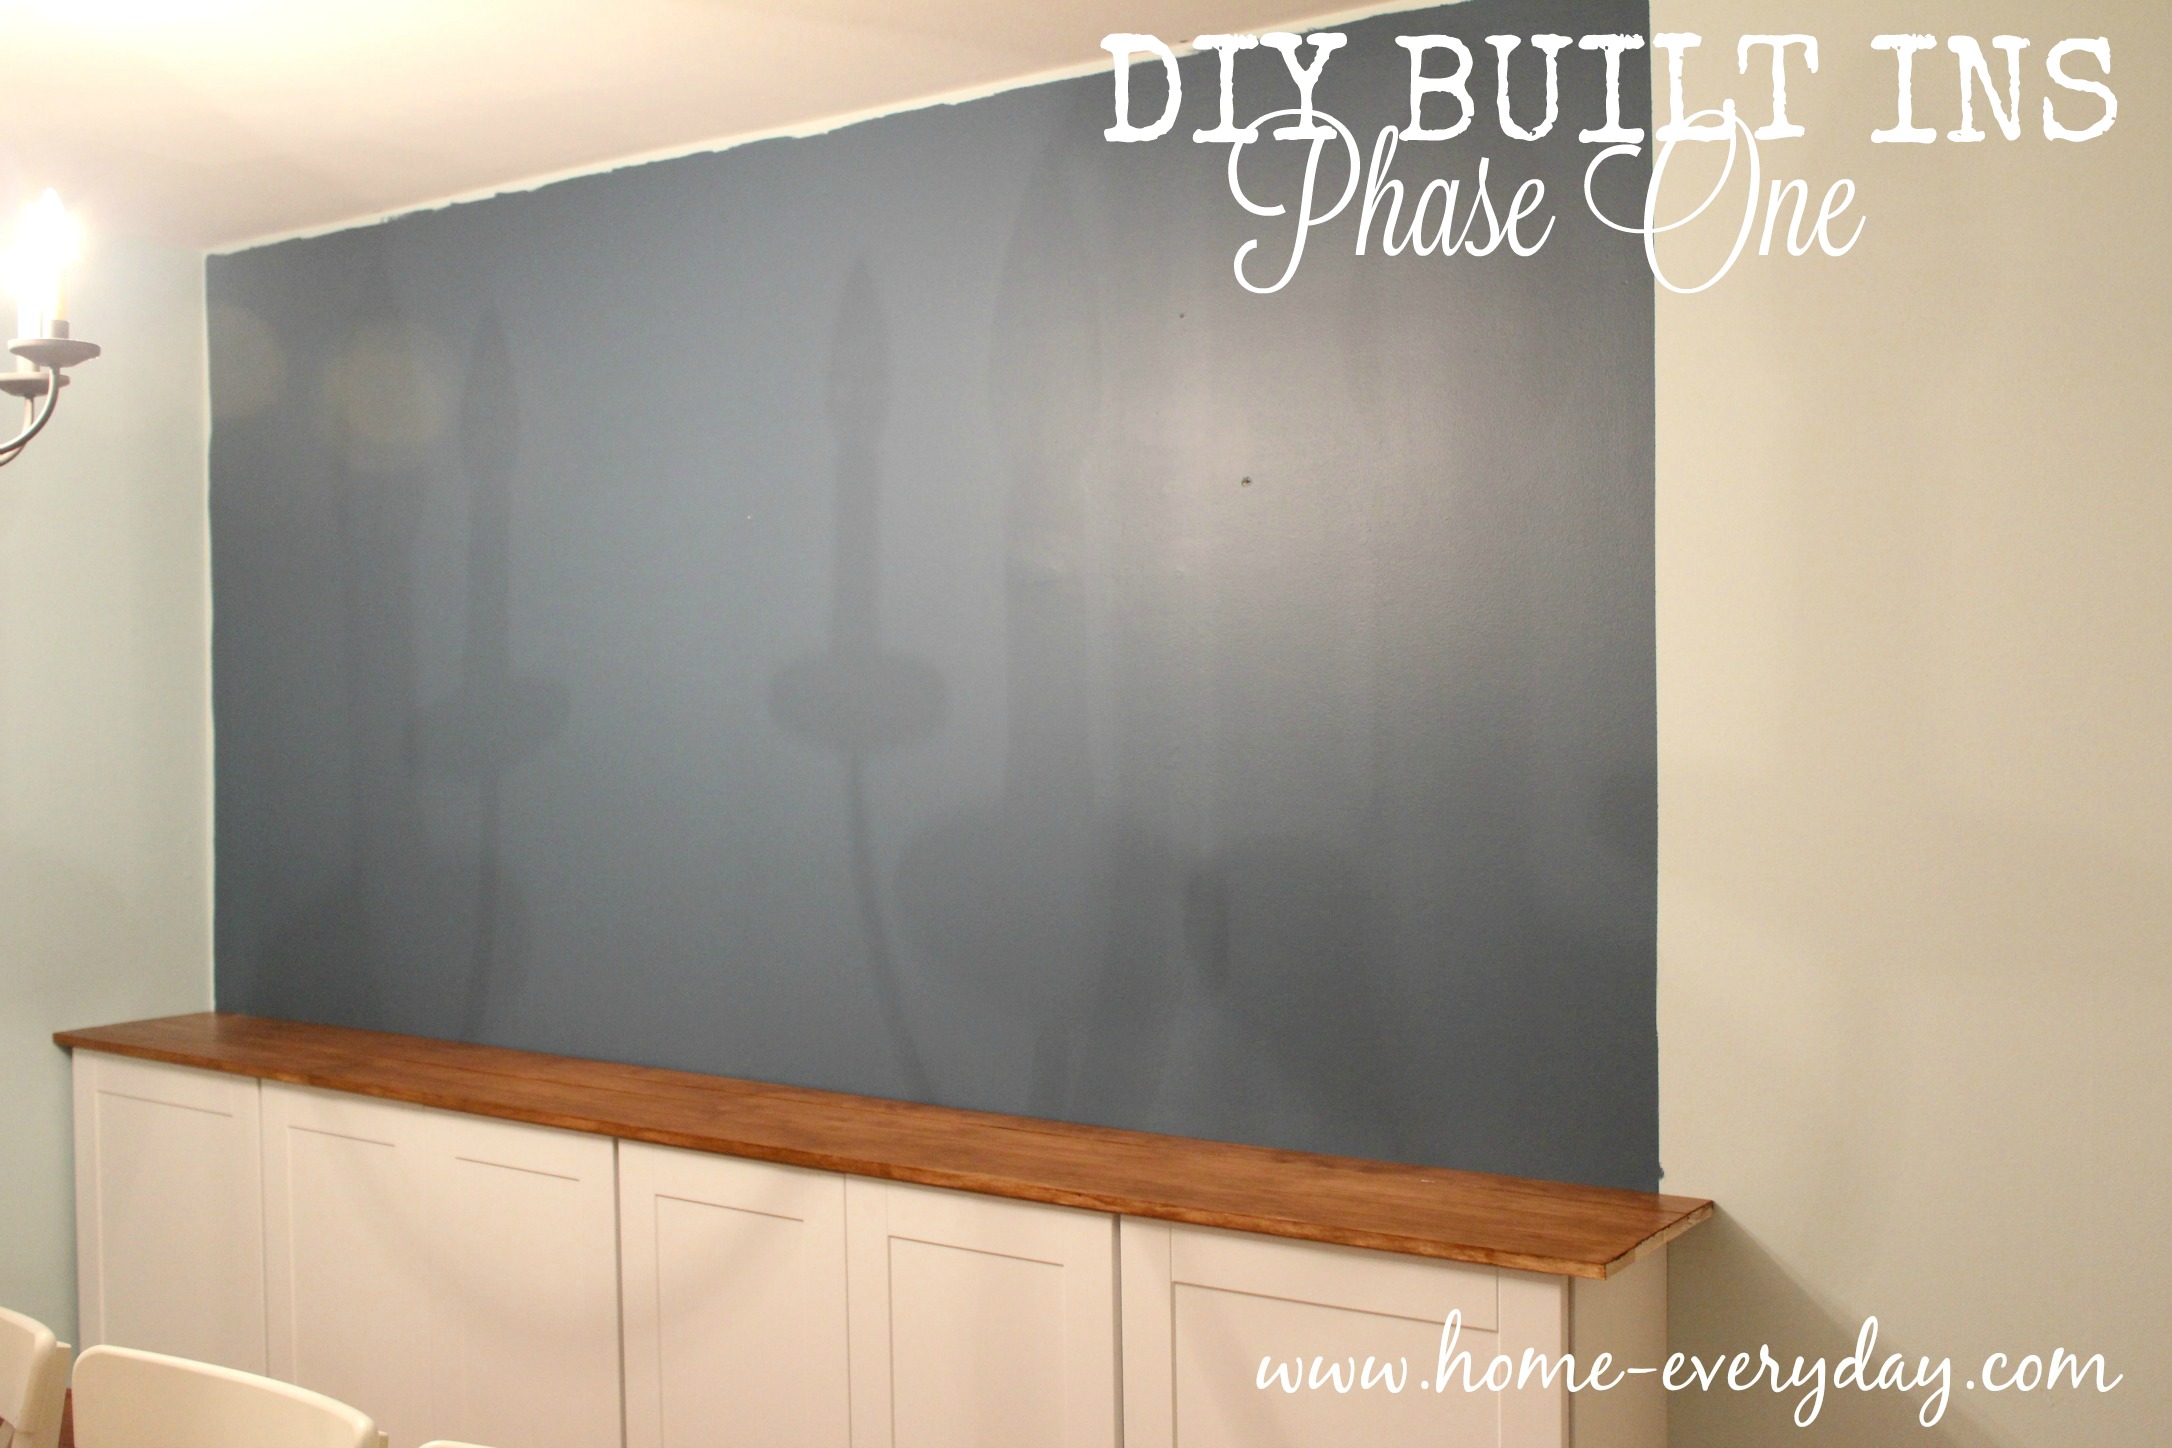
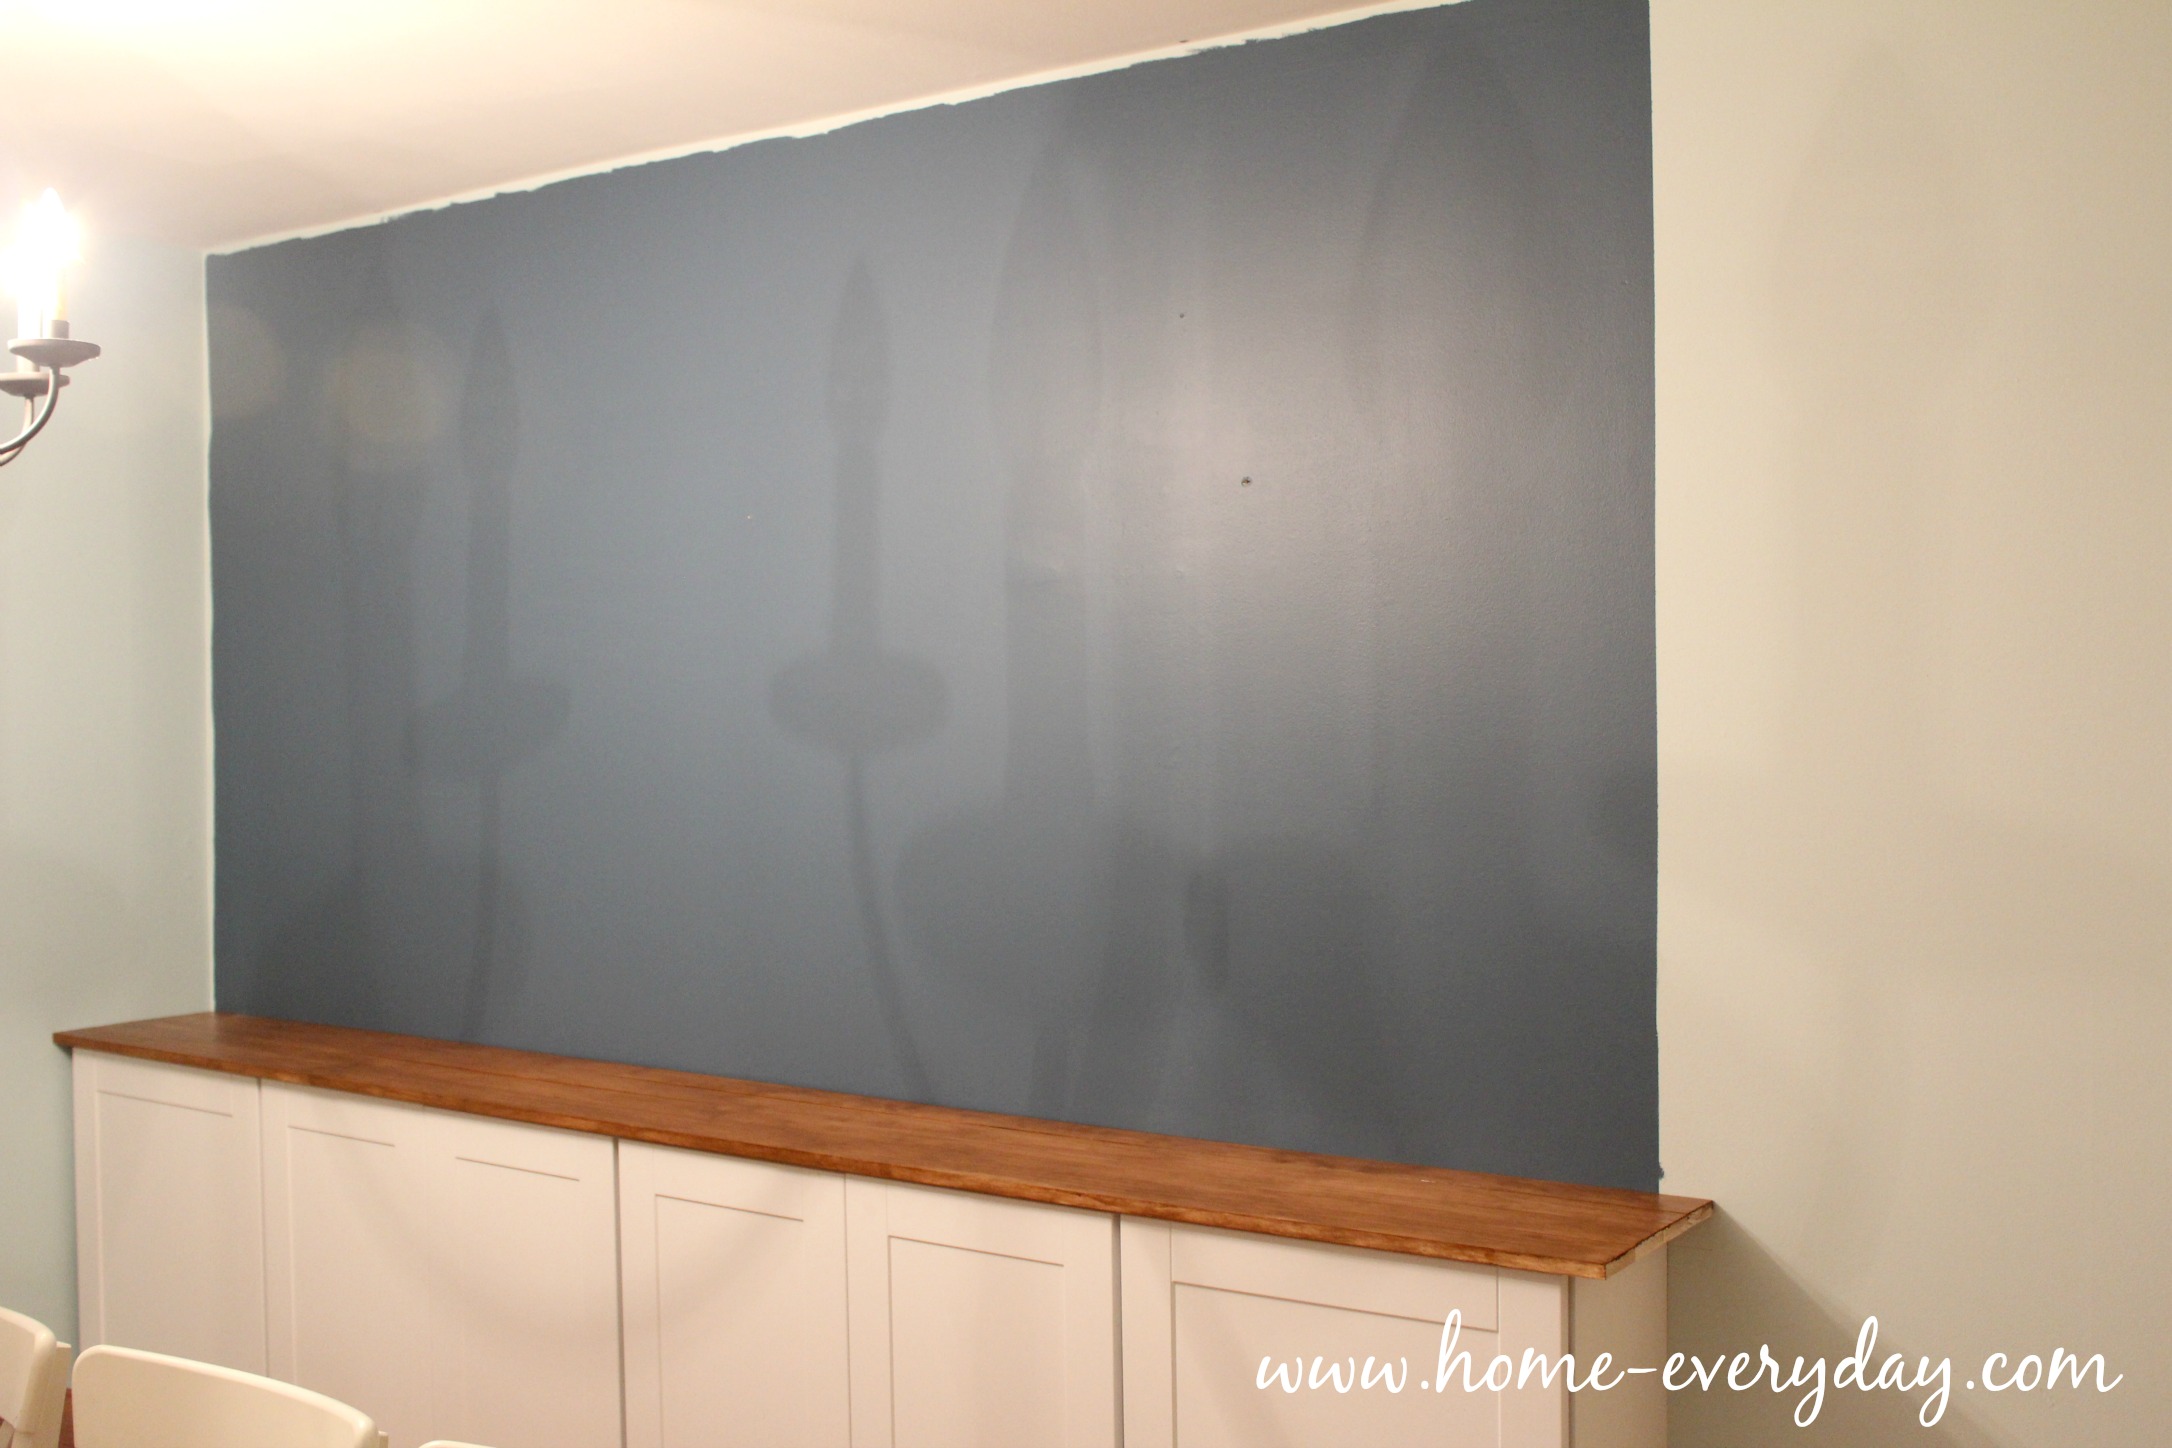
This is as far as we have gotten in the last 10 days. 

Built In Cabinets Phase One 13

Considering it took me an entire day to carefully empty and move the cabinets that were sitting there, I will take that as a win.


I think it is safe to say, things have gotten out of hand. #diyproblems

A photo posted by Erin Skibinski (@eskibs) on

Also, life is still going on which means school, soccer, ballet, tap, school functions, homework, library volunteering, library board, work meetings, and a sinus infection. 

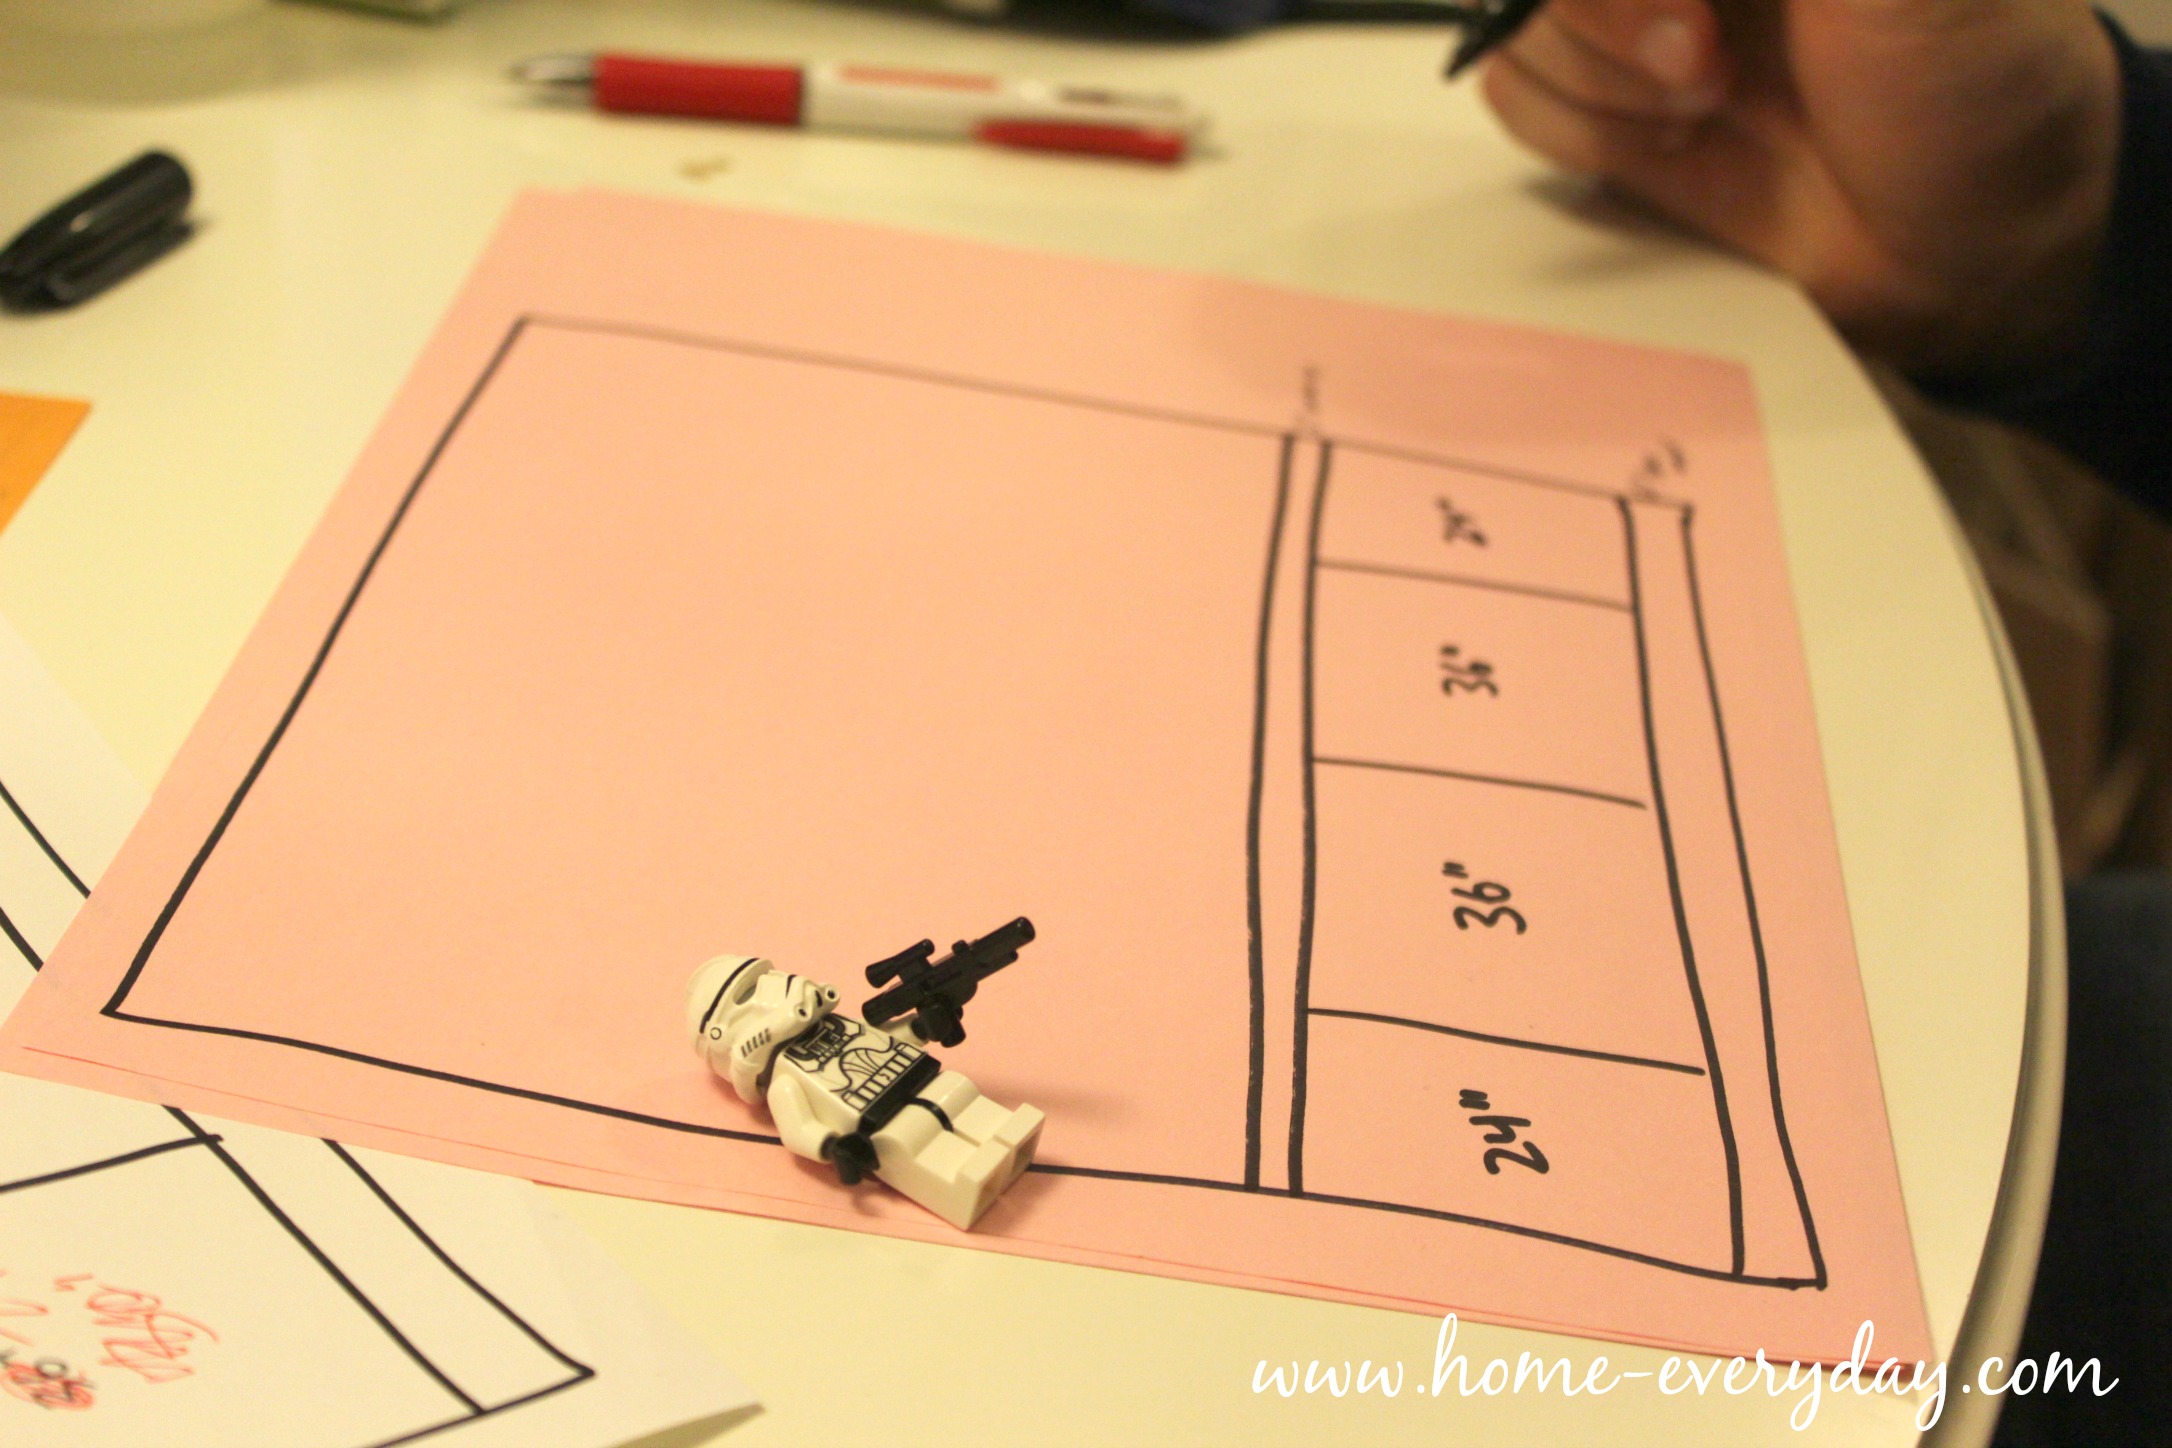
The first step was to decide how big we wanted to create the built in unit. We knew we were going to use stock UPPER cabinets as our base. Stock cabinets come in only a few standard sizes, so we just had to figure out the correct combination of cabinets that would fit into the dining room and look good. We used painter’s tape as a guide. For us, we decided ten linear feet of cabinets (two 36″ cabinets and two 24″ cabinets). This was just short of the opposite wall in the dining room, and we figured just short was better than two feet too long.

Built In Cabinets Phase One 1

Then, we drew out a plan. Twice. Actually, three times.

Built In Cabinets Phase One 2

Using Addicted to Decorating and Thrifty Decor Chick as a template we drew out how to create our built ins. We did this a few times measuring a few times, and getting out our calculators just to be sure everything would be right. Pro Tip: Remember when following directions from another site, Pinterest, or blog, make sure to keep in mind that YOUR house is different. Measure your space a few times. Things to consider: What is the height of your ceiling? What kind of trim do you have, how big is it? What kind of flooring do you have carpet, wood, tile? Are there walls on each side of the built ins for support? Where are the studs? Are you going to be covering one or multiple outlets and do you need to call an electrician to move them before you get started? Are you insane to try something like this on your own?

Then, we made our supply list of everything we needed. To do this, we literally talked through every step a few times together out loud down to the finishing nails. This helped us make a good an thorough list. Pro Tip: You might want to check online or give a call to your hardware store just to make sure they have everything you need ahead of time. (We had to go to two Home Depots BLERG).

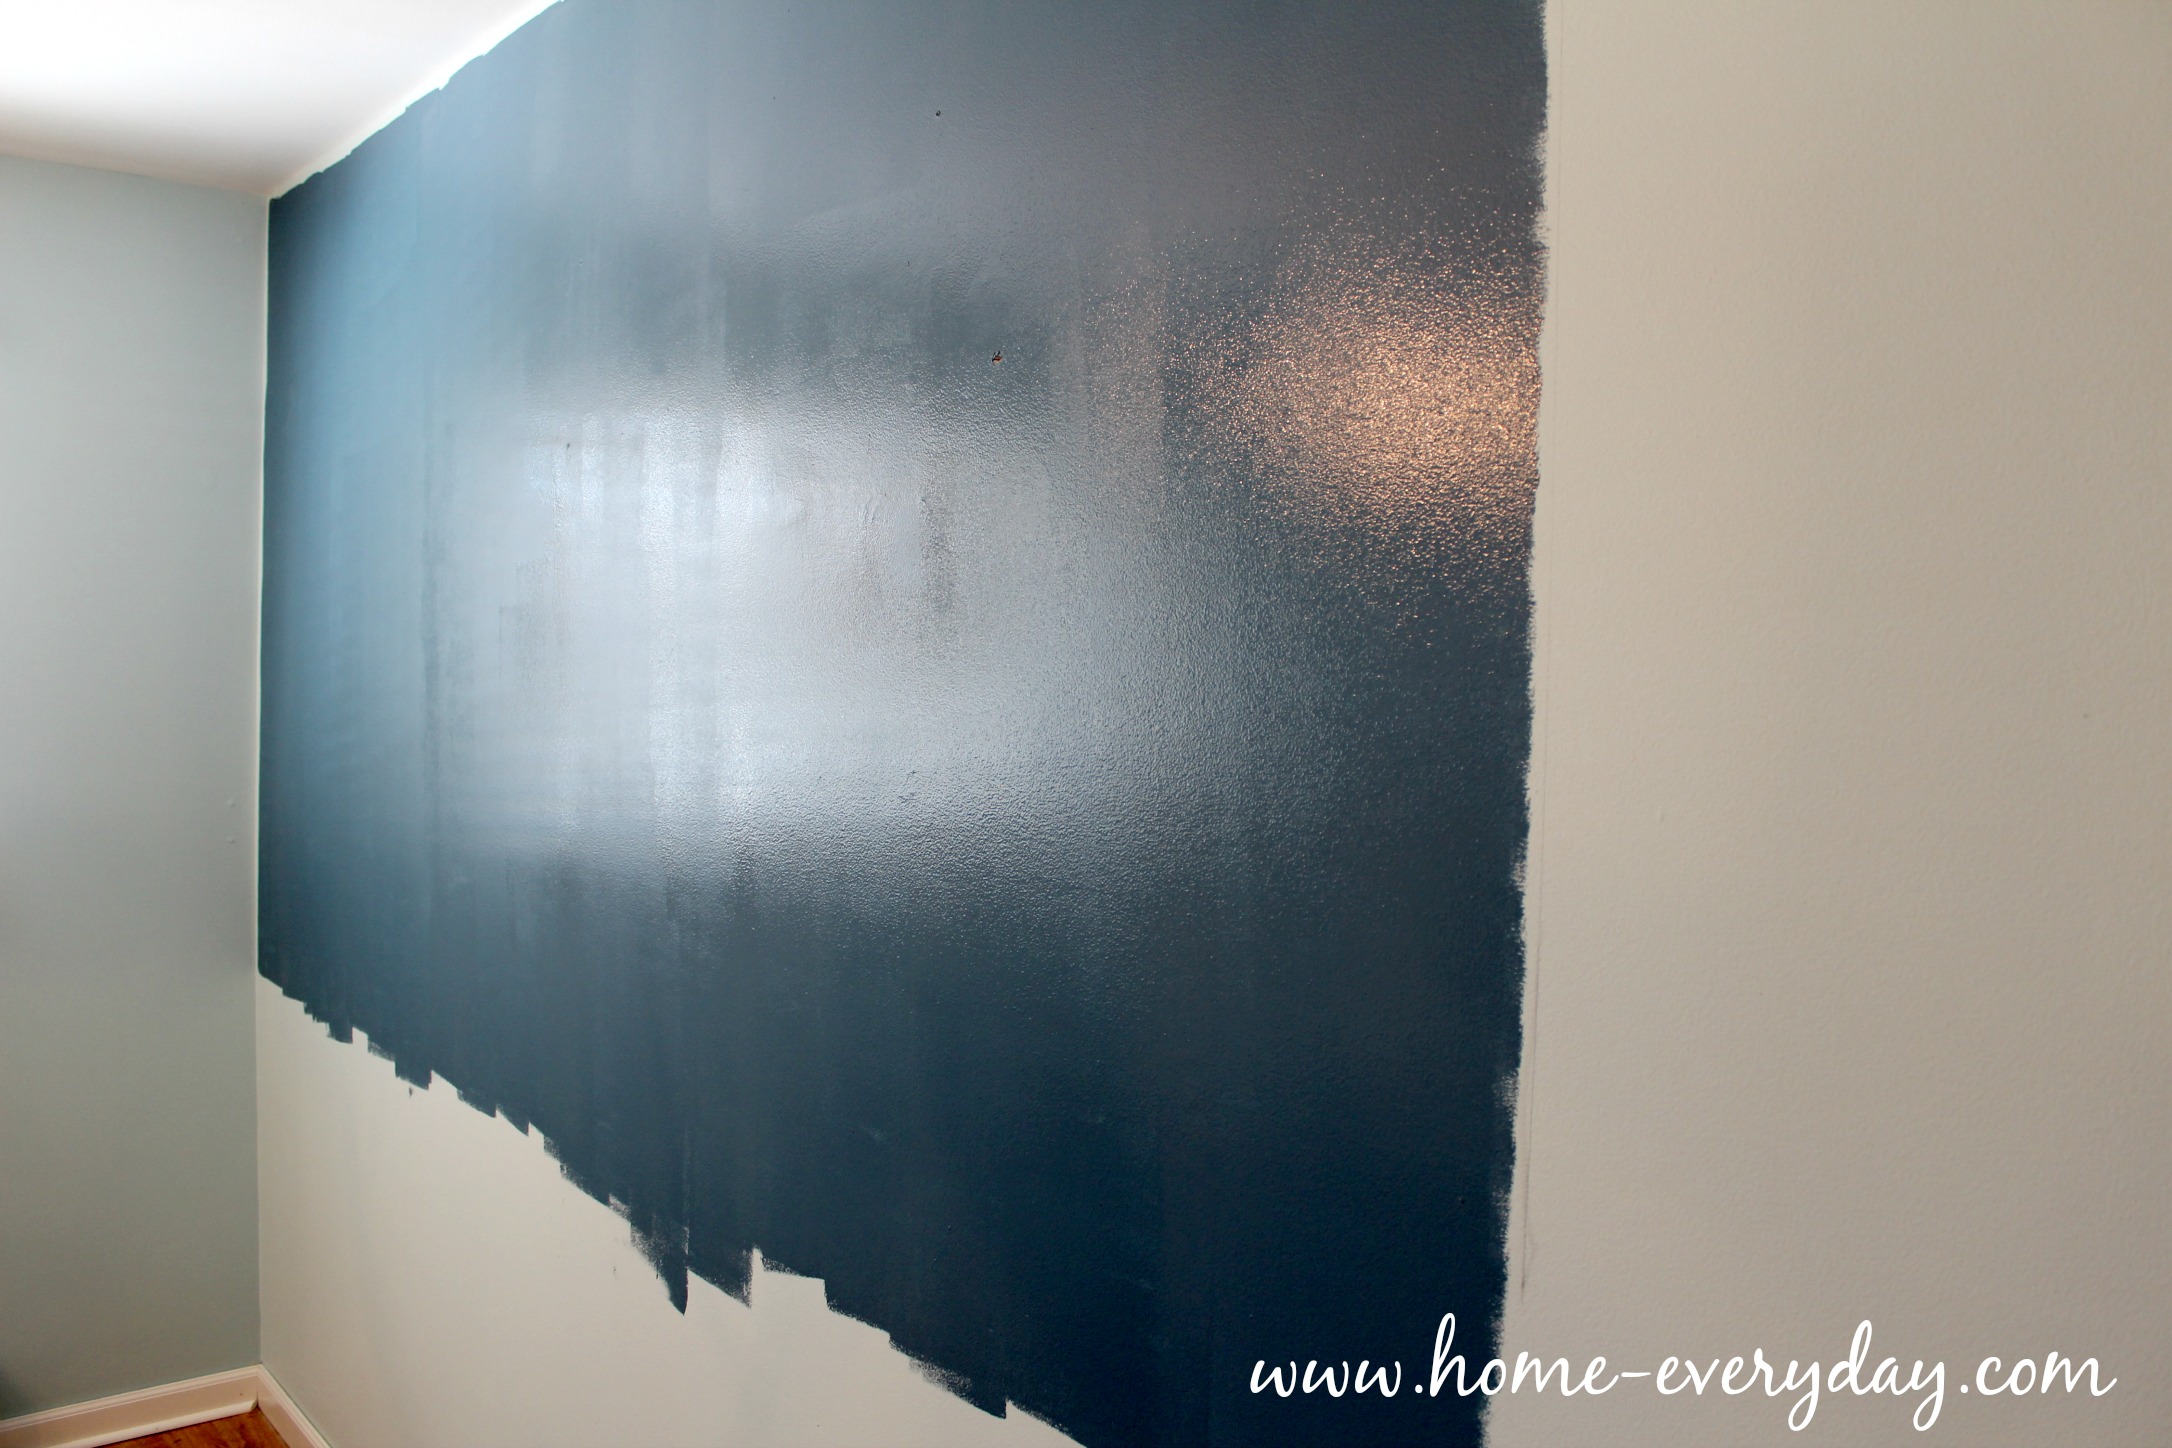
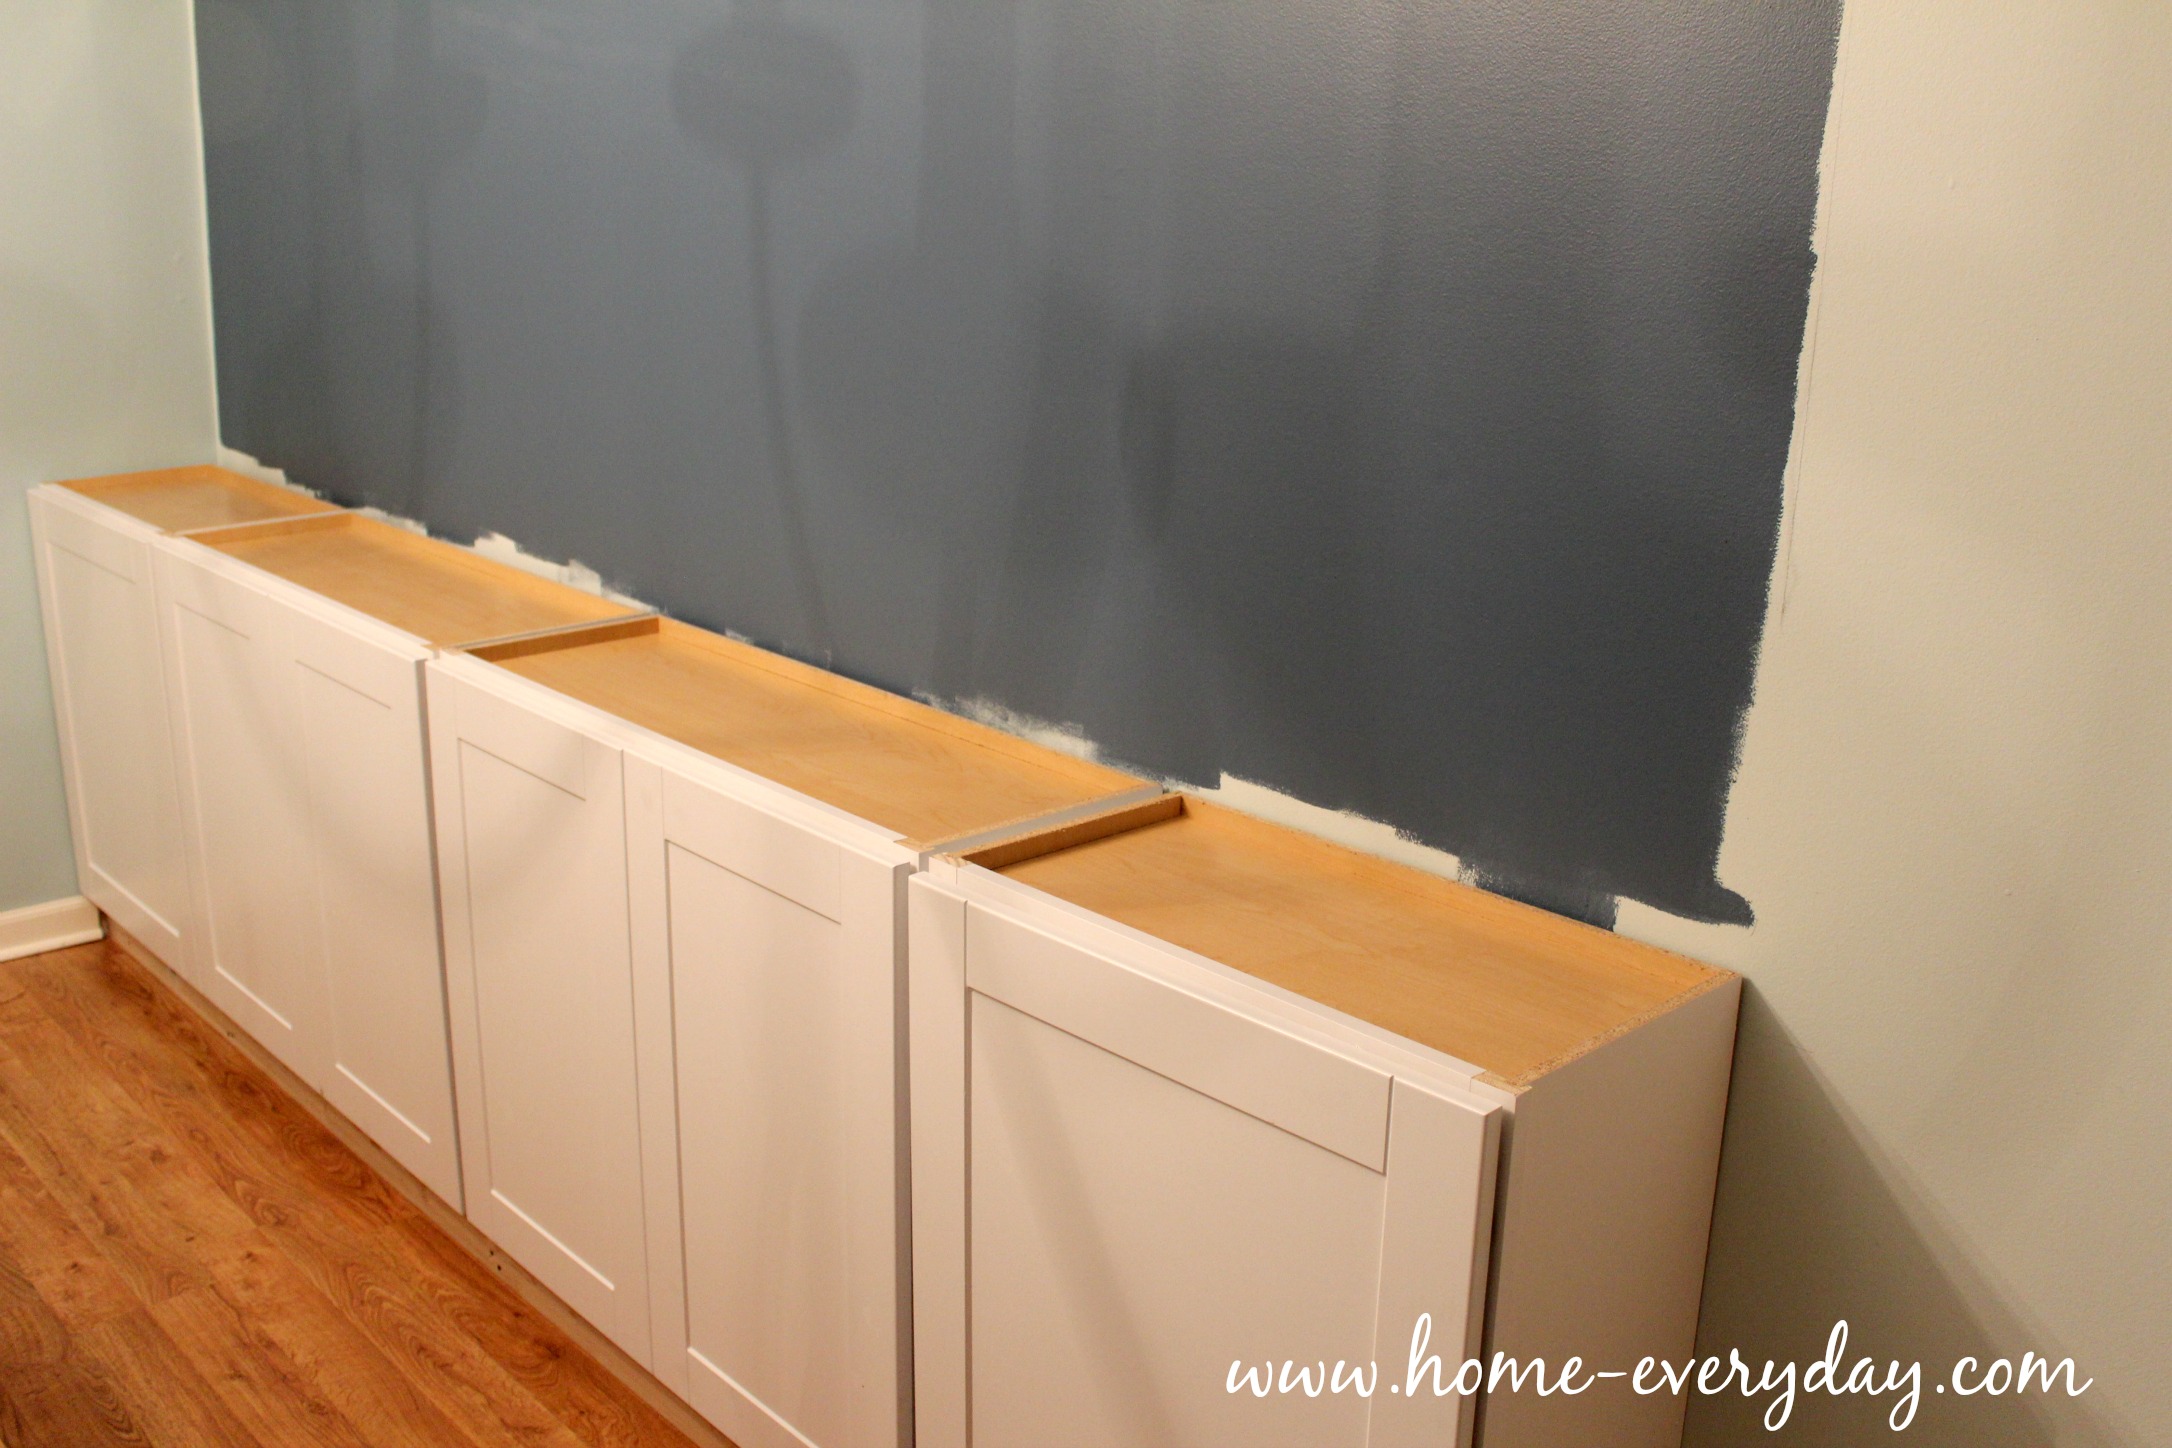
Next, I painted. This step is not necessary, but if you want to make your life a little easier and you also want to have a pop of color behind your built ins this is the time to do it. I measured out where the bookshelves were going to be, and I rolled on a dark blue I already had on hand (and luckily compliments my existing scheme). My sister, Beth, had given me a whole gallon to me when she had it mixed up for her dining room and it didn’t work out. I tried a swatch and love it. It is Valspar’s Victory Blue.

Built In Cabinets Phase One 4

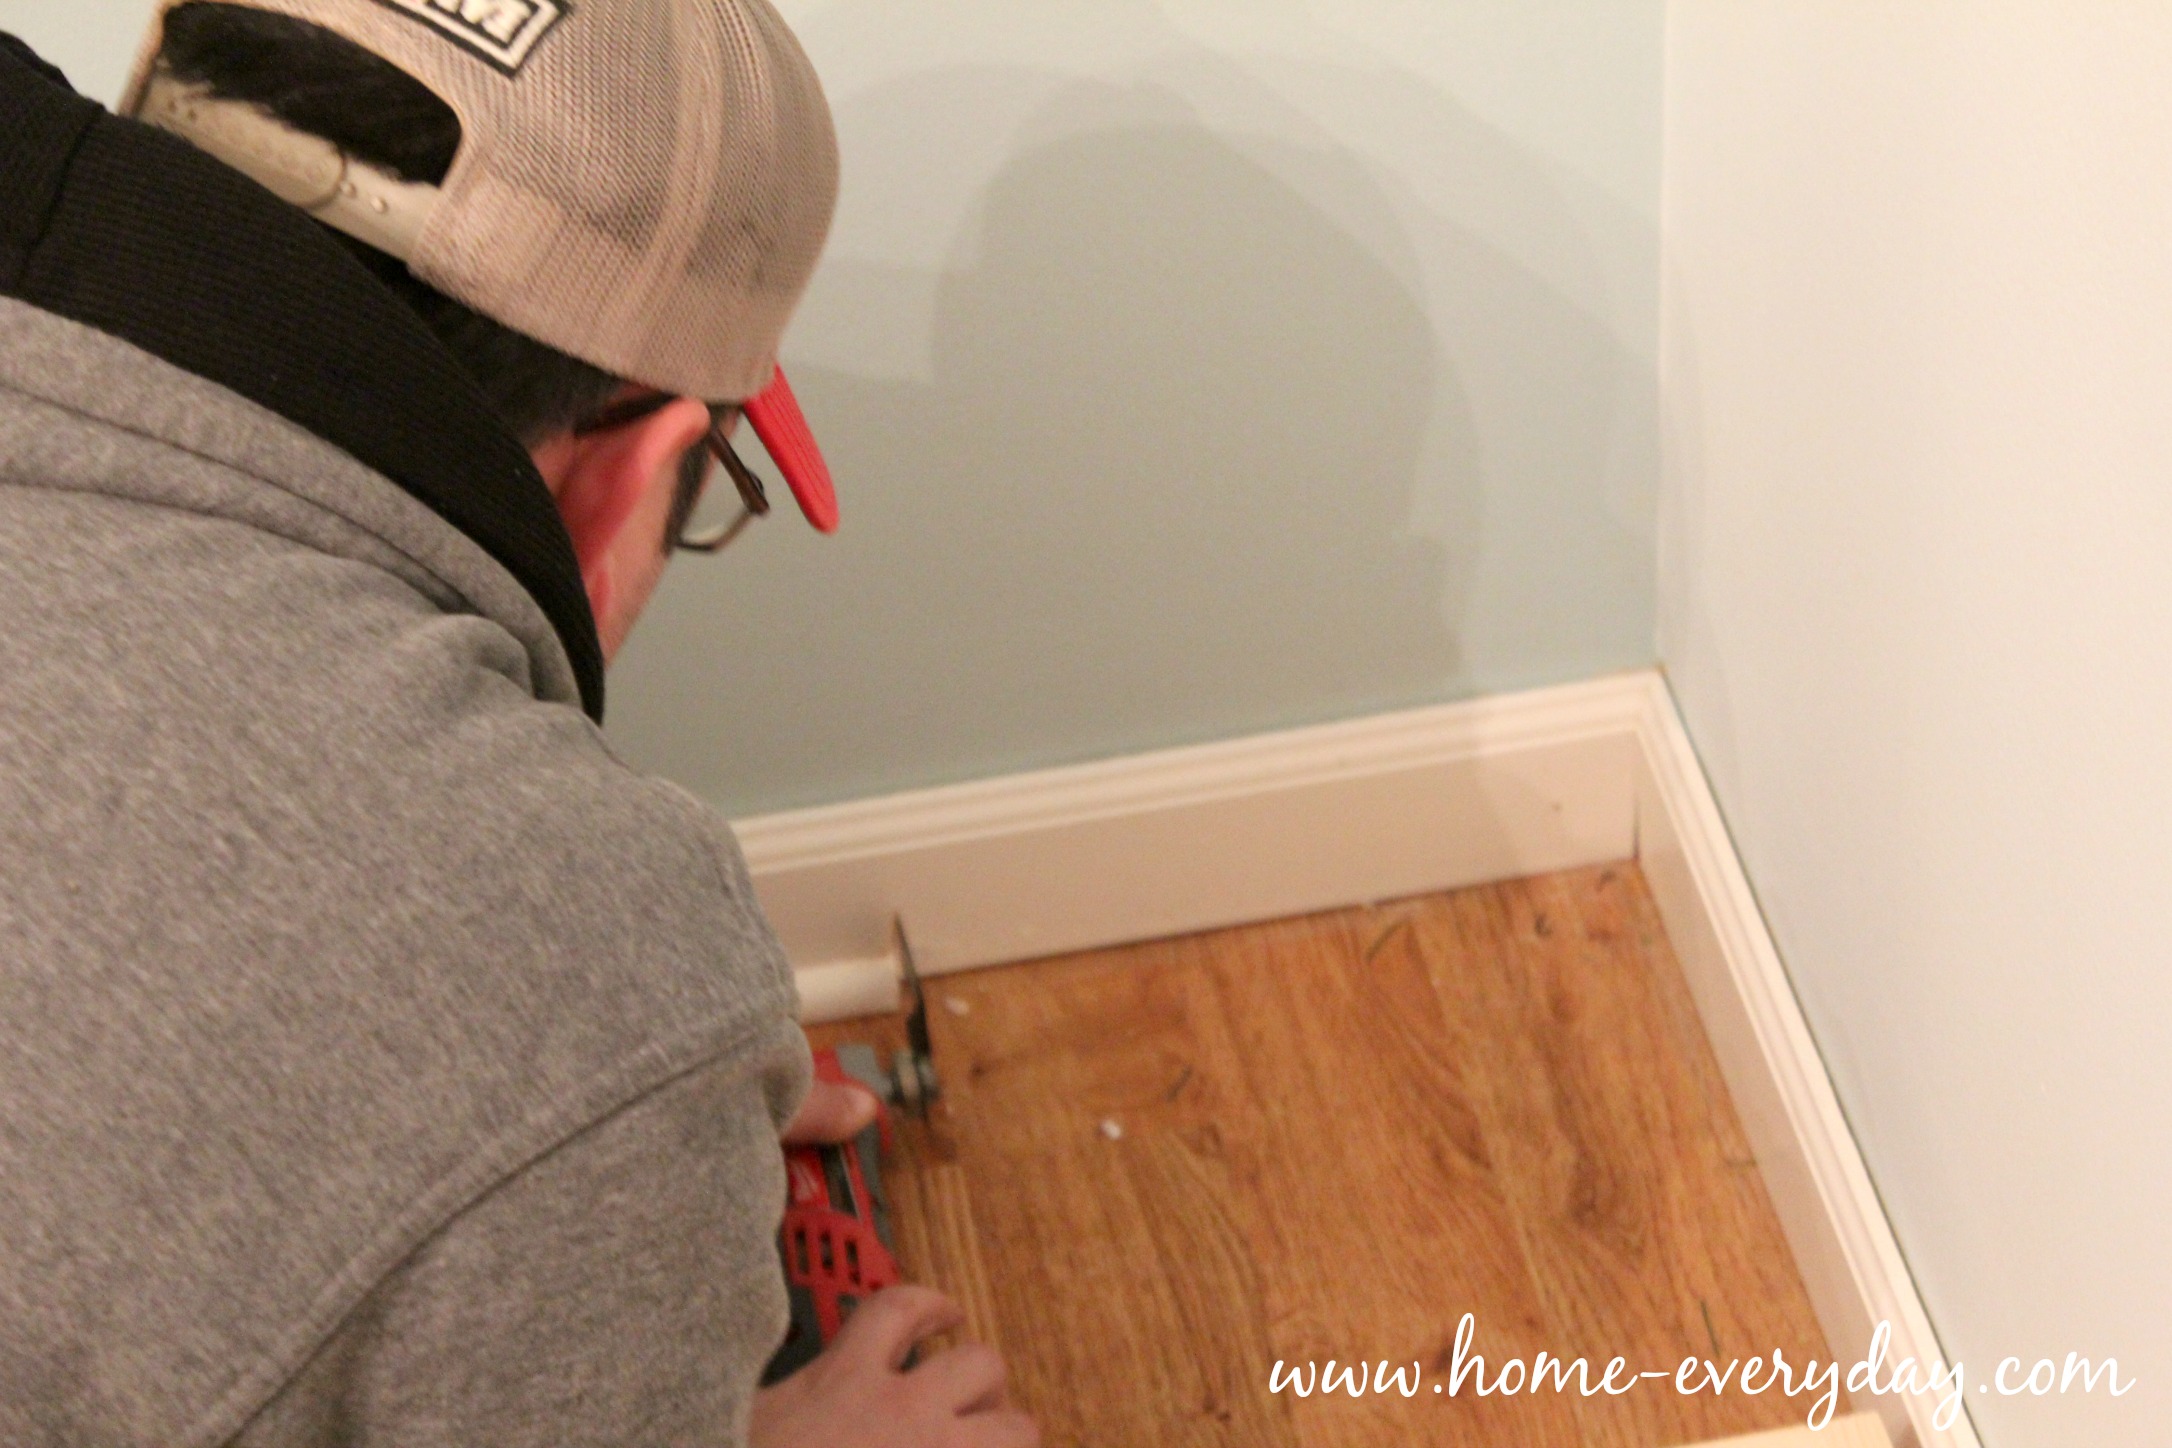
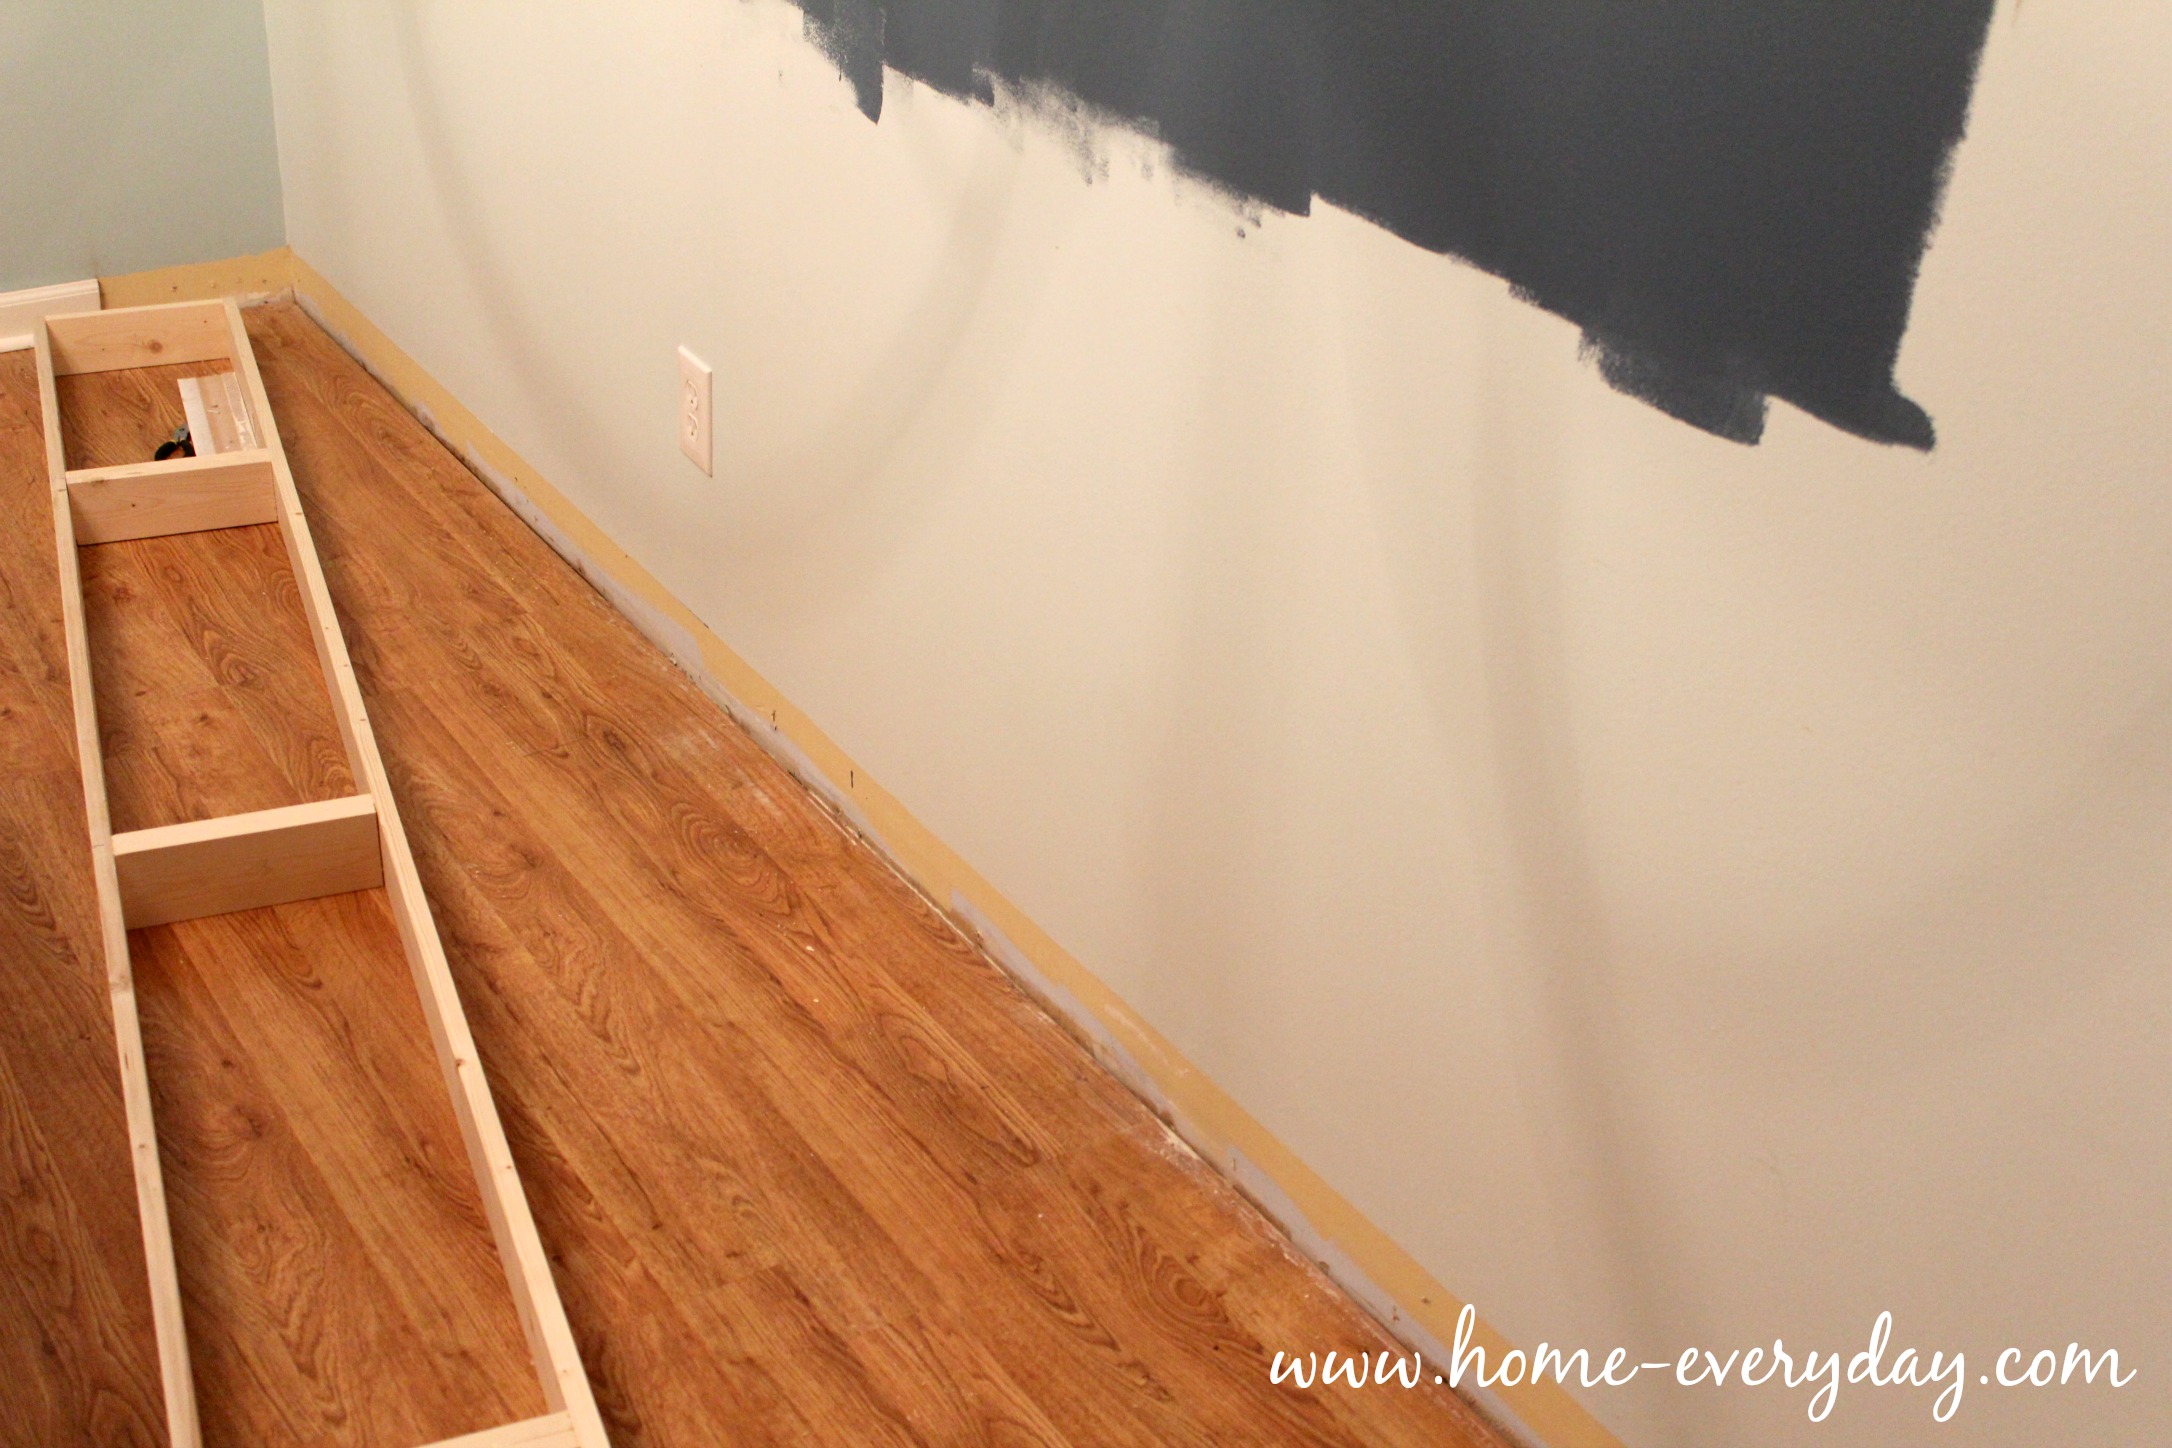
Then, Brian measured (you see a theme here, right?) the trim and shoe along the wall and marked where the new built ins would be, and cut that portion of the trim out. This way, the built in cabinets and shelves would be right next to the wall without any gaps, would be more easily affixed to the wall, and we wouldn’t have to cut into the cabinets.

Built In Cabinets Phase One 6


Built In Cabinets Phase One 7

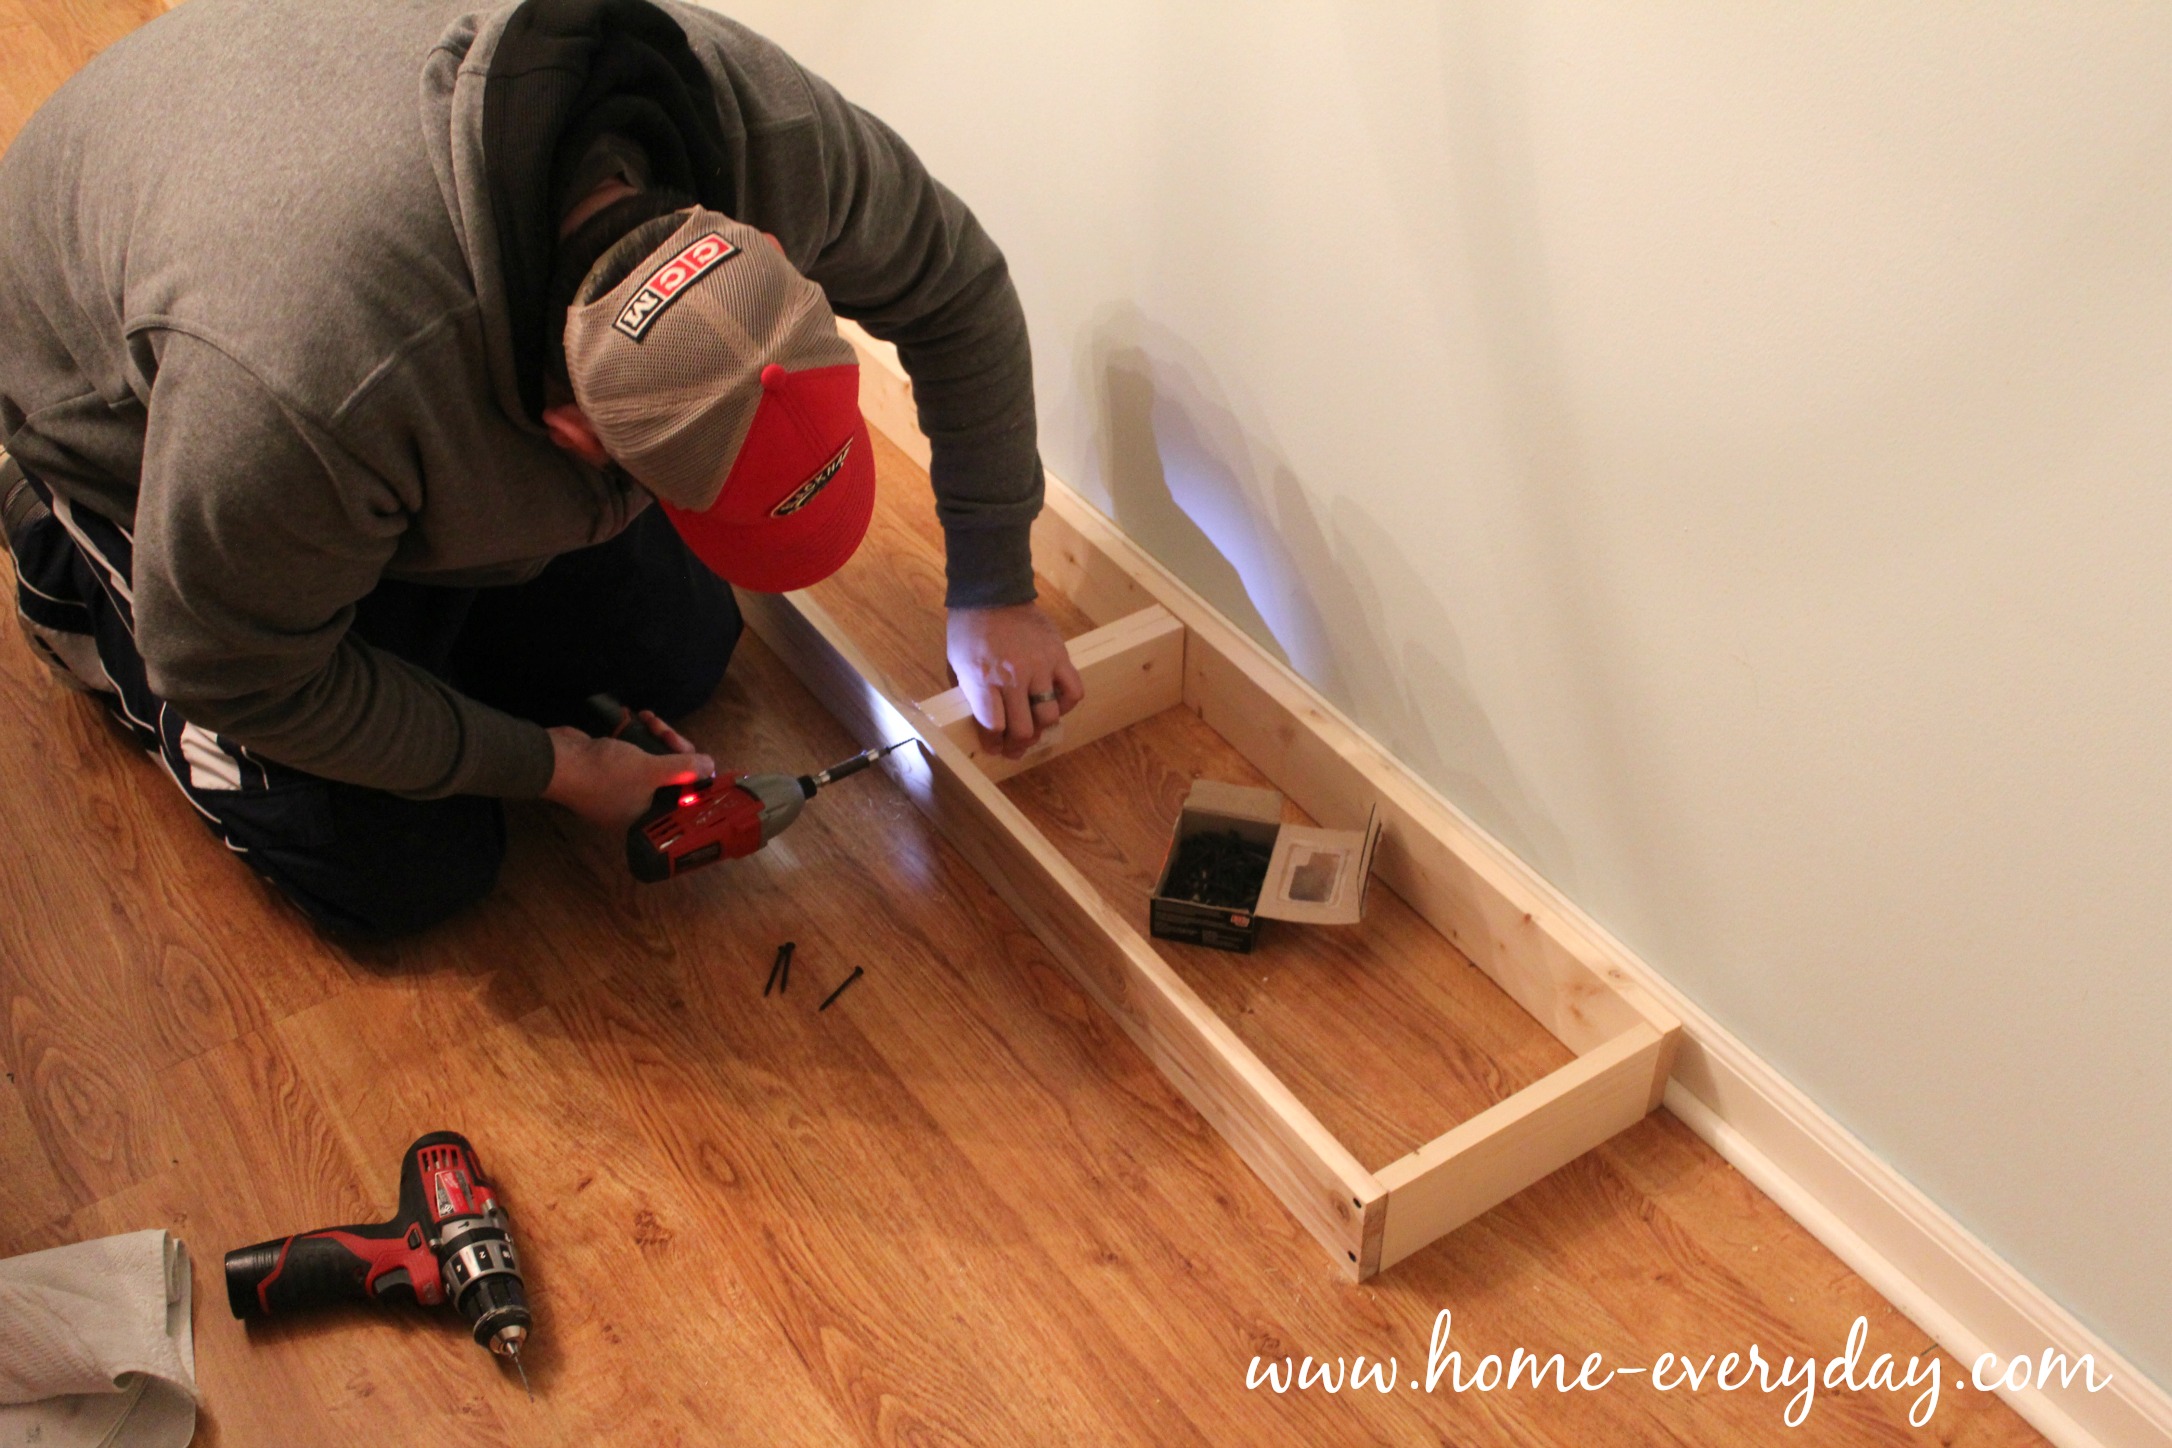
Next, Brian built a base for the cabinets to sit on. The reason for the base was that we used UPPER stock cabinets the closed bottom storage for our built ins. This was because, uppers are only 12 inches deep, and don’t have built in drawers. This way they would take up less space in our already narrow dining room. If we would have set the uppers right on the floor, the cabinet doors would have dragged right along the floor, and also they would have have been has sturdy. To create the base, Brian used 1″ x  4″ common board and created a 10′ x 1′ rectangle that fit perfectly along the wall into the gap created by the cut out trim. Then he reinforced the base by screwing in 1 foot boards to line up where edges of the cabinets would sit. Finally, we affixed the base to the wall.

Built In Cabinets Phase One 5

Then, made a teeny mistake. We have an outlet on the wall that we don’t entirely want to cover up because we I think it might be cute to have a lamp sit on the open shelves. So, Brian had to cut a hole in the back of one of the cabinets, in order to have access to the outlet. We messed up a little with our measurements, and ended up cutting a much bigger hole than necessary. Hey, at least we knew to keep access to the outlet.

Next, we set the cabinets on the base. Starting with the outside edge (not against the corner wall because it is not plum or level in our 1975 settled house) we set each cabinet in place.

Built In Cabinets Phase One 9

Then, we clamped the cabinets together. and predrilled holes in the base of the cabinets and screwed the cabinets together.

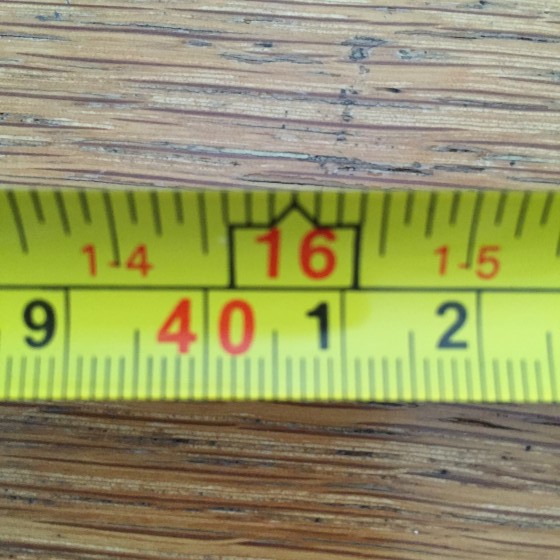
Then, using a level, and many many shims. We made sure all the cabinets were perfectly level. We screwed the cabinets to the wall using shims for support, and making sure that we were screwing the cabinets into studs. Pro Tip: If you are unsure where studs are, you can use a stud finder. To double check, using a measuring tape and a pencil, from the corner of a room or an outlet (outlets and switches are often affixed to studs) and measure every 16 inches (or the red numbers in house on your tape measure) and mark the wall with a pencil. When you drill and the screw pulls tight and doesn’t keep spinning you have hit a stud. 

IMG_3725


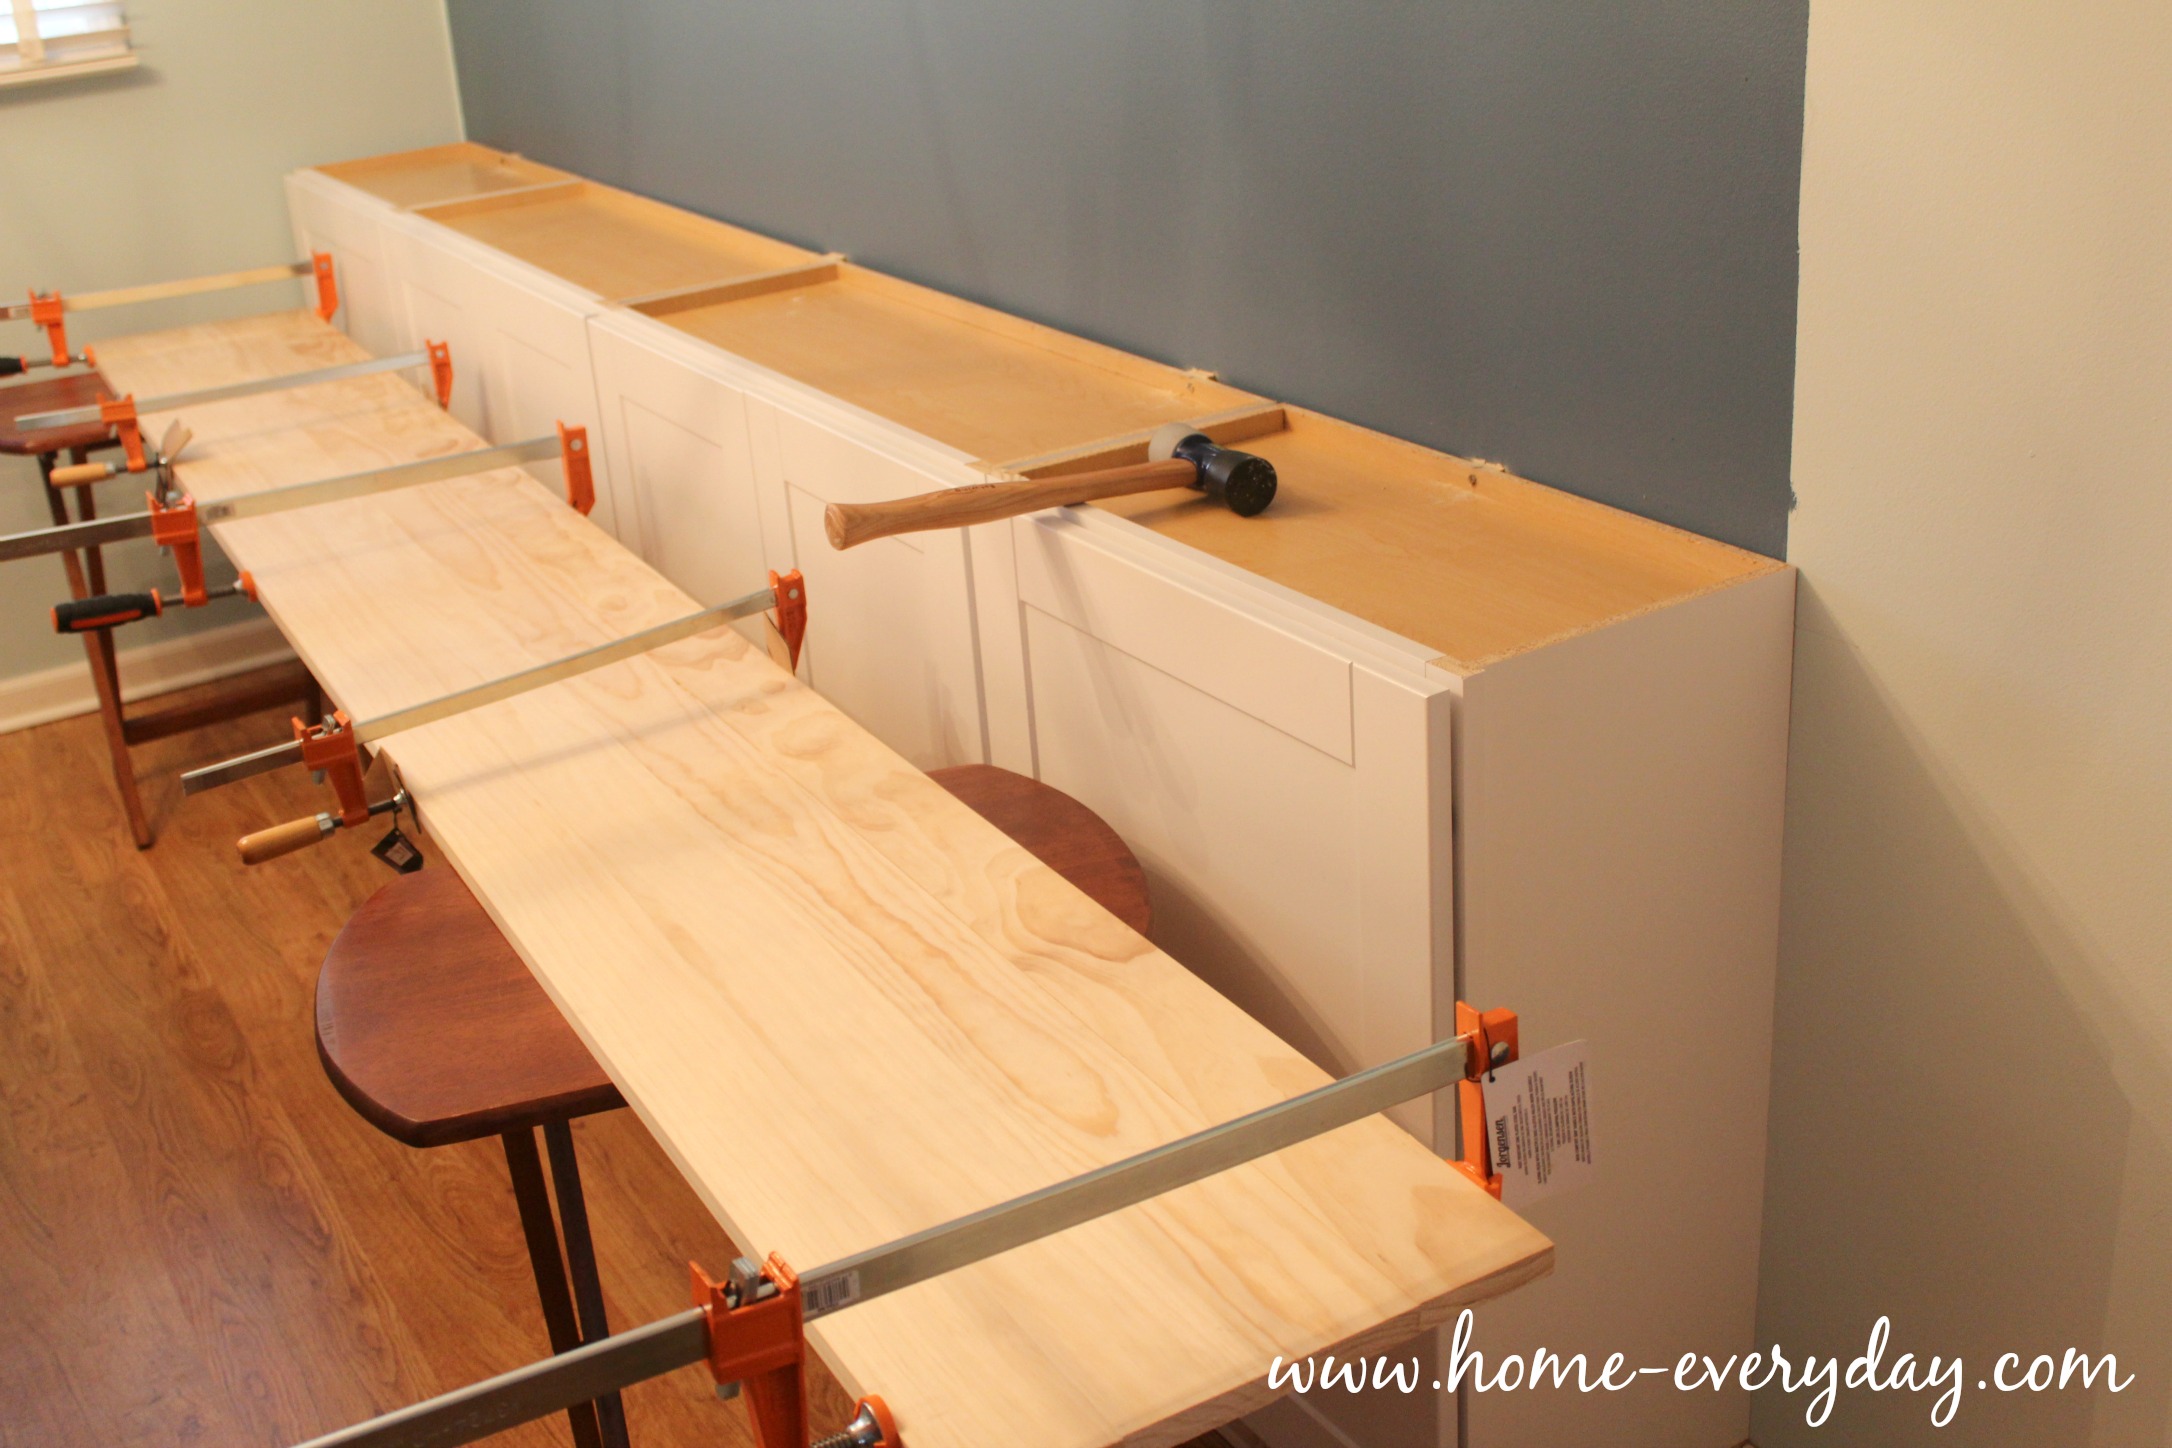
After the cabinets were in securely in the wall, it was time to put together the “counter”.  Rather than buy a piece of butcher block, we wanted the counter to mimic the dining table Brian had built a few year ago, but on a smaller scale. Using four 1″ x 3 1/2″ pieces of pine, we created a similar look. Since, we could only buy these boards in 12′ pieces, we ended up cutting them to the length we needed, and made a countertop for the top of the cabinets.

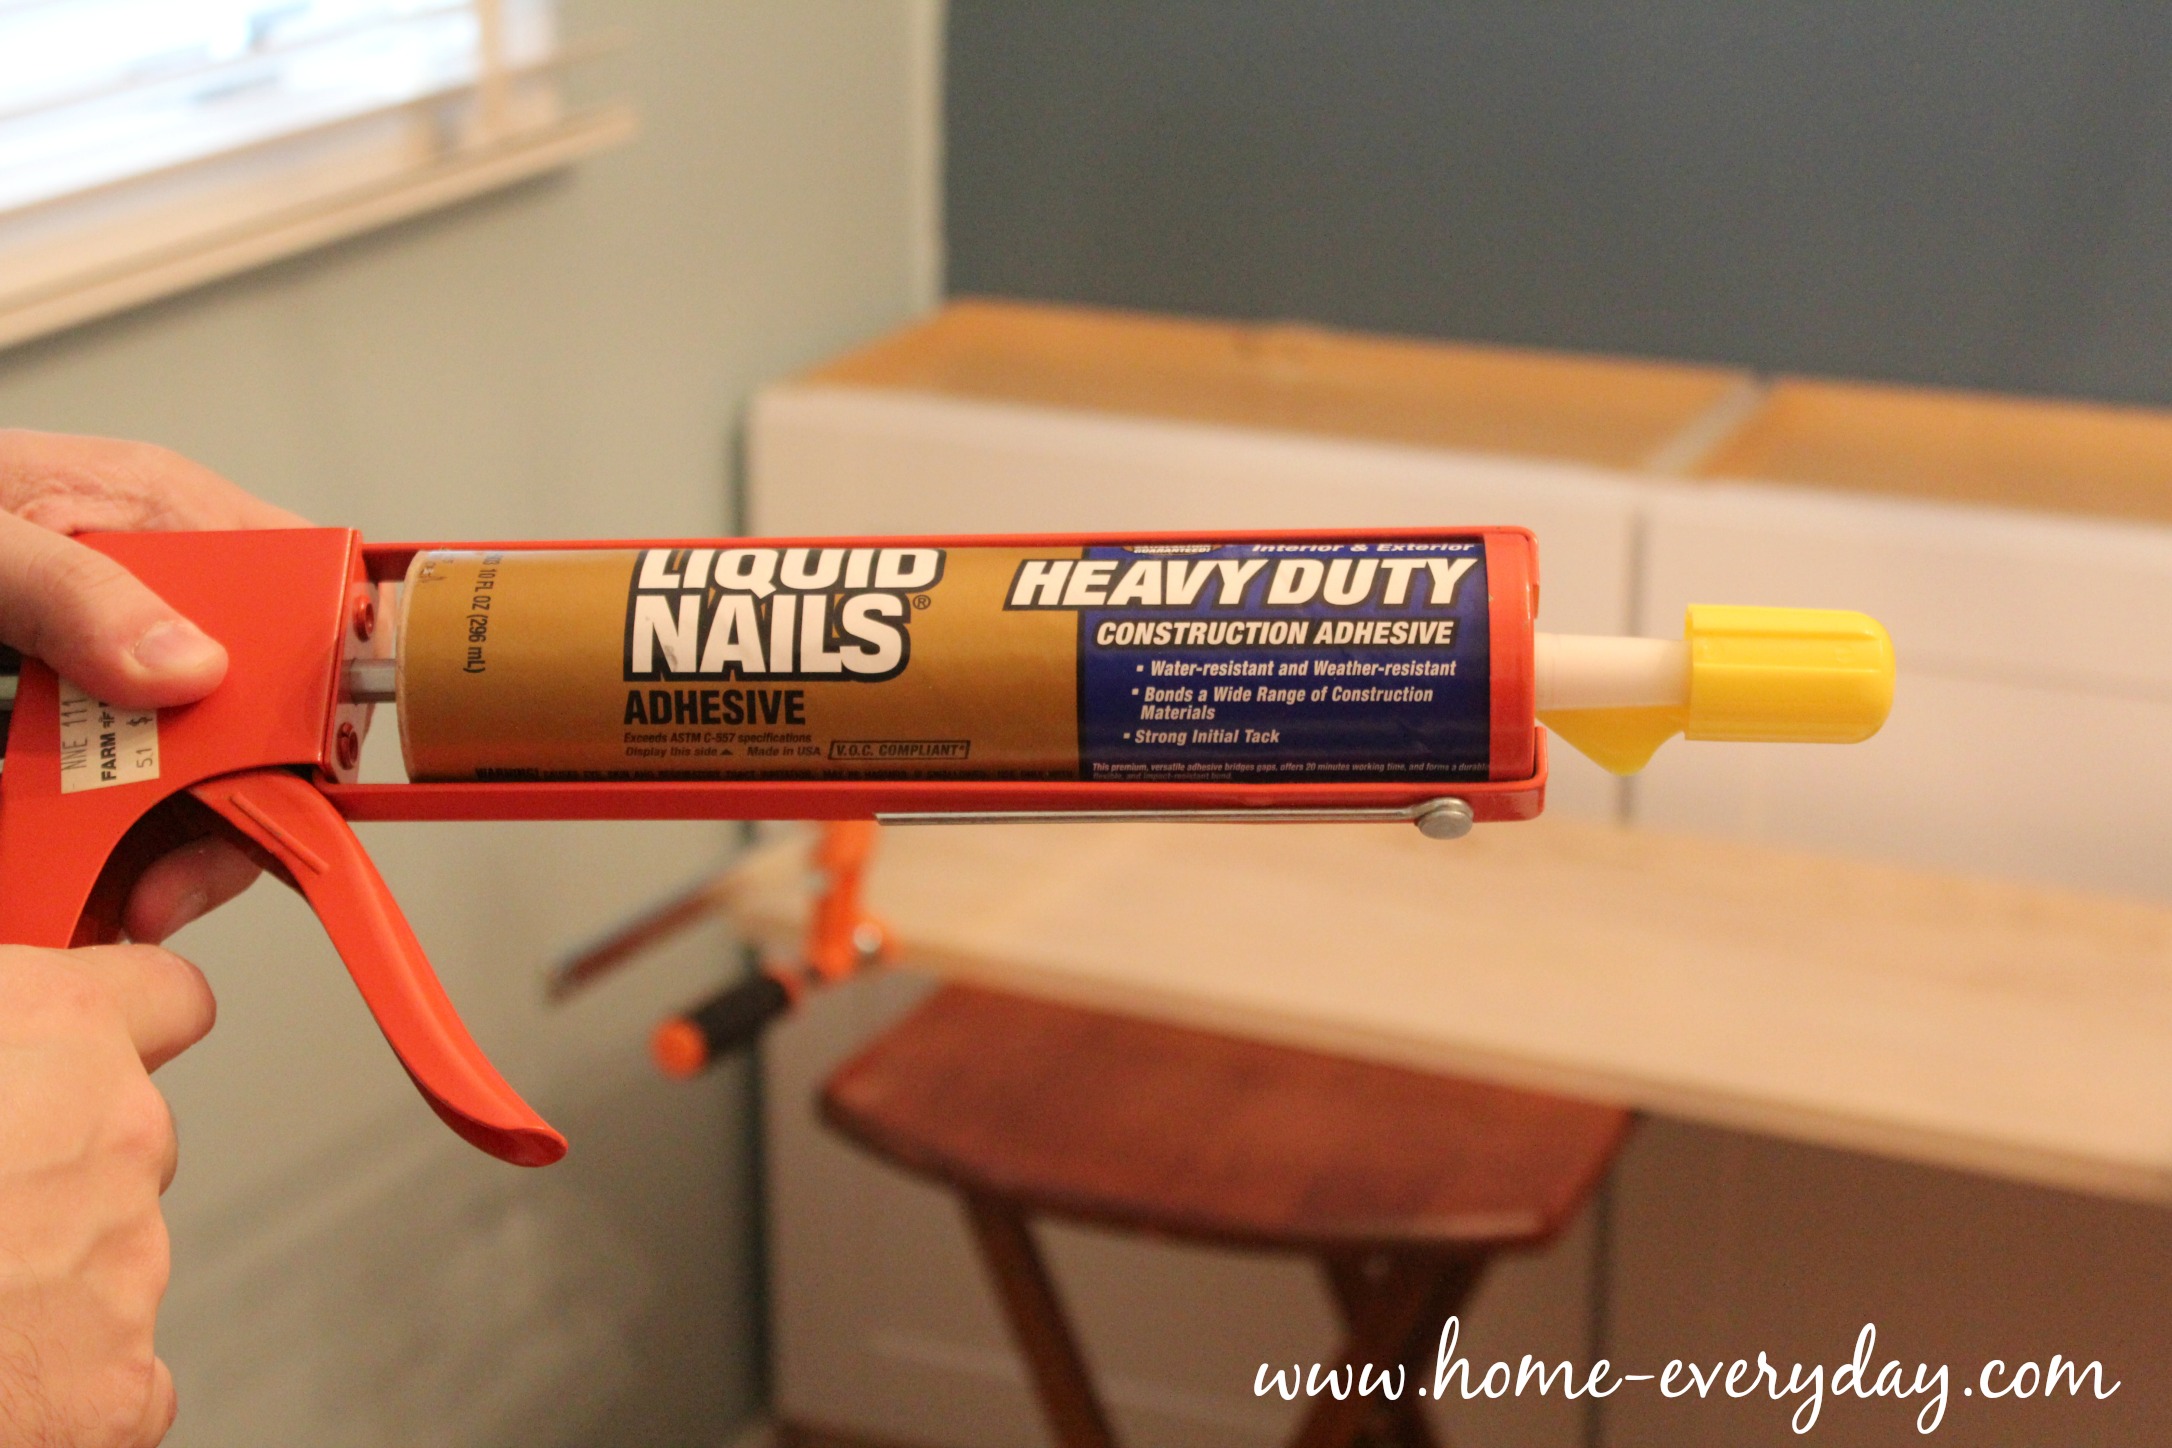
Next, as a recommendation from the handy helpers at Home Depot, using Liquid Nails and clamps.  Pro Tip: It never hurts to tell the people at Home Depot or your hardware store what you’re up to. Often times, they have lots of tips and tricks to help you with your project and are willing to help.

Built In Cabinets Phase One 10

We glued the boards together lengthwise, and used clamps to hold them together. We let the boards dry longer than the recommended time. Pro Tip: Make sure to wipe any excess Liquid Nails that oozes out between seams with a wet cloth right away. It is easier to remove when wet than dry, and will help with a smooth finish.

Built In Cabinets Phase One 12

After it dried, we removed the clamps. Then, I sanded, stained (three coats just like the table), and poly-ed it.

Built In Cabinets Phase One 13

Which brings us to today. 

Exhausted, and looking forward to/prepping for Phase 2, the upper open shelves. 

Built In Cabinets Phase One 14

Did you ever have a project that got out of hand quickly? Share in the comments.


A Cozy Little Hideaway: A Master Bedroom Refresh

I have been blogging for a few years now, and there are some things that I have noticed. One of them is, you don’t need to see me hang every picture in my home. So, for those moments when I do a little tweak here, a nip there, a picture hung on a wall, I don’t write about it. However, a bunch of nips and tucks, and pictures hung can completely transform a room.

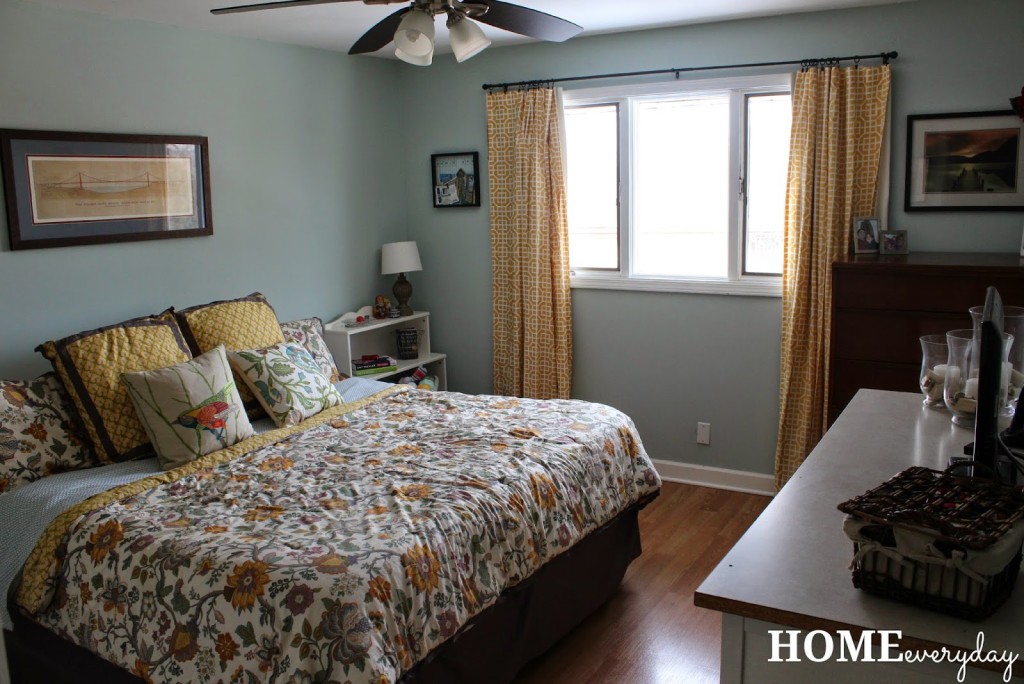
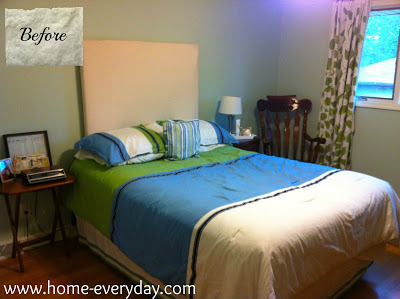
I was looking through the home tour page of this here blog, and I noticed that my Master Bedroom went from this:


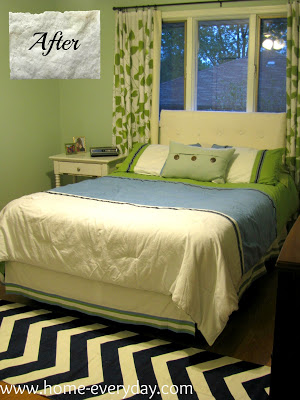
To this:


And none of you knew anything about it. I was feeling terrible that I hadn’t updated any of you on the inner workings or smaller updates  as they were happening after I saw how different everything looked!

Over the course of a year, I have made so many nips and tucks I thought I should share, because apparently NOW there is a WOW factor.

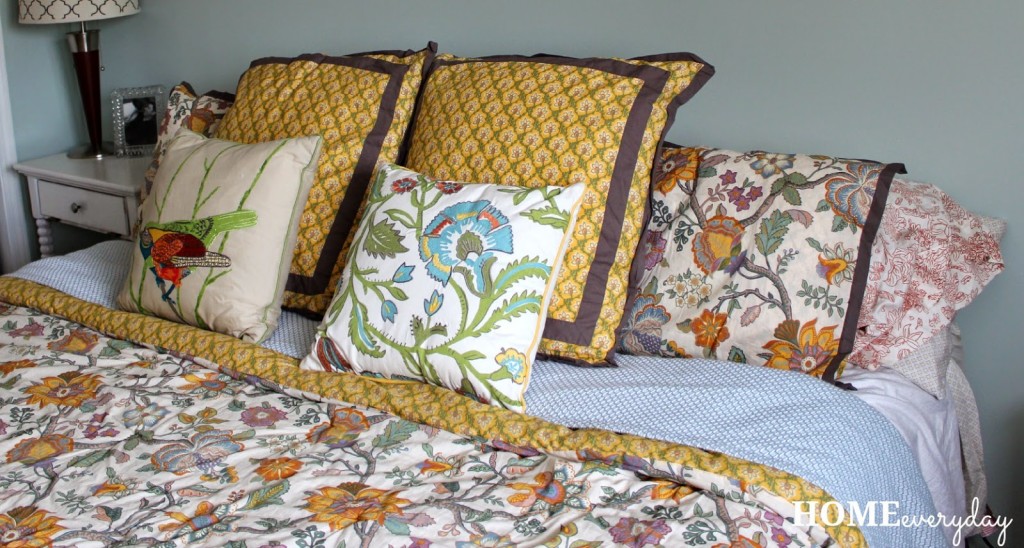
Last Christmas, Brian and I decided it was time to upgrade from a Queen to a King Sized bed. With that came new sheets and bedding and some toss pillows.


Then, because I couldn’t handle the curtains not going anymore, I found some cute ones on way way clearance at Target.


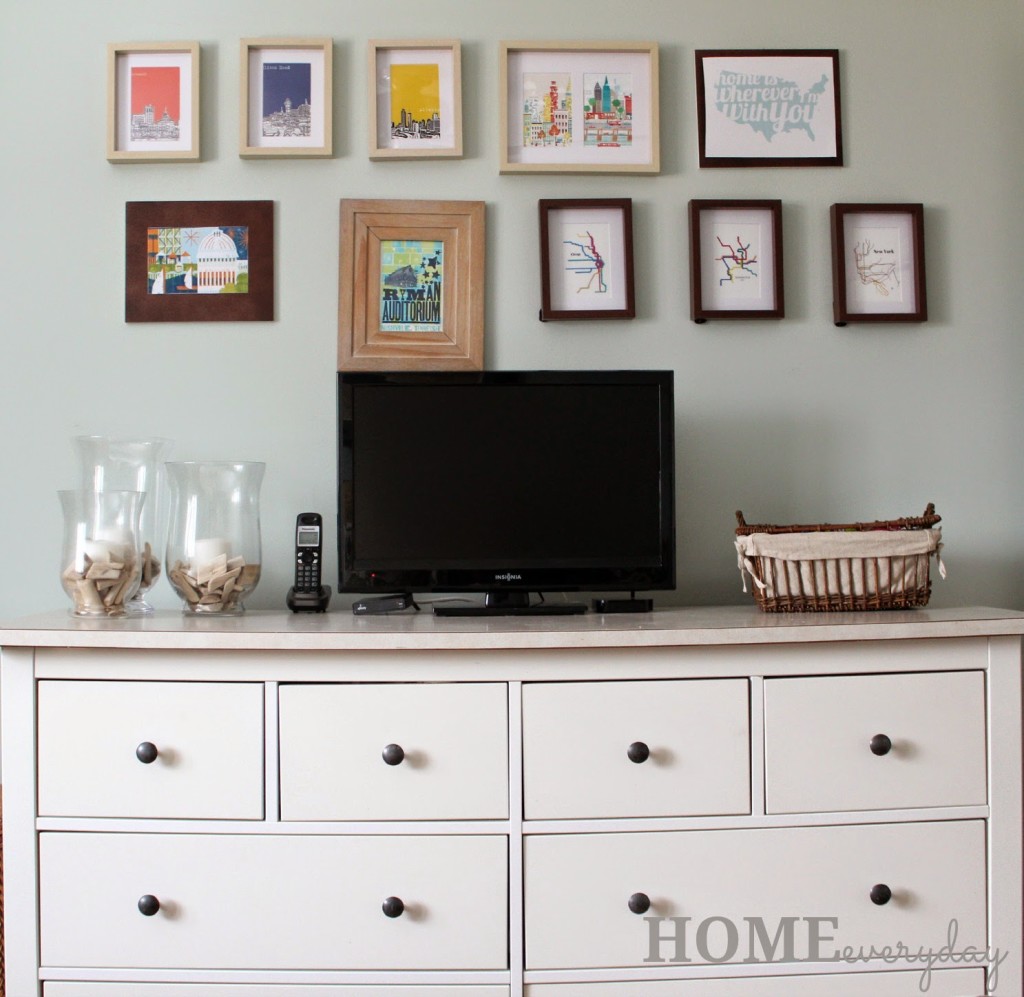
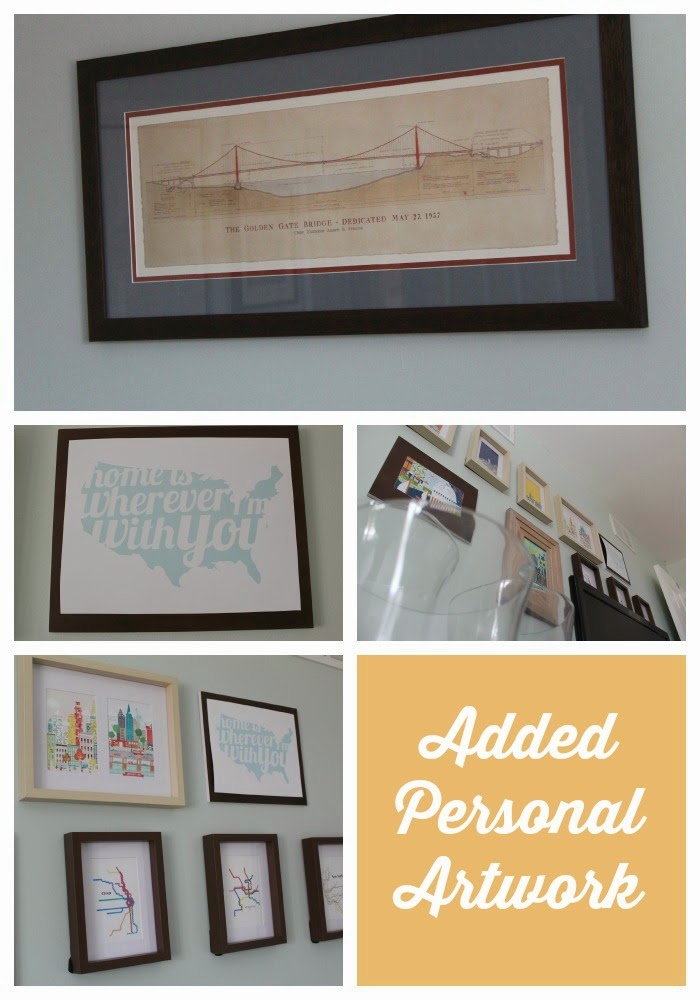
Brian when on a business trip to San Francisco he bought a gorgeous print of the Golden Gate Bridge. So, for our anniversary I had it framed, and then had a few other things printed and framed from all of the places we’ve been together to switch up the artwork in our room and give a little more color to our room.


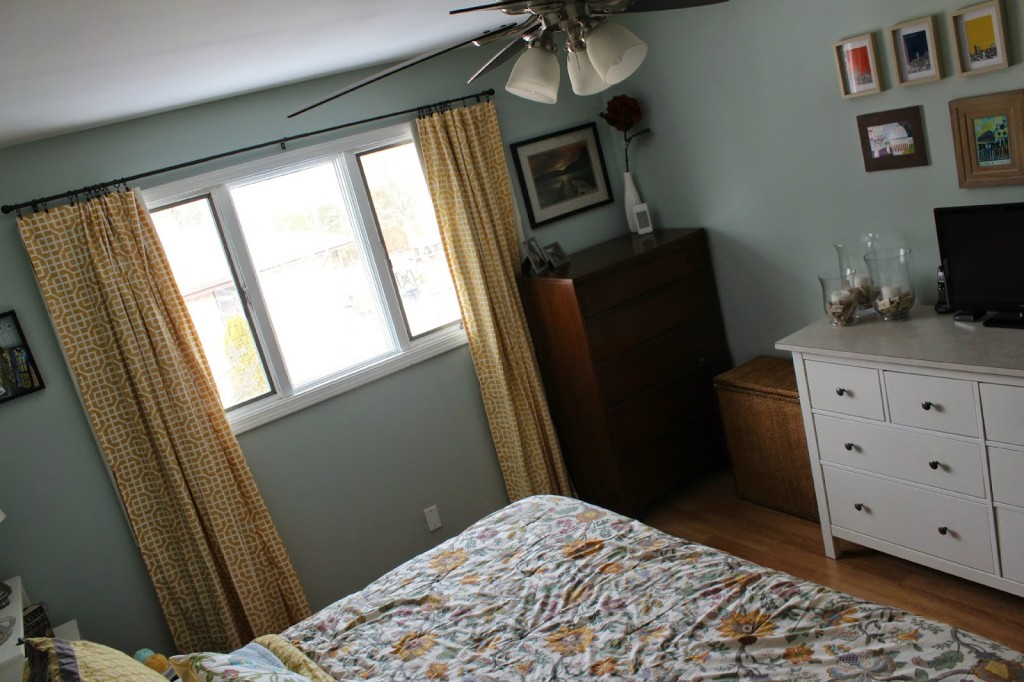
We are currently in the process of playing musical furniture in the house. The boys needed some more clothing storage so we gave one of our dressers, we took the white one from the living room after I was able to get a writing desk and some new bookshelves in there (reveals to come).


I also added Caroline’s bookshelf to serve as my night stand because she now had more storage in her room with one of the boys’ dressers (and round and round we go).


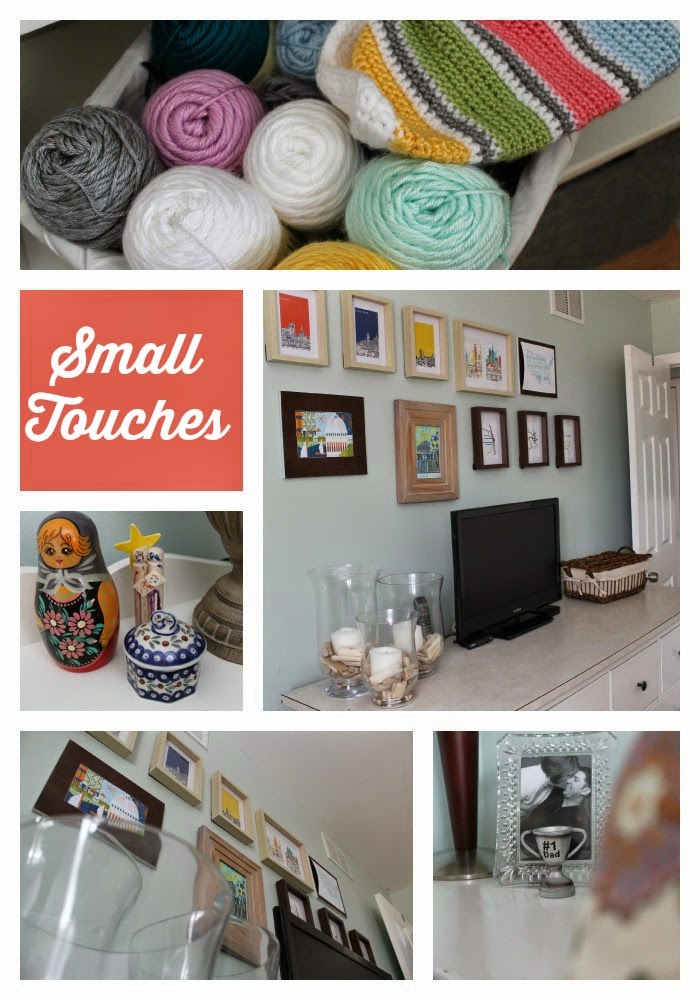
Brian’s night stand stayed the same… well except for one little addition from his adoring fans.


Finally, I added some other small touches to make it seem relaxing in there like some candles, the books I’m currently reading, and my crochet basket to work on my blanket while I watch TV during naptime (yes, I’m working on a blanket).


So, I’ve learned my lesson. I will not show every picture I hang, but I will try to perhaps show more stages of the process of changes that happen around here.


Now, to take a snooze in my cozy little hideaway.

If you like this post and would like to read more about all things domestic with a touch of humor, become a Home Everyday follower! For blog updates or to see other places I write such as ChicagoNow or Chicago Parent follow Home Everyday on FacebookTwitter, and Pinterest.


ChicagonistaLIVE and Floor & Decor: Great Design and Conversation

I have been compensated for this post, but the thoughts and opinions are my own.

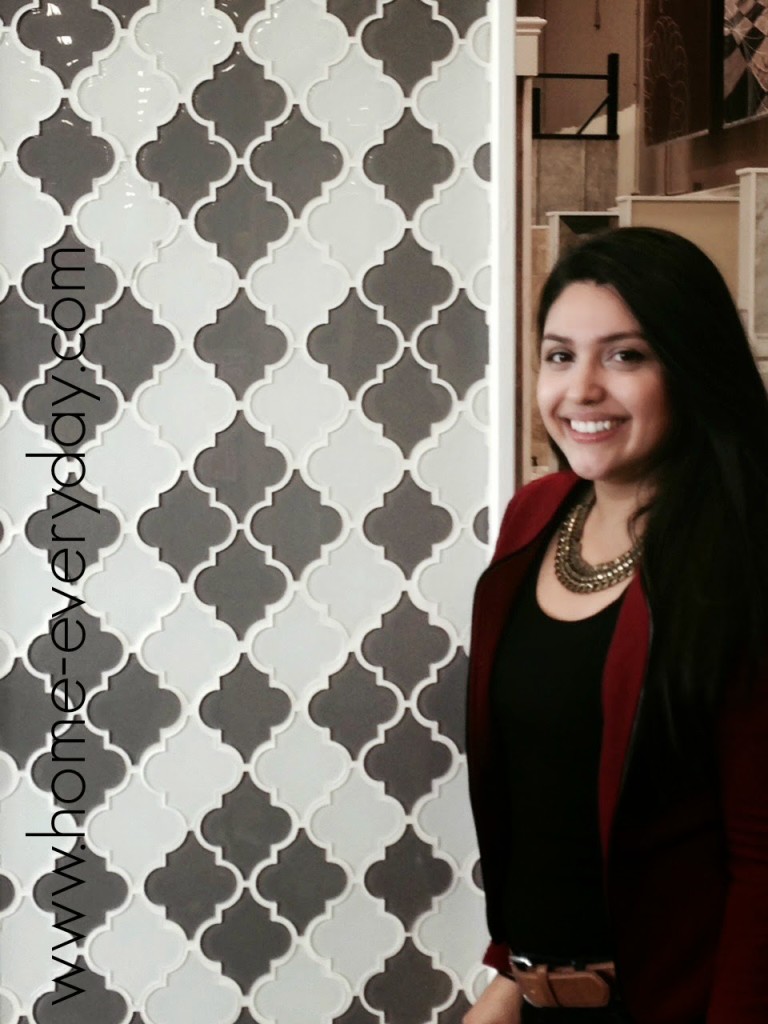
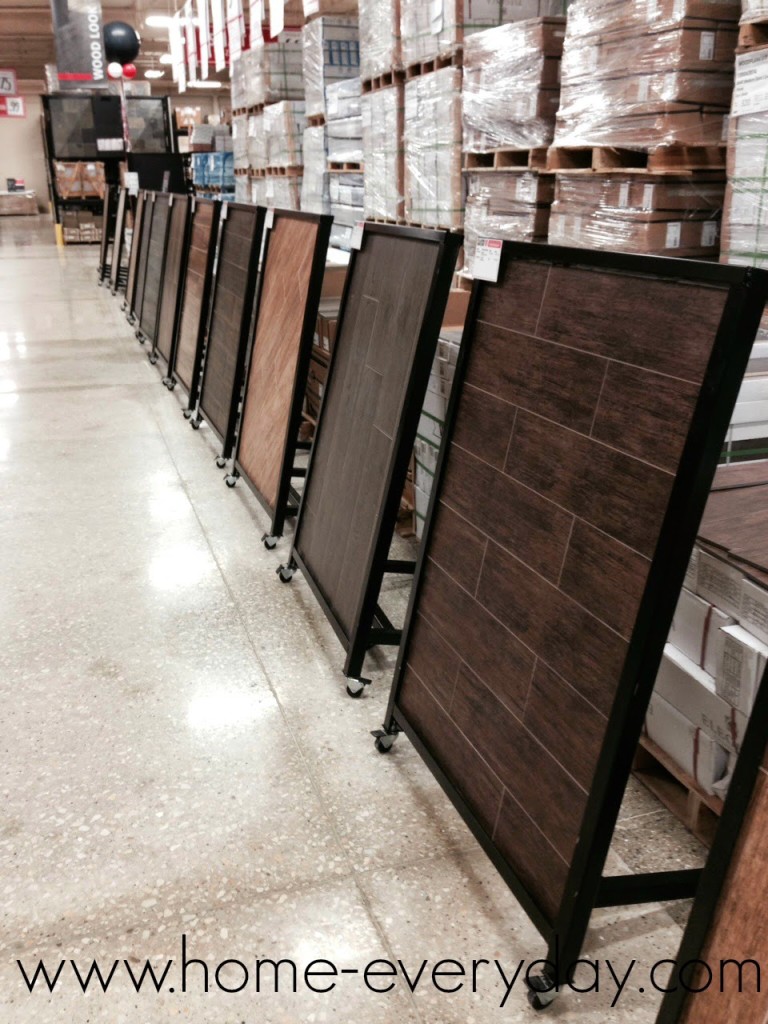
Last week, I had the pleasure of joining the women of ChicagonistaLIVE as they broadcasted live from Floor and Decor in Skokie. There is nothing more wonderful for me than when you combine home decor and good conversation so I was thrilled to be a part of this experience.

Floor and Decor was not only filled with every kind of flooring option possible, but also has everything you need for tiling your bathroom, shower, kitchen backsplashes, mudrooms, stones for outdoor spaces and fireplaces, laminate, and hardwood, but also Floor and Decor also has everything you would need to install it. From the saws to thinset, backer board to waterproofing materials, Floor and Decor has everything. Well, almost everything. For running water, I’d have to head back home.


Thanks to Maria Ramos of A Savings Wow for taking this photo.

Everything that Floor and Decor has can be overwhelming, but that is why there are designers on staff to help you with every decision that needs to be made as well as help you find the materials that will fit your lifestyle and budget. We were able to take a tour of the the store with the designer, who taught us a great deal about design and installation, and perhaps gave me a little confidence to try a backsplash on my own (don’t worry Brian, I won’t do it just yet).


Also, my favorite part of the day was when the wonderful women of ChicagonistaLive allowed me to be a guest on their show and ask for some advice. I was looking for a way to incorporate marble tile into a kitchen or bath without breaking the bank, and Floor and Decor had just the right solution. Long story short: less is more.


I was so excited to be a part of this experience, and hoping that I will be able to do it again in the near future! For more information about ChicagonistaLIVE LIKE them on Facebook or follow them on Twitter. To learn more about Floor and Decor LIKE them on Facebook or follow them Twitter.


If you like this post and would like to read more about all things domestic with a touch of humor, become a Home Everyday follower! For blog updates or to see other places I write such as ChicagoNow or Chicago Parent follow Home Everyday on FacebookTwitter, and Pinterest.

Follow on Bloglovin


Short but Sweet: Master Bedroom Updates

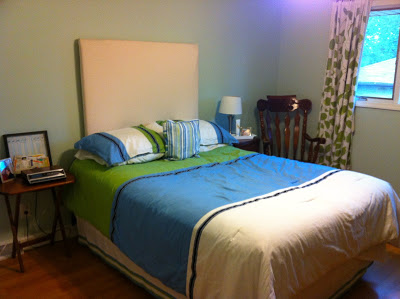
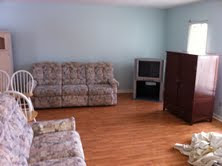
Last week, as a part of Flashback Friday, I showed off the bedrooms. I realized that I had made a few updates to the Master Bedroom a few days before those pictures were taken. A few weeks ago our bedroom looked like this.


Not horrible, but could be better. I rearranged some furniture and did a couple projects that were on my to do list.

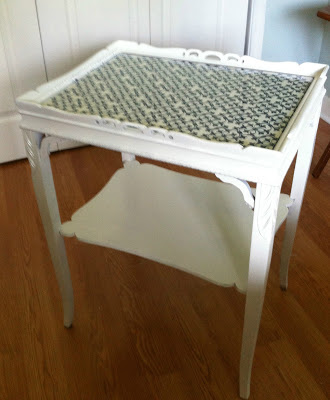
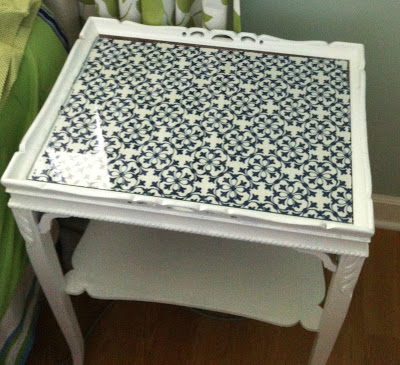
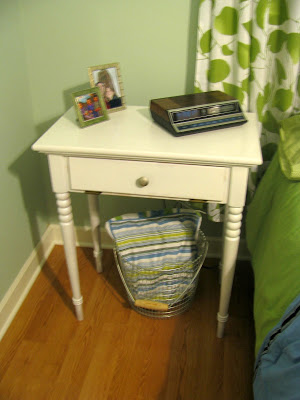
The first project was I FINALLY finished the bedside tables that I had spray painted awhile back. I just added some fabric that I had found at JoAnn Fabrics on clearance. I cut it to size and placed under glass on the top of one of the tables. Then for the other, I spray painted the hardware with a brushed nickel spray paint. Here are the finished products.


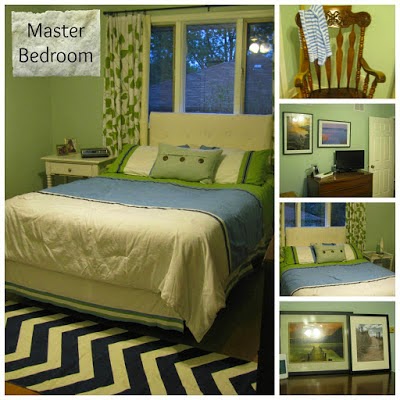
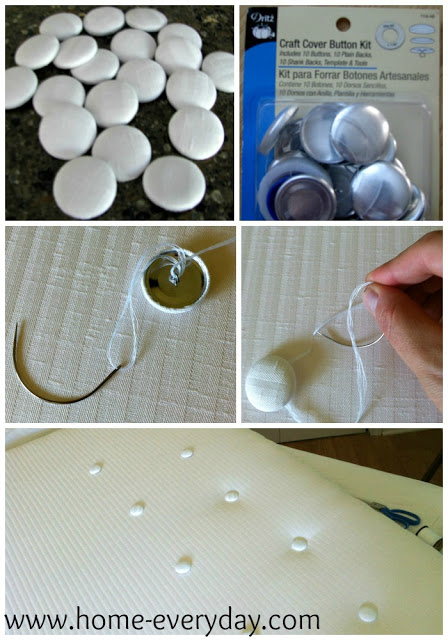
Then, a LONG time ago I made an upholstered headboard for our room. I wasn’t crazy about the fabric anymore because I preferred a pure white. So, I did a quick update by replacing the fabric ($4 a yard), and adding some fabric covered buttons with a button kit.


It is amazing what crossing some things off your to do list can do. Here is another before picture.


Ahhh, that’s better.
Anyone else out there make some small changes in a short amount of time, that had a sweet impact?

Flashback Friday: Living Room/Dining Room

This week’s installment of Flashback Friday covers the Living Room and Dining Room. These rooms required a coat of paint for move in purposes, but there are some plans that we have for the future of these rooms.

I think our eventual goal would be to make the Living Room more family friendly. One of the projects that is coming soon is a desk that Brian will be building (we already have the lumber).

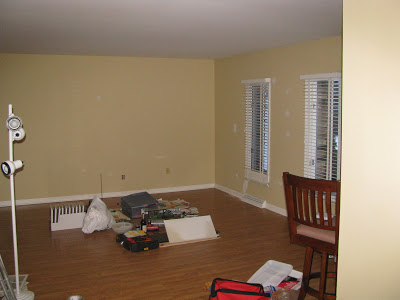
I have one before picture, but this level consisted of more mustard yellow. You cannot tell from this picture but we are talking French’s Mustard. Also, all the walls and some of the trim had marks and dings from the previous owners.

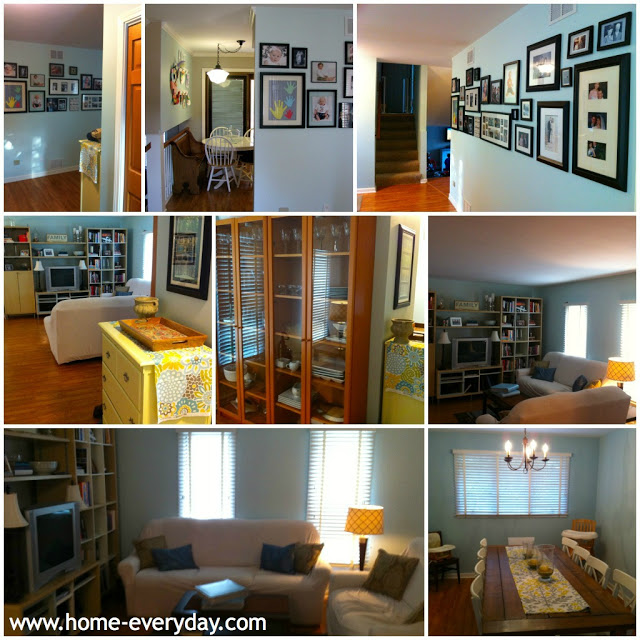
Then with a little help, I chose the perfect shade of blue and started painting. These rooms flow into each other so I knew I would have to choose a color that I really liked as it would be everywhere. I didn’t want to go the neutral route as a lot of the furniture we had planned for the room, was pretty neutral. Also, I wanted to play off all the light these rooms get. I wanted something clean and bright so we chose Behr Aqua Breeze (I apologize for the iPhone photos. I didn’t know I’d be writing a blog when I took these).


So here is our entrance, living room, and dining room after our personal touches. We added a picture gallery, a dining room table that Brian built and I stained, and lots of  other furniture that we already had on hand. Here is our progress thus far.


New Kitchen Light Fixture: Bye Bye UFO

Ugh, I could not stand this light fixture above our kitchen table.


It always seemed too small for the space, and to me it resembled a UFO. I was starting to wonder when E.T. was going to come back for it.
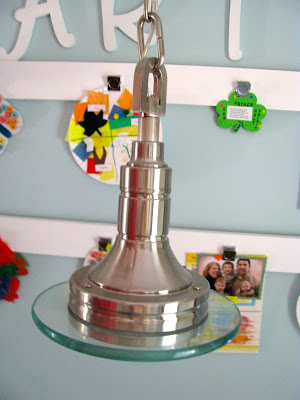
Brian and I did a little shopping last week, and saw something that I immediately liked. It was classic and a little vintage, and even better it was on sale for $30! They only had the floor model left, but that was ok with us. No scratches no dents.
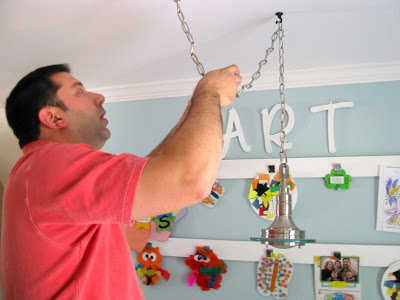
Brian has updated a lot of light fixtures in the past (mostly because I we have always switched light fixtures in every place we live), so he is an old pro.
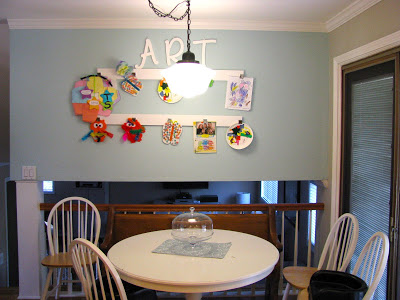
This is what it looks like now.


So much better. I think it goes with our old church pew.

Flashback Friday: Bathroom Spruce Up

Welcome to the second installment of Friday Flashback. The first Friday Flashback was last week where I talked about our kitchen progress.

This is our upstairs bathroom. Just like last week, this is a primo example of where some paint and a few small changes can make a big difference. So in true HGTV fashion you will see a quick before and after transformation.

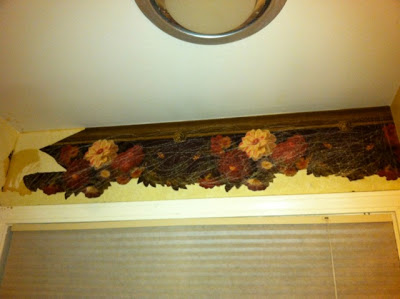
We will begin with dark floral border and sponge paint.


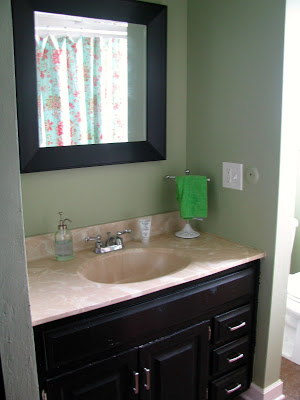
Gold mirror, beige painted vanity, and dated hardware.
Old almond toilet, and white tile with yellow triangle pattern.
And this…
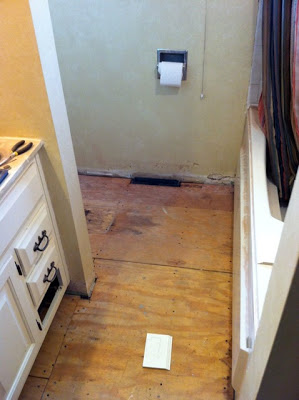
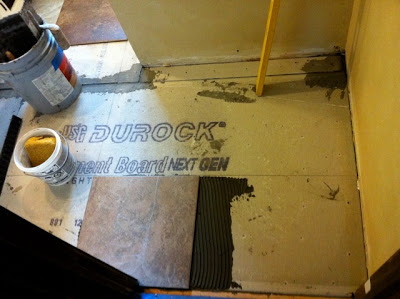
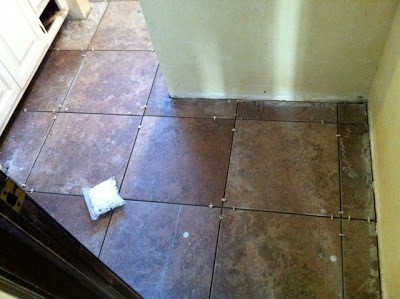
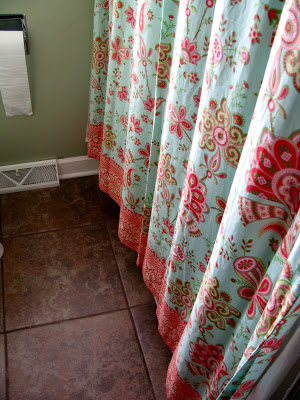
First, Brian ripped up all the tile, and we had some help with installing some leftover porcelain tile that the previous owner had leftover from the downstairs bathroom remodel (we only had to get thin set and grout).


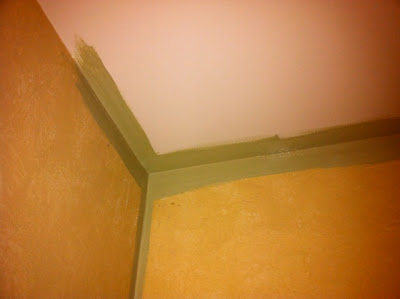
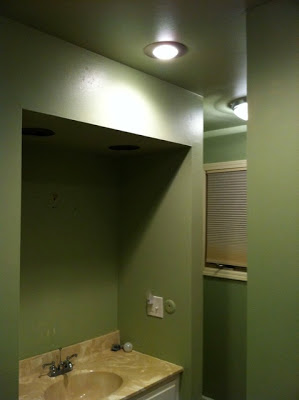
Then, on another late night, my mom and I scored and steamed the border and removed it. Sanded down the drywall to remove the sponge paint finish and repainted the bathroom a pale green.


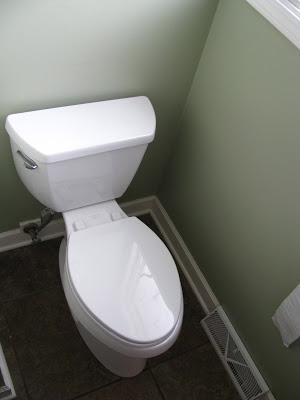
Brian removed the almond toilet, and with a little research and the help of his brother installed a new Kohler toilet in white.
Next, I sanded, primed and painted the vanity in black semi gloss and added brushed nickel hardware and a matching black mirror to freshen it up.
Then we added a few finishing touches.
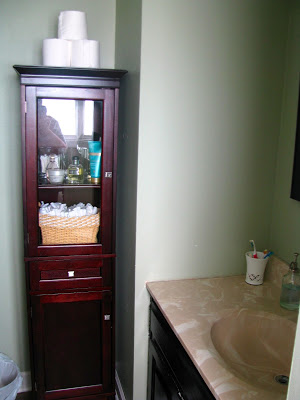
Like some extra storage with this great cabinet from Target.
And this adorable Amy Butler shower curtain I got a Bed Bath and Beyond on clearance and with a 20% off coupon (Ca-ching).

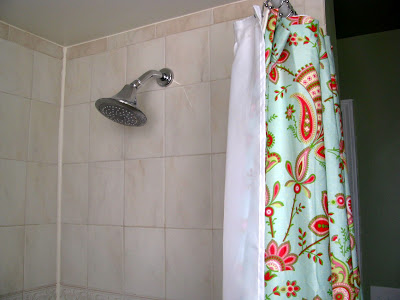
Finally, a nice new shower head.

So there you have it. Our upstairs bathroom spruce up. Thank goodness for paint and clearance shower curtains!


And Oldie but a Goodie: Refinishing a Painted Bookshelf

This bookshelf is an Oldie but a Goodie. My Dad built this bookshelf for my oldest brother’s bedroom when he was a little kid, then it got passed around to all of the siblings and even a few of the grandchildren. Growing up, I can remember my Dad building a few sets of bookshelves as well as other furniture and tackling a lot of DIY home improvement projects.
Anyway, his love for doing projects has been handed down to me, and when my sister said I could have one of the bookcases Dad built, I of course said yes. This particular bookcase has been passed around and repainted so many times it looked pretty
shabby (as in it needed some serious TLC).
The original paint color was red, then yellow, then pink,
then white. I decided to bring it into the boys room for their toys, money
banks, and books, and paint it a fresh coat of white with a different color on
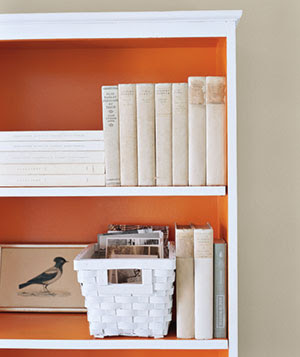
the back part of the shelves. Similar to this photo I found in my favorite magazine, Real Simple.

I loved the orange, and thought it would be ok to tie that
into the boys room because their room has become hodge podge of a bunch of
different colors to accommodate their likes.

So here’s how I freshened up this old bookcase, built by my
Dad probably 40 or more years ago.
Supplies:
Paint Stripper (Citristrip)
Putty knife
Mineral Spirits
Steel Wool
Electric Sander (Black and Decker)
Sand Paper (course and fine grit)
Primer (Behr)
Painter’s Tape (Froggy Green Tape)
Behr Decorator White in Semi-Gloss (leftover gallon)
Behr Orange Peel in Semi-Gloss (I bought 1 quart)
Gloves
Face Mask
Safety Glasses
Shop Vac
Sponge
Bucket of Water
Paint Brushes
Small Roller
Painter’s Trays.
Strip, Ooo la la: I decided to strip the bookcase simply because of the
number of layers of paint it had. I used a very gentle paint stripper I
found at Home Depot called Citristrip (I’m starting to see an orange citrisy theme here), and followed the directions to a T. Which, I know is so
un-Erin like, but since I’ve never used paint stripper before, I figured this
was the best way to go. Depending on the kind of paint stripper you use, you
may or may not need the steel wool and mineral spirits. I liked this step as it
removed any paint stripper residue and got rid of all the yucky leftover layers
of paint. I made sure I wore gloves and my face mask for this step. 


Getting Sandy: I put
on my mask and safety goggles, and got sandy. Using my electric sander, I first used the course grit
sand paper to try and remove any paint that the stripper couldn’t get. I also
tried to sand away as many knicks in the surface as possible. Then, I used the
finer grit sandpaper and sanded until the surface was smooth to the touch.
There was still some paint on the surface but if I closed my eyes and ran my
hand over the surface I couldn’t even tell. Also, to get in the corners I couldn’t use the electric sander, so I just used some pieces of sandpaper.So fresh and so clean: For this step, I used my shop vac to suck up all the dust from
stripping and sanding. Then, I used a damp sponge to wipe away all excess dirt
and dust from the surface and in the corners to get it ready for priming. After all this prep work
I’m finally ready to break out some paint brushes.

Prime: This step
was very easy. I used Behr Primer. I find it easy to use, and it goes on and
dries quickly. To get in all the corners I used my favorite paint brush, and
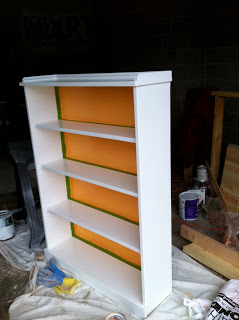
then on all the flat surfaces I rolled using a small roller. The picture below is after a coat of primer. 


Sticky Situation:
I went back and forth on where I wanted to tape off the bookcase to do the two
colors. I finally settled on only painting the back the bright orange color.
Once, the primer had time to cure, I taped off the the back of the bookshelf
and painted the back portion using the same mehod as the primer. I used a paint
brush to paint in the corners and then used a roller for the flat surface. This
required two coats. Before the second coat was too dry,  I peeled of the tape and was
ready for the last step.
Last but not least: The
last step was to paint the outside of the bookcase as well as the shelves a
good clean white. Once the orange paint was dry (about 24 hours), I taped the orange corners to
help prevent any white paint getting on the orange back. Then using the same
method with a paintbrush and roller, I painted the bookshelf white.
Here is the finished product: The boys love it and enjoy
putting their book, toys, and money banks on it.

In The Hot Seat: Painting and Recovering Old Chairs

As in, check out this HOTNESS!
Pretty cute right? Especially considering this is what they looked like when I got them. The eighties called, and they want their powder blue back.
Why three new chairs? Well, once a month, I host my whole family for a Sunday Dinner. My
grandma used to host people EVERY Sunday. After Grandma Nano passed away, my
sister kept it going for awhile, and since moving to our “new” house (I guess
its time I stop saying new), I decided have everyone over once a month for good
food and to catch up.
When everyone is here, it is over 20 people, so I was
constantly using folding chairs, and even running out of those. That is when my
Mom said I could have her old kitchen chairs. It is an incomplete set, but any
extra chairs would work, so she sent over three sturdy chairs.
According to my Mom, these chairs were hand me downs from a
neighbor when her and my Dad were first married. And once I removed the layers
of paint and seat coverings, it was apparent these chairs were OLD.
Here is how I refinished these chairs from luke warm to HOT,
and had them done in time for Sunday Dinner!
Supplies:
Electric Sander
Sandpaper
Paint brushes
Primer
Behr Decorator White Paint
Batting
Fabric
Drop clothes
Staple gun and staples
Flat head screwdriver
Phillips head screwdriver
Take it off: Using a Phillips head screwdriver, I removed
the seats and set aside.
Rough it up: The chairs had a few layers of paint, but not
enough layers that I felt I had to strip them with paint stripper. I just
sanded them using my electric sander, and roughed them up everywhere. This was
an important step, as the last layer of paint used seemed pretty glossy, and I
knew the new coat of primer and paint wouldn’t stick to that. These chairs have
a lot of different surfaces and corners, so on the areas that I couldn’t reach
with the sander, I just ripped a few pieces of sandpaper and did it by hand.
Prime Time: I cleaned the chairs up with a damp cloth to
remove all the dust from sanding. Once completely dry, it was time to put on a layer
of primer.
Thinner the Better: I used Behr’s Decorator White Paint in
Semi-Gloss. Using a pant brush, I painted using an almost a dry brush. What this
means is, I didn’t slap too much paint on the chairs, as this causes a lot of
dripping which you then later have to sand and also causes there to be lots of
visible brush strokes. Once finished, I let the chair dry for a few hours
before doing the next coat. I did a total of three coats, which while I know
this can be a pain, and time consuming, but I wanted them to look sleek.
That’s a Wrap: The last few steps involve recovering the seats. I
found this awesome paisley fabric at JoAnn Fabrics that had a lot of the
colors I’m hoping to incorporate in our house. This is where the fun part comes
in. Using a flathead screwdriver to remove the staples, I first removed all the layers of old wallpaper that the chairs had been
covered in. I took pictures of each layer. Uncovering each layer felt like I was uncovering a decade.
80’s powder blue:
70’s Brady Bunch plaid:
60’s Jimmy Hendrix floral
 50’s burnt Orange (which you can see a tiny corner of underneath the floral).
I, next, measured the seat and cut my batting and fabric to
size with about 4 or 5 inches extra on each side to allow for wrapping around
the seat. Then, pulling tightly, I stapled the fabric in place (for another
look at how to upholster check out my post on making a headboard HERE). Once the seats were recovered, and I had the chairs cure up for a few days, I reattached the seats.
VOILA! Three extra comfy, sturdy, and cute chairs for Sunday Dinner.

Finally… a headboard.

NOTE: Ok, so when I first started this Headboard project a month ago, I though hey no sweat, this will be done in an afternoon. When I thought that I obviously had brain damage, as I forgot that I have three children who are three and under, and that it might take me longer than that.

Brian and I inherited his grandfather’s bedroom set which consists of two dressers, a nightstand, and a headboard for a double bed. After about two weeks of being married and me getting elbowed in the face, we decided that if we wanted to be married for more than two weeks, we should get a queen sized bed. Since the headboard would not work with the bigger bed, we just went without one at the condo. Now that we are at the new place and I’m “decorating” I decided our bed needed a little presence in our room so I ventured to find an upholstered headboard. I went searching for inspiration and while shopping for couches I saw this headboard at Darvin Furniture for $1200… Ummmm, yeah no. I want my kids to go to college. After watching a ton of HGTV over the years I figured, hey I can do that myself.Do the math! First, I did some measuring to decide how big I wanted this baby. I measured the width of the bed, and I also decided how tall I wanted the headboard to be. I figured I wanted it to be tall enough for resting, so since Brian is taller than me I had him sit on the bed and lean against the wall and measured from the bottom of the mattress to about 3 inches above his head (scientific right?). This headboard will not touch the ground, but I wanted it to look like it does so I measured to the bottom of the mattress not the box spring so the headboard will sit behind the bed a bit.Shop til you drop! Secondly, I ran to a few different stores gathering up what I needed. This took some time, as I had to wait for some white foam to come in stock at my local JoAnn Fabrics. Looking back, this was my favorite part of the process. I bought the following supplies:- ½ inch plywood cut to size (if you don’t have a table saw or want to use it for fear of losing an appendage Lowe’s and Home Depot will cut it for you free of charge)- Fabric (enough yardage to cover the plywood, with about 6 to 10 inches extra on each side to wrap around the back.)- 2 inch thick foam that is the same exact size of the plywood. Just a couple of notes about the foam. It will be almost impossible to cover the plywood with one piece of foam because it only comes so wide, so just butt a couple of pieces up until you get it to fit. Also, if you are using a light colored fabric, try to find white foam instead of the green stuff that you might see underneath- Cotton batting cut to the same size as the fabric- Staple gun and staples- Buttons if you plan on tufting- Upholstery thread if you plan on tufting- Drill with a 5/32 bit if you plan on tufting – Upholstery needle if you plan on tuftingPlan ahead! If you plan on tufting with buttons, follow this step, otherwise skip ahead. The first thing I did was mark where I wanted to put the buttons on the headboard. So I drew lines along the width of the headboard eight inches apart. I did the same thing along the height of the plywood. Where the lines intersected I marked an X. Once this was done I took the drill and drilled a hole at each X. This way I can thread needle and thread to tuft the headboard later. Layer it up! Find nice clean spot on your floor and lay in this order: pre-cut fabric, pre-cut batting, then in the center lay your foam and lay the plywood on top. (remember you should have 3 – 6 inches of fabric and batting extra on all sides of plywood and foam.STOP, Staple time! Now it is time to staple. From all the suggestions that I read online, the rule of thumb is to start in the middle of one of the sides then staple to the right until you reach about six inches from the end then staple the other side leaving until you reach the other end of the ply wood with six inches remaining. I left my staples about 2 to 3 inches apart. Repeat this step on all four sides. You should have everything stapled except the corners.Wrap it up! For the corners I tucked and wrapped like a present and then stapled in place. VOILA! Untufted headboard. Cute right?Tuft Time! If you don’t want to tuft, go ahead and skip this part, but you’ll be missing a funny story. So, my original plan was to tuft my headboard with fabric covered buttons, but that didn’t work out so well as my fabric was too thick to make buttons with. Also, the tortoise shell ones that I thought would look pretty were five bucks each and I needed fifteen of them. Since, I’m cheap (which is why we started this project to begin with) I wasn’t about to spend $75 on buttons. So, I sacrificed a bit and went without the tufting. However, to tuft all you need to do, is thread your buttons and secure tightly in the back with your pre-drilled holes.Hang it up! I don’t have any pictures of this step, and I apologize. However, there are several ways to hang the headboard. Candice Olson from HGTV is a big Velcro lover, and all of her upholstered headboards are hung this way. Some people use a rail system. Others just screw it right into the wall. We did the rail system. We cut two pieces of 1 x 2 to the width of the headboard. Attached one to the wall in the studs, and the other to the back of the headboard and hung it like a picture with one rail on top of the other. So there you go, all finished. Finally!