On Tuesday, I told you I started striping the bathroom. Well, I think I have a problem. Now that I am finished, and it is functional again, I am already thinking of other places I can paint stripes. So far… it is everywhere. I know I cannot/should not do that, but the technique was so easy and it created such an awesome effect. Let’s get to the pictures shall we?
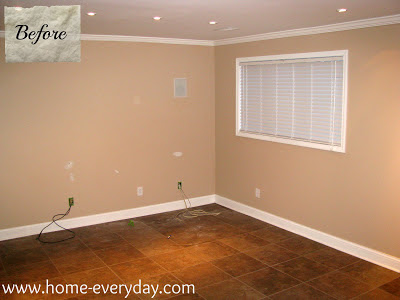
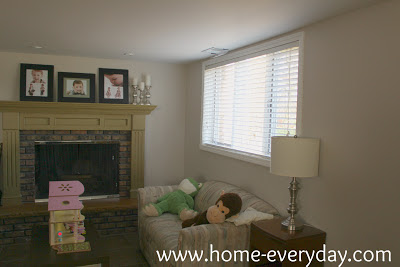
Before:
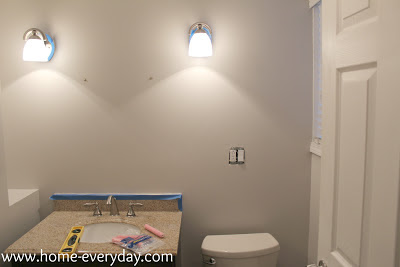
After:
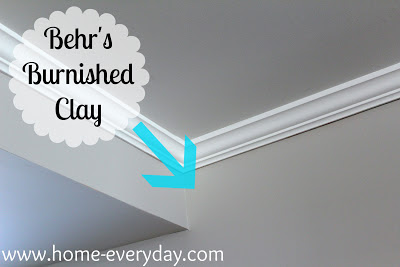
I also repainted the trim in Behr’s ultra white in semi-gloss since the previous paint job wasn’t so good. Now everything looks crisp and clean.
As I said on Monday, I used these directions for measuring and painting from Skinny Boppy’s tutorial which can be found here. She took a lot of the guesswork out of painting the stripes.
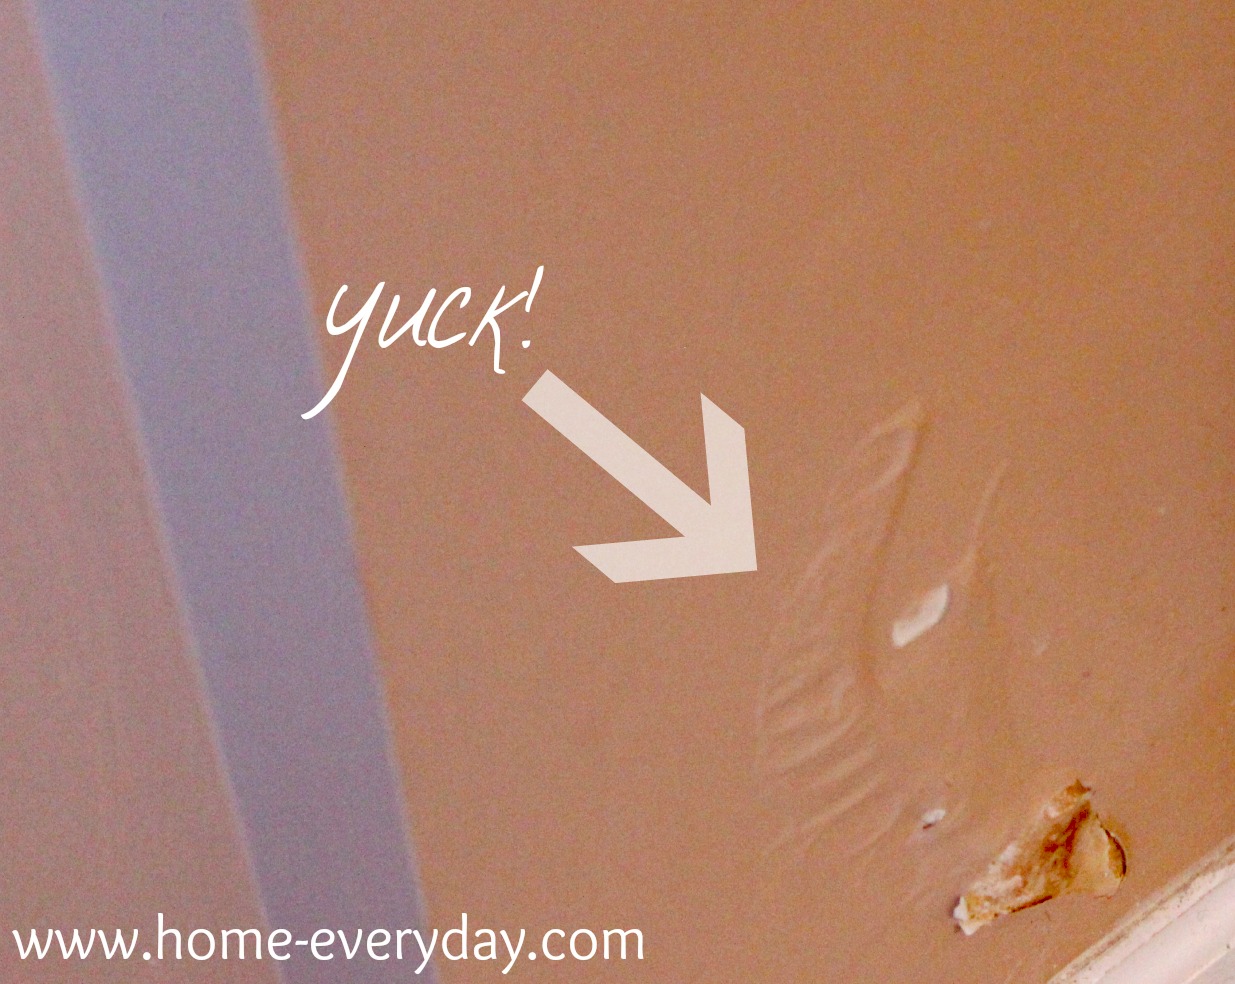
I first, patched up any holes left behind from the water damage we had. Then I sanded any uneven parts, and painted the entire bathroom a base coat of Behr’s Barnished Clay in satin (I typically love flat paint with glossy trim, but in the bathroom is just makes sense to use satin). I actually did two coats of this color to help fully cover the peachy tan that was in the bathroom before.
Once I was sure that was dry, I began measuring. When you paint stripes, you want to keep cutting in again at a minimum. Therefore your bottom stripe and top stripe should be your base coat color. In order to make sure this happens, I measured from where the top of the wall meets the ceiling to the top of the baseboards. Then, I took that measurement and divided by an ODD number. Most people when painting stripes divide by seven, but that is typically for a larger room. This bathroom is so small that stripes that wide I thought would be a bit much, so I divided by nine. For example: 83″/9 = 9.222222 inches. That is not an even number of inches, but I started from the top of wall and measured 9″ from the ceiling and using a laser level I began taping. Then I repeated the process for each stripe measuring 9″ from the previous stripe. This causes the bottom stripe to be a little larger than the other, but it is barely noticeable with the toilet, vanity, shower, and door in the way. When taping I also made sure that I noted which stripes would be the base color and which stripes would be the darker color. This helped me determine in which side of the level line I would put the tape. You always put the tape on the BASE COAT side of the stripe. Also, I put tiny pieces of tape on the base color stripes to remind me not to paint there.
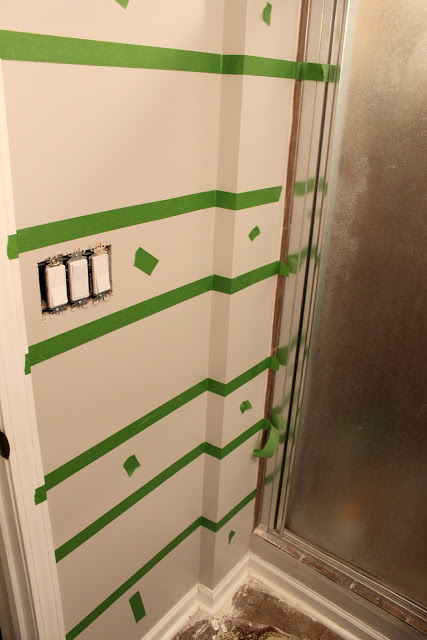
After everything was all taped up, I cut in around windows, doors, shower, and corners, and then rolled on on the stripes with Behr’s Perfect Taupe also in satin. Finally, I carefully peeled the painter’s tape right away (while the paint is still a little wet) to get a perfectly clean line.
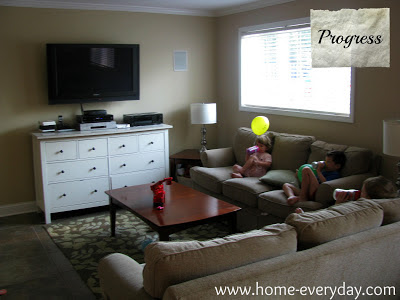
TA DA! I love it! Now to convince Brian we need stripes in the family room.
P.S. Today, I am Linking up at Serenity Now for Weekend Bloggy Reading! Check out all the awesome recipes and projects. It is a Pinner’s paradise.