Tag

refinishing

Penny Hockey: A DIY Birthday Surprise

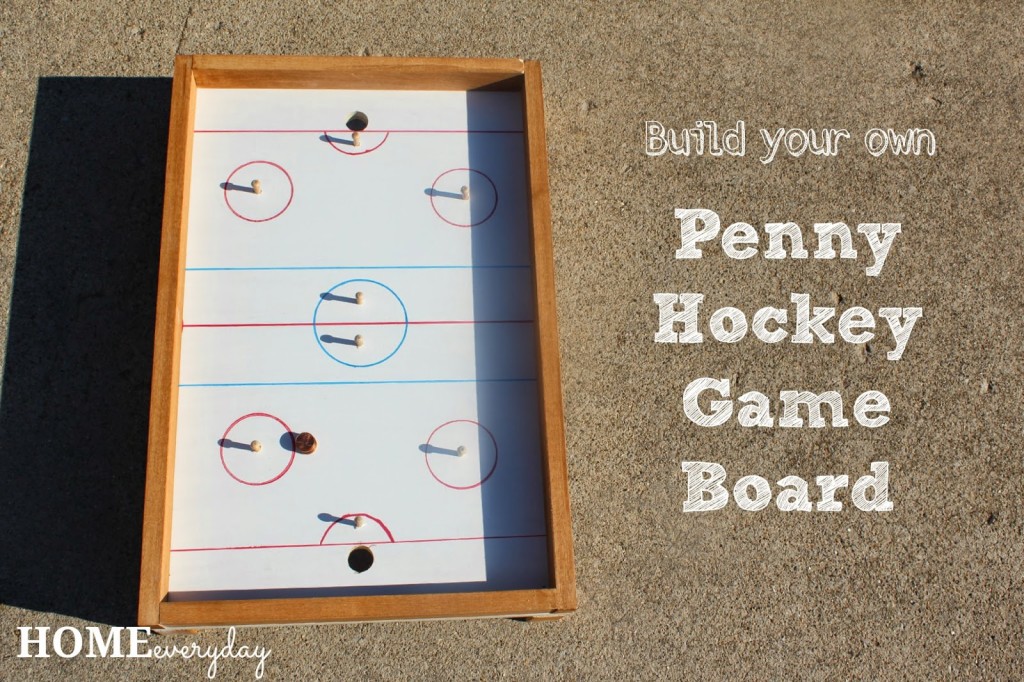
Sometimes creating, or building, or making a gift for a friend is the best way to show how much to care. The kids’ friend, and fellow hockey lover, recently turned 7 and we decided to build him his own Penny Hockey Game Board.


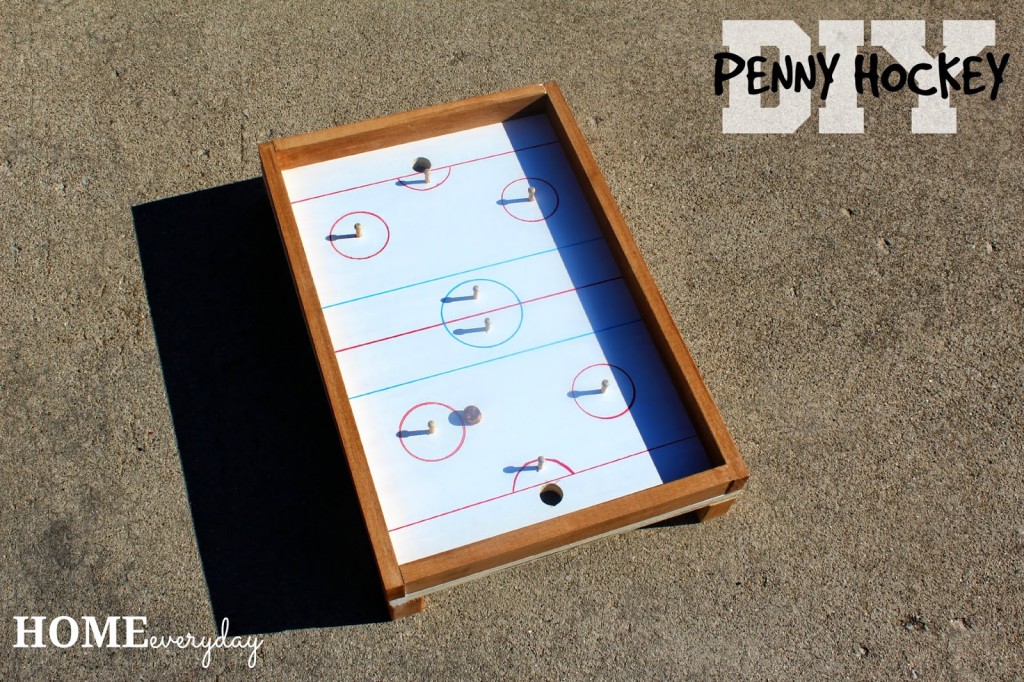
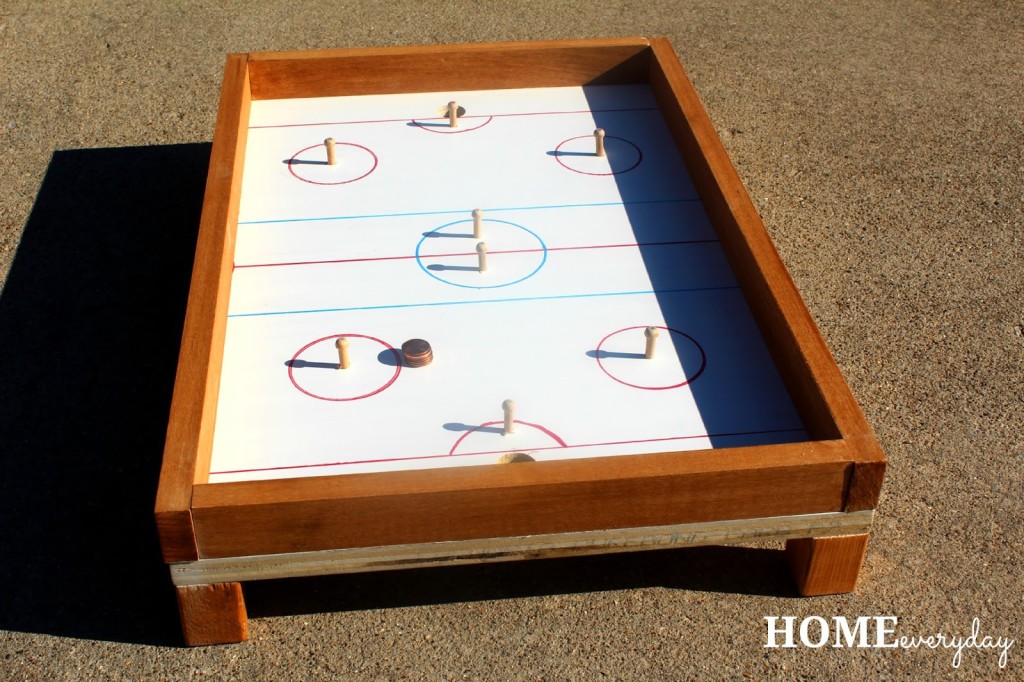
Now, I bet you’re wondering: What is Penny Hockey? (Because I didn’t know either). It is a table top game board similar to a hockey rink with holes (or goals) at either end which you can slide pennies (or pucks). Brian built one when he was in his first junior high shop class. The kids still play with it, and decided to build a larger version for their friend.
This post is long, but by the end you will be able to have an idea of how to build your own Penny Hockey game board. We think we are going to build another soon, but paint it green, with white lines and make it a soccer field.
The first thing we did, we of course go online and look at some photos. We used a few different ideas as a kind of example for how to make it like this one here.
Materials
1/2″ to 3/4″ plywood cut into a 24″ x 16″ rectangle
1″ x 2″ cut into 2 – 24″ chunks and 2 – 16″ chances for rails
Wooden pegs (found at Michael’s, but you could easily cut a thin dowel)
1″ x 1″ cut into 4- 1 1/2″ chunks for feet
Nails
Nail gun (optional)
Screws
White craft paint
Red and blue paint pens
Paint brushes
Stain (optional)
 
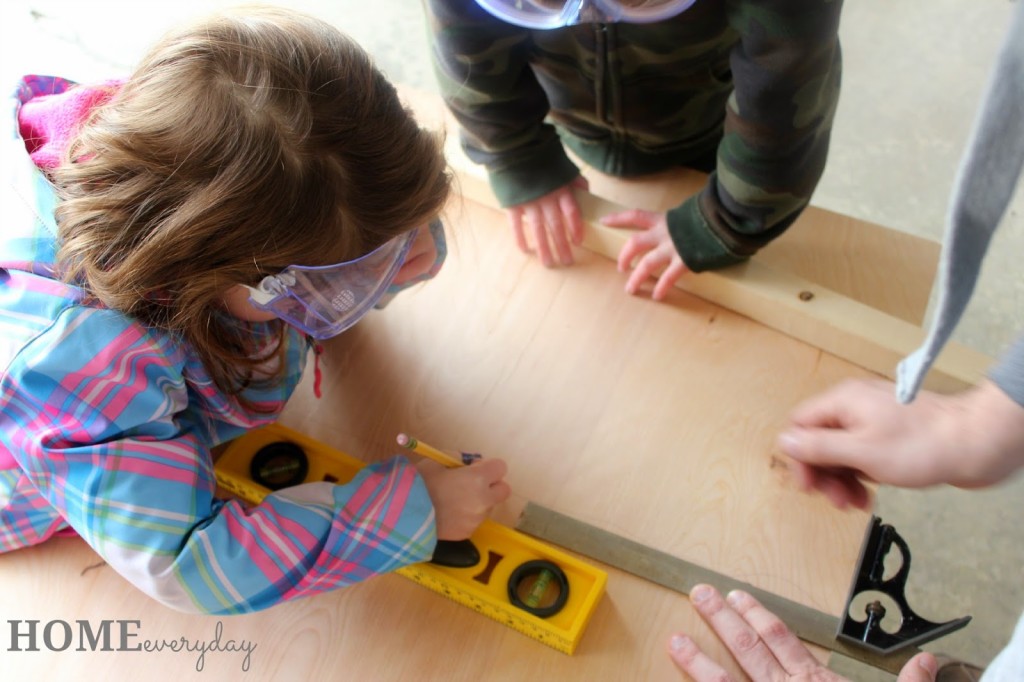
The kids helped us do a bit of measuring.
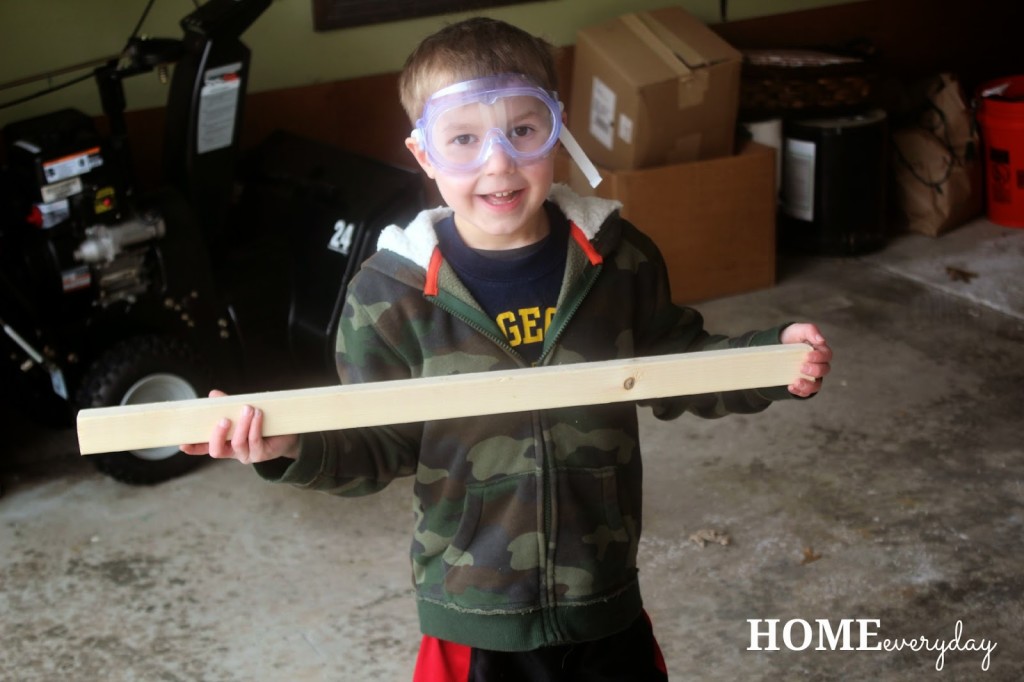
Then, Brian cut the lumber into the desired sizes. This allowed us to begin sanding, painting and staining. Since this is a toy for kids, we wanted to make sure that everything was super smooth to the touch, so we sanded every piece of wood very carefully.
Once that was completed, we started painting the board. I taped the edges to avoid dripping as I had some helpers.
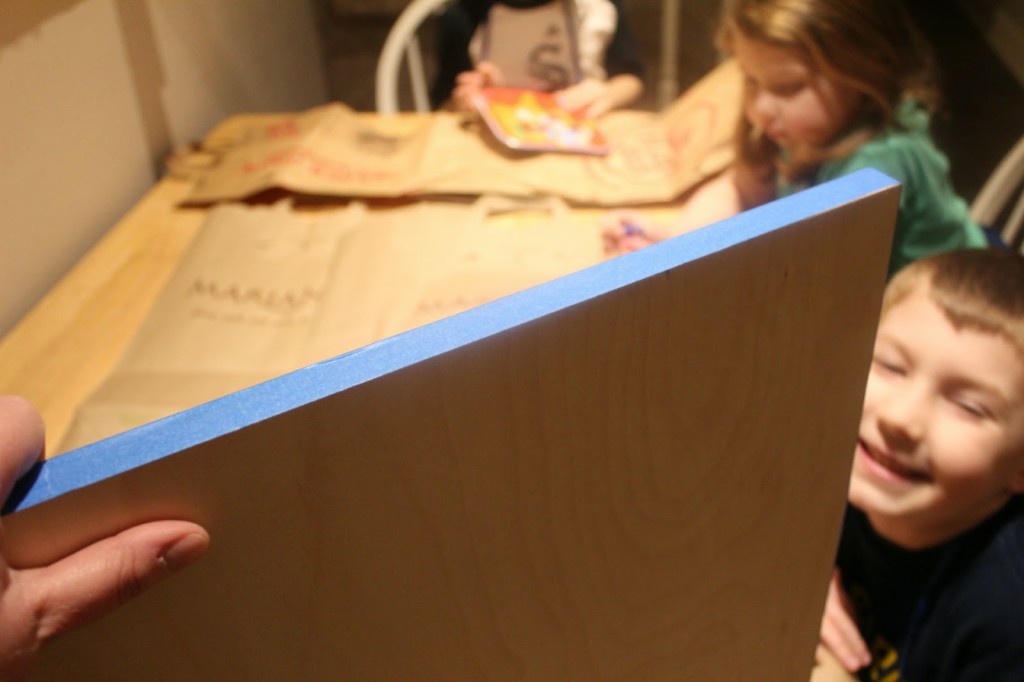
We painted the board with three coats of white craft paint.
Then, carefully measuring and using a photo of a hockey rink, I drew out the regulation lines using red and blue paint pens.
 
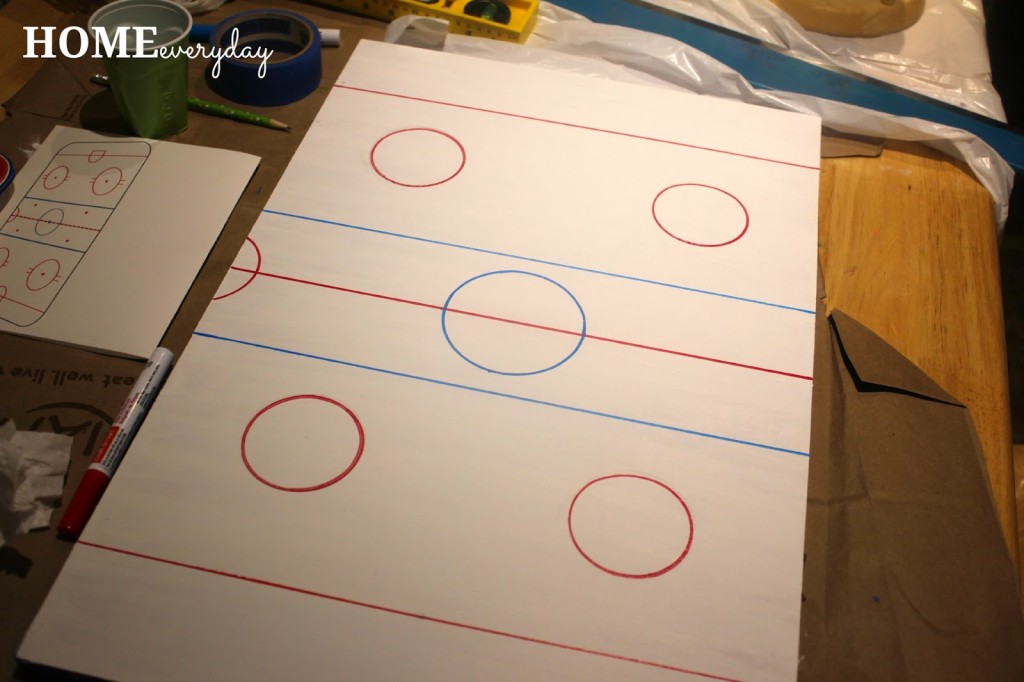
NOTE: I did this BEFORE drilling the holes for the pegs (players) and the goals. I thought it would better determine where the pegs and goals would be placed, and would it was easier to paint over a smooth surface rather than over digits created by a drill.
 
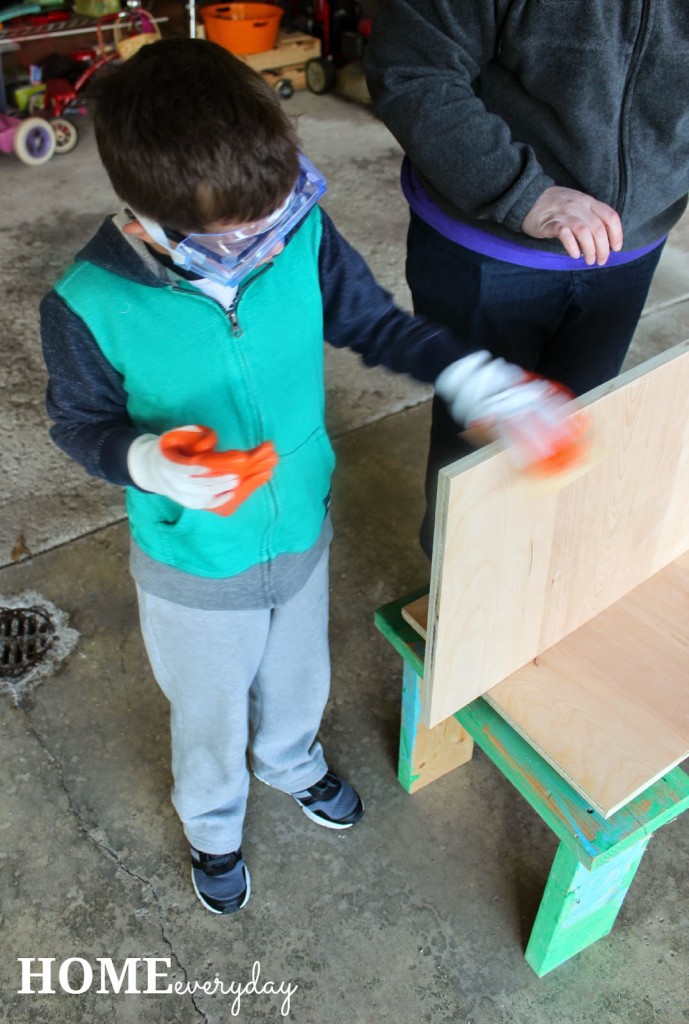
Next, we stained the rails and the feet. This step is optional, but we thought it added a nice look to the overall product. We really didn’t let our kids stain, but here is a picture of my middle guy wiping off some dust.
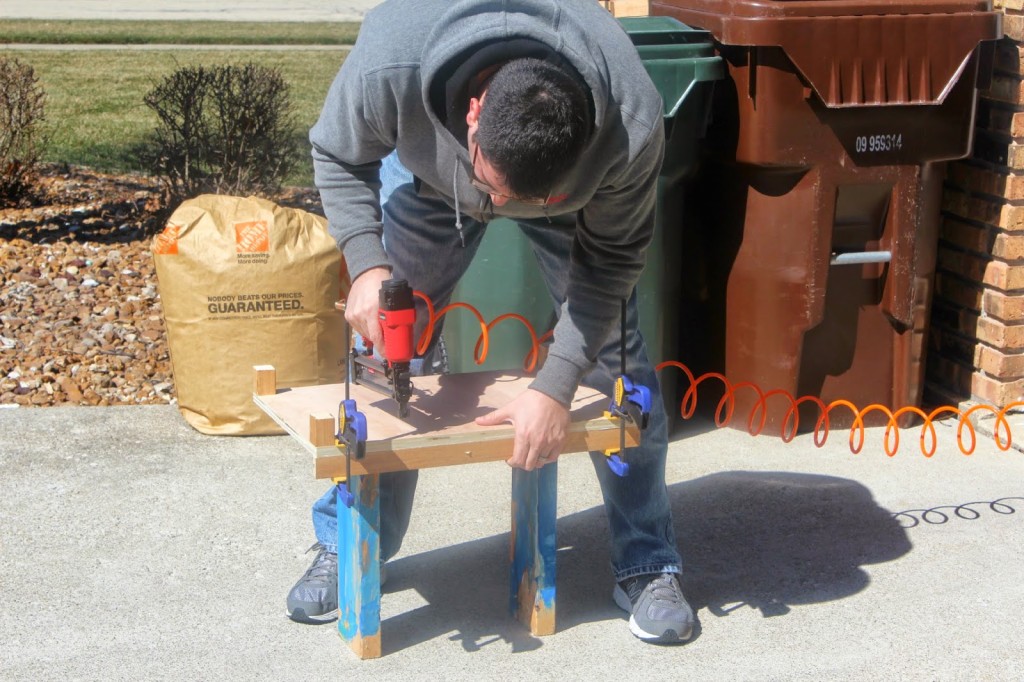
Now, it was time to put everything together. First, using some screws, Brian attached the feet in through the top of the game board. Then, with the help of some clamps and the use of a nail gun, he attached rails through the bottom. This way you didn’t actually see any screws or nails.
Next, Brian drilled the holes for the pegs and the goals. He used a 1″ spade drill bit for the goals and a standard drill bit for the pegs.
The kids decided where they wanted the pegs to be.
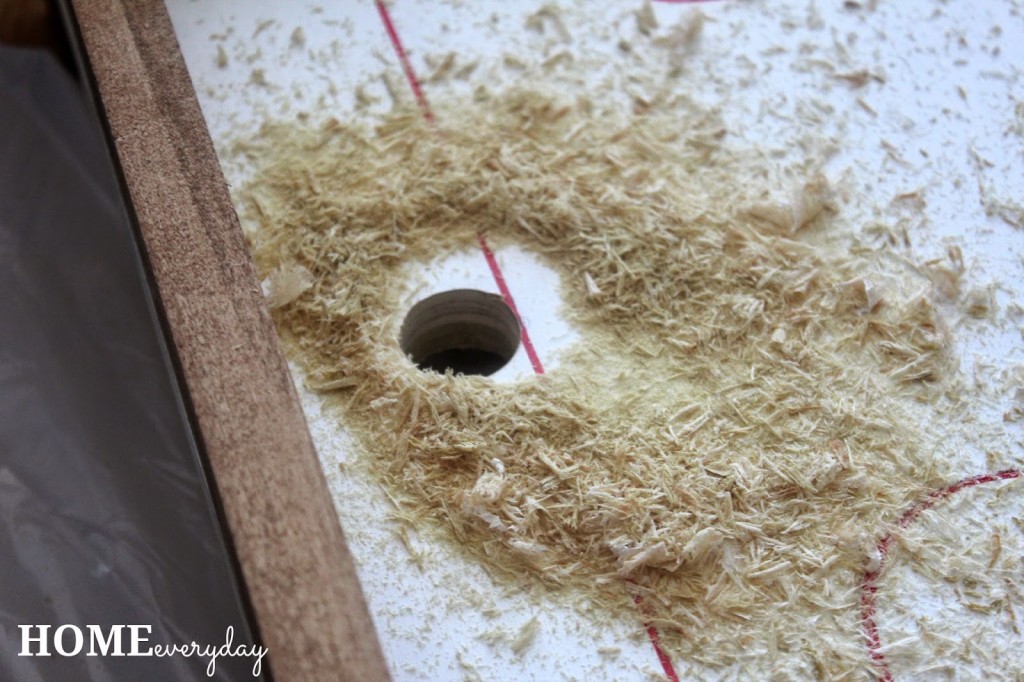
Once we vacuumed up the mess…
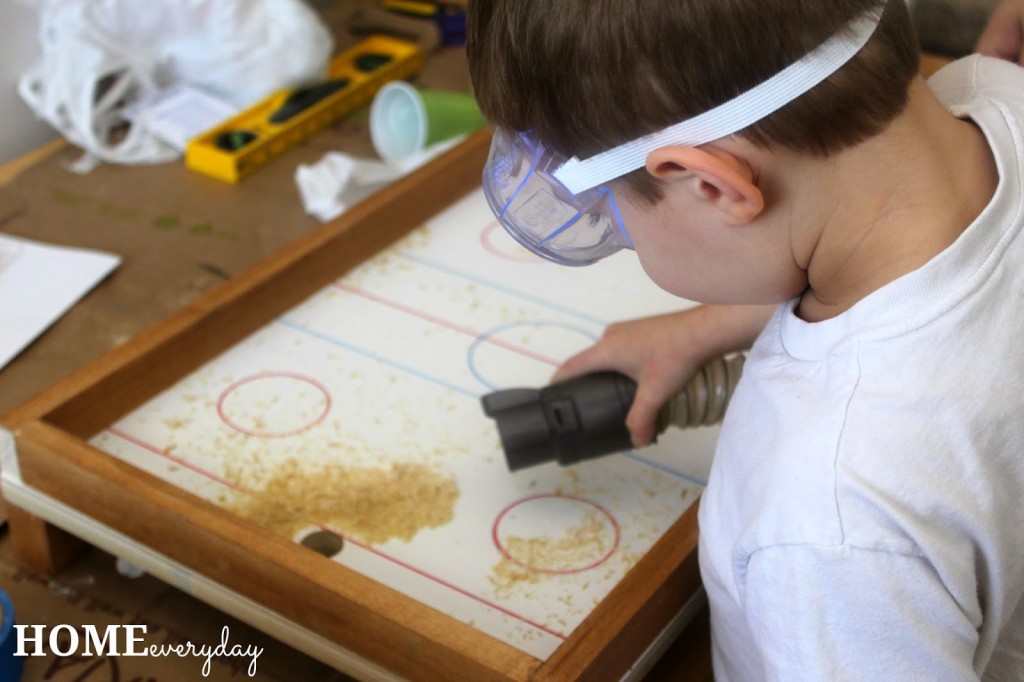
Brian gently hammered in the pegs (gently is a relative term).
Then it was time to find some pennies and give our gift to our buddy.

If you like this post and would like to read more about all things domestic with a touch of humor, become a Home Everyday follower! For blog updates or to see other places I write such as ChicagoNow or Chicago Parent follow Home Everyday on FacebookTwitter, and Pinterest.

Gradient Dresser: You’d Never Guess its Garbage

A few weeks ago on the way home from dropping off one of my children at school, I saw this fantastic dresser sitting on the curb. I circled the block a few times trying to take a closer look, and finally parked and gave it a full inspection.


I pretended I was at a furniture store instead of someone’s driveway, and gave the dresser a full look over. It seemed solid, and I opened and closed all the drawers. There were even dovetail joints on the drawers (a tip from my favorite designer Sarah Richardson), and even though there was some hardware missing and the top drawer stuck a teeny bit, I thought I could give this dresser a new life in our home.


Another Mom who happened to see me stopped, and offered to help me put the dresser in the back of my car. So I moved aside all the sporting equipment and stuff, and we put the dresser in the back.

After a couple of weeks of mulling it over, I decided that I would do a gradient style dresser. Ever since I saw this one on Young House Love.


And this one on Red Hen Home.


And this one that I pinned a million years ago on Pinterest.


I have wanted one of my own.

I made a quick trip to Home Depot, and picked up a gray toned color card with four colors (Sparrow, Anonymous, Dark Granite, and Stealth Jet) like the one below and had a color sample made for each color. (Note: Behr can only create color samples for flat paint, so I made sure to pick up some water based Polycrylic to apply over the flat paint for extra protection and easy cleaning).


After taking off the hardware, giving the dresser a good sanding and wipe down, I painted the dresser two very thin coats of glossy white. Then, going from lightest (top drawer) to darkest (bottom drawer), I painted the drawers a few thin coats and let it dry for two days.

After the dresser and drawers were fully dry, I put three coats of water based Polycrylic on the drawers according to the manufacturers instructions and let everything dry for a few more days.

Once I thought the dresser was ready to be moved inside, I added some new pretty hardware that I had also bought at Home Depot.


Here is my new (to me) Gradient Dresser.


I have to say, I a thrilled with the results, and I cannot wait to find the perfect place for it in my house. I bet you’d never guess this was once garbage.


You ever do any garbage picking?

If you like this post and would like to read more about DIY, gardening, cooking, baking or all other things domestic, become a Home Everyday follower! For blog updates or to see other places I write follow Home Everyday on Facebook, Twitter, or Pinterest.

Follow on Bloglovin

Oops: Painting a Dresser

I don’t know if you could tell yet, but I like hand me down furniture. We do have a lot of new furniture in our home, but I do like to collect old pieces and give them some new life. So far, our house has become a hodge podge of the old and new, and I thought this would bother me, but I like how nothing in our house is too matchy.

My sister gave me my nephew’s old dresser, which actually belonged to my brother-in-law as a kid. I originally thought it might be nice as some extra storage in the boys’ room, but then I realized I needed some extra storage in our living room. For awhile, it acted as  place for all of my table and kitchen linens, but now it serves as a drop zone near the front door.


The original color was a medium toned, very shiny, stain. I knew eventually I would want to paint it, but I could not decide on the color. I knew I wanted something different, and perhaps a stand out color. So, I went to my home away from home. Home Depot. I decided that rather than make the difficult decision myself, I would look at the Oops paint section. I found a gallon of this Glidden light yellow color in semi-gloss (which is my favorite finish for painting furniture) for $3. For three measly bucks, I found my new paint color, and there wasn’t a lot of thinking involved.

I have painted a lot of furniture using a few different techniques, but for this project I used the same plan as the dining room chairs. (I didn’t have to strip paint like the bookcase, nor did I use spray paint like my new bedside tables).

After removing the drawers and hardware, I just did a little sanding, priming, and painting.


Then, while I was waiting for the second coat of paint to dry, I spray painted the hardware using some Krylon Metallic Spray Paint in Brushed Nickel.


Once everything was dry, I put everything back together, and plopped by the front hall. We drop our mail in the tray and put our keys in the stone urn that was used for floral arrangements at our wedding. The drawers hold all kinds of things that we need to grab as we are heading out the door.


For three dollars of oops paint and some spray paint I already had on hand, I am happy with the results.

Shazam: Painting Nightstands

Brian and I desperately need bedside tables. Right now we are using an old night table that is very small, and a TV Tray. They serve their purpose, but aren’t really doing anything to make our room look pretty. They are blah.

A few months ago, my Mom gave me these two tables. I know what you are thinking, these tables are pretty blah too. Wait for it.


The first one is a printer table. The idea was to put your printer on the table and your paper in the little shelf underneath. The second table, was a table that has been around for a long time. I think it belonged to my grandmother at one time, and then was in my sister’s bedroom when we were growing up. The top of this table is actually leather.
I decided to make these our nightstands. I know they look nothing alike, and from totally  different eras (as in one was made for a computer and the other was around before computers even existed). Brian, however, thought they were perfect as they are both the perfect height for the bed, and they wouldn’t cover the vents on either side of our beds (Brian tends to be a little finicky about that).
So this is what I had to work with. It was ok that they didn’t match perfectly, and I was eager to paint them. Once they are the same color they will be more unified. Especially after I put some cute matching lamps on top of them too.
They both have some pretty intricate detail to them, so I was hesitant to use a brush to paint them, so the logical step was to spray them. I do have an electric paint sprayer, but I figured to dirty that thing up and to buy a gallon of paint would be more of a pain and a little expensive for two small tables. So I went to Home Depot, and found this.
Rust-oleum’s Universal Paint and Primer in one in a nice Glossy White was the perfect solution to the problem of these tables. I roughed both of the tables up a little bit with some fine grit sandpaper. Both tables already had some kind of glossy finish to them already and I wanted to be sure that the paint would adhere to the tables. Then, I taped the leather top of the dark wood table. I’m thinking I will recover it with some cute fabric or something.
Outside in the driveway with a drop cloth down, I sprayed the tables with fast, long, and even strokes. This is what the tables looked like after one coat.


This is what they look like after the second coat.
When Brian saw them, he said, “SHAZAM.” Which is a good thing. I hope.
Now, I’m almost done. I have to let them sit outside for a bit and make sure they don’t smell too bad before bringing them in the house. Also, I still need to find some fabric.
Stay tuned for the finished product.

In The Hot Seat: Painting and Recovering Old Chairs

As in, check out this HOTNESS!
Pretty cute right? Especially considering this is what they looked like when I got them. The eighties called, and they want their powder blue back.
Why three new chairs? Well, once a month, I host my whole family for a Sunday Dinner. My
grandma used to host people EVERY Sunday. After Grandma Nano passed away, my
sister kept it going for awhile, and since moving to our “new” house (I guess
its time I stop saying new), I decided have everyone over once a month for good
food and to catch up.
When everyone is here, it is over 20 people, so I was
constantly using folding chairs, and even running out of those. That is when my
Mom said I could have her old kitchen chairs. It is an incomplete set, but any
extra chairs would work, so she sent over three sturdy chairs.
According to my Mom, these chairs were hand me downs from a
neighbor when her and my Dad were first married. And once I removed the layers
of paint and seat coverings, it was apparent these chairs were OLD.
Here is how I refinished these chairs from luke warm to HOT,
and had them done in time for Sunday Dinner!
Supplies:
Electric Sander
Sandpaper
Paint brushes
Primer
Behr Decorator White Paint
Batting
Fabric
Drop clothes
Staple gun and staples
Flat head screwdriver
Phillips head screwdriver
Take it off: Using a Phillips head screwdriver, I removed
the seats and set aside.
Rough it up: The chairs had a few layers of paint, but not
enough layers that I felt I had to strip them with paint stripper. I just
sanded them using my electric sander, and roughed them up everywhere. This was
an important step, as the last layer of paint used seemed pretty glossy, and I
knew the new coat of primer and paint wouldn’t stick to that. These chairs have
a lot of different surfaces and corners, so on the areas that I couldn’t reach
with the sander, I just ripped a few pieces of sandpaper and did it by hand.
Prime Time: I cleaned the chairs up with a damp cloth to
remove all the dust from sanding. Once completely dry, it was time to put on a layer
of primer.
Thinner the Better: I used Behr’s Decorator White Paint in
Semi-Gloss. Using a pant brush, I painted using an almost a dry brush. What this
means is, I didn’t slap too much paint on the chairs, as this causes a lot of
dripping which you then later have to sand and also causes there to be lots of
visible brush strokes. Once finished, I let the chair dry for a few hours
before doing the next coat. I did a total of three coats, which while I know
this can be a pain, and time consuming, but I wanted them to look sleek.
That’s a Wrap: The last few steps involve recovering the seats. I
found this awesome paisley fabric at JoAnn Fabrics that had a lot of the
colors I’m hoping to incorporate in our house. This is where the fun part comes
in. Using a flathead screwdriver to remove the staples, I first removed all the layers of old wallpaper that the chairs had been
covered in. I took pictures of each layer. Uncovering each layer felt like I was uncovering a decade.
80’s powder blue:
70’s Brady Bunch plaid:
60’s Jimmy Hendrix floral
 50’s burnt Orange (which you can see a tiny corner of underneath the floral).
I, next, measured the seat and cut my batting and fabric to
size with about 4 or 5 inches extra on each side to allow for wrapping around
the seat. Then, pulling tightly, I stapled the fabric in place (for another
look at how to upholster check out my post on making a headboard HERE). Once the seats were recovered, and I had the chairs cure up for a few days, I reattached the seats.
VOILA! Three extra comfy, sturdy, and cute chairs for Sunday Dinner.