
When it comes to my wardrobe there are a few staples for which I always rely. A-line dresses, statement necklaces, a good pair of jeans, brightly colored pants, a few nice blouses, cardigans, and Converse All Stars. I know it seems weird that with my preppy style, I love these shoes so much, but I will find any excuse to wear them. Even a fancy occasion. Like performing in front of hundreds of people.
 |
| Photo courtesy of Elizabeth Rago |
About a month ago, I had the pleasure of participating in Listen to Your Mother Chicago for the second time (Squeee! Videos will be released soon). This year a portion of the show’s proceeds were given to the Red Pump Project, and while the cast wasn’t required to wear red shoes, I love a theme.
Also, I love crafts.

And glitter.
And I wanted to make a pair for my stage partner, Samantha Schultz.
 |
| Photo courtesy of Balee Images |
Also, fellow cast mate (and comedian) David Slattery loves All Stars as much as me.
 |
| Photo courtesy of Balee Images |
However, when you have some butterflies about a performance I find it best to do what makes you comfortable or at home. And nothing says home to me like a good pair of Chuck Taylors on my feet and friends and family by my side.
I have since worn my glittery shoes out and about, and people have asked how they can make their own. Luckily, I took a few pictures on my iPhone of the process.
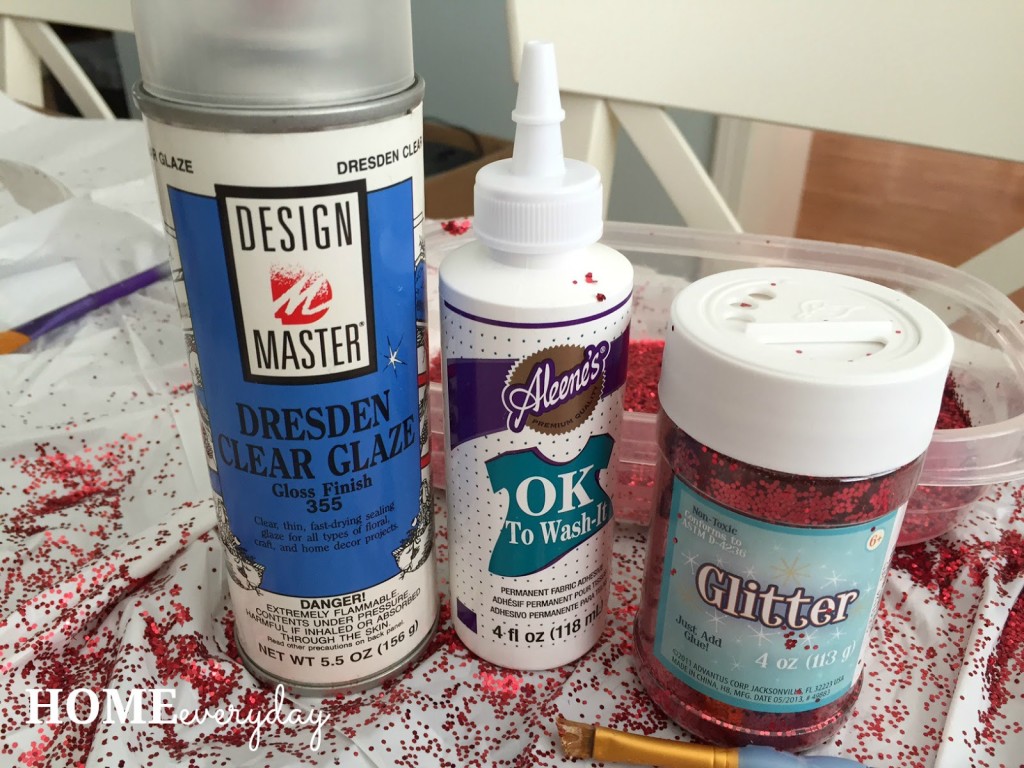
Supplies:
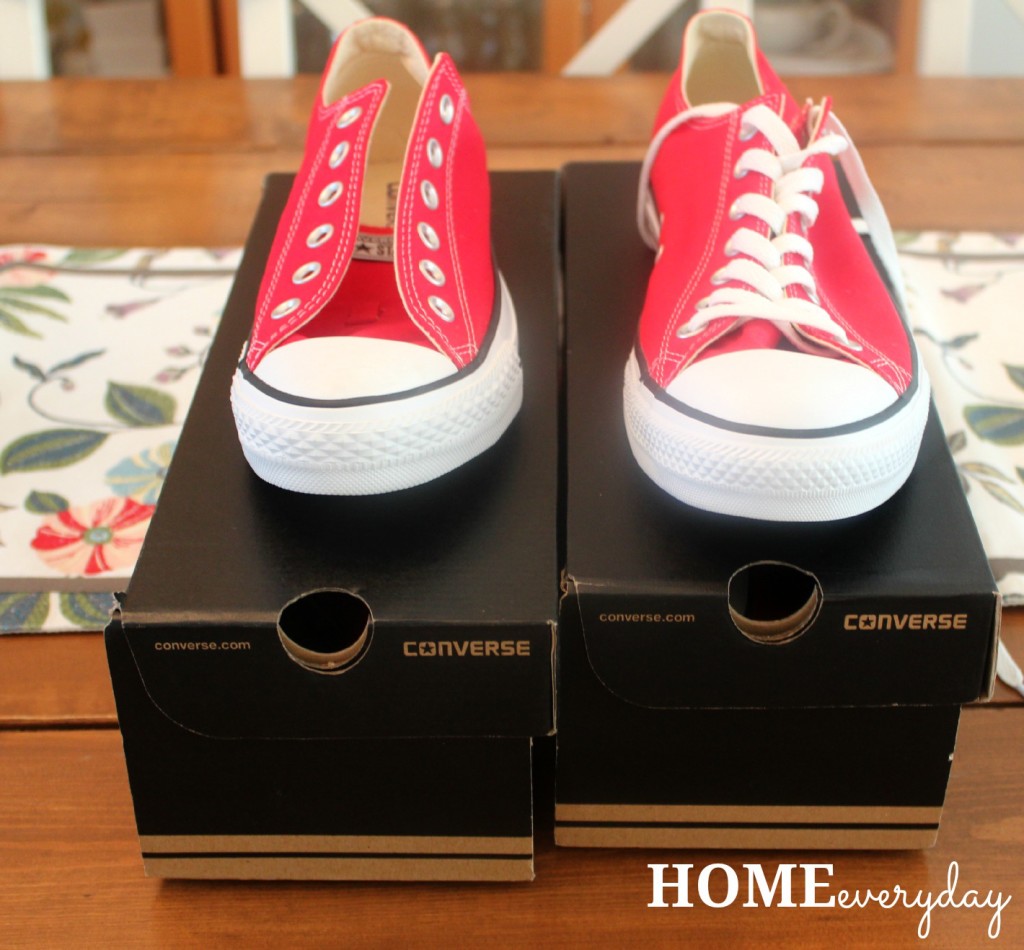
Converse All Stars
fabric glue
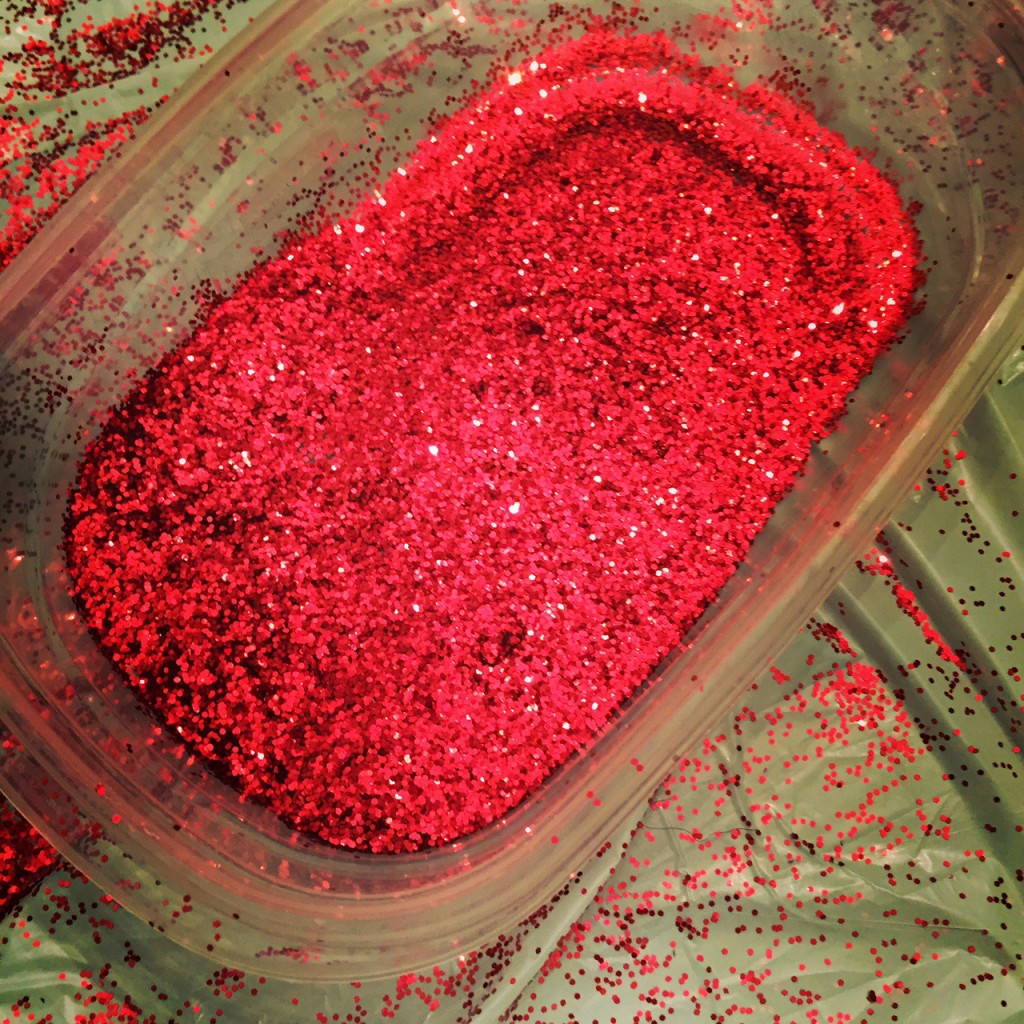
glitter
paint brush
spray clear glaze (I used Dresden gloss I found at JoAnn Fabric)
trash bags
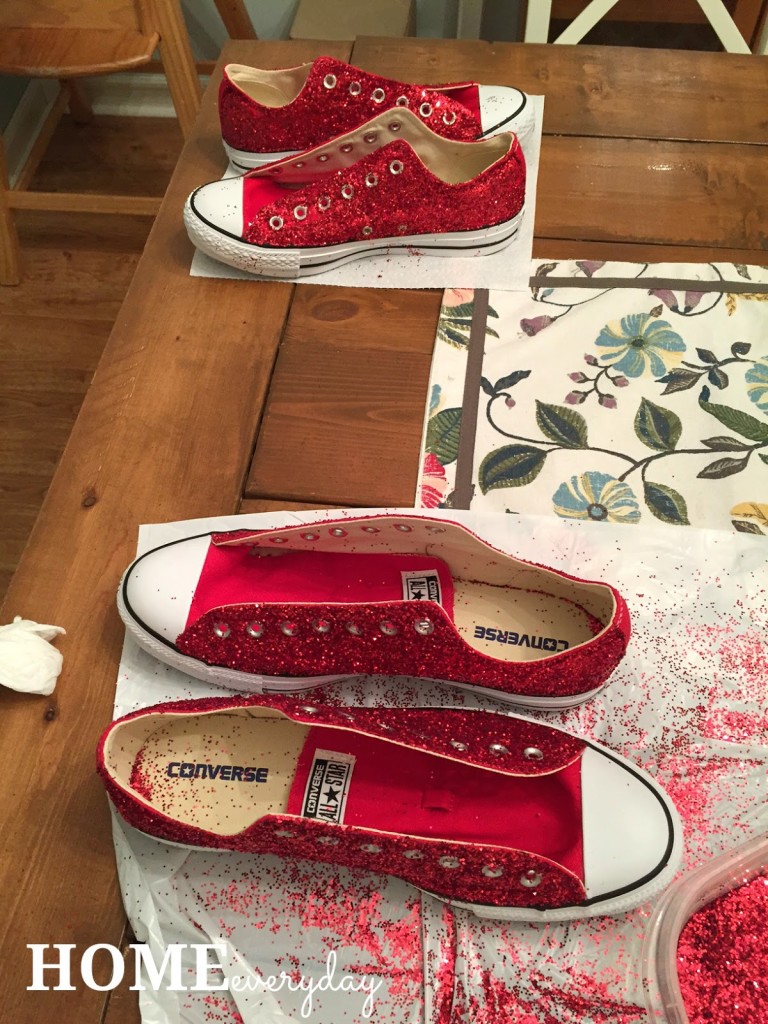
First, protect the area in which you will be working. I used trash bags. Also, remove the shoe laces from the shoes.
Using a small paint brush and working in small areas of the shoe, paint glue on the shoe. Then carefully sprinkle glitter on the shoe where you applied paint.
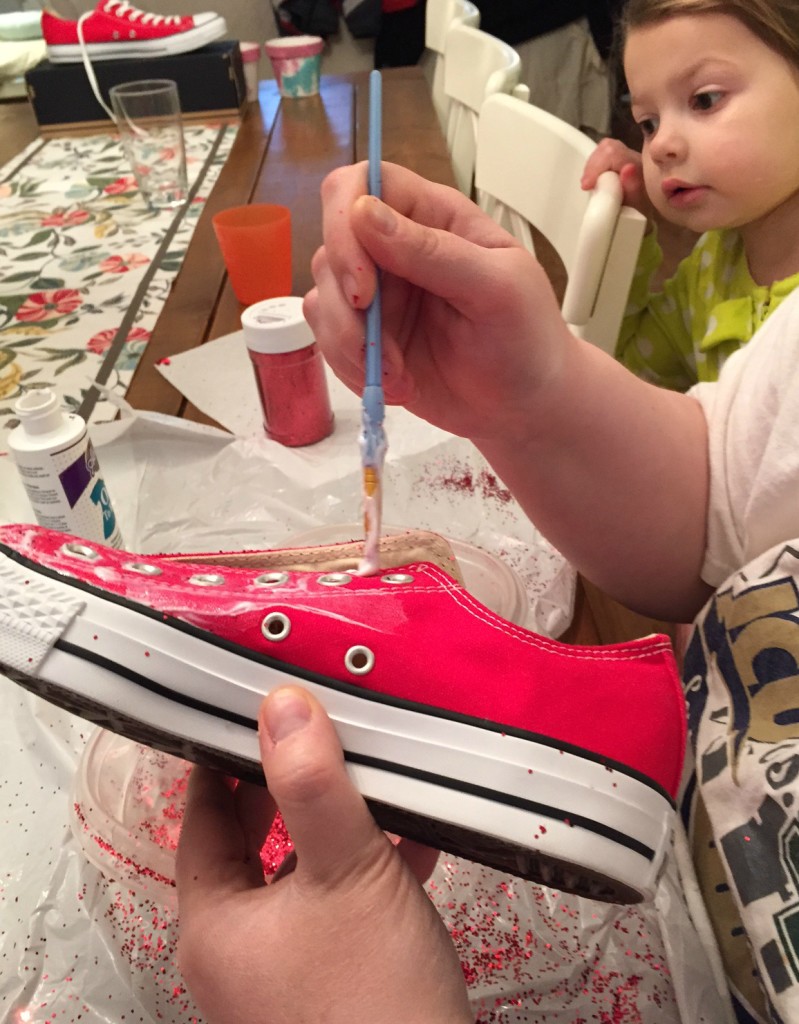
NOTE: I used a paint brush to spread the glue evenly onto the fabric and to also keep the glue exactly where I wanted it avoiding rubber sides and souls, and metal lace holes. I only did the sides of the shoes, and avoided the tongue as I thought the rubbing of laces would eventually rub the glitter off.
Once I covered the areas I wanted with glitter, making sure to fill any areas that were missing. I let the shoes dry for about 12 hours.
Next, I put plastic bags in the shoes, and took them outside. I also put the All Stars on a brown paper bag. This made them ready for spraying the glaze. This helps to minimize the amount of glitter falls of the shoes.
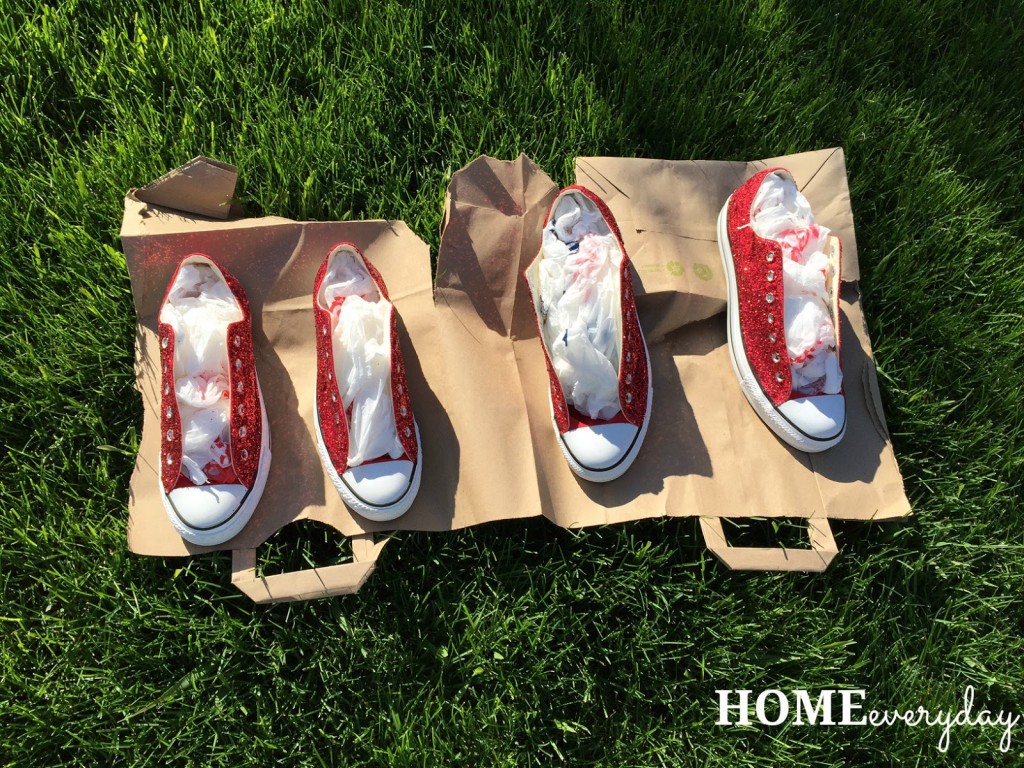
I sprayed three coats of glaze on the shoes waiting about 30 minutes between coats, and letting the shoes dry outside.
NOTE: It is extremely important to do this step outdoors as the glaze is extremely toxic.
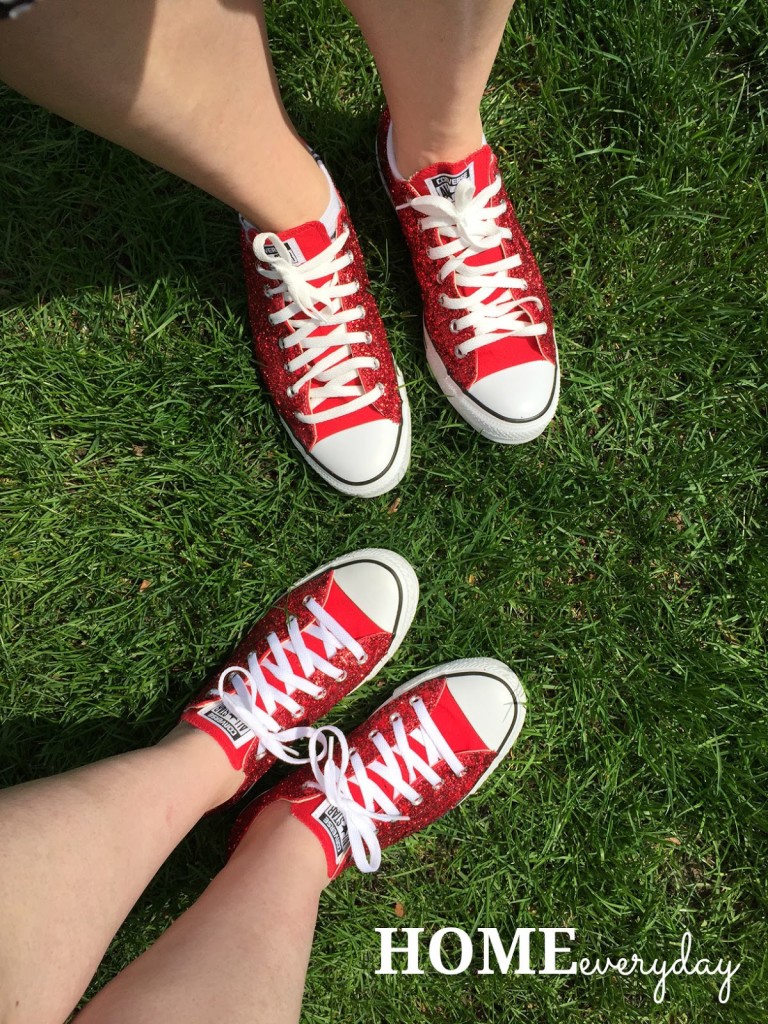
I re-laced the shoes and they were ready for show day.
Here are some photos from the big day, so you can see how they turned out.
 |
| Photo courtesy of Elizabeth Rago |
 |
| Photo courtesy of Elizabeth Rago |
So, I am pretty sure that this is what I am going to do to all my Converse now.
If you like this post and would like to read more about all things domestic with a touch of humor, become a Home Everyday follower! For blog updates or to see other places I write such as ChicagoNow or Chicago Parent follow Home Everyday on Facebook, Twitter, and Pinterest.


