Thirsty Thursday: Hot Buttered Apple Cider

Happy Thirsty Thursday, Readers!

My sister, Beth, always says: “Butter makes it better!”  While I have made hot apple cider recipes in the past like this Warm Vanilla Spiced Cider, I wondered what would happen if I added butter to it, like a vintage hot buttered rum recipe.

I know it sounds weird, but think of all the butter that is in a pie crust.

Well, here’s what happened.

Hot Buttered Cider 12

Let me tell you, Beth is right, butter does indeed make it better! This cider tastes like a Fall in a cup, or being wrapped in a warm blanket, or binge watching Gilmore Girls (did you hear about the revival?), or taking a nap with a cool breeze coming in through an open window.

Long story short, you’ll love it. The recipe is easy, and I have included step by step photos to help you along (you even get a sneak peak at my beautiful new countertops).

Hot Buttered Cider (makes two servings)

2 1/2 cups apple cider or unfiltered apple juice

3 Tablespoons butter

2 Tablespoons packed brown sugar

2 cinnamon sticks

juice of half a lemon

a pinch of ground ginger

a pinch of ground nutmeg

1/2 a teaspoon of vanilla

Hot Buttered Cider 1


In a sauce pan over medium heat, add butter.

Hot Buttered Cider 2

Whisk in brown sugar until incorporated.

Hot Buttered Cider 3

Into the sauce pan, add apple cider, lemon, vanilla, ginger, and nutmeg. Remove from heat.

Hot Buttered Cider 5

In two mugs, place cinnamon sticks.

Hot Buttered Cider 8

Pour hot cider over cinnamon sticks.

Hot Buttered Cider 9

Enjoy on a cool Autumn day with a friend. This recipe could easily be multiplied and kept warm in a crock pot for a party!

Hot Buttered Cider 11

What is With the #TealPumpkin?

In addition to potting some mums that were on sale at Home Depot and hanging the last of my fall decor, it was time for us to put out our Teal Pumpkin. This is a tradition my family and I began last year (you can read about it here), with some inspiration from the awesome people at FARE (Food Allergy Research & Education).

Teal Pumpkin Project 15-3

For those that regularly follow, Home Everyday, you know all about my kids food allergies. But did you know (according to FARE).

  • About 15 million people in the United States have food allergies.
  • About 1 in 13 kids in the United States as a moderate to severe food allergy. (that’s about 2 per classroom)
  • Every 3 minutes a person is sent to the Emergency Room due to an allergic reaction.
  • A reaction can be mild or extremely severe and even fatal. This life threatening reaction is known as anaphylaxis.
  • Many allergies are not outgrown over time, peanuts, tree nuts, finned fish, and shellfish allergies often tend to be life long allergies causing severe reactions.
  • A food allergy can develop at any time.
  • According to the CDC, between the years of 1997 and 2011 food allergies in children increased by 50%

While my kids have food allergies, they are just like any other kids. They go to school, play sports, go to events, and restaurants. All of these activities just require a little extra care and planning. For the most part, the people we associate with are extremely helpful and accommodating. Also, while my kids have been educated from very early on to read packages to look for possible allergens, ask a trusted adult what is in a dish before eating it, come find me at a party, or when in doubt refrain from eating a treat, they are also still children who are learning how to deal with their allergies.

In The Moment 1

This is why Halloween, for a Mom of allergy kids, is extremely stressful. While my kids are planning out the final details of their costumes, I am wondering how to navigate a through a day that is so centered on candy. Who will we donate our candy to after Halloween? Can I call every candy manufacturer between now and Halloween and find out what candies ARE safe? Should we go trick or treating or a just have a Halloween party instead?

When I found out about the #TealPumpkinProject through FARE, I was so excited to participate. This campaign was designed not only to bring awareness to food allergies, but also allow children who have food allergies to participate a little more fully in the Halloween traditions that we are so used to.

When you knock on the door or ring the doorbell of a house with a Teal Pumpkin (teal is the color of FARE) this tells the trick or treater that this house is offering glow sticks, stickers, pencils, bubbles, or some other Halloween trinket other than food. For the kids with food allergies, this is so exciting! My kids have always trick or treated in the past, and we would often donate our candy or share with family and friends after the holiday was over. Now, the kids have a small memento or trinket they can play with from their night of trick or treating with friends.

Teal Pumpkin Project 15-1

This year, I have a jar of candy for those that can have candy, and a jar filled with Halloween stickers and glow sticks.

Teal Pumpkin Project 15-4

And of course, I have my Teal Pumpkin in front of my door, again, this year. For not only my kids, but for all kids to have a happier healthier Halloween.

Teal Pumpkin Project 15-3

For more information about the #TealPumpkinProject, visit the FARE website. You can find ideas for non food treats, free printables, and all kinds of awesome information!

DIY Halloween Bat Tree

This shop has been compensated by Collective Bias and its advertiser. All opinions are mine alone. #TrickOrSweet #CollectiveBias

As soon as the first day of Autumn strikes, I make the kids finalize Halloween costume decisions, I start to hang a few spooky decorations, and I buy some candy. I try and rationalize it by telling myself that it is because I want to make sure I have enough for all of the Trick or Treaters on Halloween and as my kids cannot partake in the candy part because of their allergies, I am always afraid I will run out. However, we all know it is for me.

Also, there is nothing like a giant bowl of Hershey’s Candy by the front door to let everyone know Halloween is on the way. The kids and I adore sharing treats with anyone who stops by before the big day to get everyone in the mood for Halloween. With Hershey’s giant bags there is enough candy to get our  friends and family in the Halloween spirit before the big day, and plenty left for Halloween too. Just take a look at all the kinds you can buy HERE.

Hershey 10

This year, I decided to decorate the dresser that sits near our front entryway with a giant bowl of candy filled with the Hershey’s Trunk or Treat Variety Bag found at Walmart. These awesome variety bags can be found right in the seasonal holiday section, where all the Halloween accouterment resides.

Hershey STORE SHOT

While at Walmart, I found some awesome white sticks in the floral department, and that gave me the perfect idea for a great entryway decoration. With some supplies I had on hand, I created some flying bats to greet us and our guests every time we enter the house. They are cute, simple, and festive and look adorable next to our giant bowl of Hershey’s Candy that we are sharing with our friends and family.

To make these Flying Bats you will need:

black paper

string

hole punch

scissors

pencil

bat silhouette (you can print one from the internet and cut out)

floral sticks

a vase or bucket

tape

Hershey 3

Trace the bat silhouette onto the black paper.

Hershey 4

Following the pattern, you traced cut the bat out.

Hershey 5

Using the hole punch punch two holes in the wings of the bat.

Hershey 6

Tie string through the holes.

Hershey 7

Put the floral sticks in bucket.

Hershey Sticks

Hang bats from sticks like ornaments (tape sometimes helps keep them in place).

Hershey 8

For a quicker version of my directions, here is a video.

Head out and buy your giant bag of Hershey’s Candy and Walmart (you can check decide right here), then decorate your entryway to greet your Trick or Treaters (or yourself)!


Thirsty Thursday: A Teabox Review

This post has been compensated with product from Teabox, however all opinions are my own.

I love tea. I will drink it pretty much in any form, and I have written about it several times here on Thirsty Thursday (like here, here, here, and here). So, when Teabox reached out to me and asked me if I wanted to try out some different types of tea that would be delivered right to my house, I of course said YES!

Teabox 1

Teabox is a wonderful online tea store offering a wide variety of teas. From black tea, to white tea, blends to basics, it has everything for a tea lover such as myself. Teabox even carries all the accessories you will need to make the perfect cup of tea every time.

Teabox 12

My personal favorite part of Teabox, however, is the ability to subscribe to Teabox. That’s right! You can take a short quiz about your likes, and 24 hours later a Teabox is made that will cater to your tastes and a new one is sent every month.

Teabox 2

The starter kit, which I received, even comes with a spoon and muslin tea bags for making hot cup of tea right away.

Teabox 4

In my first shipment, I received The White Tea Sample Set which included a Summer Assam Oolong, A Spring Darjeeling, and a Darjeeling Ruby.

Teabox 3

On the package is all the instructions for brewing the tea, including how much tea to use in your muslin bag,

Teabox 8

water temperature,

Teabox 5

and steep time.

Teabox 9

So far, I love the Assam Oolong. While light it has plenty of flavor, and is even a little sweet.

Teabox 6


Here is a short time lapse video I made to show how easy it is to make your own tea using Teabox.

In the past, when I wanted a custom or fancy cup of tea for a treat, I would go to our nearby teahouse or a restaurant about a half hour away that brews artisan tea.  However, I am not going to lie, sometimes walking to the teahouse or driving a half hour away on a cold day, would not be my favorite task.

Teabox 10

Now, with Teabox, I have my own fancy tea right in my own home. If I want, I can have some delivered each month.


Organizing Legos: A Lego Figure Display

“If I step on one more Lego!!!!!”

This is a phrase often uttered in my house. The kids have all reached the age when Legos are the primary toy. This of course means they are EVERYWHERE. On the floor. In the couch. On the table. In the kitchen. In the car.

While I love that my kids play with Legos (I mean hello hours of entertainment, education, and did I mention silence), I had to think of a a way to organize this insanity.

IMG_9852

The first thing I did was to get some sets of clear plastic drawers, and I sorted all the Legos out by color. I figured this would kind of help with finding certain pieces, and when putting things away, everything would have a place. I even had a couple leftover drawers for instruction booklets, Bionicle pieces, and Lego Figure (known at our house as Lego Guys) pieces and accessories.

Lego Organization 1

After everything was sorted, I thought it might be nice for the kids to have a place to display the things they had built. Normally, they don’t mind displaying something for a few days on the craft table, but then taking it apart to build something else. However, when it comes to their Lego Guys, they really like to keep them together for some reason.

I pinned a few projects, and decided to create a display for their Lego Guys. It was simple and fairly inexpensive as I used up a few things I had on hand.

DIY Chalkboard “Lego Guy” Display

1 picture frame (I chose a large poster size frame)

Chalkboard paint (I used Martha Stewart brand found at Michael’s)

12 – 36 (2 x 3) Lego bricks depending on size of display you want to create

super glue (I used Gorilla Glue Super Glue as I know it adheres to plastic)

chalk

Paint brush

drop cloth or trash bags

Lego Guy Frame 1

Lego Guy Frame 2

Step 1: Disassemble Frame. Take apart the frame by removing the glass or plastic, and any paper. Set aside the frame. Then place the cardboard or wooden backing on the drop cloth to prepare to paint.

Lego Guy Frame 3

Step 2: Paint. Paint. Paint again. Paint the front side (the part of the frame without the hooks to use for hanging) with chalkboard paint. Be sure to use smooth strokes and watch for drips. I ended up painting three coats of chalkboard paint making sure to wait at least an hour between coats.

Lego Guy Frame 4

Lego Guy Frame 5

Lego Guy Frame 6

Lego Guy Frame 7

Step 3: Scribble. Most chalkboard paints require you to cure the chalkboard paint with chalk before moving on with anymore steps. To do this you must draw on the chalk paint after it is completely dry (12-24 hours) and wipe clean.

Lego Guy Frame 8

Step 4: Measure. I placed the board back in the frame without the glass. Then, using a measuring tape, a level, and some chalk I marked out some lines to help me determine exactly where I wanted to clue my Lego Bricks.

Lego Guy Frame 11

Step 5: Glue. Using the super glue, carefully put a dab of glue on the side of the Lego brick and placed the brick on the markings on the board. (I didn’t photograph this step as it made me nervous to have my camera or phone around super glue).

Step 6: Wait. It is important to wait a few hours to make sure that all the Lego bricks are secure with the super glue and are completely dry before attaching your Lego Guys.

Lego Guy Frame 13

Now, you and your kids can enjoy an awesome display of Lego Guys (and label them) and you won’t be stepping on them anymore.

Lego Guy Frame 12


Thirsty Thursday: Limoncello

When I was a little kid, my Mom had this pretty glass bottle in the kitchen that she had filled with cranberries and vodka. I think she had seen this home decor tip in a magazine or on Martha Stewart as a way to accessorize. This red bottle with a white cap sat on the counter for years as a decoration. Several years went by, and the cranberry vodka bottle remained on the counter unopened. It kind of became a centerpiece of the kitchen. One Christmas, my Dad thought it might be fun, seasonal, and festive to pop open the top of this cranberry vodka decoration bottle that had been sitting on the counter and try a little nip.

As a former high school chemistry teacher, you think he would have been slightly alarmed when he opened the bottle and the bouquet resembled that of jet fuel. It should have caused even greater concern when he poured a small swig into a glass and before he could lift the glass to his lips more than half had evaporated up the sides of the glass like nail polish remover. However, he still took a little sip. Long story short, we think the cranberry vodka mixture had undergone several fermentation processes in the years it sat on the counter as home decor, because I’m pretty sure my Dad swore off shots that day, and no one saw the cranberry bottle on the counter after that, again.

I tell you this story because recently my brother-in-law, Joe, came by to show me how to make Limoncello. As we were peeling lemons, preparing to soak the rinds in Everclear, and making batches of simple syrup, I couldn’t help but think of my Dad and how I think he would have appreciated this recipe a bit more as it is way more palatable and way less flammable.

Limoncello 10

Limoncello is still pretty strong hooch, but it is liqueur that can be mixed lots of ways to make some delicious cocktails.

Here is a simple recipe for this citrus liqueur.

Limoncello (makes three bottles of liqueur and can be doubled to make for friends)

15 large fresh lemons rinsed clean

1 bottle Everclear grain alcohol

4 cup water

4 cups sugar

Limoncello 1

Using a very sharp pairing knife, peel the rind of the lemons being sure to only peel the yellow portion.

Limoncello 2

You do not want to have any of the white pith, this will make your mixture very bitter.

Limoncello 3

Once all the lemons are peeled, put the peels in a glass container with a tight fitting lid (I used a decanter). Pour the Evercleafr over the peels.

Limoncello 5

Store in a dark cool place (not the refrigerator) for 10 days. Shaking the mixture once a day. I put the mixture in my laundry room so that when I went down to do a load of laundry I would shake it up.

After ten days, strain the Everclear mixture to remove all the lemon peel.

Limoncello 8

It will be a lemony yellow color.

Limoncello 6

In a large sauce pan over medium heat, mix together the water and sugar. Bring to a low boil and reduce heat stirring occasionally. Cook for 2 or 3 minutes until sugar is dissolved. The makes a simple syrup.

Remove this mixture from the stove and let it cool completely to room temperature.

Once the syrup is cool you can mix the lemon mixture and the syrup together.

Funnel into your storage bottles (I just throughly cleaned out the Everclear bottles as well as an old wine bottle and removed the labels.)

Store in the freezer.

Limoncello 10

Enjoy responsibly sipped alone, a shot with club soda, with lemonade, or even over a bit of sorbet for a refreshing treat.


Say No To Crack, Especially in Your Kitchen Countertops

When we moved into this house, there was so much updating that needed to be done, we had to prioritize. Obviously we didn’t have the means to do everything all at once, so there were quite a few things that got put on the back burner. One of them, was the kitchen countertops.

Kitchen Countertop Crack 1

The countertops in the kitchen are Corian. Like the original, first draft of Corian. We all know that the first draft of anything always has room for improvement. When we moved in four years ago, there was a small crack above the dishwasher, and also one near the stove area. While this was not exactly ideal, we knew that new countertops was not in the budget. We looked into patching the Corian, which can be done and is inexpensive, but knew that the spot above the dishwasher would most likely keep reappearing due to the expansion and contraction and heat of the dishwasher. We were also wondering what other kitchen upgrades we would want to make in addition to countertops. So, we held off. I used cutting boards for everything, and we made due.

However, if you have read this blog before you know that I spend most of my day in the kitchen. You also know that is where everyone else in the house spends most of their time too. Due to the wear and tear of our family, this is what has now taken place.

Kitchen Countertop 2

There are CRACKS everywhere!

So, we have bitten the bullet and decided to say no to crack once and for all.

Our first choice was butcher block. (If you follow me on Pinterest you can see all the butcher block I pinned.) Brian and I liked how warm wood seemed. We figured that we would be putting in a new backlash with the countertops, which would be tile, and with white cabinets, wood seemed the way to go. We also liked that this was something we could probably do on our own. However, after a great deal of research, we realized that with three kids who like to cook with Mom, this would probably get a great deal of wear and tear. We probably would need to refinish them occasionally, and honestly I don’t want to get into that mess.

DIY-Butcher-Block-copy
Photo courtesy of www.simplymaggie.com

Our next choice was Corian again. Even though we have cracked Corian now, we knew that Corian had come a long way in 20 years. We liked how some of the surfaces looked like natural stone, and that is totally our jam. However, after talking with some people about Corian, we found out that even new Corian can crack, and there have some complaints. In fact one of the places we shopped, doesn’t even sell it anymore due to customer complaints.

That got us thinking about durability, quality, and how often I cook in the kitchen. PRO TIP: Be flexible. Sometimes you might not get the exact material you originally wanted, but after talking to the experts you find it is the best choice for your lifestyle, look, and budget.

So we took a look at natural stones and settled on granite. We loved the natural look and variation of the stone. However, we originally didn’t think it could fit in our budget. Upon doing some good old fashioned shopping around, we were able to find something we loved that fit into our budget. PRO TIP: Make sure you get a written quote from all the places you are shopping. That way they can compete for your business. I was able to get a written quote from a local retailer, and Home Depot was able to beat it, and the quote they gave us was LESS than what we would have paid for Corian.

The counters have since been ordered, and measured. Since our current sink is built into the countertops, we have also had to pick out a new sink.  Also, I have been sampling some tiles. You can follow me on Instagram for updates.

Decisions are being made. #HomeEveryday #SkibsSummer

A photo posted by Erin Skibinski (@eskibs) on


Now we have to pick out our exact slab of granite then wait for installation.

Hopefully, in a couple of weeks, the crack will be gone forever!


In The Moment Monday

A few weeks ago, I lamented about my lack of preparation for the upcoming school year. Last week we started school, and it all got done. Well, mostly got done. It might have had a few hiccups. I might not have had perfectly styled Bento Boxes for lunches, I might have been missing a 3 ring binder, I might not have blown out my hair for first day of school pictures.

In The Moment Monday 1

Guess who cares?

No one.

George did get up a little early because he was excited and nervous, and helped me pack up everyone’s school supplies. Having the extra alone time with him in the morning was good for both of us, I think.

In The Moment 2

Russell came home the first week with a PBIS recognition for respect. What a sweet kid!

In The Moment 3

Caroline is loving walking to the bus stop each day to pick the boys up.

In The Moment 7


Would I love to make a Phineas and Ferb Bento Box surprise for the boys? Yes. Would I love to have an afternoon tea party for Caroline and her friends after school? Sure. I’ll put those things on my to do list.

In The Moment 4

First, I am going to enjoy the fact that we survived the first week.

Thirsty Thursday: Ice Vanilla Latte with Homemade Vanilla Syrup

We are officially back to school. This means running around and paying dearly my lack of preparation. This also means my afternoon pick me up is no longer a nap with the kids, but caffeine.

I usually do caffeine in moderation as I am highly sensitive to it, but let me tell you this week has really called for it. I have been going to bed too late and waking up too early to make it all the way through the day without a little something. I wish I could say that I was going to bed late because I am doing something fun and creative like crafting or baking, but it is mostly folding laundry and waiting up for Brian who is working insane hours getting ready for back to school.

One of my favorite treats is an iced vanilla latte. I have an espresso maker, but to be honest I don’t have time for that noise. Also, sometimes I find the place that rhymes with Schmarbucks can be a pain to run to in the afternoon when I am home getting things done. So, I have come up with my own recipe.

Iced Vanilla Latte 10

The key to a good one though is the syrup, and I think I have perfected the recipe. What I have done is used both a fresh vanilla bean, and the best vanilla extract I could find. This makes a creamy and vanilla simple syrup that can be mixed into coffee, tea, or even lemonade and stays good in the fridge for up to two weeks.

Iced Vanilla Latte with Homemade Vanilla Syrup

Vanilla Syrup

2 cups granulated sugar

2 cups cold water

1 vanilla bean

2 tsp pure vanilla extract (preferably organic)

In a medium sauce pan over medium heat add water, sugar. Cut the vanilla bean lengthwise and add it to the pan.

Iced Vanilla Latte 1

Then stirring occasionally, bring the mixture to a low boil or simmer and cook for 3 minutes. Remove from heat, and strain mixture into a heat safe container.

Iced Vanilla Latte 2


Let cool completely. Then, add the two tsp of vanilla extract.

Iced Vanilla Latte 4


Finally, put in a refrigerator safe and airtight container (I used a Mason Jar), and put in the refrigerator for up to two weeks.

Iced Vanilla Latte 5


Iced Vanilla Latte

3 oz of boiled water

1/2 – 1 tsp instant espresso powder

1/2 – 1 Tbs vanilla syrup

Milk (you can use whole, skim, soy, or almond)

ice

Iced Vanilla Latte 6

In a heat safe cup, mix together boiled water and desired amount of espresso powder (I used 1/2 tsp as I don’t like my lattes too strong).

Iced Vanilla Latte 7

Then, add vanilla syrup. In a large glass add ice, espresso mixture, and then top with as much milk as you like.

Iced Vanilla Latte 8

Sip with a straw for the perfect afternoon jolt to keep you going.

Iced Vanilla Latte 9


For more Thirsty Thursday recipes or information on all things drinkable, visit the Thirsty Thursday Page.

The Last Slice: An Uncommon Goods Story

This post has been compensated by Uncommon Goods however the opinions and stories are 100% my own.

My Dad had a ridiculous sweet tooth. He loved all sorts of sweet treats and baked goods. Milkshakes, doughnuts, cakes, and cookies. He had a particular fondness of pie.

My Dad who was also a hardworking and genuinely great guy had come home from a long day at the office. Most days after work, Dad would go for a run, do some lawn work, or if it was one of our many sports seasons he would end up having to head right to coach us. I think the physical activity would help him unwind. However, on one particular day, no amount of physical activity was going to help.

Berry Wash 5

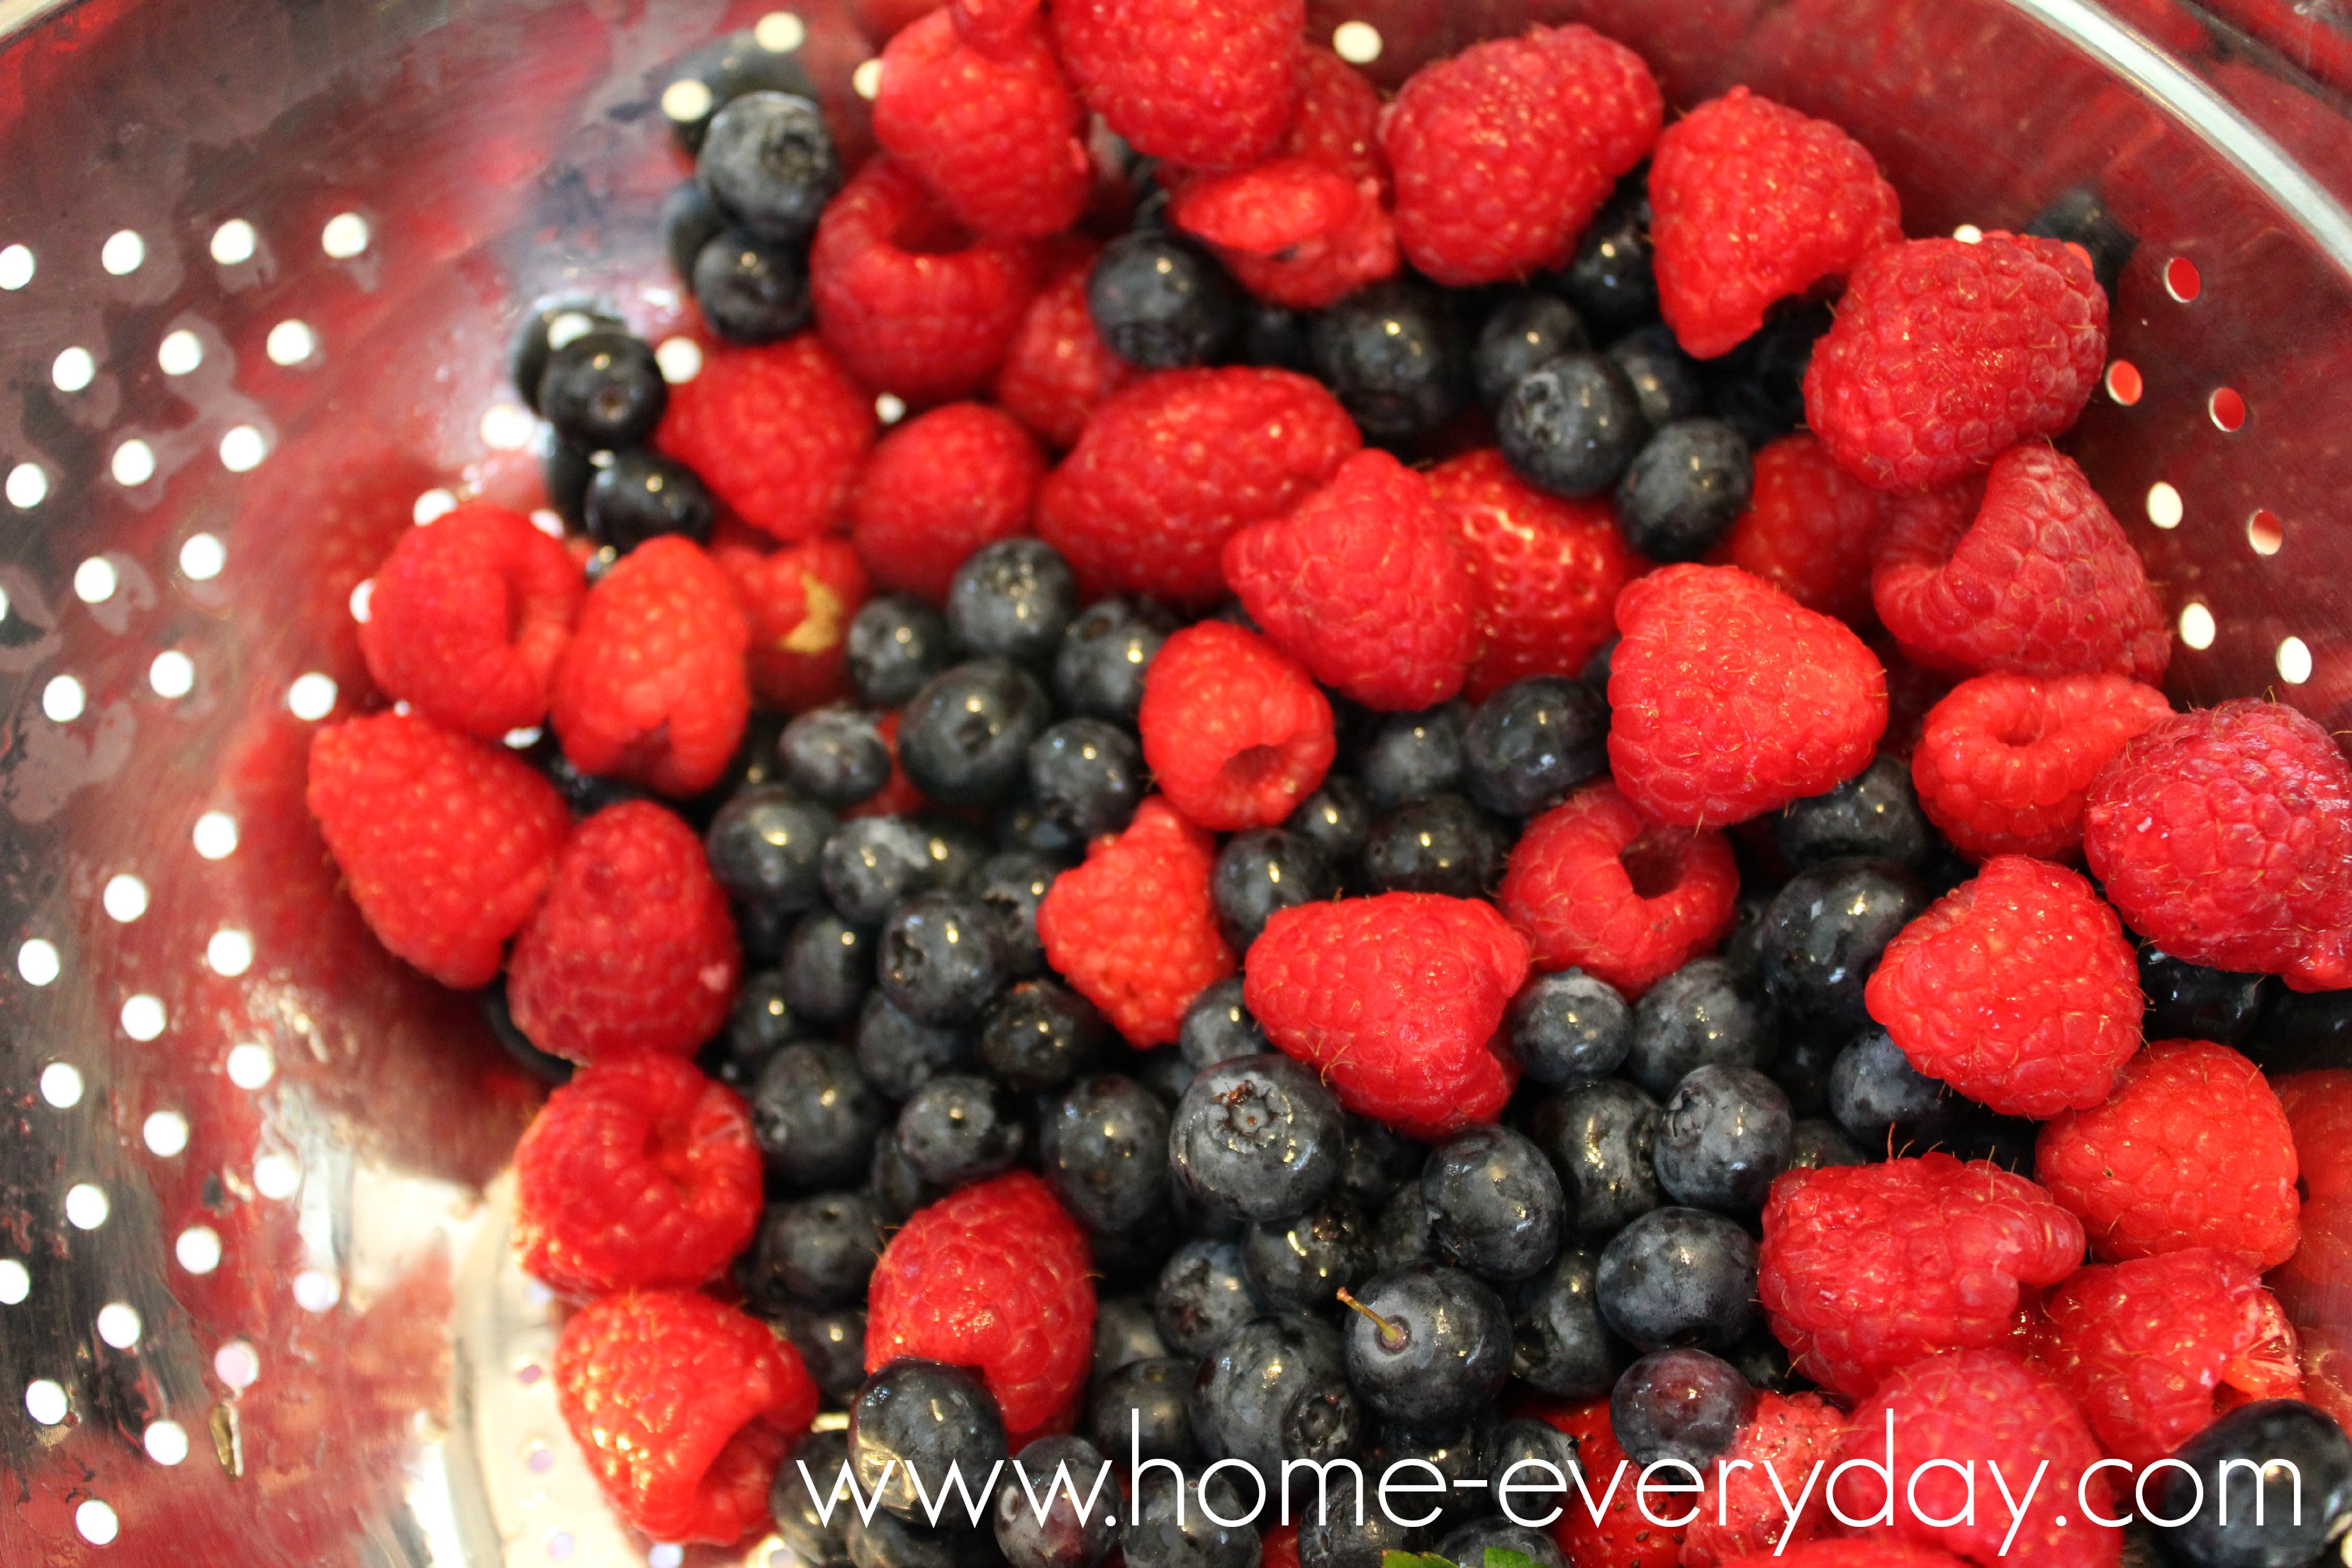
There was one day when I was about 10 and we had a gorgeous and fresh blueberry pie in the house.

My Dad had walked in the house and had seen the pie sitting on the counter he couldn’t help himself. He didn’t even change his clothes or exchange pleasantries with anyone. He grabbed a fork and plate with an almost ‘Hello, old friend’ look in his eyes, and helped himself to a slice. My brother, Kevin, and I were looked at each other wide eyed knowing that dinner was soon, and Mom wouldn’t be happy to see a slice of pie missing. It must have been a particularly rough day for Dad at work, though, because he got up from the table again and helped himself to another slice of blueberry pie. He wolfed it down as fast as the first, this time topping it off with a glass of milk. He went to the counter for another slice. Then another. Kevin and I’s eyes widened with every gigantic slice of pie that was eaten. Until, finally, there was only one slice left. Kevin and I looked at the pie plate, then at each other.

We had just witnessed a stress eating session of epic proportions.

We thought he was finished when he had cleared his mess from the table, the only evidence of the insanity was the one slice of pie left in the pie tin.

Until…

Dad walked to the counter grabbed the entire pie plate, and dug in with his fork and finished the entire blueberry pie.

I guess he figured there was no sense in leaving just one slice. Looking back, I kind of agree. What’s the point?

When I eat pie, I think of my Dad and that last slice of pie every time, and I always laugh.

For those that read my blog on a regular basis, you know that when it comes to gifts or things in my home I like to surround myself and decorate with things that are sentimental, remind me of something, or possibly have a history, and have a lot of heart. When Uncommon Goods reached out to me and asked me to write about their beautiful line of products I was eager to pair up with a company that is sentimental, personal, and has a lot of heart.

Uncommon Goods supports artists, most of them living right here in the United States by selling handmade items such as home decor, wall art, kitchen and housewares, and even jewelry. Many of the unique items Uncommon Goods sells use recycled or up cycled materials which show their commitment to our planet. Also, as a part of their mission, and this was my favorite part, Uncommon Goods employs all of its workers for a fair wage. In fact, their lowest paid seasonal worker receives 50% more than the local minimum wage. If that doesn’t show heart, I don’t know what does.

3PqRNA4-_400x400

Uncommon Goods asked me to browse around their wall art line which you can find here or home decor line which you can find here, or their adorable line of decorative pillows which you can find here.  Then, I was to find something that I liked for our home. Let me tell you, it was not easy as there are so many adorable and beautiful items to choose.

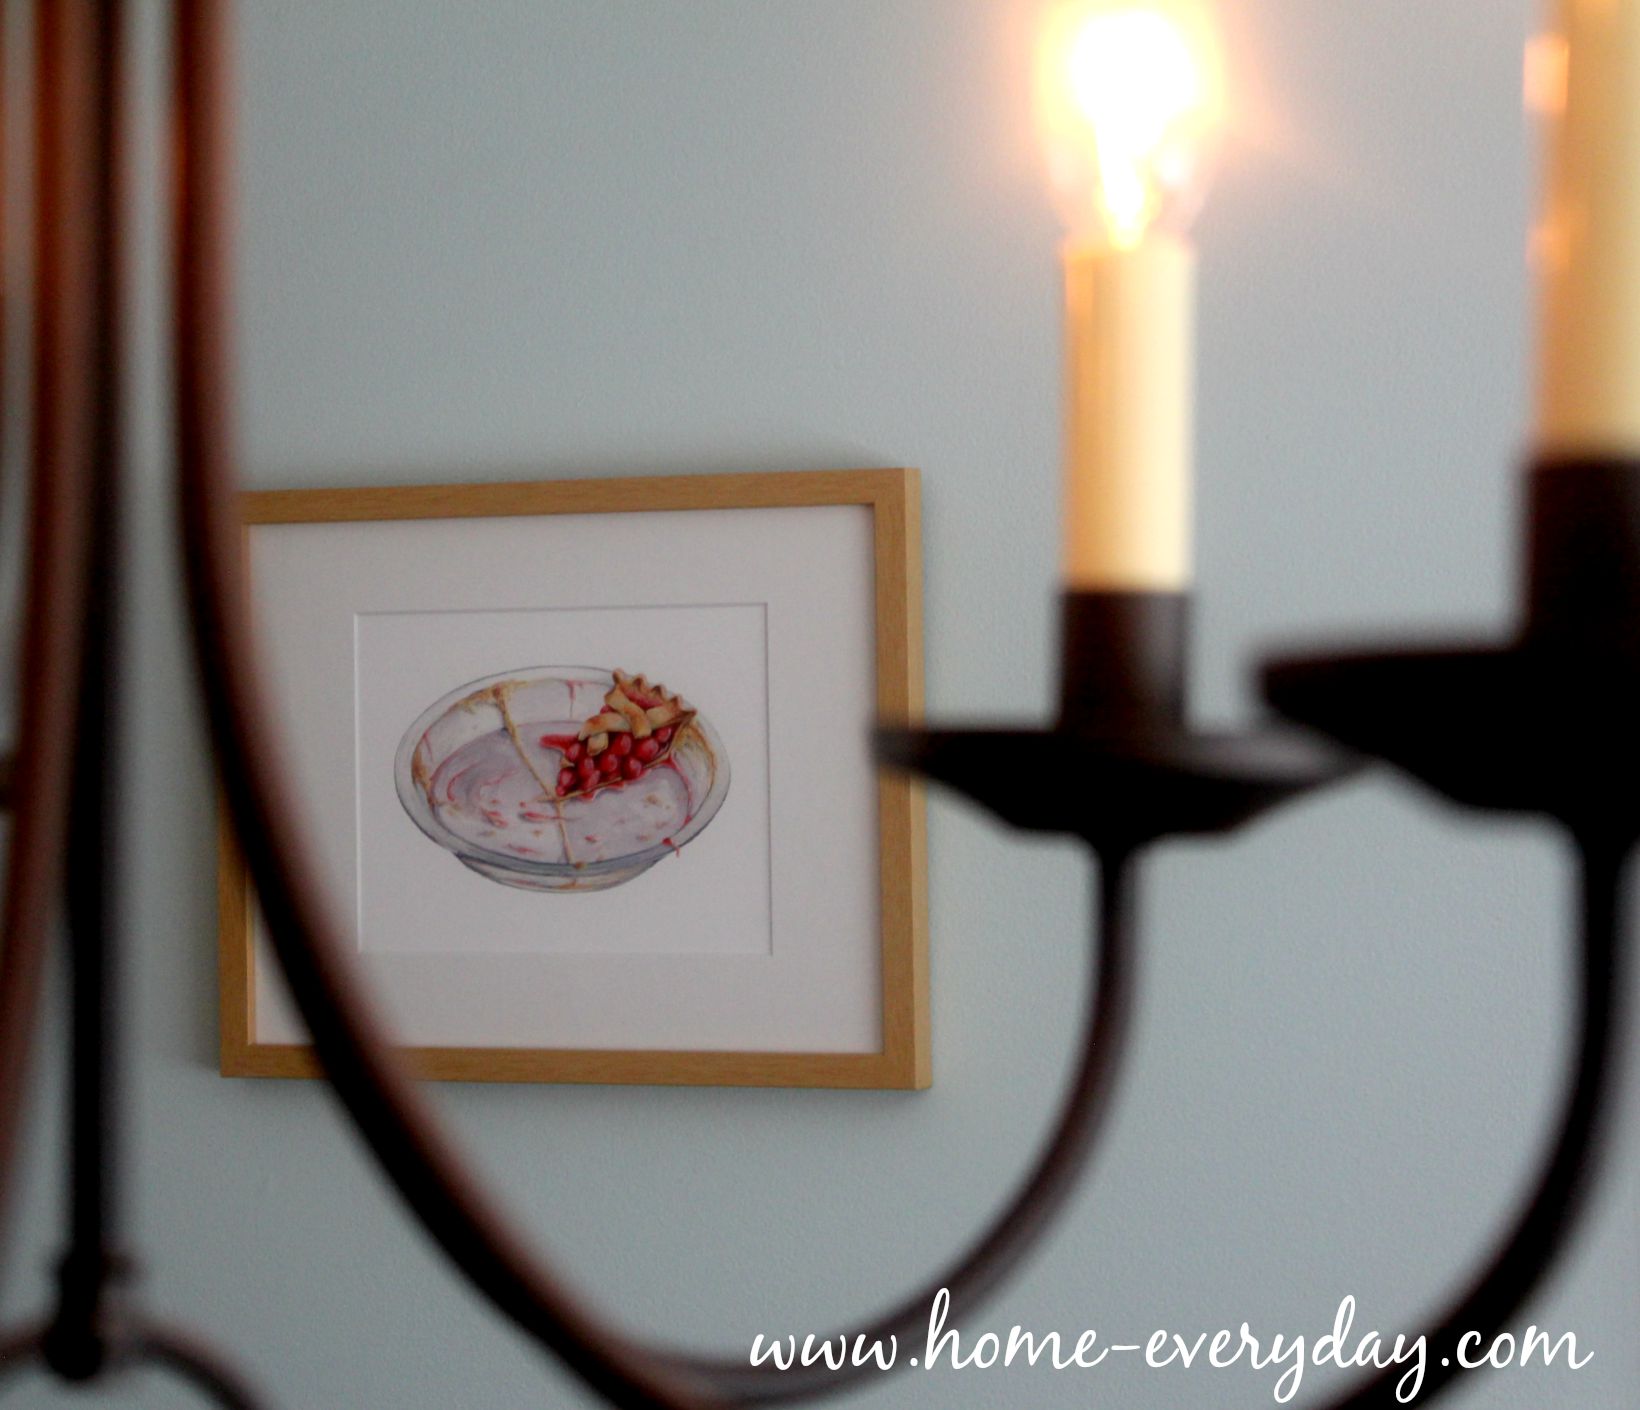
As my list of items to choose got longer, I saw this adorable watercolor entitled The Last Slice by Kendyll Hillegas in the Wall Art section, and I stopped dead in my tracks. Hillegas paints ordinary every day objects, and this ordinary everyday object was perfect.

Uncommon Goods The Last Slice 1

It immediately made me think of my Dad and the blueberry pie story. I knew it would look adorable hanging in my dining room, and it would bring me back to the moment not just when I am eating a slice of pie but every time I sit down in my dining room.

Not only is the watercolor itself so cute and a perfect addition to any kitchen, but I am loving the natural wood tone of the frame.

It arrived perfectly packaged. Safe and sound.

Uncommon Goods The Last Slice 2

And it is hanging for all to admire. I am looking forward to someone asking me about it, so I can not only share where I got such an adorable piece of art, but also share a funny family story.

Uncommon Goods The Last Slice 3

If you would like more information about Uncommon Goods or to shop, visit the website. For news or information about new items follow them Uncommon Goods on Facebook or Twitter.