Category

Food

All American Big Game Layer Dip

This shop has been compensated by Collective Bias, Inc. and its advertiser. All opinions are mine alone. #BigGameSnacks #CollectiveBias

Spring is not quite here, but this time of year typically brings about some of my favorite things: warm weather, St. Patrick’s Day, planning my garden, thinking about summer, and college basketball. This past weekend we watched a lot of basketball, and there is only more in our near future. A lot more. Even my little ones are in on the action. My oldest was checking out scores of his favorite teams on the computer.

With the weather warming up, and basketball on TV we haven’t been eating a lot at the dining room table. It is a lot of snack like food as we have been running in and out to enjoy both the nice weather and basketball games.


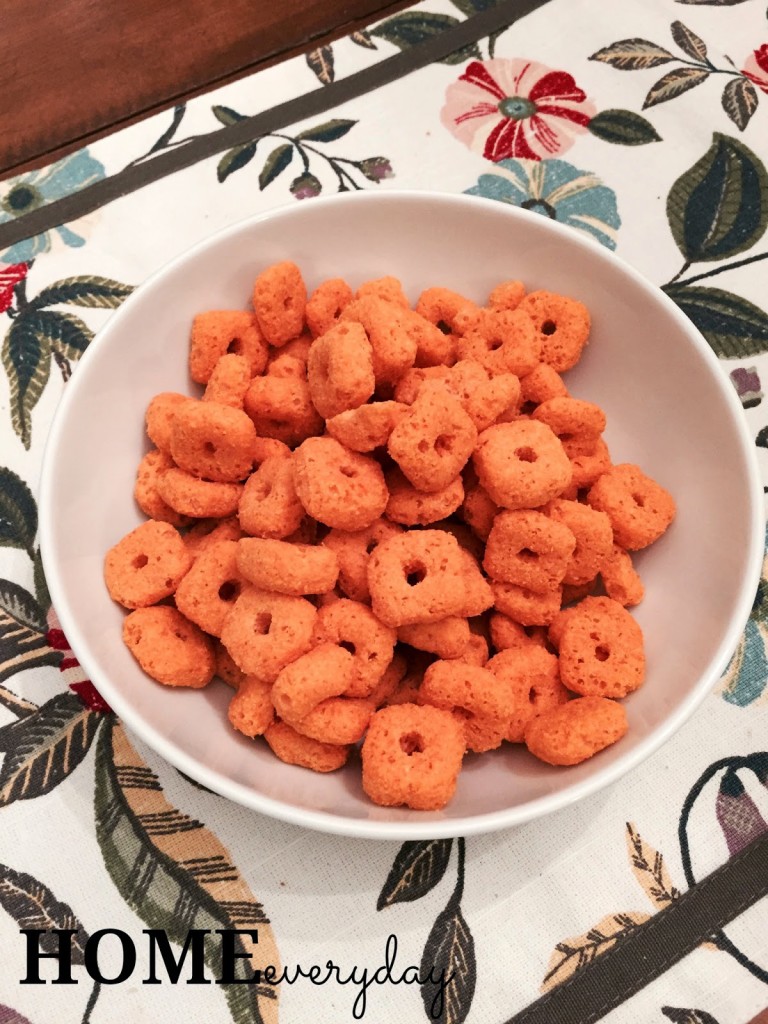
One of our favorite family snacks is Cheez-Its! My kids especially love Cheez-Its. They have been eating them since they were wee ones as they are one of the few snacks that were allergen safe, and were often a nice portable treat. Trying the NEW Cheez-It Grooves and NEW Cheez-It Crunch’d was a no brainer!


We found Cheez-It Grooves right next to all our old favorites!

When I was asked by #CollectiveBias to create a recipe with for Cheez-Its Crunch’d and the NEW Cheez-Its Grooves, I was thrilled. I ran to Walmart with my little helpers and came up with the perfect idea for a #BigGameSnack.


The Cheez-It Crunch’d easy to grab right by some the things I needed for the dip.
We couldn’t stop snacking while I made the dip!


Most #BigGameSnacks include a veggie tray, a few hot hors d’oeuvres, a few cold things, and of course layered Mexican dip. However, I thought it might be fun to switch things up, and I created an All American Layer Dip to serve with Cheez-It Crunch’d or Cheez-It Grooves. 

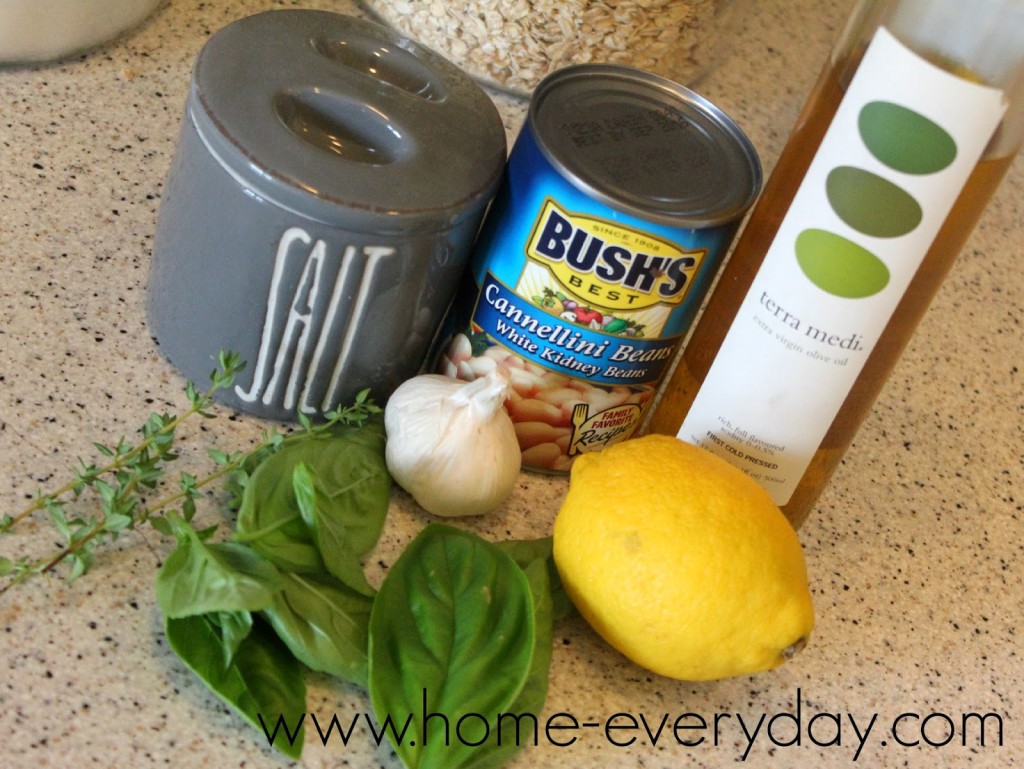
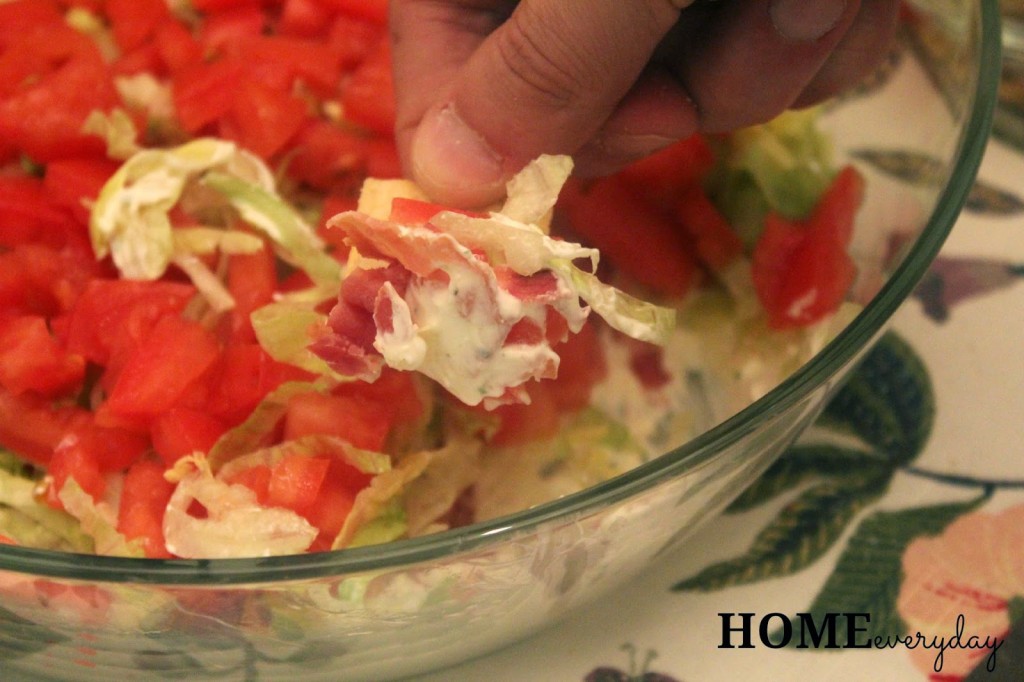
This dip is simple to make and hits some different flavor notes and pairs nicely with the cheese flavor of Cheez-Its. What is more American than bacon, lettuce, tomato, and ranch?

All American Layer Dip

1 8 oz package of cream cheese softened to room temperature
2 cups of sour cream (or 1 16 oz container)
1 ranch seasoning packet
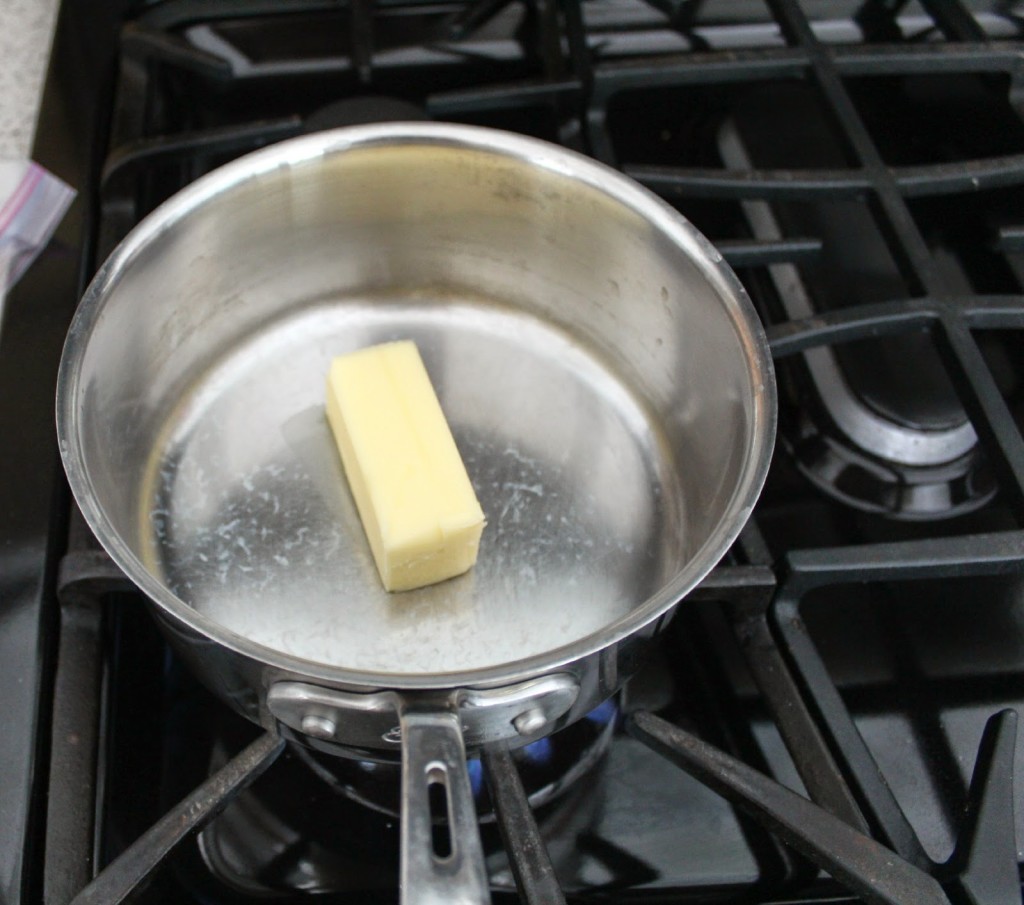
1/2 pound of bacon cooked, cooled and crumbled.
2 cups shredded lettuce
2 cups plum tomatoes seeded and diced


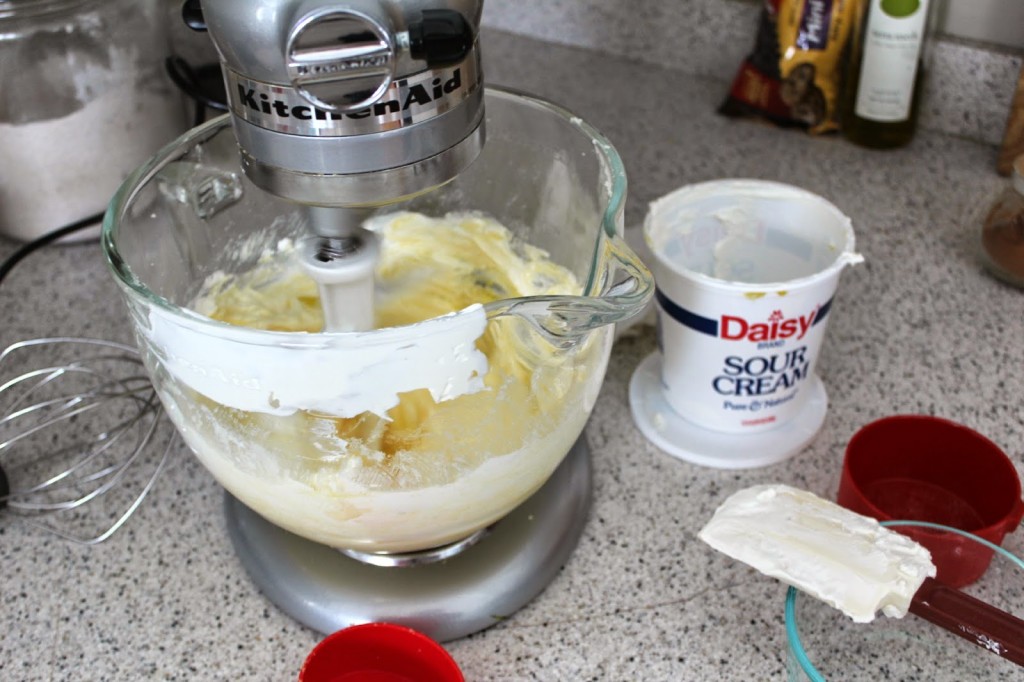
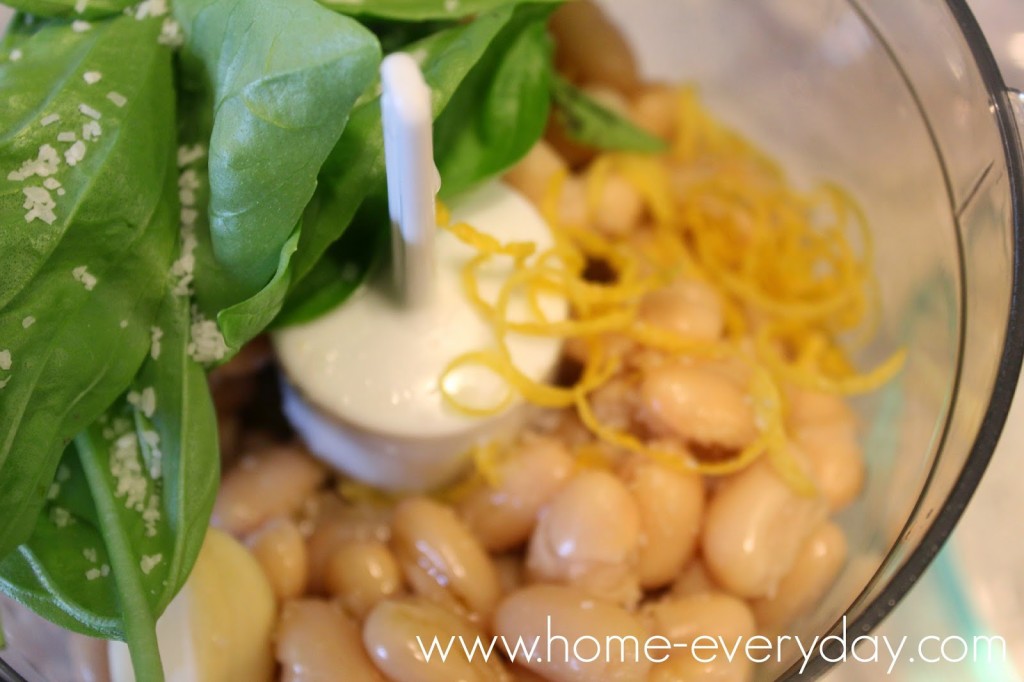
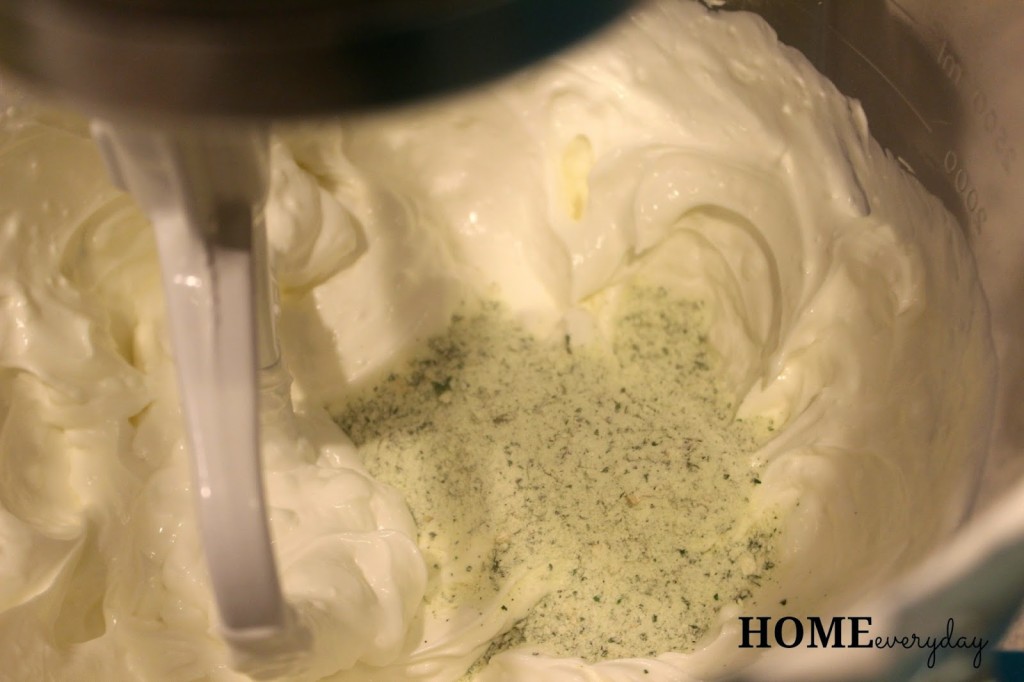
In a mixer with a paddle attachment add sour cream and cream cheese and blend until combined. Then, add ranch packed and mix for about 1 minuted until incorporated.


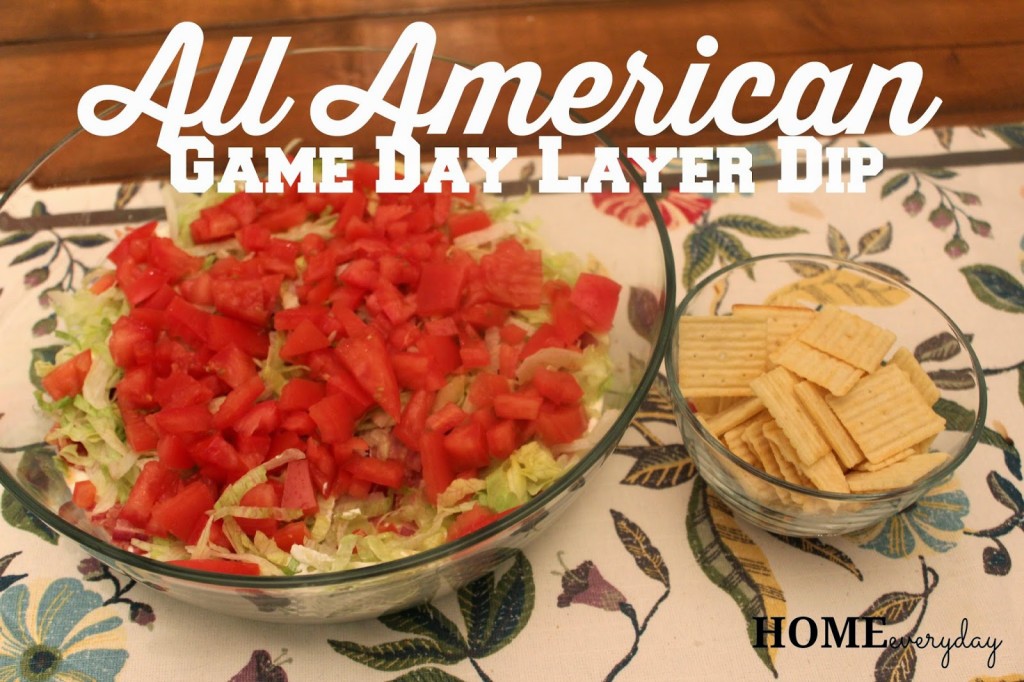
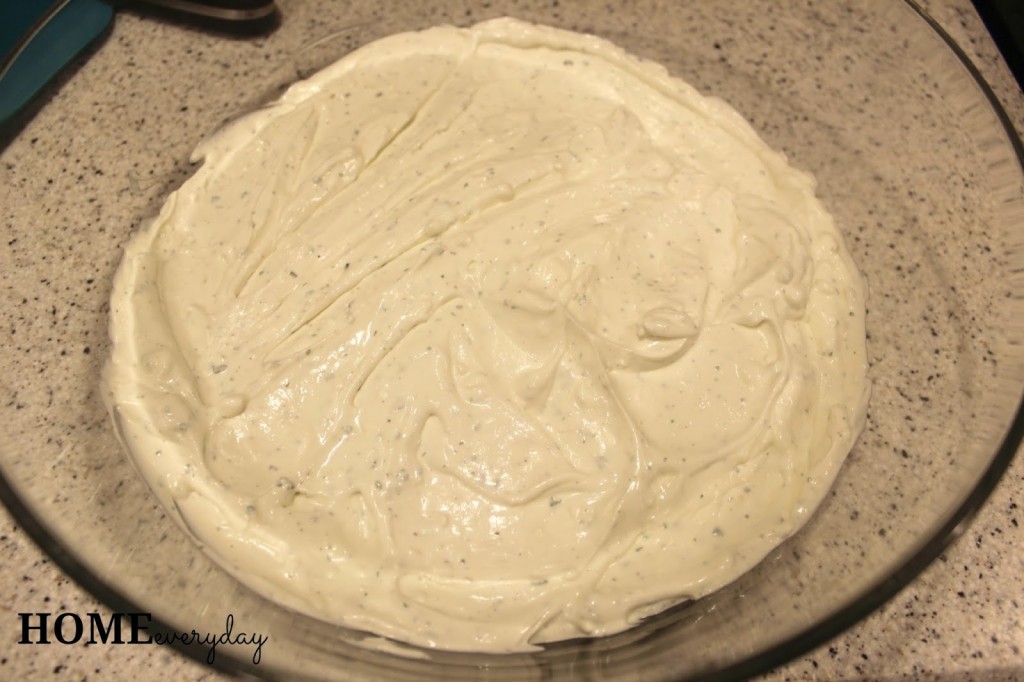
Next, spread the ranch mixture into the bottom of a large shallow dish.


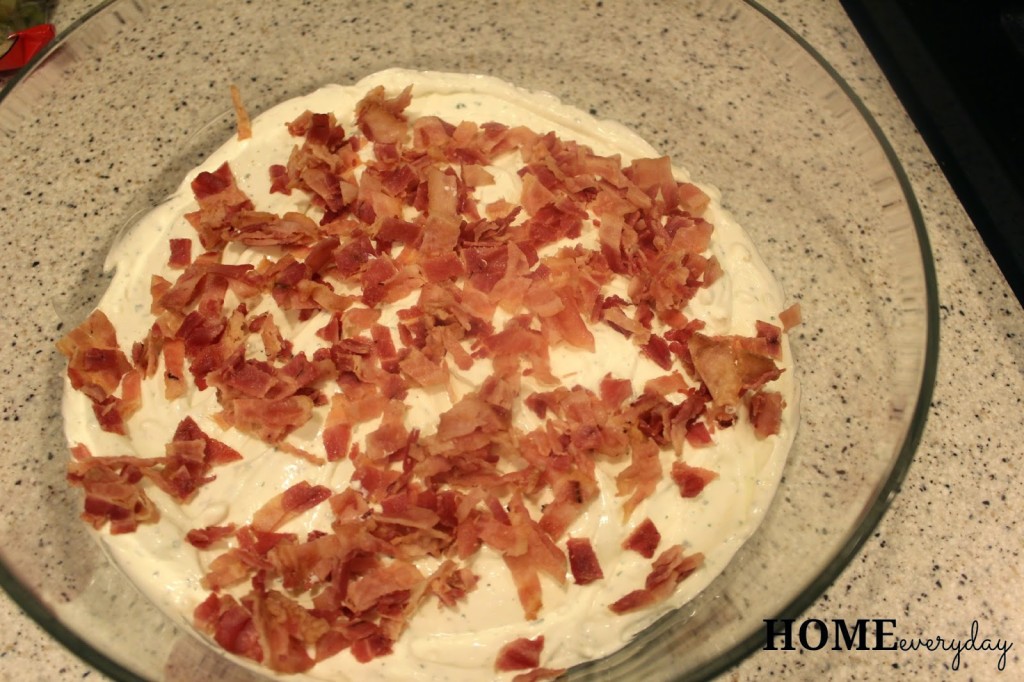
Put and even layer of bacon on top of the ranch mixture.


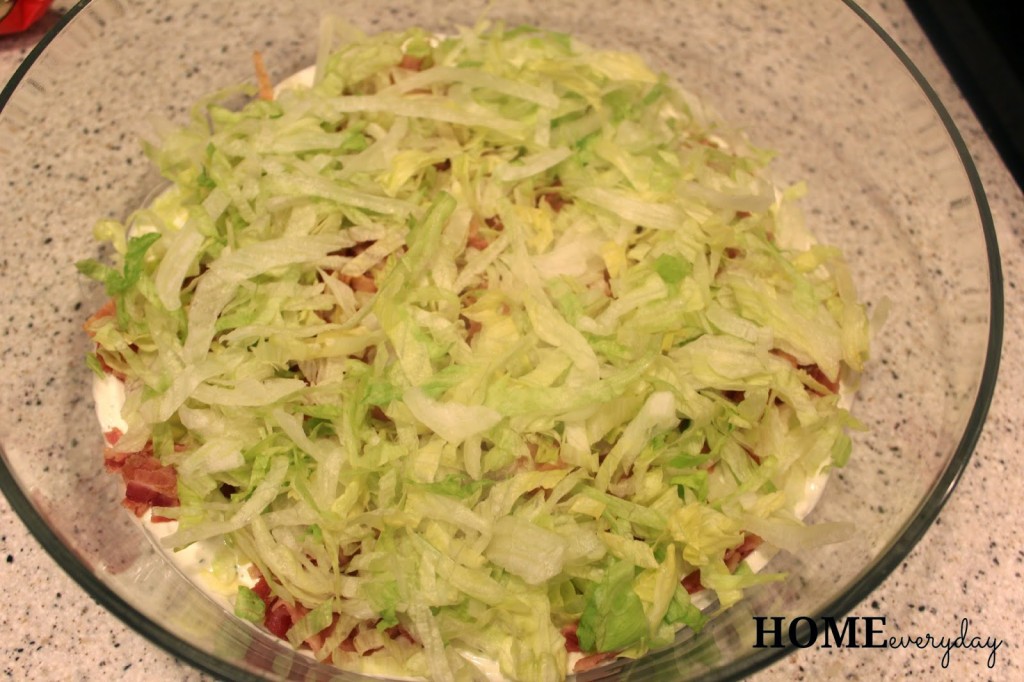
Then, add an even layer of lettuce.


Finally, add the layer of tomatoes.

Enjoy with your favorite Cheez-Its.


I personally, liked it with the Cheez-It Cruch’d Cheddar and my hubby enjoyed them with the Cheez-It White Cheddar Grooves.

We all know we have a favorite Cheez-It, with or without dip!
In fact, you can vote for your favorite and a chance to win $10,000 dollars at the here http://cbi.as/3ckv or you can check out the Snackable Moments here http://cbi.as/3cxh.

Which one is your favorite?

If you like this post and would like to read more about all things domestic with a touch of humor, become a Home Everyday follower! For blog updates or to see other places I write such as ChicagoNow or Chicago Parent follow Home Everyday on FacebookTwitter, and Pinterest.

St. Patrick’s Day Treats and The Only Cut Out Sugar Cookie Recipe You Will Ever Need

Normally, cut out sugar cookies are the worst. If they are gorgeous they are pretty tasteless. If they are tasty they are ugly. Sometimes they can be too sweet, too crumbly, to thin, too hard.

Well, I compiled a bunch of my favorite recipes and techniques, and I made some pretty cute cut out sugar cookies for St. Patrick’s Day that even my allergy kids can eat!


No complaints, only vanilla-y sweet sugar cookies with cream cheese frosting goodness! The secret? Well, there are a few secrets actually.
  • There is cream cheese in the dough.
  • I only used egg yolks.
  • I chilled the dough overnight.
  • I used powdered sugar when rolling out the cookies instead of flour.
  • I didn’t roll the cookie dough too thin.
  • I worked fast.
  • Parchment paper for baking rather than a silicone mat (I don’t know why this made a difference it just did).
  • I trusted my instincts (if the dough was too wet I added a little flour, if the frosting was too dry I added a little milk, etc.)
After making cut out cookies since I was a kid, I think that this will be the only recipe I use from now on! Thank goodness the search is over.
Fun Color Sugar Cookies with Cream Cheese Frosting
5 cups flour
1 tsp salt
1 brick (8 oz) of cream cheese brought to room temperature
4 sticks unsalted butter brought to room temperature
2 cups granulated sugar
2 egg yolks
3 tsp pure vanilla extract
Food Coloring drops
powdered sugar for rolling out cookies
Frosting:
1/2 brick of cream cheese (4 oz) brought to room temperature
1 stick of unsalted butter brought to room temperature
3 cups powdered sugar
1 tsp vanilla


In a large bowl, sift together flour and salt and set aside.
In a large bowl, beat together cream cheese and butter until completely mixed together. Add granulated sugar. Scraping down the sides of the bowl, add egg yoke and vanilla and beat this mixture until a light texture is formed.
Finally, add flour and food coloring and mix until combined, remembering not to over mix. (NOTE: follow the food coloring instructions on your package, and remember you’ll be rolling out this dough so if there are a few streaks of color they will get worked in when you’re rolling the cookies.)


Chill this mixture in the refrigerator overnight. (NOTE: If you cannot chill overnight, chill for at least 4 hours.)
 
Preheat oven to 350 degrees.
 
Line baking sheets with parchment paper and set aside.
To roll out the cookies, dust the rolling surface, rolling pin and cookie cutters with powdered sugar. Take a small section of dough (putting the rest in the refrigerator to stay cold), roll out the dough to about 1/3 to 1/2 of an inch thick (I used my instincts here, but roll it out thicker than you usually would). Using cookie cutters cut shapes, and place on parchment lined baking sheets.


Bake for 9-12 minutes.


Remove from oven, and place cookies on cooling rack immediately to cool before frosting.
While cookies cool, make the frosting by mixing together the cream cheese, butter, powdered sugar, and vanilla.

Spread onto cookies, make cookie sandwiches, decorate with sprinkles, or eat the frosting directly from the bowl it’s up to you.


I’m telling you this will be the only cut out sugar cookie recipe you will ever need.


If you like this post and would like to read more about all things domestic with a touch of humor, become a Home Everyday follower! For blog updates or to see other places I write such as ChicagoNow or Chicago Parent follow Home Everyday on FacebookTwitter, and Pinterest.

The Easiest Recipe for Homemade Chicken Noodle Soup

The kids were sick.

That’s all I have to say for you to understand that soup was needed around here. I like to make it homemade because when the kids are already sick, I want them eating healthy whole foods. Also, when their drink of choice when they are sick is Gatarade, I feel like I want to control what I can.


This recipe for this Chicken Noodle Soup is the easiest, and honestly doesn’t take as long as you’d think. The main trick is to boil the noodles separately and store separately from the soup.

The Easiest Chicken Noodle Soup

2 tsp extra virgin olive oil
1 Large onion diced
2 or 3 stalks celery diced
4 carrots peeled and diced
2 zucchini diced
1 clove garlic minced
1 dried bay leaf
2 tsp dried thyme
2 tsp dried rosemary
1 lb package chicken breast tenders cut into small chunks
1 1/2 (32 oz) boxes low sodium chicken broth
Salt and pepper to taste
1 package of tiny cut pasta cooked according to package instructions  and set aside.
(NOTE: I used star pasta, but orzo or another kind would be fine.)


In a large stock pot over medium heat add olive oil. When oil is shimmering, add onion, celery, carrots, zucchini, carrots, salt and pepper. Stir occasionally until the onions are translucent and the carrots start to get tender. This should take about 3 to 5 minutes.

Next, add garlic, bay leaf, thyme, and rosemary, and stir for another minute. Add the chicken broth.

Bring the chicken broth to a rolling simmer.

Add the chicken, and let the chicken cook in the simmering broth for about 5 minutes until the chicken is cooked through.

To serve, add a scoop of noodles to a bowl. Then ladle the soup over the noodles.

This soup is sure to make your loved ones feel better.

If you like this post and would like to read more about all things domestic with a touch of humor, become a Home Everyday follower! For blog updates or to see other places I write such as ChicagoNow or Chicago Parent follow Home Everyday on FacebookTwitter, and Pinterest.


Sour Cream Cinnamon Coffee Cake: Kindness Goes a Long Way

One of my absolute favorite things to do is cook and bake for other people who least expect it. There is nothing like some homemade sugar, carbs, or hot steamy comfort food to make someone’s day. I love it.

Brian asked me to bake some breakfast treats for the staff where he works as a thank you. Because it is a big staff, I called my Mom for reinforcements and had her make some loaves of her Irish Soda Bread. I, then, made a few batches of chocolate chip zucchini bread.

Finally, I thought it would be a great time to bring out an old recipe from my Grandma Nano. Nothing says “thank you and you are appreciated” like a recipe from your grandma. I made her famous Sour Cream Cinnamon Coffee Cake.


I made an extra batch just for us, too. I served it up on the cake plate I inherited from my Grandma Nano. The kids loved it!

Sour Cream and Cinnamon Coffee Cake

2 sticks of unsalted butter softened
1 cup sugar
2 eggs
1 cup sour cream
2 tsp pure vanilla extract
2 cups all purpose flour
1 tsp baking powder
1 tsp baking soda
1/2 tsp salt

Cinnamon Filling
1/4 cup sugar
1/2 cup brown sugar
2 tsp ground cinnamon

Glaze
1/2 stick of unsalted butter
1 cup powdered sugar
1 TBS milk
1 tsp pure vanilla extract

Preheat oven to 350 degrees.

Grease a 9 x 13 OR bundt pan and set aside.

In small bowl mix together, the cinnamon filling of sugar, brown sugar and cinnamon. Set it aside.


In a large bowl, sift together flour, baking soda, baking powder, and salt.


In a mixer bowl with paddle attachment, cream together butter and sugar until combined. Add in eggs and sour cream and mix on low until completely incorporated. Next, add vanilla extract.


With mixer on low speed, carefully add flour mixture until all the flour is added. However, DO NOT over mix. A few lumps is fine.


Pour half the batter into the greased pan. Add the cinnamon mixture in an even thin layer on top of the batter.


Then, add the rest of the batter on top.


Bake for 35-40 minutes until the cake knife inserted in the center comes out clean.


While, the cake is baking put together glaze by melting butter in a small sauce pan. Whisk in sugar, vanilla and milk.


When cake is cooled, remove from pan and drizzle with glaze.


Bring to a friend and enjoy with a steaming cup of coffee or tea!

If you like this post and would like to read more about all things domestic with a touch of humor, become a Home Everyday follower! For blog updates or to see other places I write such as ChicagoNow or Chicago Parent follow Home Everyday on FacebookTwitter, and Pinterest.


Winter Pot Roast over Mashed Potatoes

This is the time of year when we kind of get into a “Winter Dish Rut” around here. I keep rotating the same things for dinner, and with the weather being cold I feel like they are all typically comfort food things like pasta, meatloaf, and chili.

I was flipping through cookbooks in the library recently though, and I saw a picture for Pot Roast, and realized that my kids had never had it before. They had kind of always had a disdain for beef until recently, so I thought it was about time I try something new in my Winter dinner repertoire. I made a Winter Pot Roast and served it over Mashed Potatoes.


I took all the things I love about pot roast, and made a recipe I thought my family and I would like. And I left out all the things I hate about old fashioned pot roast like soggy potatoes, and overcooked veggies.

The recipe seems long, but I promise the results are so delicious that the subtle changes and additions to the recipe won’t bother you after your first bite!

So, here is my version of Pot Roast.


Winter Pot Roast over Mashed Potatoes (makes 6-8 large servings)

For Pot Roast
1 2 1/2 to 3 pound beef roast
4 or 5 large carrots peeled and cut into half
3 stalks celery cut into chunks
1 large onion chopped
1 clove garlic minced
2 tsp dried thyme
2 tsp dried rosemary
1 or 2 dried bay leaves
1 32 oz box beef stock (I used low sodium)
Salt and Pepper to taste
2 Tbs flour
1 tsp olive oil
1 TBS of butter
1 10 oz package frozen peas (2 bags if you like a lot of peas like my kids)


For Mashed Potatoes
1 5 pound bag of yukon gold potatoes peeled
4 TBS unsalted butter melted
1/2 cup of milk
Salt and pepper to taste

For Sauce (Optional Last Minute Addition)
2 TBS Butter
2 TBS Flour
A few ladles of beef stock drippings from slow cooker

Roast: In a slow cooker, make a bed of carrots, celery, and onion. Add the thyme, rosemary, garlic, salt and pepper. Set aside.


In a large heavy bottomed skillet over medium high heat add olive oil and butter. Coat roast in flour, salt and pepper.


Sear the roast on all sides (about 3-5 minutes on each side) until a crust is formed.


When roast is done searing, remove from pan and put in slow cooker. With pan on medium heat add a bit of the beef broth and scrape the bottom of the pan to get drippings. Pour this mixture into the slow cooker. Add the rest of the beef broth from the box. Turn on the slow cooker on high, cover. Cook for 6 hours or until beef is fork tender.

When beef is done, remove it from slow cooker and put it into a large dish. Shred with a fork and cover.

Prepare frozen peas to package directions and add to shredded roast.

Potatoes: In a large pot add potatoes and cover with water. Put on medium heat and bring to a rolling boil. Cook for about 15 minutes or until just tender.

Drain the potatoes and add back into the pot. Add milk, butter, salt and pepper. Mash with potato masher.

Optional Sauce: In a small sauce pan over medium heat. Add butter. When the butter is melted whisk in flour. After about 1 or 2 minutes, flour will be dissolved, ladle in remaining beef juices from slow cooker. You may add as much as you want until desired consistency is formed making sure to stir consistently.


For a serving, in a bowl, make a bed of potatoes, add beef & peas, cover with sauce or just ladle some of the beef stock from the slow cooker. (My little ones preferred everything served separately on their plate, but they ate every bite just the same.)


I am already looking forward to making this again, hopefully next time for guests.

I hope your family loves this as much as we did.

If you like this post and would like to read more about all things domestic with a touch of humor, become a Home Everyday follower! For blog updates or to see other places I write such as ChicagoNow or Chicago Parent follow Home Everyday on FacebookTwitter, and Pinterest.

Relaxed and Ready: Cranberry Muffins with Oatmeal Streusel Topping

I know this sounds insane, but even with the craziness ensuing around me, I find myself pretty calm. Perhaps it is because of the little bit of pre-holiday-planning I took the time to do in November, but I am amazingly laid back for this time of year.

The decorations are all up (except for a few little details). The Christmas cards are started, the baking supplies are bought, I have some Christmas gifts bought, oh and I have enough tape and tissue paper to last me the next 25 Christmases.

With that said, I am able to try some new recipes in the kitchen.

This time of year, I like to make some hot vanilla for the kids when they get off the bus before they start homework. I was wondering what would be a good snack to accompany a hot beverage, and muffins came to mind. Cranberries seemed festive, and adding oatmeal seemed healthy, so I did a little experimenting and came up with these tasty little treats. They are also pretty good to grab on the way out the door for breakfast (Russell had two!)


Cranberry Muffins with Oatmeal Streusel Topping (makes 24 regular sized muffins)

3 1/2 cups all purpose flour
4 tsp baking powder
1 tsp salt
1 tsp ground cinnamon
1 cup sugar
2 eggs
1 1/2 cups milk
1/2 cup vegetable oil
2 tsp pure vanilla extract
2 cups coarsely chopped cranberries


For Streusel Topping
1 cup oats
1/2 cup brown sugar
1 tsp ground cinnamon
1/2 stick unsalted butter melted

Preheat oven to 350 degrees.

Line muffin tin with paper liners or grease with nonstick spray and set aside.

In a large bowl, sift together flour, baking powder, salt, and cinnamon and set aside.

In a mixer bowl with paddle attachment, on medium speed mix together sugar, eggs, and oil. Turn mixer to low, add milk and vanilla. Then, with the mixer on low speed add flour mixture very slowly and only mix for a few seconds. It is ok if mixture is lumpy and you can still see flour. Turn off mixer.

Using a spatula, fold in cranberries.


Next, in a medium bowl, mix together streusel topping ingredients and set aside.

Using an ice cream scoop spoon muffin batter into muffin cups about 3/4 of the way full. Then, using a teaspoon, add streusel mixture.


Bake muffins for 15-20 minutes or until a toothpick comes out clean.

Cool and enjoy.


If you like this post and would like to read more about all things domestic with a touch of humor, become a Home Everyday follower! For blog updates or to see other places I write such as ChicagoNow or Chicago Parent follow Home Everyday on FacebookTwitter, and Pinterest.


Homemade Caramel Sauce

Autumn is my absolute favorite time to cook, bake, and just be in the kitchen. However, this time of year is also one of our busiest times. I often find myself putting meals in the slow cooker before we head out the door for the day, or I am whipping up a 30 minute chili after soccer practice.

Because of this, I was looking for a dessert that was quick to whip up, but could be versatile. That is when I thought of Caramel Sauce. It really is a cinch to make, takes no time at all, and like dessert sauces, can be used to top all kinds of things (cakes, brownies, ice cream, a spoon).


Plus, what is more Fall like that a caramel dipped apple?


Home Made Caramel Sauce
1 stick of unsalted butter (you don’t even have to bring it to room temperature)
3/4 cup packed brown sugar
1/2 cup heavy whipping cream or half and half
1/2 tsp sea salt
1 tsp pure vanilla extract (optional)


In a medium sauce pan over medium heat, melt butter.


Next, whisk in brown sugar until completely dissolved.


Add cream, salt, and vanilla.


Then, stirring continuously for 5-7 minutes stir mixture. It will simmer and bubble gently. You may want to lower heat slightly as to not hurt yourself while you stir.


Remove from heat, and continue to stir for about 3 or 4 minutes to let the mixture cool gently.

Pour into a heat safe container.


You can use sauce now, or let cool to room temperature, cover, and store in the fridge.


To reheat place in microwave without lid or put in a water bath of gentle simmering water.

Stay tuned for a fun Thirsty Thursday recipe with this awesome Caramel Sauce later in the week.


If you liked this dessert sauce, check out my recipe for Red Berry Sauce.

If you like this post and would like to read more about all things domestic with a touch of humor, become a Home Everyday follower! For blog updates or to see other places I write such as ChicagoNow or Chicago Parent follow Home Everyday on FacebookTwitter, and Pinterest.

You’d Think They’d Say, “No!”: Butternut, Gruyere, and Sage Mac and Cheese

I have never been so excited to see my old friend, Fall. As you can see from Home Everyday’s new look (designed by yours truly) Fall has always motivated me to start with some new goals, plan ahead, and clean house. I don’t know if it the start of school or the change of weather, but this time of year has always seemed like the perfect time to begin anew.


It has also seemed like the perfect time to try some new recipes in our dinner repertoire. Last week, I was looking for some new ideas for one of our old favorites: homemade mac and cheese. I came across this recipe from A Pretty Life in the Suburbs for Cheesy Butternut Squash Pasta Bake.
The other day when I hit up the grocery store, I was telling my cheese lady of my plans for butternut squash mac and cheese and she recommended adding some gruyere. Yes, I have a person in the cheese department that I talk to regularly. What can I say? I like cheese. (#ProTip: If you are thinking of trying out a new recipe, or making something of your own talk to the employees in your supermarket, they might have some tips for you.) While gruyere is typically pretty pricey, I only needed a small amount (about half a cup) and she was right it added just the right amount of creaminess, nuttiness, and melted perfectly.So, I took my basic macaroni and cheese recipe and doctored it up a bit. I thought everyone in my house would say no (I have some squash haters in this house), but everyone devoured it!)


Butternut, Gruyere, and Sage Mac and Cheese
1 pound short cut pasta (I used cavatapi)
1 small butternut squash peeled and diced
2 tsp olive oil
2 tsp salt
1 tsp black pepper
2 Tbs unsalted butter
2 Tbs flour
2 cups milk
1 1/4 cups shredded sharp cheddar
1/2 cup shredded gruyere
1/4 shredded parmesan
1 tsp rubbed sage
Salt and Pepper to taste 


Preheat oven to 375 degrees. 


On a baking sheet coat squash with olive oil salt and pepper. Roast in the oven for 25 minutes or until fork tender. When squash is done, mash with potato masher or puree in food processor until smooth. Reserve. 

In a large pot, bring water to a boil and prepare pasta according to instructions. Reserve the pasta in the large warm pot.

In a medium sauce pan, over medium low heat, melt butter. Whisk in flour to form a roux. Stirring constantly for about 1 to 2 minutes until flour is cooked. Next, whisk in milk. Slowly cook milk stirring occasionally until it is thick enough to coat the back of a spoon. Season with salt, pepper, and sage. Lower heat to low, and slowly add cheeses stirring until they are well incorporated.

Fold squash puree, cheese mixture, and noodles together until combined.

I served this mac and cheese with a side of veggies, but it would be great with this orchard salad!


RECIPE CARD!


If you like this post and would like to read more about all things domestic with a touch of humor, become a Home Everyday follower! For blog updates or to see other places I write such as ChicagoNow or Chicago Parent follow Home Everyday on FacebookTwitter, and Pinterest.

Linking up at Skip to My Lou for Made by You Monday.

Versatile Chocolate Chip Cookies & Some Allergy Back to School Tips

When my kids were first diagnosed with allergies as babies, it was a scary diagnosis, but they were little. I figured, I was still in primary control of pretty much everything they were eating. I made a lot of their food, and when we ate out at restaurants, it was easy to just bring things a long for them.

Now, with their most recent diagnoses, and the fact that they are older. The fear is worse (so much worse). Between school, soccer, playdates, and all the other places they go where I am not there to oversee every piece of food that they come into contact with is terrifying for a parent of an allergy kid. However, I have always believed that the more everyone knows the healthier my kids will be. So with school starting, here are some things that I have learned along the way.

1. TEACH YOUR CHILD: Constantly remind your child what foods are safe for them to eat. Talk about how sharing foods with people at lunch, on the bus, on the soccer field, and anywhere else is not safe. Teach them to ask a trusted adult (parent, guardian, teacher, or anyone else who knows about their allergies), if they aren’t sure about a food before eating it. Teach them to look at labels, read them. Have them talk with their friends about their food allergies. Remind them that when in doubt, say, “NO thank you.” Talk about symptoms of an allergic reaction, calling 911, and using their Epi Pens.

2. TEACH EVERYONE: Anyone who is to come in contact with your child (family, friends, teachers, coahces, babysitters, everyone) should know what foods are safe for your children and not only how to administer the EpiPen, but when it should be administered.

3. READ: I know it seems like all allergy parents and kids is spend their time reading labels, but it is also important to also read up on allergy safe recipes, information regarding allergies, and treatments for food allergies.

4. FILL OUT FORMS: Make sure to fill out all of your child’s allergy forms completely, and thoroughly for school. If you have any questions, be sure to discuss them with the school nurse, teacher, and your physician so the proper precautions can be taken in case anything does happen. Also, make sure to make notes on all other forms of your child’s allergies, such as sports and activities forms.

5. KEEP IT UP: Sometimes things change throughout the course of the school year. For example, sometimes medications dosages change, EpiPens expire, treatments change, or a child may develop a new allergy or grow out of one. Be sure to keep everyone updated of any changes regarding your child’s health.

Now, that everyone is armed with the knowledge to have a safe and healthy school year, let’s have a fun and and allergy safe snack. I know this isn’t the healthiest after school snack, but every once in awhile a kid needs a treat, and chocolate chip cookies are just the treat. These cookies can be made a variety of ways, and taste awesome!

Versatile Gluten Free NUT SAFE Chocolate Chip Cookies
2 Sticks Unsalted Butter Room Temperature (NO DAIRY NO PROBLEM: Try a Dairy Free Butter Stick)
3/4 cup granulated sugar
3/4 cup light brown sugar
2 large eggs (NO EGGS NO PROBLEM: Try ENERG Egg Replacer)
1 1/2 tsp gluten free pure vanilla extract
2 1/4 cups gluten free, nut free all purpose flour blend (NAMASTE brand is my favorite)
1 tsp baking soda
1 tsp salt
1 bag allergy safe chocolate chips (Enjoy Life brand is my favorite)


Preheat oven to 375 degrees.

Line cookie sheets with parchment paper.

In a large bowl mix together flour, baking soda, and salt.

In an electric mixer bowl with paddle attachment, cream together butter, sugar, and brown sugar on medium speed until completely blended. Lower speed, and add eggs one at a time and mix until well incorporated. Add vanilla. Next, very slowly add flour mixture and mix until just combined. Finally, add chocolate chips.


Using a 1 Tbs cookie scoop, or two spoons, spoon 1 Tbs balls of cookie dough onto cookie sheets.


Bake for 375 degrees for 9-11 minutes. Cool.


Enjoy after school with milk!


If you like this post and would like to read more about all things domestic with a touch of humor, become a Home Everyday follower! For blog updates or to see other places I write such as ChicagoNow or Chicago Parent follow Home Everyday on FacebookTwitter, and Pinterest.

Follow on Bloglovin

Your Choice Herb and Lemon Hummus

Tired of the same old bland store bought hummus? I was too!

Hummus is one of the easiest things you can make, and it can be customized so many ways to appease anyone’s palate. I wasn’t always a hummus fan, and then I started making it myself. Once I did that, I was addicted to this healthy and delicious snack (so was everyone else in my house). There is now always some in the fridge.


I have found, the keys to a good hummus, are flavor and texture.

Hummus is made with chick peas. However, I realized that one of the main reasons I didn’t like hummus in the past was because I prefer a smoother texture so I wondered if I could use something else. Also, while there are some excellent brands of hummus that can be bought in the store, I found that many of the flavors were much too strong for me. So, after doing a bit of research, I have come up with the perfect formula to creating my own hummus recipes.

I made a small graph below: basically first you choose your beans (choose 1), then your acid (choose 1), then your flavorings (any combo you like), add olive oil, salt and pepper, and zip in in a food processor and you will have the perfect hummus that is customized to your taste.


With summertime here and my garden flourishing, I have been using all the herbs growing. My favorite combination right now is either Thyme or Basil and Lemon with Cannellini Beans.


Herb and Lemon Hummus
1 15.5 ounce can of Cannellini beans, drained and rinsed
1 lemon zested and juiced
1 clove of garlic
1 large handful of basil leaves OR 2 sprigs of thyme
1 TBS extra virgin olive oil
Salt and Pepper to Taste


In a food processor, add all the ingredients.


Blend until desired texture. You can serve with pita chips, vegetable, or on a veggie wrap.


If you like this post and would like to read more about all things domestic with a touch of humor, become a Home Everyday follower! For blog updates or to see other places I write such as ChicagoNow or Chicago Parent follow Home Everyday on FacebookTwitter, and Pinterest.

Follow on Bloglovin