Category

Photography

The Other Side of the Lens: Tips for Professional and Gorgeous Headshots

When you’re a Mom and a blogger it is very rare that I am in front of the camera. I am usually on the other side of the lens happily taking photos of the people and things that I love. Also, the longer that I have been writing, I have found that editing and playing with photos is fun too.

Confession Time: I used to loathe having my picture taken.

Tips for Professional and Gorgeous Headshots
Photo courtesy of Stephanie Kush of Natural Light & Lifestyle Photography.

I have always felt that that old saying “a picture is worth a thousand words” was always lost when it came to photos of myself. My bubbly, and friendly personality never was showing through because I was always so self conscious about my tummy, double chin, my hair, having enough make-up, too much makeup, everything that really isn’t important. My self consciousness was showing. It was hard  for me to walk into a portrait studio or see examples of beautifully coiffed and airbrushed small women and then trying to put on a brave face for a camera.

With all the changes at Home Everyday, I knew that I would also need new professional headshots, but I was determined to let what was really important show through.

IMG_6660Edited
Photo courtesy of Stephanie Kush of Natural Light & Lifestyle Photography.

The first thing I did was call my friend, Stephanie Kush of Natural Light & Lifestyle Photography. I knew it was imperative I call a friend. This was someone who knows my personality, my quirks, my business, and most importantly my strengths. I told her what I like about headshots, and kind of the look I wanted. I know not everyone has friends who are photographers, but I also know that friends have friends who are photographers. I also know that photographers like repeat business and want their customers to be happy with their photos. In the past, I think I was too wrapped up in a photographers professional opinion to tell them what I wanted, or tell them what I was like, or have a conversation with them for a few minutes to get comfortable. Ultimately, this showed up in the photos, and I ended up paying for photos I hated and the photographer lost a repeat customer.

Tip #1: Get Friendly. Talk to a photographer friend, a friend of a friend or communicate with your photographer before your session. Tell them about yourself, and let them know as much about you, your likes, dislikes, and your business as possible.

IMG_6678Edited
Photo courtesy of Stephanie Kush of Natural Light & Lifestyle Photography.

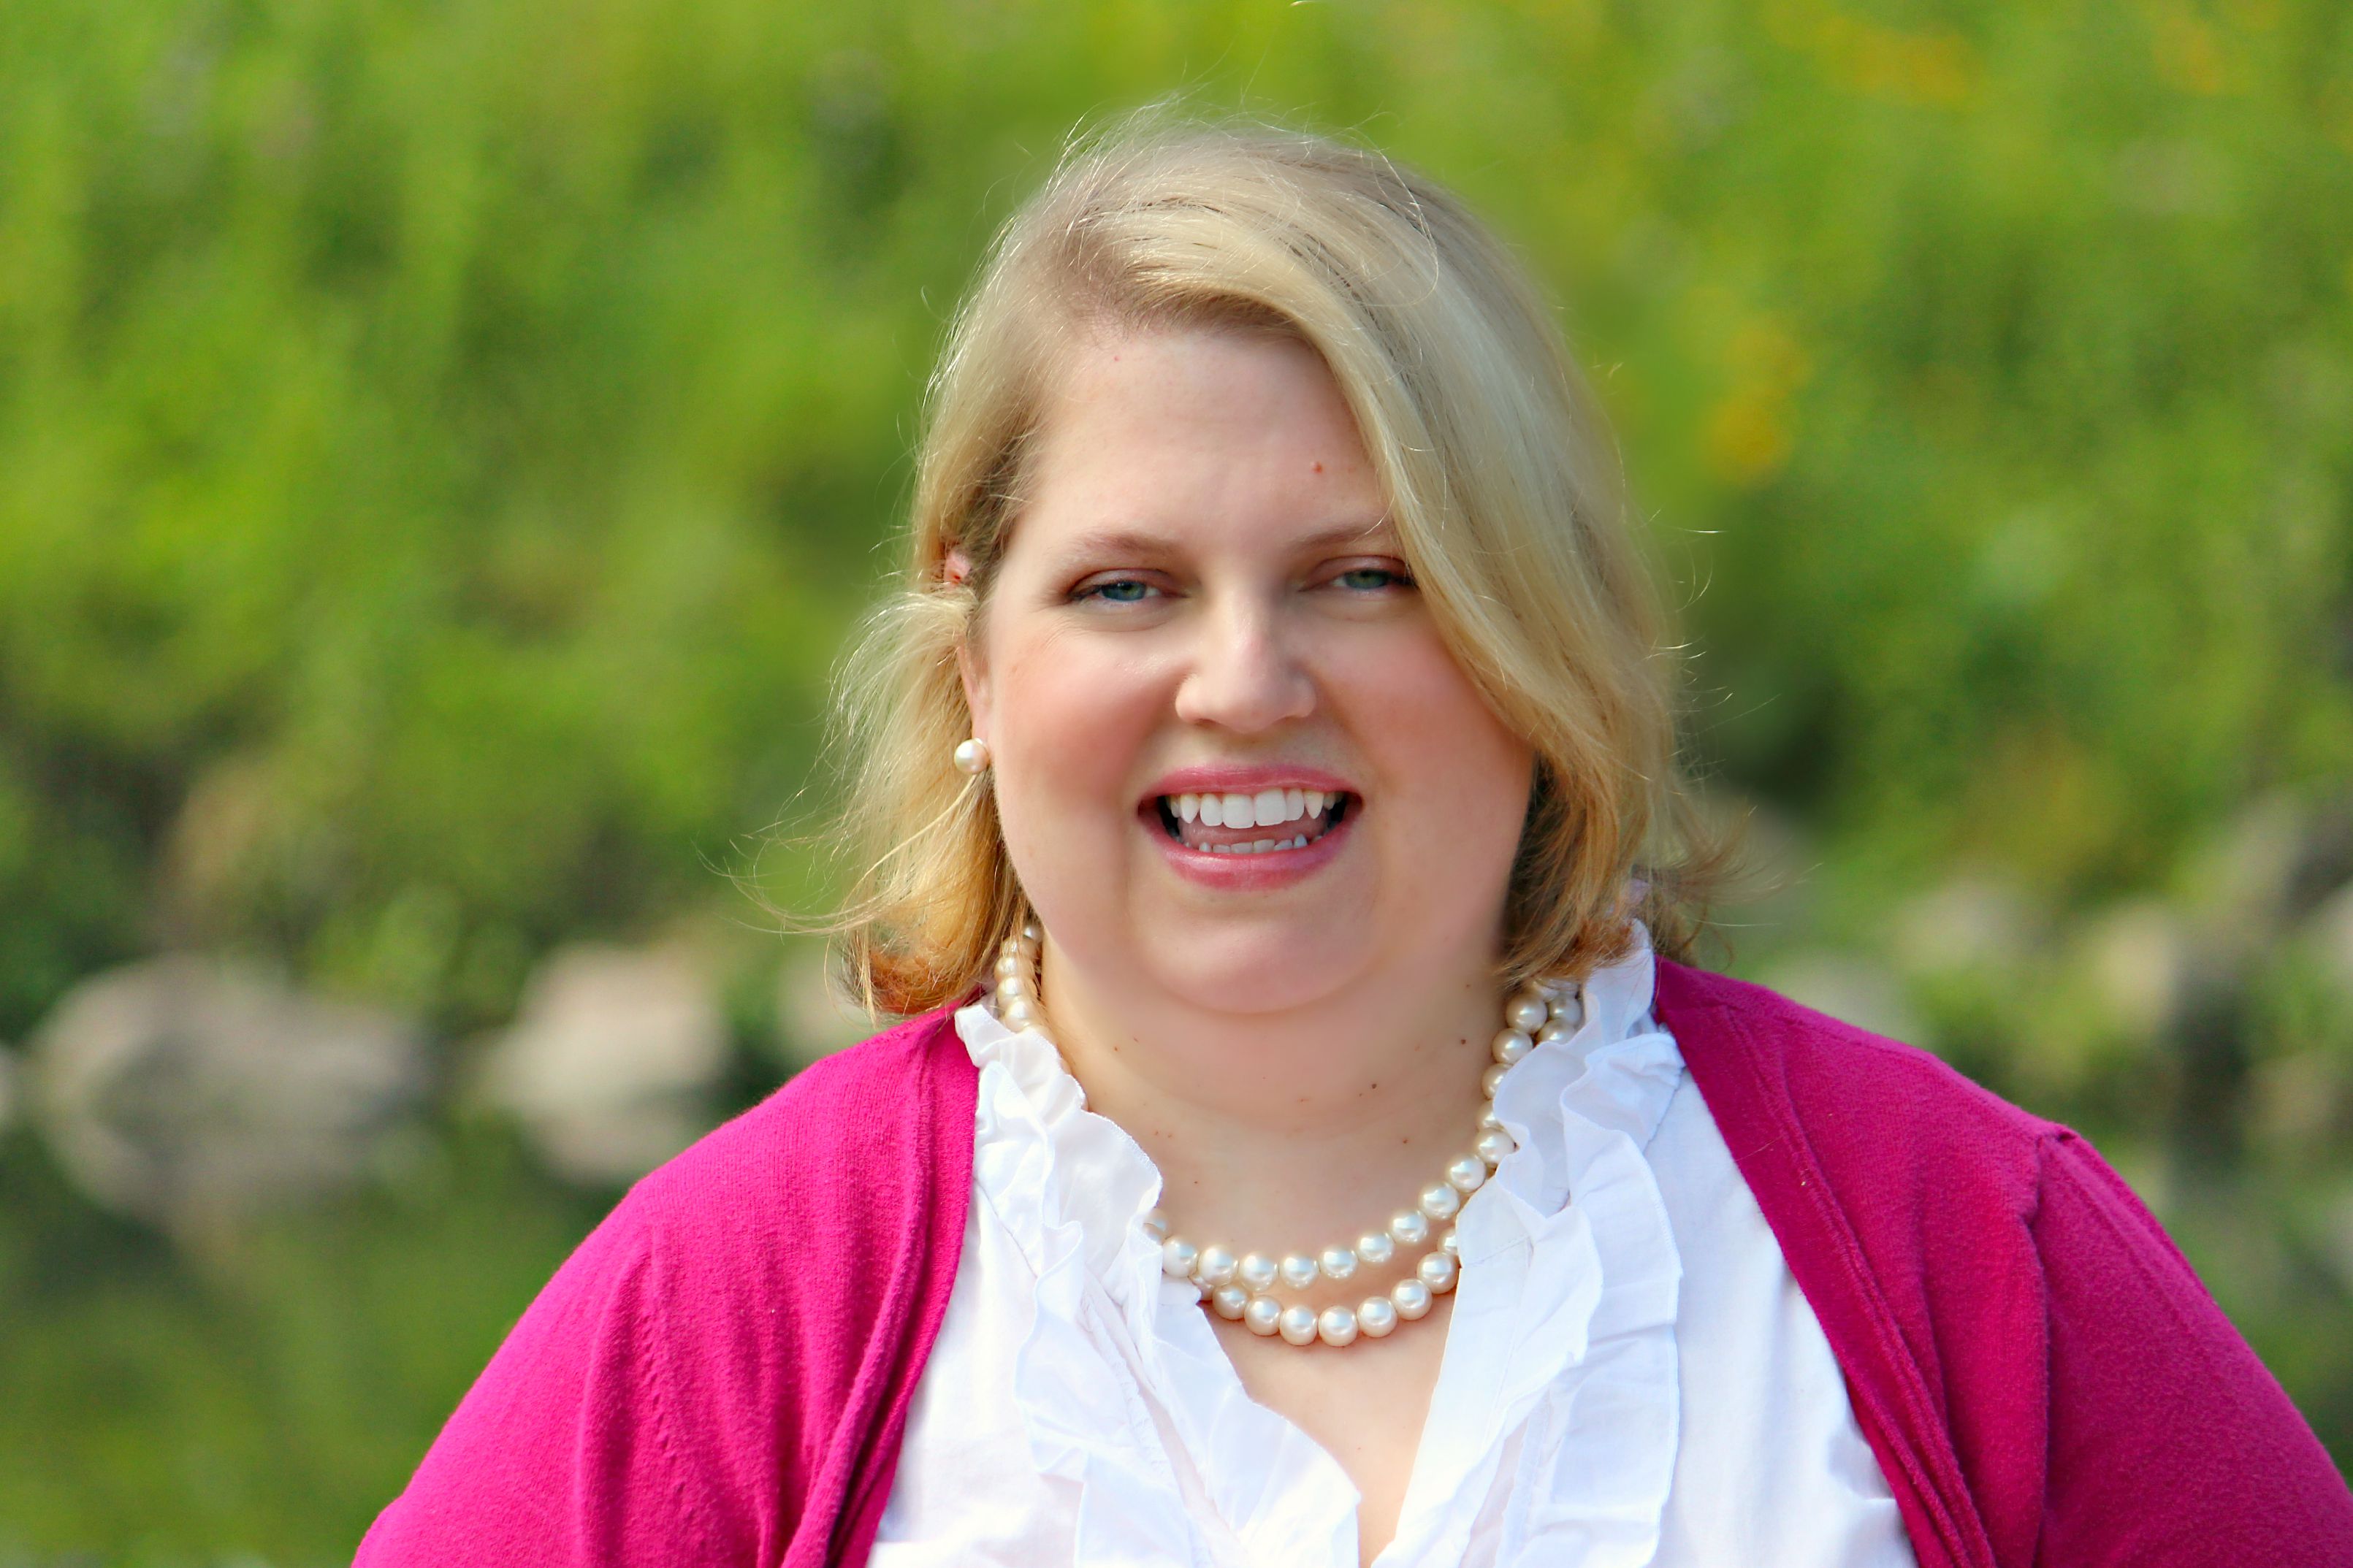
Next up, with Stephanie I planned a location for our photo shoot. This is going to depend on a lot of factors many of which your photographer will have expertise such as lighting, background, and overall feel of photos. However, don’t be afraid to do what makes you feel comfortable and what will help showcase your personality too. It would be silly for a blog all about camping and fishing to have a headshot that wasn’t taken outdoors, don’t you think?

Tip #2: Location. Location. Location. With the help of your photographer pick a location that not only represents your personality and showcases your business, but also makes you look and feel comfortable too.

IMG_6752Edited
Photo courtesy of Stephanie Kush of Natural Light & Lifestyle Photography.

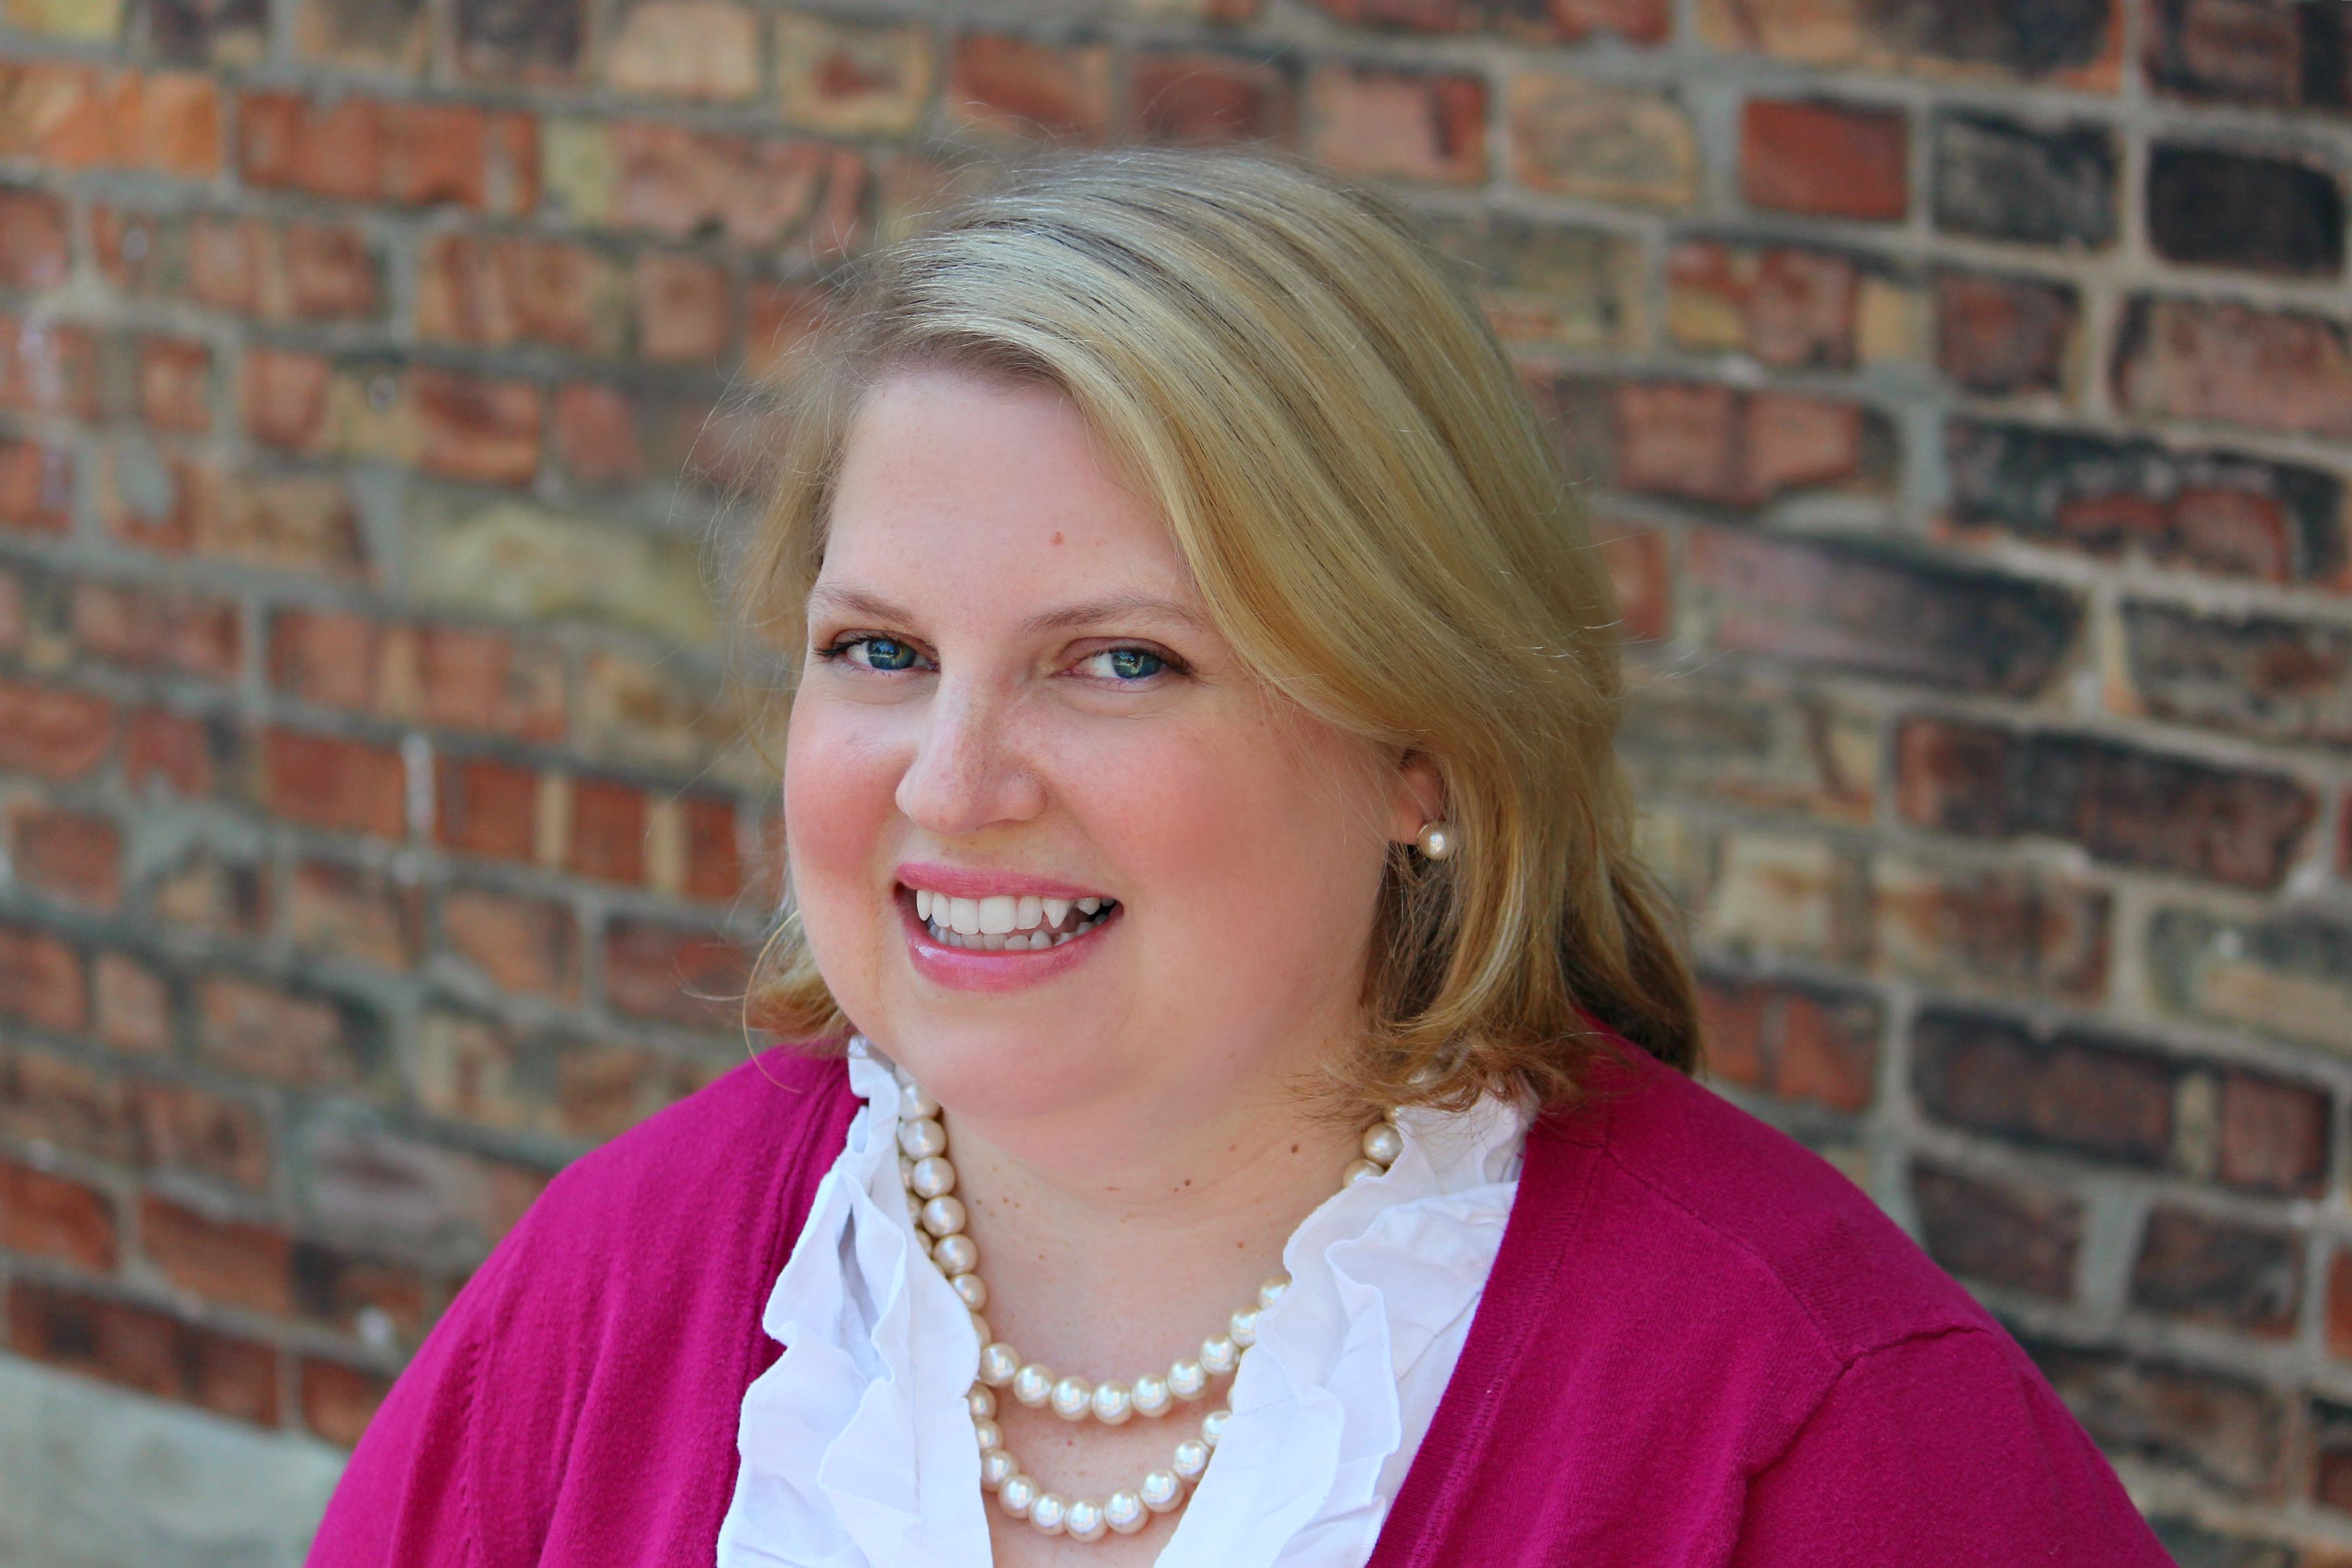
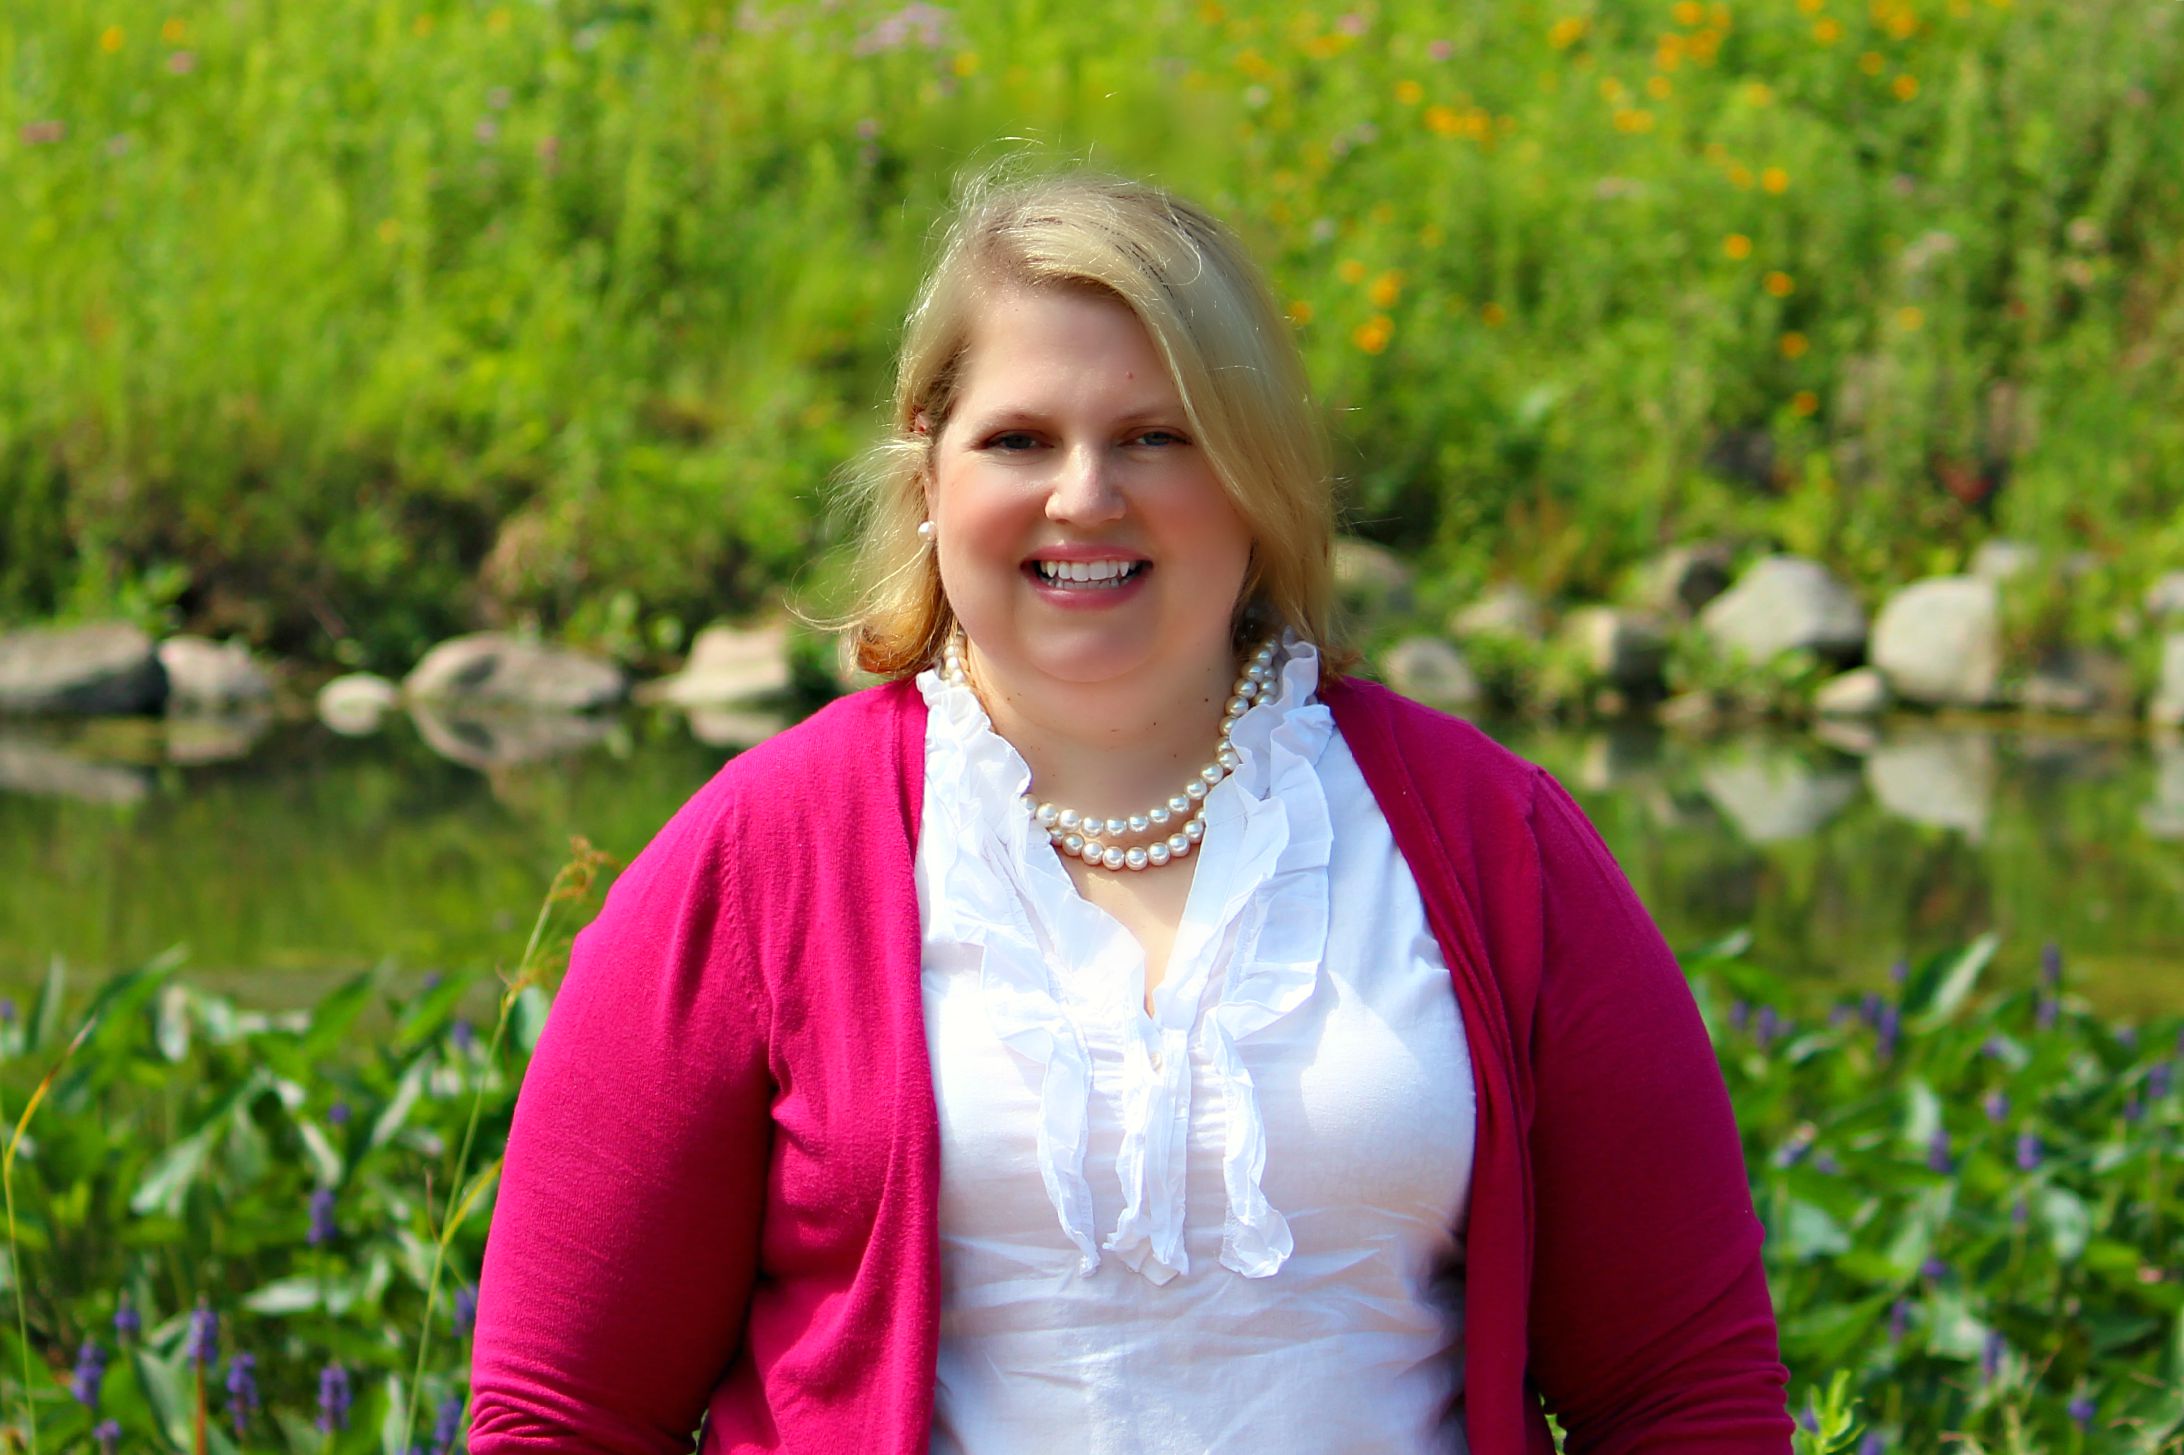
Deciding on my outfit, makeup, and hair for photo shoot day was no small feat. However, once I came to the conclusion that I should be comfortable, the decision making became much easier. I decided to do my make up myself, I didn’t want my outfit to require Spanx or seem too formal or uncomfortable, I wanted my hair to be styled in a way that would make me recognizable, and I wanted my outfit to show my sense of style. I knew that if I felt comfortable, wore my favorite outfit, colors, and accessories, and wore my make-up and hair in a way that made me feel confident that would translate to my photos.

Tip #3: No Spanx. Wear clothes, makeup, and hair that make you feel COMFORTABLE and confident. Confidence will translate to your photos.

IMG_6737Edited
Photo courtesy of Stephanie Kush of Natural Light & Lifestyle Photography.

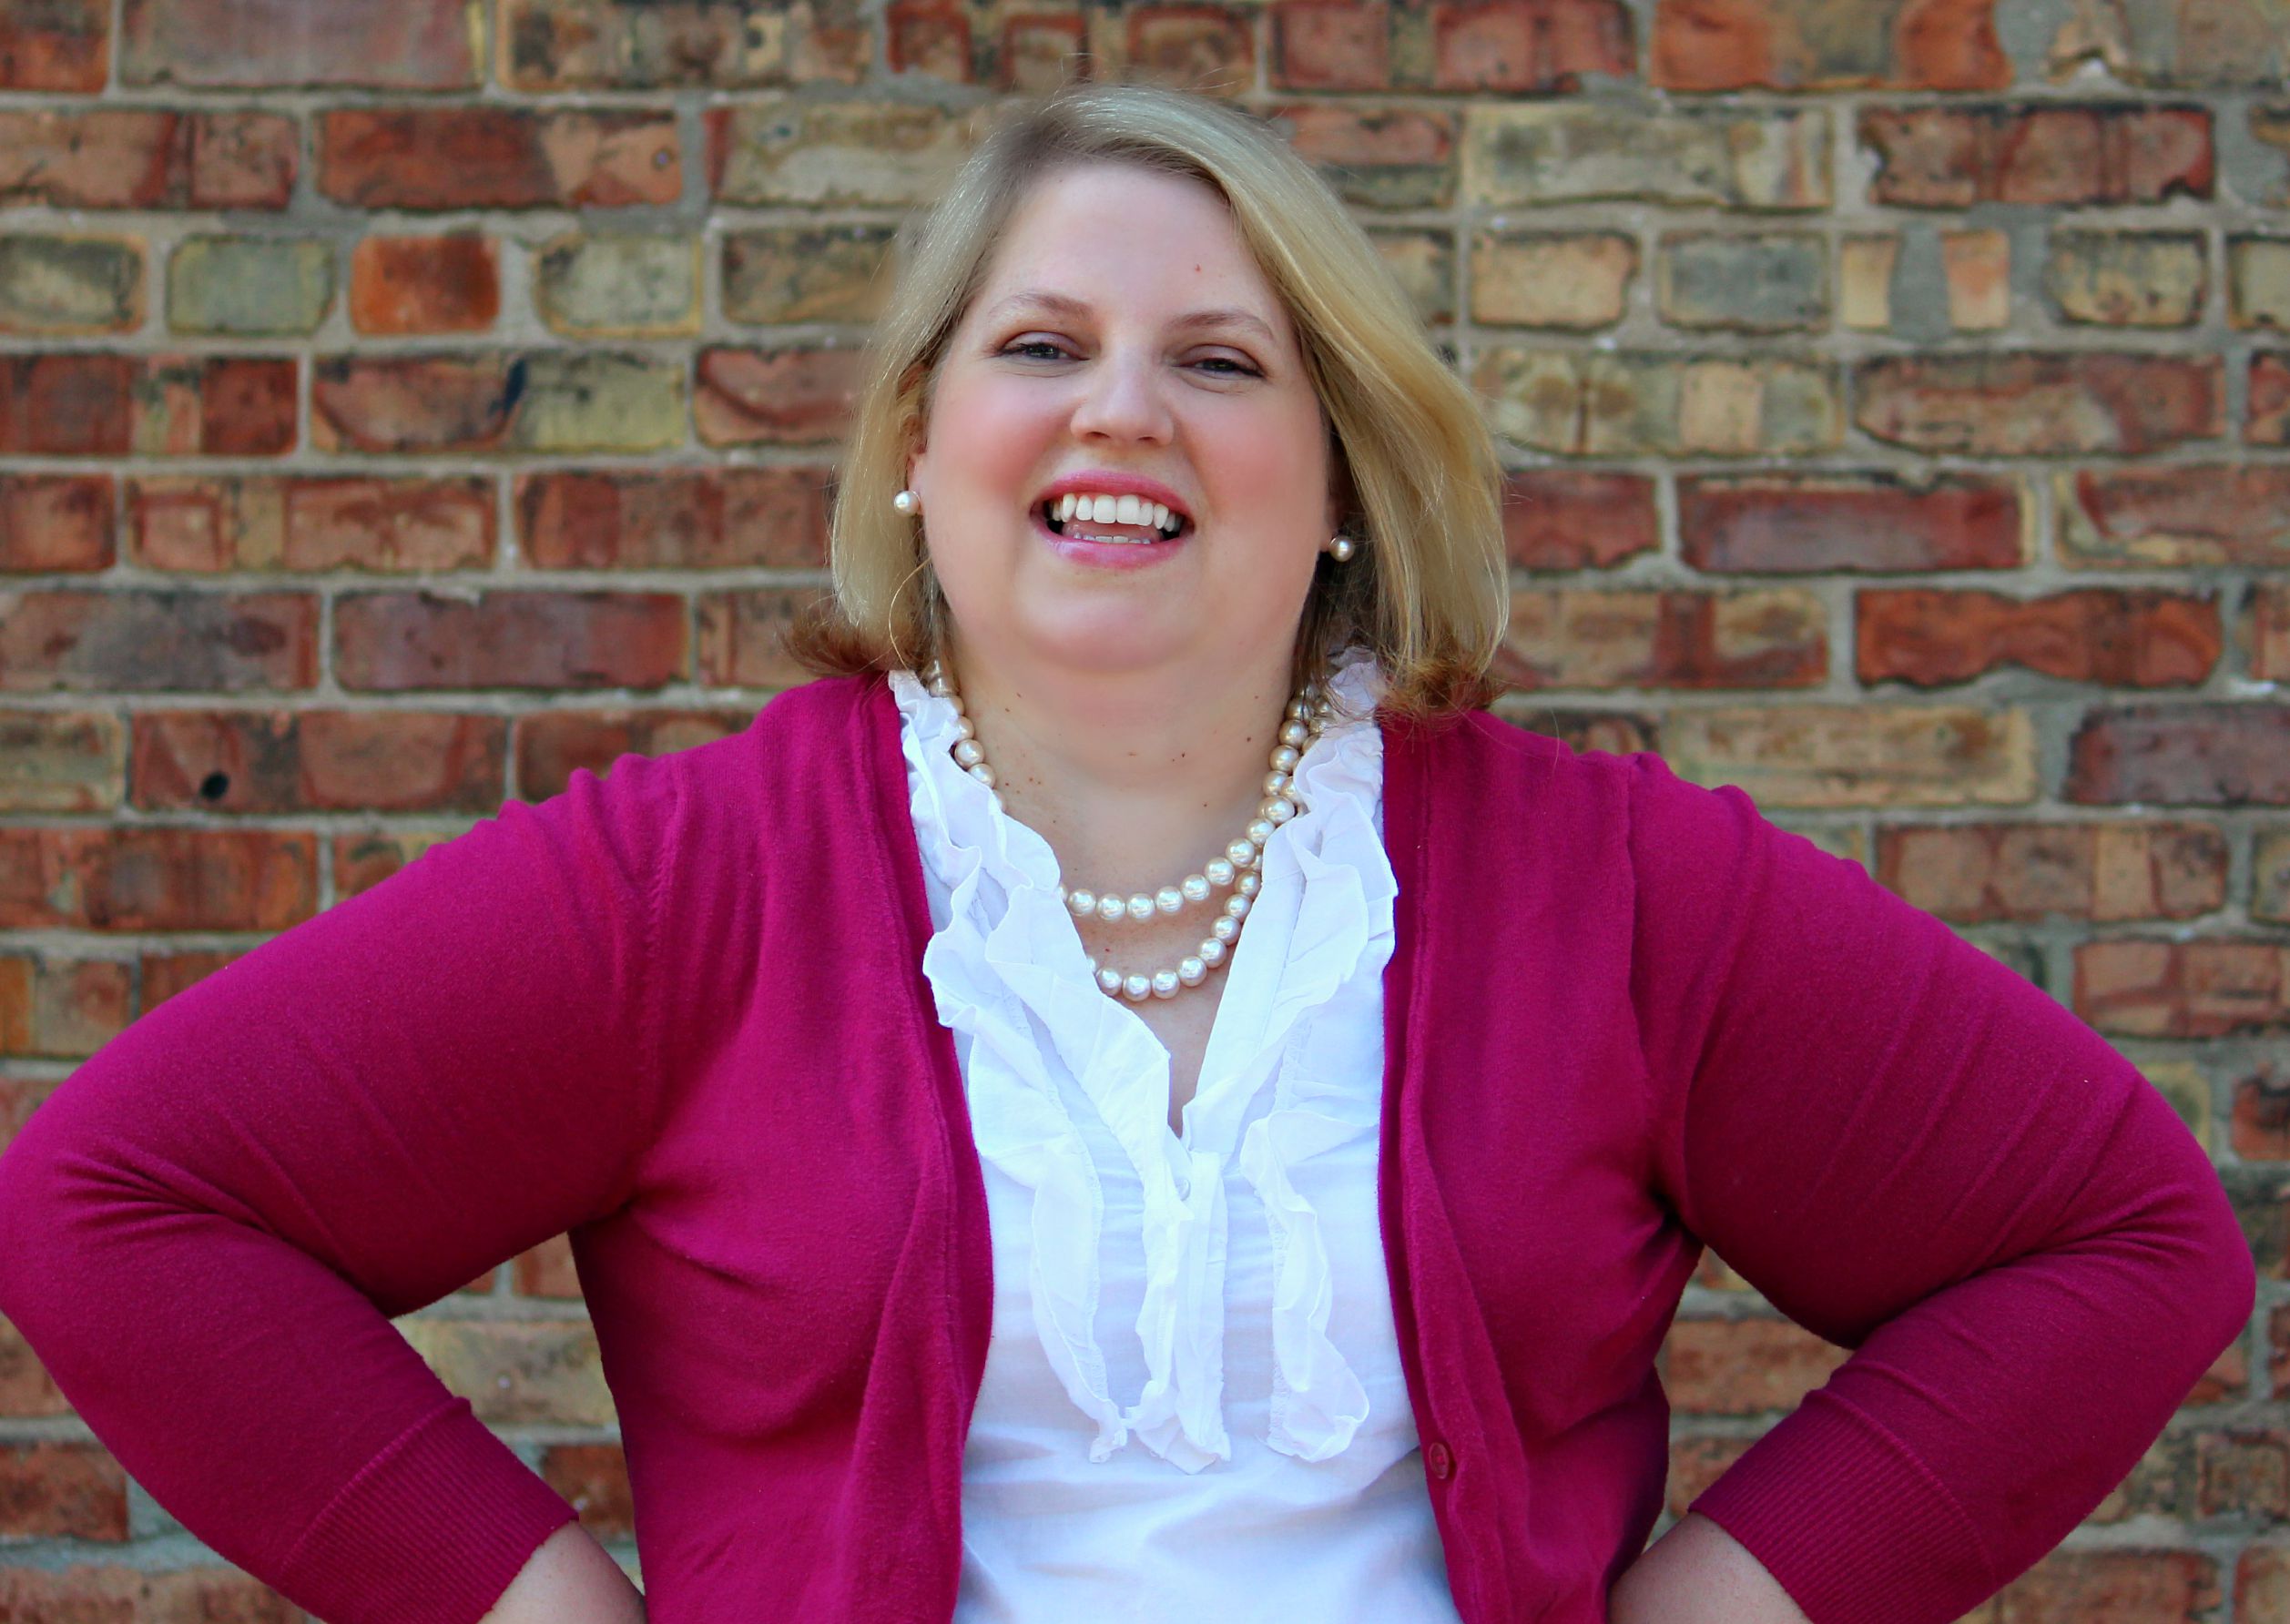
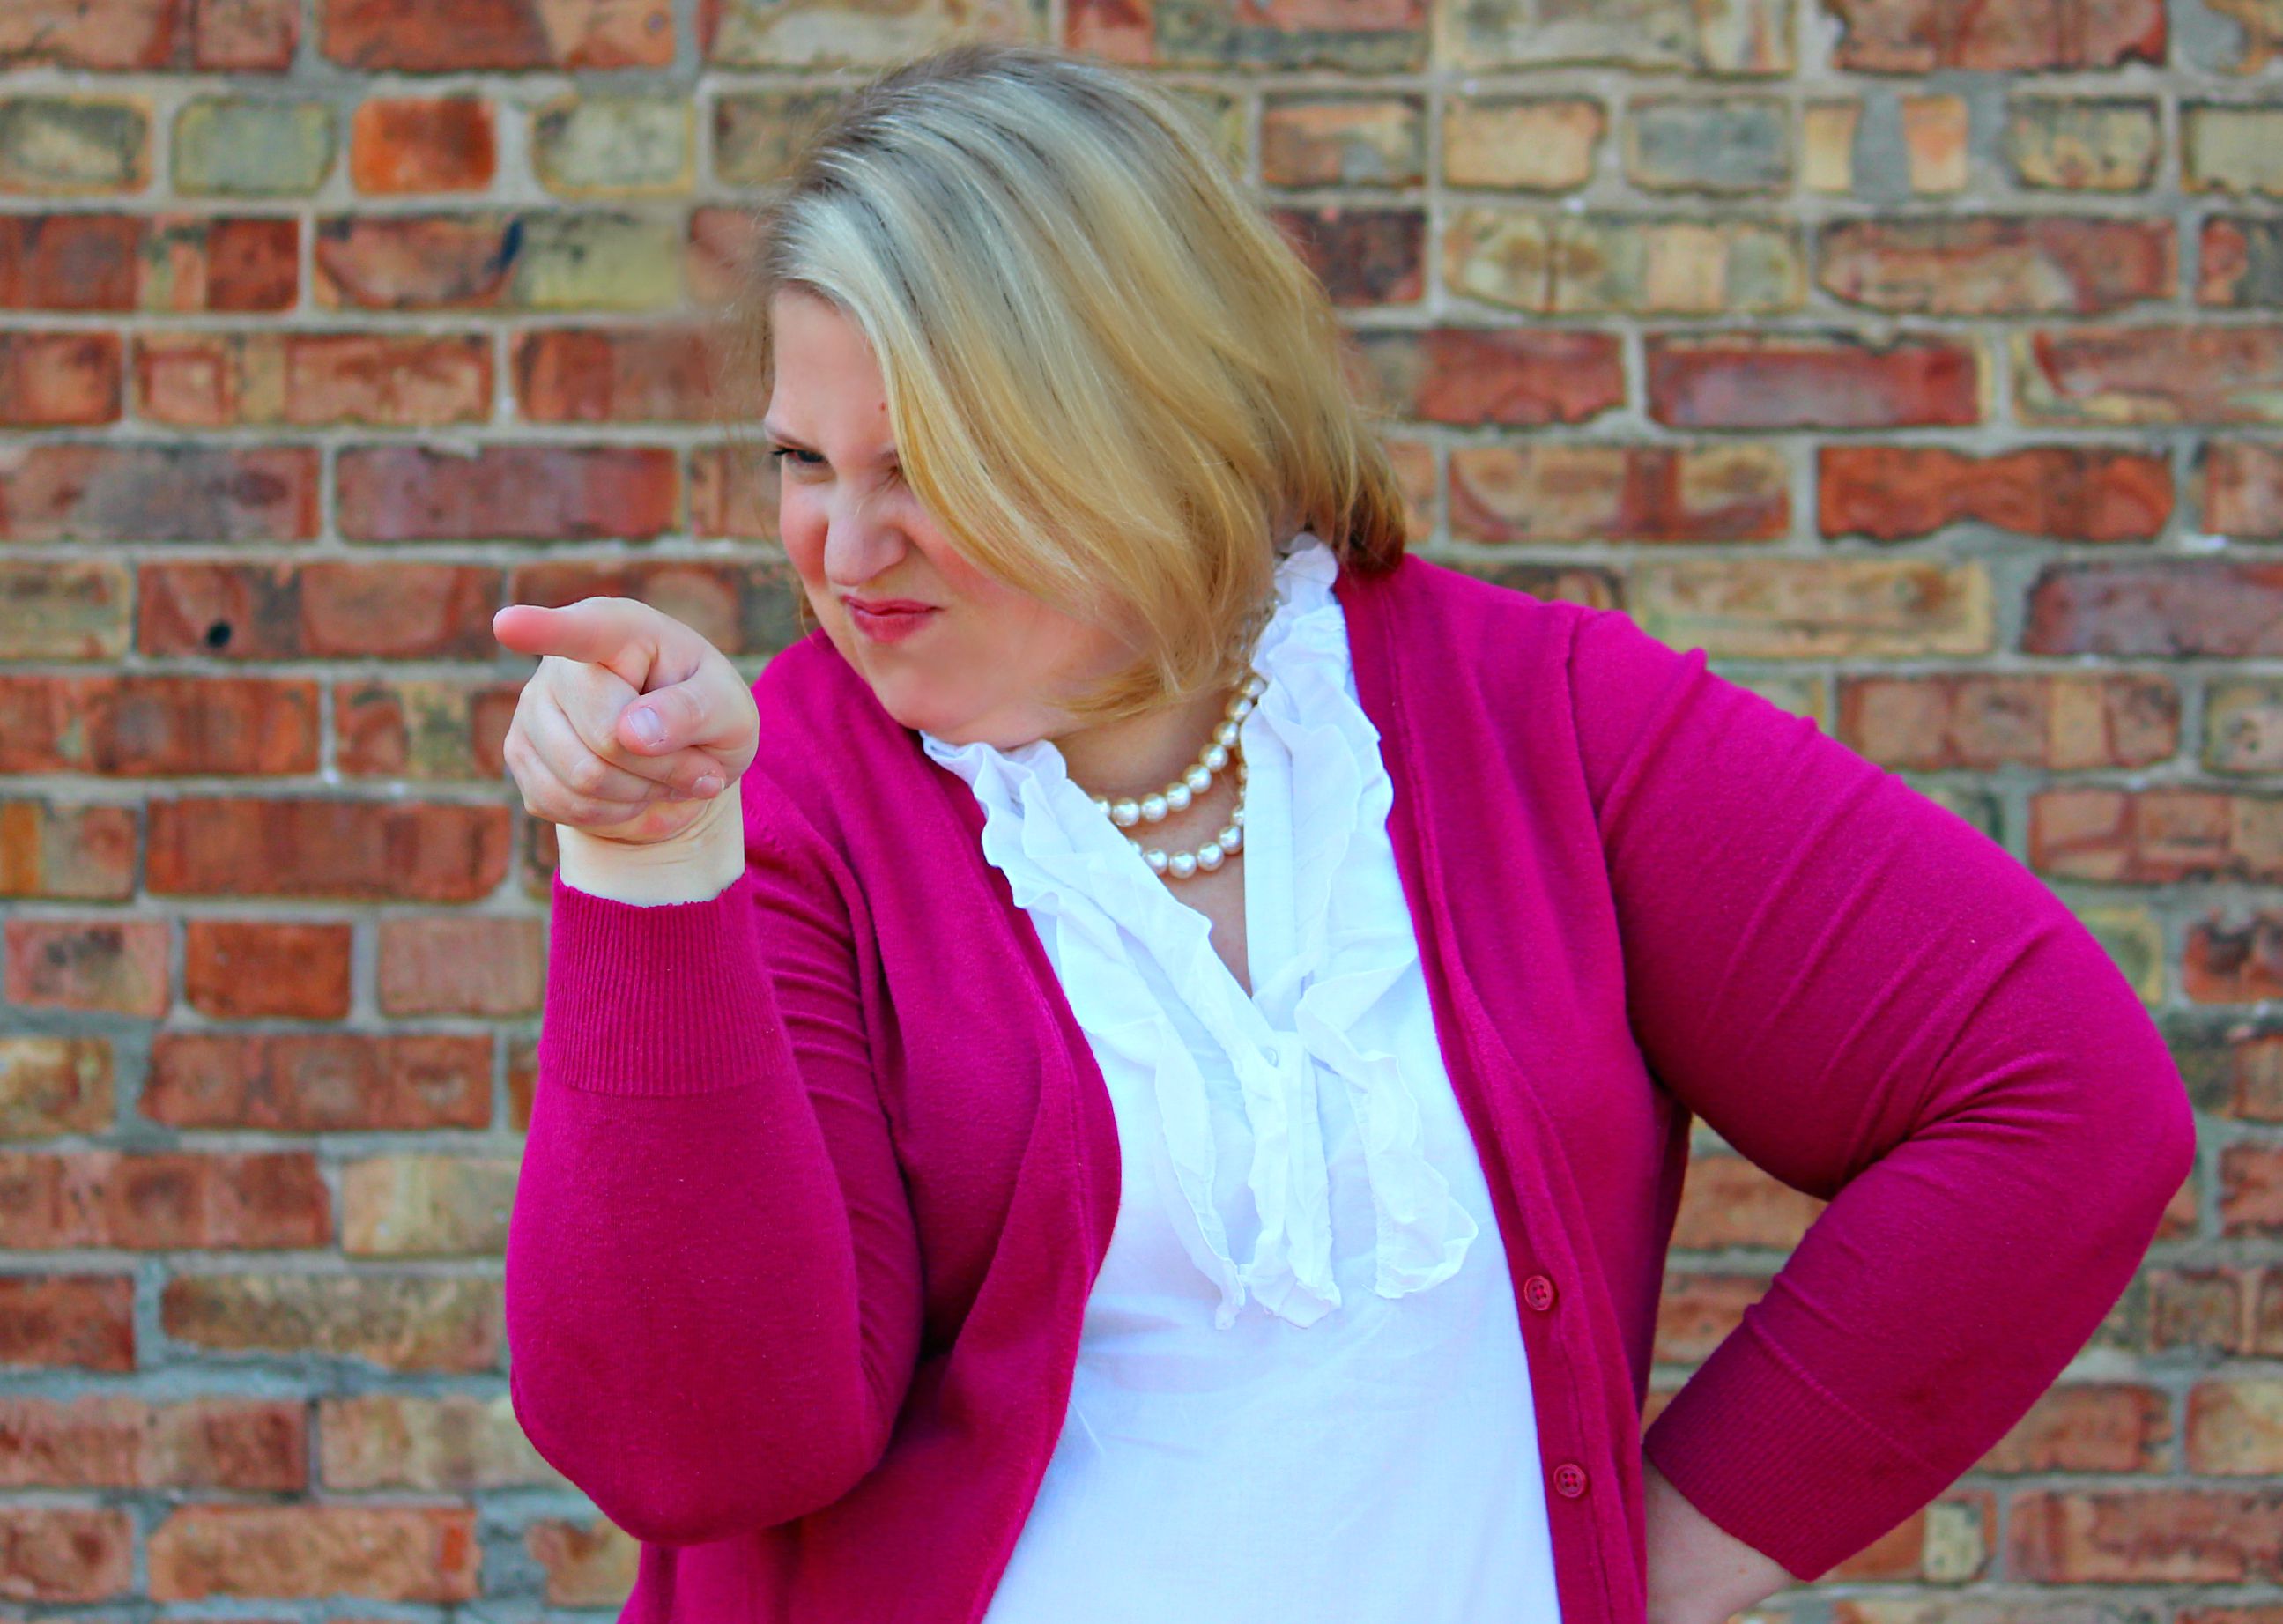
The day of my photo shoot, I had to bring my kids with me. I know this wasn’t an ideal situation, however, it ended up being a fun time. It was a beautiful day, and my kids were playing in the park nearby. Also, it was fun to hear the questions they were asking Stephanie, and to be fair they kind of put me in relaxed Mom mode for the duration of my photo shoot. In addition, because we met at a set location there were no photos in a studio to look at and make me self conscious about myself, the outfit I had chosen or anything else I was about to do. I was honest with Stephanie and told her that I was a bit nervous, and she made sure to keep the conversation flowing about other things to keep my focus on the fact I was not having my photo taken. Between the kids and Stephanie, I had a relaxed smile on my face and was even able to take a few fun and silly photos.

Tip #4: Accentuate the positive. If your photographer is not your friend, ask if it is ok to bring someone to talk with or who will make you laugh or smile in a natural way.

IMG_6675Edited
Photo courtesy of Stephanie Kush of Natural Light & Lifestyle Photography.

When I saw my photos for the first time, I could have cried. I had never been so happy to have received photos I actually liked. This was the first time I looked at a photo of myself and was as pleased as pie. And that that, my friends is saying something. I am convinced that Stephanie’s awesome eye and my relaxed attitude brought about the best photos ever. I was sure the day of the photo shoot to stay relaxed and leave the rest to Stephanie making sure to carefully listen to her directions.

Tip #5: Leave the rest to the pros. You hired a professional photographer with expertise for a reason. The day of your photo shoot it is your job to smile and look pretty. Do just that.

IMG_6699Edited
Photo courtesy of Stephanie Kush of Natural Light & Lifestyle Photography.

Have you had to get your photo taken recently? Were they family portraits or professional headshot? What are your favorite tips and tricks for looking your best?

IMG_6660Edited
Photo courtesy of Stephanie Kush of Natural Light & Lifestyle Photography.


For more information about Stephanie Kush and Natural Light & Lifestyle Photogrpahy you can visit her Facebook page or email to make an appointment.


I’ve Got Mad Skills: Photography Skills

I don’t really have mad skills, but I have to say, I am getting much better at using my Canon Rebel. We purchased this bad boy back in the fall, and I have been playing around with it a little bit.

One thing I know about myself is what kind of learner I am. I have to say that instruction manuals and tutorials online can be helpful, but I do much better with YouTube videos, someone explaining something to me, or fiddling with a gadget.

Sometimes, I will just take the camera outside, and play with the different settings. I also have learned how to take photos from different angles.

Since the weather has been much warmer we have been spending more time outside and making more trips to the zoo and other outdoor locales. Here are some favorite shots so far.

This is my absolute favorite. I may frame it. I actually turned the camera to be underneath the tree to get blue sky as the background.

I love how the bubble is in the foreground of this picture. Bubbles move quickly and sometimes can’t be captured, but I finally got one complete with my little one chasing it.

This one is of our first day to the zoo when the weather broke.

This is an Okapi. The kids love this animal, and always ask to see it when we go to the zoo. They are very shy though and kind of stay in the trees and are hard to see. I finally snapped a picture of one at just the right time.

Any pictures of flowers this time of year, make me happy.

Has anyone else been honing their photography skills?

A Novice Blogger’s Guide to PicMonkey

If you like reading Home Everyday, you can vote for me to win The Best Home Projects and DIY Blog at Apartment Therapy’s 2013 Homie Awards here
Thank you so much!


A few weeks ago, a blogger friend, Nikki (More for Four) asked me how I get labels and things on my photos. I told her I could do a quick tutorial of PicMonkey to show how I use it to quick edit my photos, add labels and make collages. The features I use most are cropping, exposure, labels, and text. In this tutorial, I will show you the steps I use most often when editing a picture. I will then show you a few tricks to creating a collage.


Editing


1.) Open your internet browser, and go to www.pickmonkey.com (it is free and there is no registration). The main page looks like this:


2.) Click on Edit Photo. A window will open asking you to choose the photo you would like to edit. Choose the photo, and click Choose.


3.) Once you have chosen your photo, on the left hand side of the screen, there is a list of editing options on the far left indicated by pictures. They are Basic Edits, Effects, Touch Up, Text, Overlays, Frames, Textures, and Themes. The three I use are Basic Edits, Overlays, and Text.


4.) The first thing I do, is crop my photo.


5.) I then adjust the exposure.


6.) Next I click on the Overlays button on the left, and choose my overlay, as well as color. (once you choose an overlay a window opens allowing you to adjust color and if you would like it to fade). You can adjust size just like you would adjust the size by clicking, holding, and dragging the dots around the edges of your overlay. You can position your overlay, by clicking it and dragging it to its location.


7.) I then add text. If you would like your text to appear inside an overlay, you must do the overlay part first. Then you can position text on top. This process is similar to the overlay. You can choose a font, and then click add Add Text. A window will appear so that you can adjust color, fade, bold, center, etc.


8.) Once you are done making all your adjustments. You can click Save at the top of the page. Choose where you would like to save it, and give your photo a name.


Making a Collage

1.) Open your internet browser and go to www.picmonkey.com
2.) Click on Create a Collage
3.) On the left hand side, click Open Photos. This will allow you to choose any photos you would like included in the collage. (NOTE: For ease, I suggest first editing any photos before making the collage.)
3.) Once you have chosen your photos, you can now choose a layout.
4.) Once you have chosen your layout, you may now click back to
5.) Finally, you can drag and drop your photos where you would like them. If you want to remove a photo or move it location, you may click the small gray X in the corner of each photo and drag and drop again.
6.) Save just as you would when editing.
There you have it. My novice blogger’s uses for PicMonkey. I know it isn’t nearly elaborate as using PhotoShop, but it works for now, it is easy, it is free, and I have been happy with how the pictures have turned out thus far.
Hope this helps!
Linking up today at Serenity Now for Weekend Bloggy Reading!


Helping… sort of: Impromptu Photo Shoot

Last week, I told you of the adventures of buying our first DSLR camera. I know there is a lot to learn. The word on the street is shooting in manual allows more freedom and has so many more benefits to the photographer, but so far I’m taking it one day at a time.

I also mentioned yesterday how things have been busy around here. Over the weekend, we winterized the yard. At our house this means, cut the lawn one more time, make sure all dead annuals are dug up, put all the patio furniture and ceramic pots in the shed, and put the snow blower in the garage. While Brian and I were doing a few tasks the kids played in the back yard, and instead of helping Brian finish, I ran and grabbed the camera to take a few pictures of the kids playing.

Look at that smile!


My super hero has no problem posing.


She let me interrupt her leaf collecting.


Then I walked around the yard and just shot some pictures of randomness.


Not all the pictures I take are winners, but it is definitely playing with the camera, and getting some cute photos of the kids.

My Family thinks I’m the Paparazzi Now: Cannon Rebel

Awhile back was Brian and I’s 6 Year Anniversary, and I celebrated with a week of going down memory lane (here, here, here, here, and here). What I forgot to tell you, though, was the awesome gift we gave to each other. You ready? Here she is:


Gorgeous no? Weird taking a picture of a camera… I had to take this on my iPhone so it didn’t come out as lovely.

This decision was a long time coming. When Brian and I are about to plunk down a significant amount of money, we do a TON of research. Here is our little adventure of buying our awesome new camera, and just thank your lucky stars that I’m not letting you in on our car buying experiences (you’d be reading for days).

When we found out we were pregnant with my oldest 5 years ago (has it been that long?!) we got a Canon PowerShot. It served us well. In fact, it lasted through three kids, two moves, and plenty of trips and special events. We used it so much, it was starting to see better days. Also, taking pictures of an unmoving newborn is way easier than three rambunctious tots. You can see the blur here:


Then in July, I started blogging. We weren’t sure how often I was going to blog, but it was pretty clear that iPhone photos and the PowerShot weren’t going to cut it. If you want evidence of jenky photos please refer to my first two months of blogging.

With all of that said. The research began. We first took some advice from a good friend who loves photography, Melissa. She has her own blog called Jamrockstar which showcases some of her photography skills as well as her musings about life. Hopefully soon, she will do a guest post for me (hint, hint).

Melissa gave us the best suggestion. She said we should look at all options, hold them, see how they feel in our hands, practice switching lenses, and play with some of the different settings. So we did. We walked around Target, Wal-Mart, Best Buy, and our local camera shop, and we just held cameras and tried shooting a few photos. This really helped us narrow things down, and I am so happy that I didn’t make a decision without seeing and trying one out.

Speaking of trying out a camera, our friends Lisa and Bill (who also have three amazing kids), own a Canon DSLR that they loaned us for a few weeks to make our final decision.

So, after checking things out, we decided that we wanted a Cannon Rebel T3i. The added bonus of wanting a Canon was that we still had Brian’s automatic zoom lens and removable flash from his days taking and developing film photos for the Purdue Exponent.   

We had a very strict budget in mind, and were even willing to wait until Black Friday to score a deal. The long search began. While we were searching, Canon had just released the T4i model, which was good for us. Stores wanted to get rid of T3i’s to make room for the new model. WOOHOO! Savings galore. For a few weeks, we scoured the internet, store flyers, and eBay. Then one night we happened to go right to the Canon Direct website, and noticed they have a refurbished store, and they had a GREAT deal on the Rebel T3i. It was no tax, free shipping, and was the cheapest deal we’ve seen. It also came with a 90 day warranty AND Brian found an online promo code. While it wasn’t the full year warranty on a brand new Canon, we read some online reviews, and there were nothing but good things to say about refurbished Canon products.

Long story short… well long. We bit the bullet, and bought it.

Now, look at all these beautiful photos that our new Canon has taken. While I still have lots to learn about the camera (I read the booklet nightly and research tons of internet resources on photo editing), I cannot believe that even a novice like me has taken some of these awesome photos.


Also, I’ve been able to practice my photography skills with the November Challenge.

Linking up today at Serenity Now for Weekend Bloggy Reading. Check out everyone else’s amazing projects!