Category

Food

Splitting the Difference: Chocolate Chip Pumpkin Bread

There is a trend among bloggers to celebrate weird National holidays. I’m not sure these days are even holidays, but more of an excuse to just celebrate or be aware of a given thing. These days include National Granola Bar Day, National Tempura Day, and even a National Greasy Food Day. For a complete list of days that bloggers try and get trending here is a complete list from Serendipity and Spice.

I like the idea of celebrations, and having these days can be fun (or as an excuse to eat as many doughnuts or fried foods seems legit). Also, as a writer it is sometimes nice to have a jumping off point for an idea or a recipe. However, I also feel that it can sometimes be a bit much to keep up with all of the different holidays and celebrations. I mean I don’t even have all of our costumes ready yet (Amazon guaranteed delivery tomorrow for the football shoulder pads).

This week happened to be a big week. Yesterday was National Pumpkin Day. Tomorrow is National Chocolate Day. So, today, I’m splitting the difference.

Chocolate Chip Pumpkin Bread 2

I made Chocolate Chip Pumpkin Bread to satisfy both days. This recipe is so cake like and delicious it is one of those foods that you can have for dessert, but can convince yourself to have for breakfast because I decided to call it a bread and bake it in a loaf pan.

Chocolate Chip Pumpkin Bread (yields two loaves)

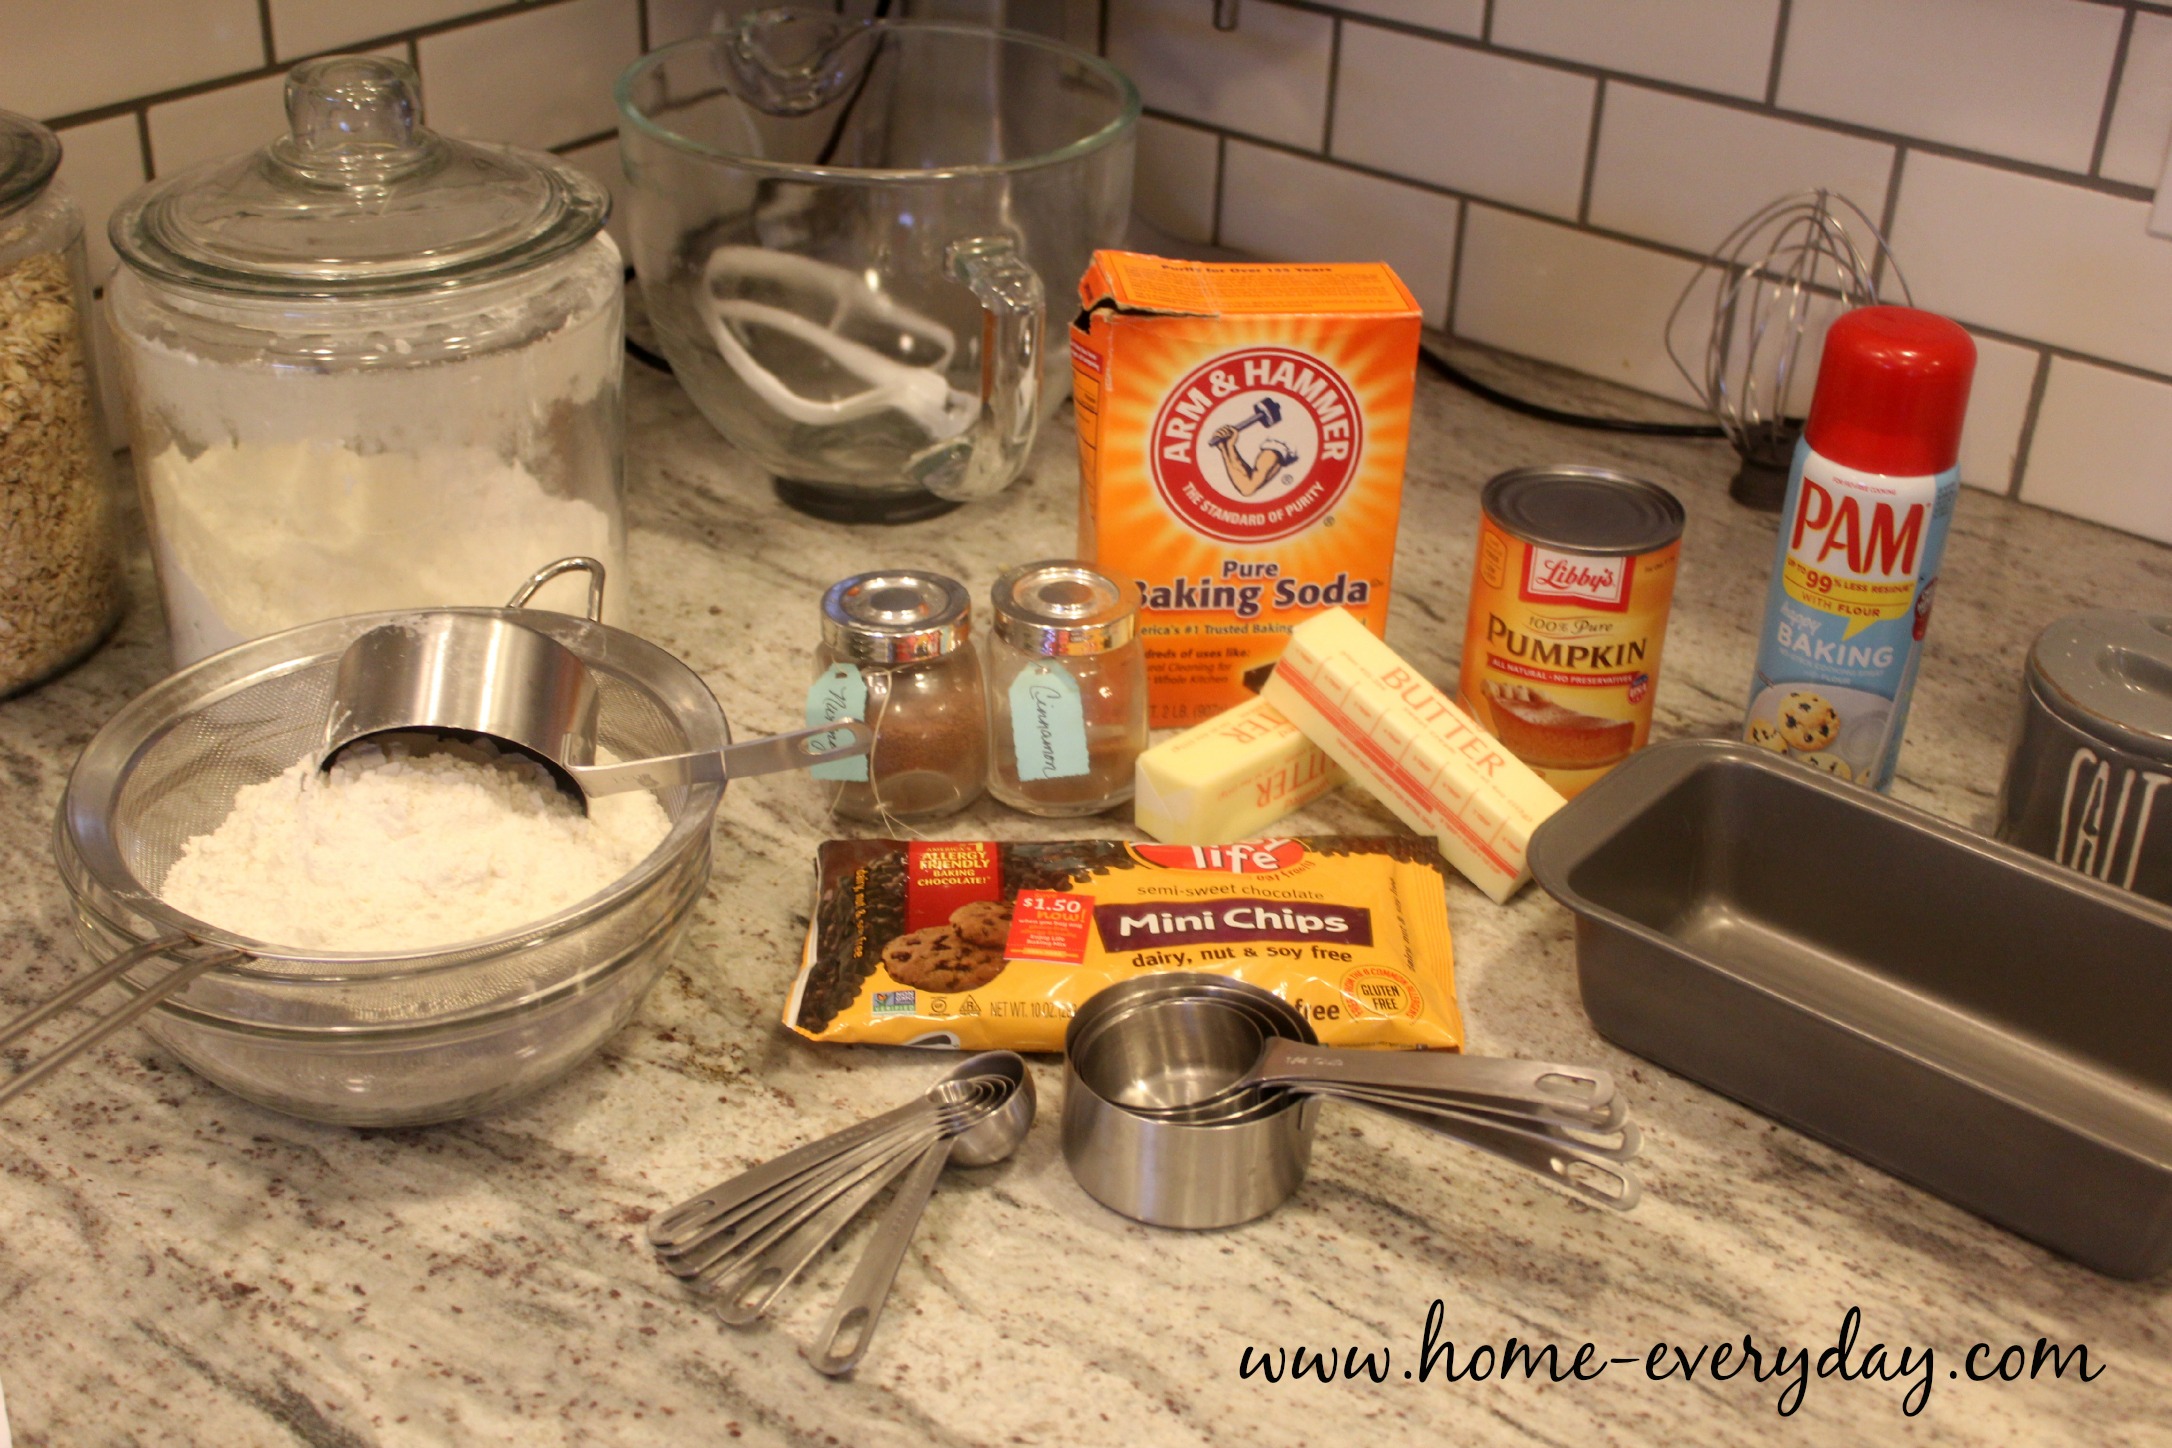
3 cups all purpose flour

3 teaspoons baking soda

1 teaspoon ground cinnamon

1/2 teaspoon ground nutmeg

1 teaspoon salt

2 sticks unsalted butter softened

1 1/2 cups brown sugar

1 1/2 cups granulated sugar

3 eggs

3 teaspoons pure vanilla extract

1 15oz can of pumpkin puree

1 10 oz bag of mini chocolate chips (I use the Enjoy Life brand as they are allergy safe)

Chocolate Chip Pumpkin Bread 3

Preheat oven to 350 degrees.

Prepare two loaf pans with cooking spray and set aside.

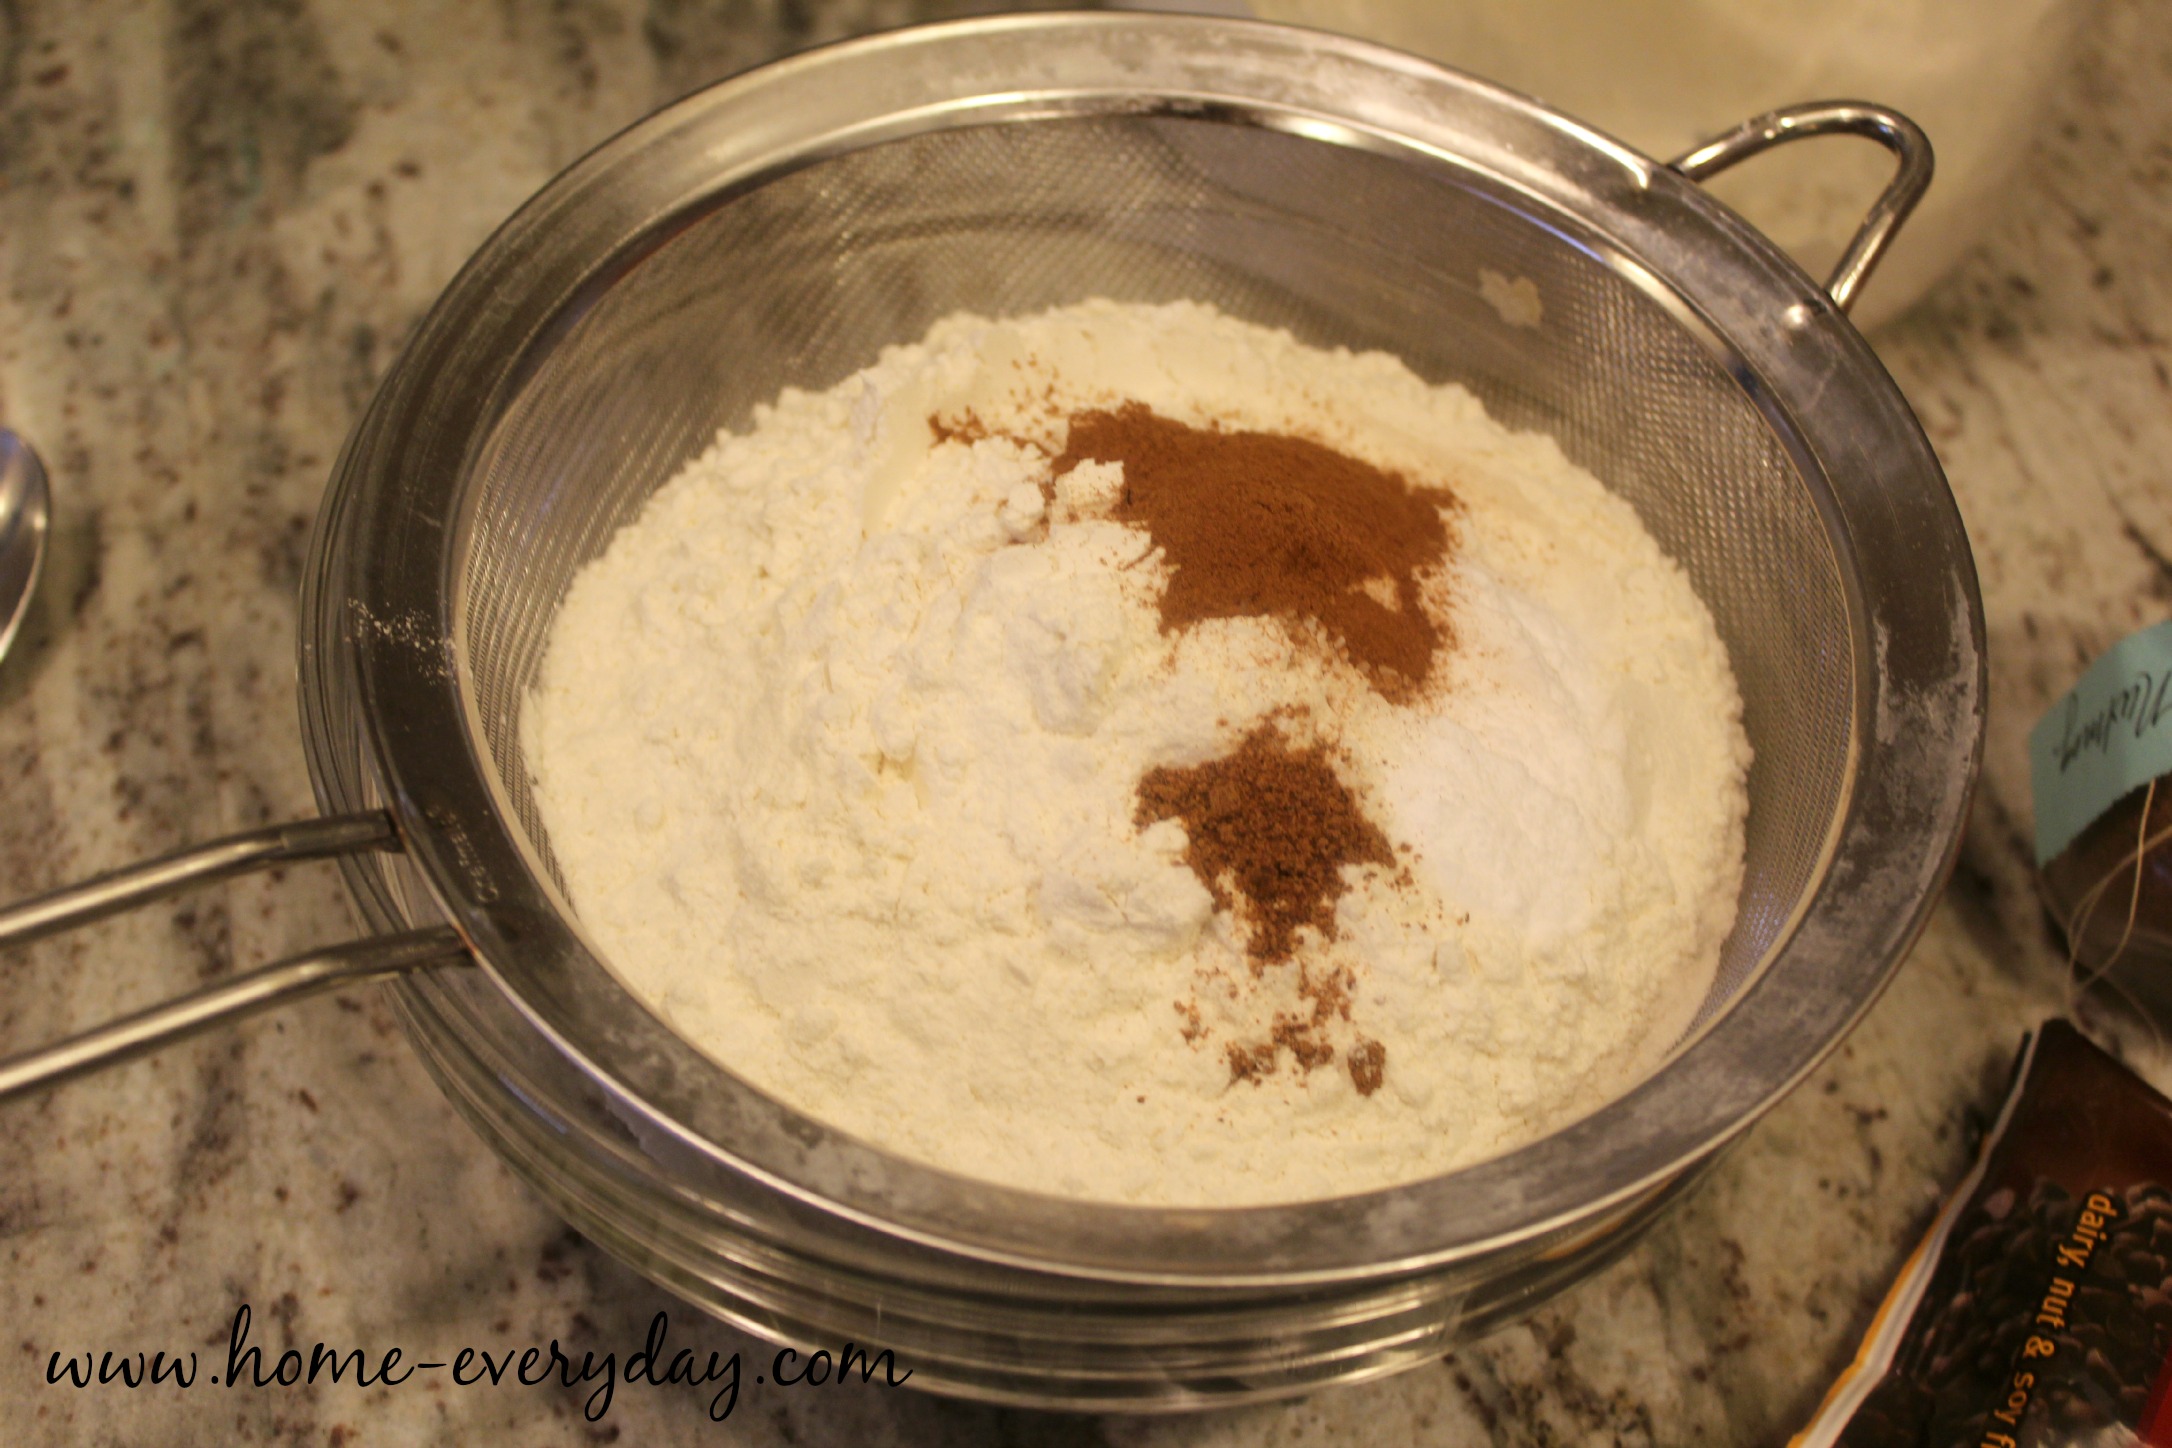
In a large bowl, sift together flour, baking soda, cinnamon, nutmeg, and salt. Set aside.

Chocolate Chip Pumpkin Bread 4

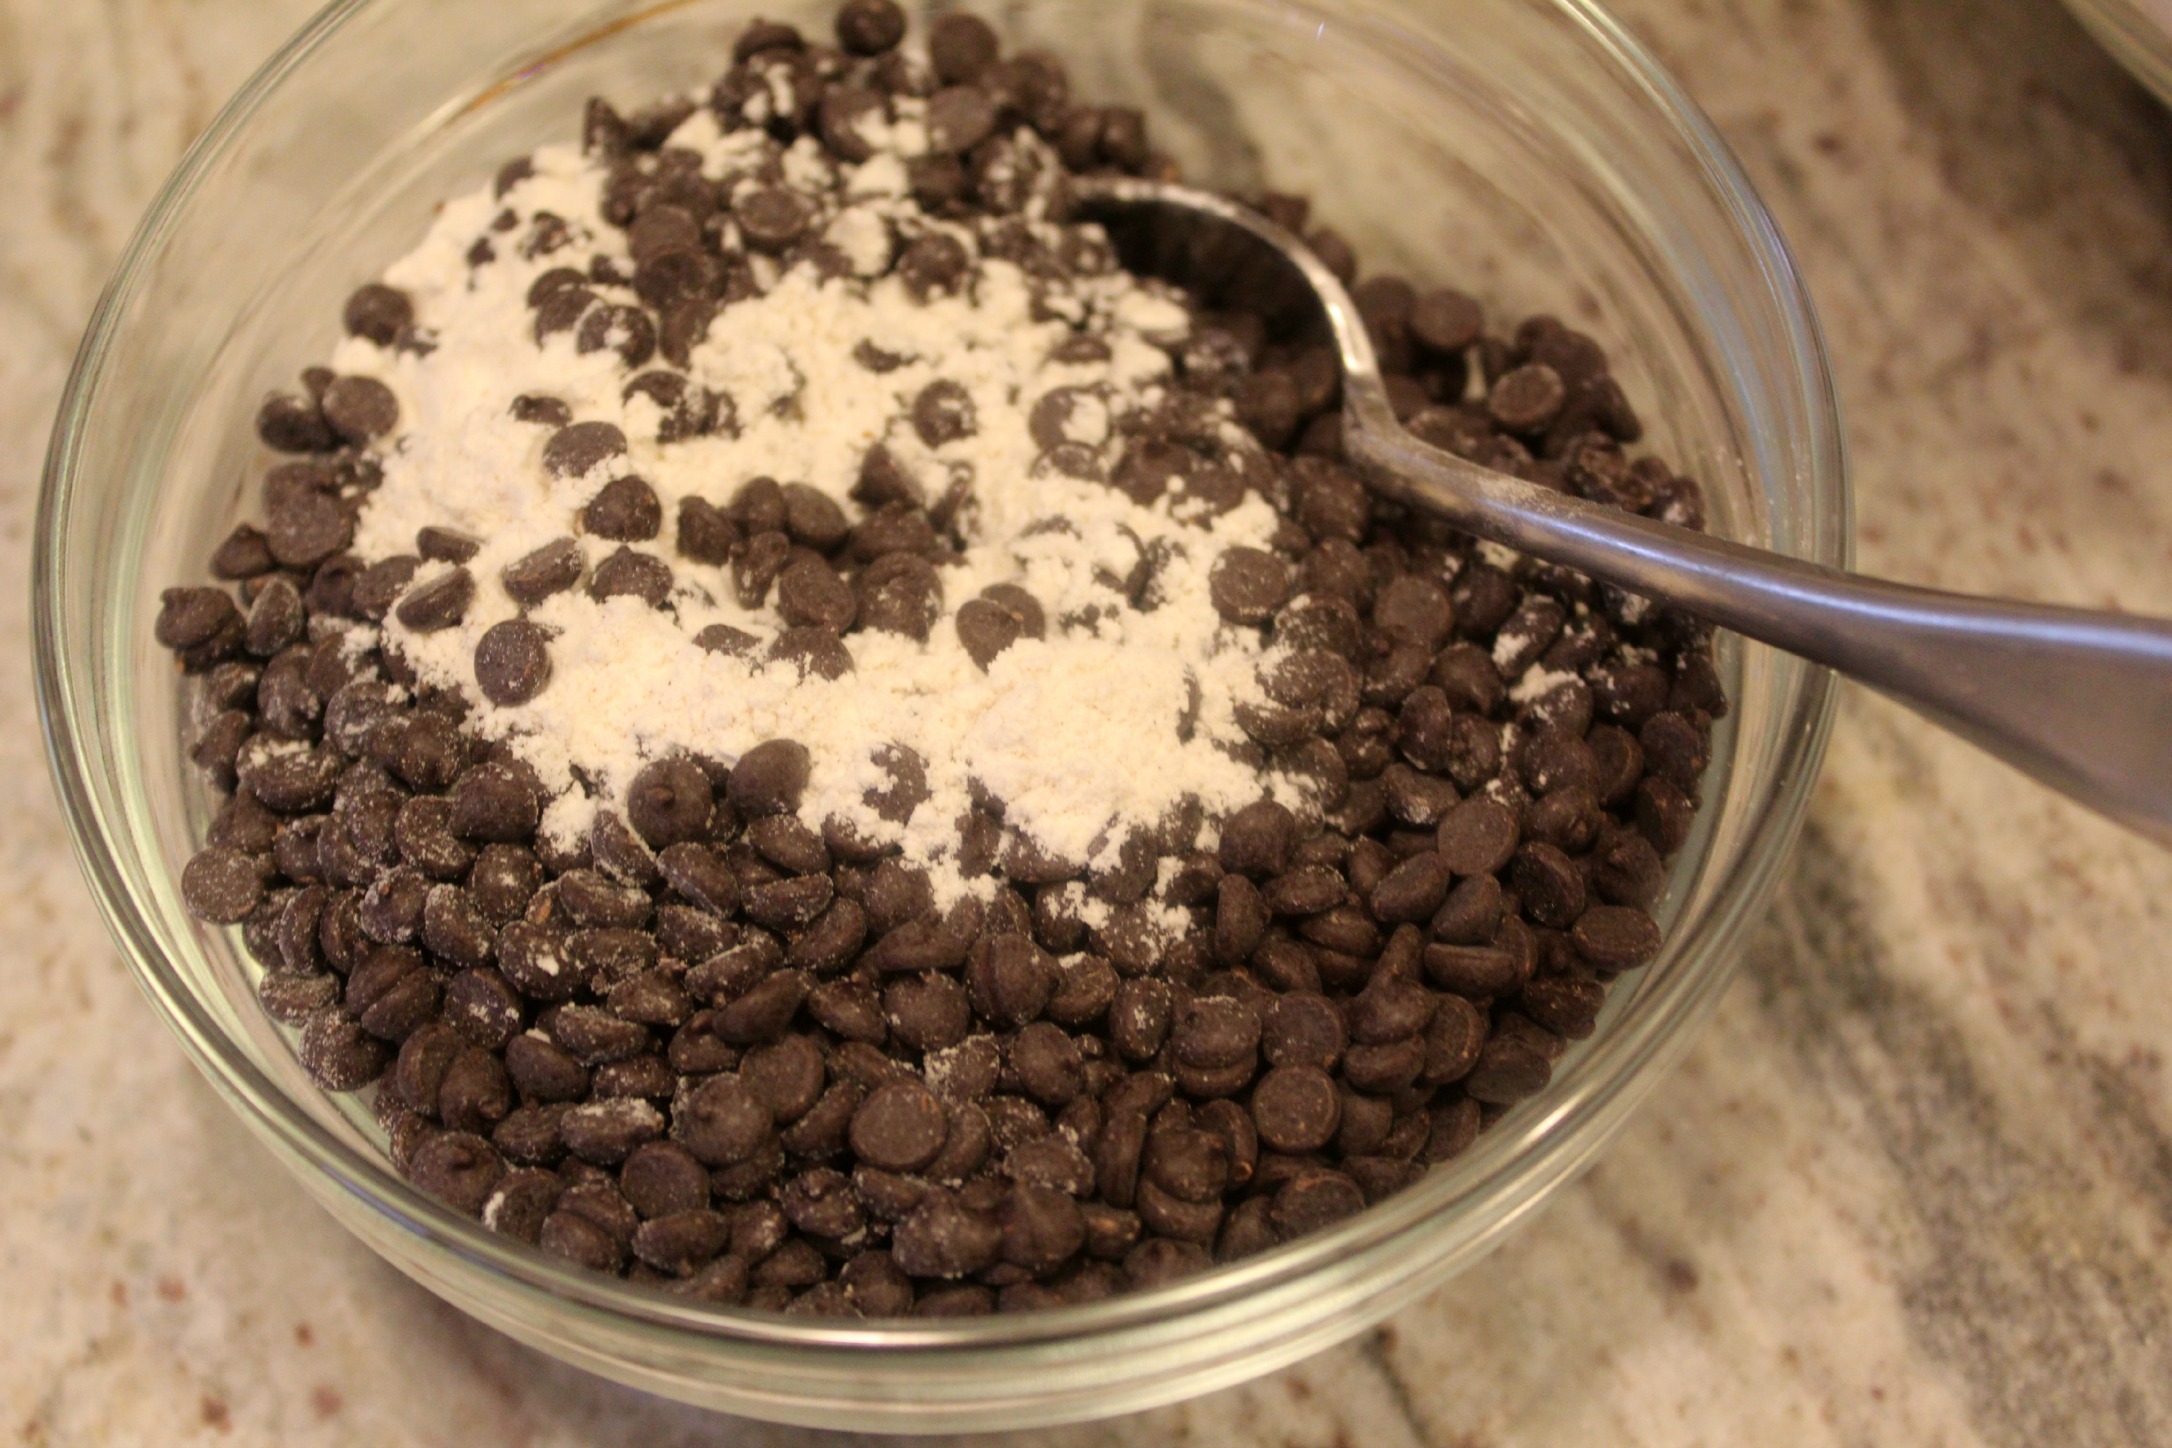
In another bowl toss together a spoonful of the flour mixture and the chocolate chips and set aside.

Chocolate Chip Pumpkin Bread 5

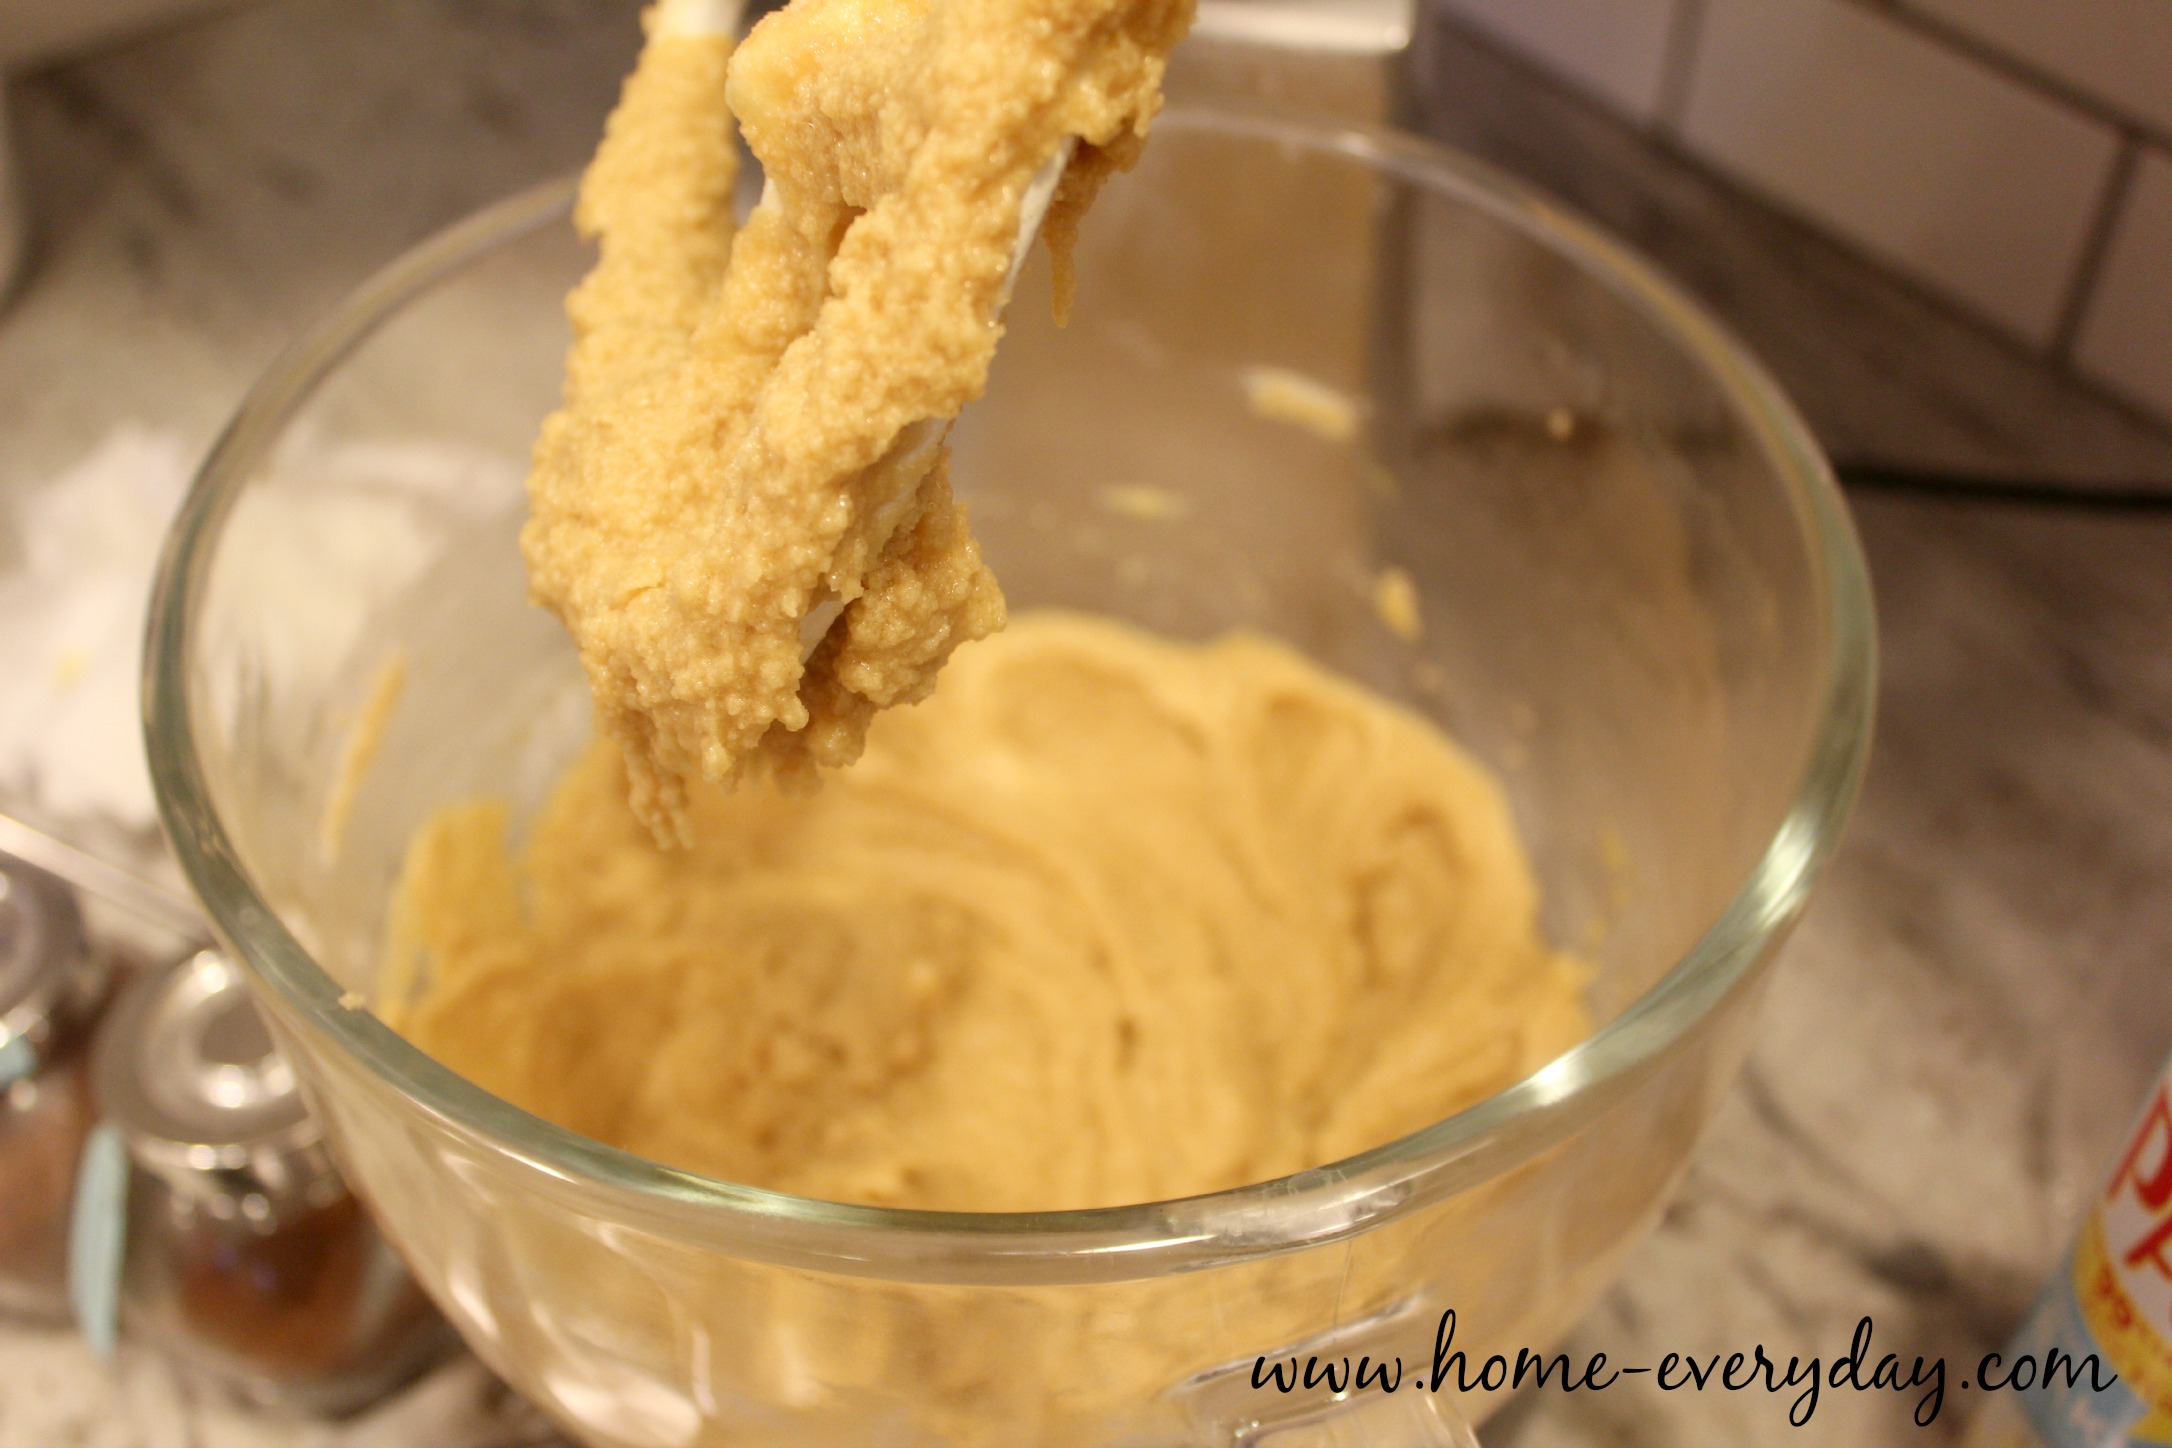
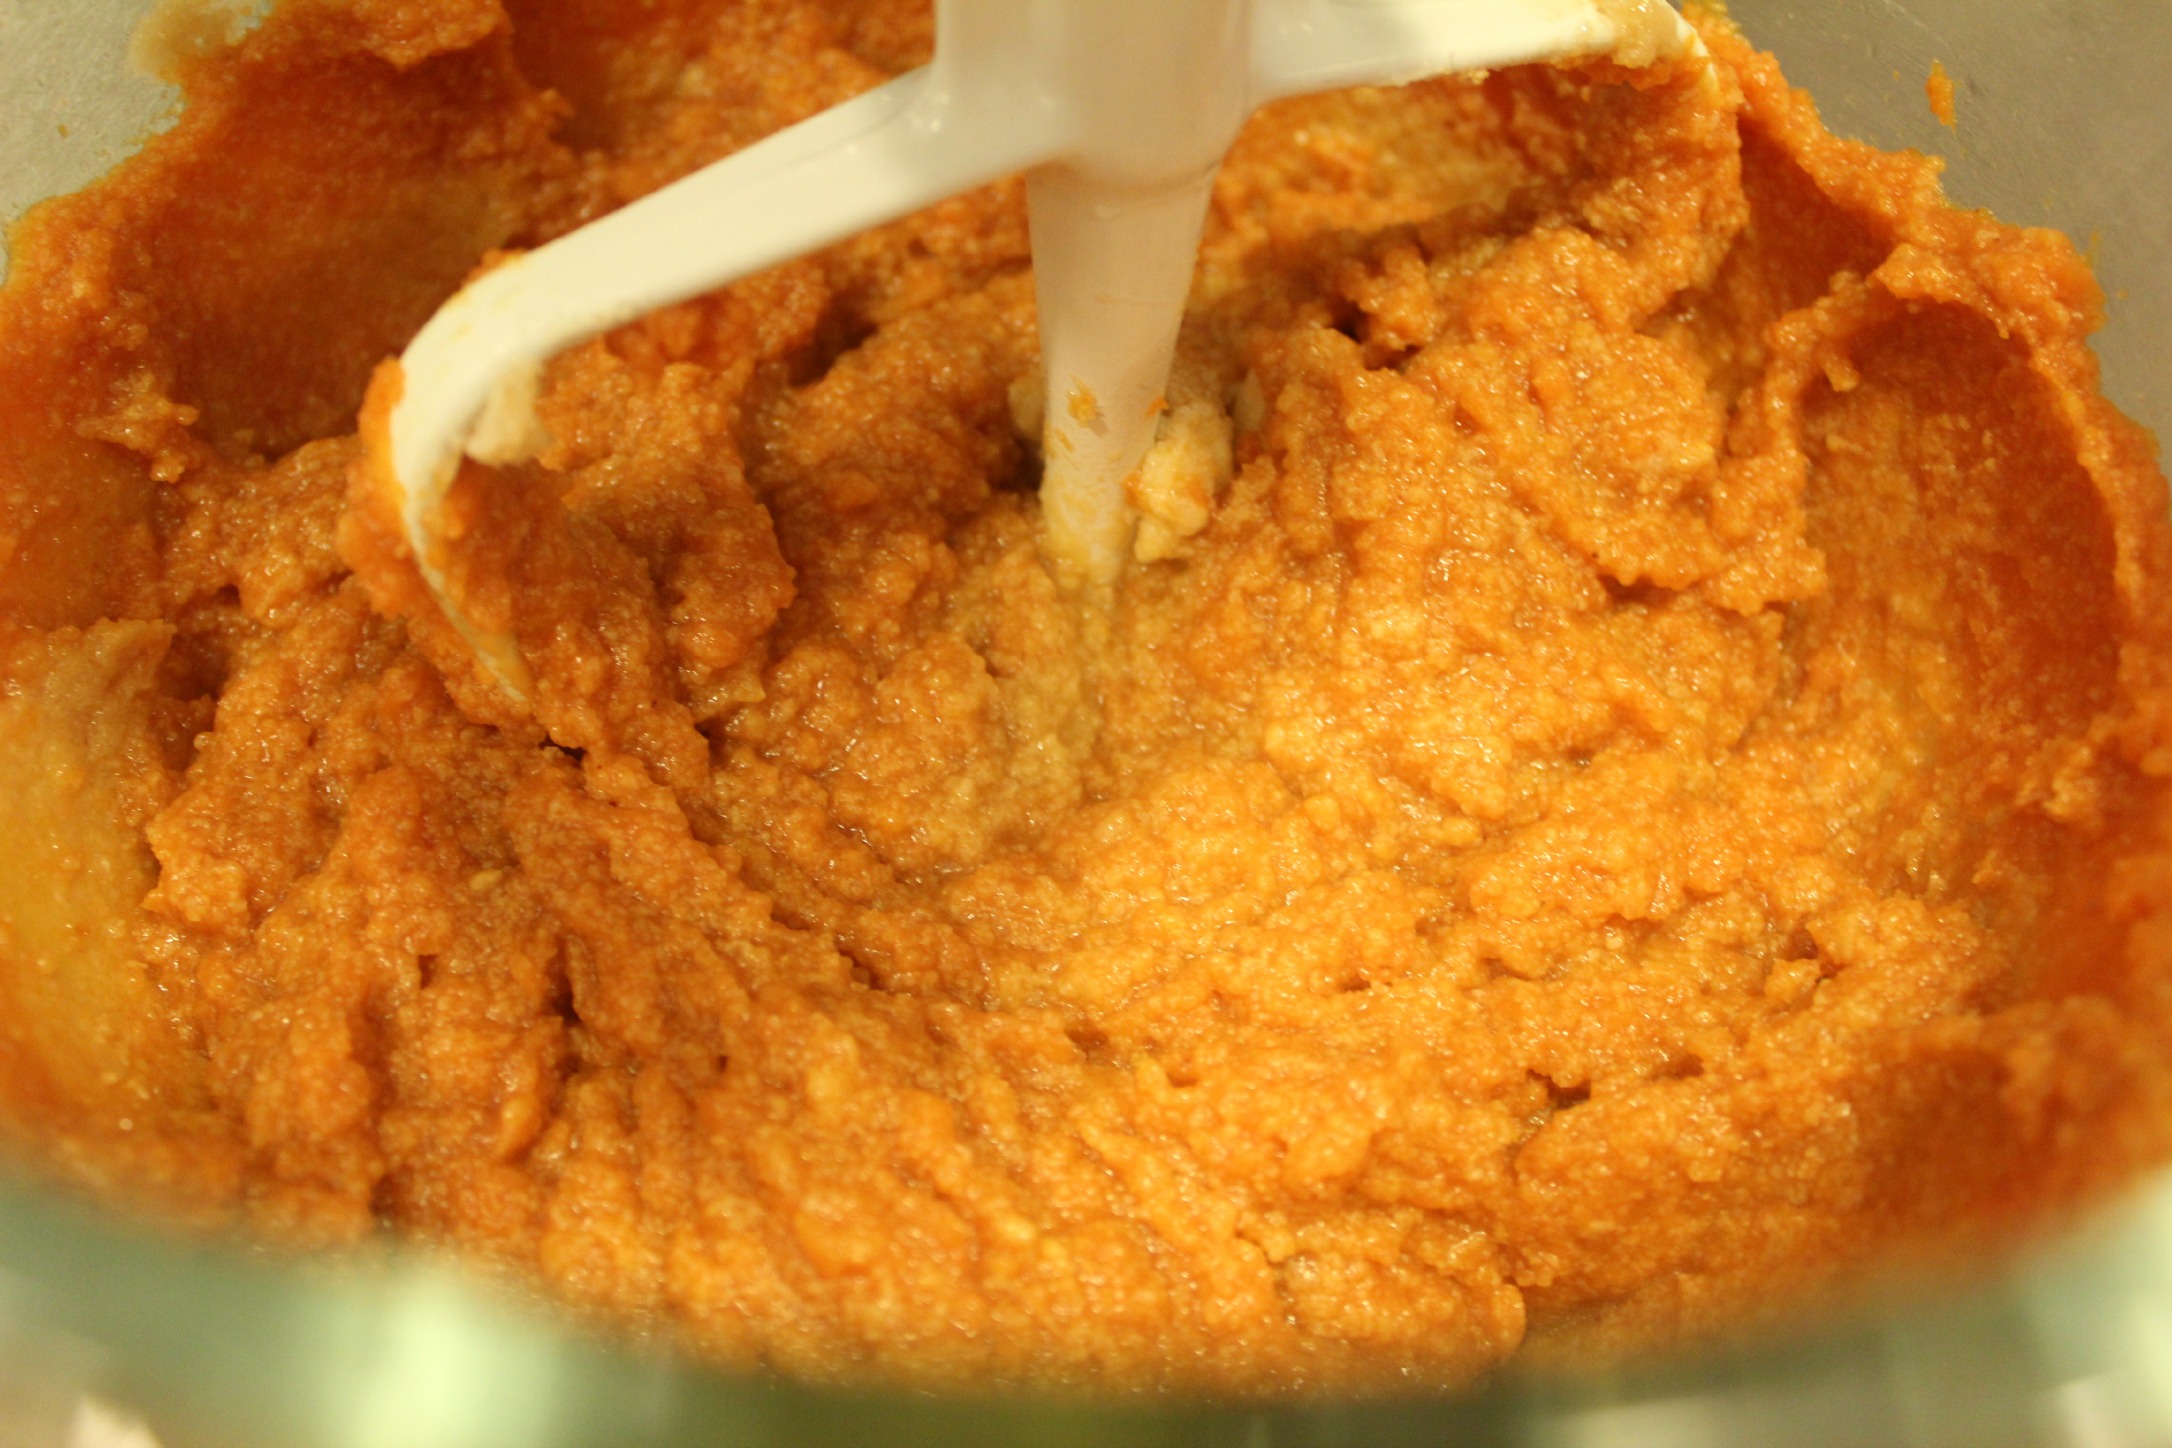
In a mixer with a paddle attachment, cream together butter, brown sugar, and sugar until creamy.

Chocolate Chip Pumpkin Bread 7

Add eggs and vanilla and mix until completely incorporated. This should take about 1 or 2 minutes.

Next, add pumpkin.

Chocolate Chip Pumpkin Bread 8

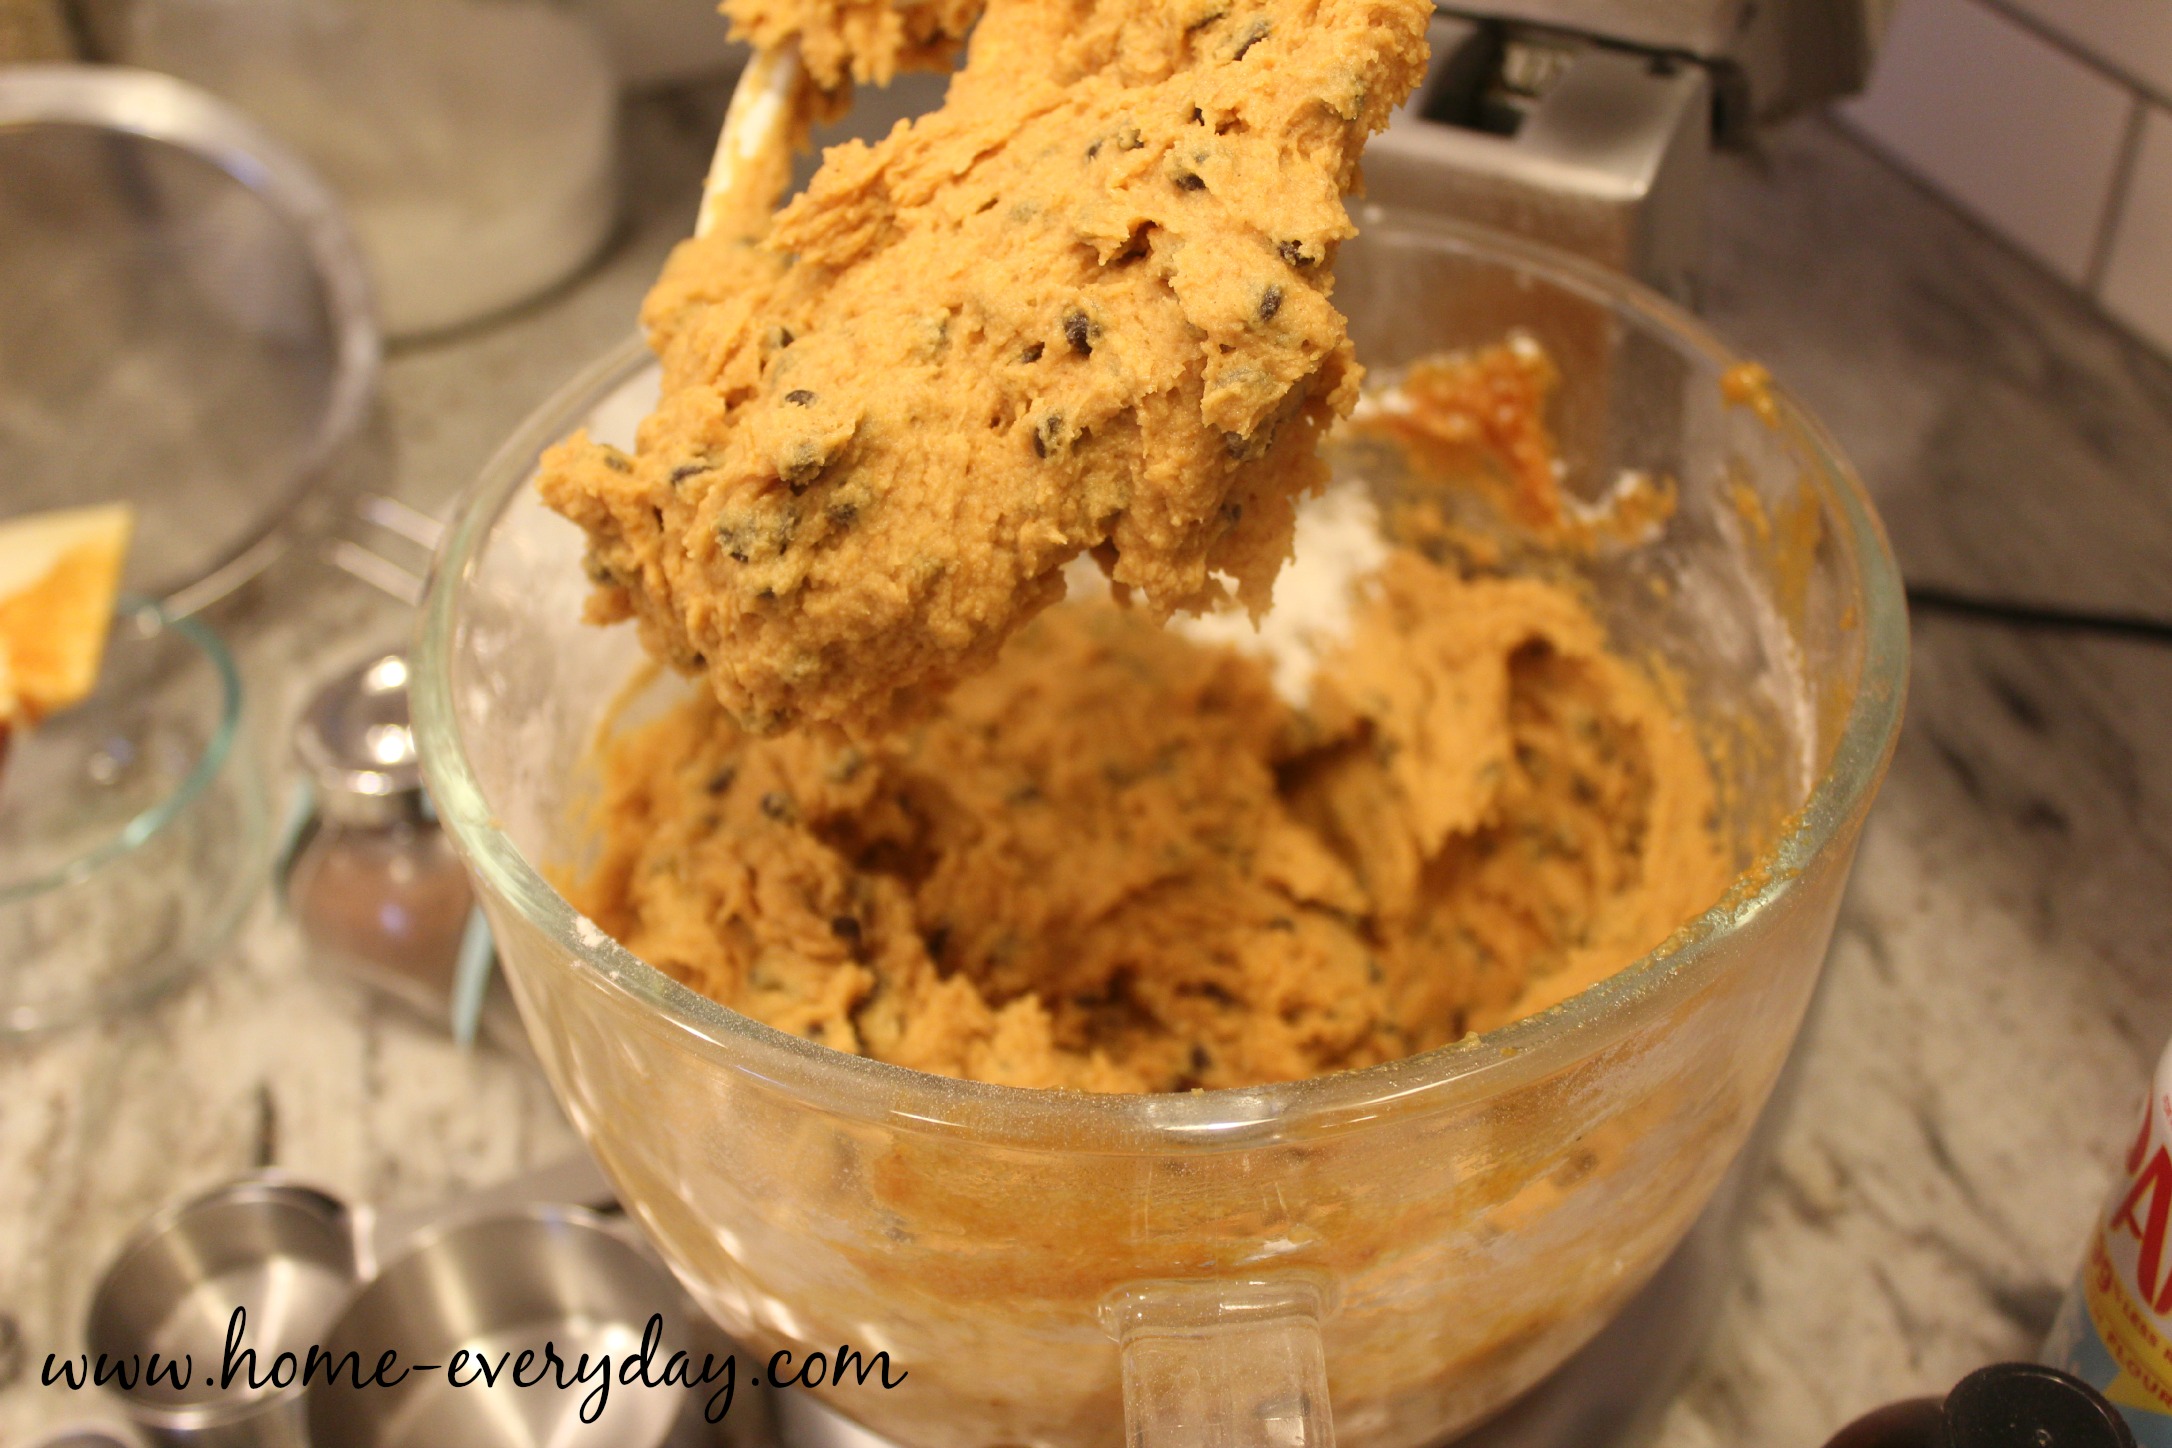
Then, with the mixer on low, slowly add flour until barely mixed.

Turn off mixer, add chocolate chips and turn mixer on for a few seconds until incorporated.

Chocolate Chip Pumpkin Bread 9

Divide batter evenly into prepared loaf pans.

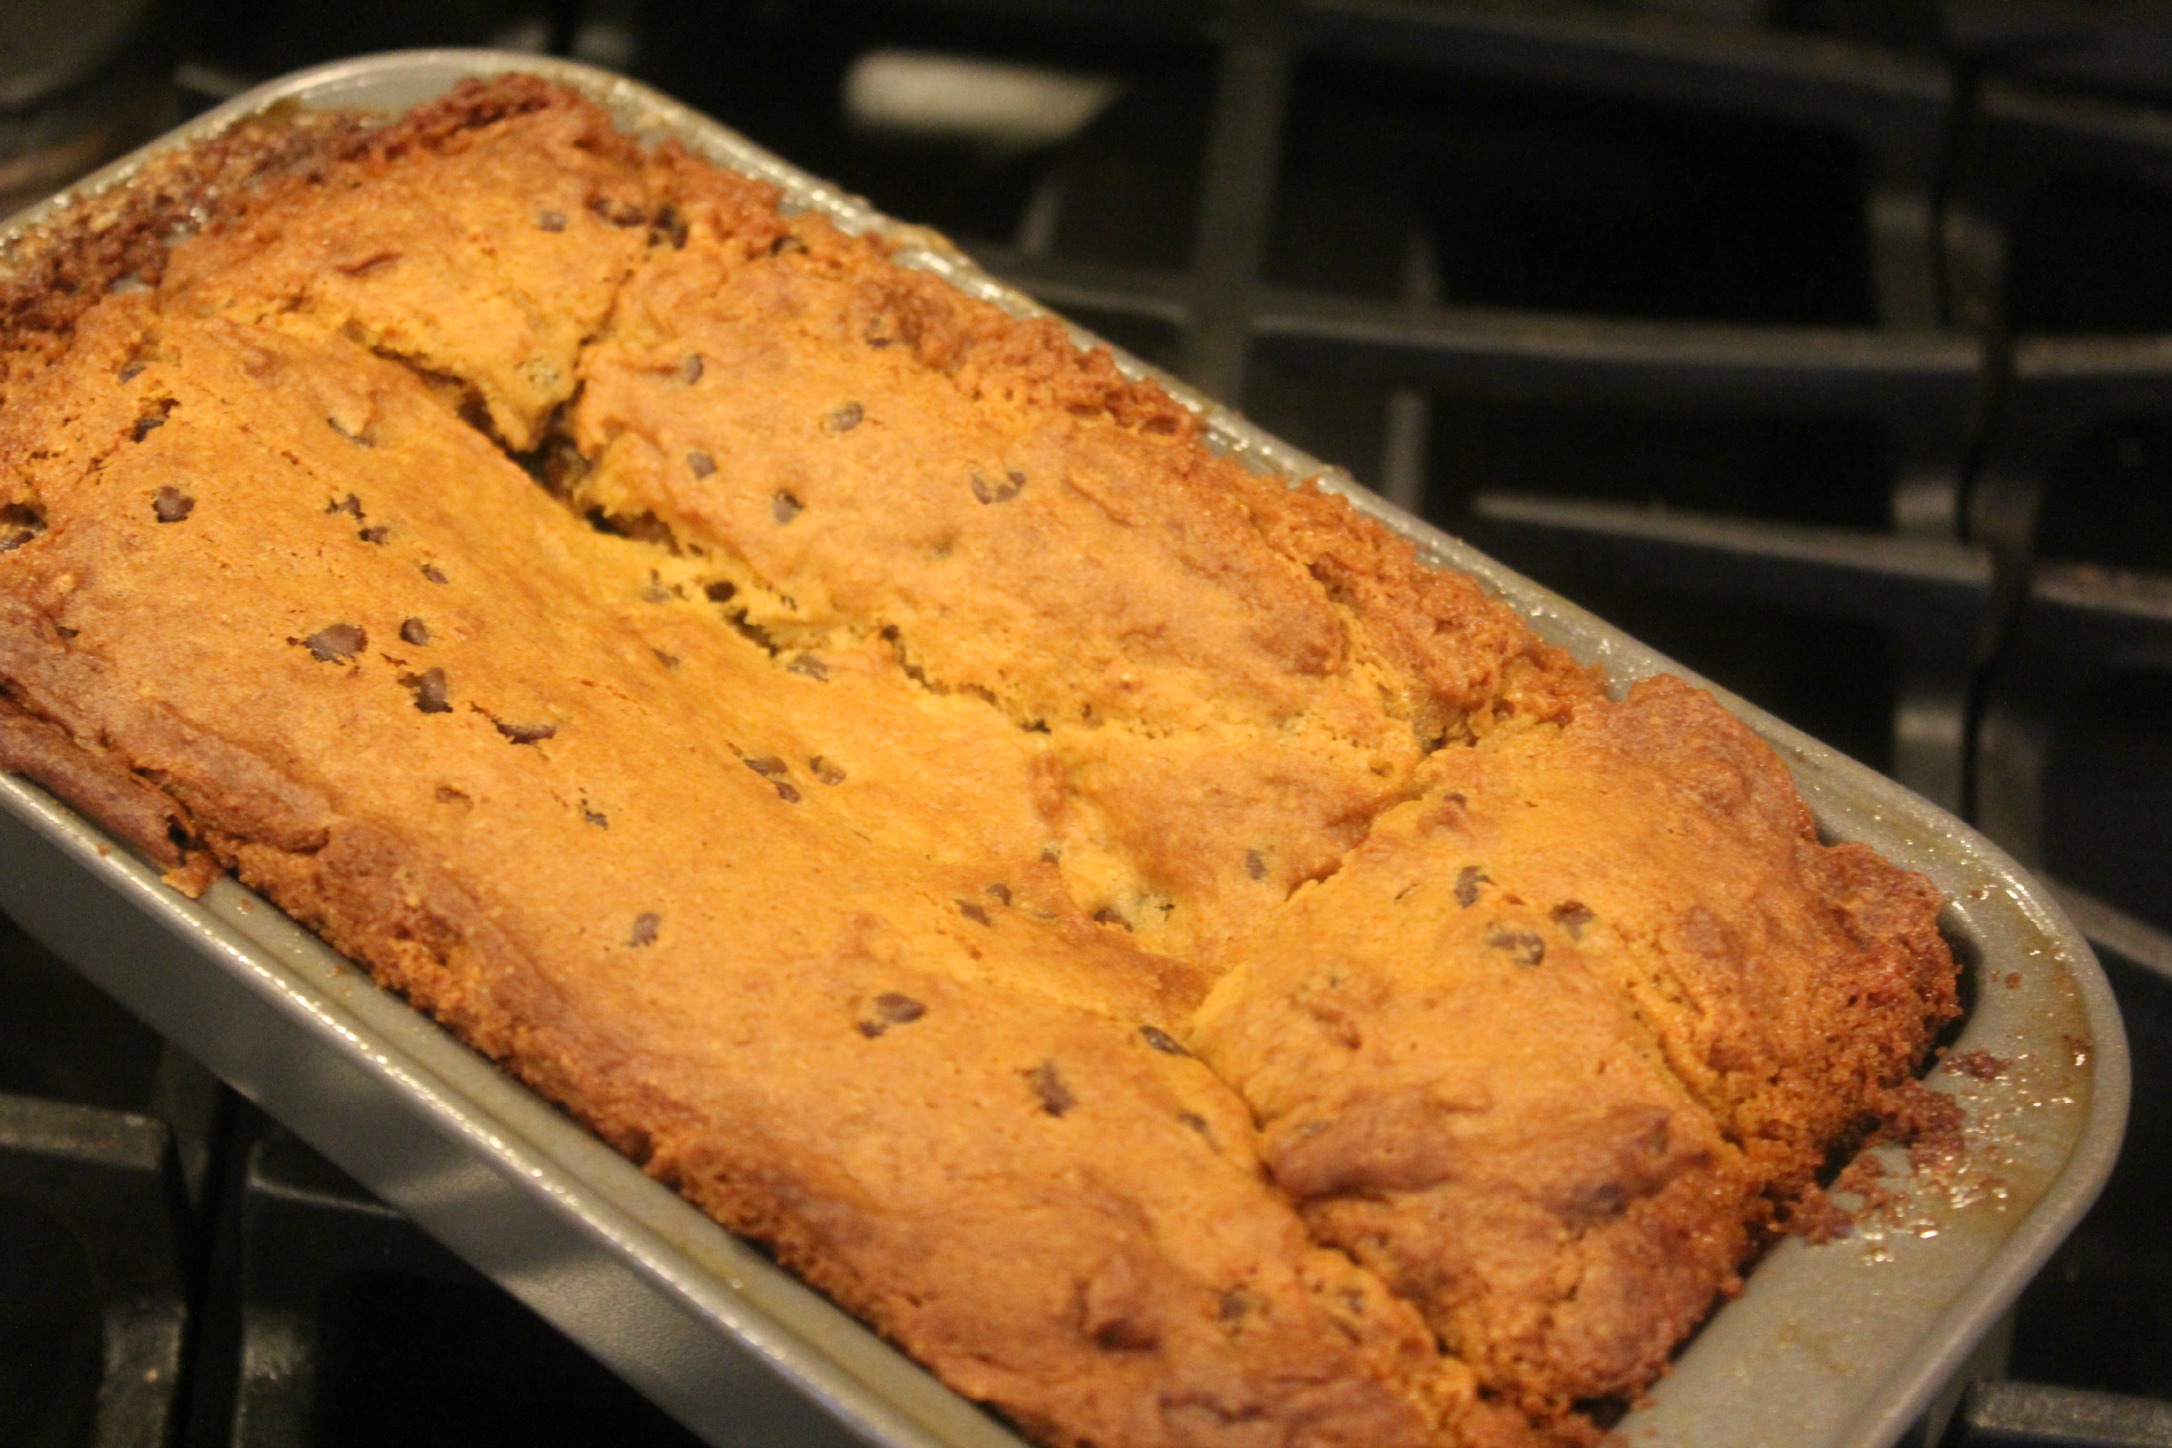
Bake for 50-60 minutes or until a knife inserted comes out clean.

Chocolate Chip Pumpkin Bread 12

Cool for 20 -30 minutes.

Chocolate Chip Pumpkin Bread 1

Enjoy!
What is With the #TealPumpkin?

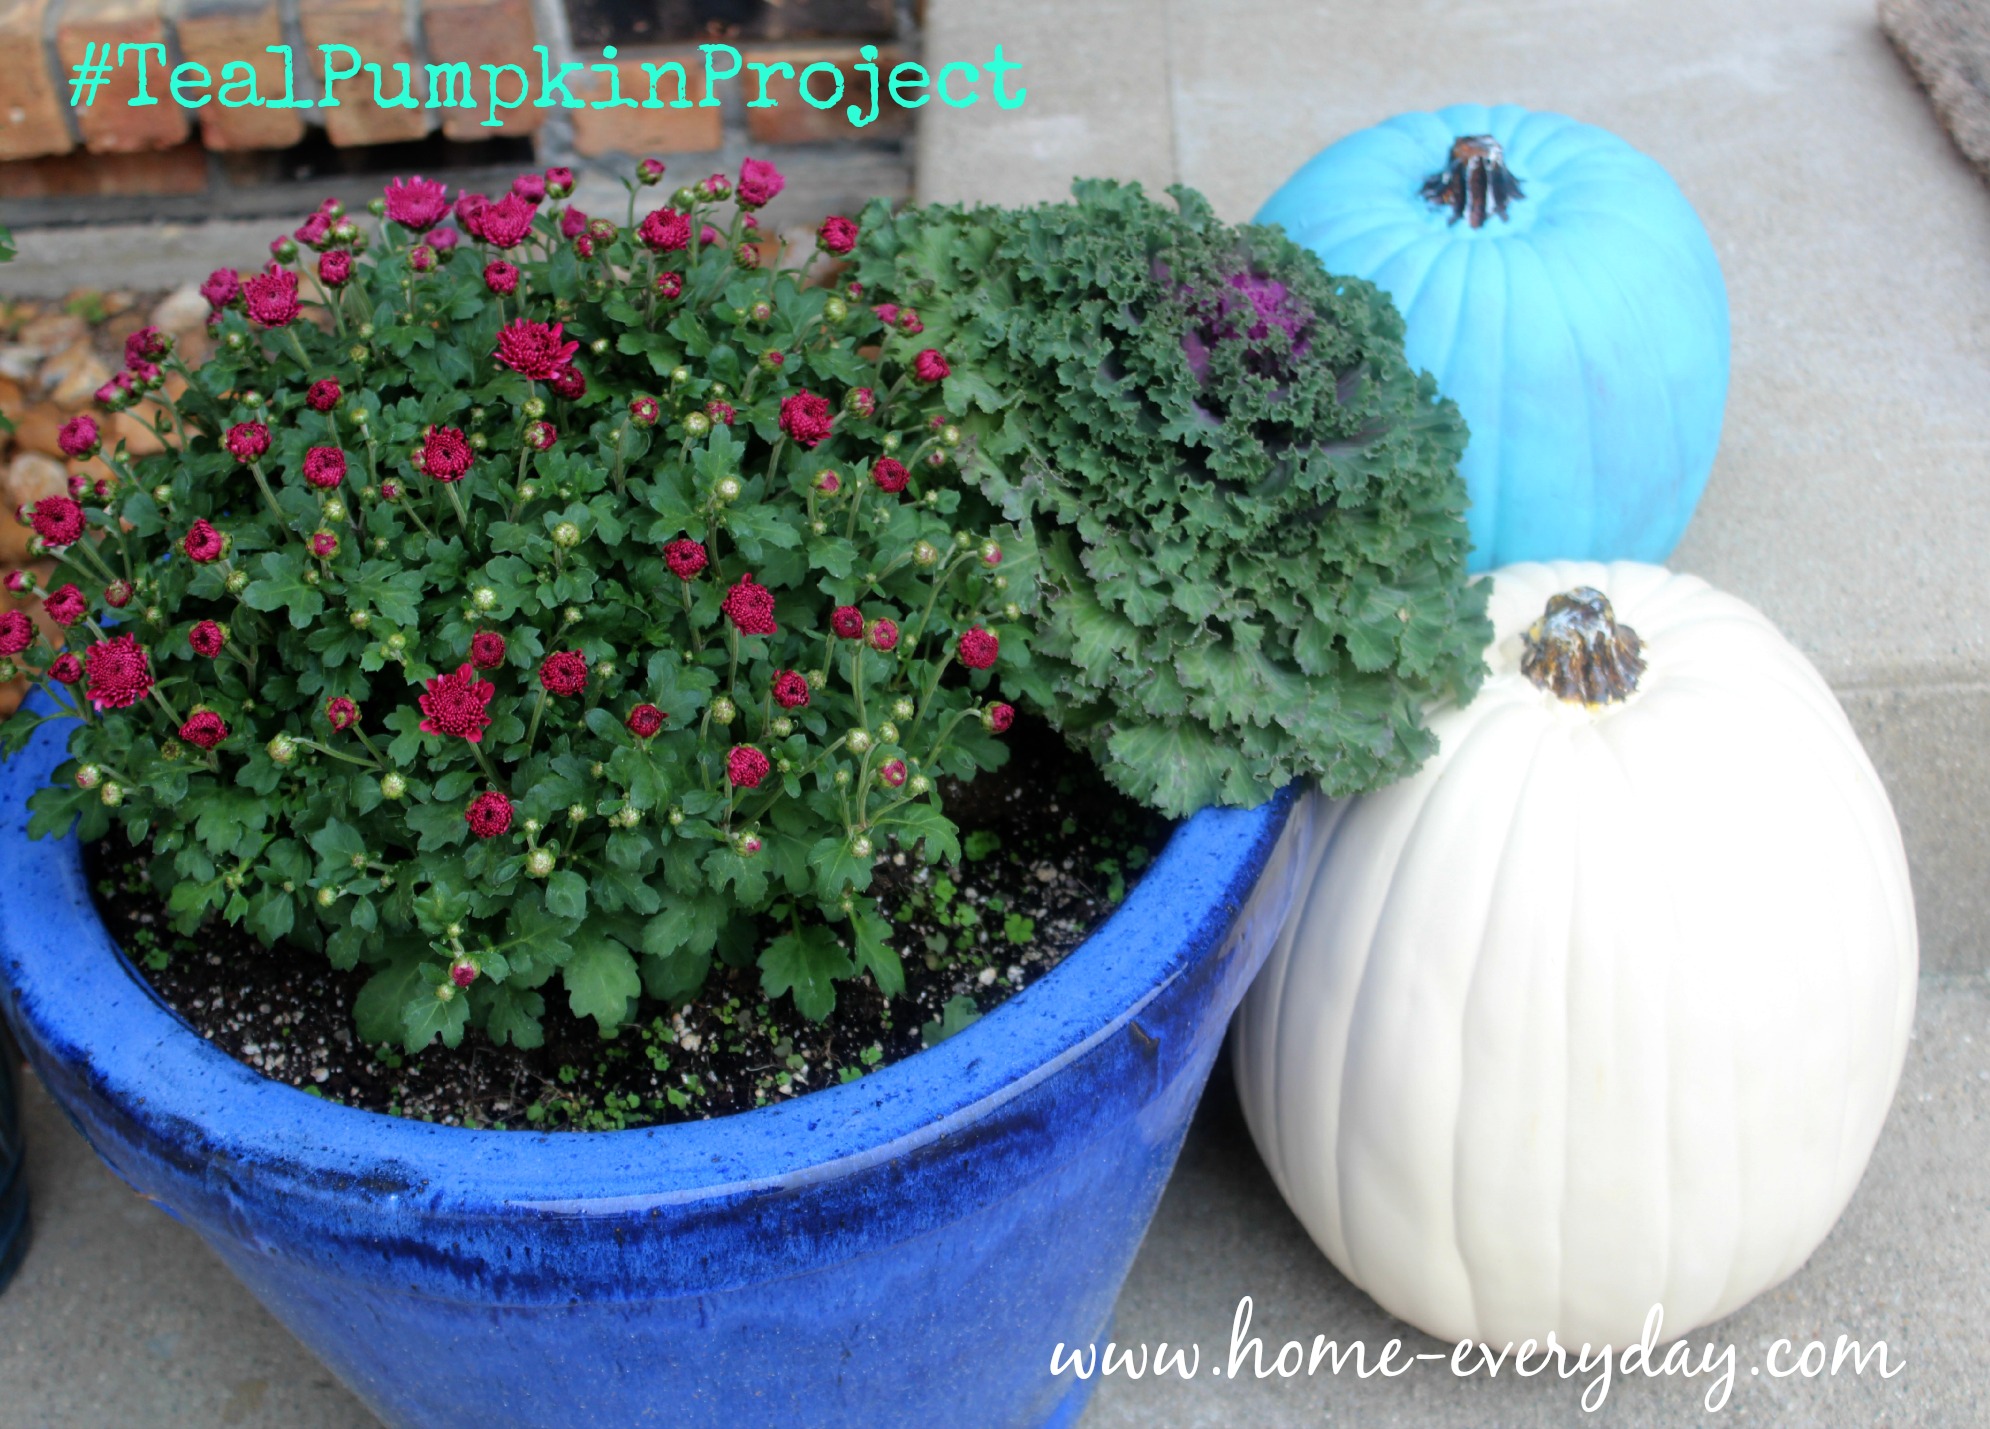
In addition to potting some mums that were on sale at Home Depot and hanging the last of my fall decor, it was time for us to put out our Teal Pumpkin. This is a tradition my family and I began last year (you can read about it here), with some inspiration from the awesome people at FARE (Food Allergy Research & Education).

Teal Pumpkin Project 15-3

For those that regularly follow, Home Everyday, you know all about my kids food allergies. But did you know (according to FARE).

  • About 15 million people in the United States have food allergies.
  • About 1 in 13 kids in the United States as a moderate to severe food allergy. (that’s about 2 per classroom)
  • Every 3 minutes a person is sent to the Emergency Room due to an allergic reaction.
  • A reaction can be mild or extremely severe and even fatal. This life threatening reaction is known as anaphylaxis.
  • Many allergies are not outgrown over time, peanuts, tree nuts, finned fish, and shellfish allergies often tend to be life long allergies causing severe reactions.
  • A food allergy can develop at any time.
  • According to the CDC, between the years of 1997 and 2011 food allergies in children increased by 50%

While my kids have food allergies, they are just like any other kids. They go to school, play sports, go to events, and restaurants. All of these activities just require a little extra care and planning. For the most part, the people we associate with are extremely helpful and accommodating. Also, while my kids have been educated from very early on to read packages to look for possible allergens, ask a trusted adult what is in a dish before eating it, come find me at a party, or when in doubt refrain from eating a treat, they are also still children who are learning how to deal with their allergies.

In The Moment 1

This is why Halloween, for a Mom of allergy kids, is extremely stressful. While my kids are planning out the final details of their costumes, I am wondering how to navigate a through a day that is so centered on candy. Who will we donate our candy to after Halloween? Can I call every candy manufacturer between now and Halloween and find out what candies ARE safe? Should we go trick or treating or a just have a Halloween party instead?

When I found out about the #TealPumpkinProject through FARE, I was so excited to participate. This campaign was designed not only to bring awareness to food allergies, but also allow children who have food allergies to participate a little more fully in the Halloween traditions that we are so used to.

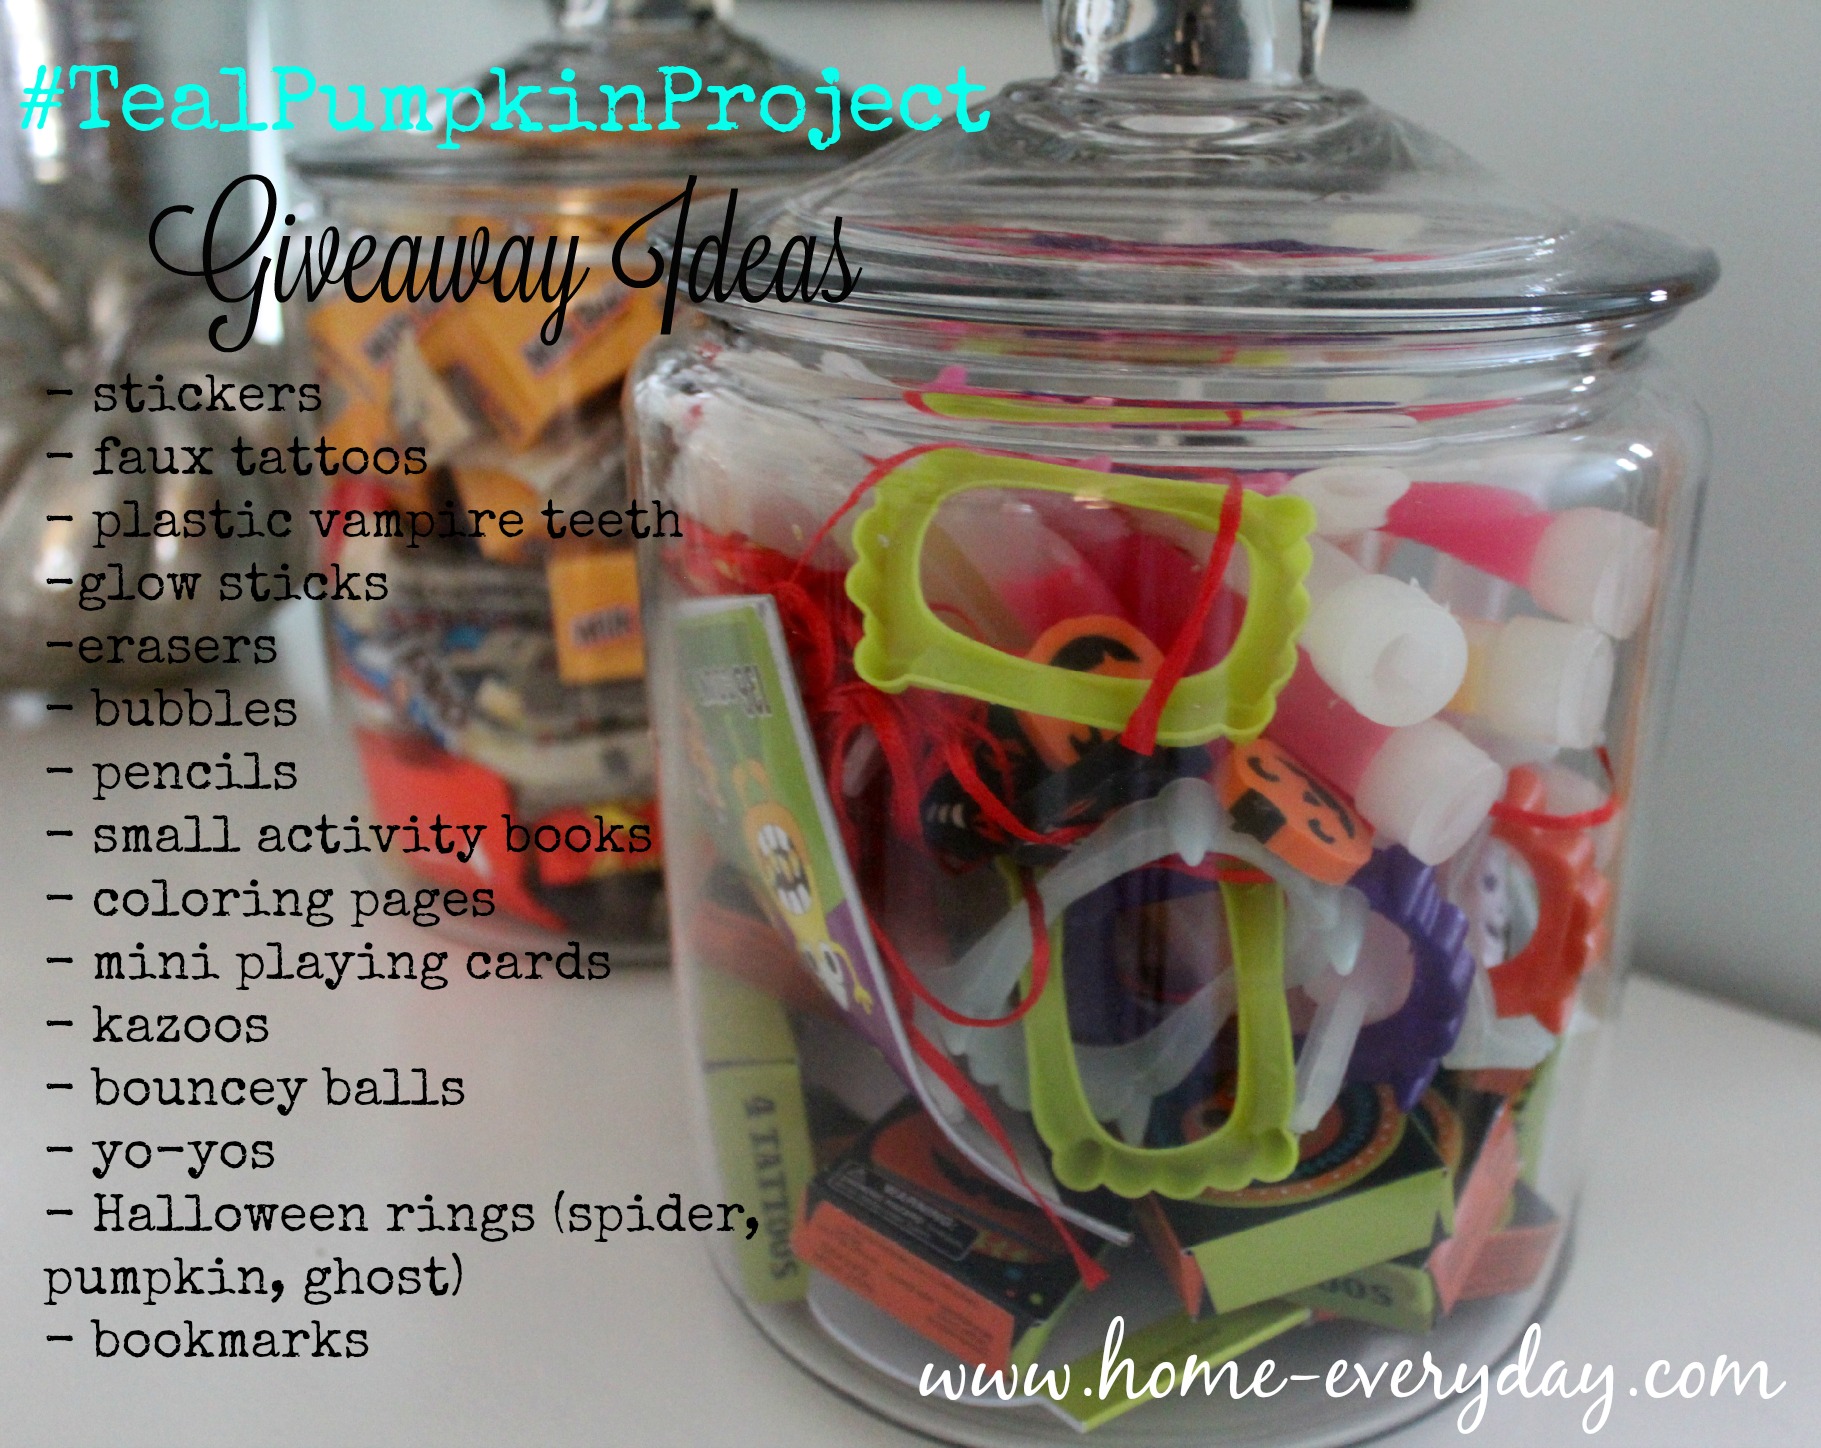
When you knock on the door or ring the doorbell of a house with a Teal Pumpkin (teal is the color of FARE) this tells the trick or treater that this house is offering glow sticks, stickers, pencils, bubbles, or some other Halloween trinket other than food. For the kids with food allergies, this is so exciting! My kids have always trick or treated in the past, and we would often donate our candy or share with family and friends after the holiday was over. Now, the kids have a small memento or trinket they can play with from their night of trick or treating with friends.
Teal Pumpkin Project 15-1

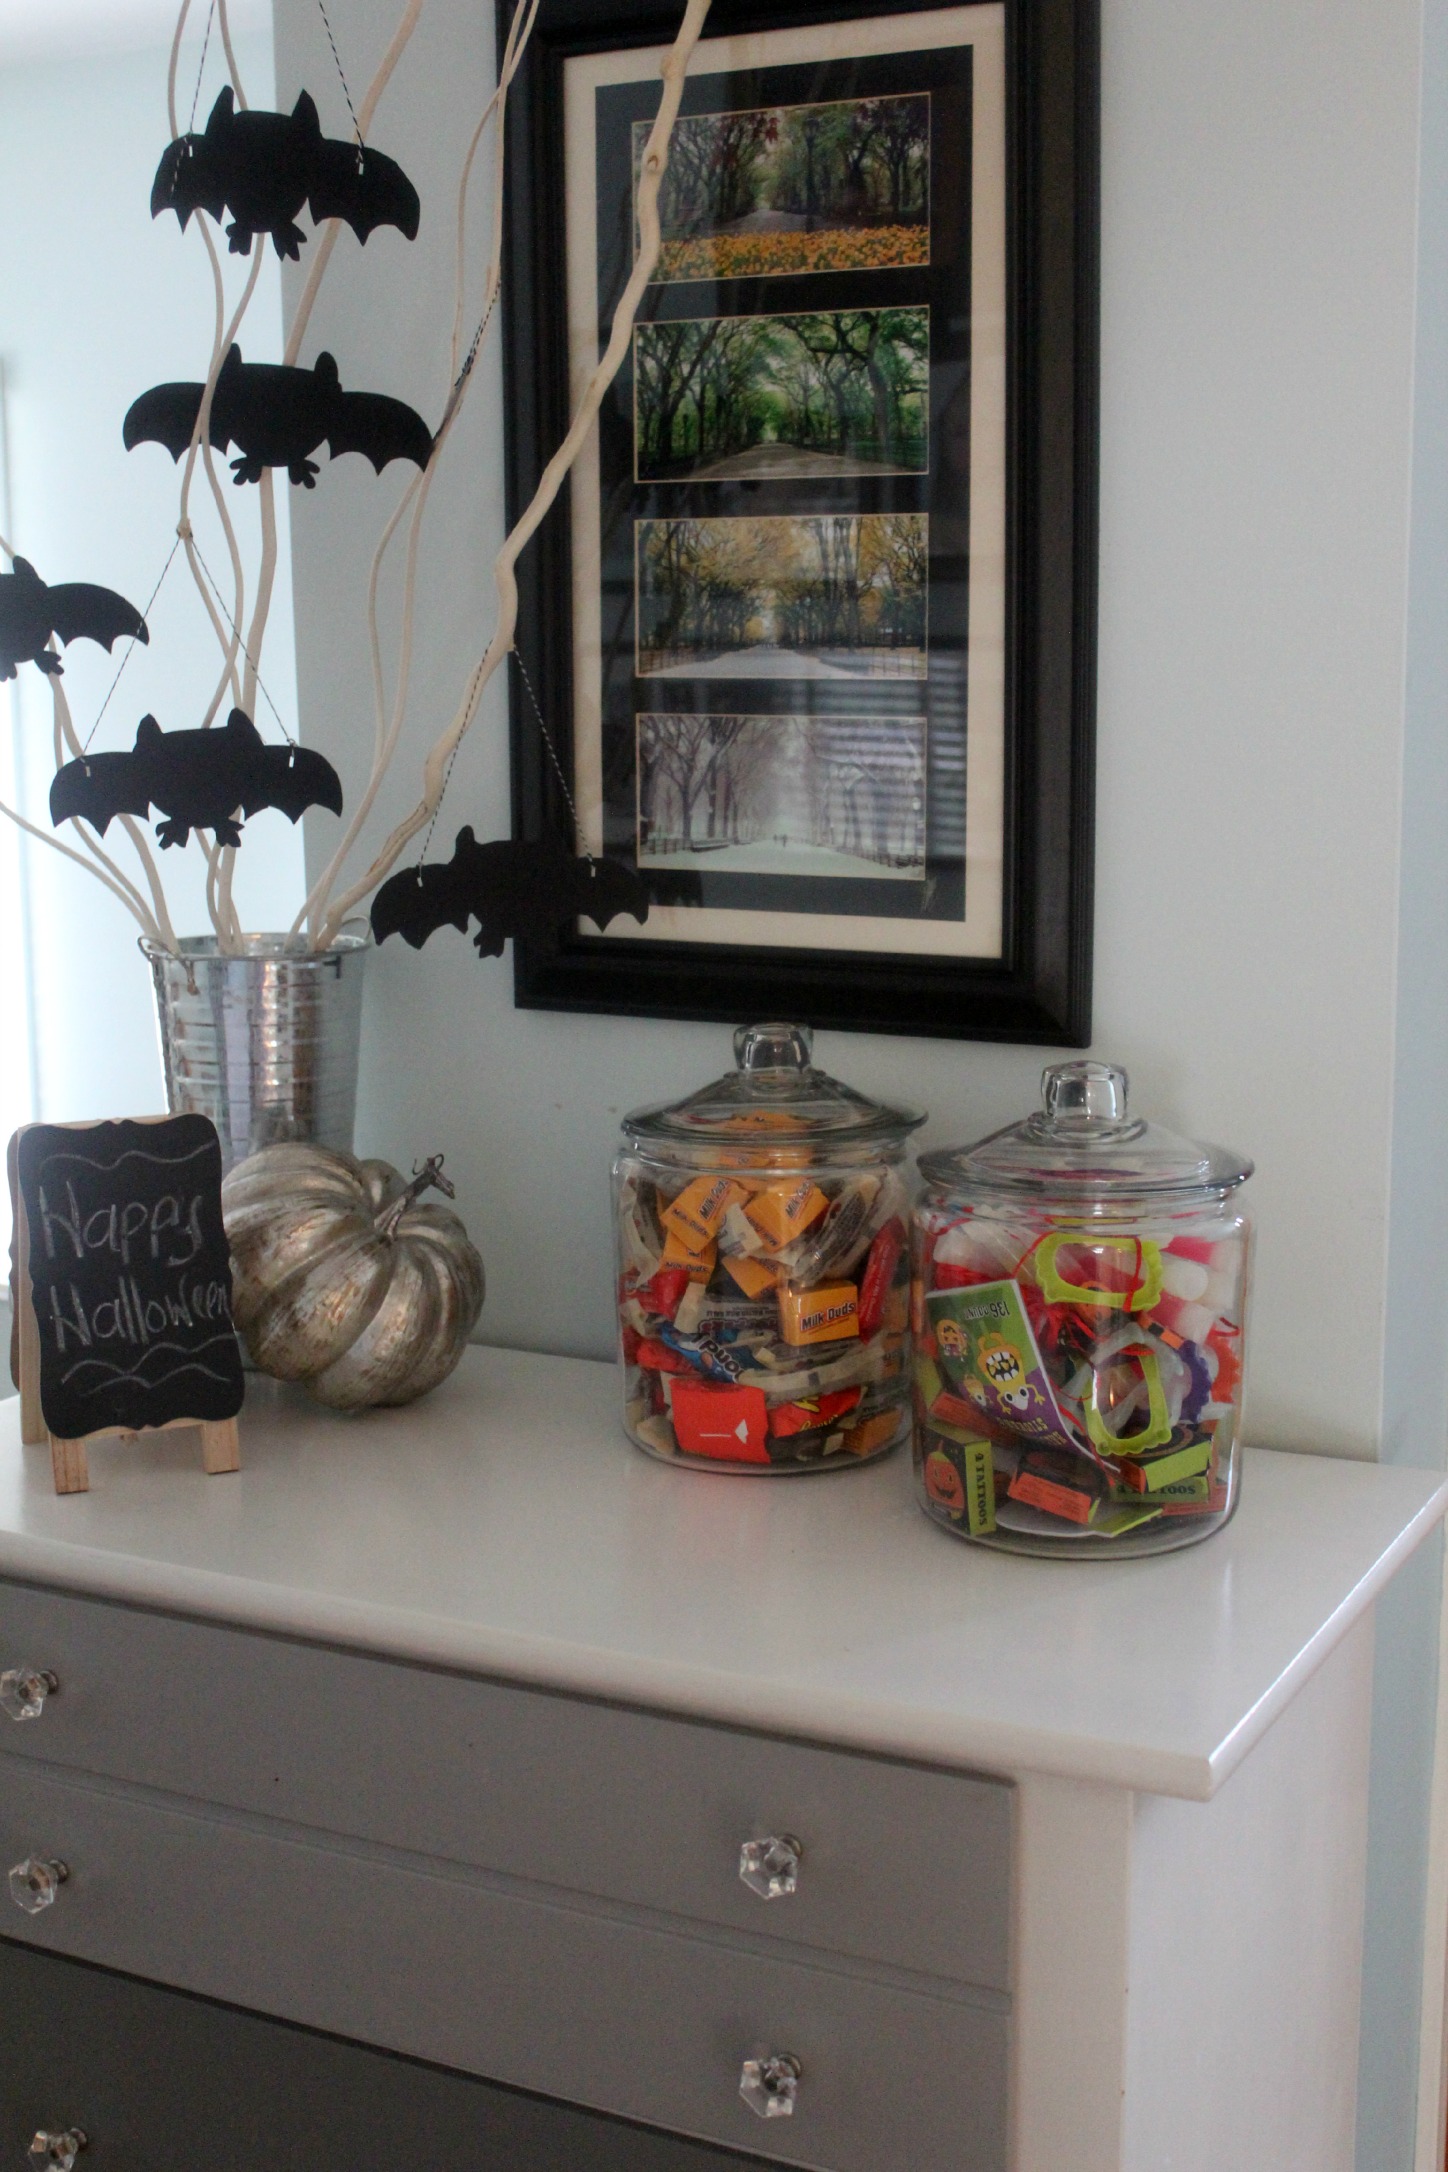
This year, I have a jar of candy for those that can have candy, and a jar filled with Halloween stickers and glow sticks.

Teal Pumpkin Project 15-4

And of course, I have my Teal Pumpkin in front of my door, again, this year. For not only my kids, but for all kids to have a happier healthier Halloween.

Teal Pumpkin Project 15-3

For more information about the #TealPumpkinProject, visit the FARE website. You can find ideas for non food treats, free printables, and all kinds of awesome information!

Thirsty Thursday: Ice Vanilla Latte with Homemade Vanilla Syrup

We are officially back to school. This means running around and paying dearly my lack of preparation. This also means my afternoon pick me up is no longer a nap with the kids, but caffeine.

I usually do caffeine in moderation as I am highly sensitive to it, but let me tell you this week has really called for it. I have been going to bed too late and waking up too early to make it all the way through the day without a little something. I wish I could say that I was going to bed late because I am doing something fun and creative like crafting or baking, but it is mostly folding laundry and waiting up for Brian who is working insane hours getting ready for back to school.

One of my favorite treats is an iced vanilla latte. I have an espresso maker, but to be honest I don’t have time for that noise. Also, sometimes I find the place that rhymes with Schmarbucks can be a pain to run to in the afternoon when I am home getting things done. So, I have come up with my own recipe.

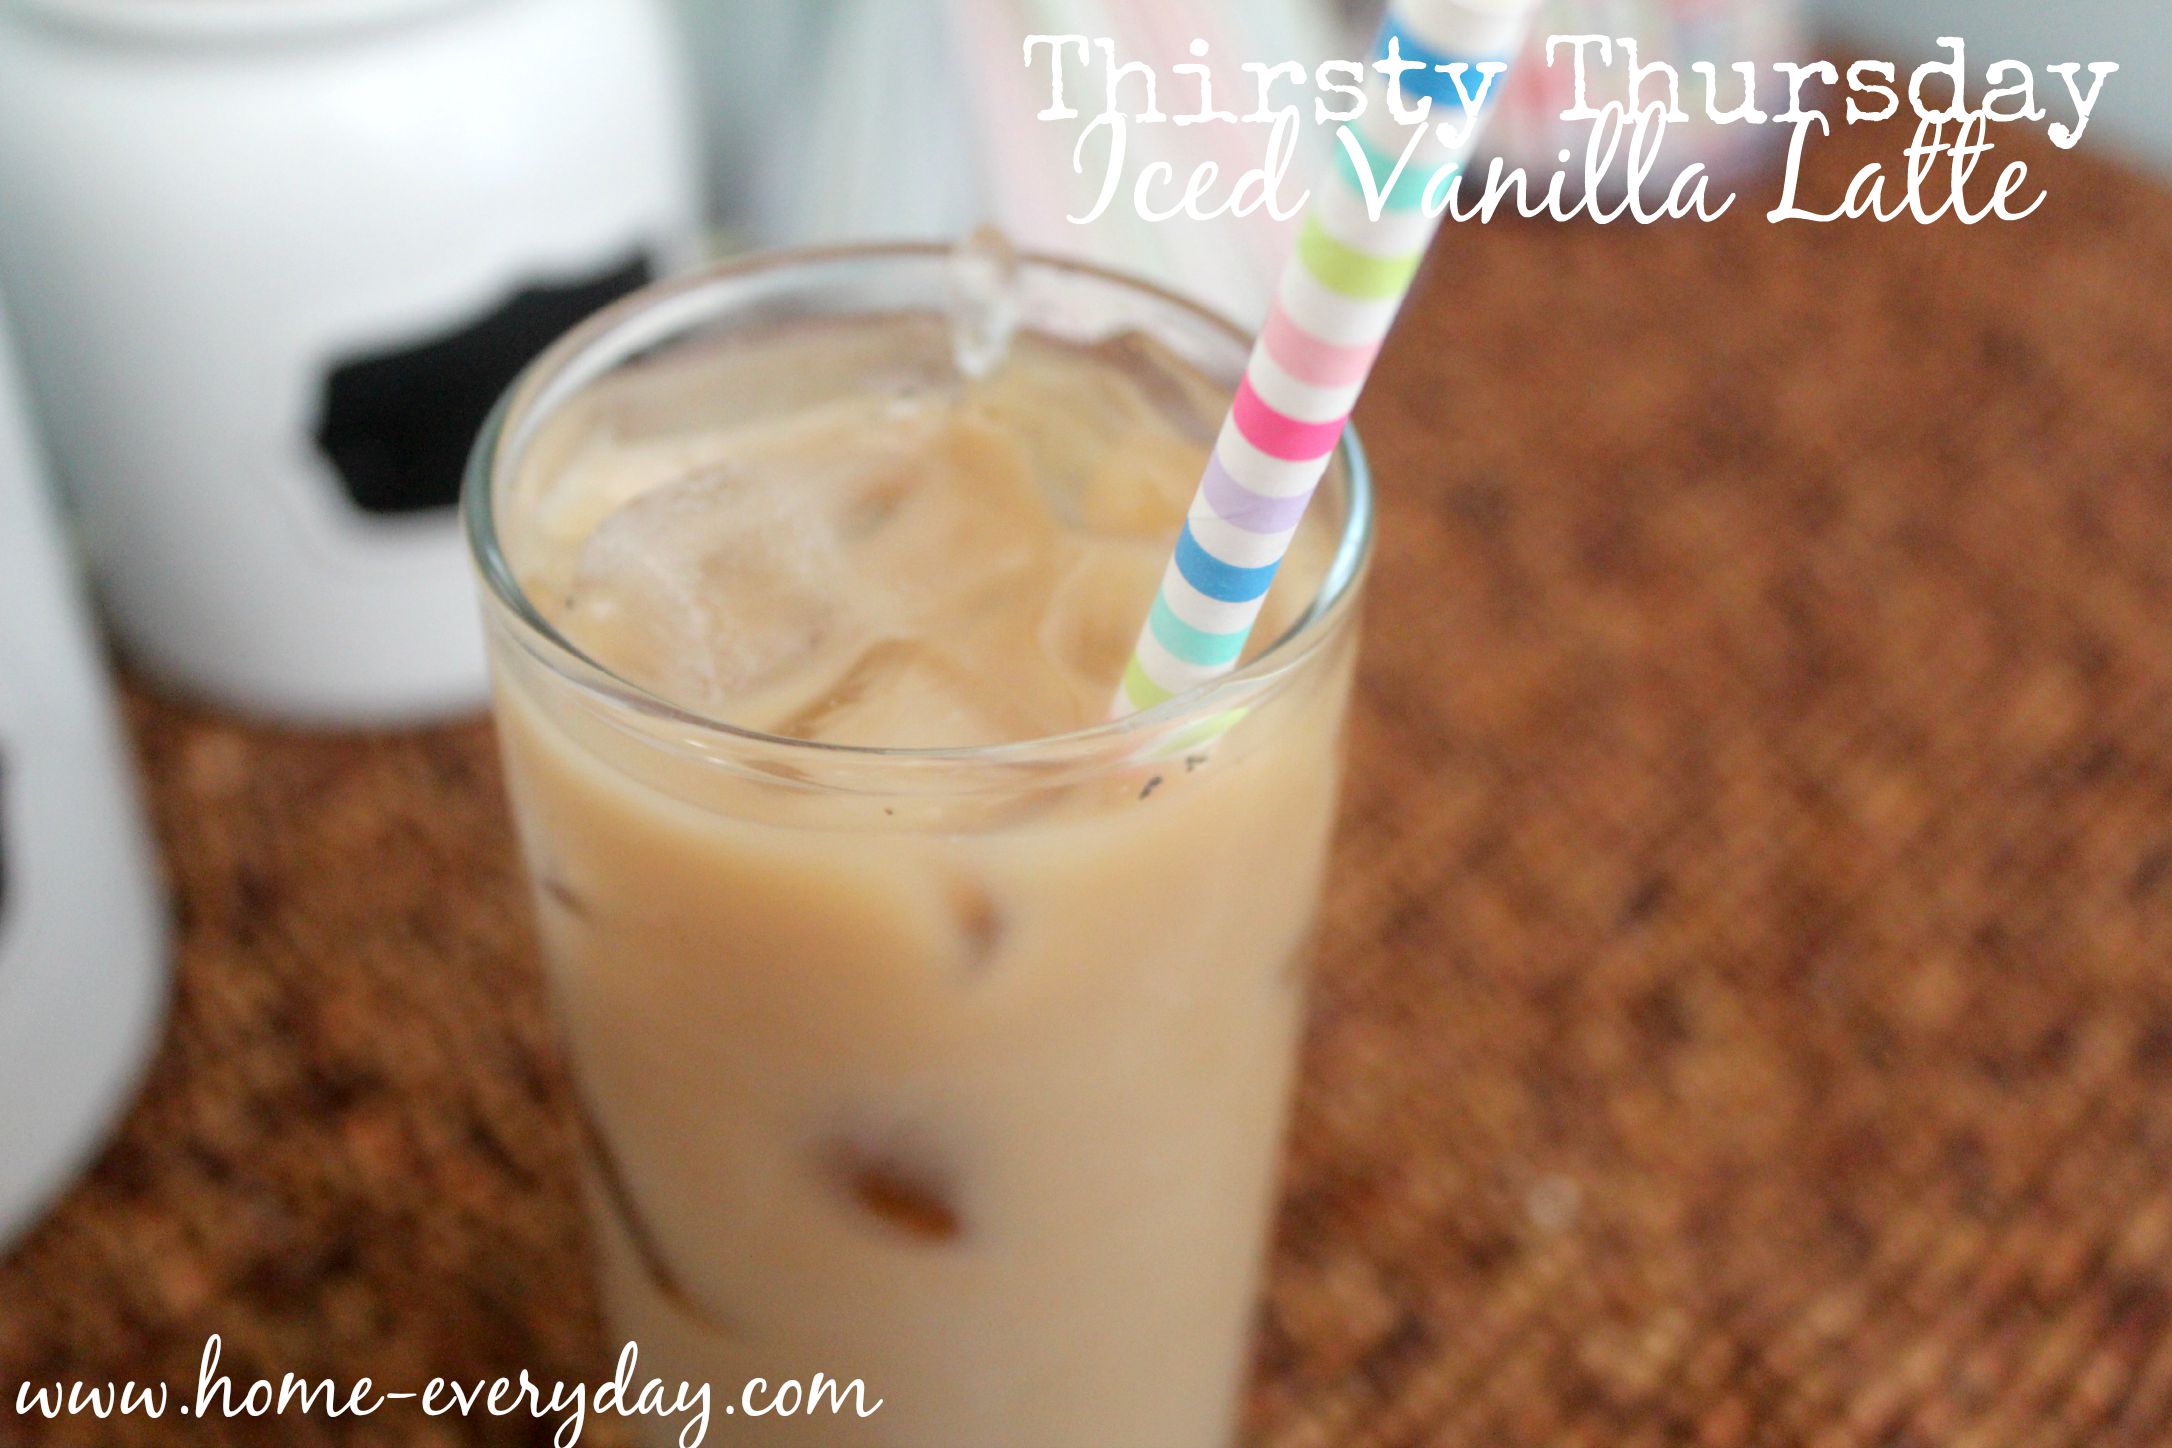
Iced Vanilla Latte 10

The key to a good one though is the syrup, and I think I have perfected the recipe. What I have done is used both a fresh vanilla bean, and the best vanilla extract I could find. This makes a creamy and vanilla simple syrup that can be mixed into coffee, tea, or even lemonade and stays good in the fridge for up to two weeks.

Iced Vanilla Latte with Homemade Vanilla Syrup

Vanilla Syrup

2 cups granulated sugar

2 cups cold water

1 vanilla bean

2 tsp pure vanilla extract (preferably organic)

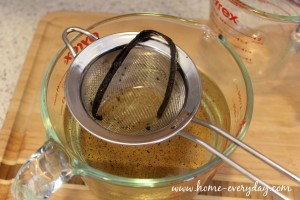
In a medium sauce pan over medium heat add water, sugar. Cut the vanilla bean lengthwise and add it to the pan.

Iced Vanilla Latte 1

Then stirring occasionally, bring the mixture to a low boil or simmer and cook for 3 minutes. Remove from heat, and strain mixture into a heat safe container.

Iced Vanilla Latte 2


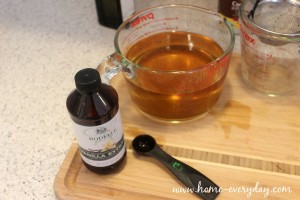
Let cool completely. Then, add the two tsp of vanilla extract.

Iced Vanilla Latte 4


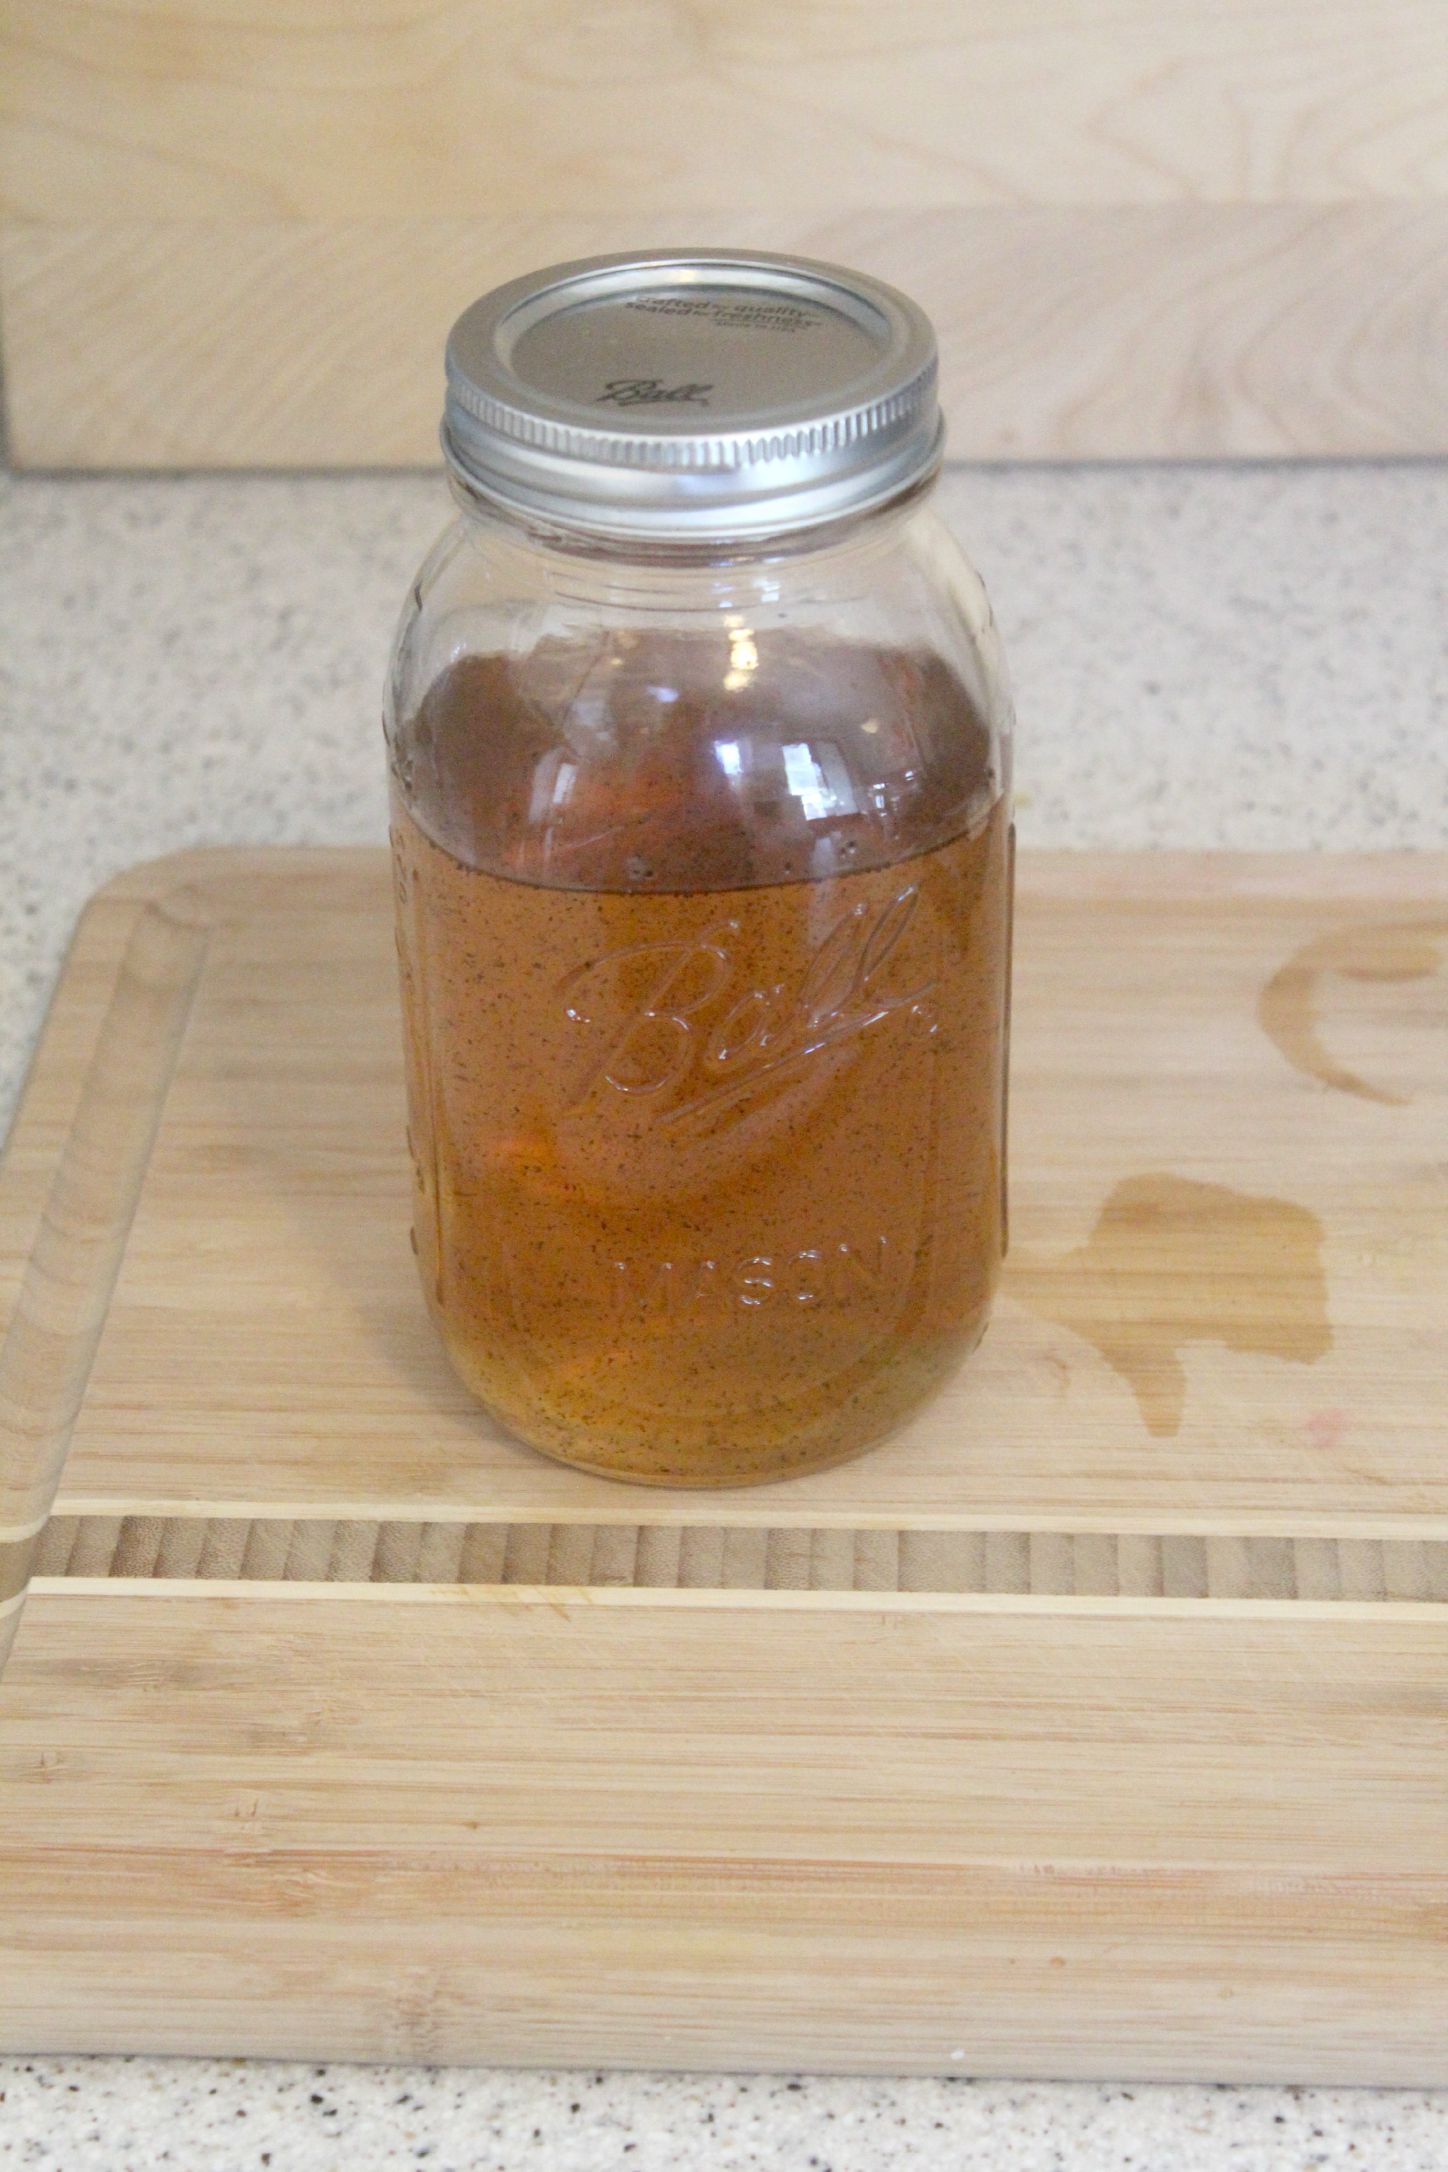
Finally, put in a refrigerator safe and airtight container (I used a Mason Jar), and put in the refrigerator for up to two weeks.

Iced Vanilla Latte 5


Iced Vanilla Latte

3 oz of boiled water

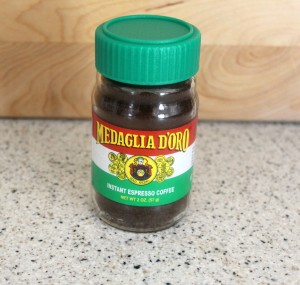
1/2 – 1 tsp instant espresso powder

1/2 – 1 Tbs vanilla syrup

Milk (you can use whole, skim, soy, or almond)

ice

Iced Vanilla Latte 6

In a heat safe cup, mix together boiled water and desired amount of espresso powder (I used 1/2 tsp as I don’t like my lattes too strong).

Iced Vanilla Latte 7

Then, add vanilla syrup. In a large glass add ice, espresso mixture, and then top with as much milk as you like.

Iced Vanilla Latte 8

Sip with a straw for the perfect afternoon jolt to keep you going.

Iced Vanilla Latte 9


For more Thirsty Thursday recipes or information on all things drinkable, visit the Thirsty Thursday Page.

Thirsty Thursday: Grapefruit Mules

The best part about traveling with Brian is A) he likes to extend vacation as long as possible B) he knows that the fun is in the journey C) he likes to drive while I navigate. This means that sometimes we make some stops along the way. On our way home from our Twin Cities adventures, we stopped in Chippewa Falls, Wisconsin and took the Leinenkugel Brewery Tour. This was something we had always wanted to do, and we were very glad we did.

Leinenkugel Brewery Tour 4

This particular brewery was especially interesting to me as I have taken quite a liking to some of Leinenkugel’s brands of beers like the Canoe Paddler (a Kolsch style beer), the Snow Drift Vanilla Porter, and their entire line of Shandy beers, most especially their Grapefruit variety.

Leinenkugel Brewery Tour 2

If beer isn’t your thing, however, taking any kind of a brewery tour is interesting if you haven’t done so. You will certainly learn about the beer making process which is awesome to see the machinery, and processes that go into crafting and bottling. Also, you are sure to get a lesson in local and national history too. And let us not forget the sampling, but as we had a long drive home and the kids were with us we had took only a sip and then took part in the free root beer and lemonade after our tour.

Leinenkugel Brewery Tour 1

My favorite part of the tour was watching the bottling and learning about the women of the Leinenkugel family who have helped keep the business going strong for 5 generations.

Leinenkugel Brewery Tour 3

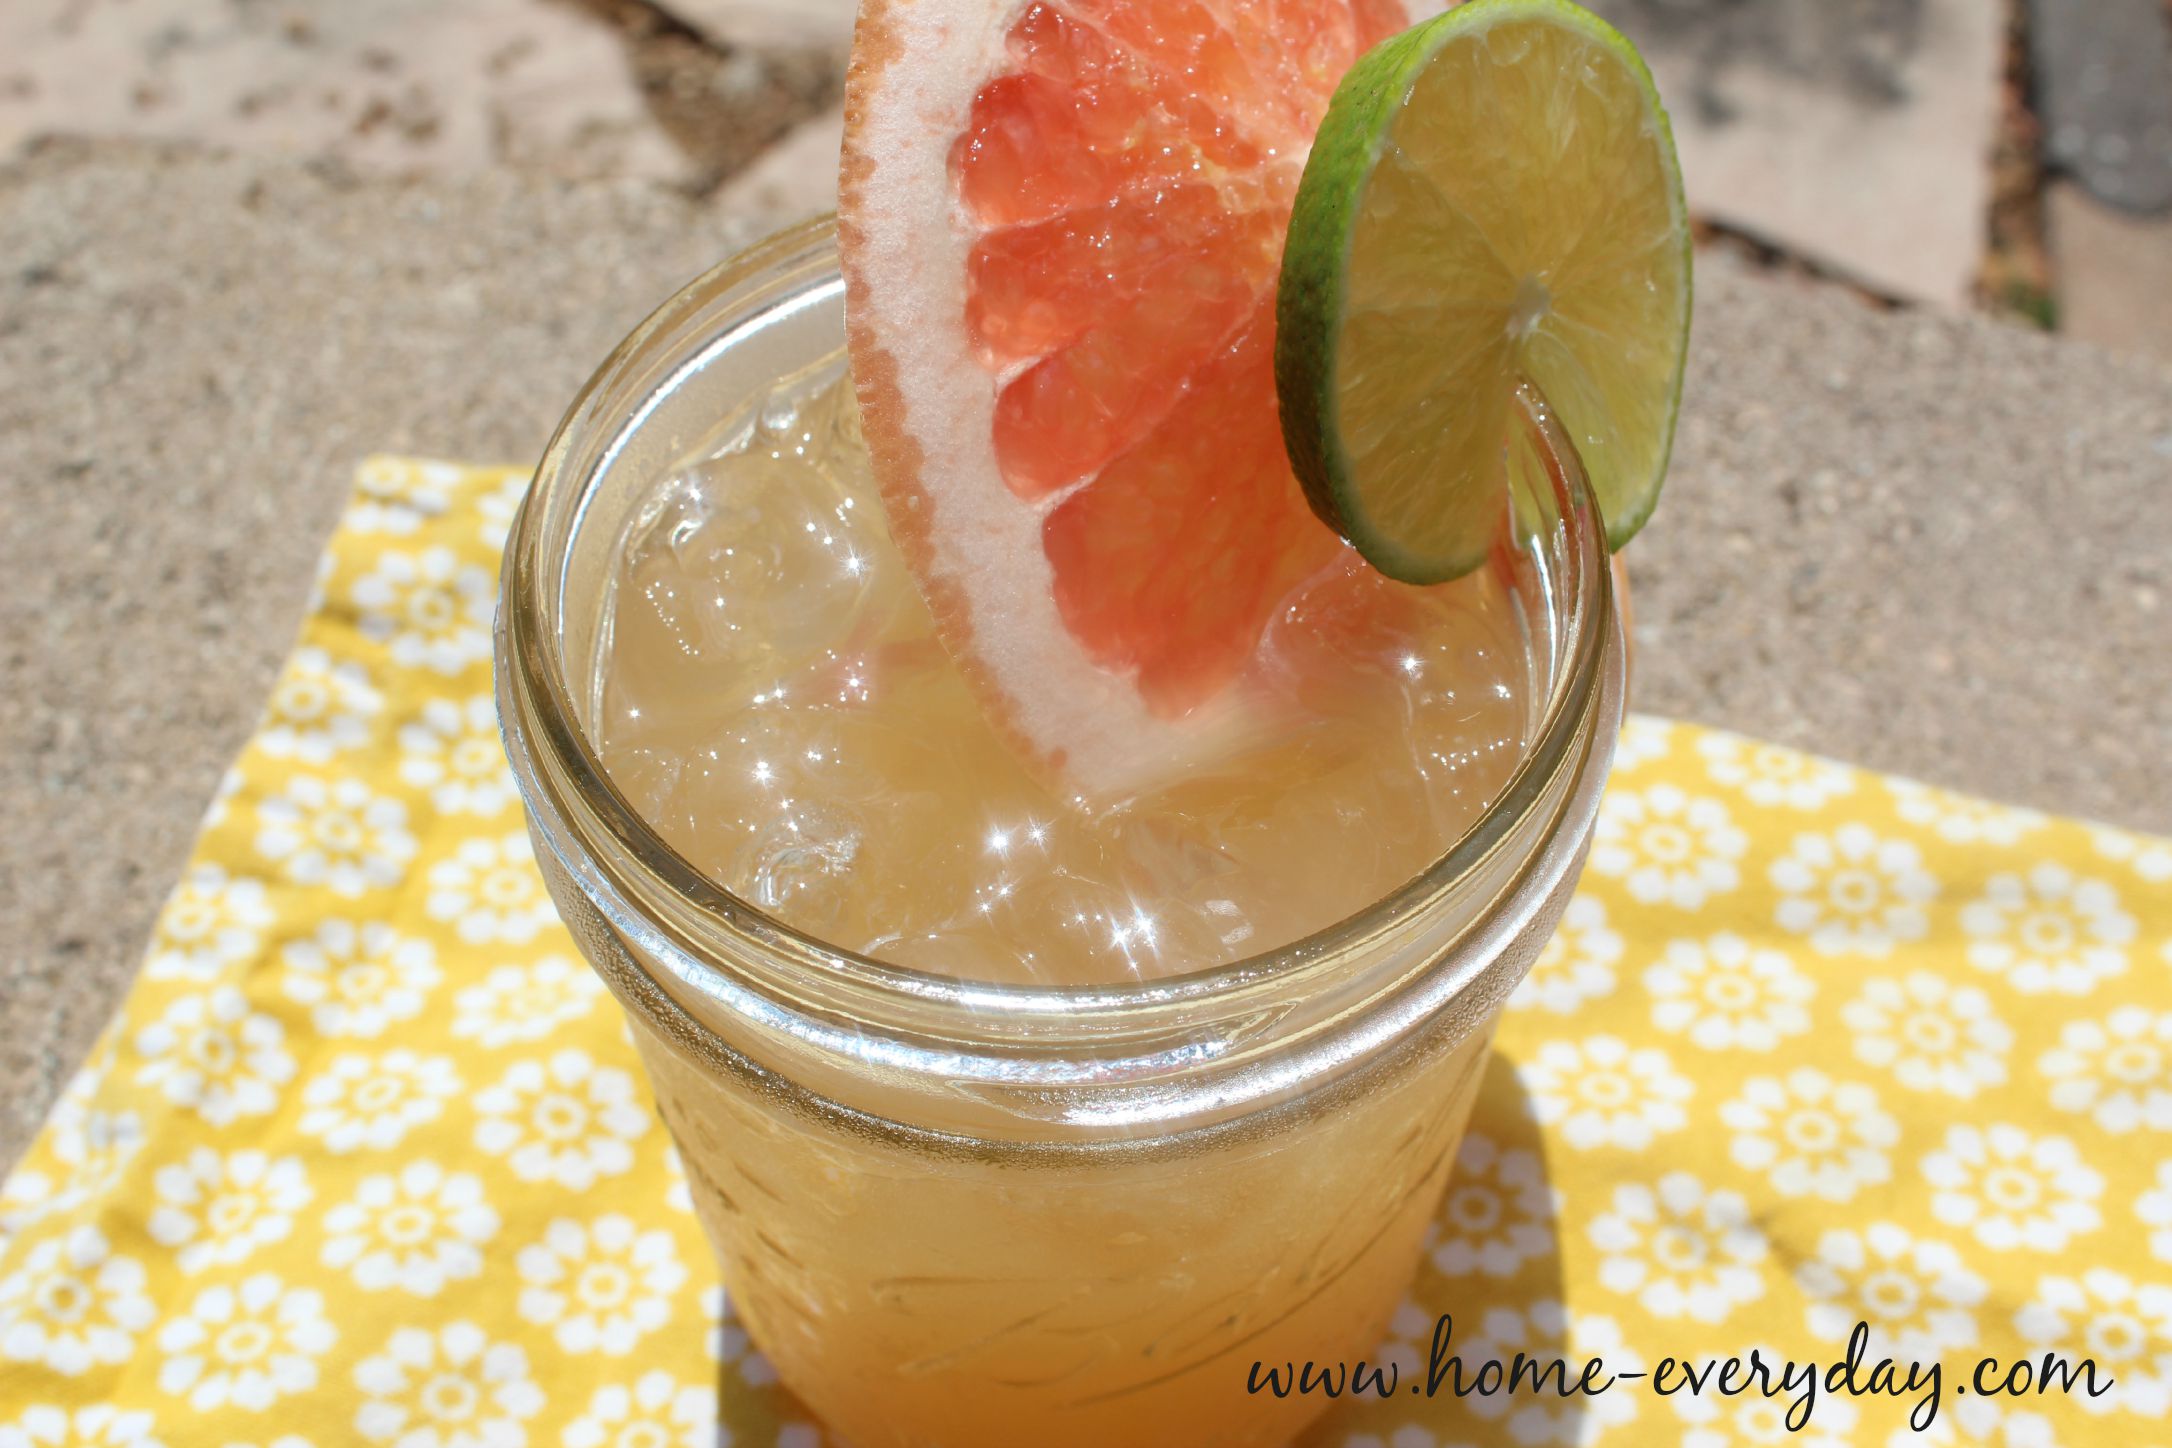
After getting home, I wanted to up the ante on the Leinenkugel Grapefruit Shandy, and thought I would create a Grapefruit Mule. Let me tell you, this is the perfect summer treat to watch the sunset and it kind of looks like one too.

Grapefruit Mules 8

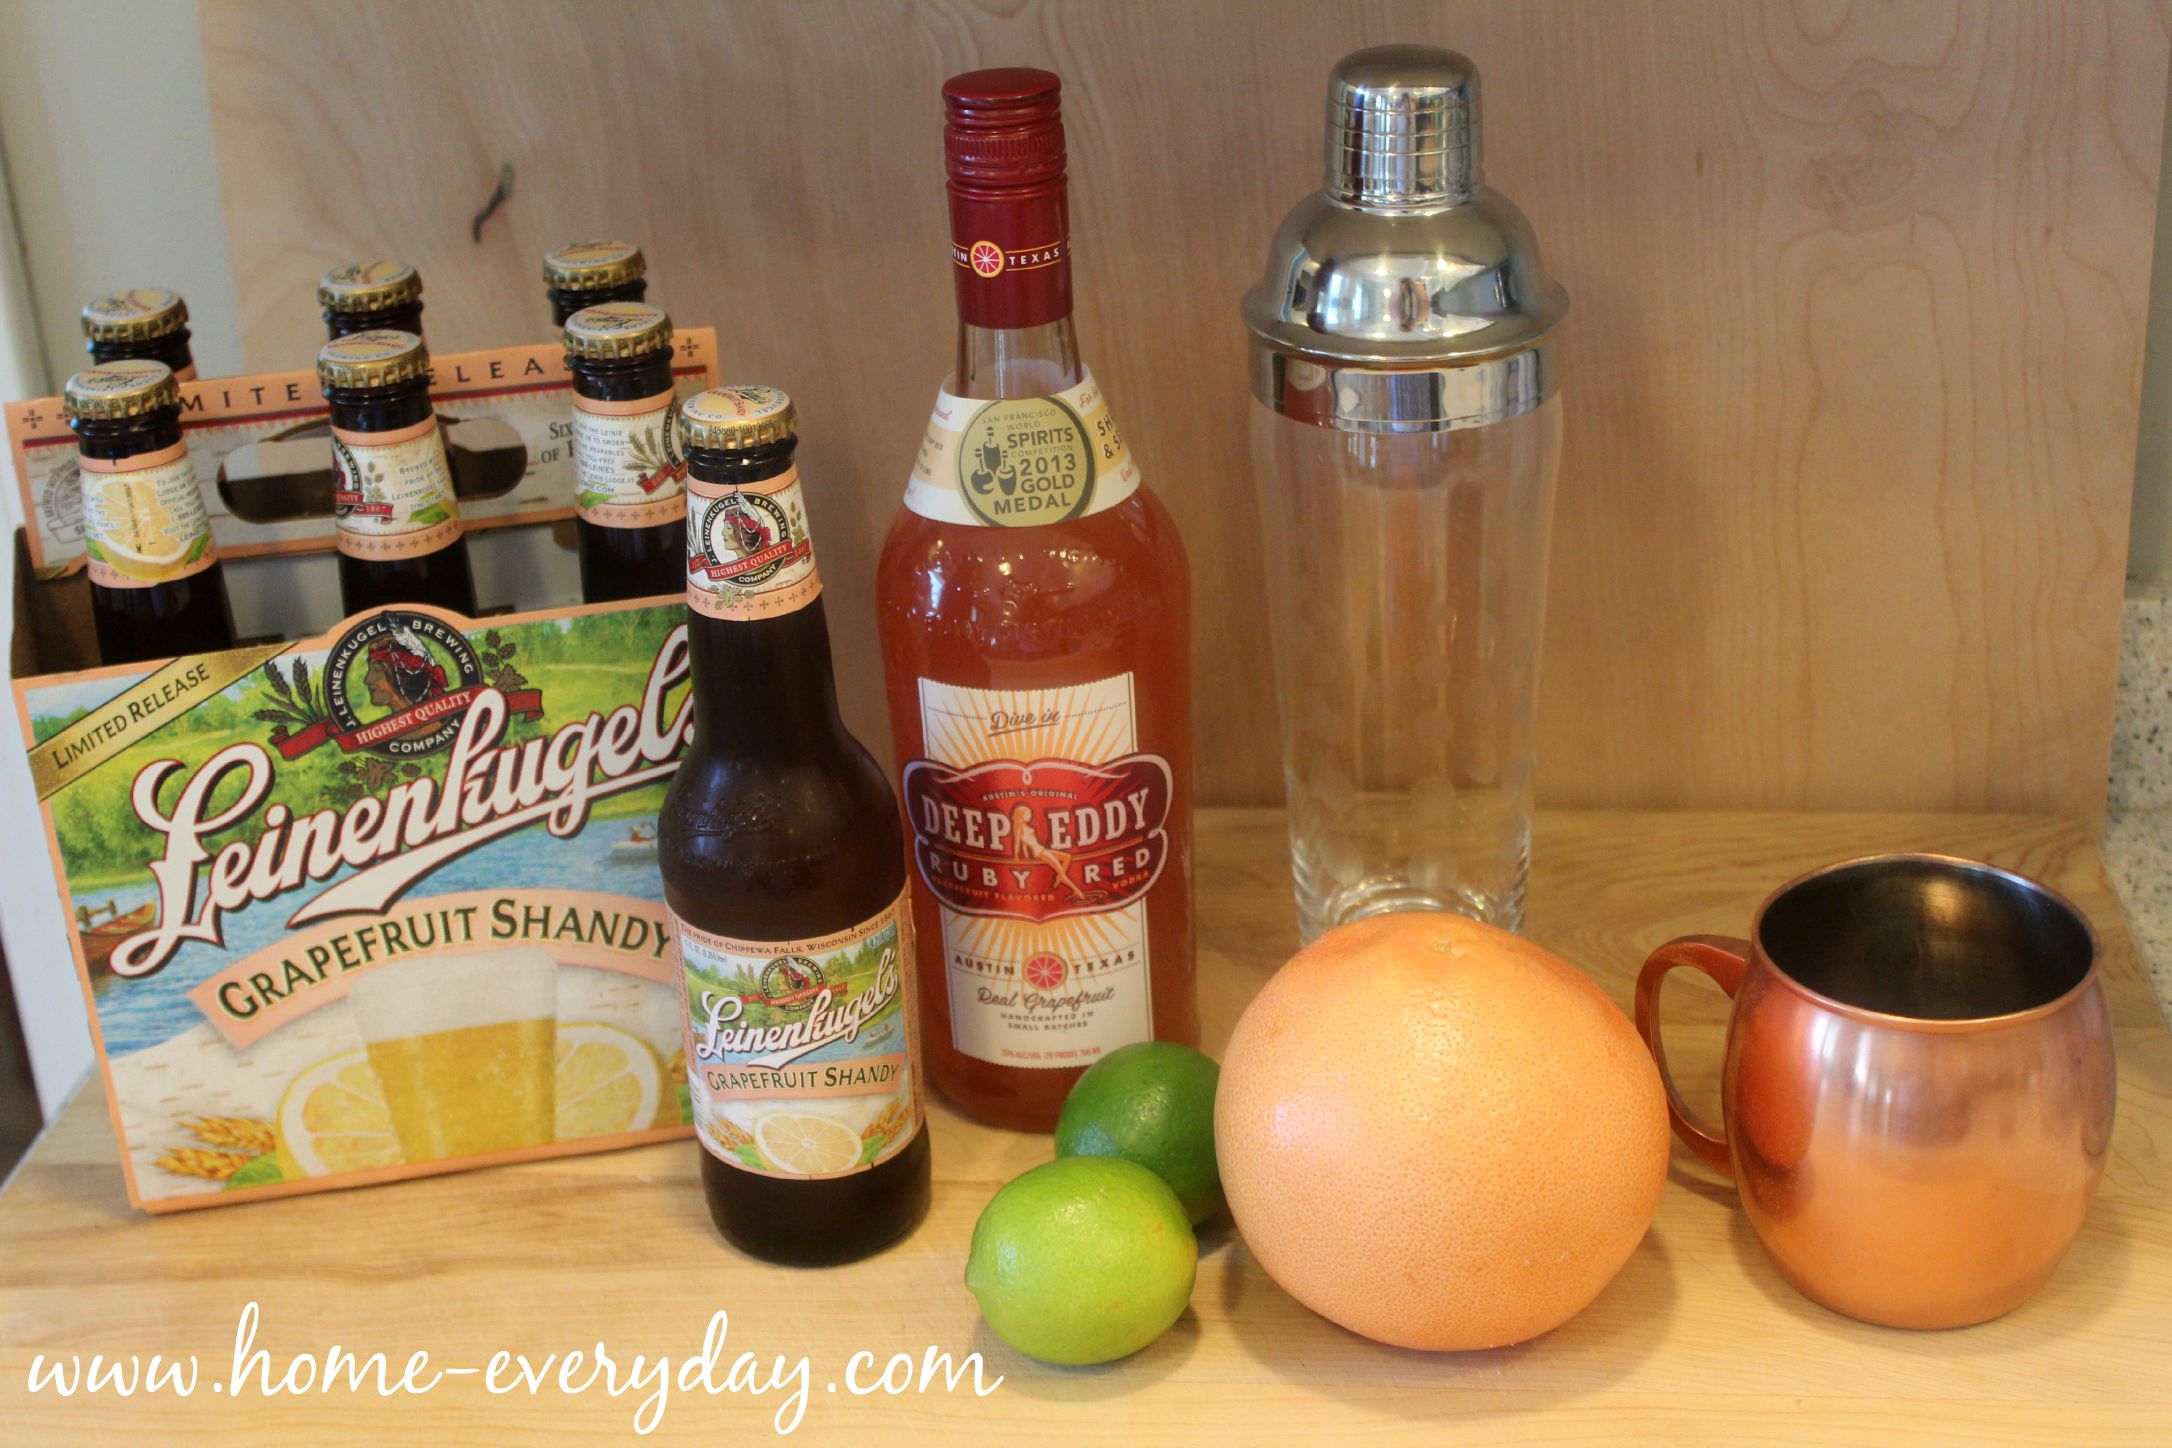
Grapefruit Shandy (makes 1 cocktail)

2 oz fresh squeezed grapefruit juice

1 oz lime juice

2 oz grapefruit vodka (I used Deep Eddy Ruby Red)

1 bottle Leinenkugel Grapefruit Shandy chilled

ice

Grapefruit Mules 1

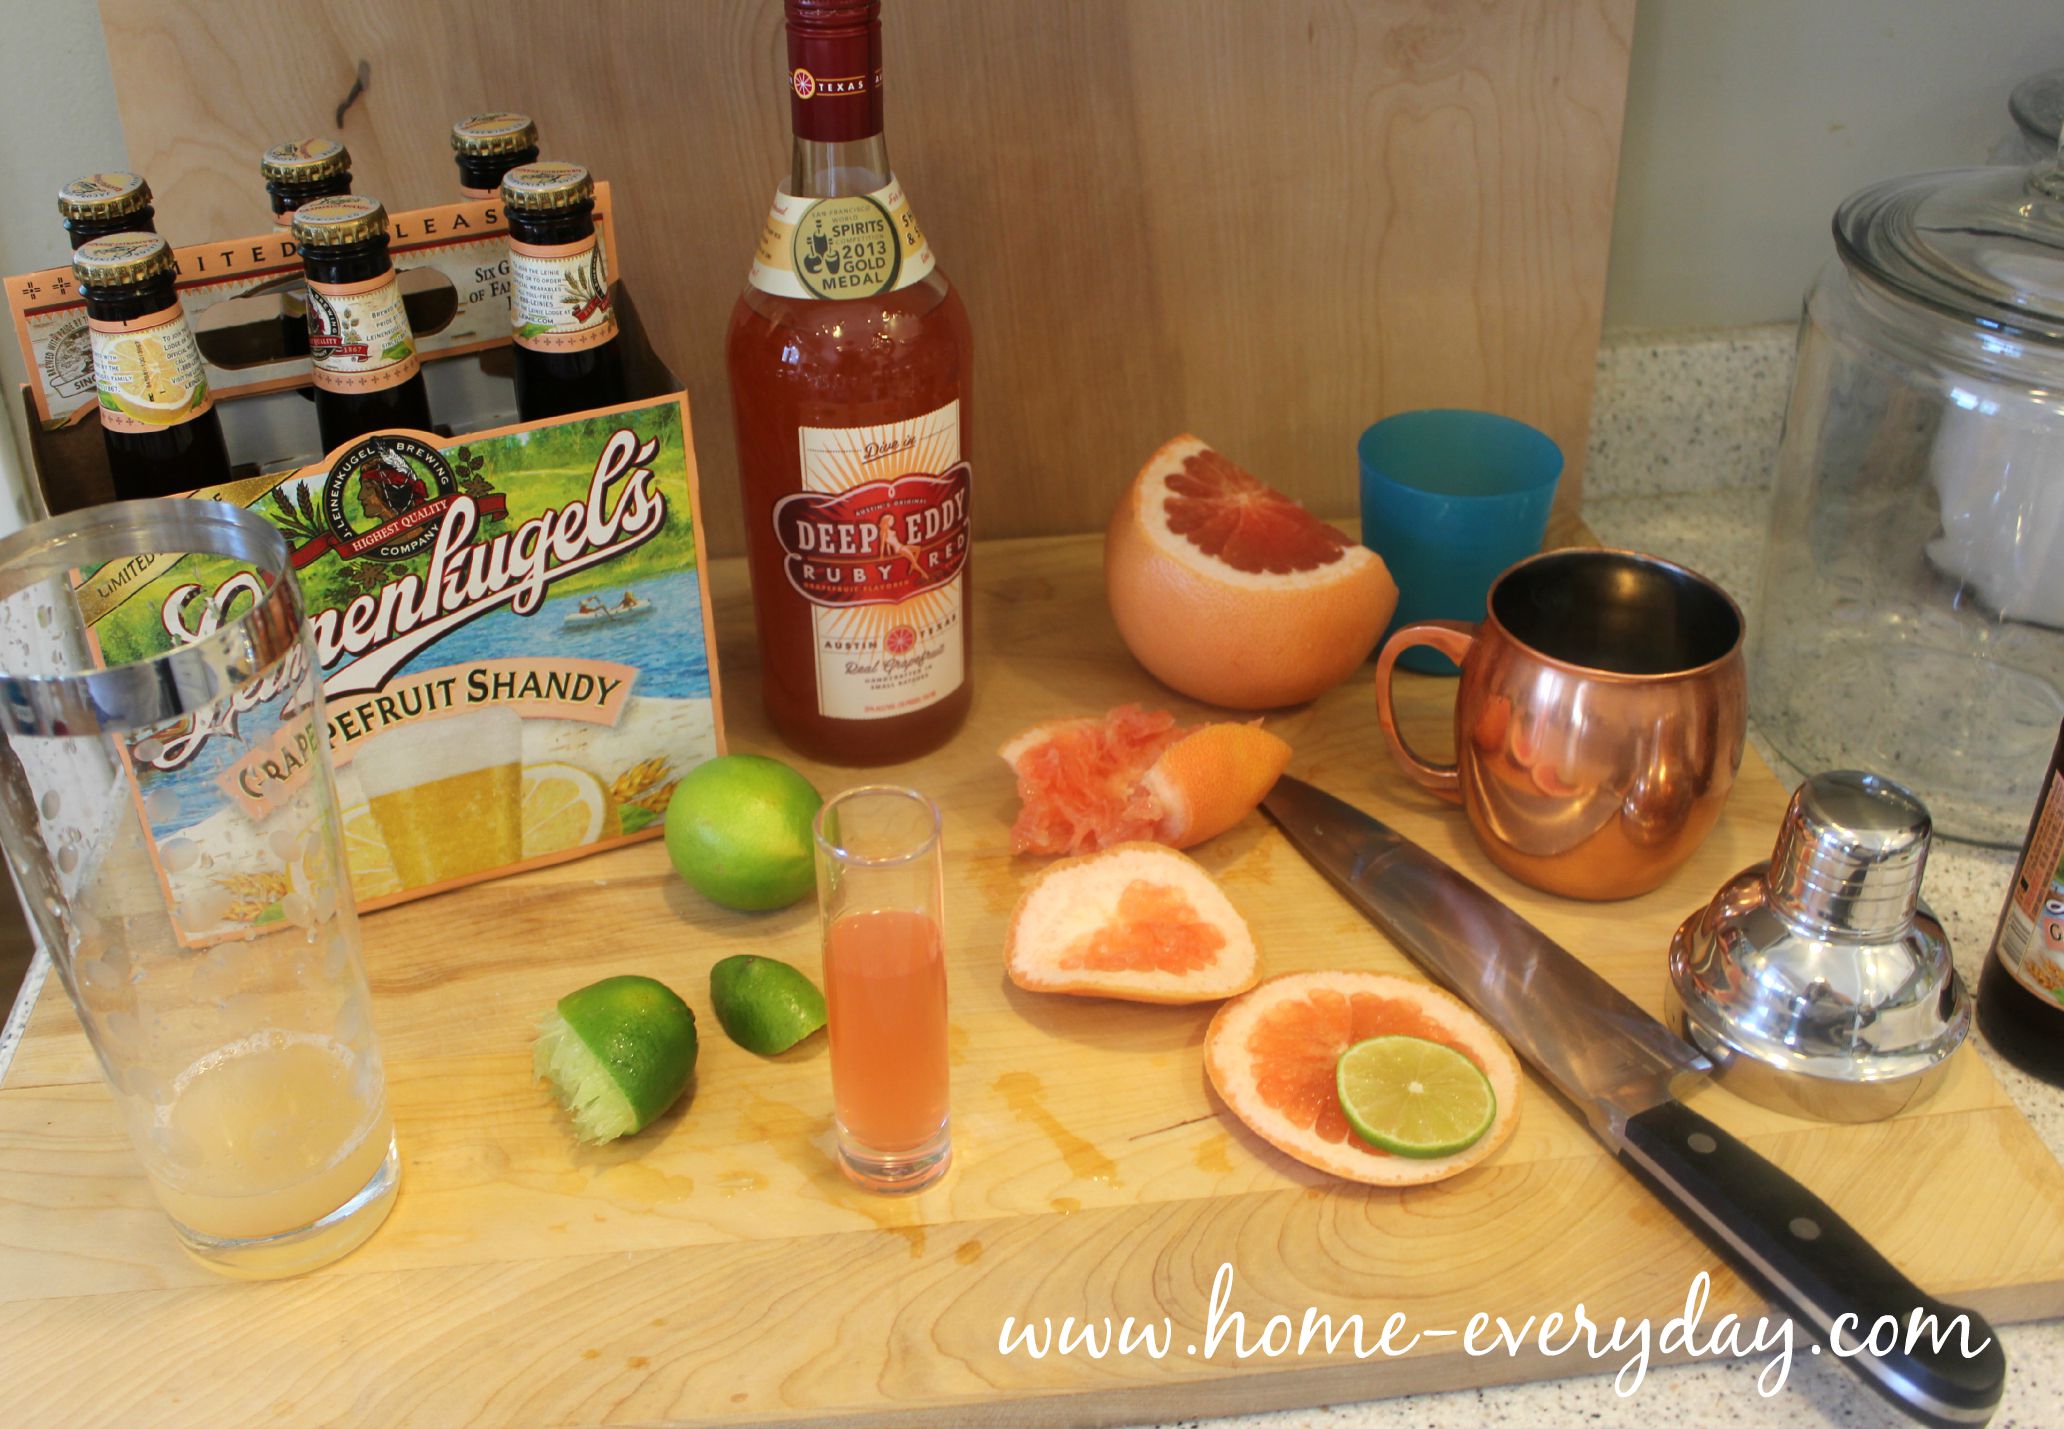
Fill a copper mug or glass (I used a glass to show color) with ice and set aside.

Then, in a large glass or cocktail shaker, mix together grapefruit juice, lime juice, and vodka.

Grapefruite Mules 2

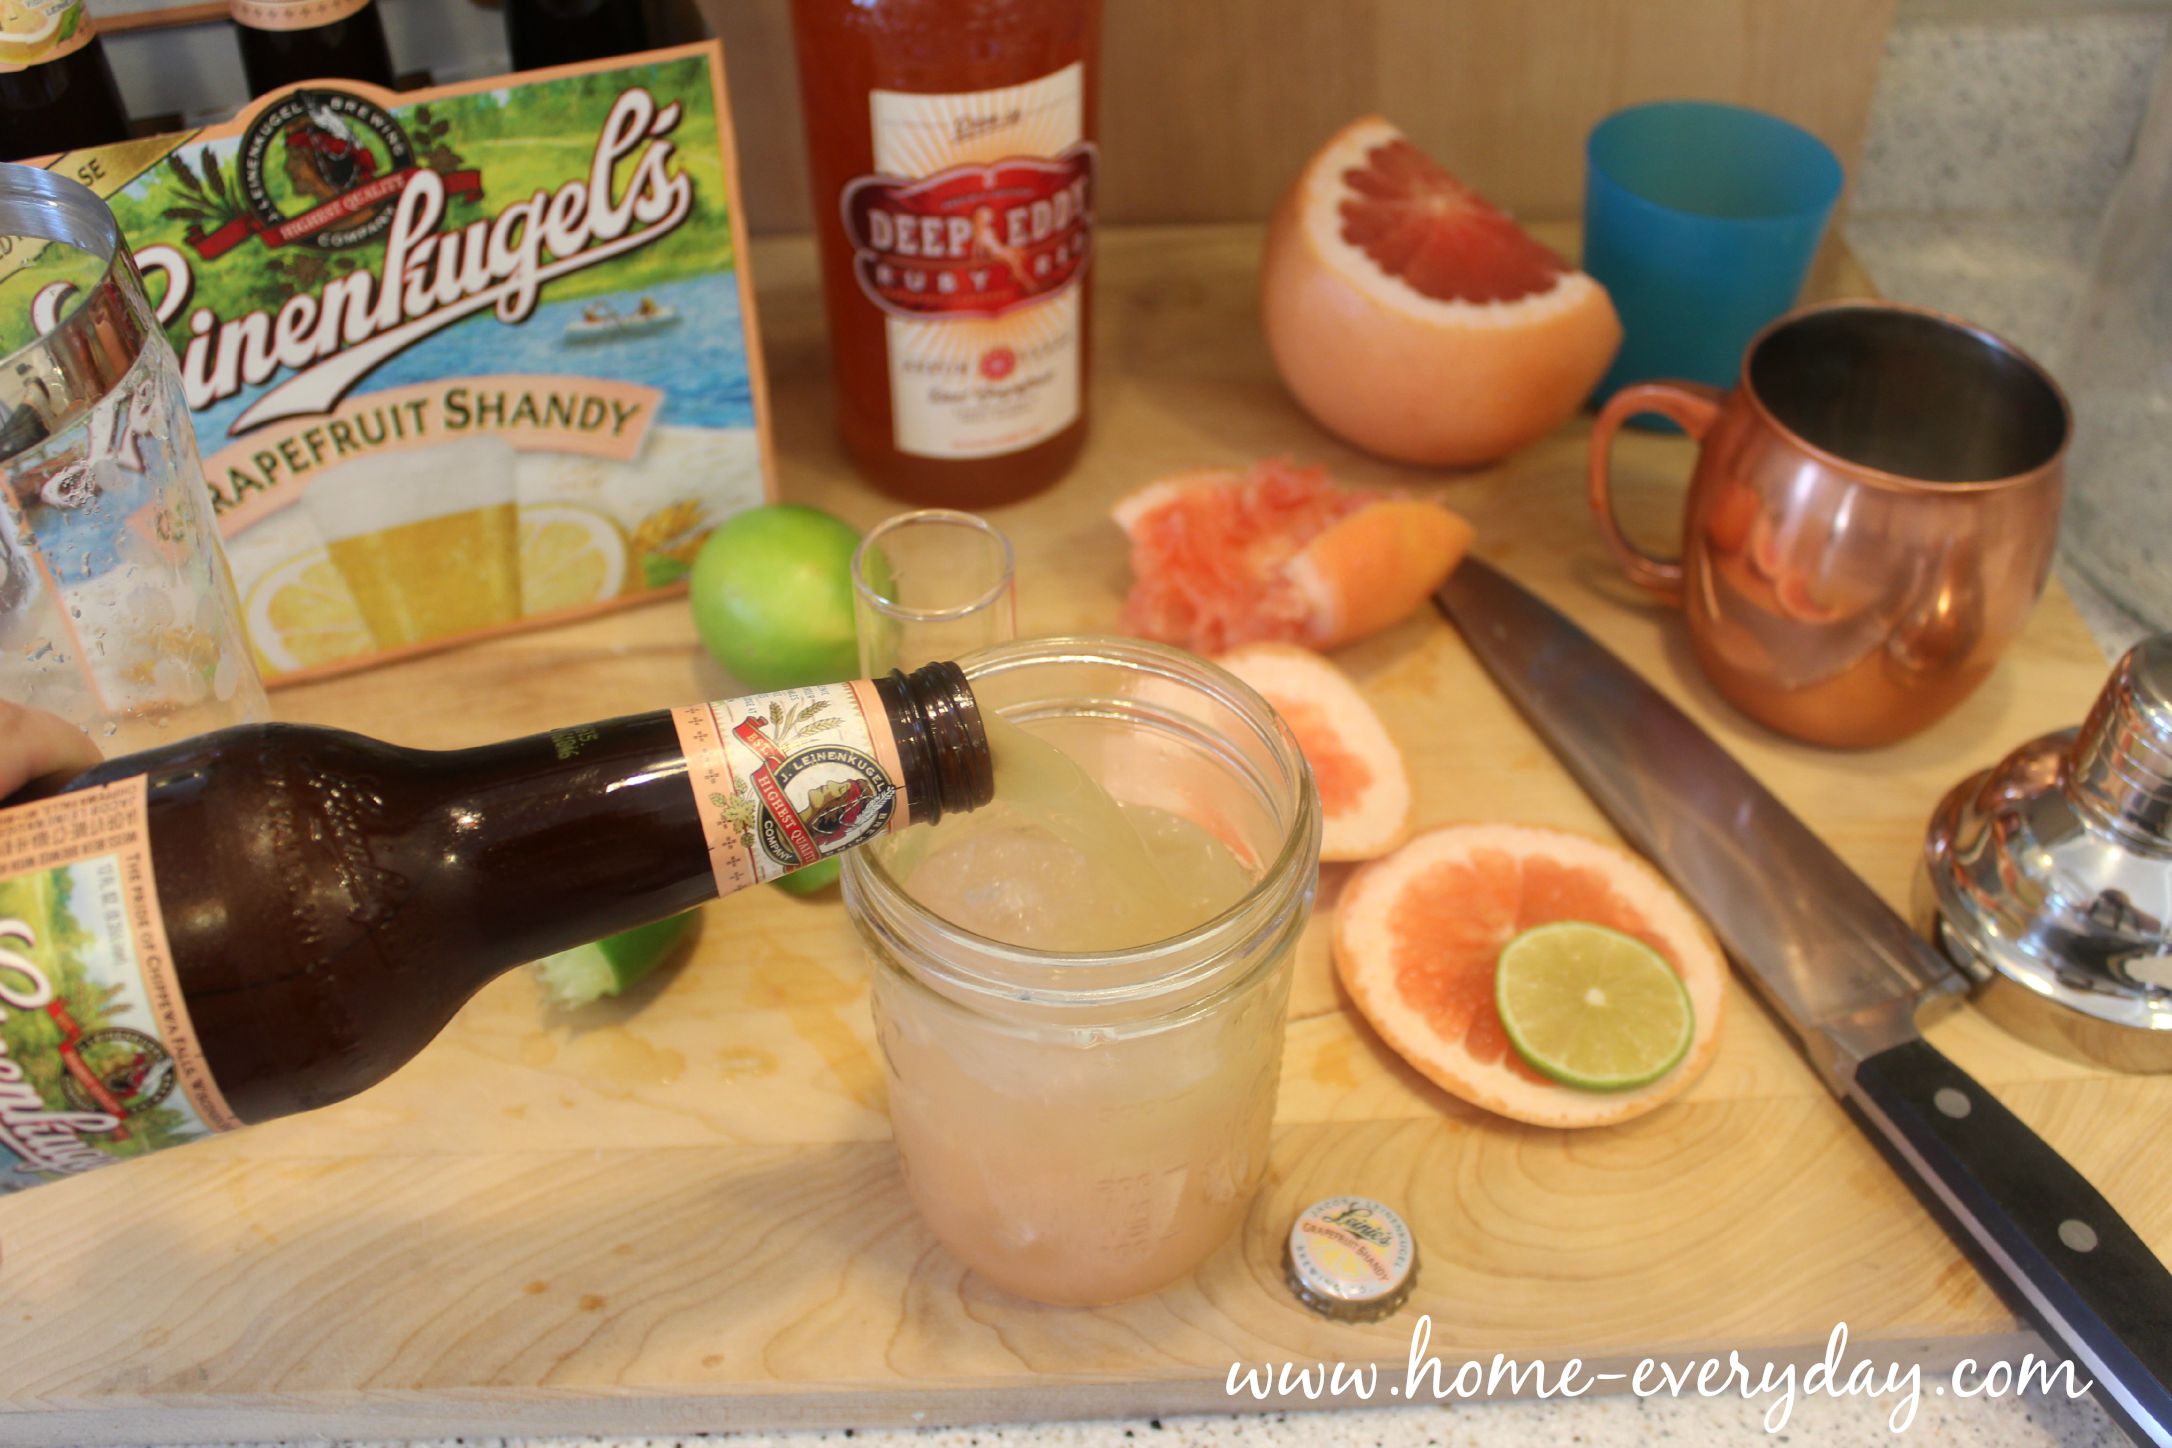
Pour vodka mixture into glass with ice, and top with Grapefruit Shandy.

Grapefruit Mules 4

Drink responsibly preferably while watching the last of these summer sunsets.

Grapefruit Mule 9


For more drinkable recipes visit the Thirsty Thursday page.

Creating Recipes in a Hotel Room: Vacation Parfaits with Quaker

While this shop has been compensated by #CollectiveBias and its advertiser #QuakerTime  all opinions are 100% mine.

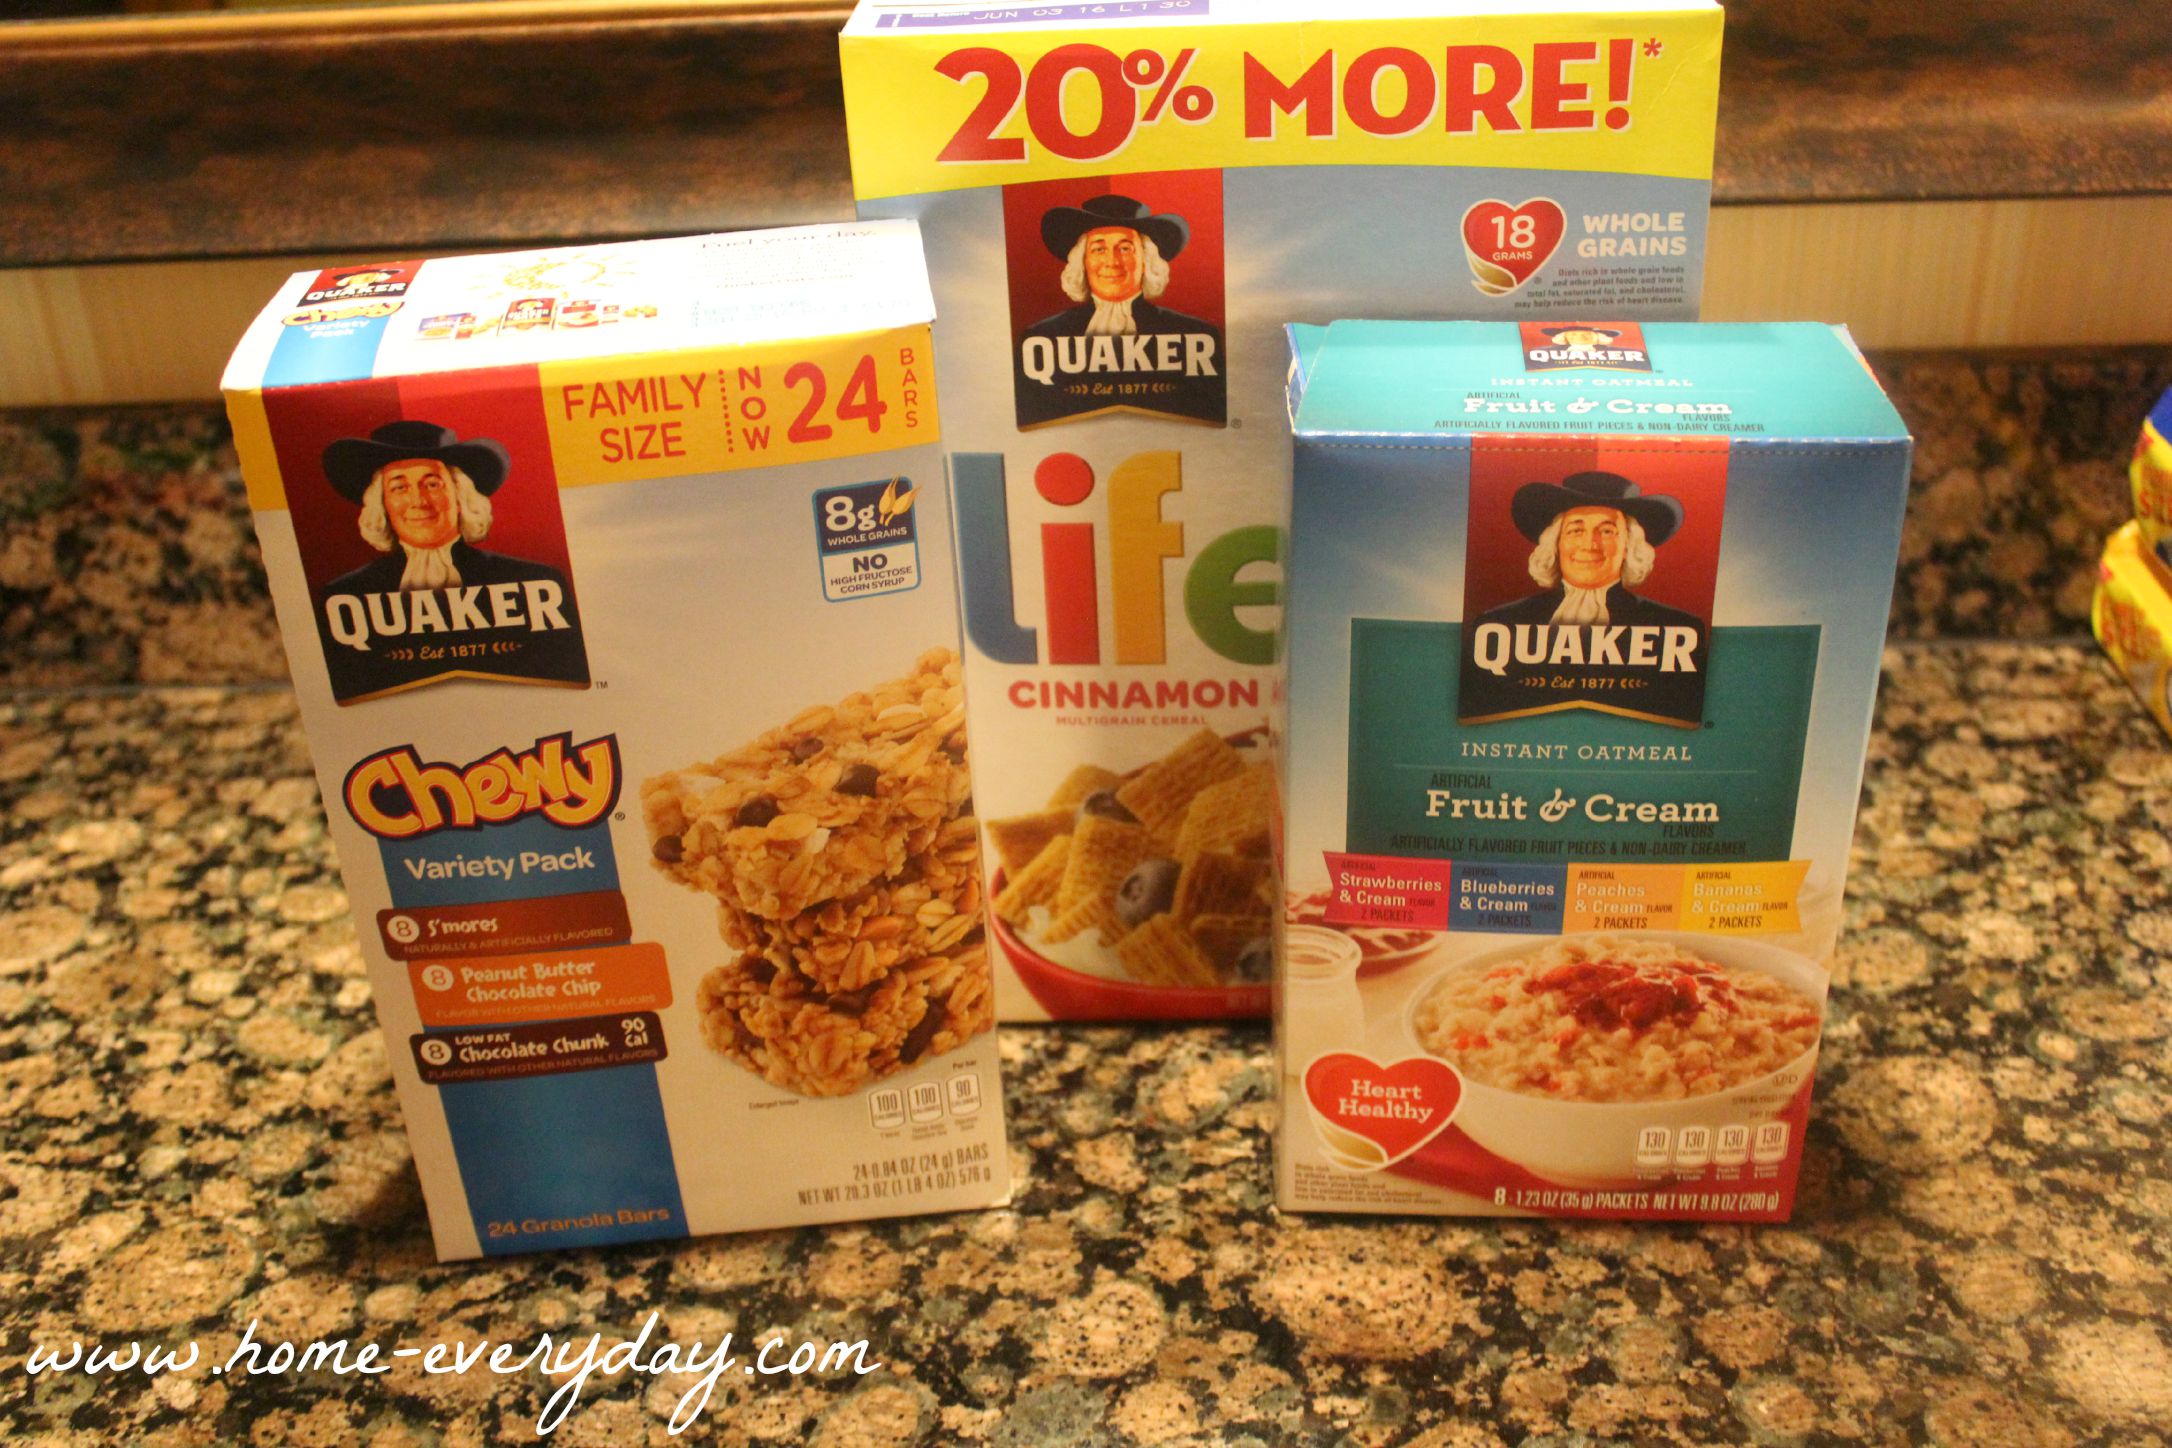
We are a Quaker family. I am sure you have seen several of my recipes using Quaker products in the past, like my several variations of oatmeal cookies, or all the different times I have used oatmeal in other recipes. Quaker oatmeal is allergen friendly, and many of their other cereals are too. Also, Brian kind of has a thing for their granola bars.

Quaker Parfaits 11

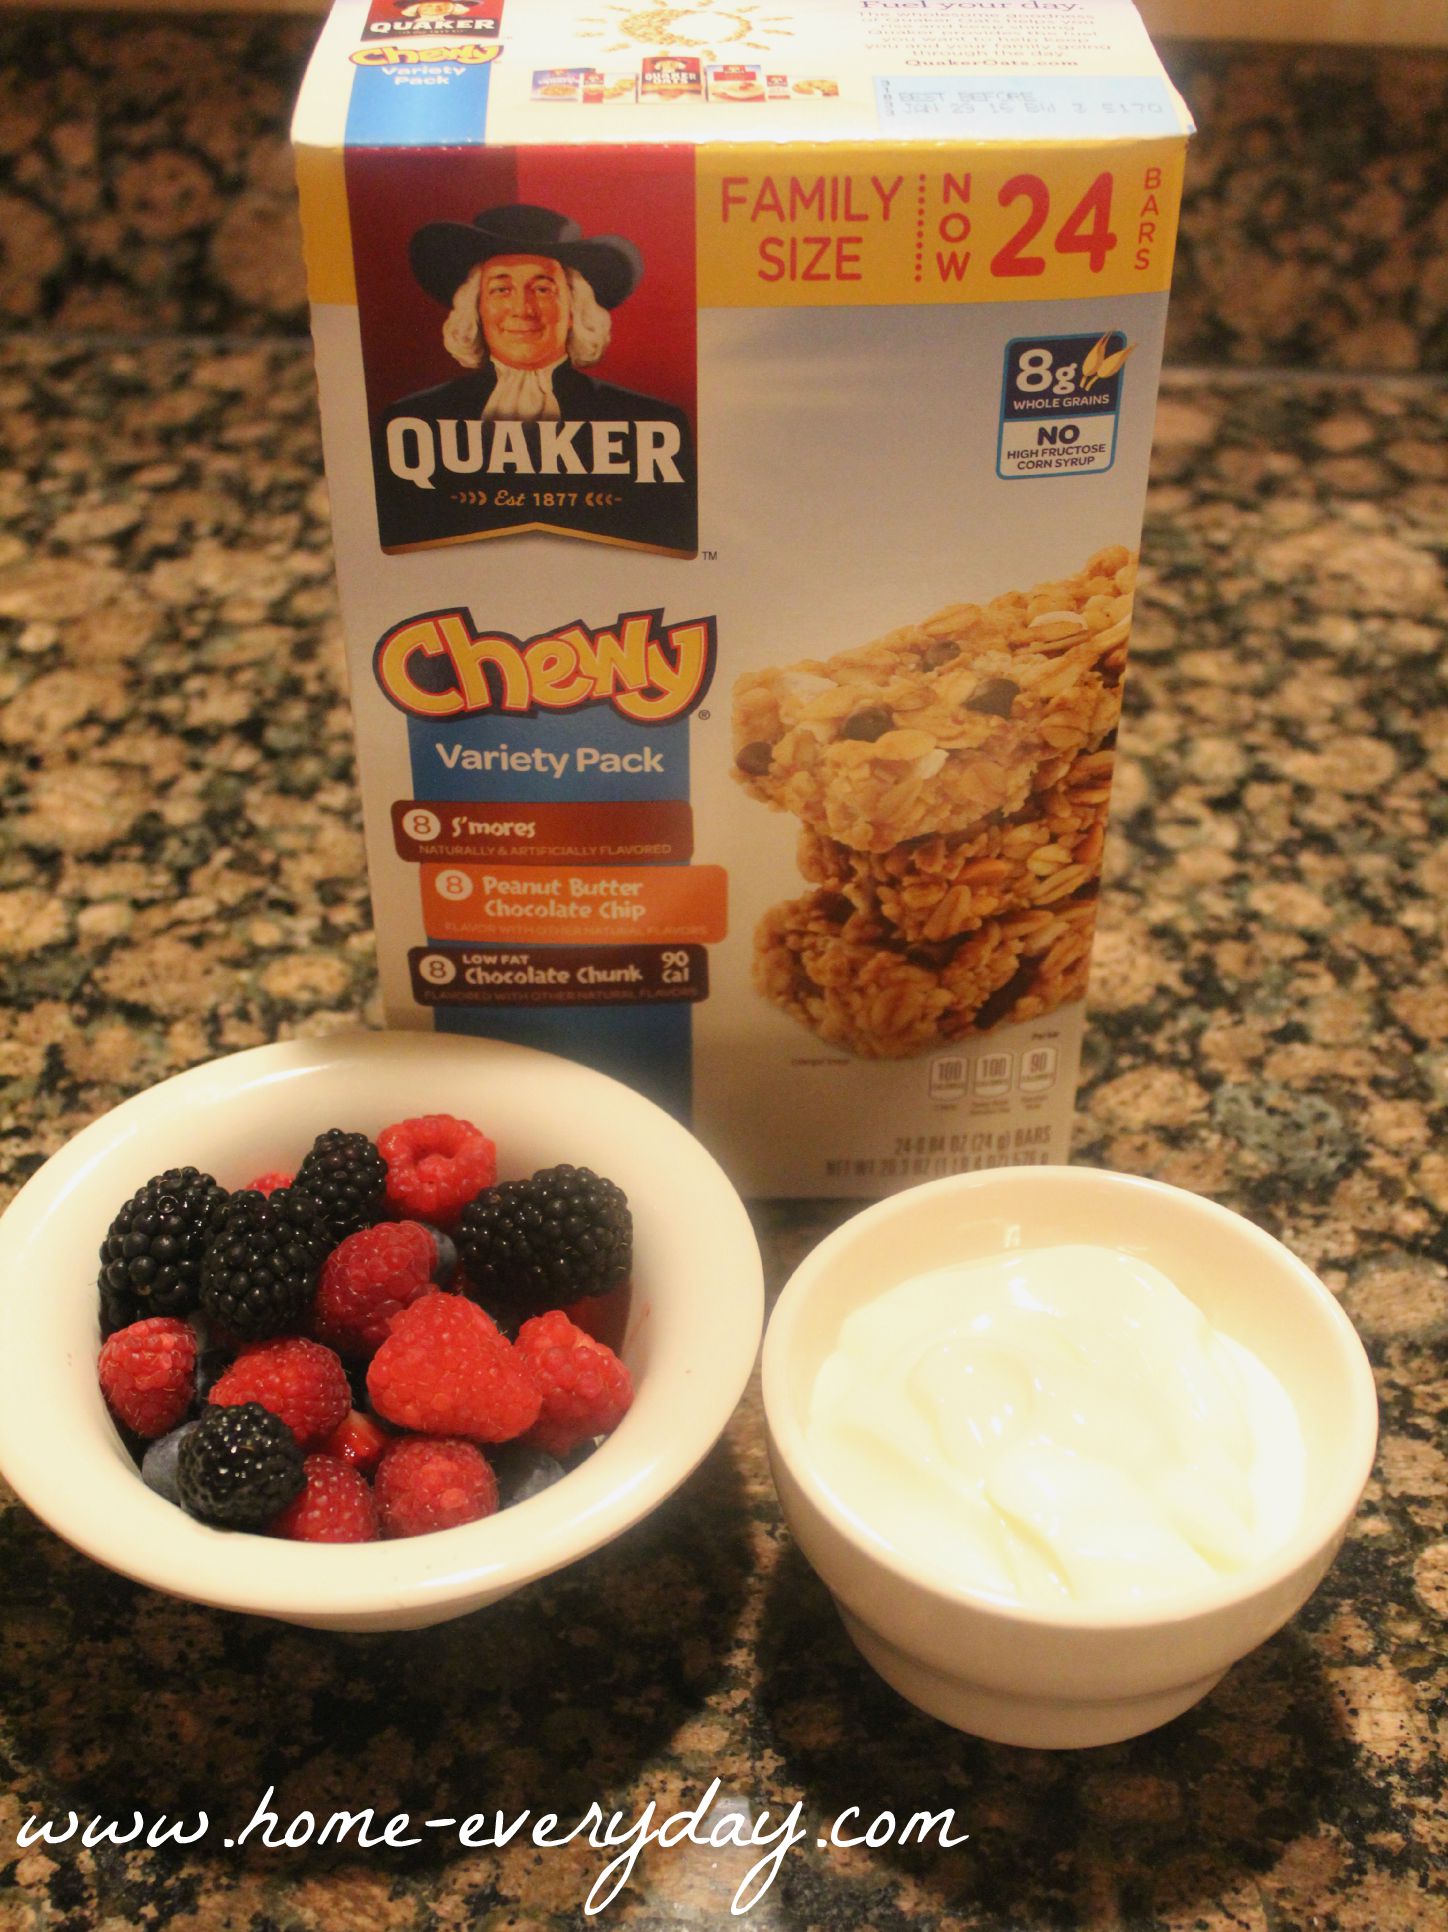
It should come as no surprise to you, that I brought a selection of Quaker products with us on our family road trip this year. From Instant Oatmeal and Life Cereal for the kids to Chewy Granola Bars for Brian, all of these things have been tasty and healthy snacks to keep us full of energy on our travels. Also, when I run out of any of these things, we have always been able to stop at a Wal-Mart and pick up more along the way.

Quaker Parfaits 3

After being in a hotel for a few days, I started to get a bit creative with snacks. After a particularly long day of sightseeing, Brian and I were exhausted. The kids in true kid fashion, were not. We were planning on a evening swim before dinner to perhaps wear them out a bit, but I needed a snack with a little more oomph. So, with some Quaker Chewy Granola Bars, and some other ingredients I had in the hotel room, I made an healthy treat to help Brian and I keep up with our energetic kids.

Quaker Parfaits 6

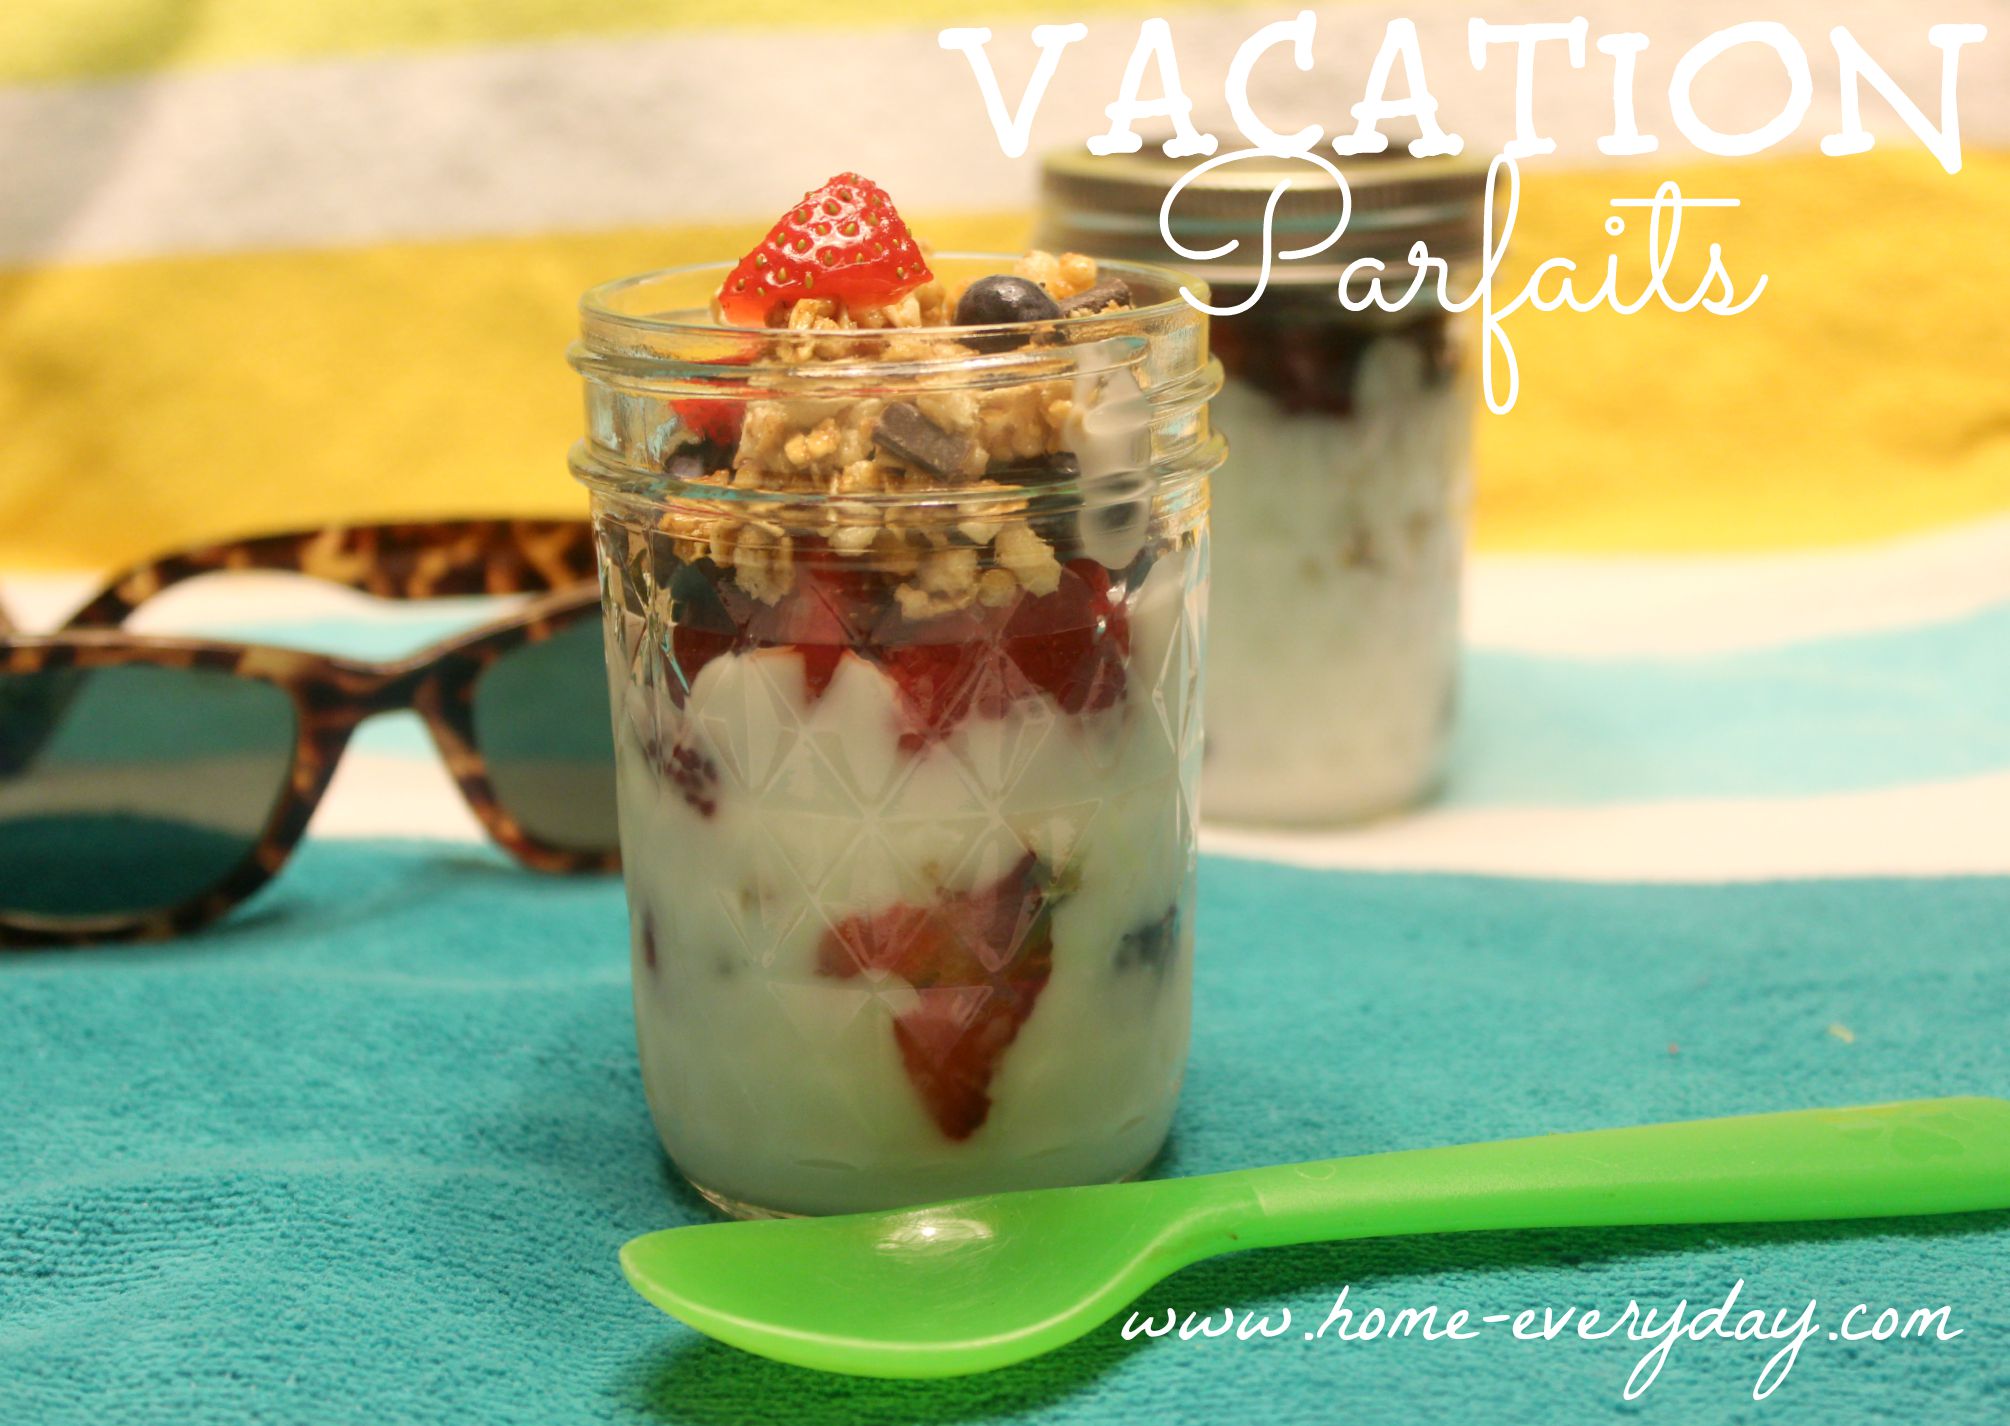
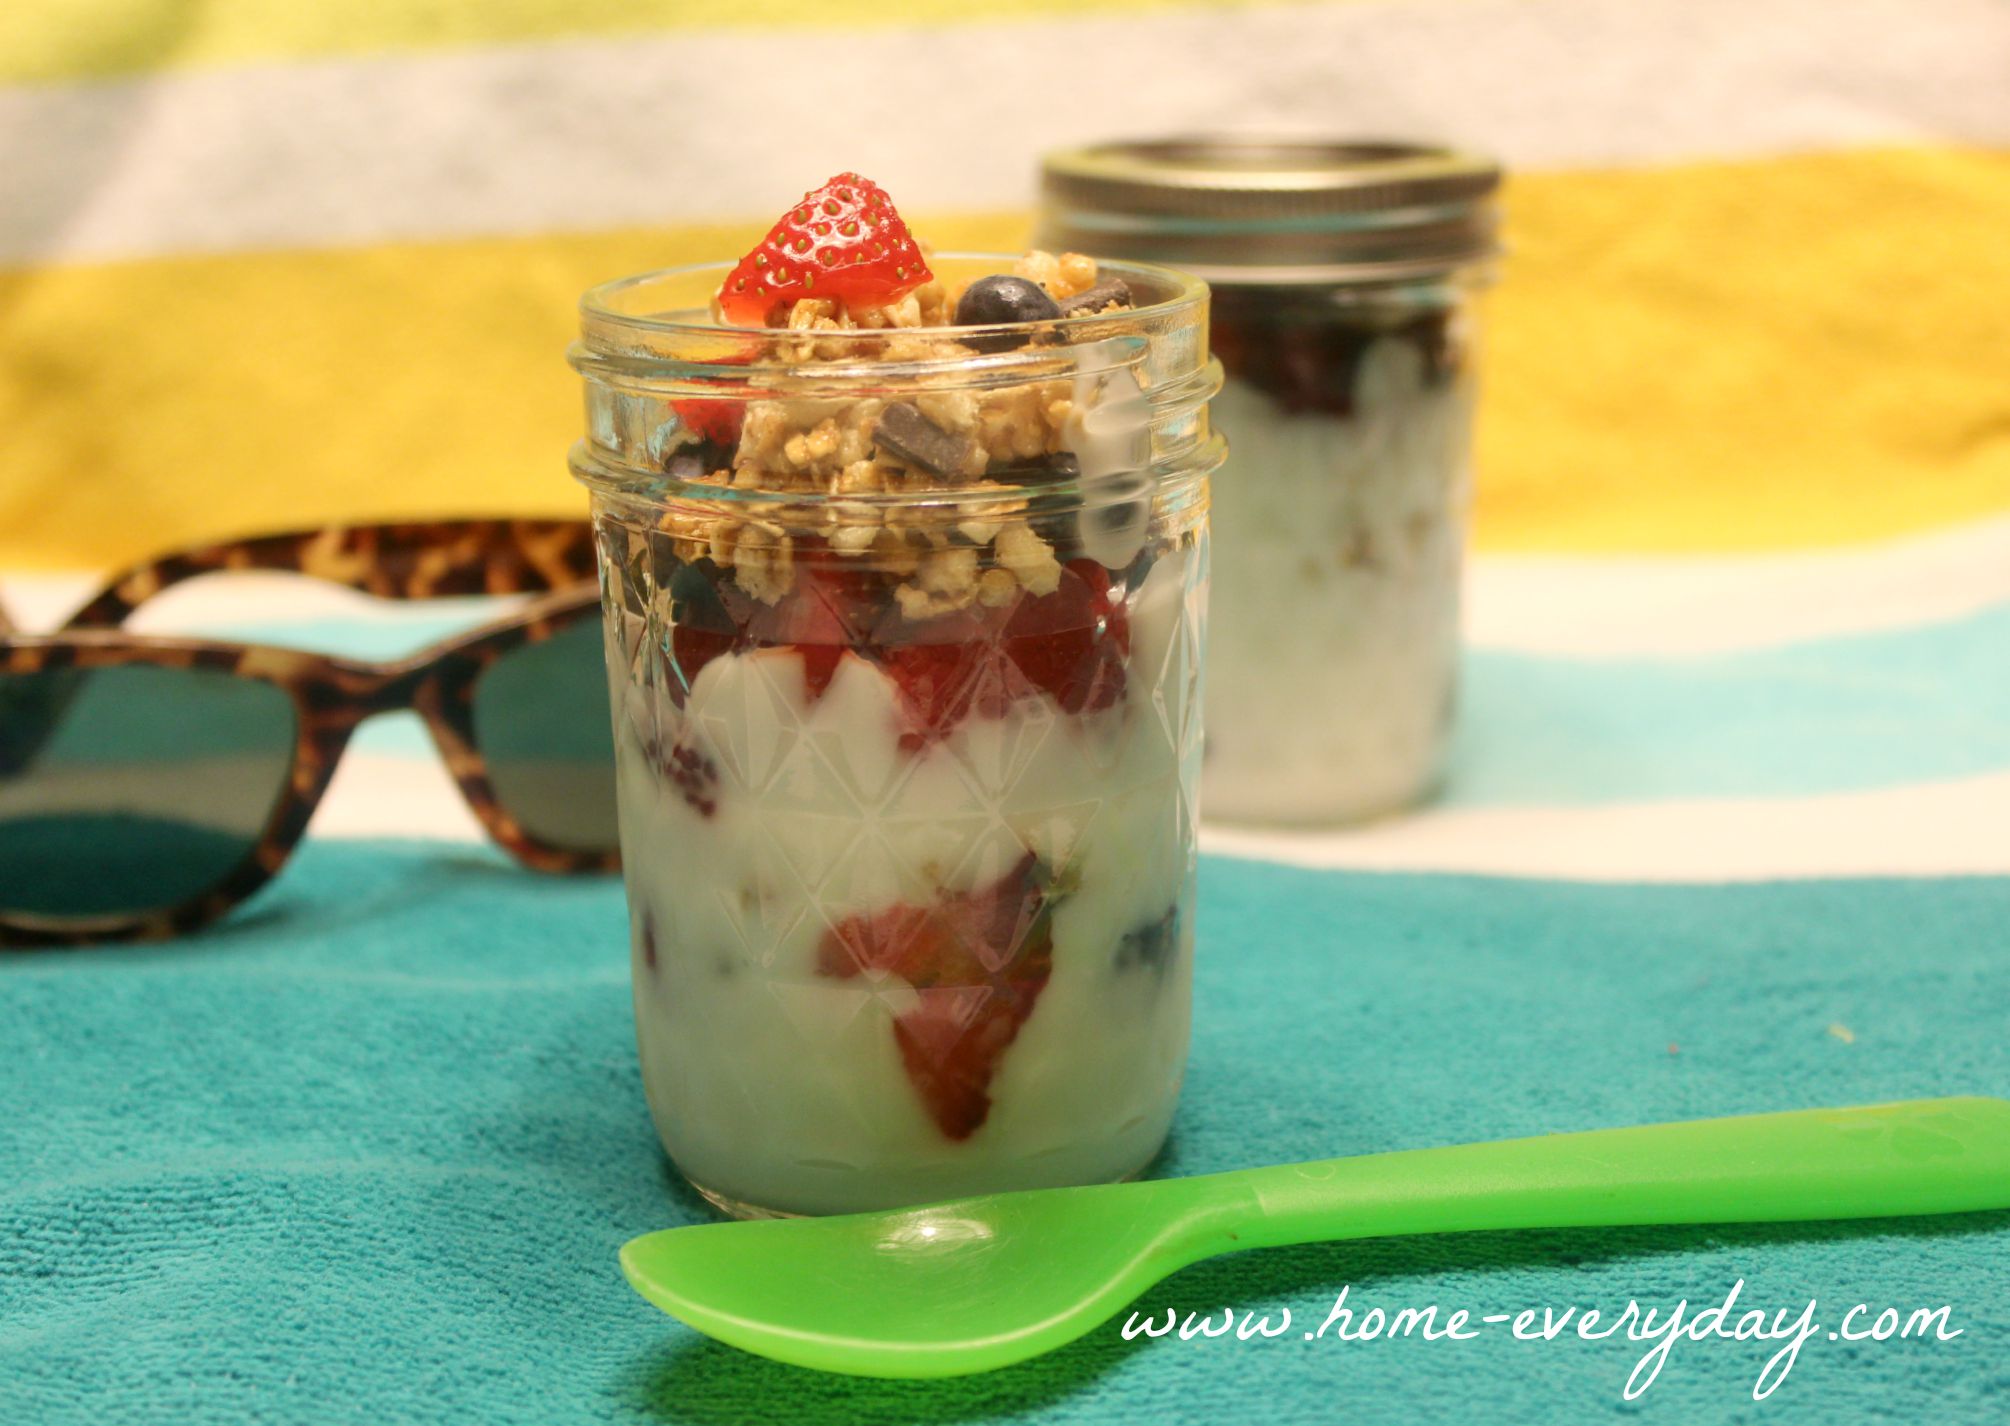
I made the perfect Vacation Parfaits, and you can make them too.

Quaker Parfaits 10


I just layered up some yogurt, berries, and then crumbled my favorite flavor of Quaker Chewy Granola Bars (Chocolate Chunk) on top. And voila, we were able to conquer the pool with three little ones.

Quaker Parfaits 8

I was so happy that I was able to enjoy this awesome snack. Even though I am still in vacation mode, there is a little part of my brain that is thinking ahead to school starting and all the great things I can whip up with Quaker for my hungry kids. CLICK HERE and use this link to as a fabulous resource for some awesome back to school treats. For more information about Quaker and to stay up to date on all things delicious check out Quaker on TWITTER of FACEBOOK.

Have you ever had to do any cooking or assembling in a hotel on vacation? What creative idea did you come up with?


Pretzel Bread French Toast: Breakfast, Lunch, Dinner, (and Dessert) OH MY!

I love breakfast foods. So does Brian. So do the kids. We could eat them any time of day, and a lot of times when we are a little indecisive about what to have for dinner, most of the time we pick Breakfast for dinner. Also known as brinner.

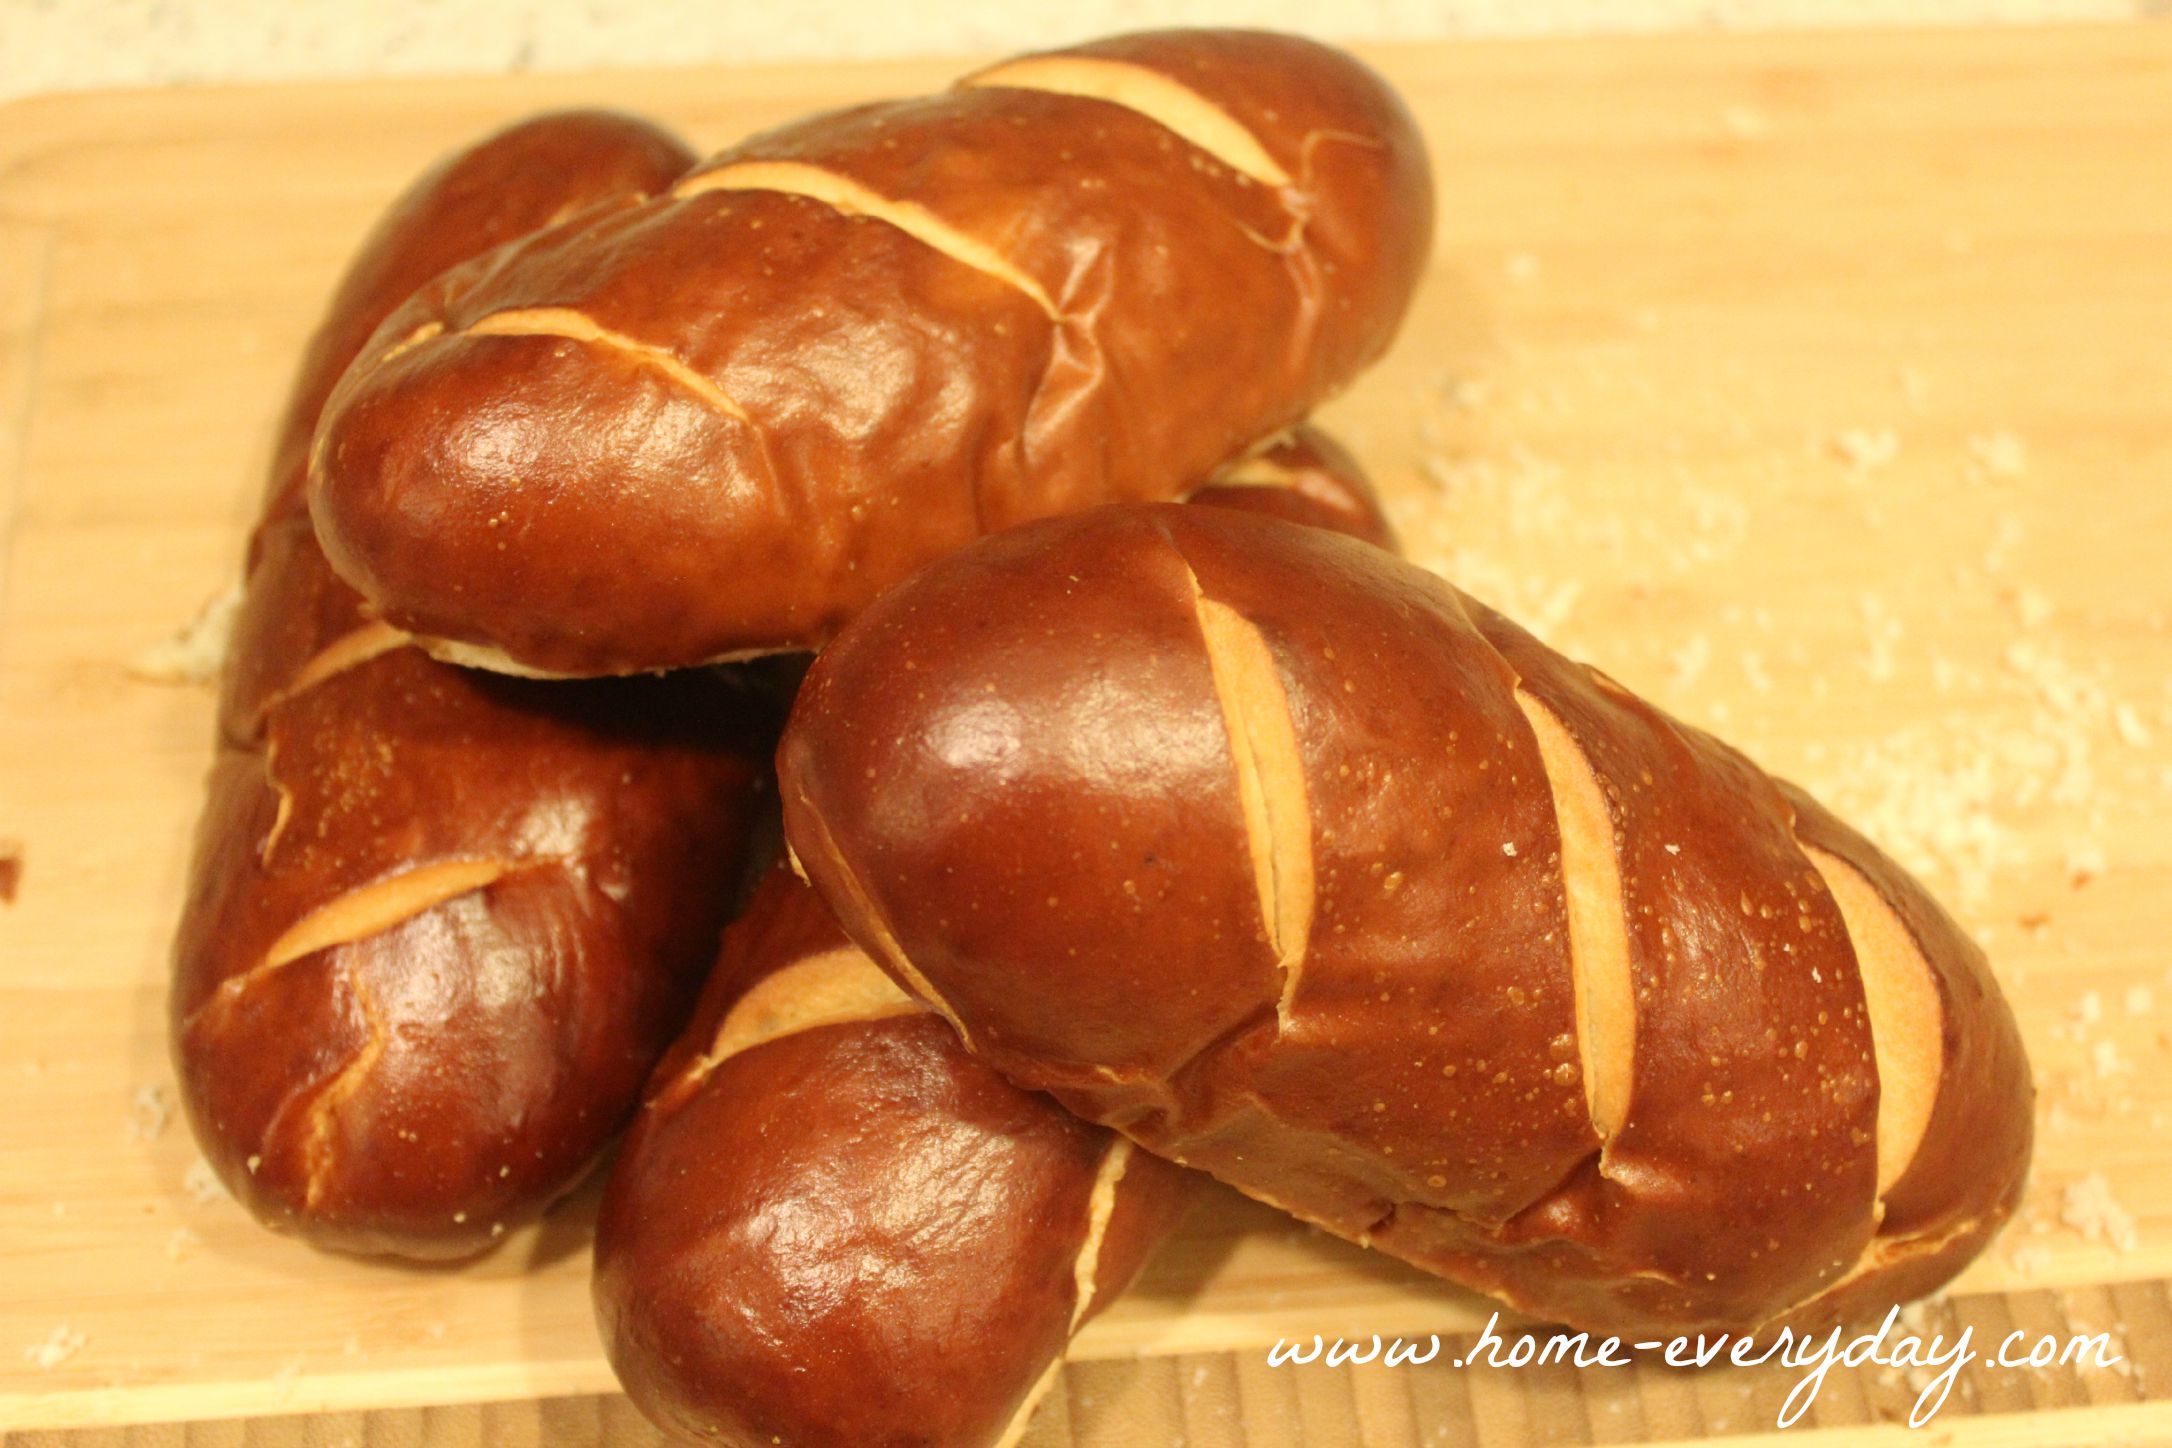
We have been grilling a lot this summer. Also, my kids have discovered the joy of putting anything grilled on a pretzel roll. I found a brand that is allergy friendly for them, and now I always have them in the house. So, we have kind of forgotten about our old stand by, brinner. Until recently.

Pretzel Bread French Toast 1


I was kind of getting sick of grilling, and wanted to bring our old friend back for a special dinner brinner.

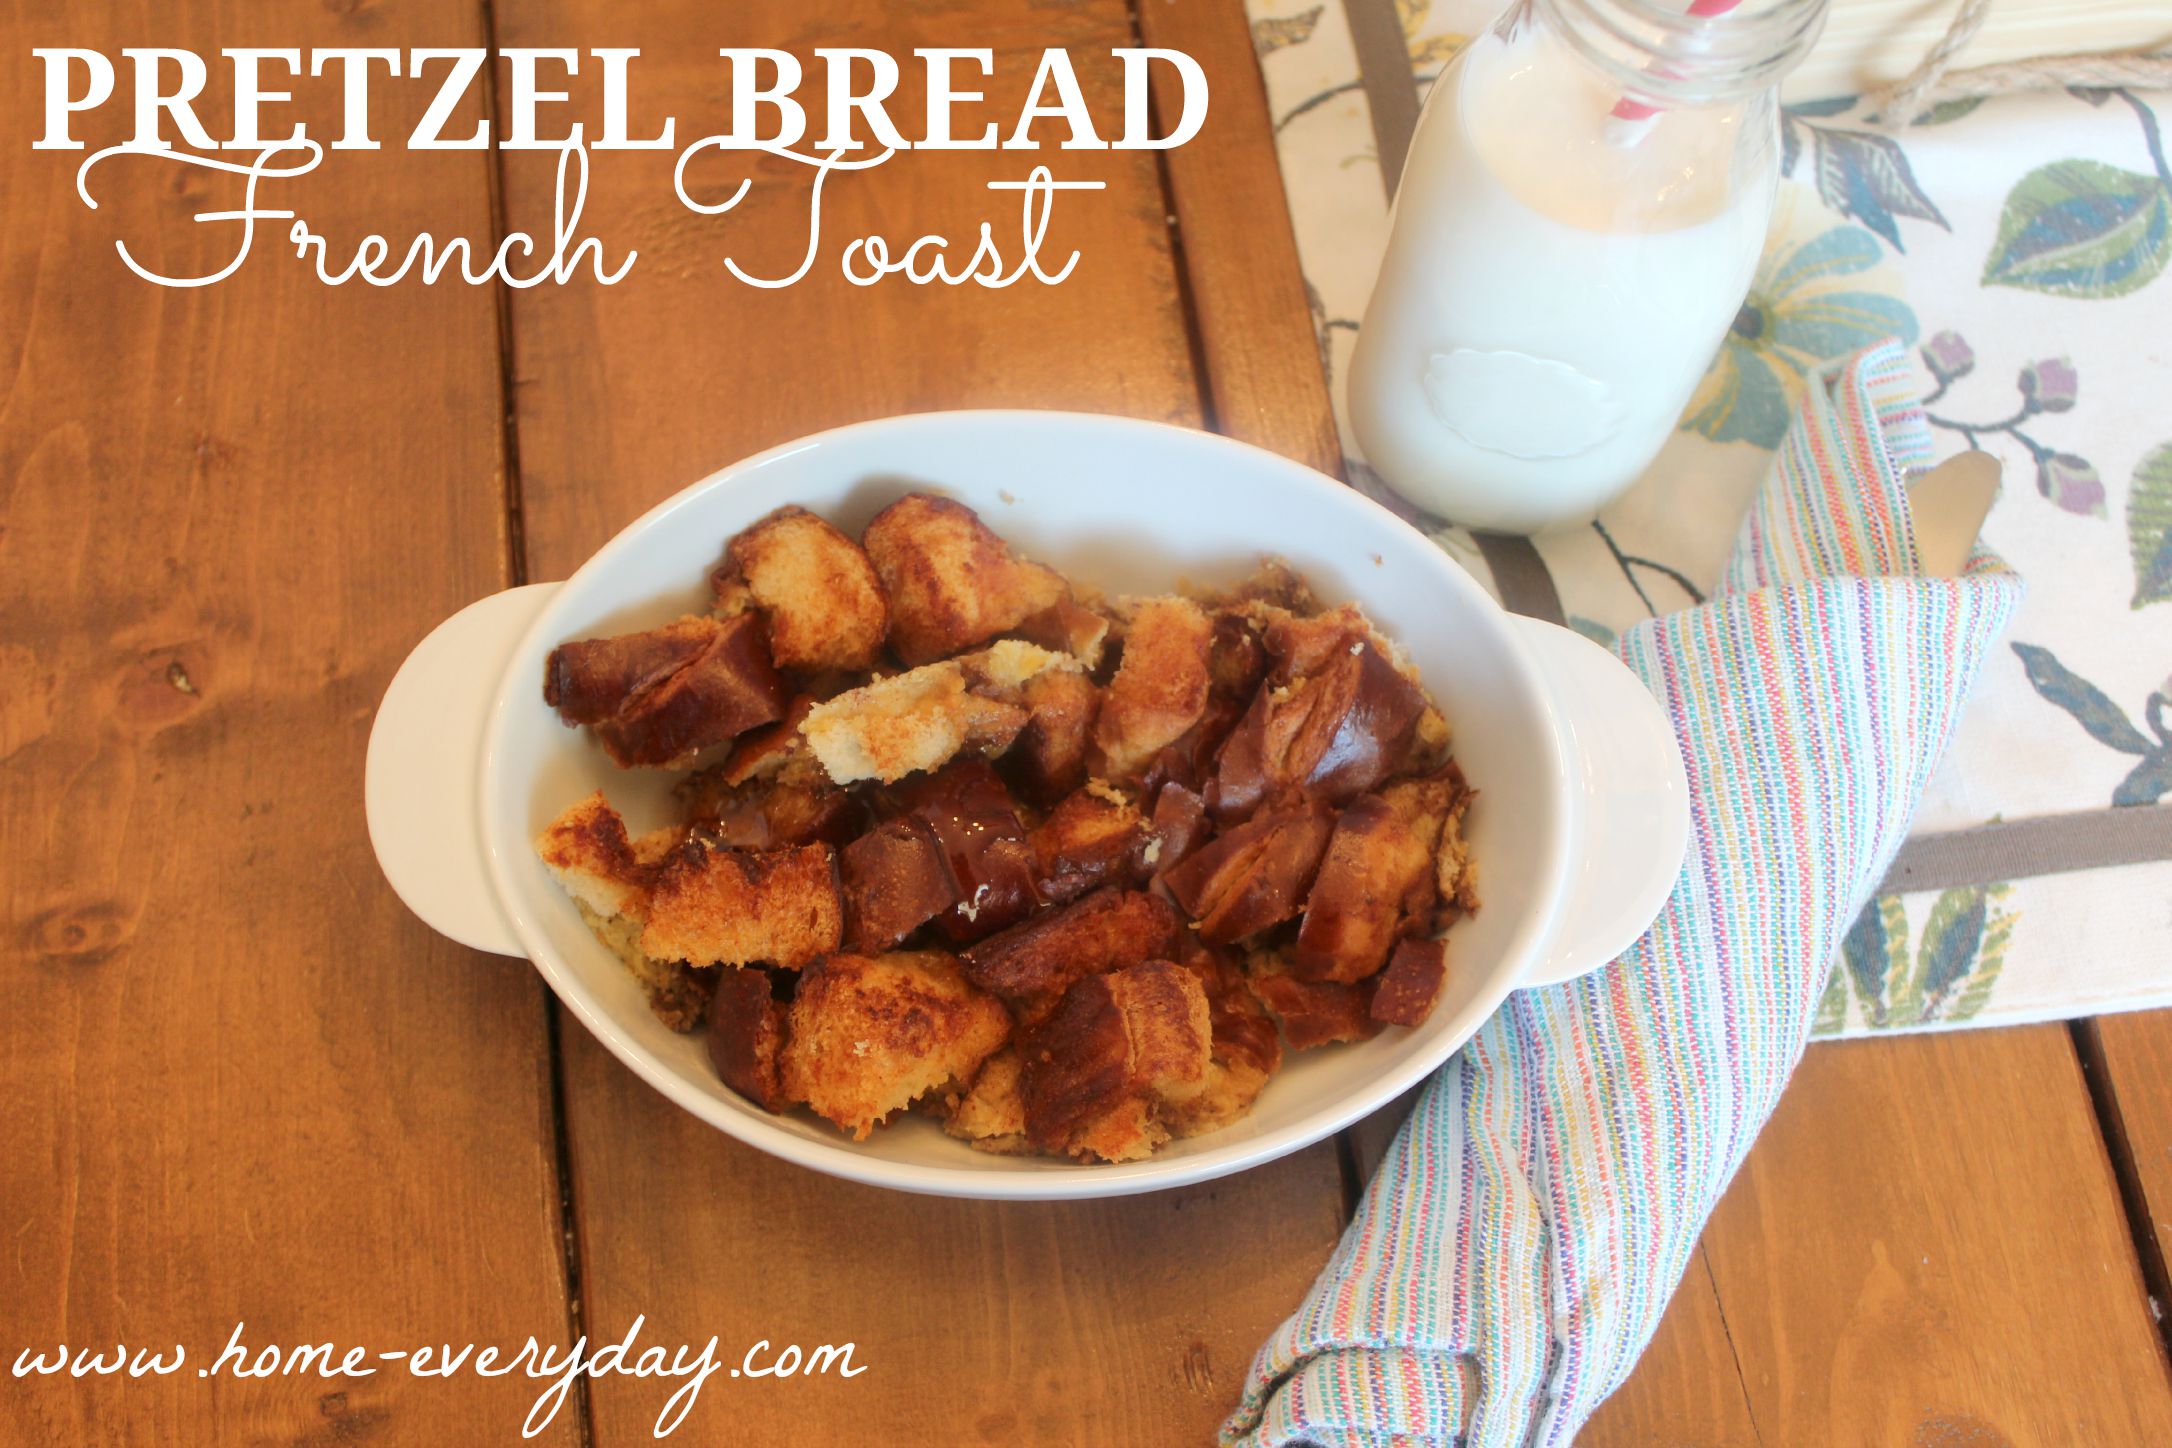
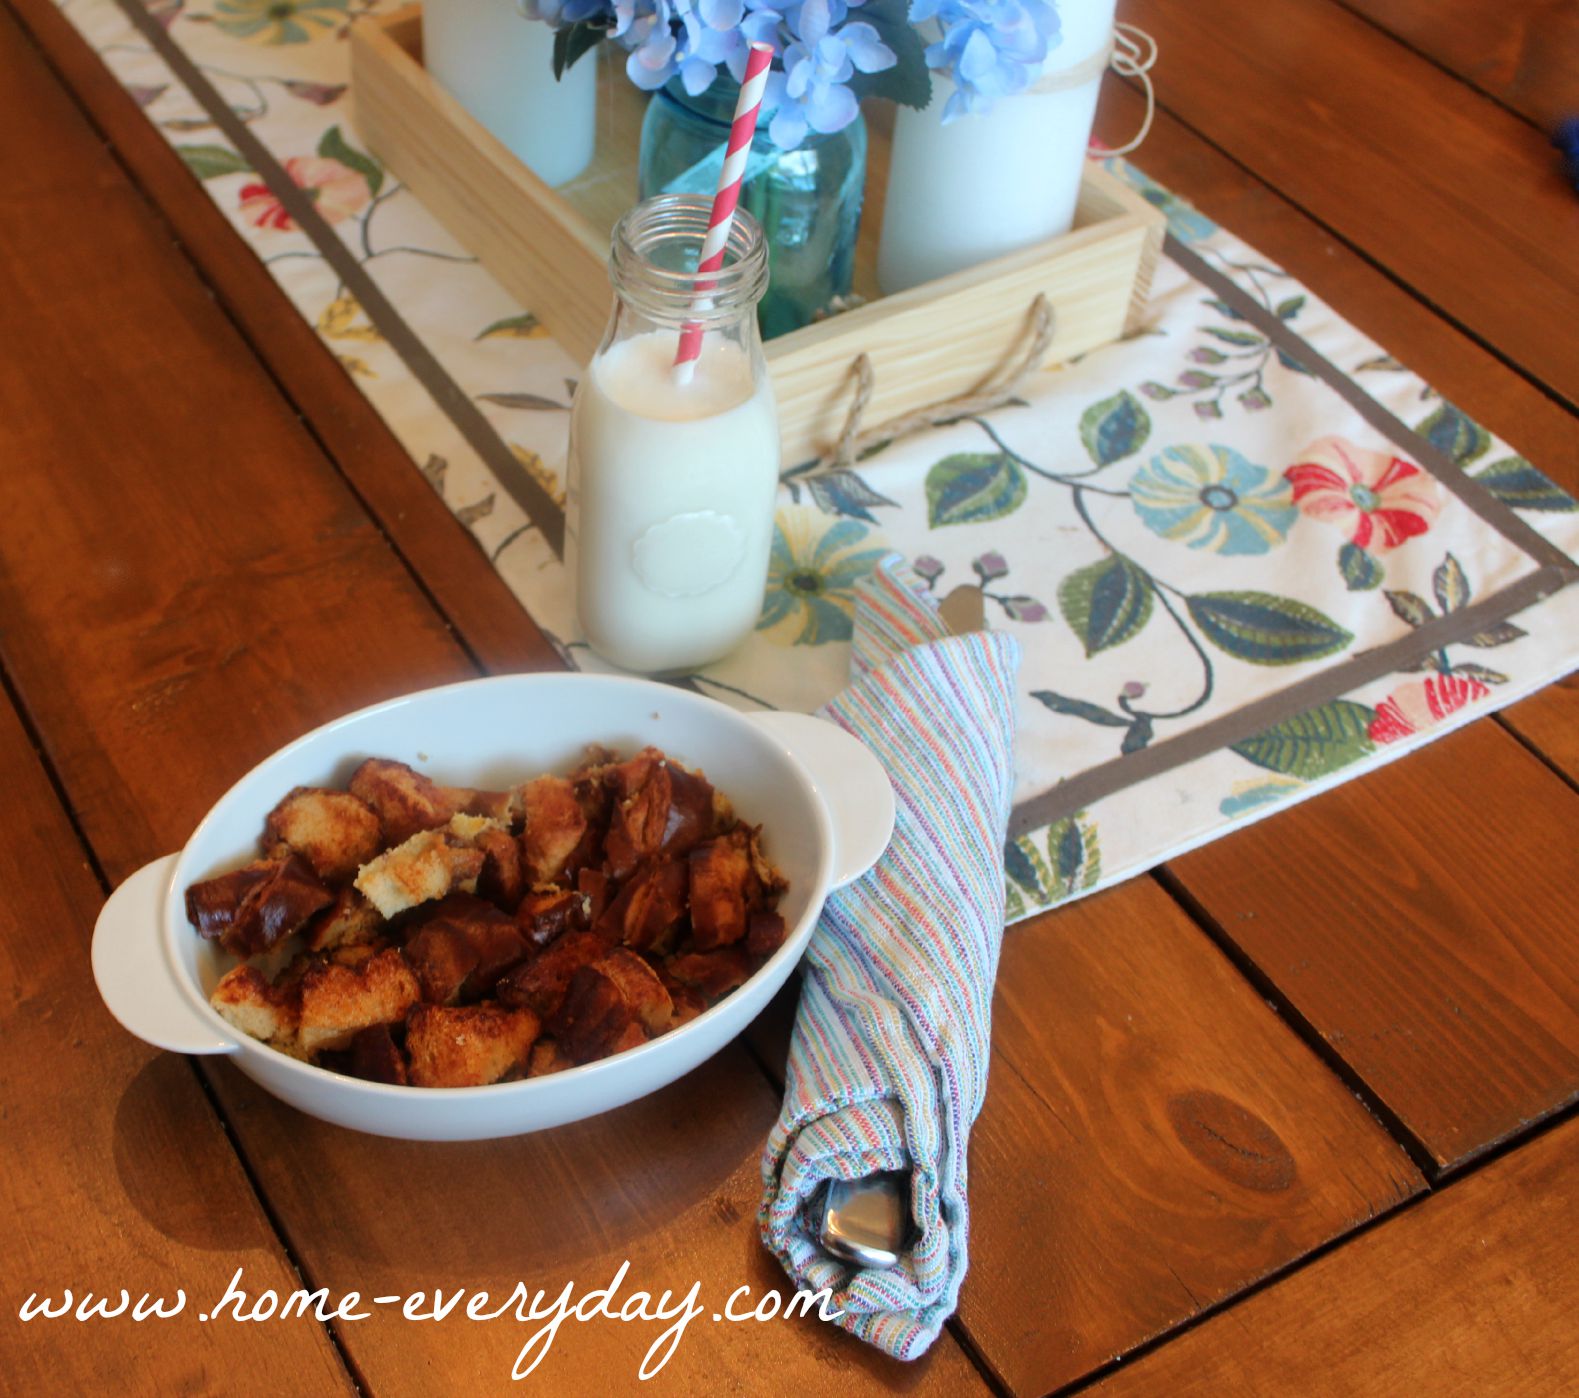
I made pretzel bread french toast, and it was delicious.

Pretzel Bread French Toast 3


You could have this delicious treat any time of day, and you could even serve it up with a vanilla glaze instead of syrup for dessert and call it bread pudding. That is how good it is!

Pretzel Bread French Toast
Ingredients
  • 1 large pretzel loaf or 6 small pretzel rolls cut into cubes
  • 6 large eggs
  • 1 1/2 cups 2% milk
  • 1/2 cup whipping cream
  • 2 tablespoons granulated sugar
  • 1 tsp ground cinnamon
  • 2 tsp pure vanilla extract
Instructions
  1. Spray a 9 x 13 baking dish with cooking spray and arrange bread cubes in dish.
  2. In a large bowl, whisk together eggs, milk, cream, sugar, cinnamon, and vanilla.
  3. Pour the egg mixture over the bread mixture and making sure to coat all the bread. You may have stir it a bit.
  4. Cover the baking dish and refrigerate for at least 2 hours, but overnight is best.
  5. The next morning, preheat oven to 350 degrees.
  6. Bake the French toast for 40-45 minutes or until golden brown. Serve with maple syrup.


What is your favorite go to dinner? Is it brinner? Do you have a favorite recipe that you always have ingredients for on hand?

Pretzel Bread French Toast 5

Why Cooking Oil Matters

This post was compensated with products from NOW Foods, however what I whip up and opinions regarding the products are 100% my own.


When I first began cooking, I never really thought of cooking oil that much. I would use what was listed in the recipe, often substituting an oil I already had on hand. Then, when my kids were born and were diagnosed with food allergies, I started to become much more mindful of nut oils and oils containing soy, and avoiding them at all costs.

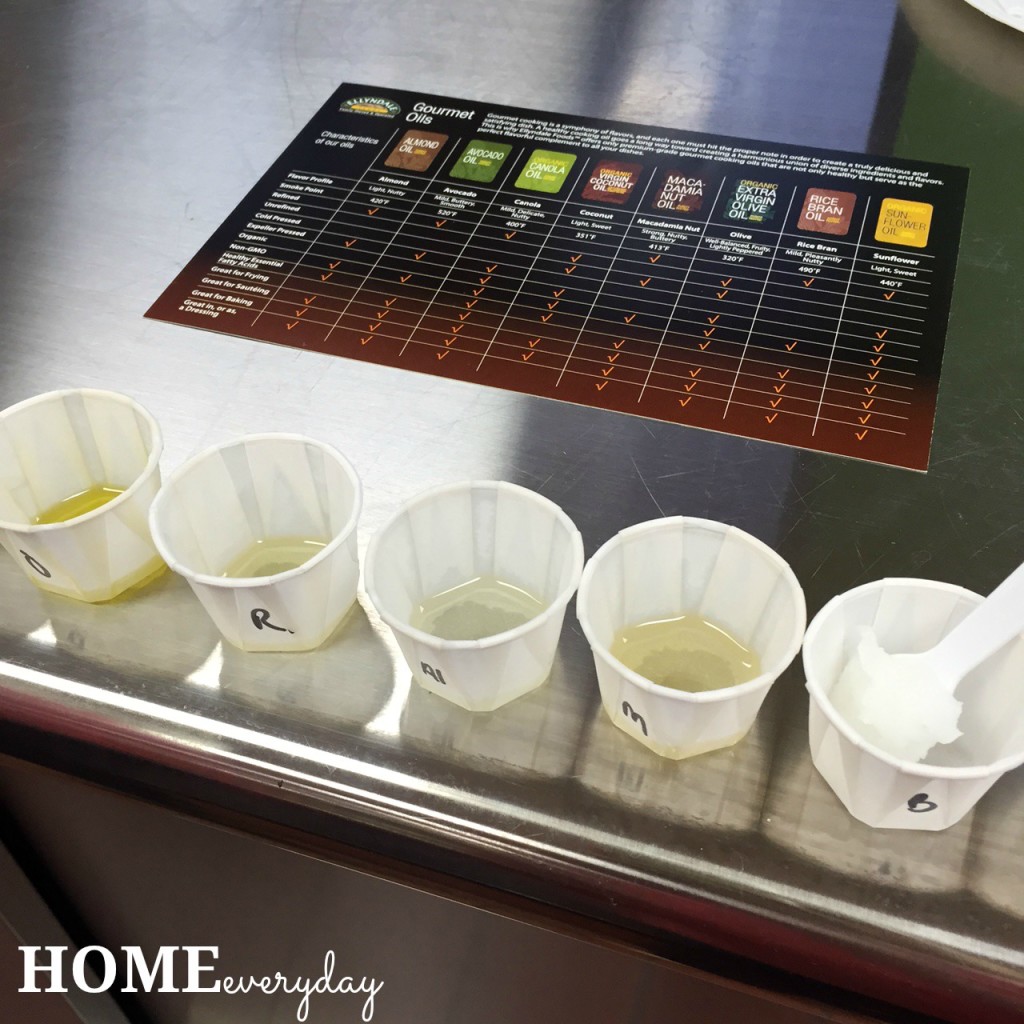
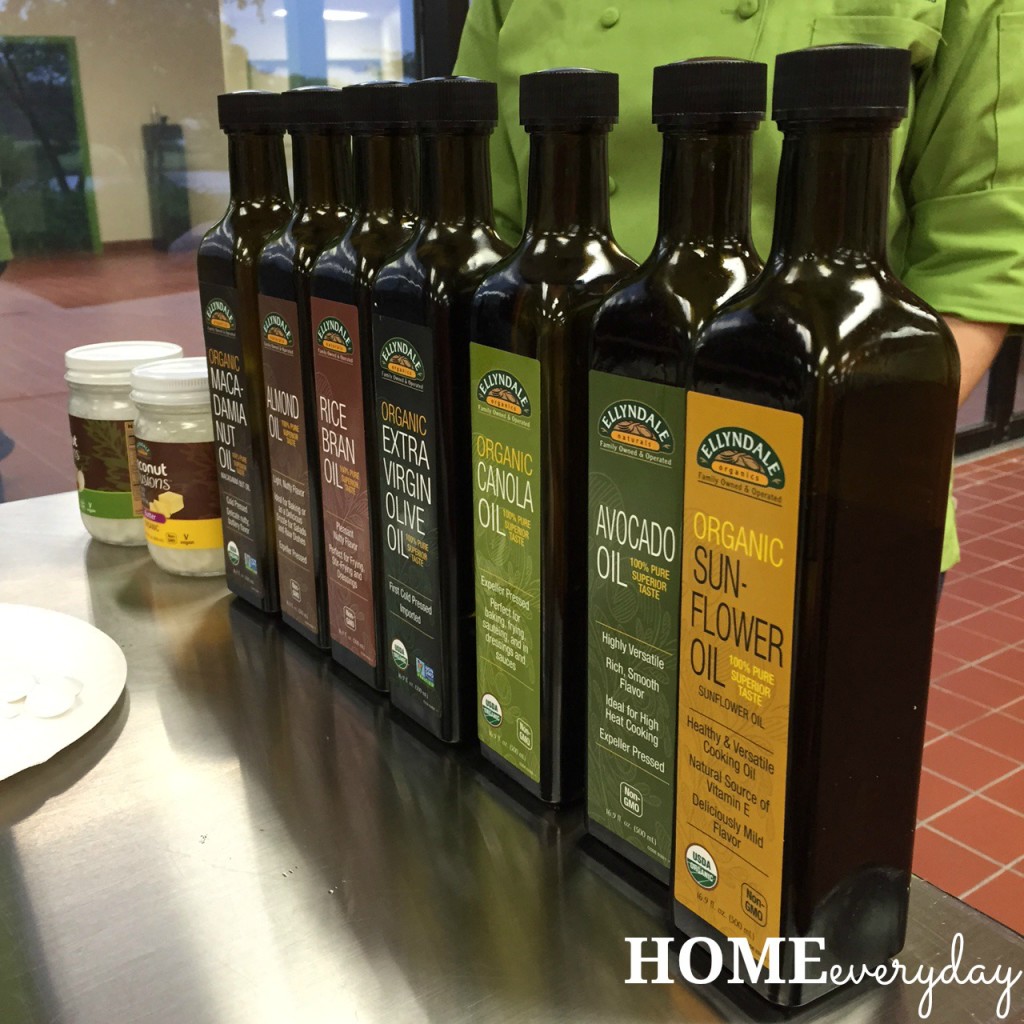
Then, as I became more of an intermediate at-home chef, I stuck with my three main cooking oils for baking, sautéing, and roasting. I used extra virgin olive oil (usually a middle of the road brand that seemed good), a canola oil for when I needed to cook at higher temperatures, and butter for when I wanted to add a bit of flavor to things like eggs. I gave very little thought to the quality, flavor, or health benefits to any of the oils I was using, until I visited the NOW Foods kitchen and had my first oil tasting.

I couldn’t believe the different tastes of each oil. I also learned about smoking points and health benefits.


Now, after cooking for a couple weeks with different kinds of oils, I cannot believe the change in taste in some of my favorite every day recipes. Also, I now know that some of these recipes will have added health benefits, and will offer some benefits to my friends and family who have dietary restrictions too!


For example, one of my favorite go to breakfasts is scrambled eggs. I make them probably four mornings a week.


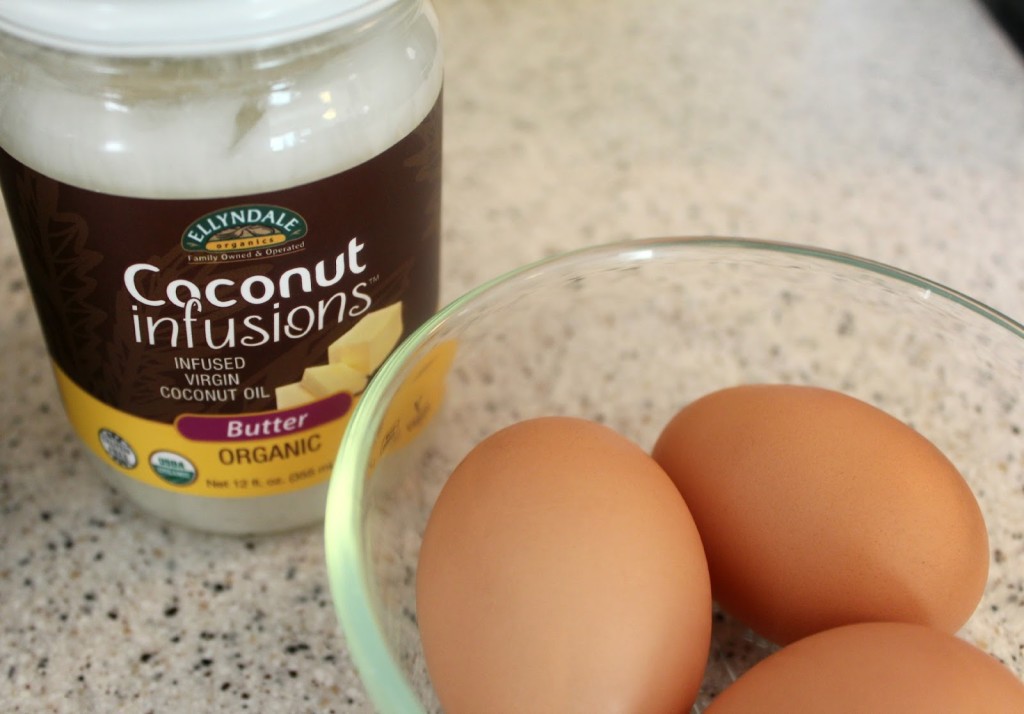
In the past, I would use a pat of butter in the pan, which while it adds flavor, it can burn easily, adds unnecessary fat and empty calories and isn’t helpful for those with dairy allergies. Ellyndale Organics has created Coconut Infusions virgin coconut oil that tastes like butter.


It is  also a one to one substitution for butter which means it can be used in all of your favorite recipes where butter is used, and is completely dairy free (vegan). Also, coconut oil has so many healthy
components, I don’t think I will ever use butter to make eggs again.

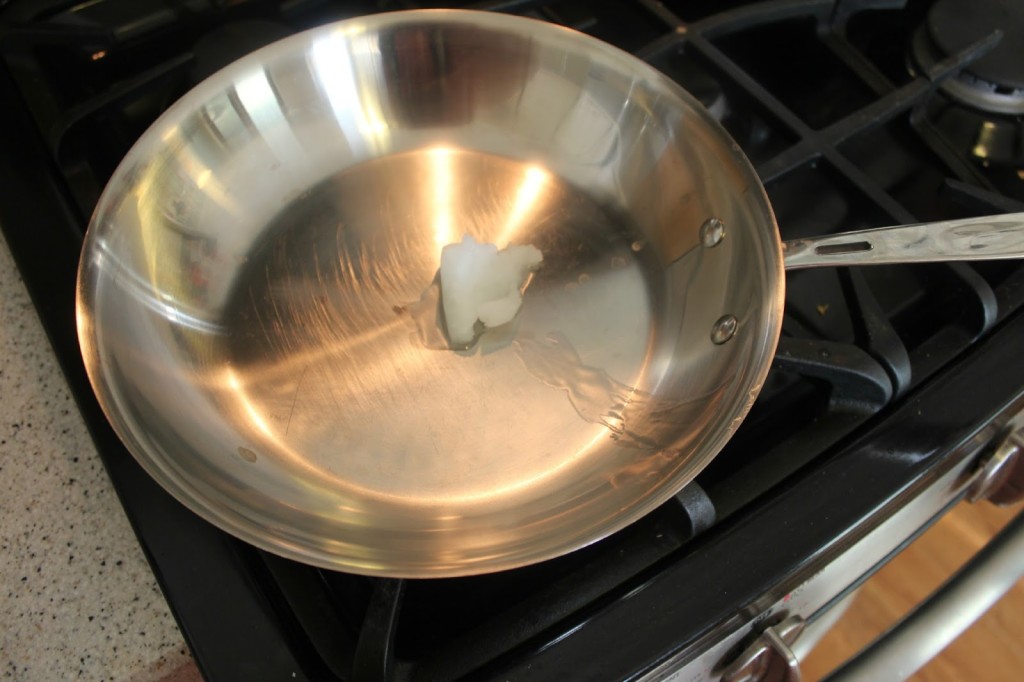
I just put about 1 or 2 tsp in a pan over low heat.


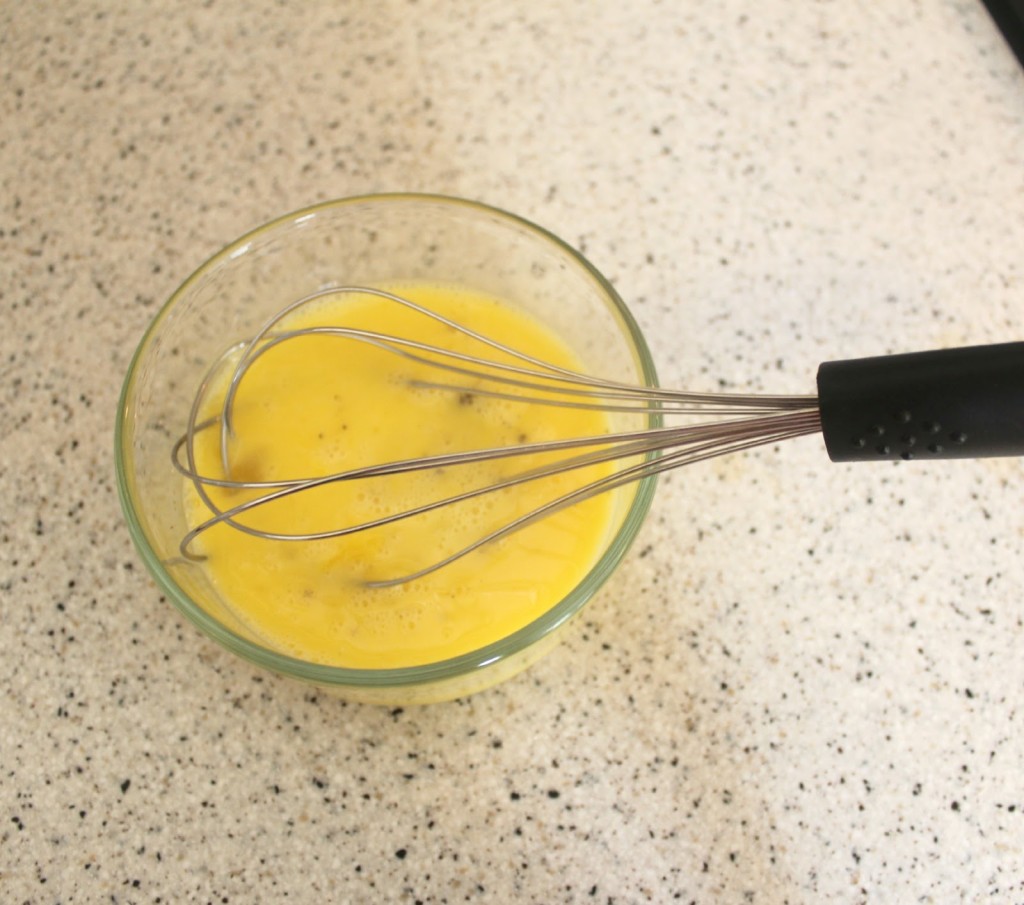
Add the eggs which I have whipped up with a splash of water, a pinch of salt and pepper (I don’t even add milk anymore that’s how good this oil is!)


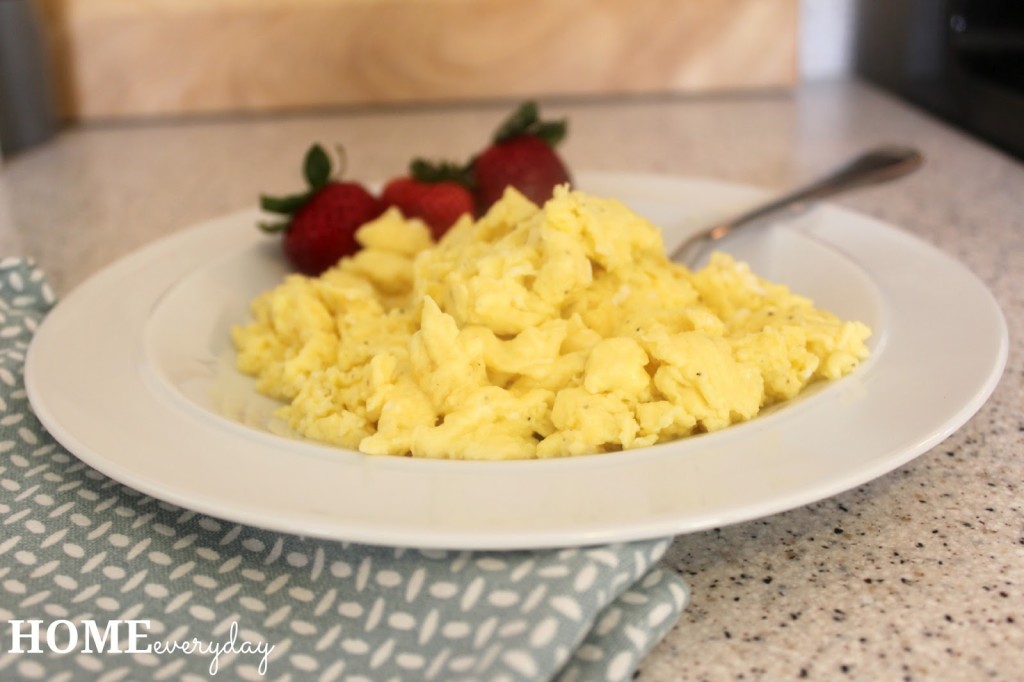
Cook low and slow stirring constantly until perfect.


These eggs are my new favorite breakfast, packed with protein and perfect for when I want something hot in a hurry.

Another favorite regular thing in our house is popcorn. It is a snack eaten almost every day. I like to make stove top popcorn because it is healthy, easy, and doesn’t have a bunch of other artificial things like preservatives, flavorings, and possible allergens that store bought and microwave popcorn have in it.

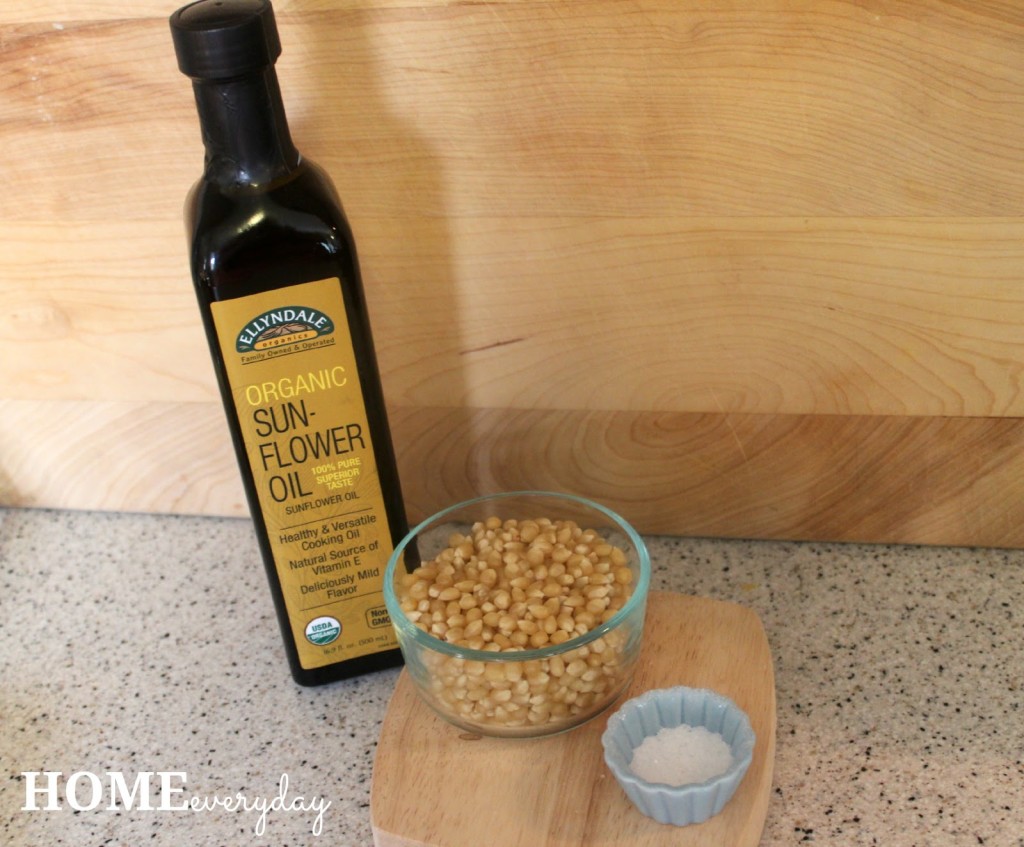
For this, I used the Ellyndale Organics Sunflower Oil which is mild in flavor and perfect for delicate popcorn. It also won’t complicate any toppings you would want to add to it yourself.


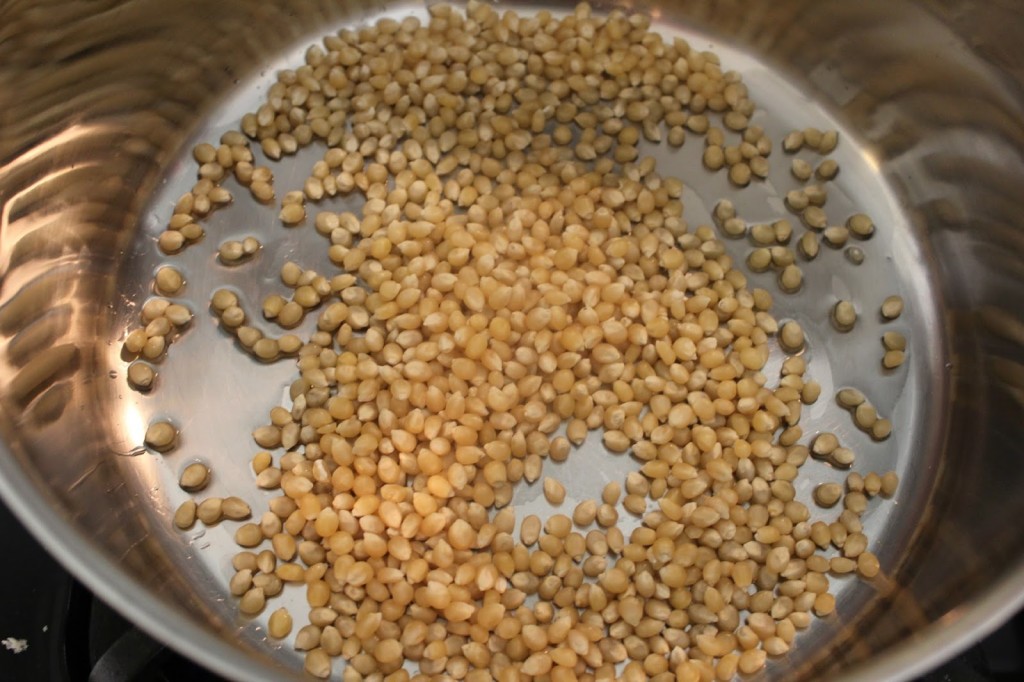
I first put a tbsp of oil in the bottom of a large heavy bottom pot with a tight fitting lid over medium heat. Then, I add about 1 cup of pop corn kernels.


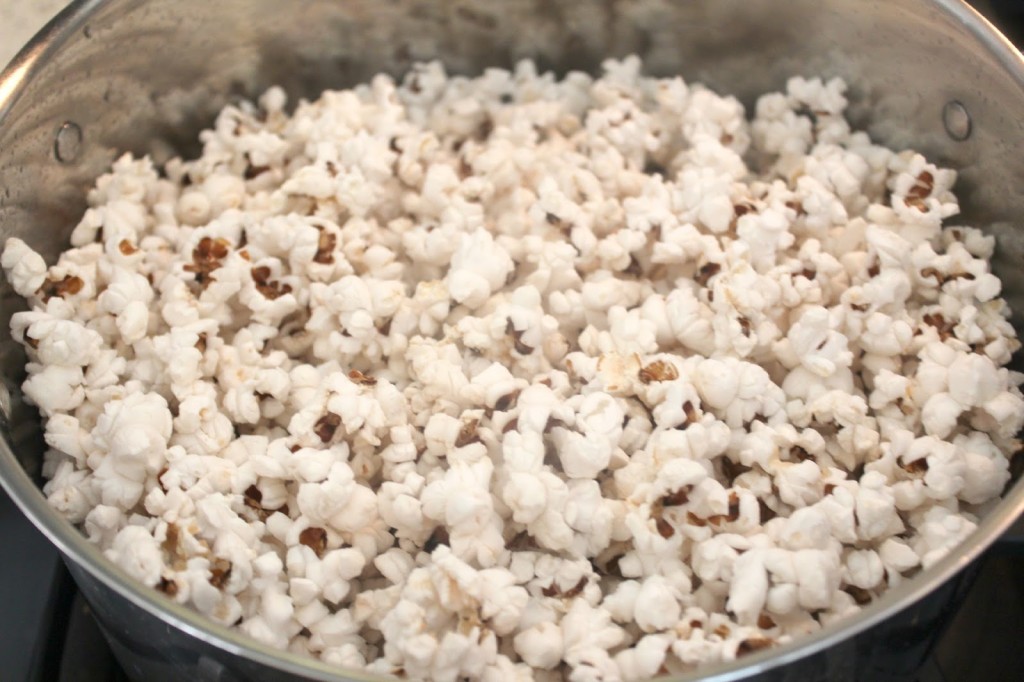
I put the top on the pot and shake the pot occasionally so as to not burn the kernels. After about 10 to 15 minutes the kernels start to pop. Keep shaking the pop with the lid still on, and when the popping slows down, remove from the heat.


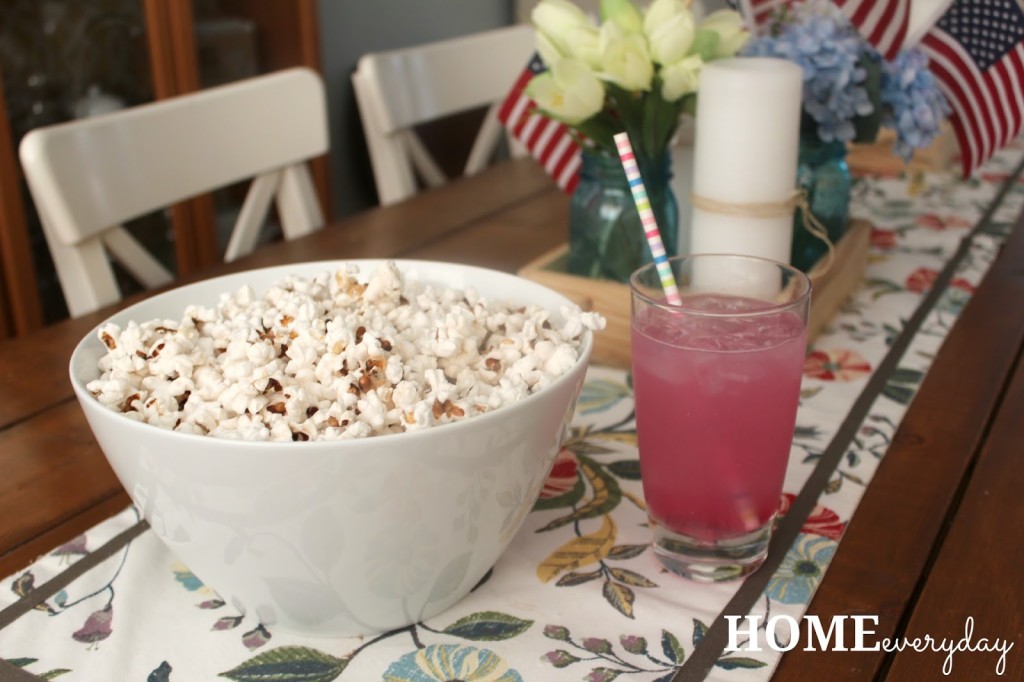
Pour the popcorn into to a bowl, add salt or pepper or your favorite topping, and serve with your favorite beverage (I did a NOW Food Tropical Punch Slender Stick with some cold water).


After cooking some of my favorite everyday favorites as well as some dinners with these different oils, I don’t think that I will be so careless with my oil choices again.

If you like this post and would like to read more about all things domestic with a touch of humor, become a Home Everyday follower! For blog updates or to see other places I write such as ChicagoNow or Chicago Parent follow Home Everyday on FacebookTwitter, and Pinterest.

Overnight Oats: How I Was Finally Convinced Chia Seeds are Ok

This post was compensated with products from NOW Foods, however what I whip up and opinions regarding the products are 100% my own.

I am always willing to try new things. I try not to be picky. Since having children, I am especially conscience of this. I want the kids to know that trying new foods should not be that scary, and they might find something they actually like if they just try.

However, I have always had a problem trying Chia Seeds. For some reason they freak me out. I have a mental block. What is ridiculous, is that they are so tiny and they are so incredibly healthy.


I know what it is, though. When I was a little kid, I got horribly sick one time. I was prescribed a medicine that could only be given to me in a capsule form. I was way too little to be taking capsules as I was used to taking liquid medicines. So, the pediatrician told my parents to break open the capsules and put the medicine in applesauce. Then, I would easily be able to swallow the medicine. I would be fine.

I was not fine.

The texture of the little seed like medicine in the applesauce made me gag. It was terrible. AWFUL! Since then, I have not had applesauce or anything seed like. I know. It was like 30 years ago, and I am still harboring this not even that traumatizing experience.

When I saw we had Chia seeds in our NOW Foods gift bag, I told myself, this was it! The research began, and here we are. I started slowly. At the NOW Foods event we used them as a binding ingredient for the quinoa burgers, and I didn’t even know they were there. Perfect! Next, I started adding them to smoothies. HOORAY!

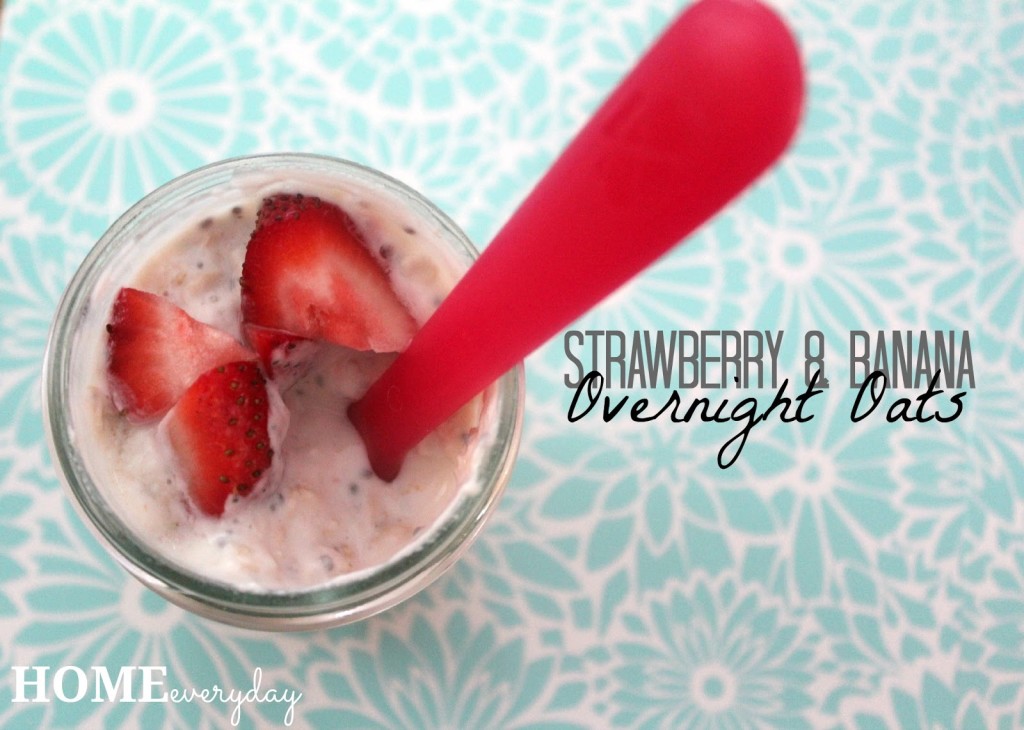
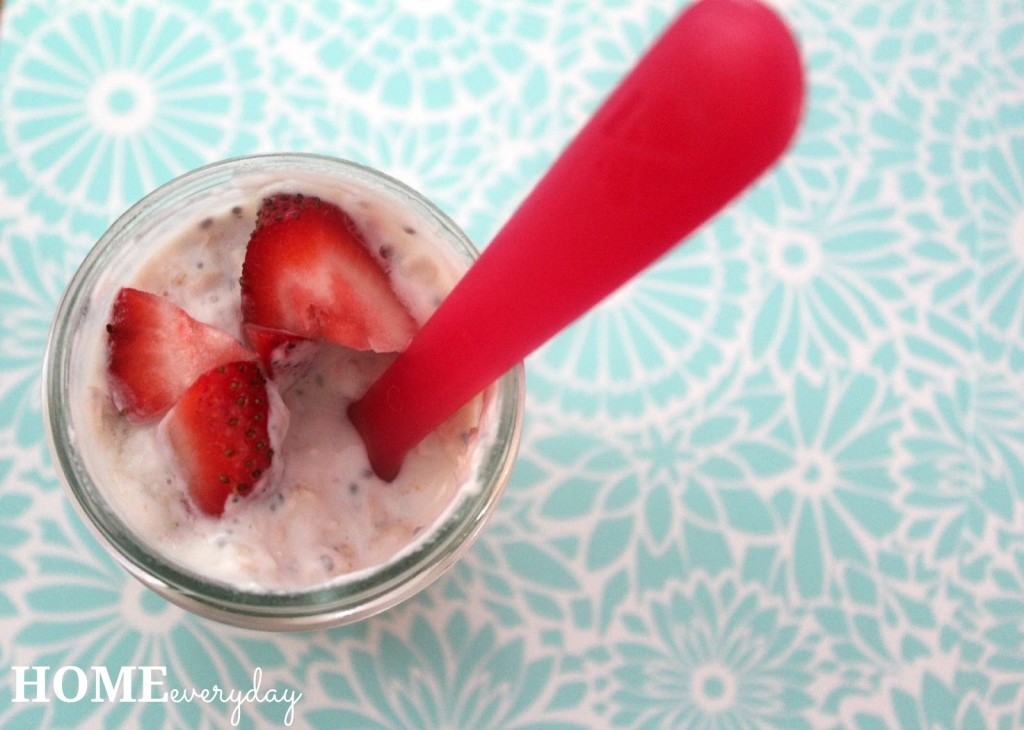
Then, I made overnight oats combining a few of my favorite flavors, vanilla, strawberry, and banana. This has helped tremendously with my fear of Chia Seeds, and now I think I am over it.


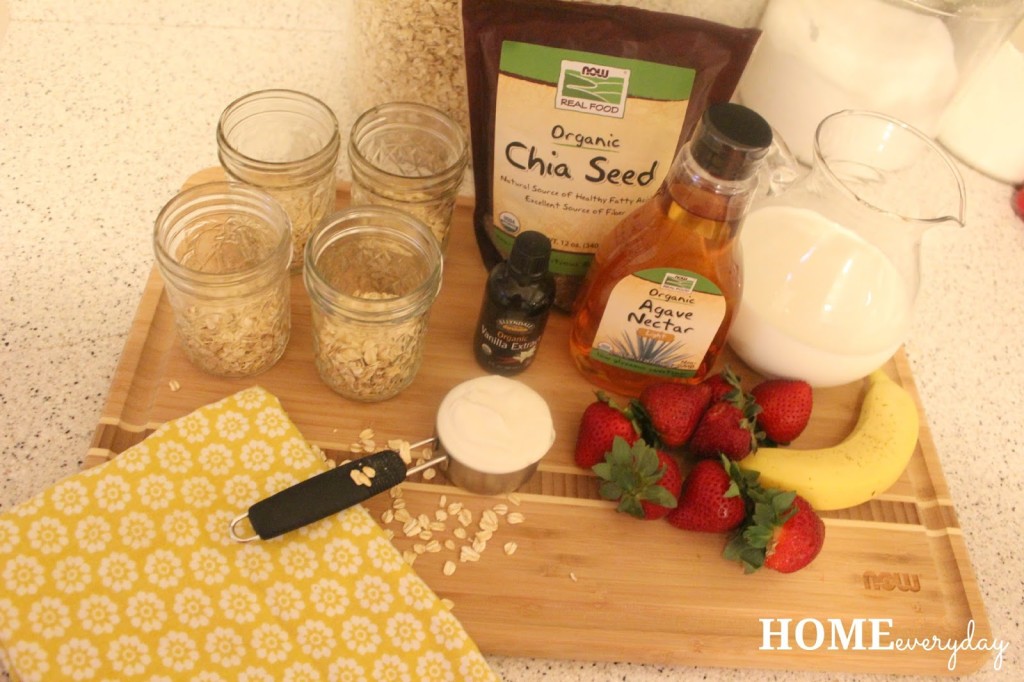
Strawberry Banana Overnight Oats (makes 4 servings)
1 1/3 cup oatmeal
1 1/3 cup milk (you can use almond or dairy)
1 1/3 cup Greek yogurt
2 tsp Ellyndale Organic Vanilla Extract
4 tsp NOW Real Foods Organic Agave Nectar
2 tsp Organic Chia Seeds
1 large banana chopped into small pieces
8 or 10 strawberries cut into small pieces


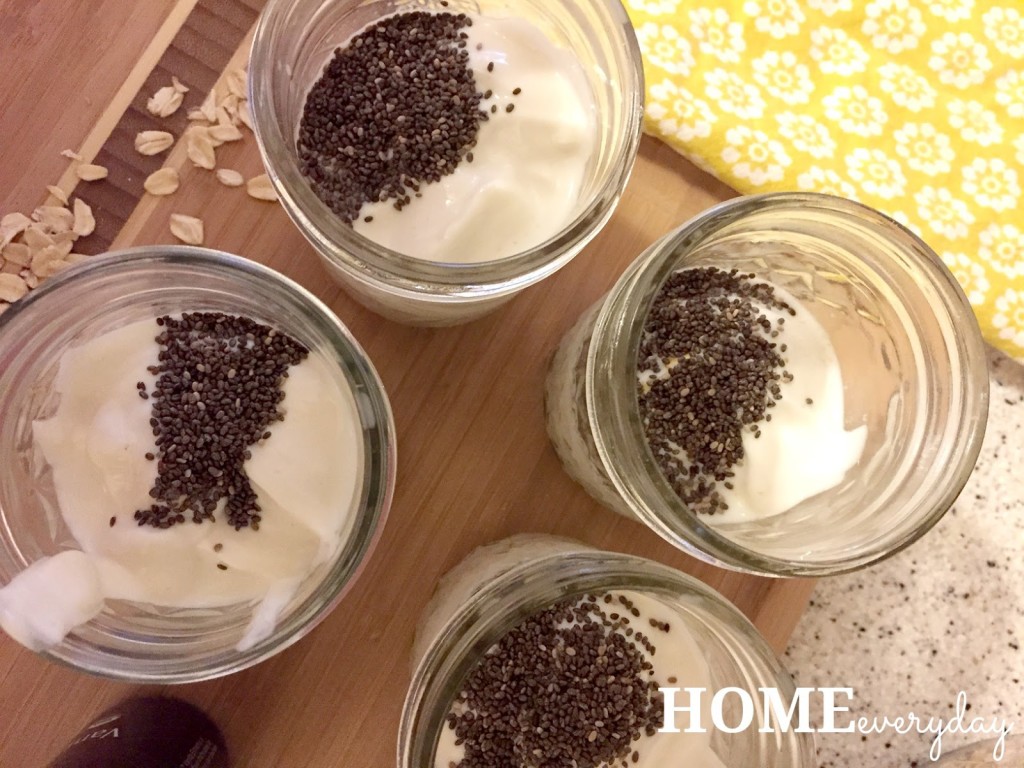
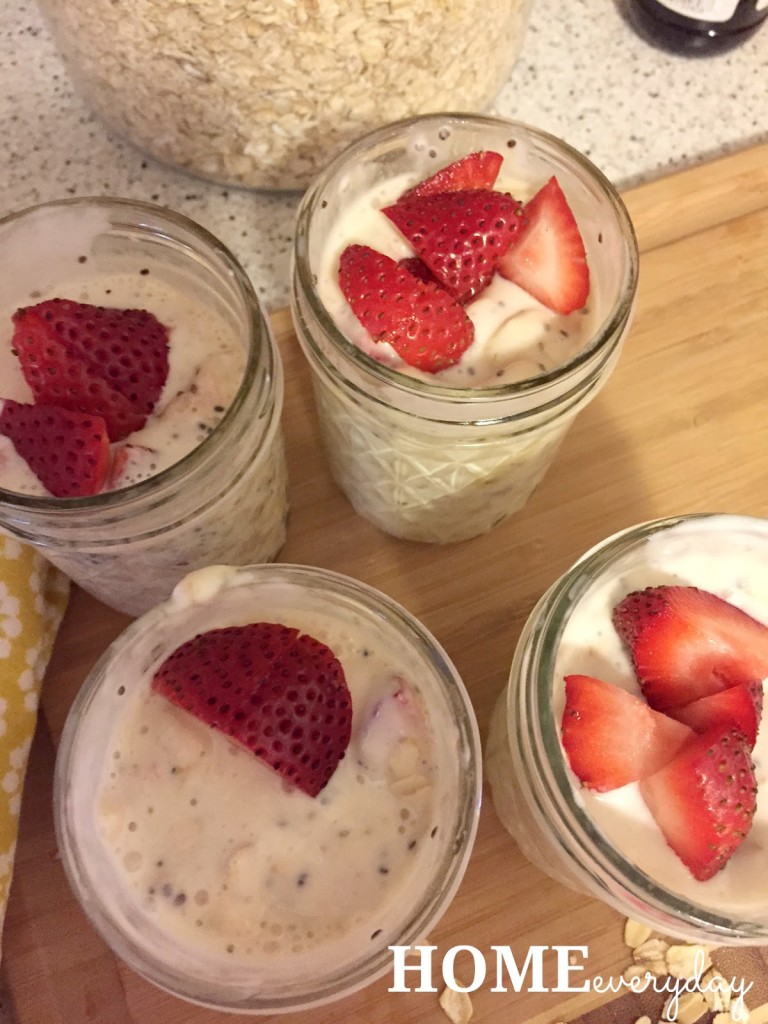
Get four small glass or plastic containers with tight fitting lids. In each container add: 1/3 cup oats, 1/3 cup milk, 1/3 cup yogurt, 1/2 tsp vanilla, 1 tsp agave, 1/2 tsp chia seeds, 1/4 of the sliced banana, and 1/4 of the sliced strawberries.


Put the lids on the containers and refrigerate for at least 3 hours, but overnight is best.


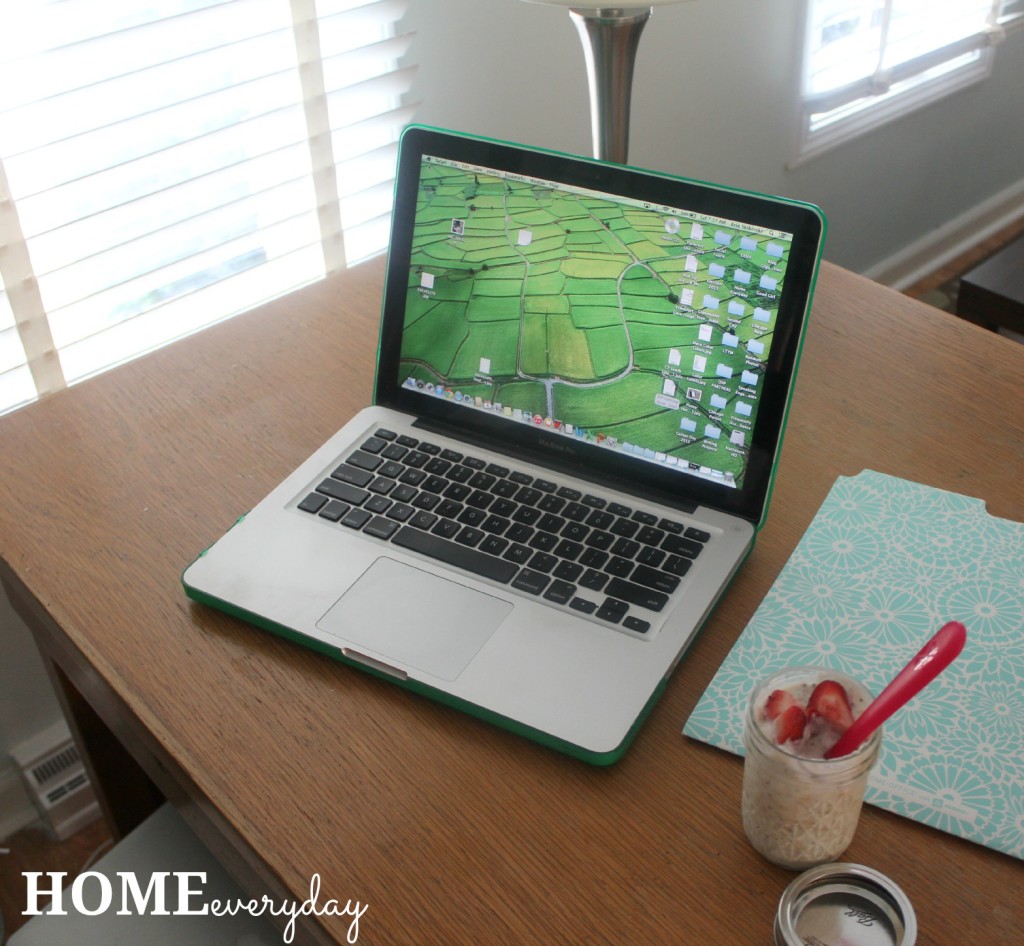
This is the perfect breakfast or snack on the go, while working, or to combat a weird fear of a Chia Seeds.


If you like this post and would like to read more about all things domestic with a touch of humor, become a Home Everyday follower! For blog updates or to see other places I write such as ChicagoNow or Chicago Parent follow Home Everyday on FacebookTwitter, and Pinterest.


Meatheads: A Family Favorite and a Giveaway

I was compensated by Meatheads to write this post but the opinions are 100% my own.

We are an allergy family. A couple of my kids have some food allergies. This makes finding a place to eat out that we can all agree on difficult. Fast food is often out of the question.

Unless it is Meatheads.

When they first opened in our area, I immediately was skeptical about another cool place that we probably would never be able to enjoy, but when I read more about their never frozen grass fed beef and their hand cut fries, I stopped in one day and asked some questions.

After talking to a general manager, I found out Meatheads takes special care with each customer to make sure that each meal is prepared to the customers specifications. Since nuts are a concern for us, and there are no nuts anywhere on the menu not even in their salads there is not a chance for cross contamination with their burgers or fries. I was so happy to finally find a place we could grab lunch quickly.

As you can see, the kids love it!


My favorite burger is the Hawaiian. Fresh pinanapple and jalapeños make this burger the perfect combo of sweet, spicy and savory.

Meatheads also has a commitment to community involvement as well as having fun promotional events for kids and families. This summer you can check out their Voracious Book Tour. at your local Meatheads or even take part in Meatheads reading program.

To get you started I have a giveaway for a $25 Meatheads Gift Card! All you have to do is LIKE the Home Everyday Facebook Fan Page OR if you are already a Home Everyday fan, leave a comment. Do it by Monday, June 22, and you could enter for the chance to win $25 to Meatheads!

a Rafflecopter giveaway

If you like this post and would like to read more about all things domestic with a touch of humor, become a Home Everyday follower! For blog updates or to see other places I write such as ChicagoNow or Chicago Parent follow Home Everyday on FacebookTwitter, and Pinterest.


Pina Colada S’mores: A Nostalgic Summer Get-Together

I have been compensated by #LetsMakeSmores and #CollectiveBias for this post, but the opinions expressed are 100% my own.


There are two things that can immediately transport me back to childhood. Food and music. #LetsMakeSmores agrees. Not long ago, I heard The Pina Colada song by Rupert Holmes in the movie Grown Ups. This is one of those movies that I am ashamed that I actually like so much because I know so many people who hate it. However, I think what draws me to it, is the idea of reminiscing with old friends. Sometimes, there’s nothing better than sitting around a fire, listening to tunes and talking.

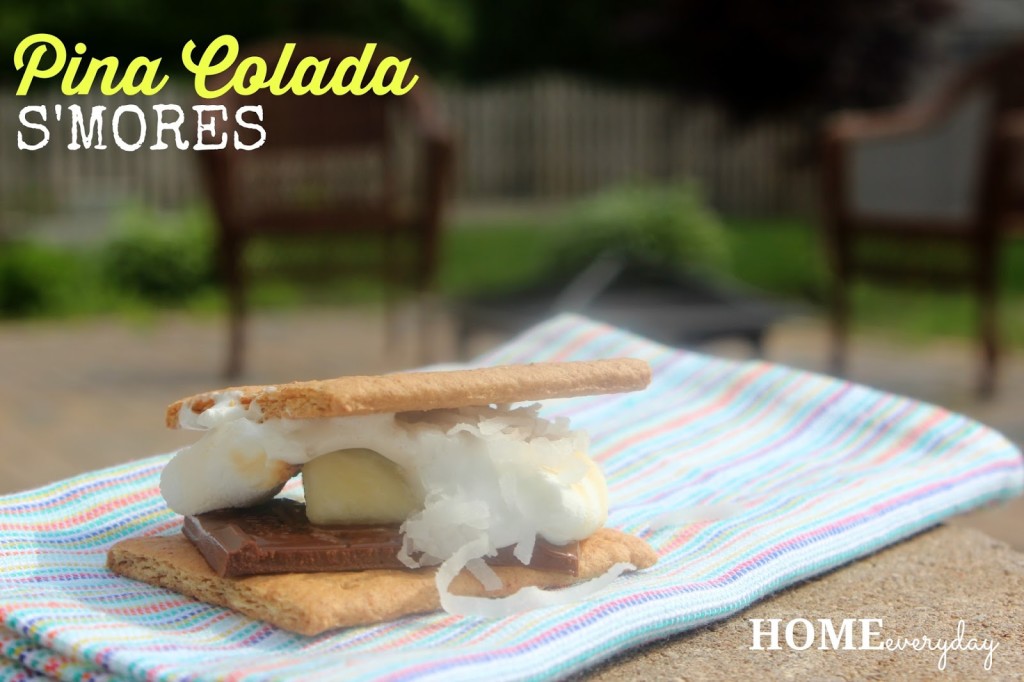
And what better way to get an immediate transport back to yesteryear this summer with my friends by combining this song with another childhood classic: S’mores.


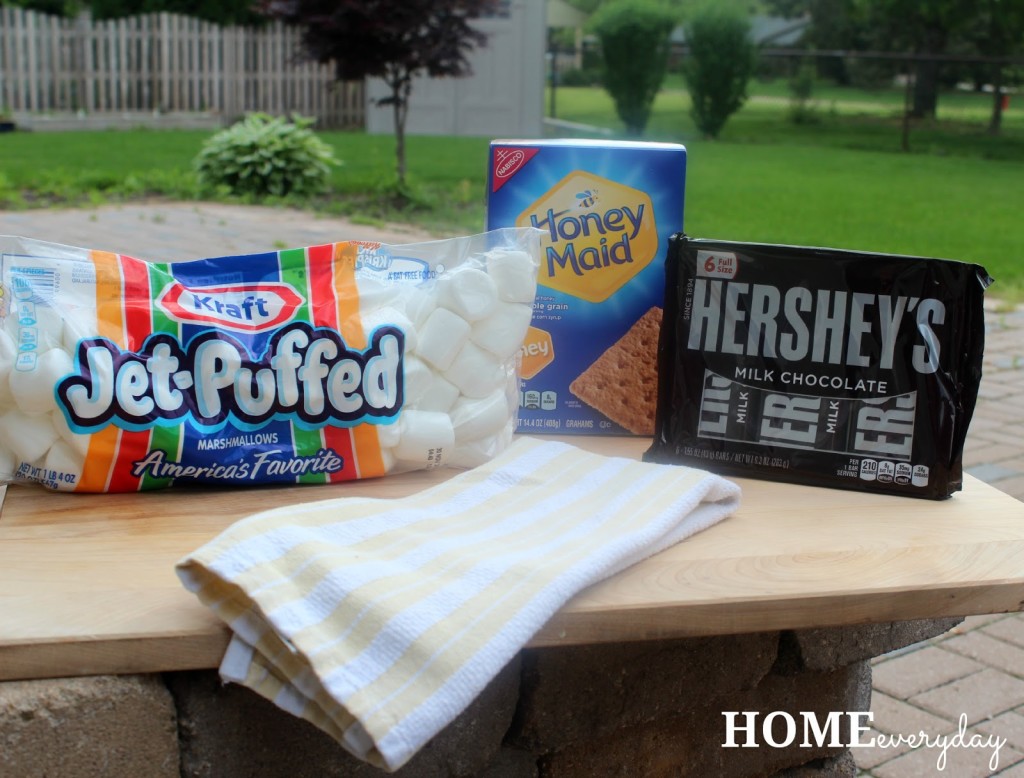
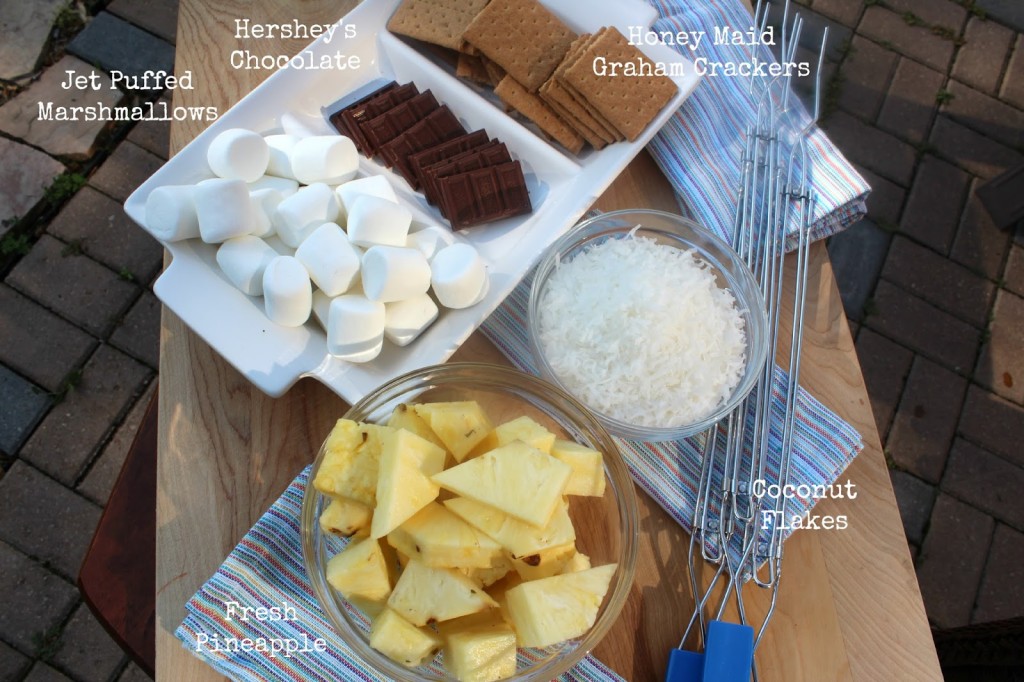
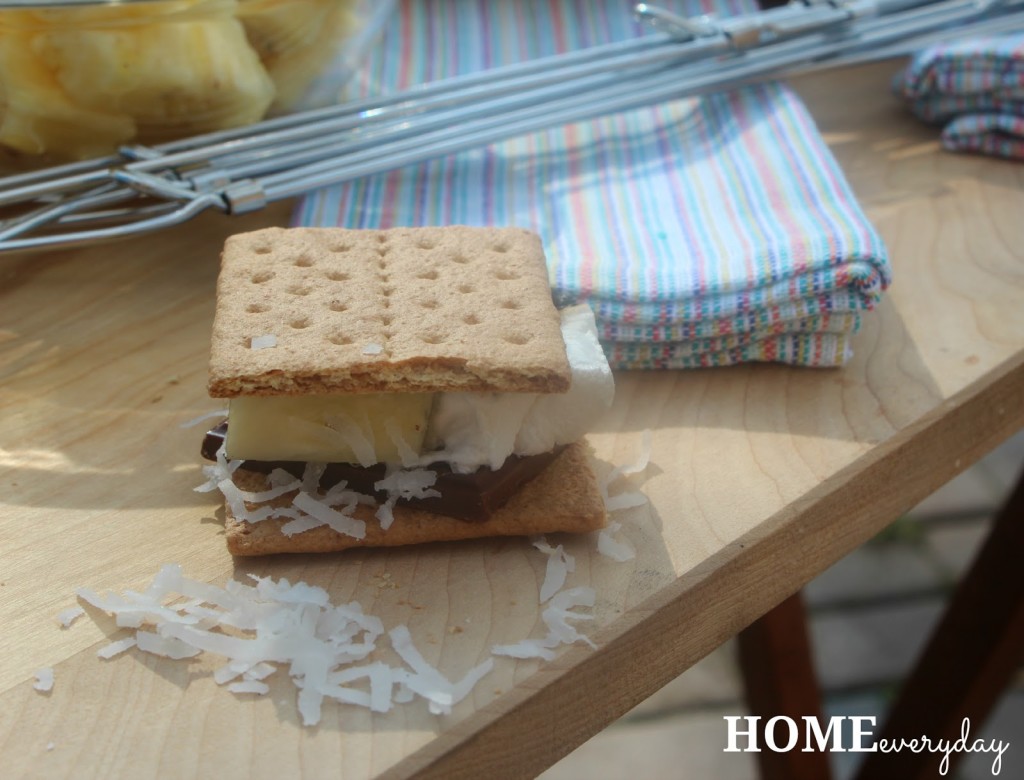
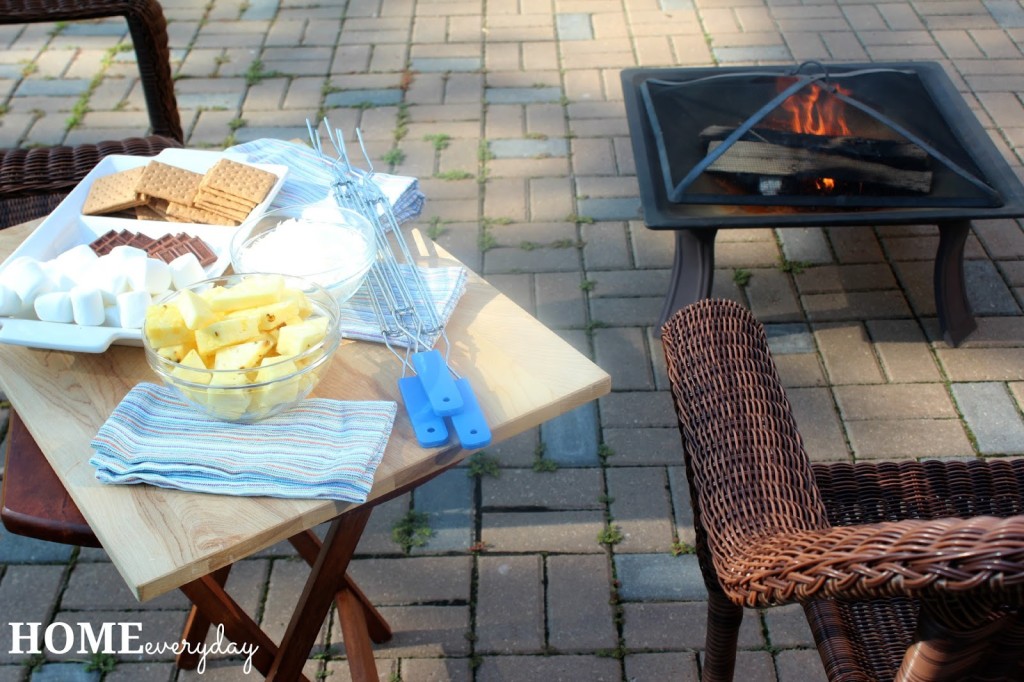
This recipe takes less than 10 minutes, all of the S’mores classic ingredients Honey Maid Graham Crackers, Jet Puffed Marshmallows, Hershey’s Chocolate bars, and is perfect for those nights you’re already reminiscing with friends around a bon fire. If a bon fire is not your thing, these can easily be made indoors too.


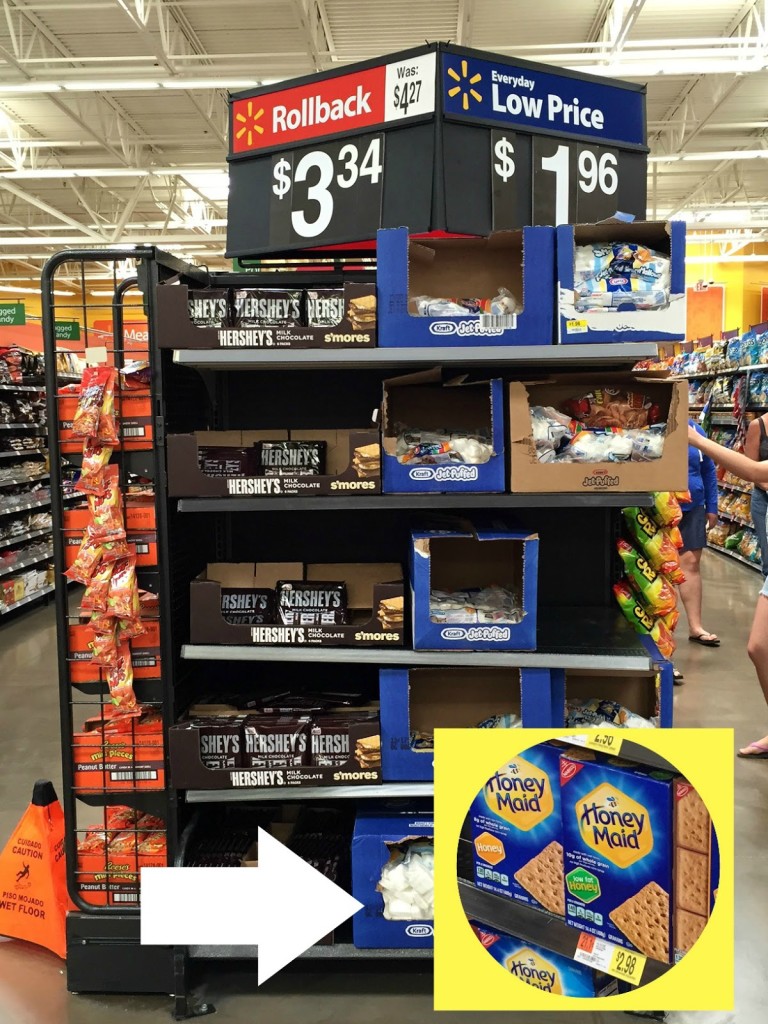
The first trick is to making these awesome S’mores whenever you want for a quick treat is to always have S’mores ingredients on hand. Walmart already has them together for you in store for easy shopping.


So, get the old tunes cranked up, and invite your old pals over. It is time for some of the best S’mores you’ve ever had.

Pina Colada S’mores
Honey Maid Graham Crackers
Jet Puffed Marshmallows
Hershey’s Milk Chocolate
fresh pineapple cut into chunks
coconut flakes


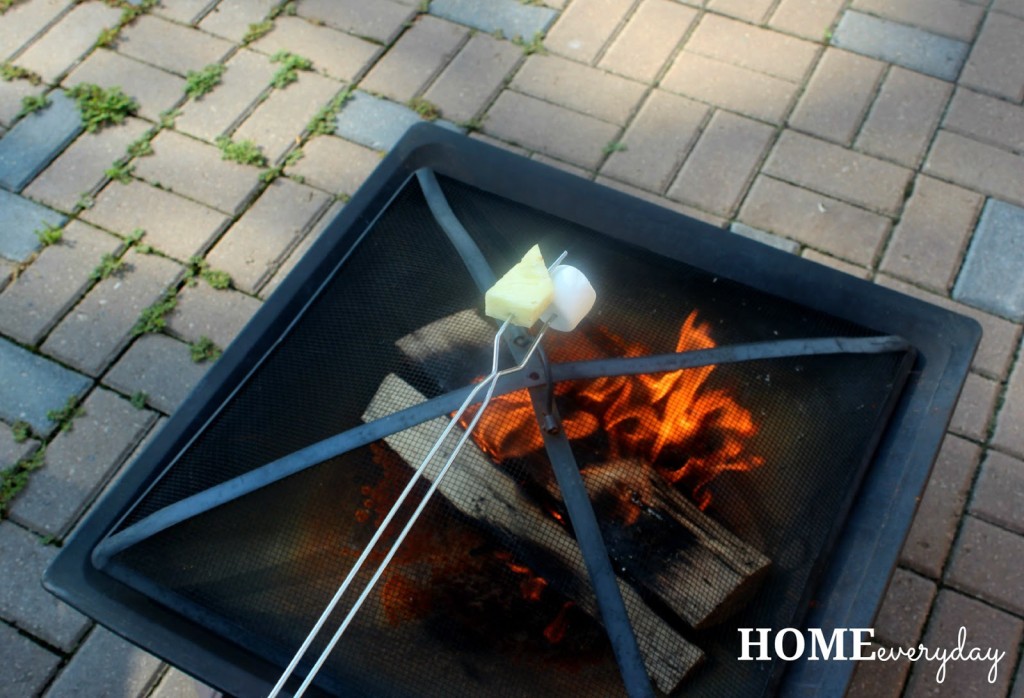
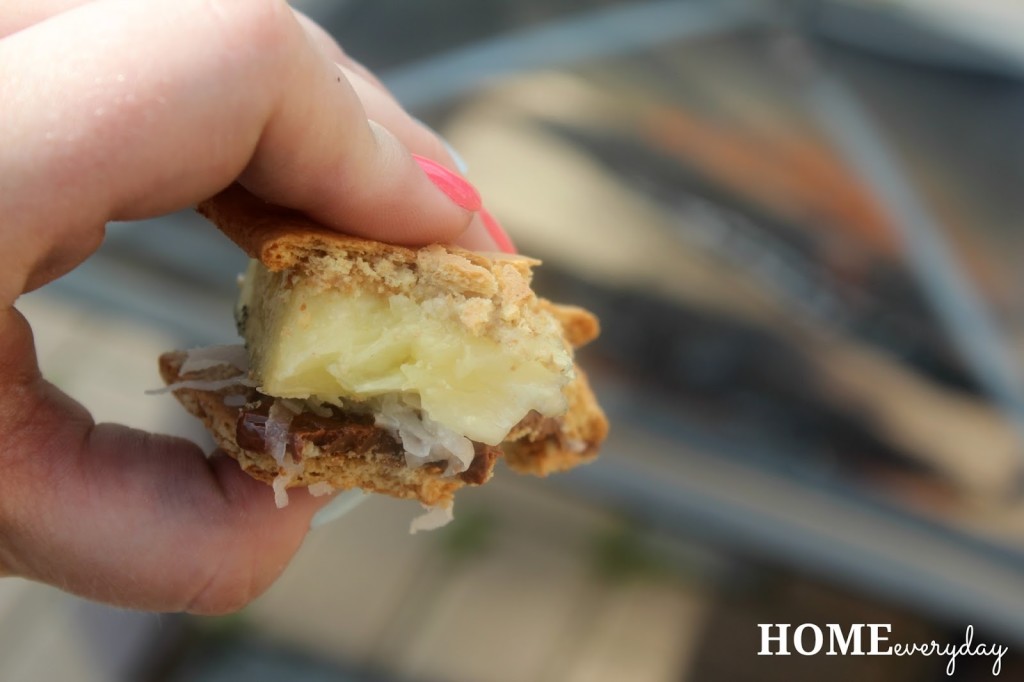
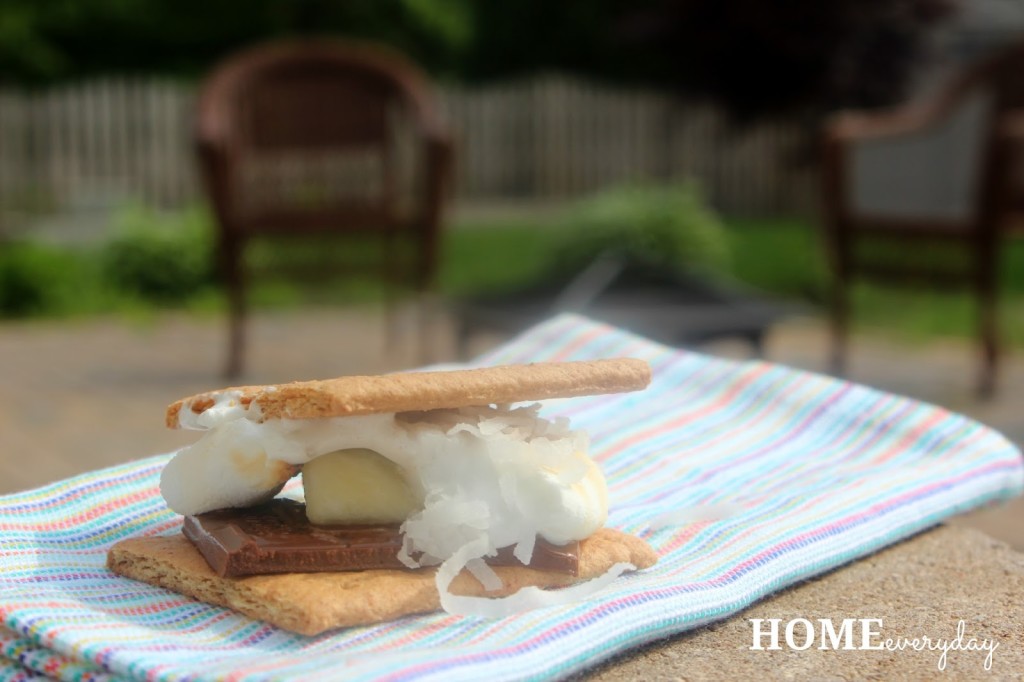
When you’re outside with your friends, and you have a nice hot bon fire and always using fire safety, roast both one Jet Puffed marshmallow AND one pineapple slice. This helps to not only get your marshmallow perfectly gooey on the inside, but also gets the pineapple nice and caramelized on the outside.


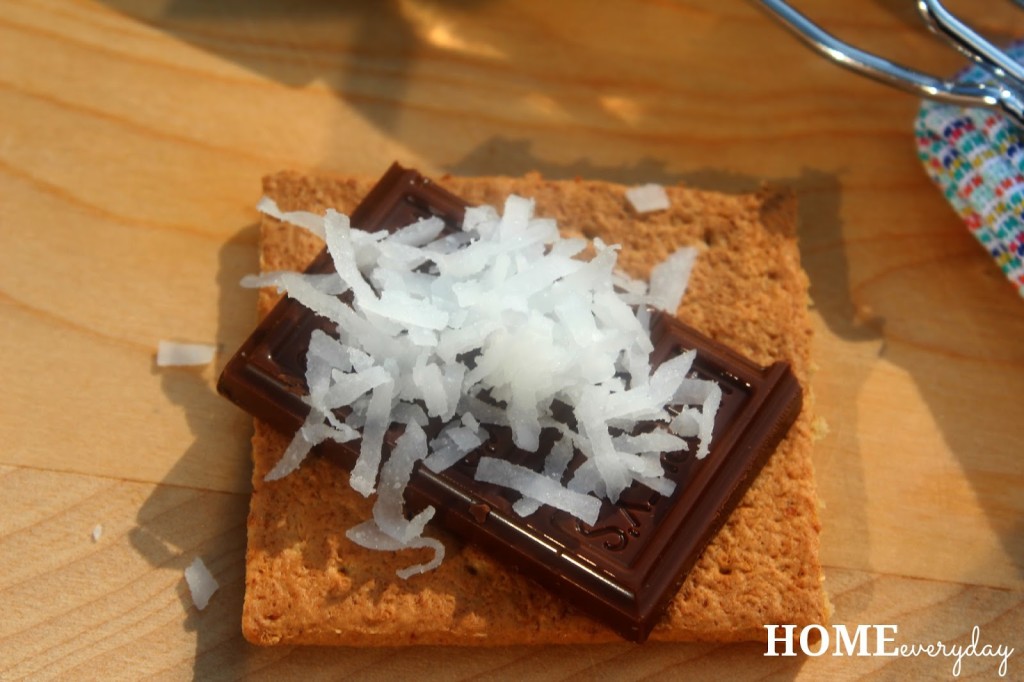
While you are roasting the Jet Puffed marshmallow and pineapple, have a friend prep your Honey Maid Graham Cracker square with two or three rectangles of Hershey’s Milk Chocolate and some coconut flakes.


Whether your marshmallow is flaming or just golden, you be the judge of perfection, put your roasted goodies on your prepared graham and top it with one more Honey Maid Graham cracker square.


Then, in between bites talk about your fun summer adventures, or the time you waited in line all night for the midnight showing of Star Wars: Episode I and you were the only one not dressed up thus proving you were the nerd of the dorks.


In under 10 minutes you’ll feel like a kid again, but with a little grown up fanciness for good measure.


When you get together with your old pals this summer, how will you dress up your s’mores? What tunes will be playing? What memories will you be sharing?


If you like this post and would like to read more about all things domestic with a touch of humor, become a Home Everyday follower! For blog updates or to see other places I write such as ChicagoNow or Chicago Parent follow Home Everyday on FacebookTwitter, and Pinterest.