Tag

tips and tricks

What Not to Do at a Home and Garden Show

Spring is almost here, which means Home and Garden Show time! Over the weekend, I attended my first Home and Garden Show and I learned a lot.

I saw some innovative home products, took a look at some cool home services, took home some cool tote bags, and best of all ran into an old friend.


However, I am the absolute worst at trade shows. I have a guilt complex. I feel horrible for these people standing there at their little constructed booths waiting or asking kindly for someone to talk to them. I hate that they are constantly getting rejected. Their products are getting rejected. They came all this way after all. Who could stand all that drive by rejection?

As a writer who has suffered more rejection than I care to admit, I feel for these booth people. I know that rejection. So, I will talk to them for a little while. (We have no intention of getting a hot tub, bathroom renovation, pergola, etc.)

I know, I’m the worst.

However, I always say, you can never be overdressed or overeducated. I did learn a great deal about some of the products and services I don’t need such as bathroom remodels so there’s that. Let’s pretend I did this in the name of education.

I also say, there is no such thing as a free lunch. In other words there is a cost to all of this education: I will be deleting emails from people providing products and services I don’t need for the foreseeable future.

When going to a Home and Garden Show or any trade show for that matter, here is a list of DON’TS (you don’t want to be getting emails for the next month because you couldn’t say no at a trade show.)

1. Don’t go in without a plan: if you are going to just look around, want to see bathrooms, kitchens, gutters, pools. Make a mental note of what you are there to see.

2. Don’t forget what household projects are coming up: many vendors offer coupons, discounts, and even raffles for prizes for patrons attending the trade show. Make sure you visit the booths of any current or impending home projects. For example, new countertops, and a basement remodel are in our future. I made sure to hit up any booth I could that might have discounts or promotions to help us with these projects.

3. Don’t talk to anyone you don’t want to: people at trade shows are there to try and gain your business, but they also want to talk to people who are seriously considering their products or services. If you live in a condo, don’t get sucked into talking to a landscaper for an hour. A polite “no thanks” will do the trick and move on.

4. Don’t go in clueless: get a map of the convention center area or talk to someone running the trade show and get a lay of the land. This will help you find where specific booths are so that you can plan your time accordingly.

5. Don’t give out your information unless your’e ok with people contacting you: this is a no brainer, but unless you want to set up an appointment for an estimate for new gutters go ahead and take their card or pamphlet and tell them you’ll give them a call when you’re ready to do business.

6. Don’t go to a trade show without having a little fun and getting a little swag: When going to a trade show, I always leave some time at the end for visiting a few booths that look interesting or have cool demonstrations or let’s face it neat swag. I usually will hit up those booths last if I have time.

7. Don’t wear heels: Just don’t, unless they are the most comfortable shoes you own. Trade shows are for walking and gathering information and collecting tote bags, save the good shoes for date night.

Now, that you know what not to do at your next Home and Garden or trade show you should go online and see when the next one in your area is. Spring is almost here after all!

If you like this post and would like to read more about all things domestic with a touch of humor, become a Home Everyday follower! For blog updates or to see other places I write such as ChicagoNow or Chicago Parent follow Home Everyday on FacebookTwitter, and Pinterest.
5 Practical and Funny Spring Cleaning Tips


If you scour
(see what I did there?) Pinterest you can find hundreds of
printables with Spring cleaning schedules, organized lists, and advice for how to
clean and organize your home this time of year. If you follow me on Pinterest, you will see, I am no stranger to obsessively
pinning these types of things. Here is the caveat though, I was finding that
these lists and plans were good in theory but were hardly ever actually put
into practice in my home.
Why?
I discovered many of these lists had few things that made them worthy of my time. Overall, they were missing the mark for what worked for my home and my family. So, I
decided to come up with some SPRING CLEANING TIPS that got our house lemony
fresh just in time for Spring. 


1.) Plan a Party: I am the type of person that usually works better with deadlines and
sometimes under some sort of pressure. My family is like that too. Also, whether
the party be big or small, I always invite at least ONE PERSON that a.) it his/her first time to my home or b.) he/she will slightly judge me on the
cleanliness of my home. I realized this is not a time to be having a BBQ with my family
or my best friends who don’t care if there toys strewn about. This helps
up the ante a little bit. Every time I want to give up, I remember so and so is
coming and they haven’t been to our house yet, and I will most definitely
continue on my cleaning journey.

2.) Get the
Family Involved:
When I start on my SPRING CLEANING, I try to make a list of
jobs, and figure out who can do a particular job best. For example: who has the best skills for the
job? or Who will complain the least? I also try and figure out who might be
good helpers for a particular job. Like, my husband complains the least
about bathrooms, so he does them. I complain least about deep cleaning the
kitchen so I get that job. The kids are limber and small so they get jobs like
cleaning under the couches and washing baseboards.

3.) Break Up Each Room Into Smaller Tasks: I really needed to stop thinking that I could get all of my SPRING CLEANING done in one day or even one week. With all we have to do as a family, I really needed to break things up. For example, I know I have to sweep floors anyway, so one day, I took a spray bottle full of 2
TBS Mrs. Meyers Clean Day, 1 ½ Cups Distilled Water and while you swept the floor, I sprayed the baseboards in the kitchen with the solution. I, then, and asked the kids (who were playing on the floor anyway) to wipe them down with a rag. Another example: The next time you
empty the dishwasher, set the timer on your phone for 15 minutes and clean out
the junk drawer in your kitchen. Doing one or two of these little tasks every
day really helped go a long way to accomplish each task on our SPRING
CLEANING list. 


4.) Reward
Yourself:
I am the type of person who is more likely to do something if I know
there is going to be a reward at the end. For me, sleep is the ultimate reward.
I love going to bed early. I know it sounds absolutely lame, but for me if I
can knock a few things off the To Do List, I will go to bed and get an extra
hour of sleep. It is glorious and I love it! Next time you have something to do, hold off on watching your favorite show until you complete a
task on your SPRING CLEAN list. Better yet, check off 5 tasks in a week and
allow yourself a night free from cooking. 


5.) Don’t
Get Trapped:
When you live in a house with well… anyone, it is easy to get
frustrated and caught up in the clean house trap. I am often catching myself saying things
like, “I just cleaned this place!” or “I’m never cleaning again, what’s the
point?” I have found though, there are a few things that can help in situations
like this: a.) alchohol or chocolate and b.) a little perspective. The alcohol
or chocolate is to calm those nerves and the perspective is to remind yourself
that it is better to be living in a home with people you love that is a little
messy than to be living alone in a house that is immaculately clean.


There you have it! Five practical and (sorta) funny spring cleaning tips!
If you like this post and would like to read more about all things domestic with a touch of humor, become a Home Everyday follower! For blog updates or to see other places I write such as ChicagoNow or Chicago Parent follow Home Everyday on FacebookTwitter, and Pinterest.

Follow on Bloglovin

I Was Tired of Being a Taskmaster So I Made a Chore Chart

My children are at wonderful ages. They are young enough to think helping with chores is fun, and they are old enough to start doing them without a lot of direction or intervention from an adult.

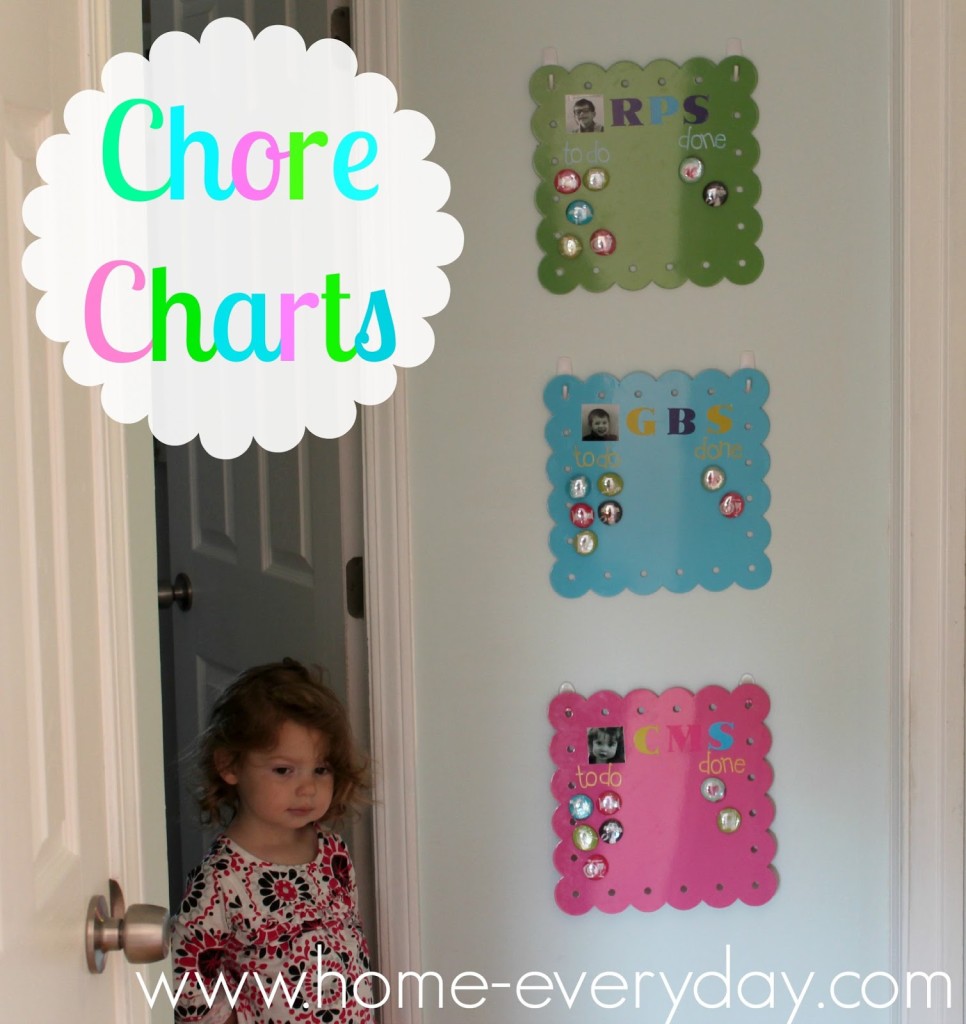
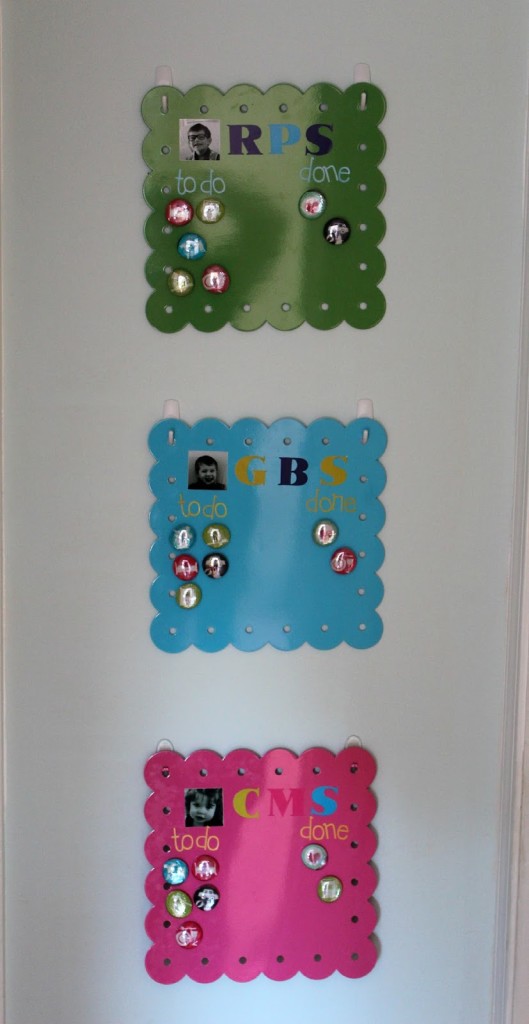
Mostly, because they are still little, the kids just need a subtle reminder of ways they can help around the house. I have been a little tired of repeating myself and feeling like the taskmaster this summer. So, I thought it was time to make a chore chart for each of my kids. 


I scoured Pinterest looking for the perfect one. I saw printable ones, sticker charts, pocket charts, magnetic charts, and popsicle stick charts. I was not at all prepared for the options available and to be honest I was a little overwhelmed.
So, I took the best parts of all the ones that I saw around the internet, and made my own magnetic chore chart for each of the kids. 


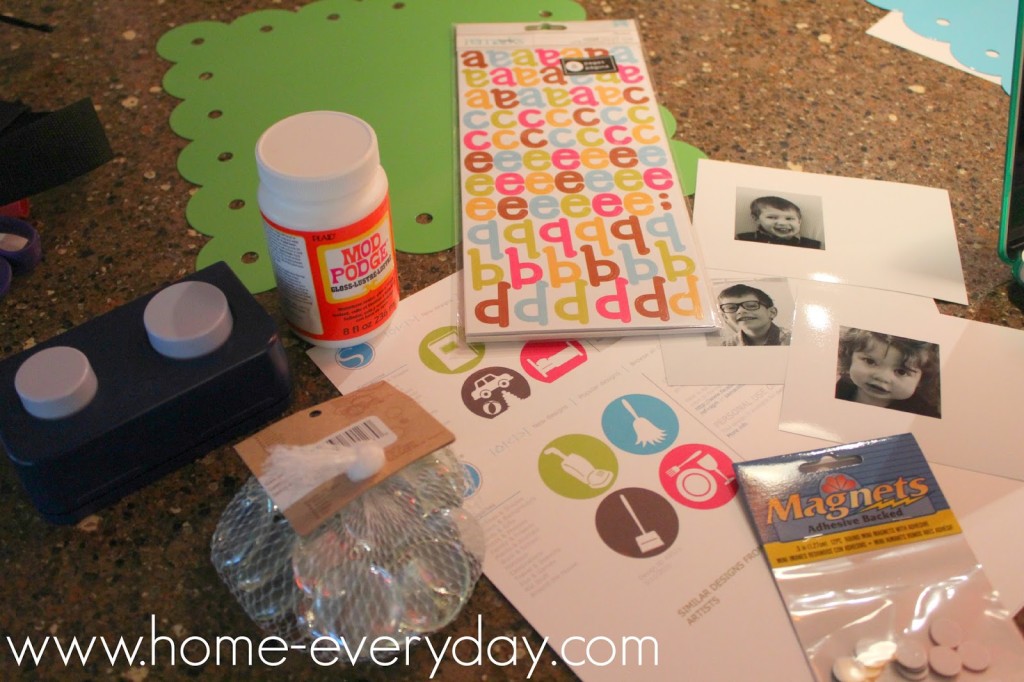
Here is how I did it.SUPPLIES

Metal Board (I found mine at JoAnn Fabrics)
Letter Stickers
Child’s Photo
Glass Beads with Flat Bottoms (JoAnn Fabrics or Michaels)
Mod Podge (Gloss or Matte finish)
Sponge Brush
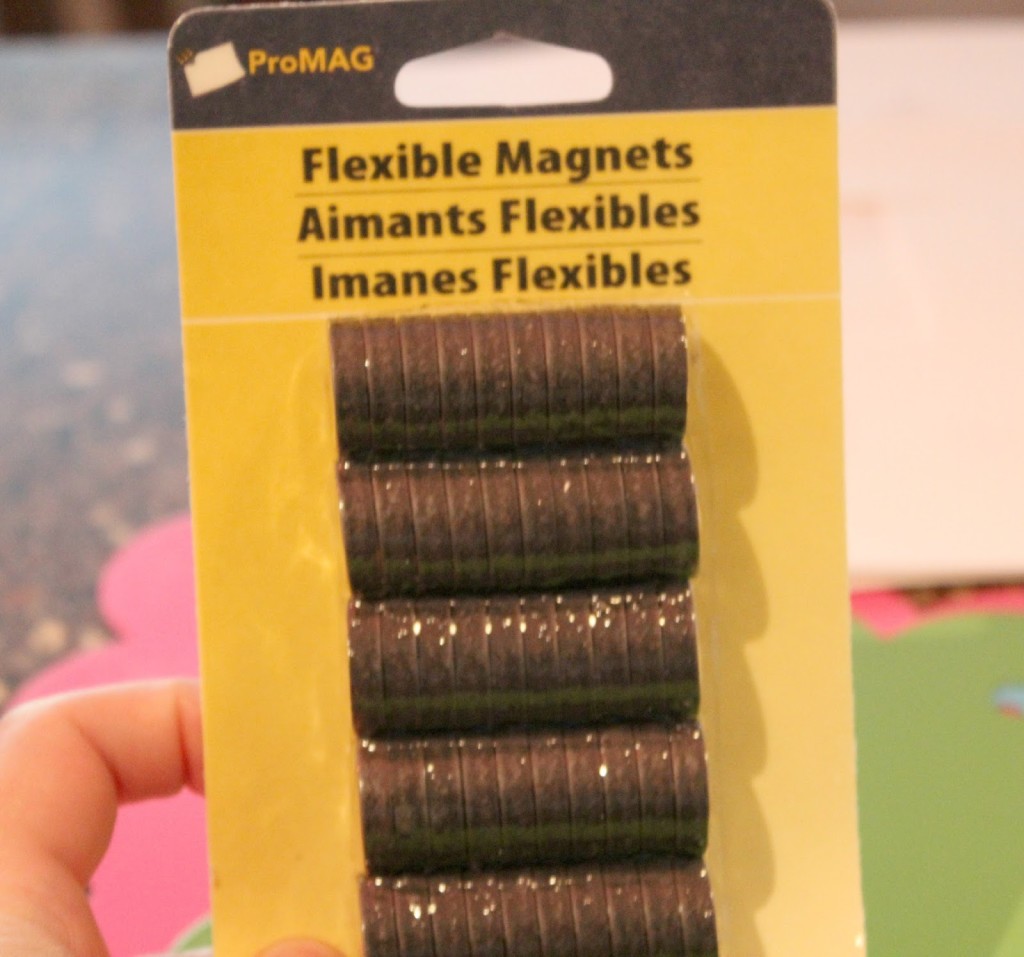
Heavy Duty Magnets (Michaels)
Double Stick Tape
Hot Glue Gun with Glue
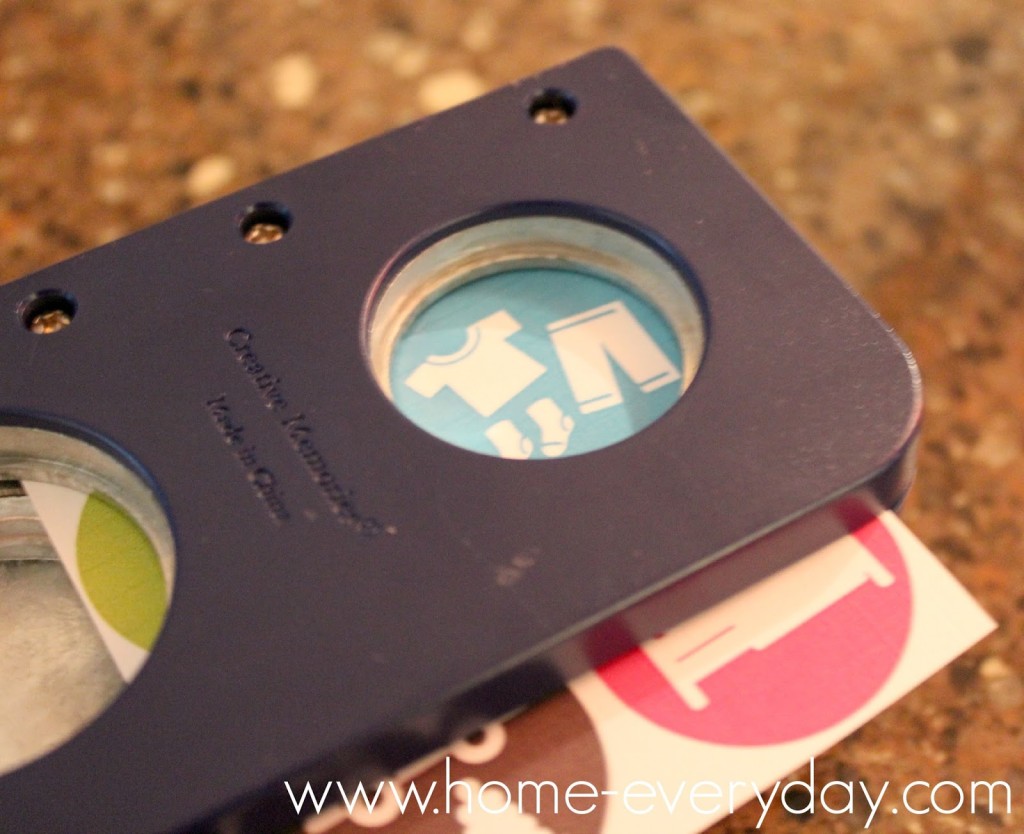
1 inch diameter circle punch (Creative Memories)
Pictures of various chores (Google Images) printed on card stock 


Step 1: As Bella Karolyi would say, “Stick it!” 
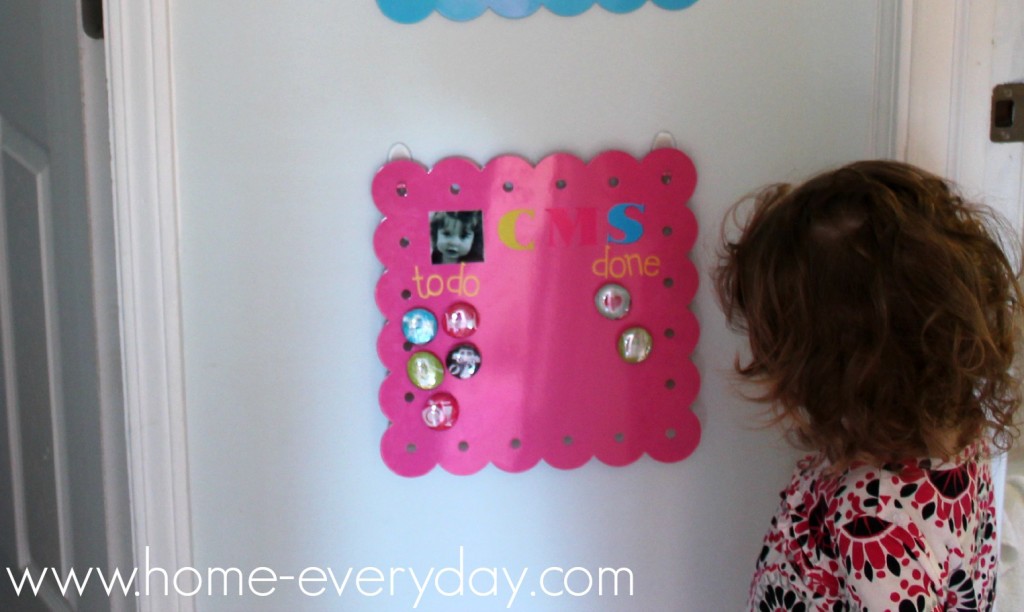
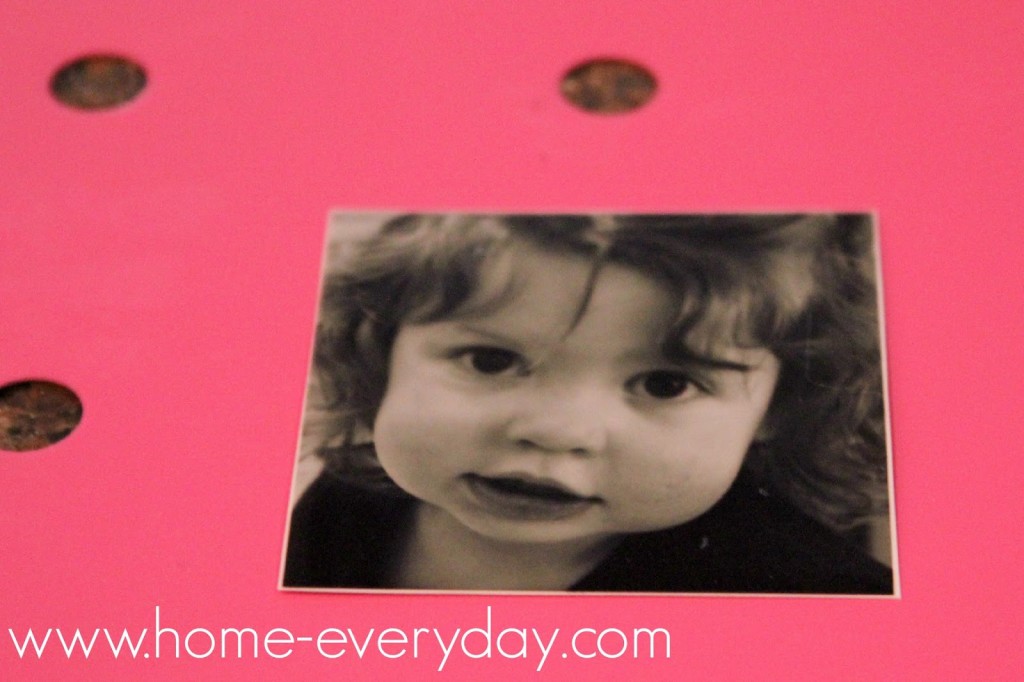
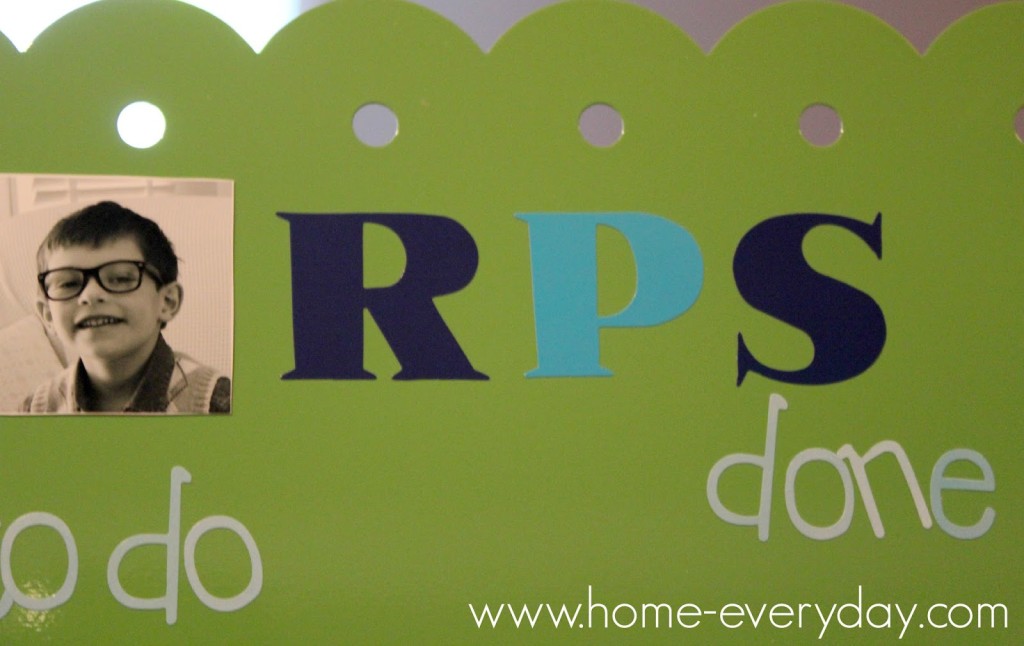
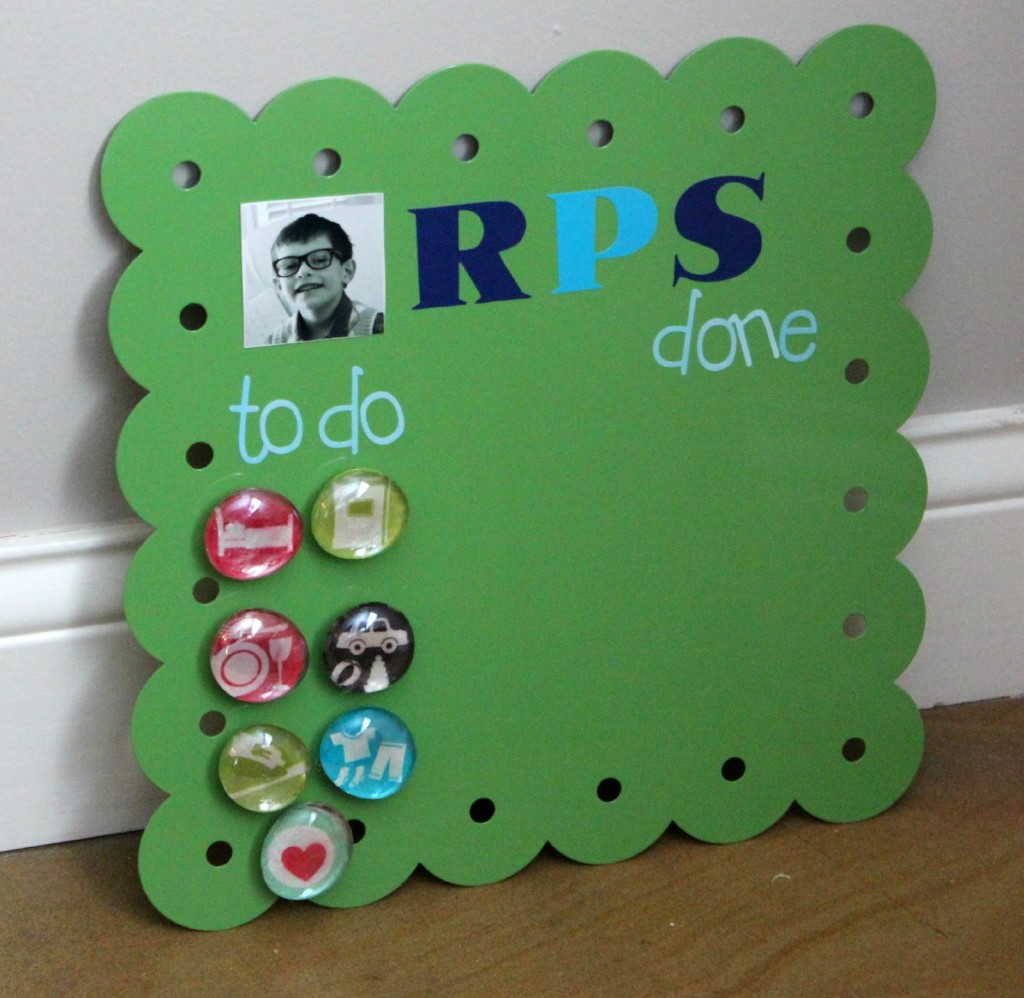
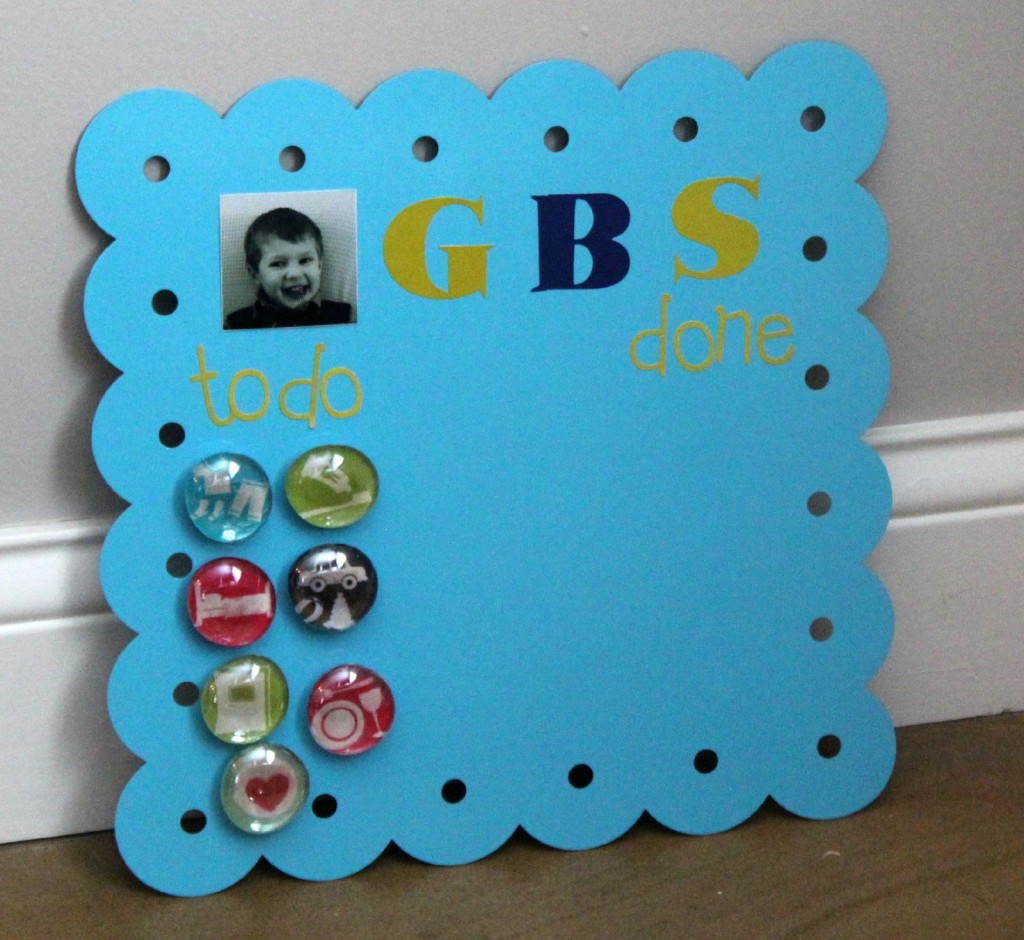
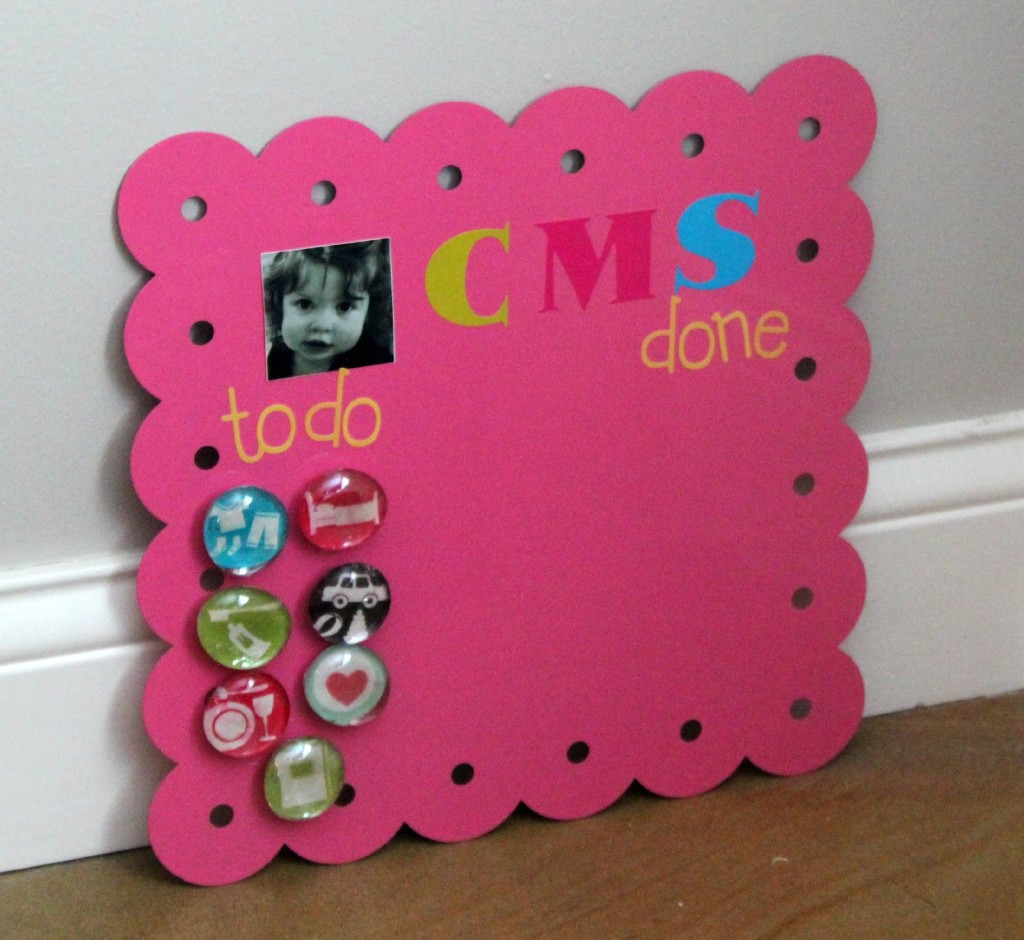
The first thing I focussed on was making the boards that the magnets would stick to. I found these adorable and colorful boards at JoAnn Fabrics. I liked them because of the small holes all around the edges that would make it easy for hanging them anywhere using some 3M hooks. Using some double stick tape, I secured a photo of my child to the board. Then, I added some large stickers with the kids’ initials and created two columns with the words “to do” and “done” 


Step 2: Print it out!
This part was the hardest for me, but I did find some cute photos of chores that I liked. Once, I found images I liked, I printed a few trial pages to make sure they were the right size to be punched out. I printed on a medium to heavy weight paper because I thought it might be more durable, but honestly, I think regular paper would be fine. The chores I chose to include (FOR NOW) are Get Dressed, Make Bed, Clean Dishes, Pick Up Toys, Brush Teeth, Read a Book, and Be Kind. I thought they were all good reminders for my kids, and appropriate for their ages.Step 3: Cut and Paste (the old fashioned way)

Yes, I had to use actual scissors, a hole punch, and actual glue (Mod Podge) for this part of making the magnets. I used a one inch diameter hole punch and cut out the images. 

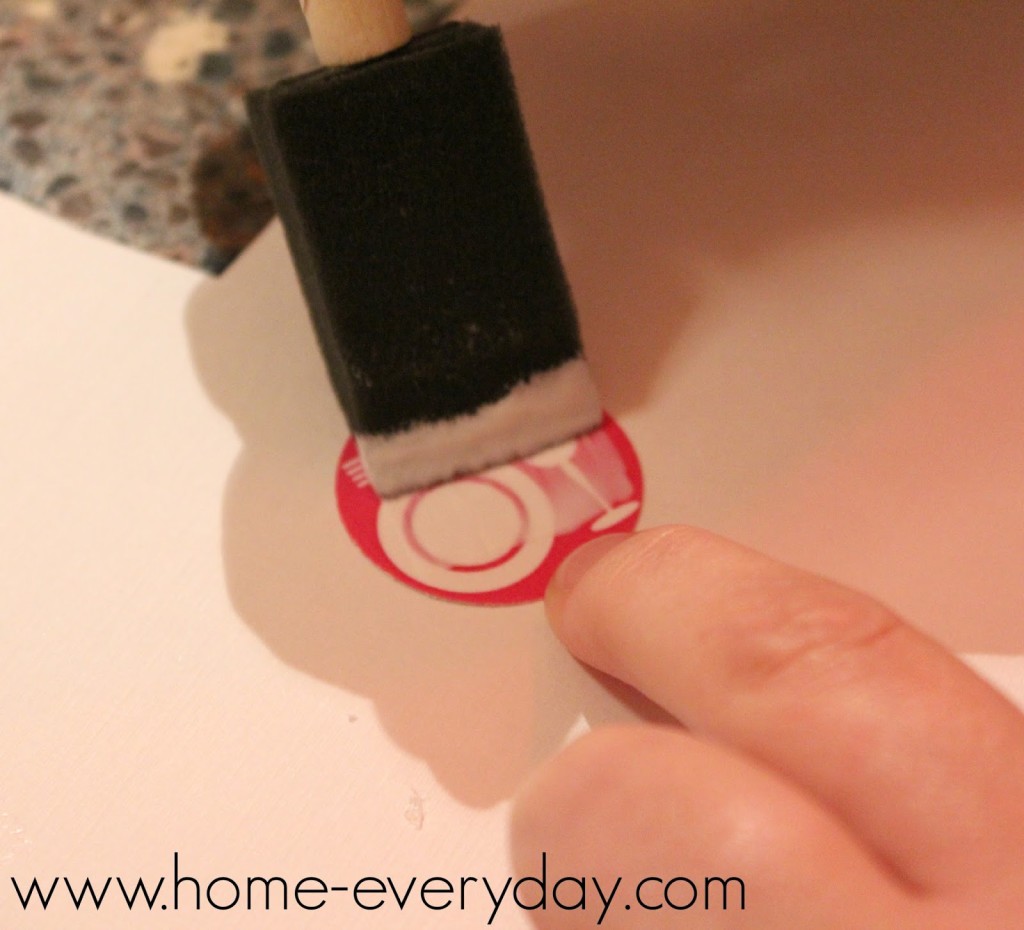
Next, using Mod Podge I brushed the front side of the image with a thin layer.


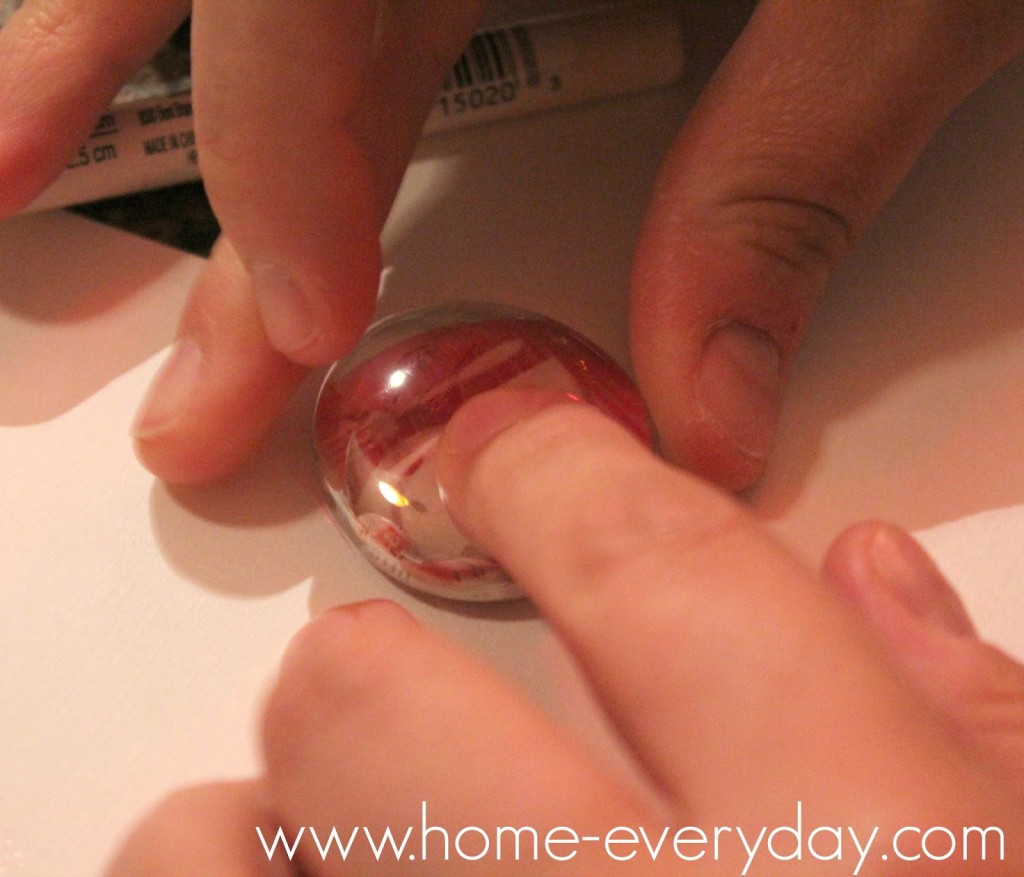
I pressed the flat side of a glass bead to the image.


Next, I brushed another thin layer of Mod Podge to the back of the image, and let dry overnight.


STEP 4: Magnetize!
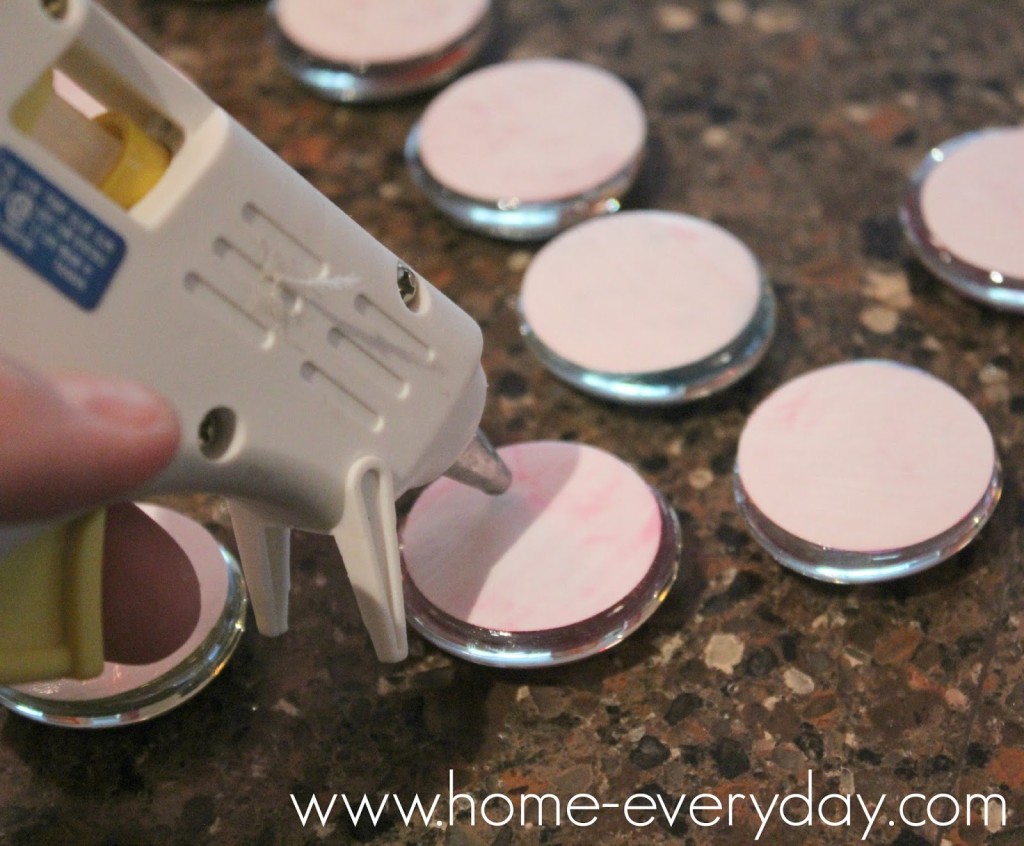
Once the Mod Podge was dry, I used a hot glue gun to attach the heavy duty magnets to the backs of the glass beads with the images. 


Step 5: Admire your genius!
I was so impressed with how these turned out I took a few minutes to enjoy how awesome they are.


Step 6: Hang them up!
Since the magnetic boards I used already had holes, I was able to use two 3M hooks to hang them on the wall.


The kids already love them, and so do I! No more taskmaster!


If you would like to read more about my craftiness or Gardening, DIY, Cooking, Baking and all other things domestic you can check me out on Facebook or become a follower of Home Everyday here
Featured on Ten June’s Tuesdays at Ten June
Linking up at Serenity Now Weekend Bloggy Reading.