As I mentioned yesterday, the previous owners of this house left a lot of things behind for us. Some were annoyances that had to be thrown away, but other thing turned out to be some pretty nice gifts.
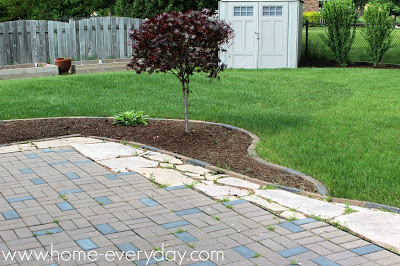
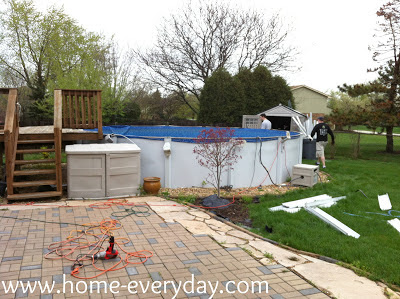
We have a beautiful and very spacious brick paver patio on the back of the house. It was here when we moved in and it was one of the only parts of the backyard that didn’t need some TLC. As a result of the brick paver installation, the previous owners had a lot of pavers left over, and left them on the side of the house.
Brian and I have been trying to think of a wonderful way to use them, and last weekend on a whim, we came up with the perfect plan.
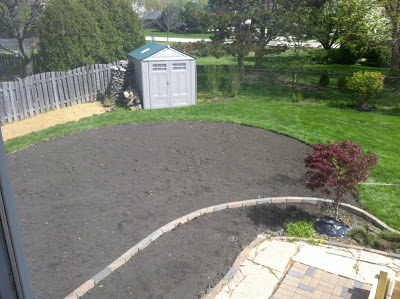
Between my two raised beds it is a veritable weed trap. It is annoying. Also, after watering it becomes pretty muddy in there, and my shoes are a mess after trying to weed.
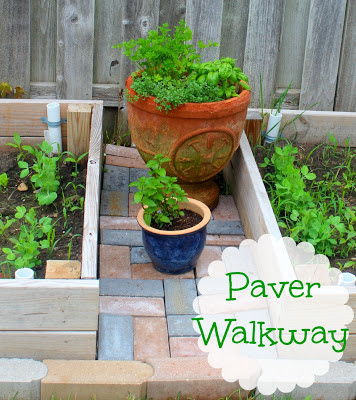
This is when we (For the record this is one of those times, when I say “we” I mean I came up with the idea and Brian executed it.) decided to put a small section of brick pavers between the garden beds to cut down on the weeds, and help save my cute new summer kicks.
First, Brian removed any weeds and raked up the soil. He then flattened everything out as best he could by hand. He also put down a good layer of weed killer to help prevent any weeds from growing in between the crevices.
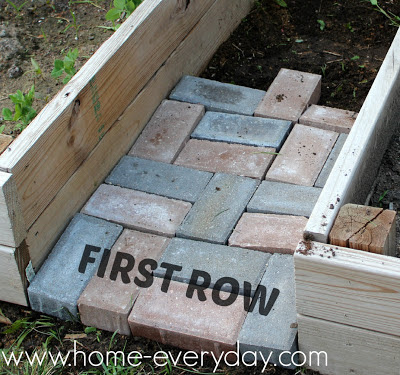
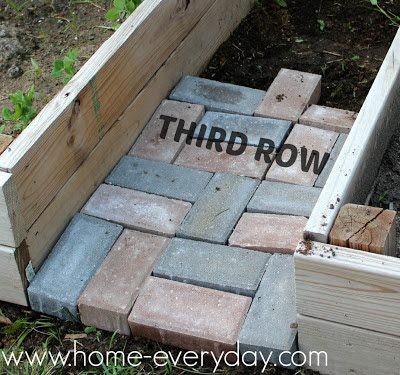
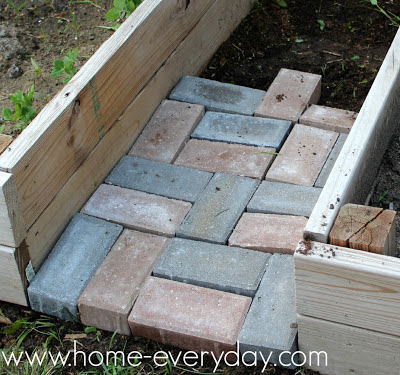
We then started laying bricks in kind of a pattern between the beds. there is only room for 5 bricks between the garden beds so it was not hard to come up with a pattern. Starting from left to right. We started with placing two bricks vertically. Then we placed two horizonally, and then one vertically again.
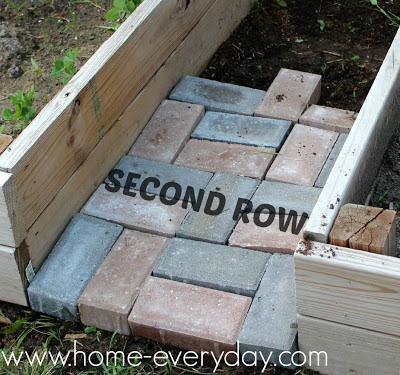
The next row kind of alternated. We placed two horizontally, one vertically and two horizontally again.
Finally, the third row is one brick vertically, two horizontally, and two vertically.
Once we had a pattern we only had to repeat it one more time to reach the end of the small “walkway.” Also, we tried to mix up the colors a bit for some variety.
I know they don’t seem level in these pictures, but once the pavers were placed I had to put down the camera and start gently tapping them into place.
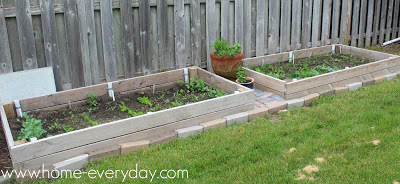
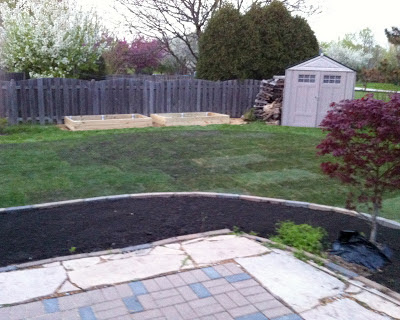
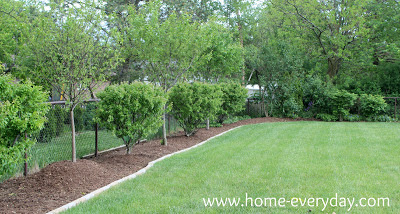
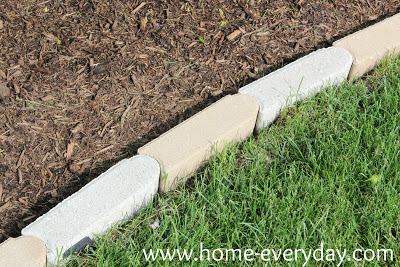
Once that was done, Brian took the leftover bullet edging from the mulch project a few weeks back and continued it in front of the garden beds.
The whole project only took about an hour, oh and did I mention it was FREE? Thank you previous owners, for leaving some of the things you did.
Voila! No more weeds (hopefully), and no more importantly, no more muddy shoes. I could have gotten a pair of gardening shoes, but I like the pavers better. The little walkway is also a nice place for my pots of herbs.
Also, from these pictures, you can see the vegetable garden is doing pretty well this year. I better get out there and weed the INSIDE of the beds now.
If you liked this project, and would like to read more about DIY, Cooking, Baking and all other things domestic you can check me out on Facebook or become a follower of Home Everyday here.

