Tag

ice cream

More Vanilla Please: Traditional Vanilla Ice Cream Recipe

This shop has been compensated by Collective Bias, Inc. and its advertiser. All opinions are mine alone.  #NestleHolidayBaking  #CollectiveBias

Sometimes, I think it is fun to add some new holiday recipes into my repertoire. Let’s face it, I am a pinning, FacebookingInstagramming and did I mention pinning junkie this time of year. Which is why, with the help of NESTLÉ® and Pinterest I have added a few recipes to my arsenal this year.

All of these wonderful resources are really inspiring me to create some awesome things in the kitchen. These are recipes that I will be nice to have in the house for when friends stop by, or even keep on hand to give to a neighbor when I see them out and about. The only problem with recipes like this, is sometimes they are so delicious it will be hard for the kids me to sneak these awesome treats while staying up late to watch my favorite Christmas movies. Especially, this awesome treat I recently made.

Traditional Vanilla Ice Cream Recipe 13

One of our favorite treats is home made vanilla ice cream. It is a home made staple in our house because we like our vanilla ice cream, very vanilla-y (is that a word?). I have made several different versions. Our two favorites are a Philadelphia style version requiring no eggs, and this more complicated version using NESTLÉ® CARNATION® Evaporated Milk, eggs, and a little cooking. This version has a creamier texture and is perfect for the Holiday season.

Traditional Vanilla Ice Cream Recipe 15

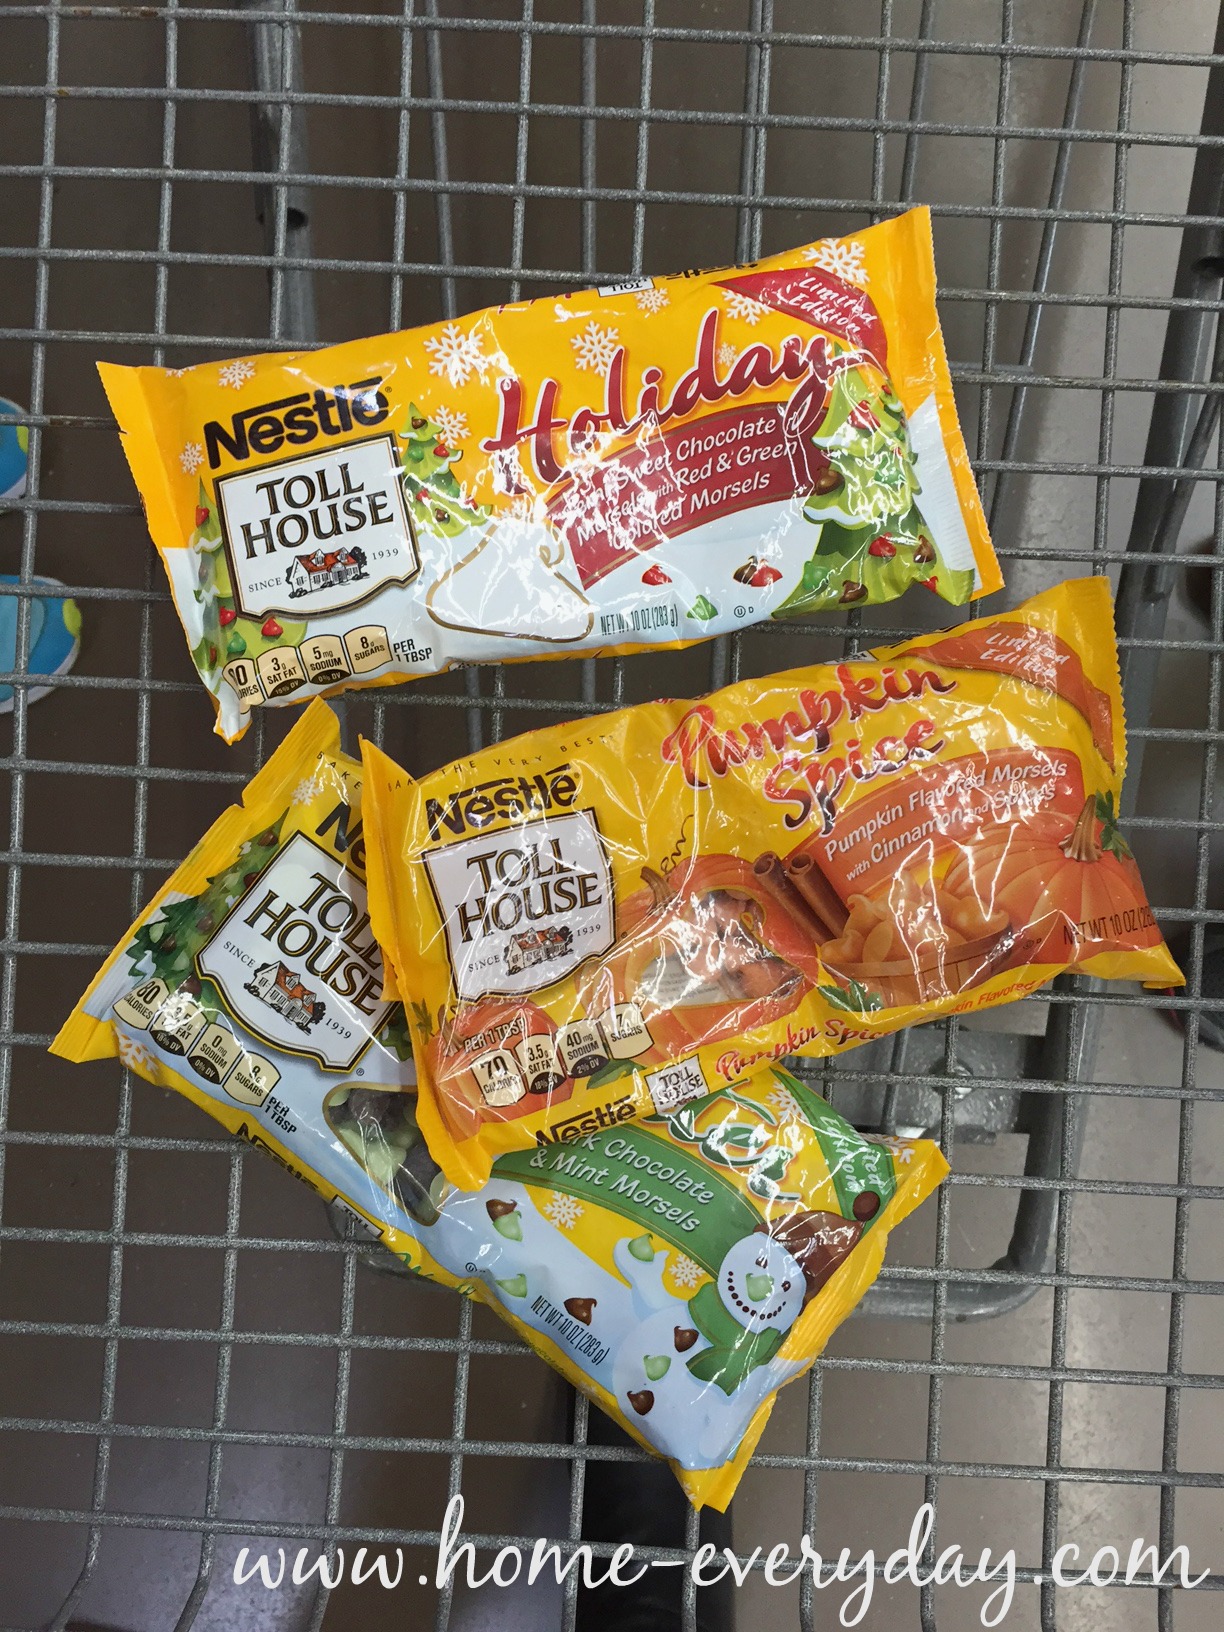
When I was at Walmart to pick up the supplies to make this ice cream, I saw these NESTLÉ® TOLL HOUSE® Red and Green Morsels next to a whole host of awesome NESTLÉ® baking products.

Nestle 1

Nestle 2

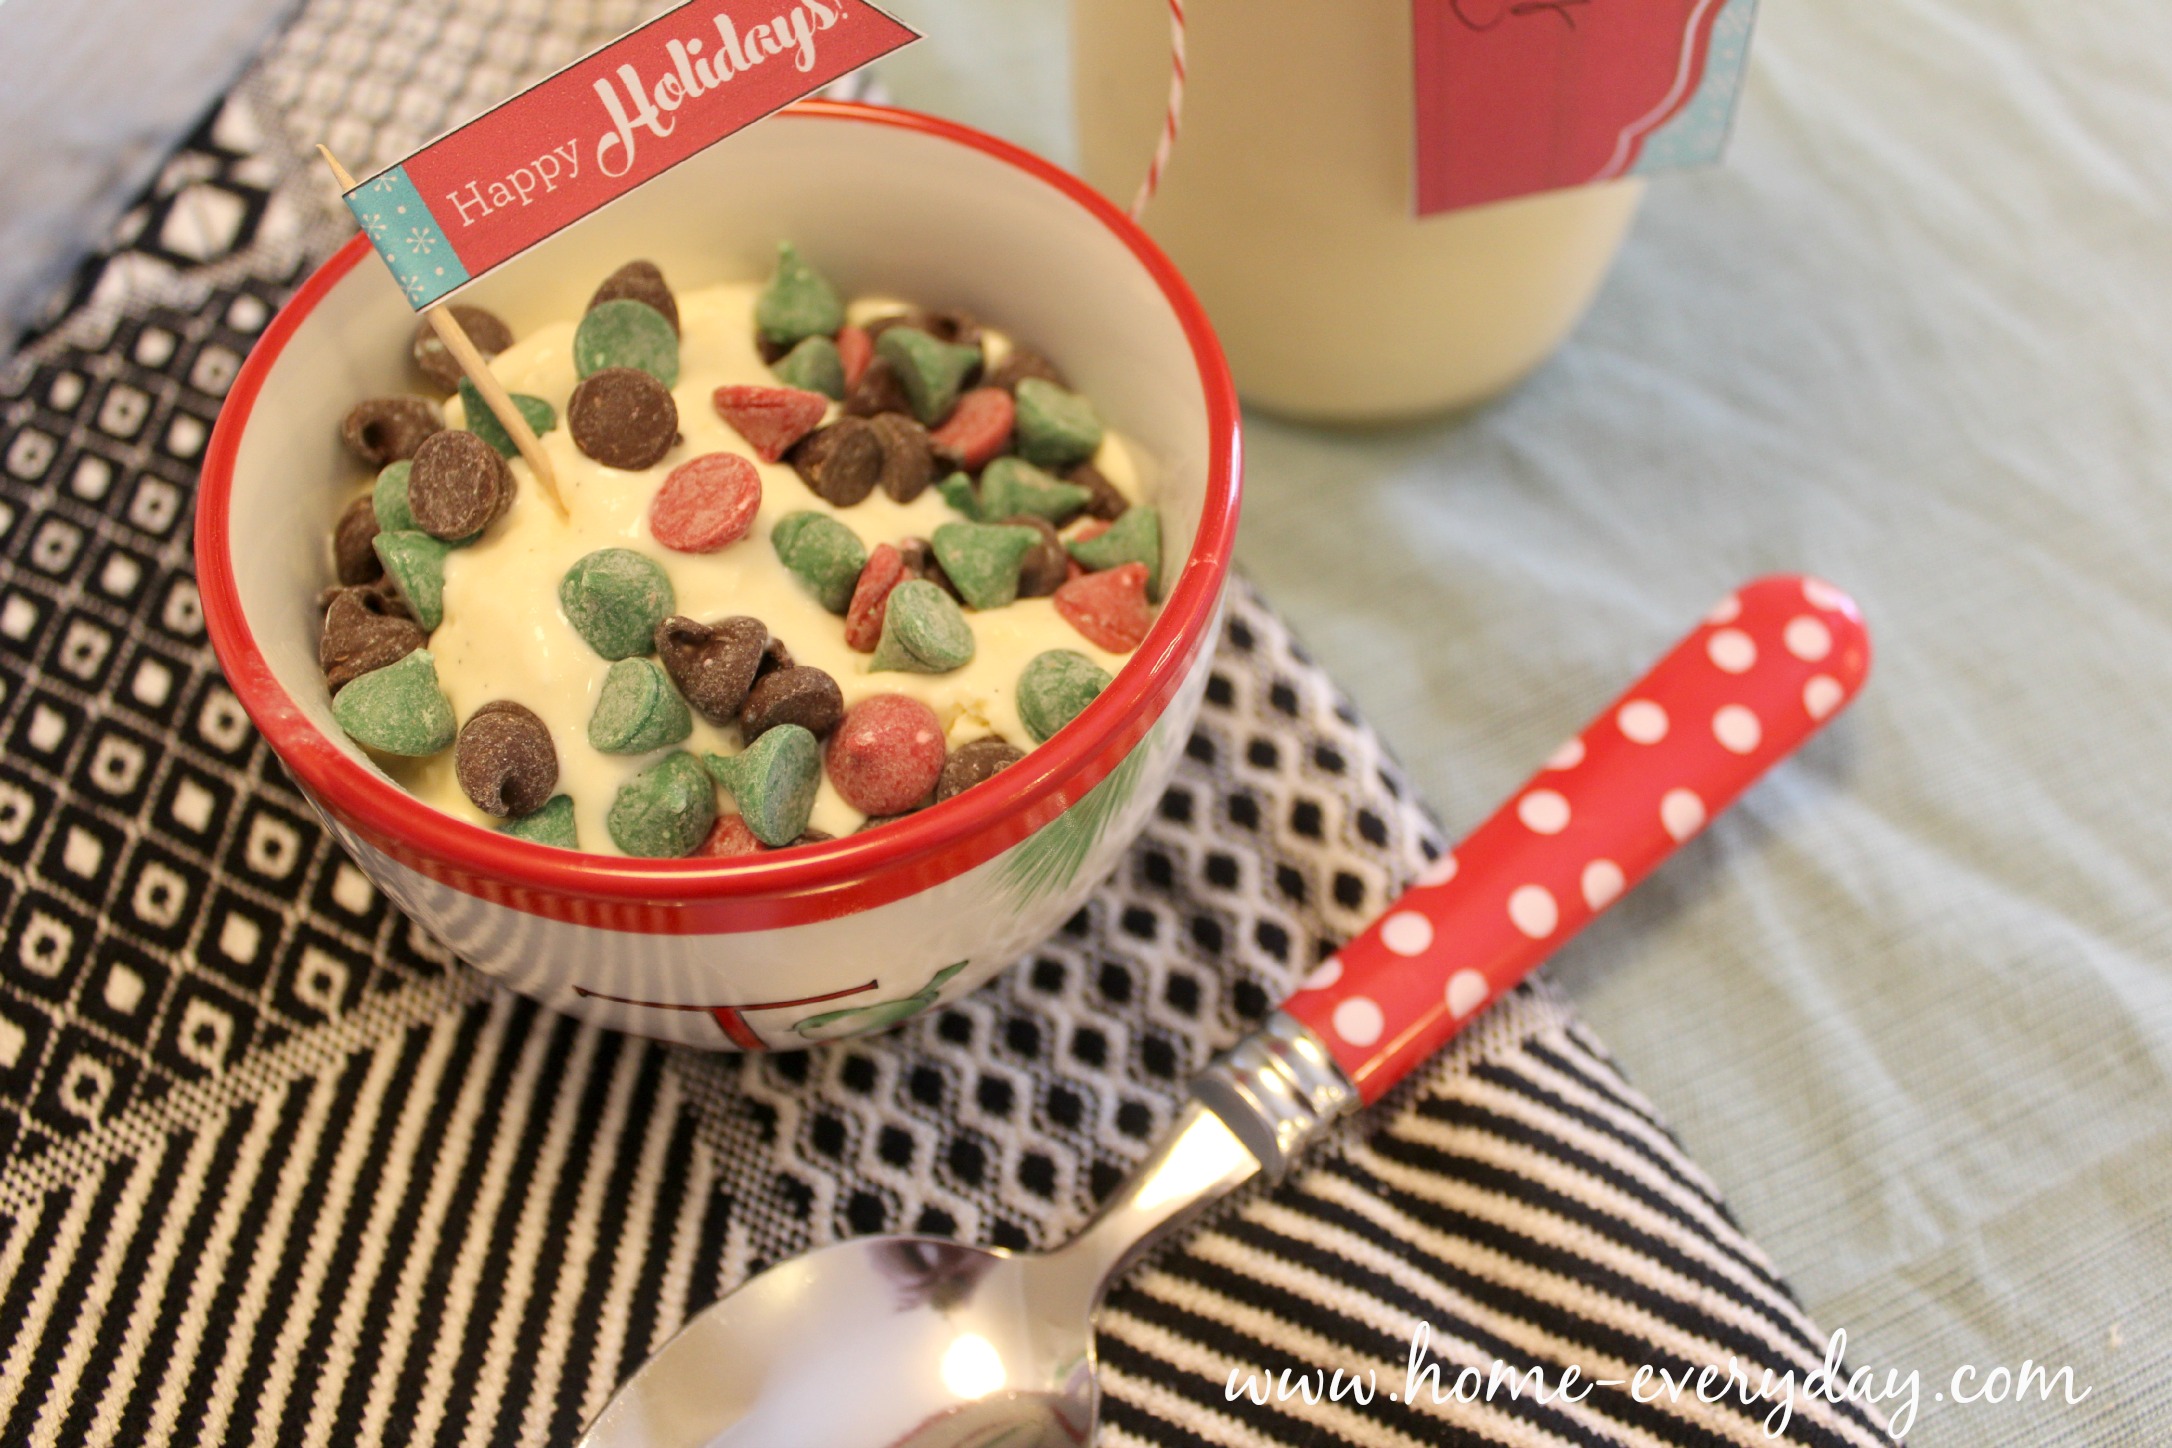
I went a little crazy and bought a bunch of things I needed to get ready for the season. Won’t these Red and Green Morsels be a cute and festive treat for Brian who likes to stir in all kinds of toppings into this classic flavor?

Nestle 3

Traditional Vanilla Ice Cream (makes about 4 cups)

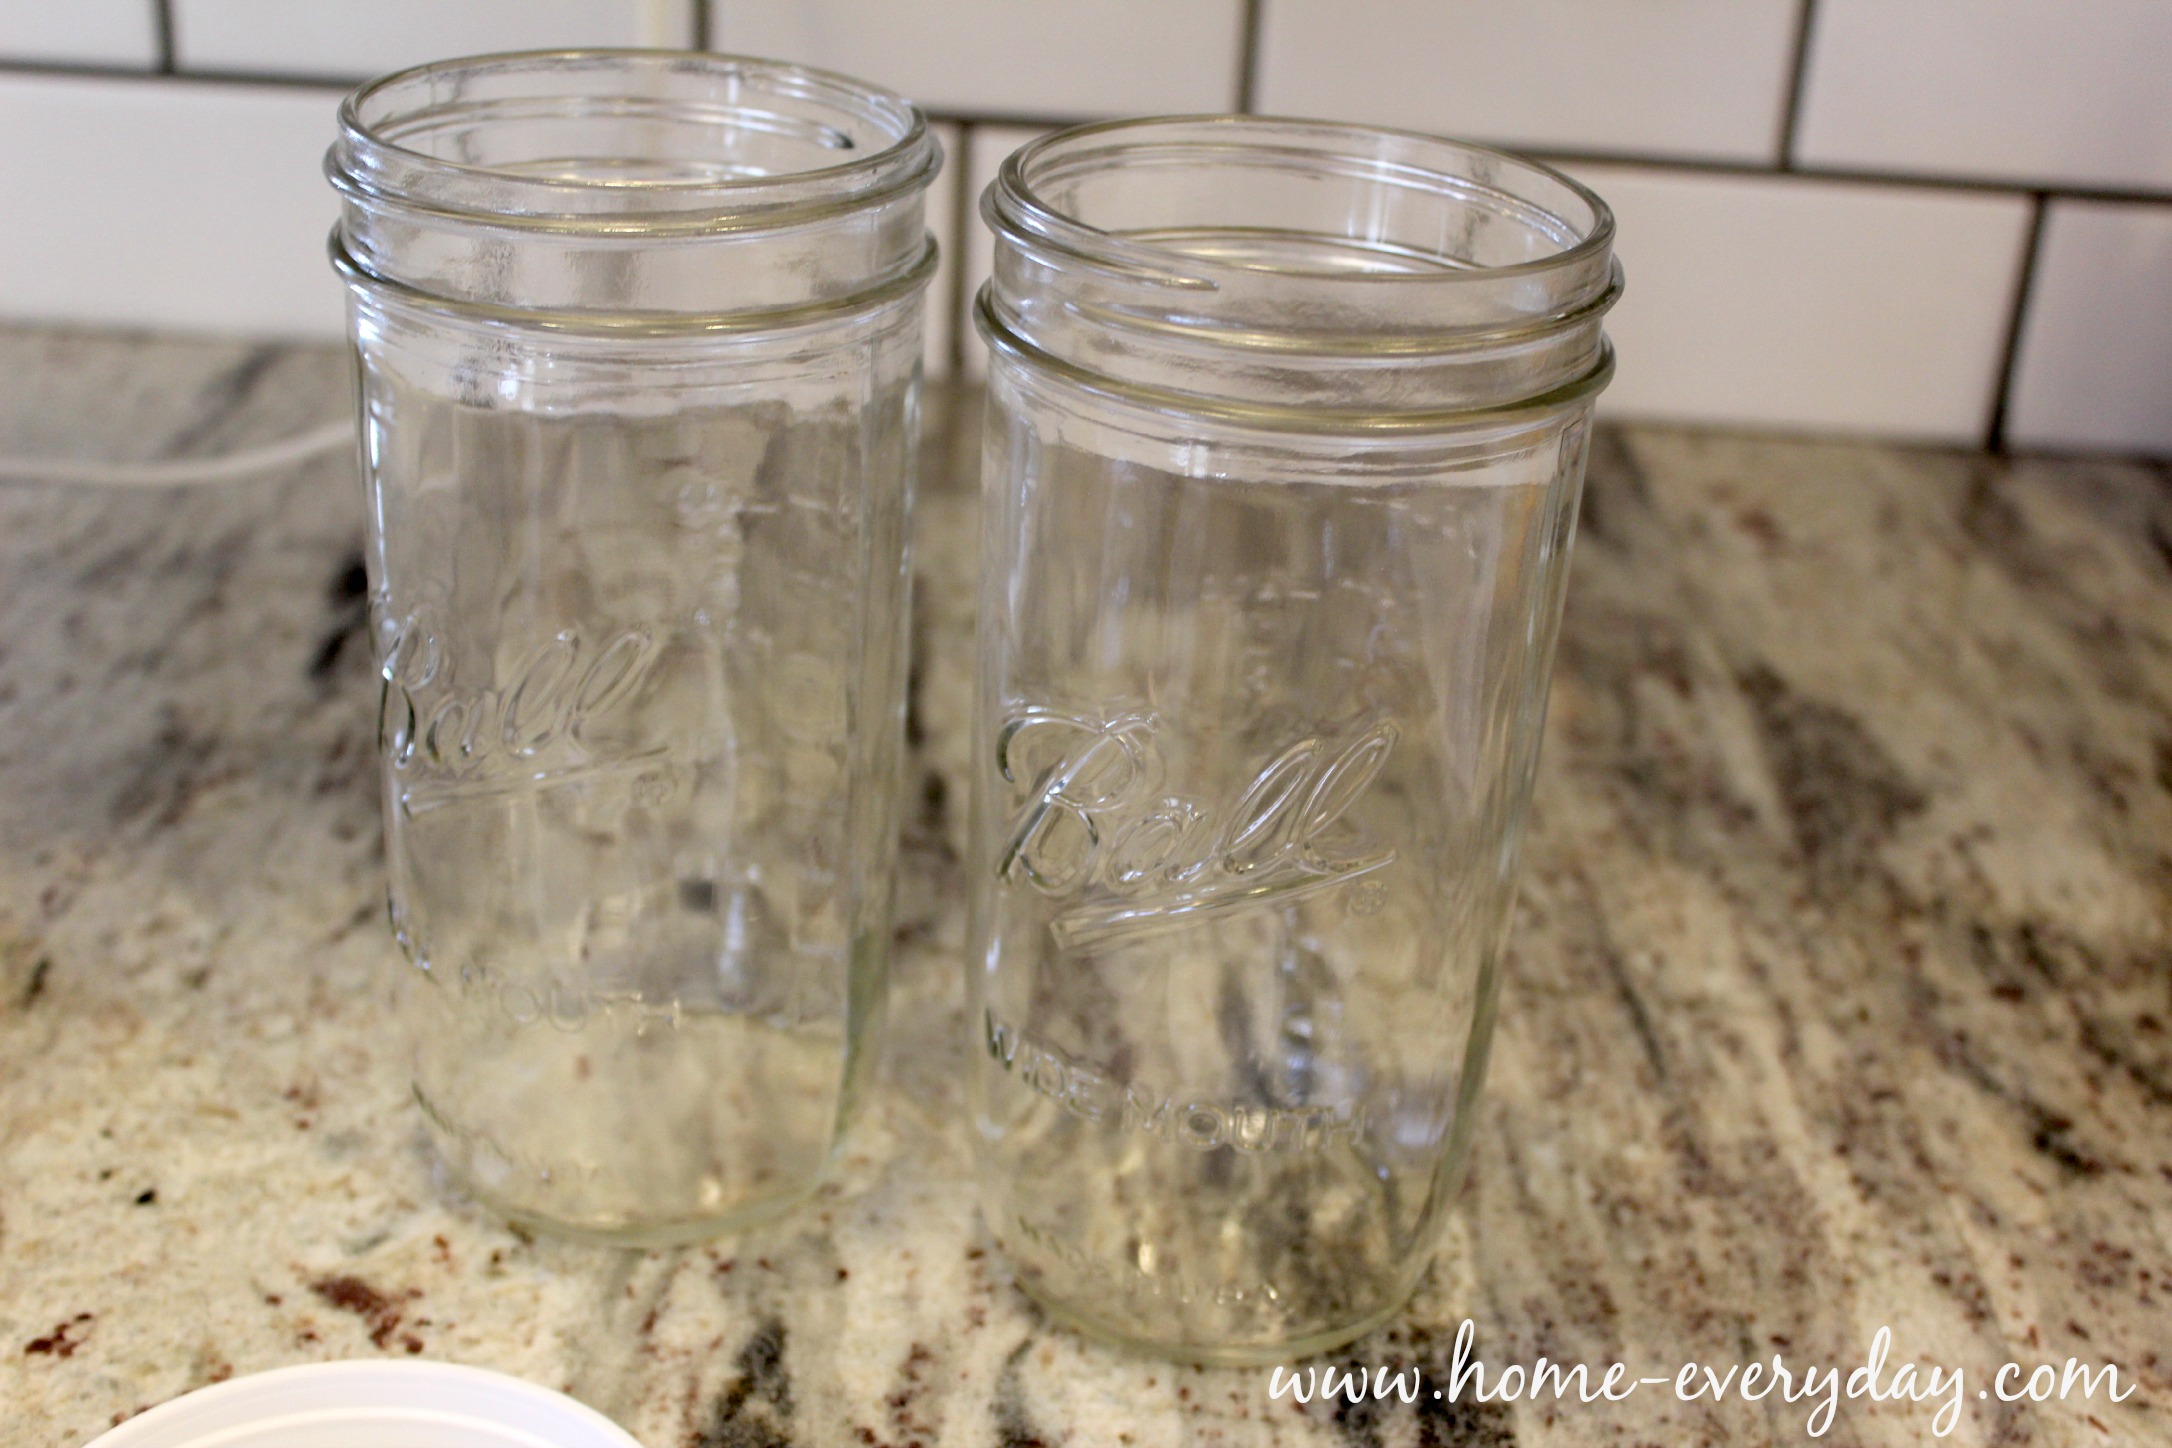
Pro Tip: Before you begin please note this version of ice cream does require an ice cream maker. Please prep your bowl ahead of time in your freezer according your your manufacturer’s instructions. Also, please make sure you have a freezer safe container in which to store ice cream. I used wide mouth freezer safe Mason jars with plastic lids.

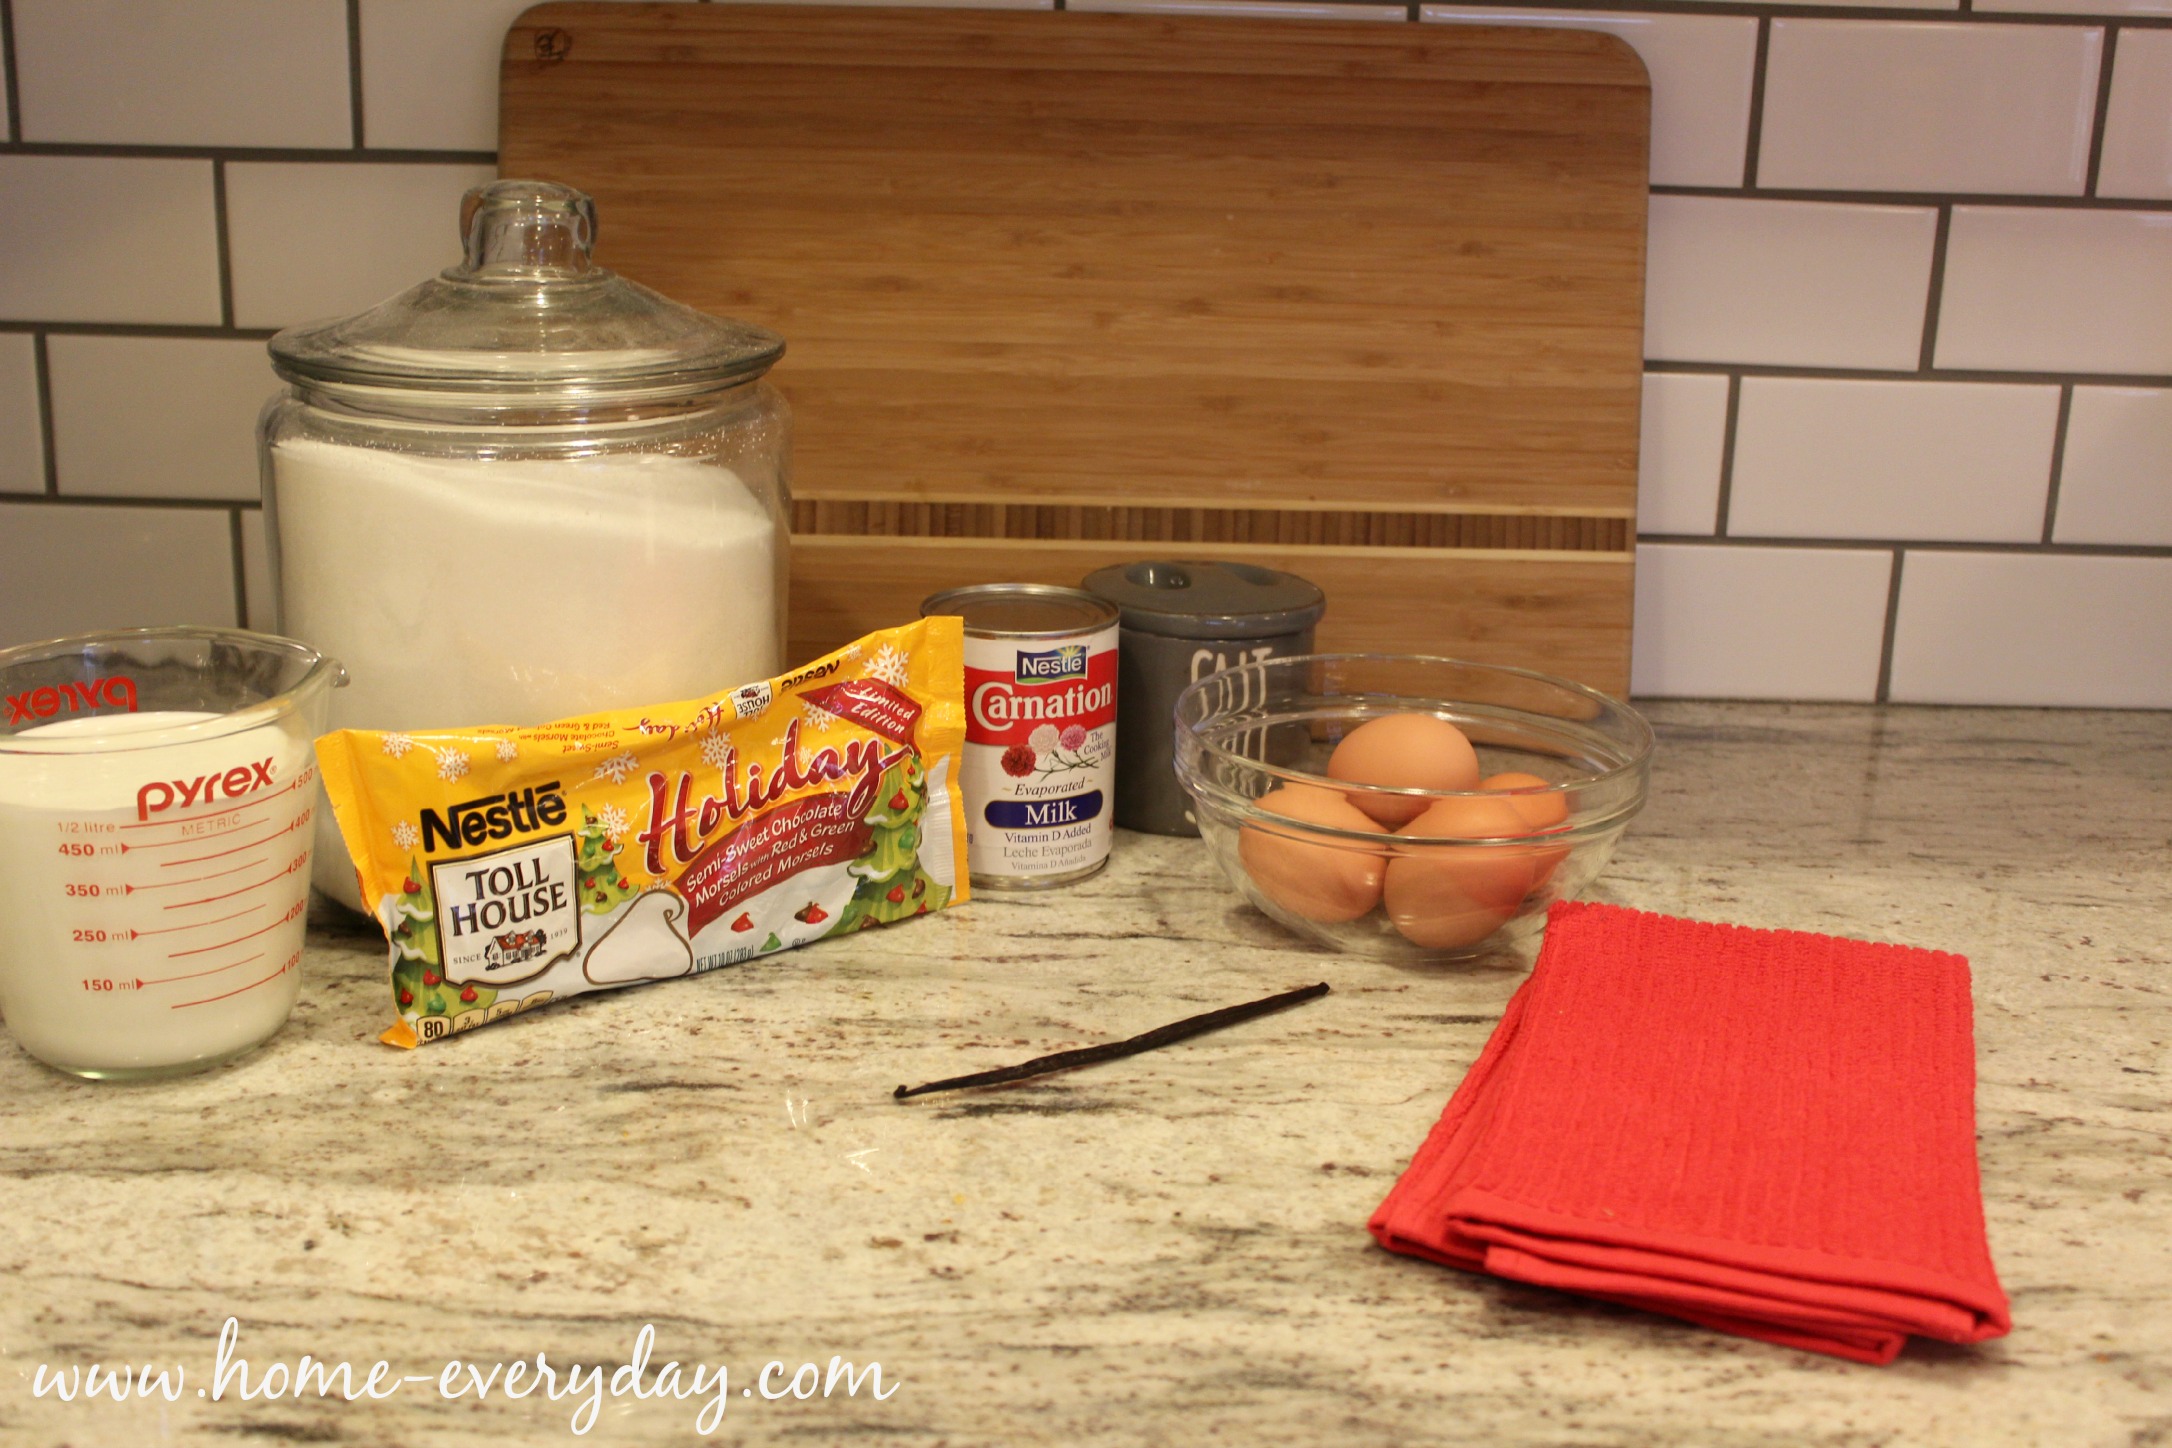
1 12 oz can NESTLÉ® CARNATION® Evaporated Milk

2/3 cup sugar

5 egg yolks

1/8 tsp salt

2 cups heavy cream

1 vanilla bean split and seeds removed

3 tsp pure vanilla extract

Traditional Vanilla Ice Cream Recipe 1 Traditional Vanilla Ice Cream Recipe 2

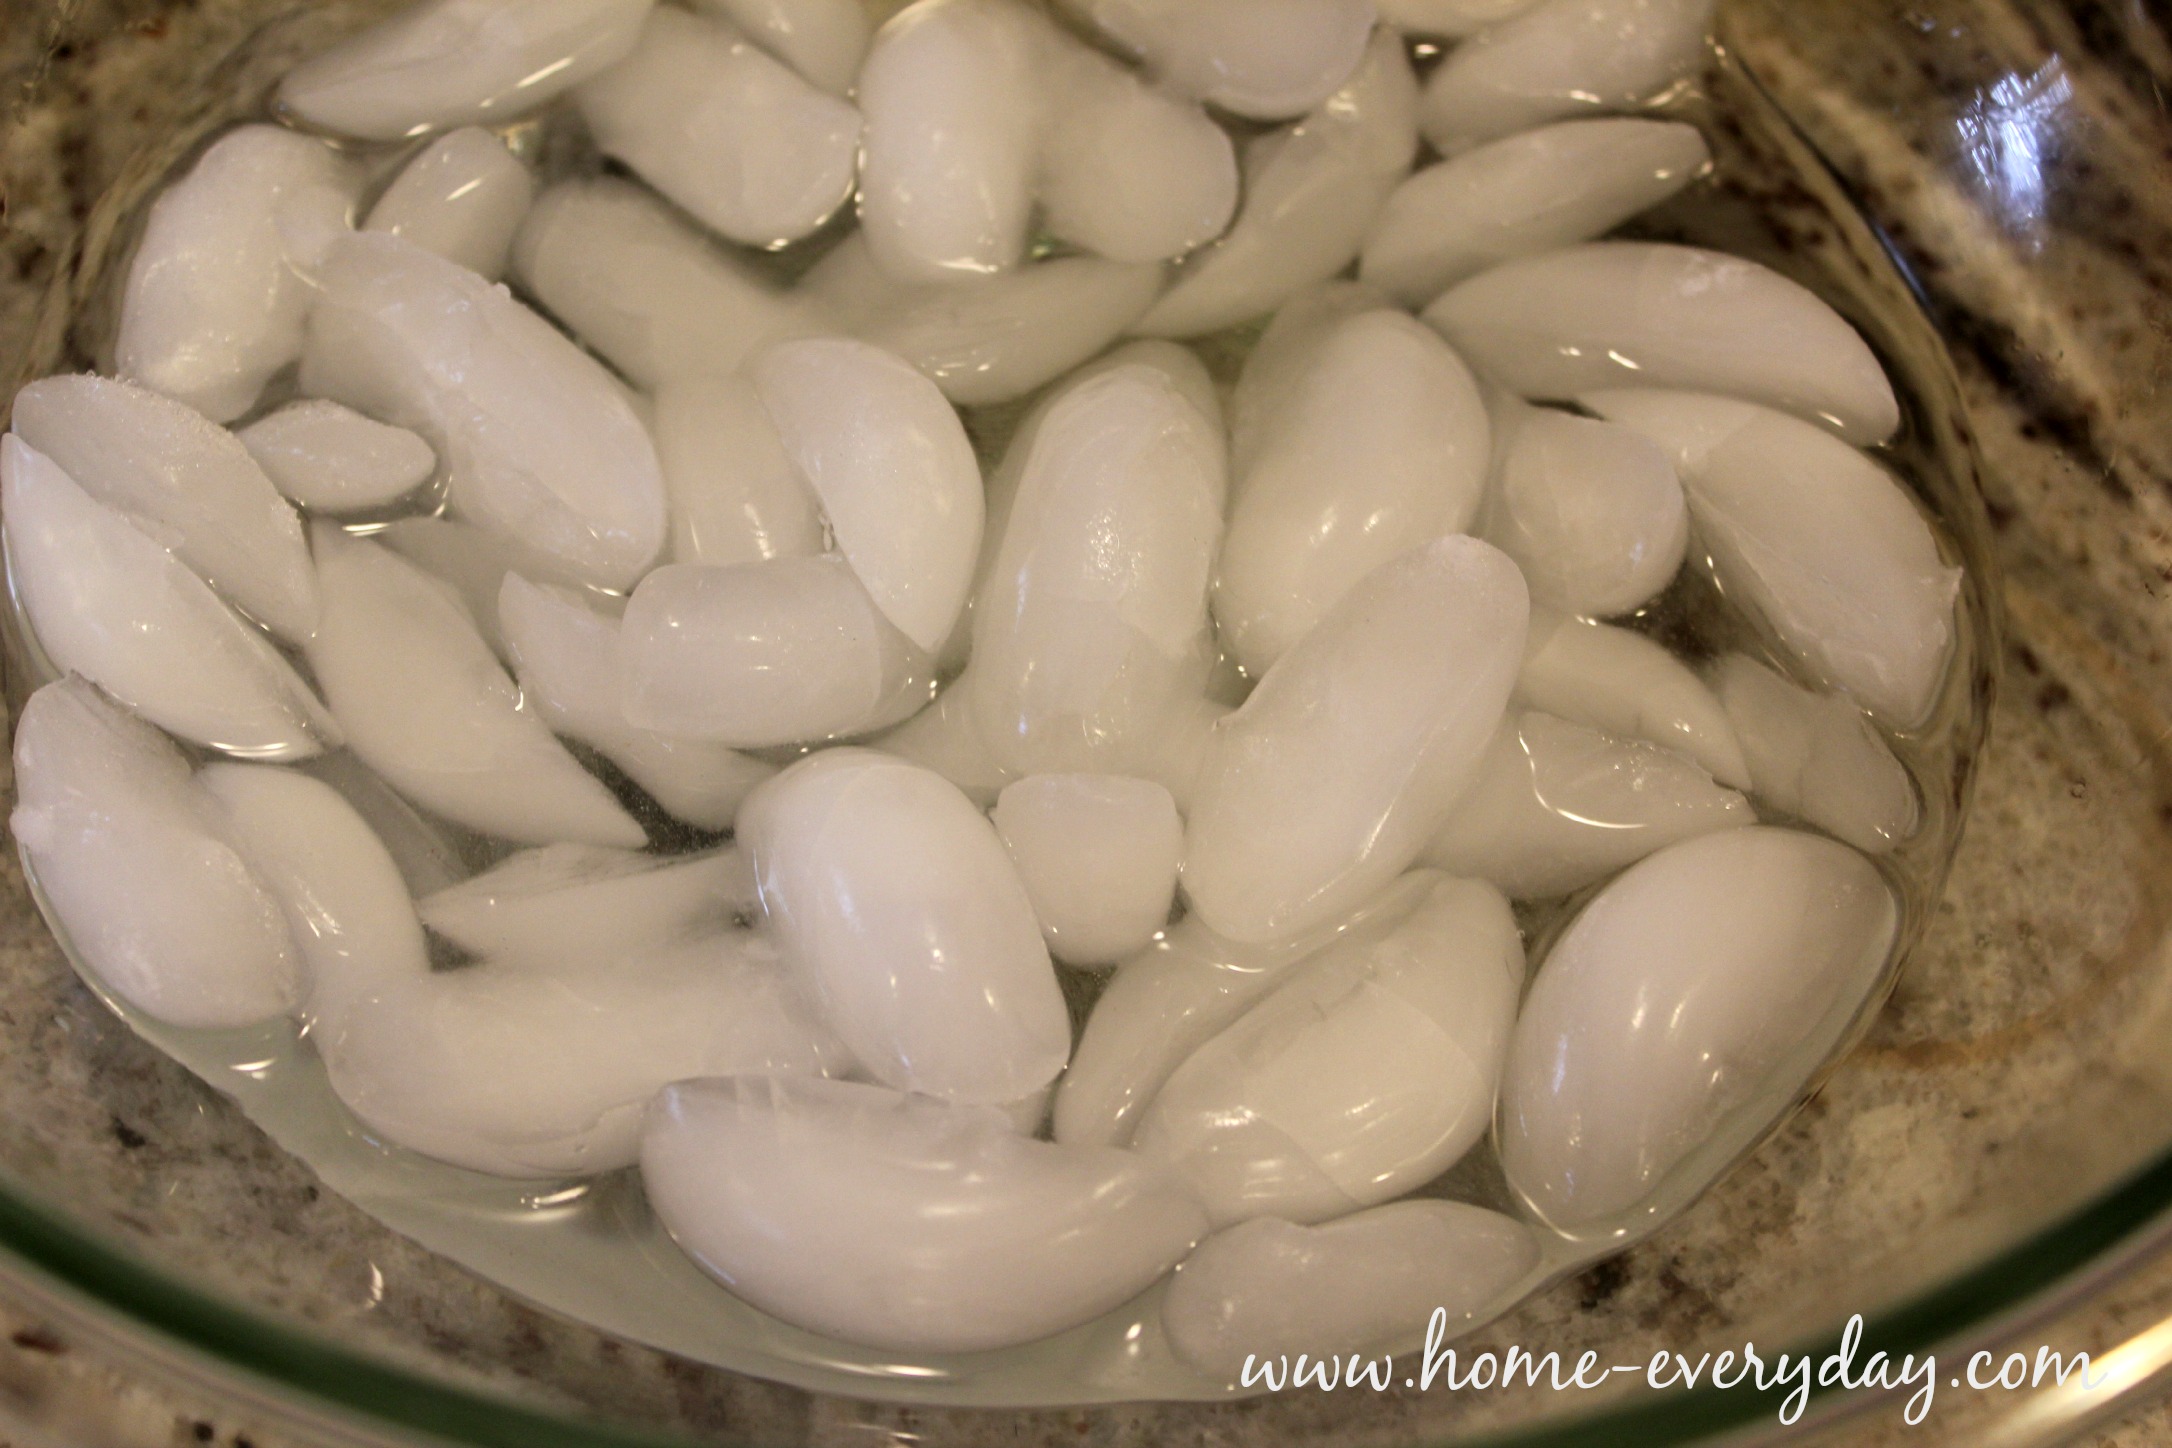
In a large mixing bowl, add ice water. Set a smaller bowl inside this bowl with whipping cream. Set aside.

Traditional Vanilla Ice Cream Recipe 7

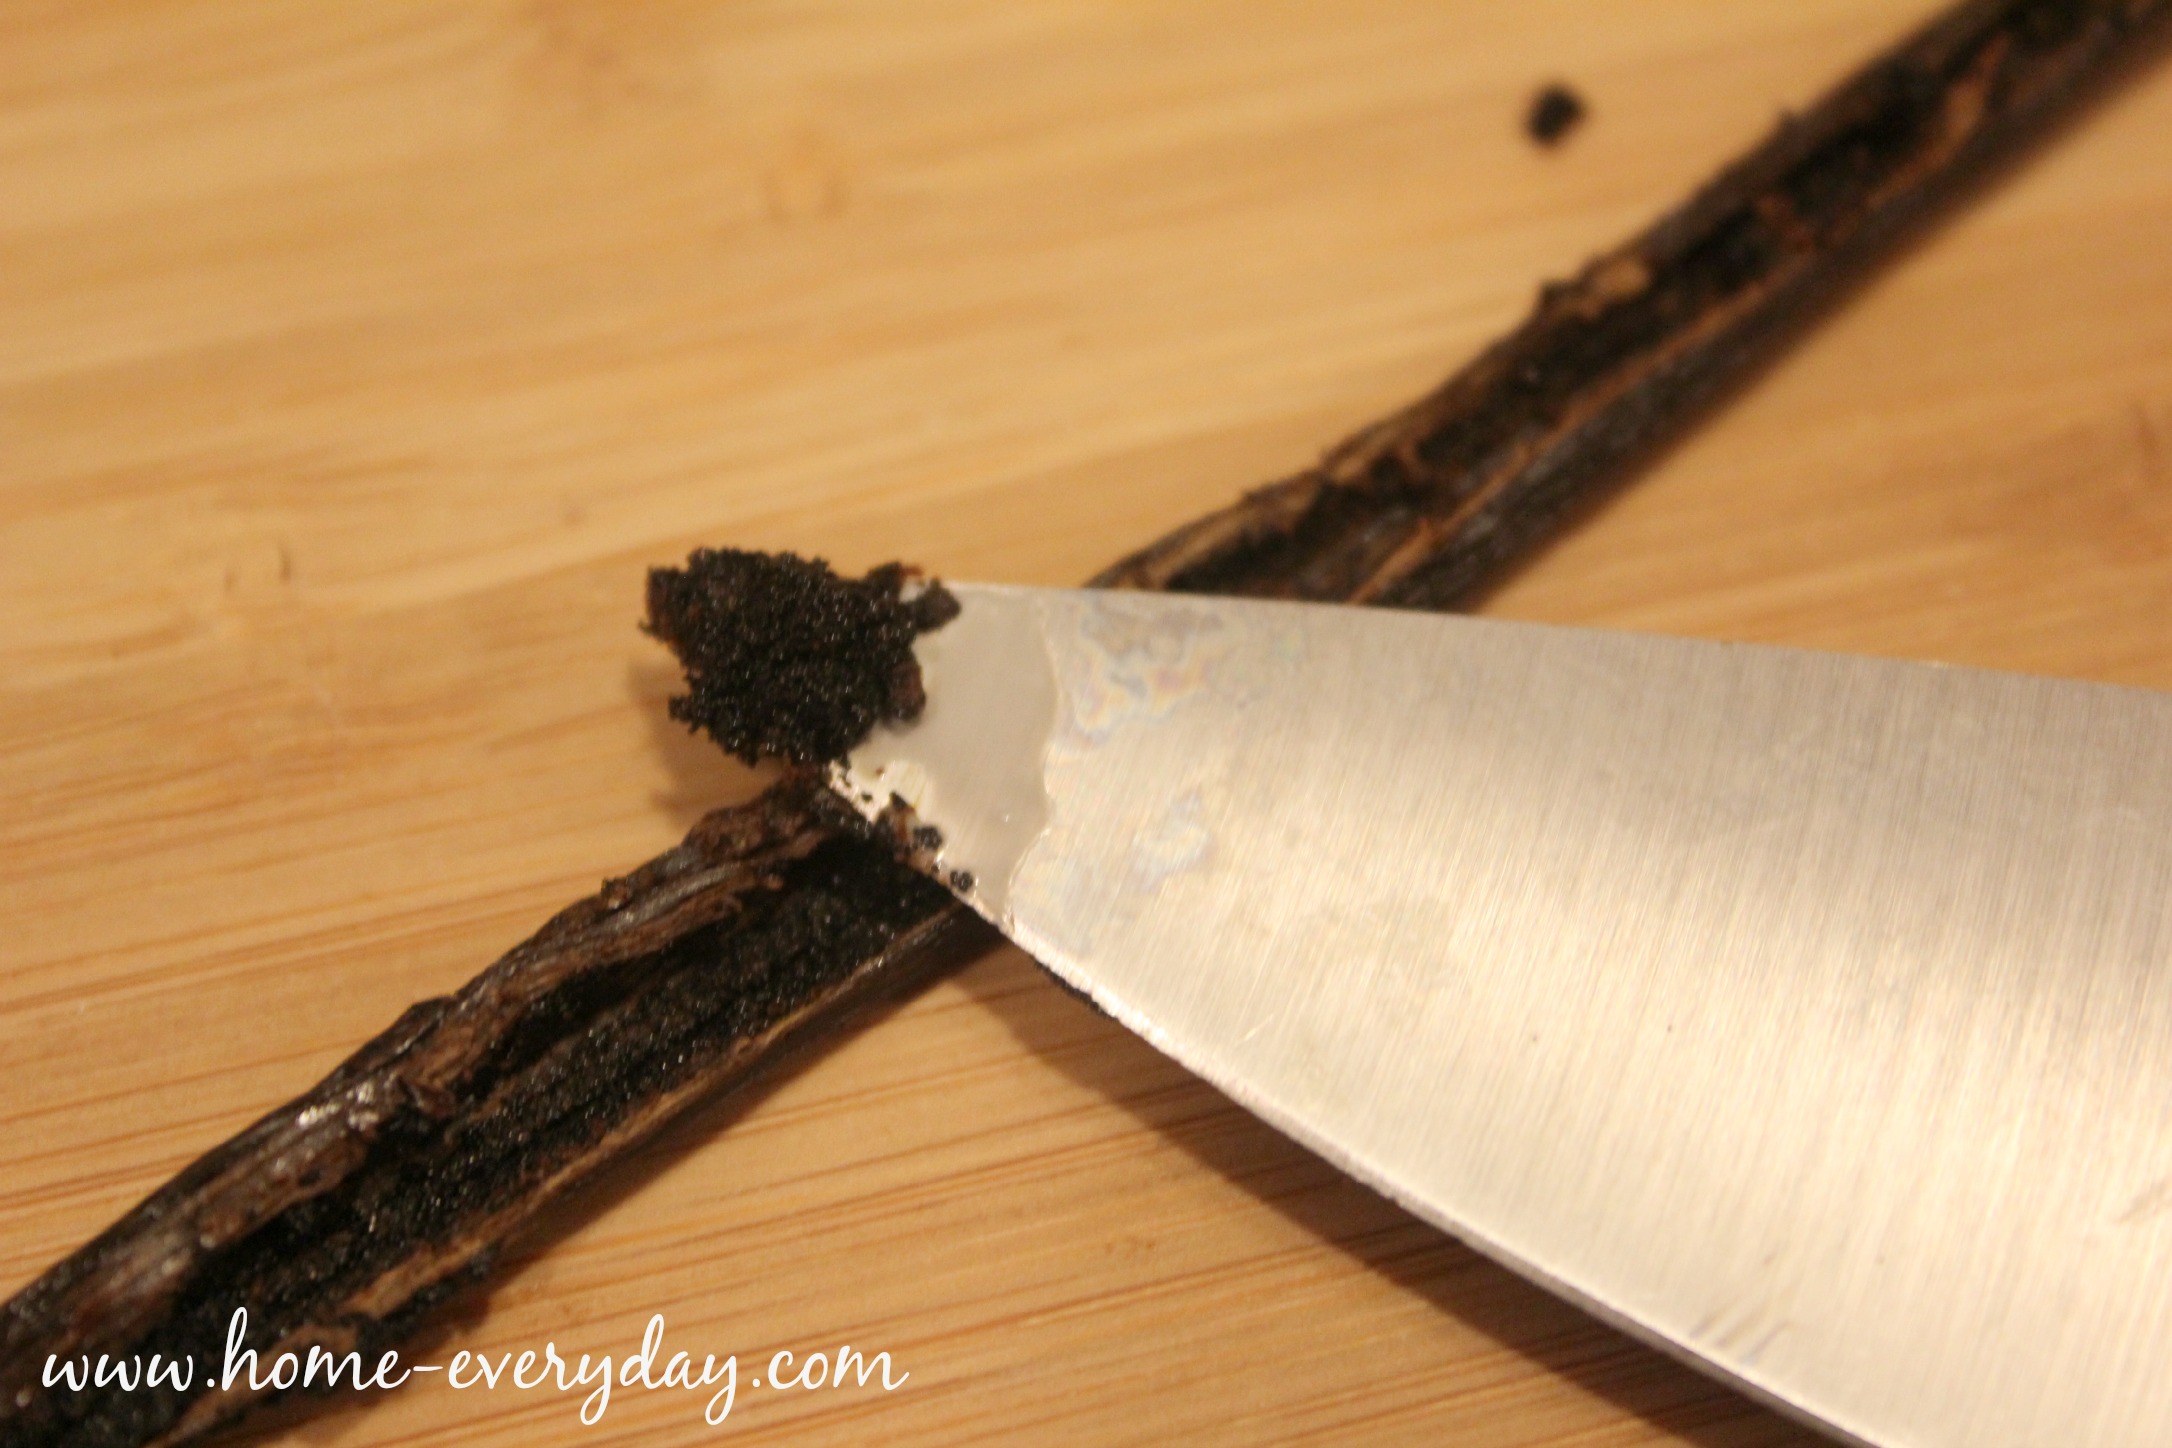
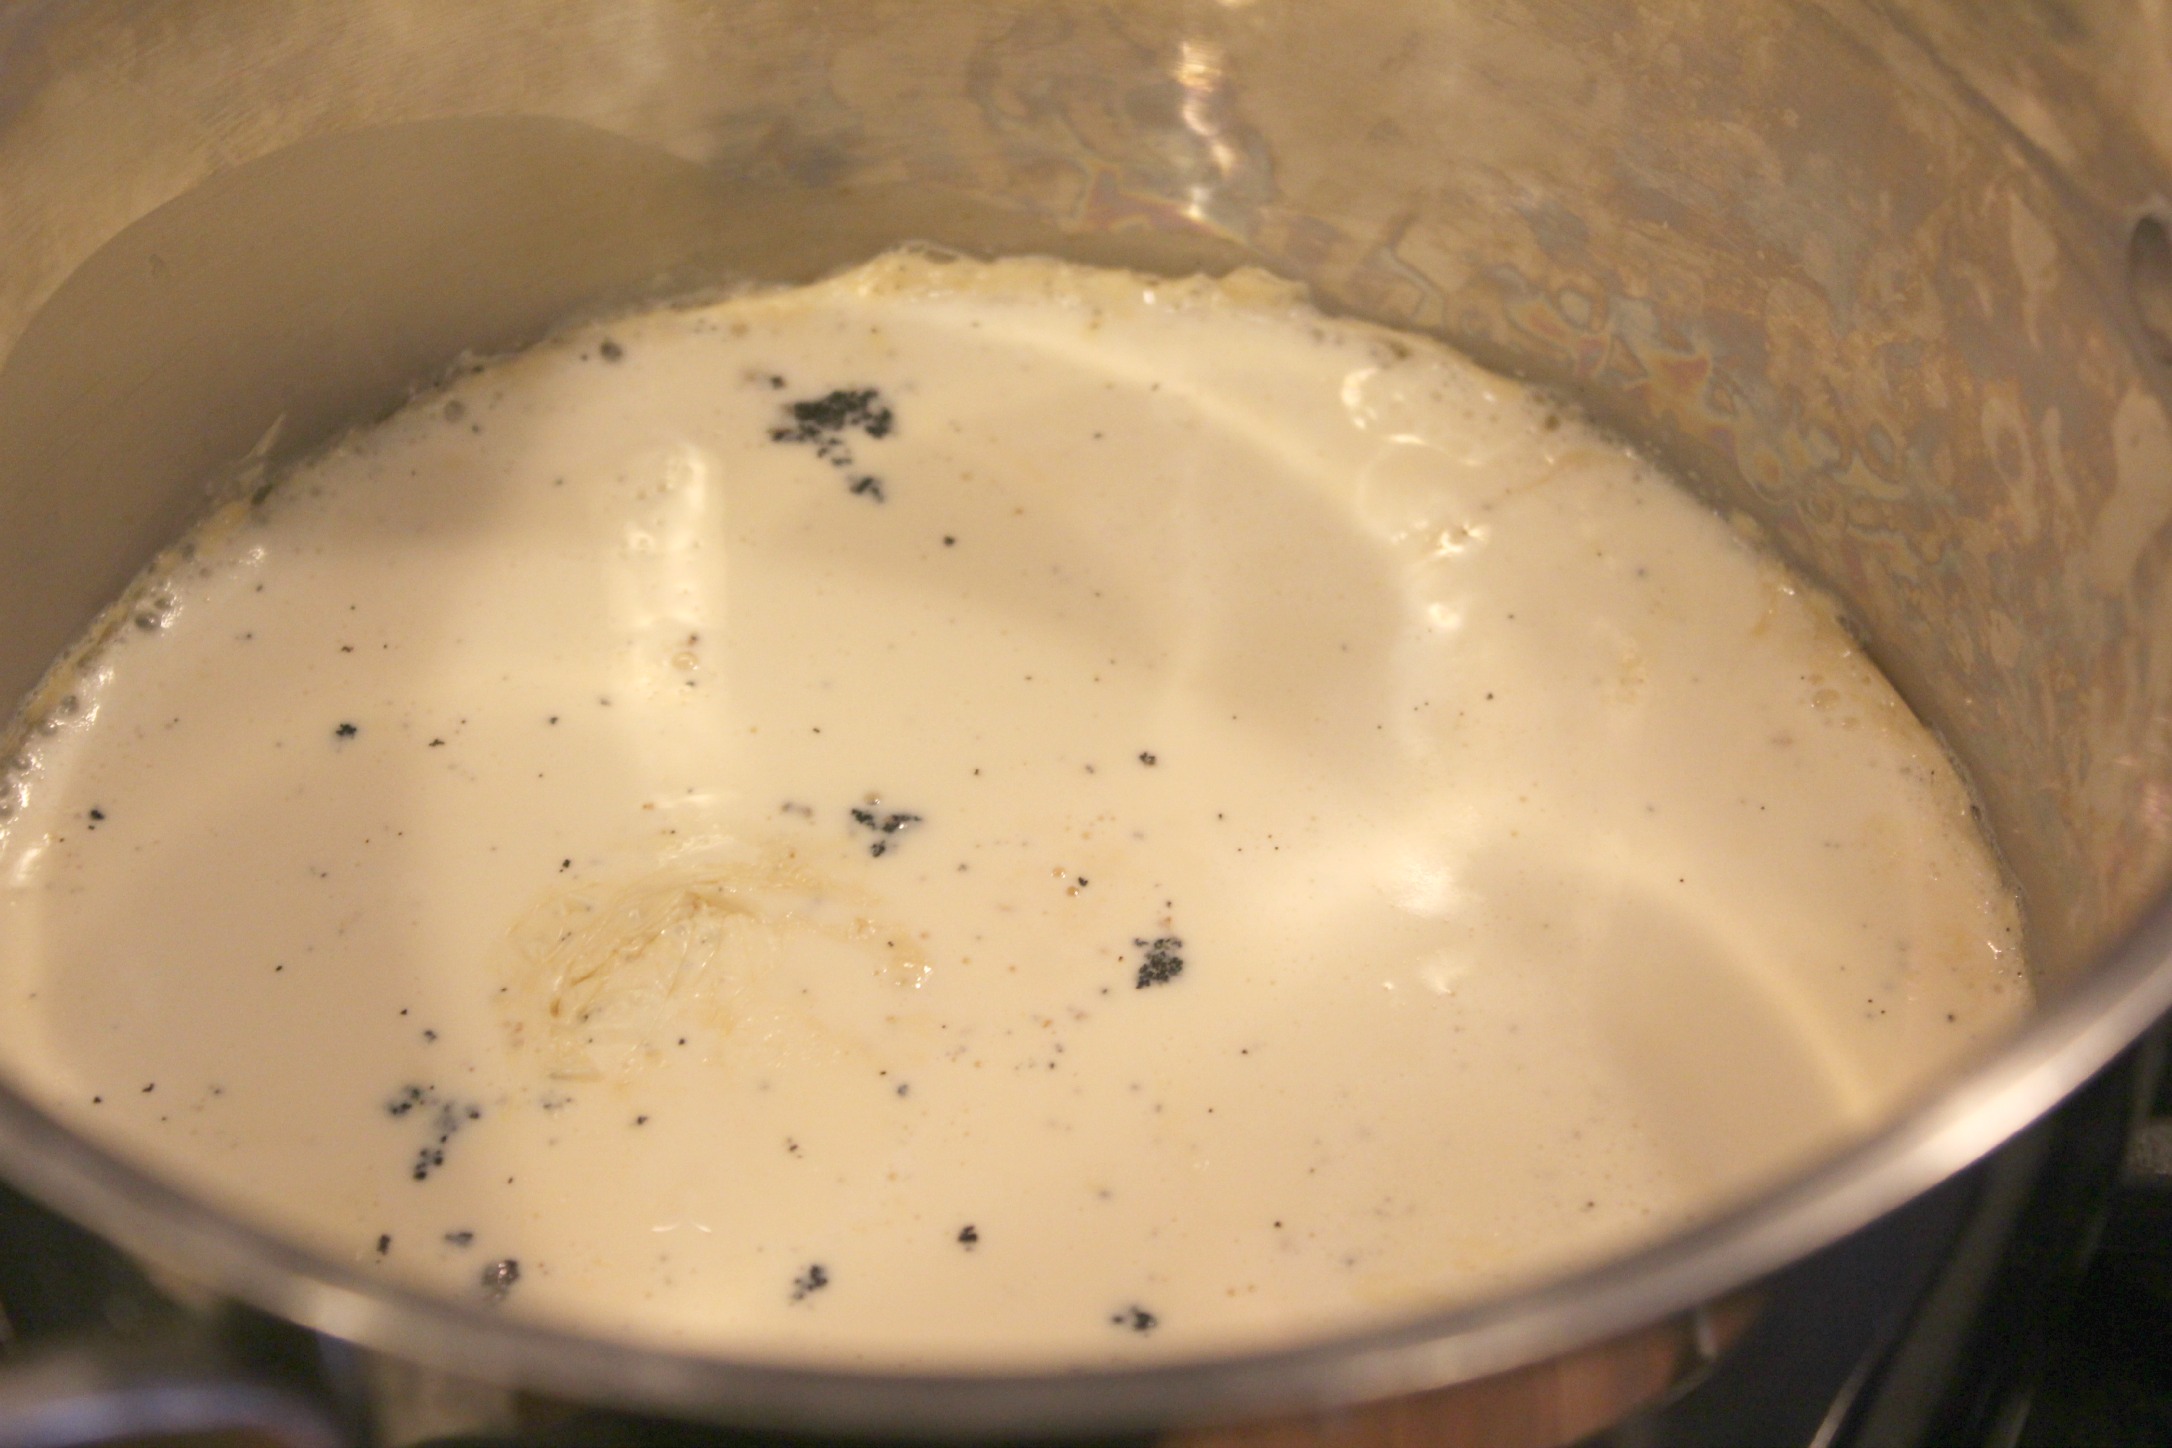
In a sauce pan over medium heat and stirring occasionally, add evaporated milk and vanilla seeds.

Traditional Vanilla Ice Cream Recipe 4

Heat for about 3-5 minutes or until the milk is about 160 degrees with a candy thermometer. You will notice a slight skin form on the top of a the milk.

Traditional Vanilla Ice Cream Recipe 5

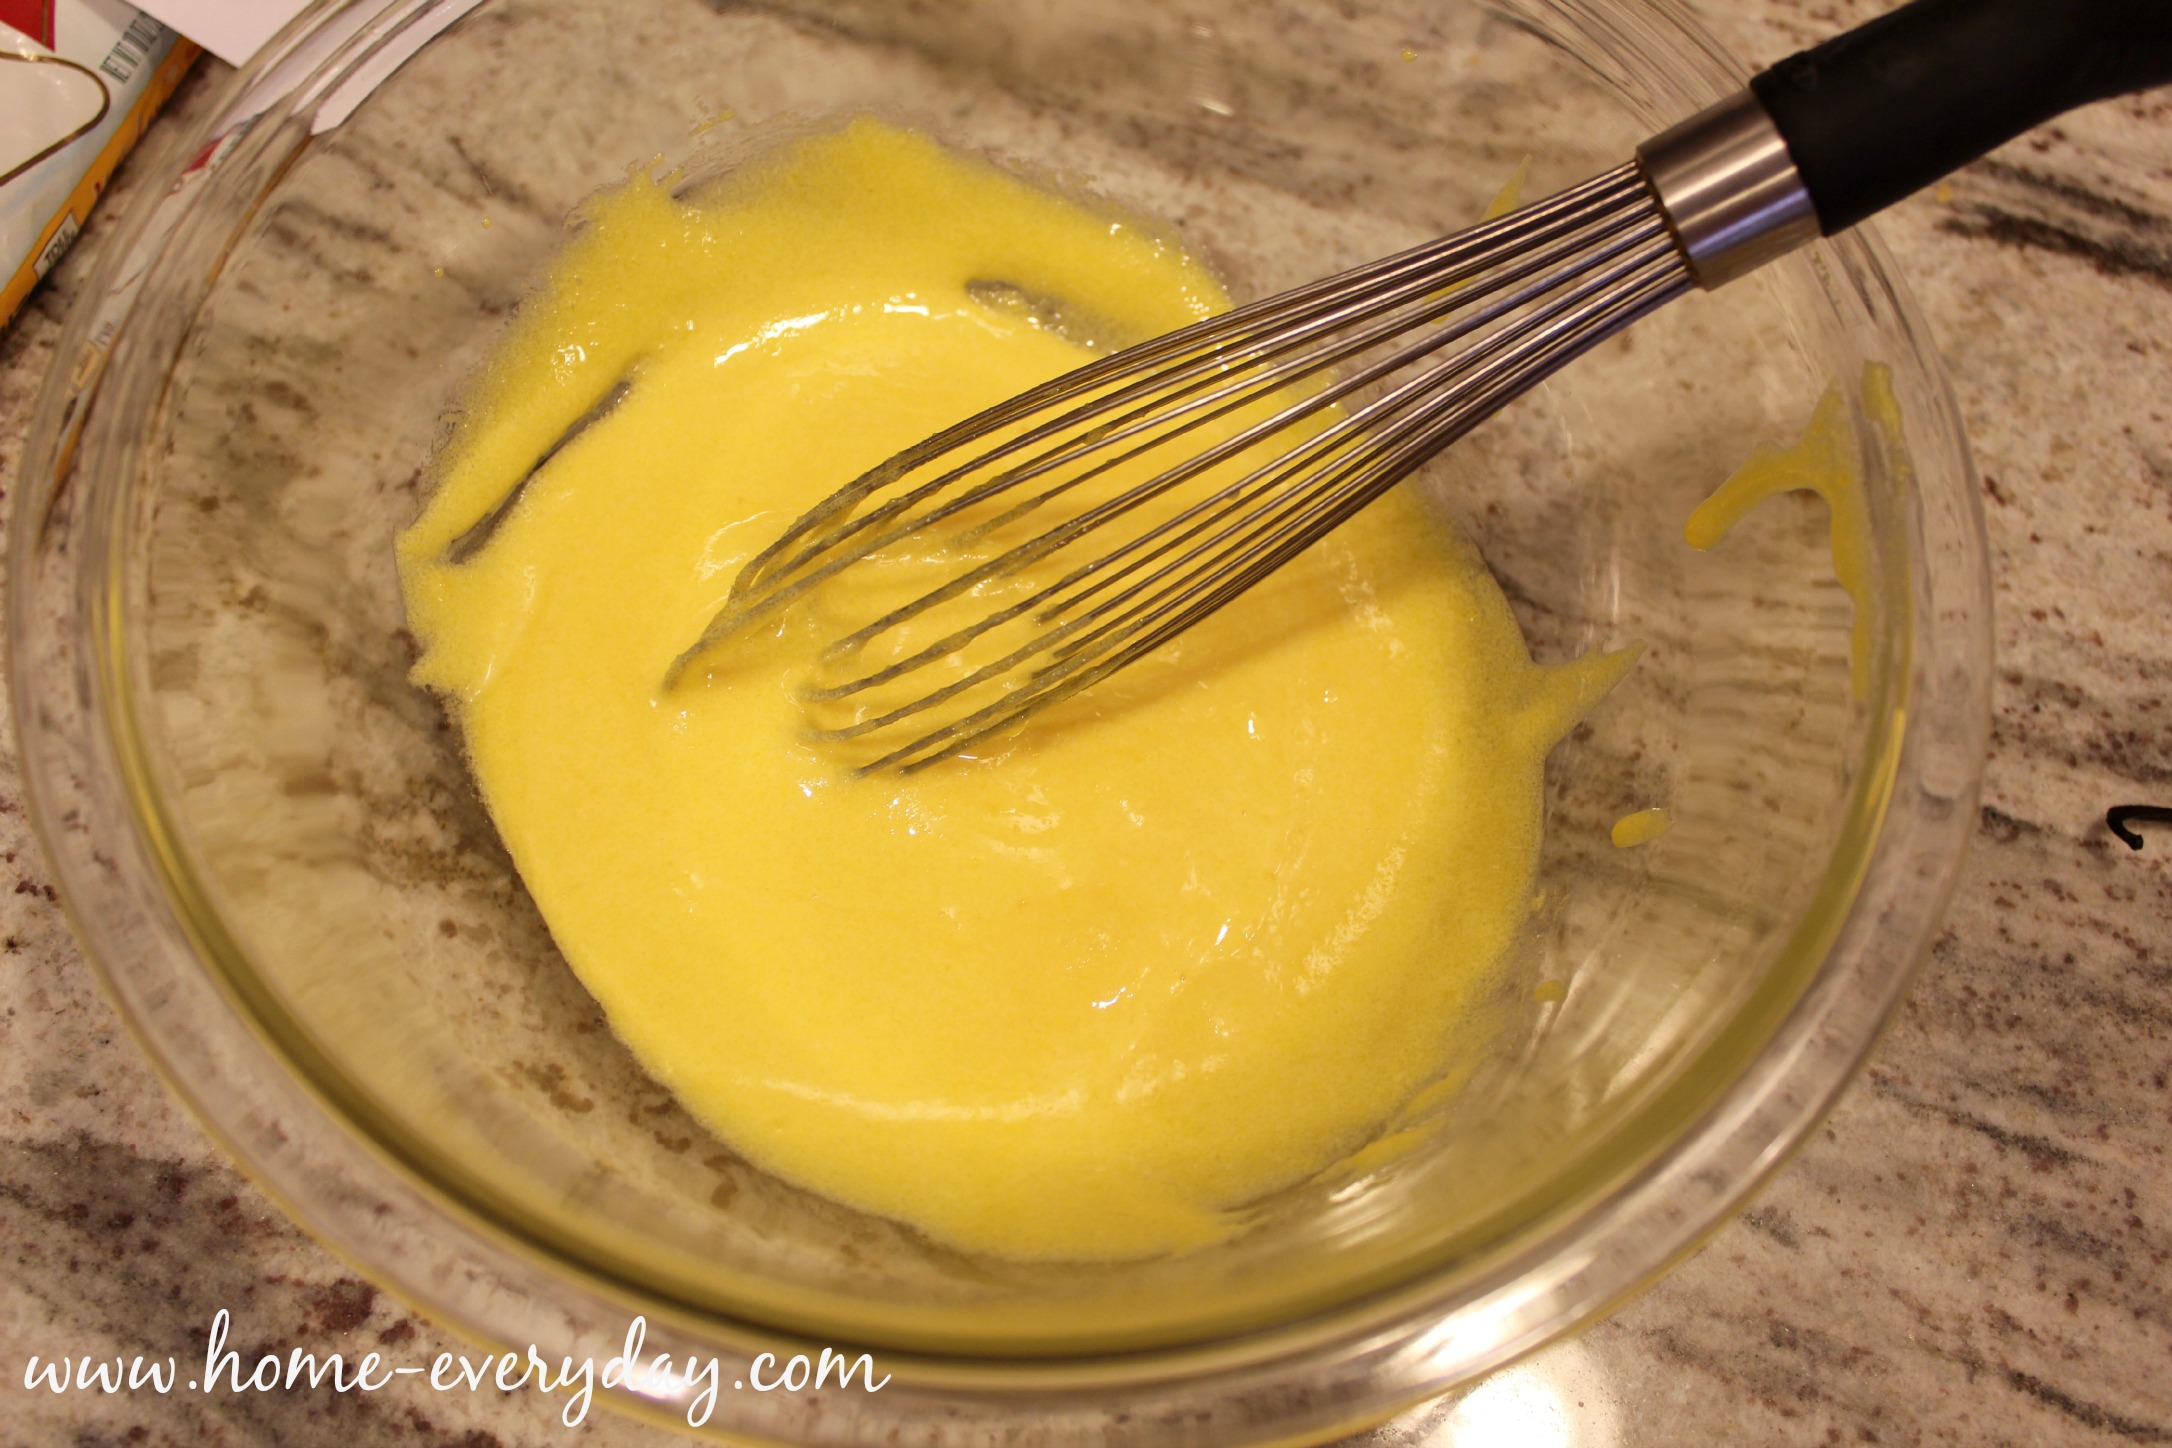
While the milk is heating, in a large bowl whisk together the egg yolks, sugar, and salt for a few minutes until completely combined.

Traditional Vanilla Ice Cream Recipe 3

When the evaporated milk has reached the optimal temperature, lower the heat to low. Then, ladle one spoonful into the egg mixture and whisk vigorously and continuously for about 30 seconds. Repeat this step until about 2/3 of the milk mixture has been added to the egg mixture. Pro Tip: This is called tempering the eggs. If you do not ladle the hot milk mixture into the egg mixture slowly and continue to stir the egg mixture will scramble. 

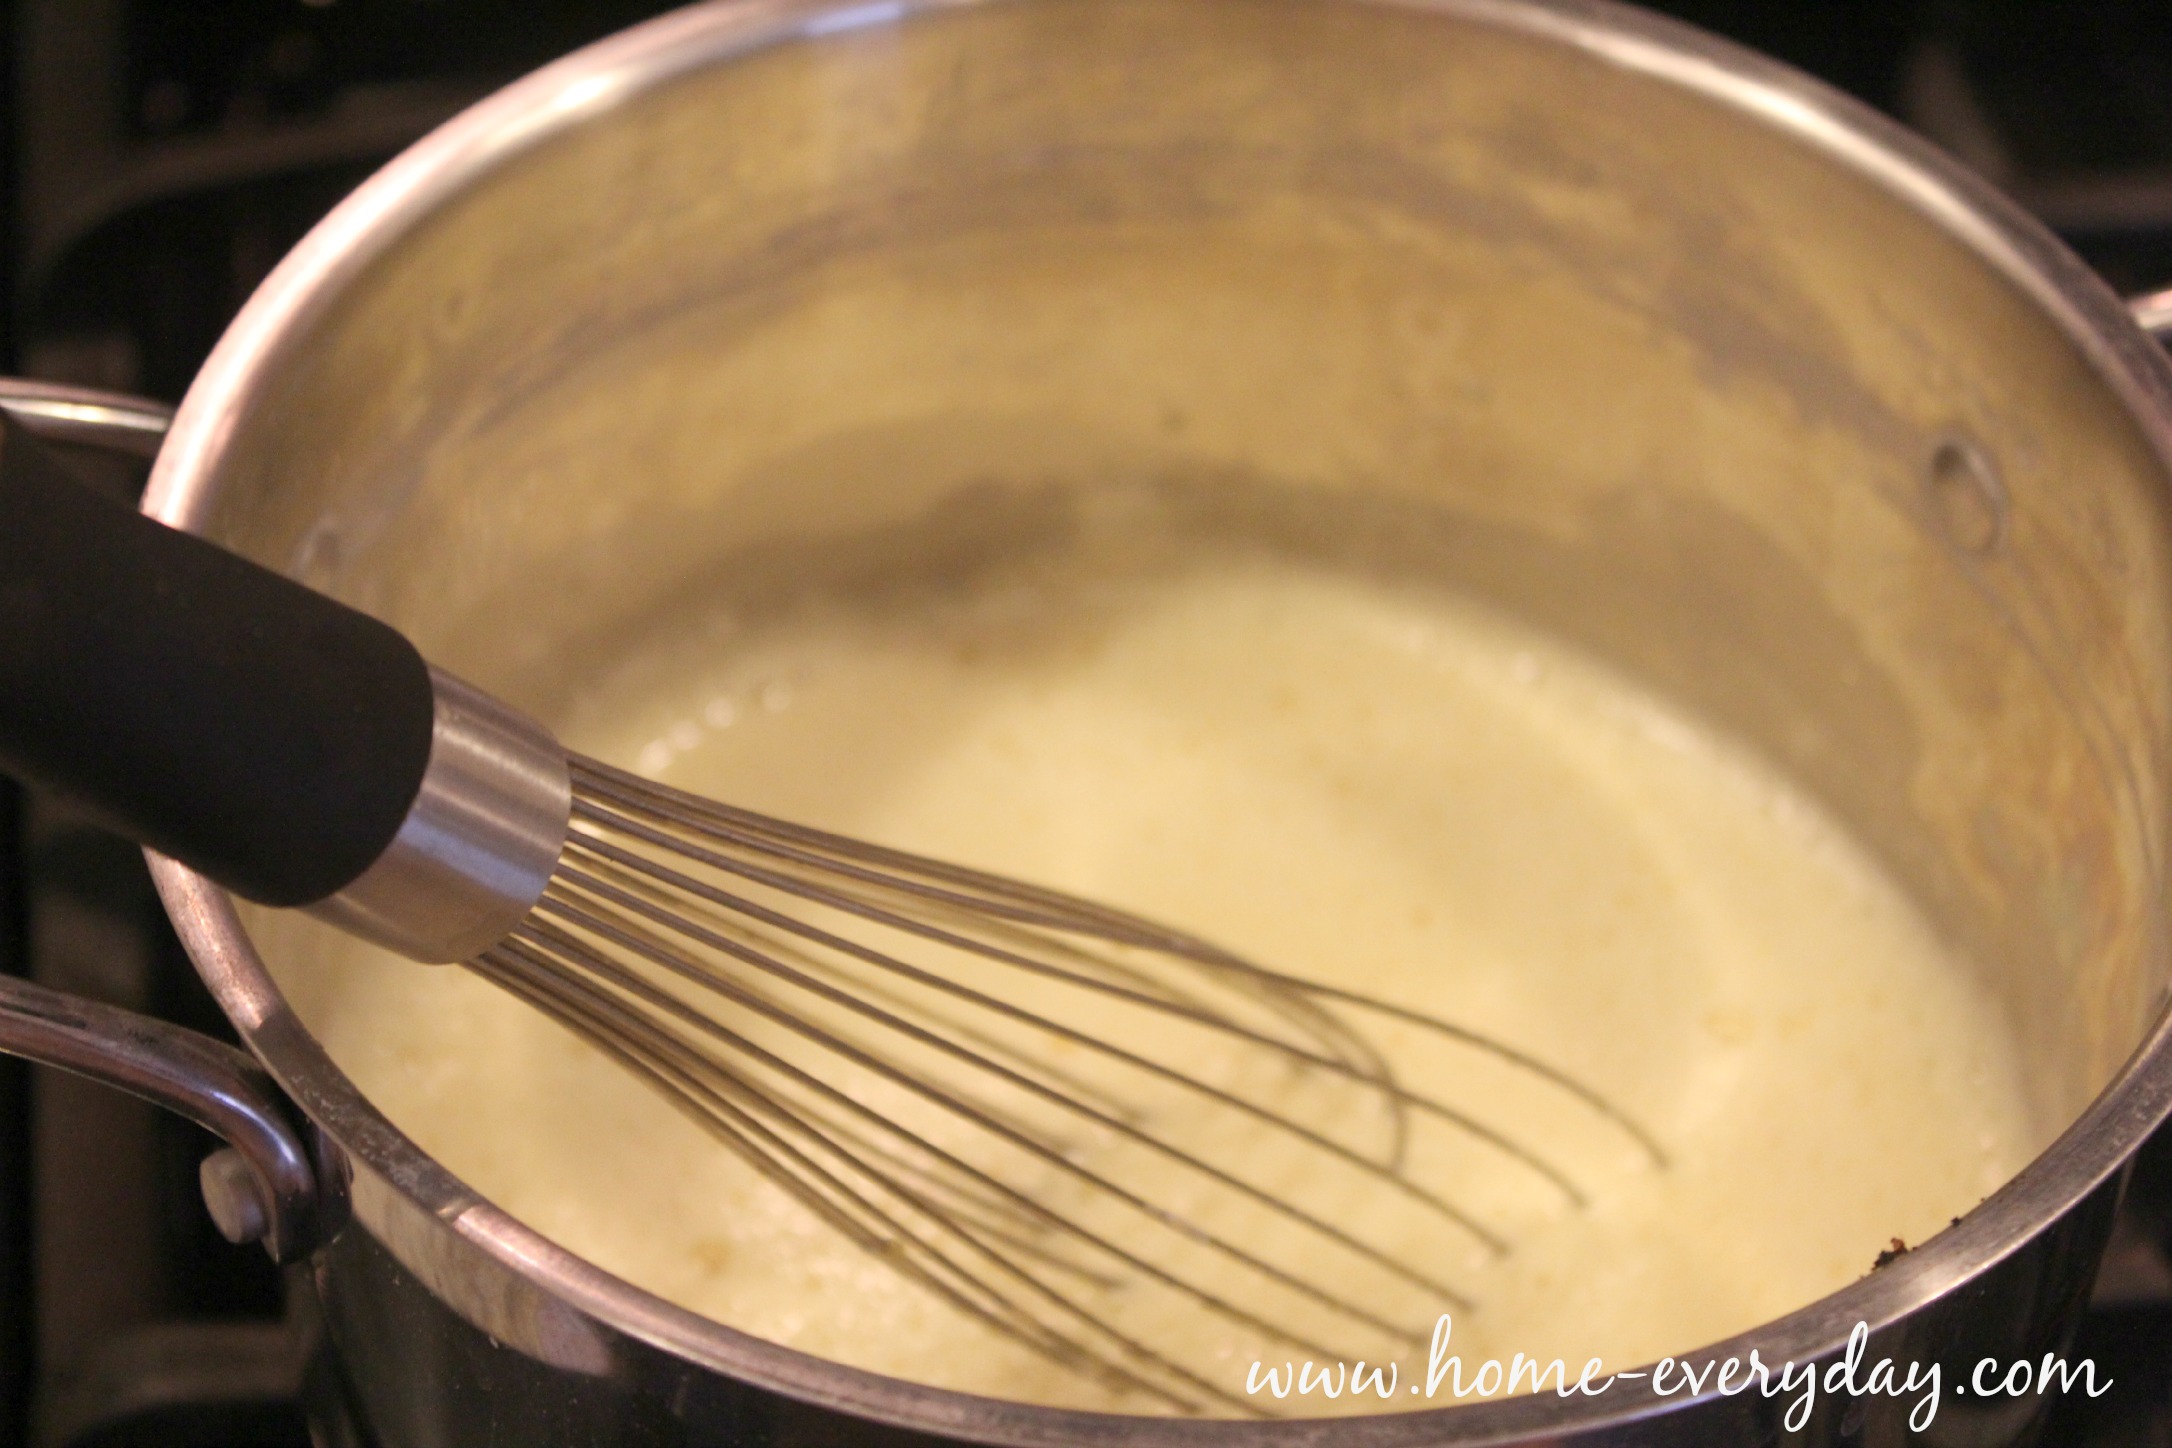
Next, add the tempered egg mixture to remaining milk mixture on the stove on low heat. Stir this mixture continuously for 3-5 minutes over low heat. This mixture will get frothy. You will want this mixture to reach a temperature of 175 degrees in order to cook the eggs.

Traditional Vanilla Ice Cream Recipe 6

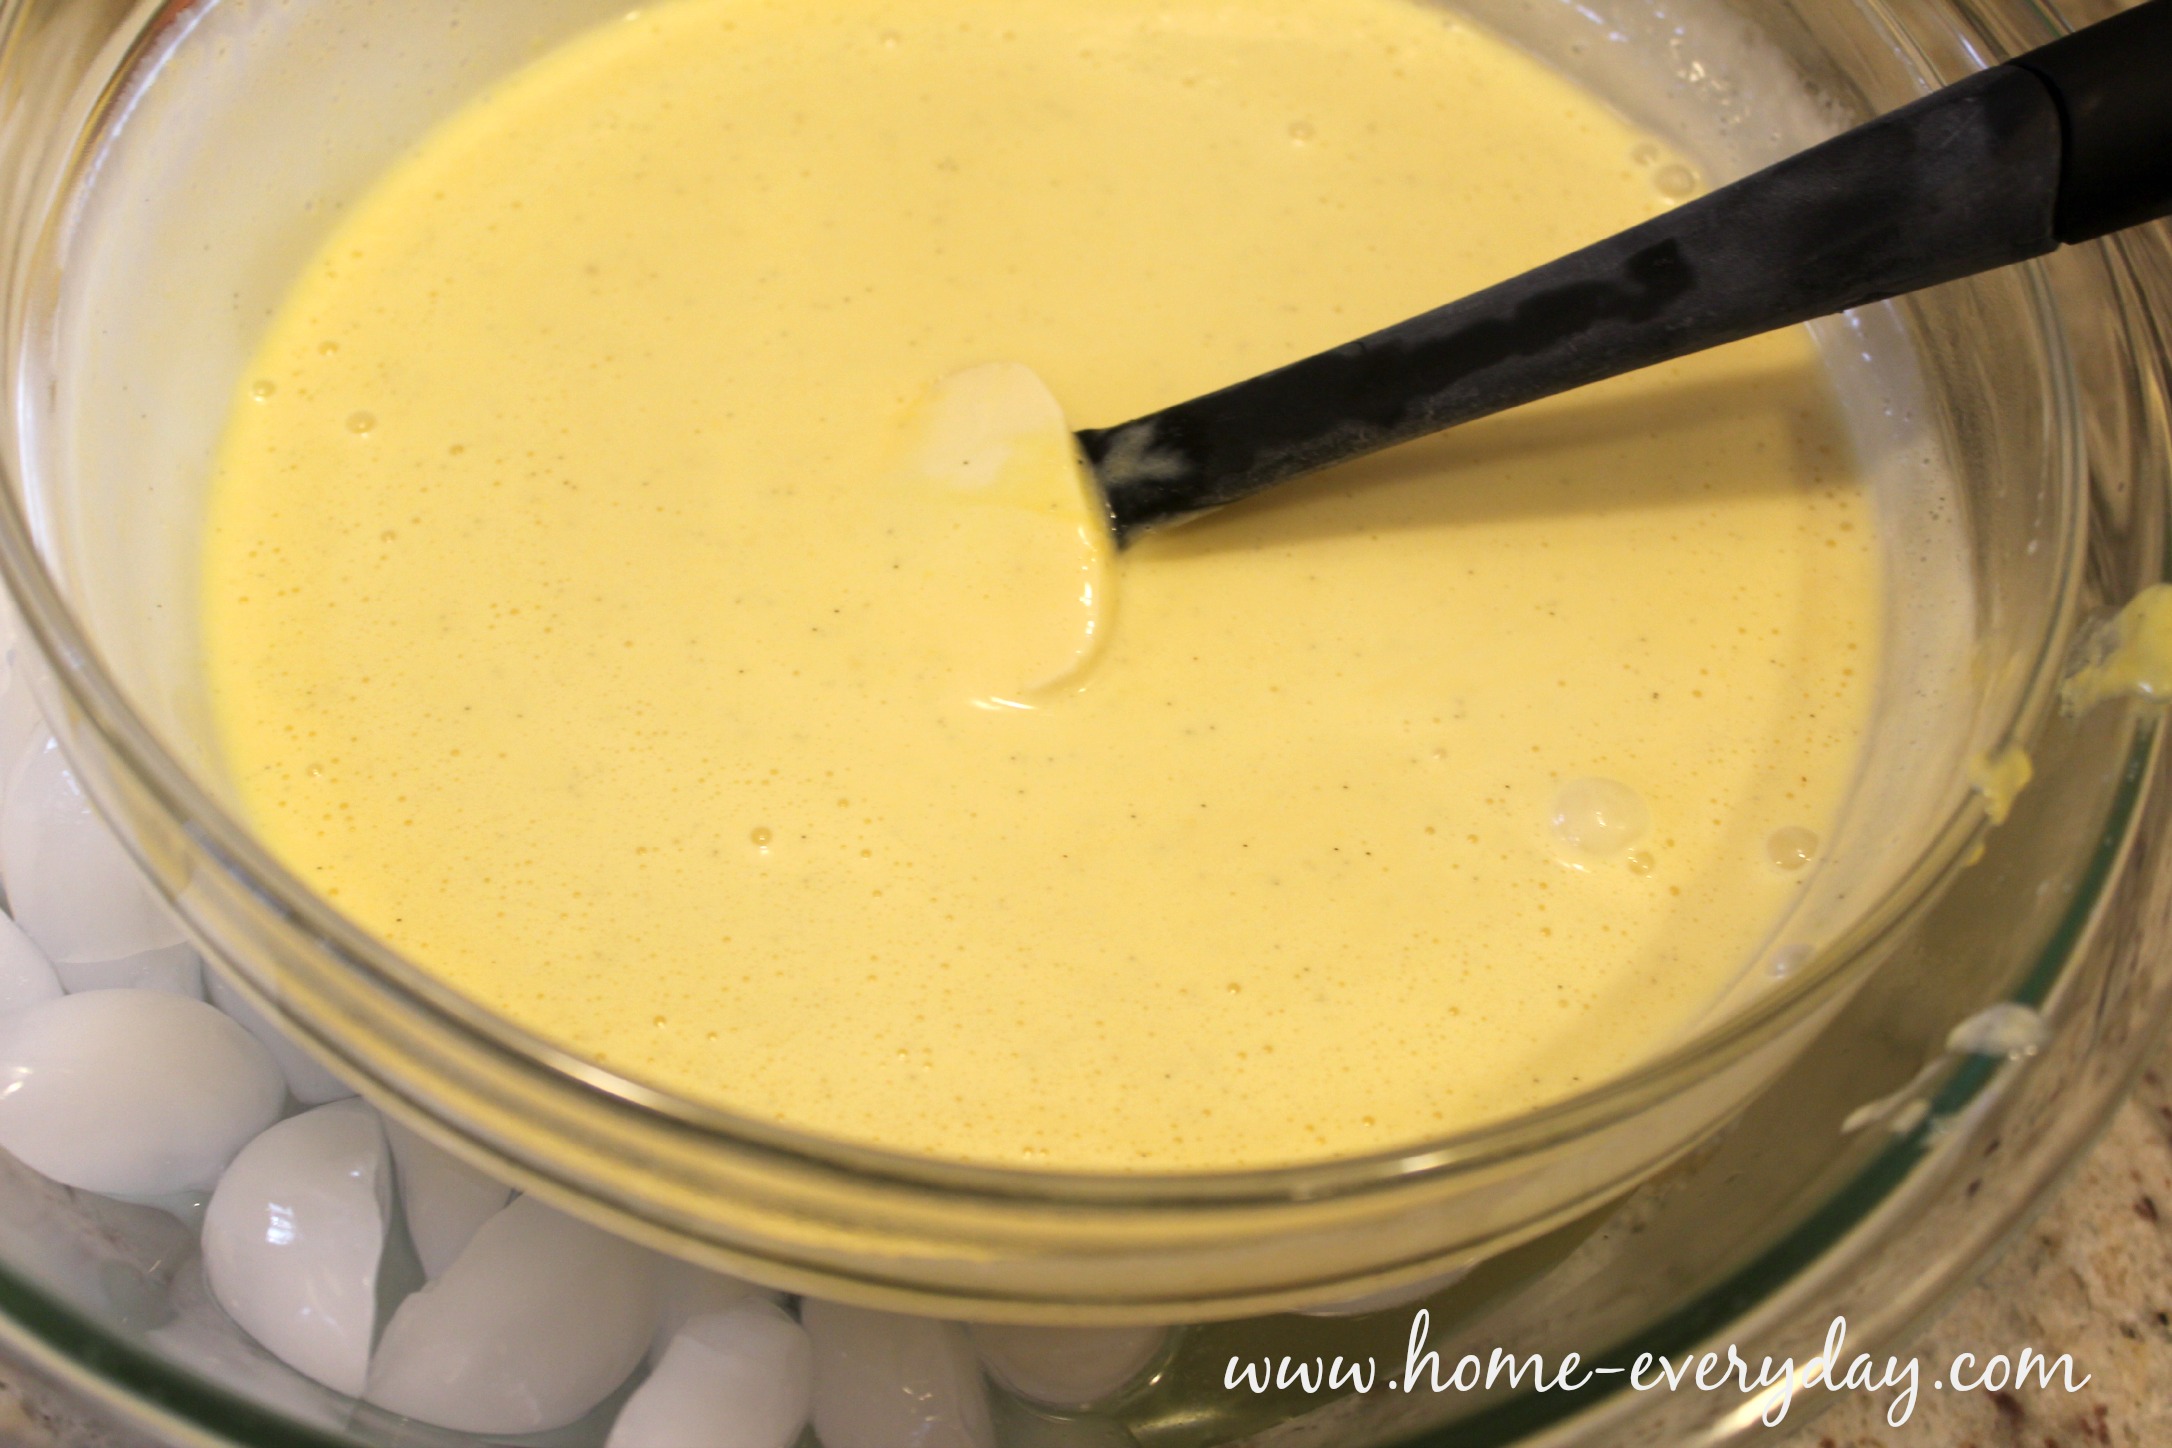
Once the egg mixture has reached optimal temperature, add this mixture to the chilled heavy cream mixture sitting in the ice water bath. Stir with a spatula slowly and continuously for about 5 minutes until the mixture has completely cooled. Pro Tip: If you want, you can pour the egg mixture through a fine sieve into the heavy cream to remove any lumps for an extra smooth texture. 

Traditional Vanilla Ice Cream Recipe 8

Next, add the vanilla extract.

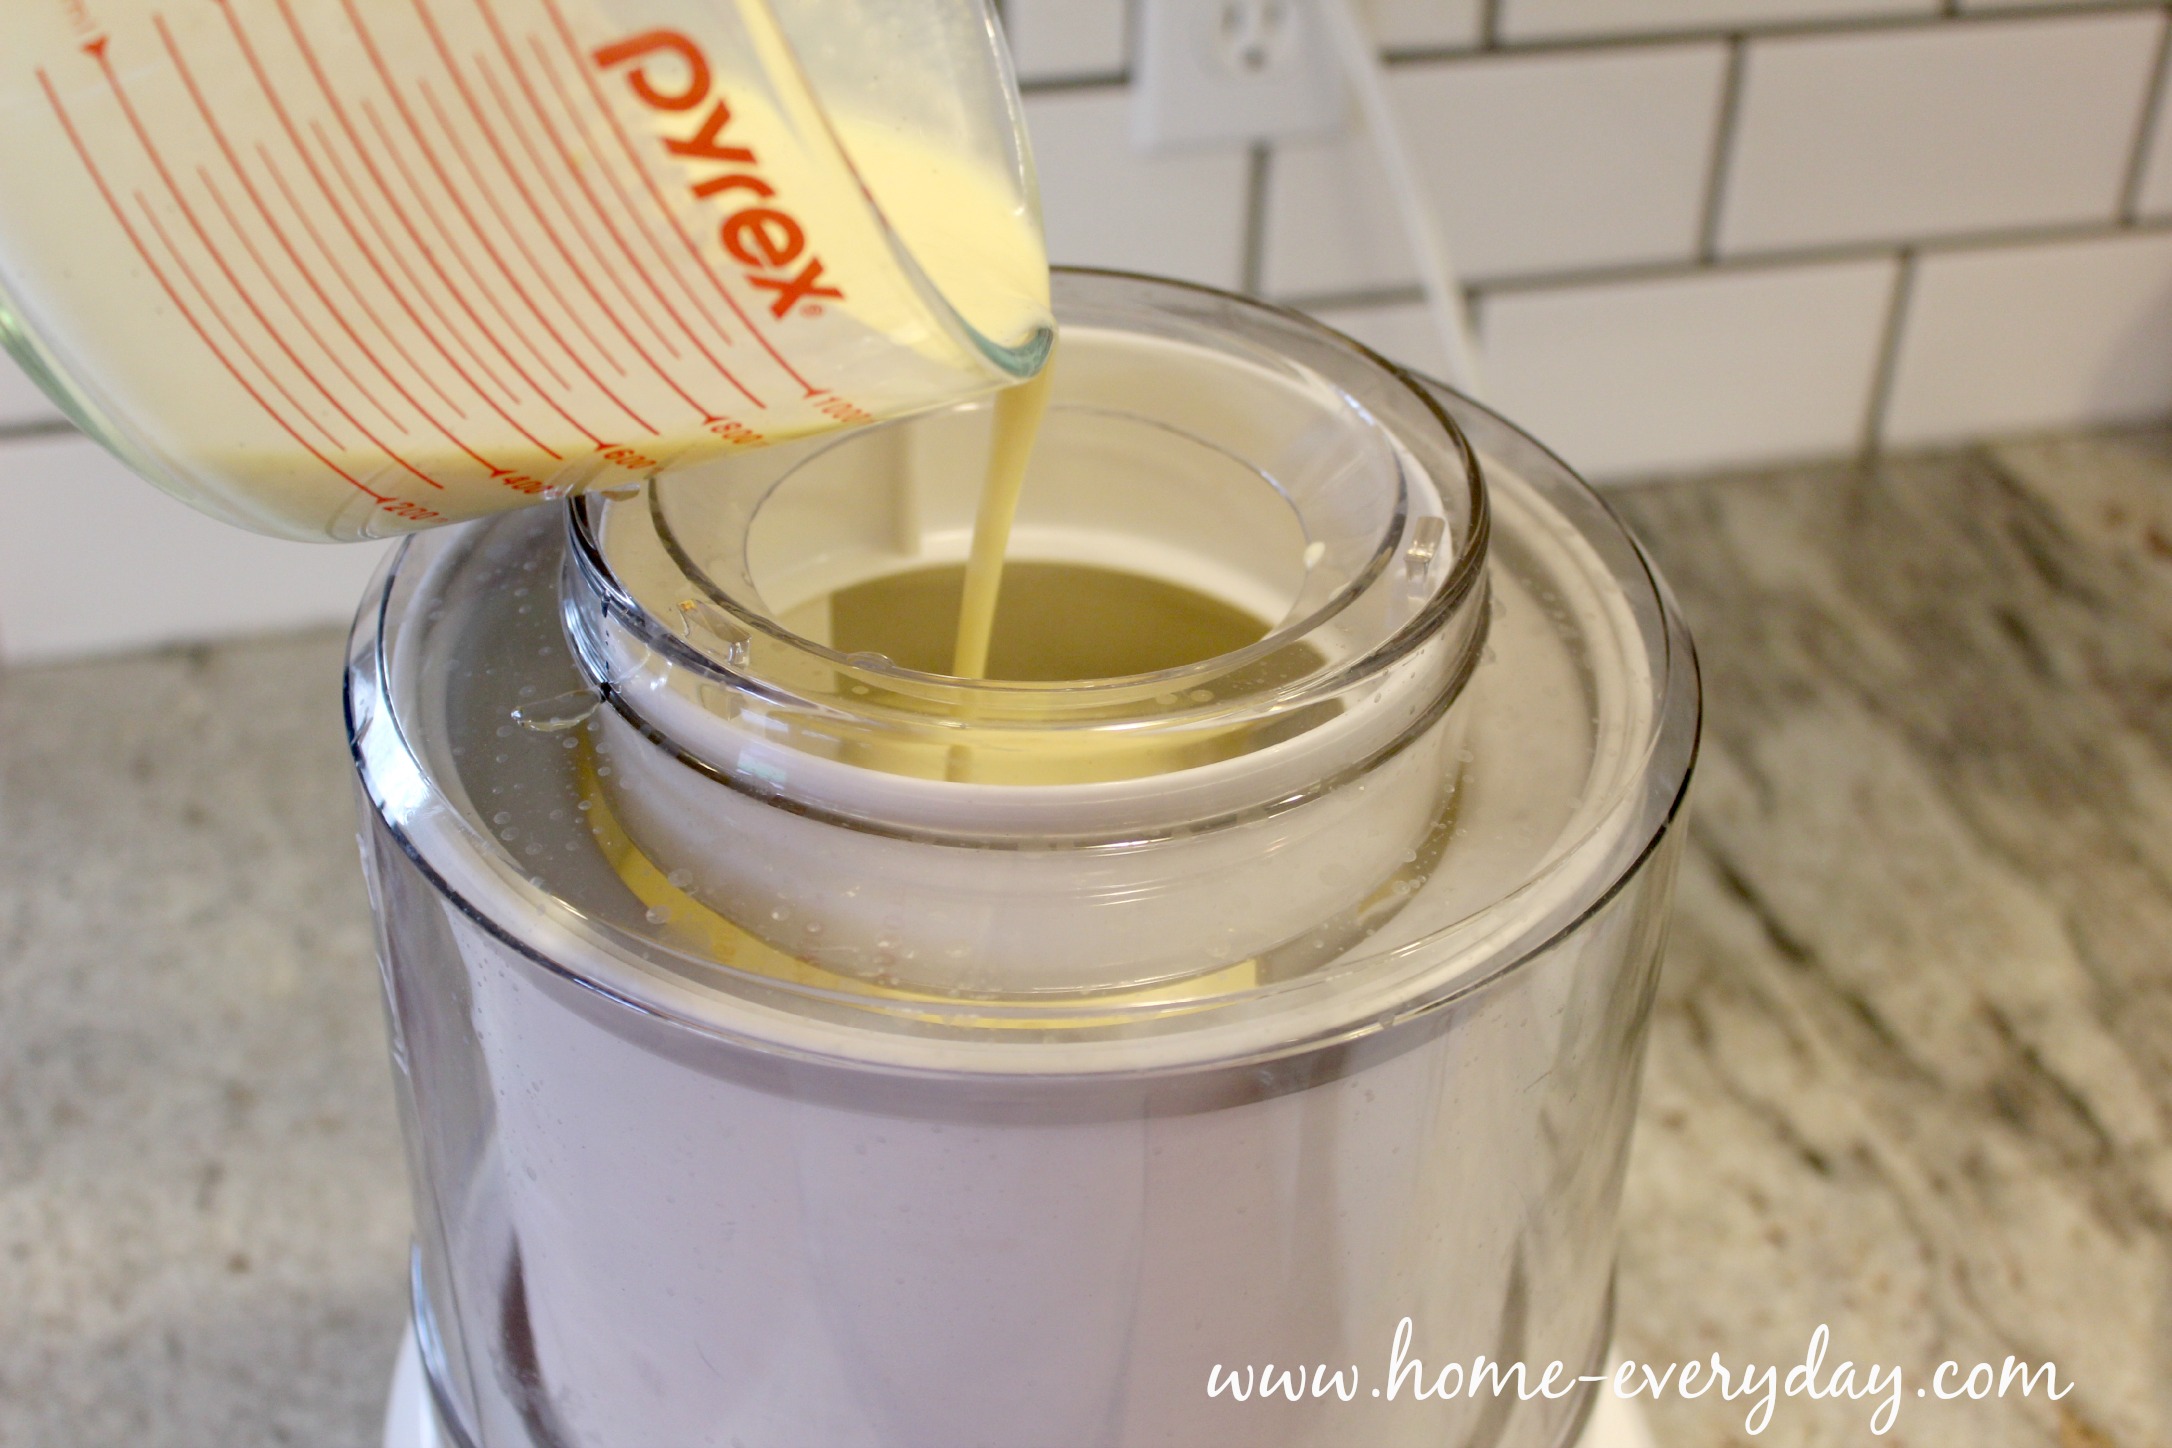
Finally, turn on your ice cream maker, and pour in the final mixture.

Traditional Vanilla Ice Cream Recipe 9

Once, you have churned the ice cream. Put the ice cream into a freezer safe container (I used wide mouth Mason jars with plastic lids).

Traditional Vanilla Ice Cream Recipe 11

Freeze for at least two hours. This will keep in your freezer for about 2 weeks.

Traditional Vanilla Ice Cream Recipe 12

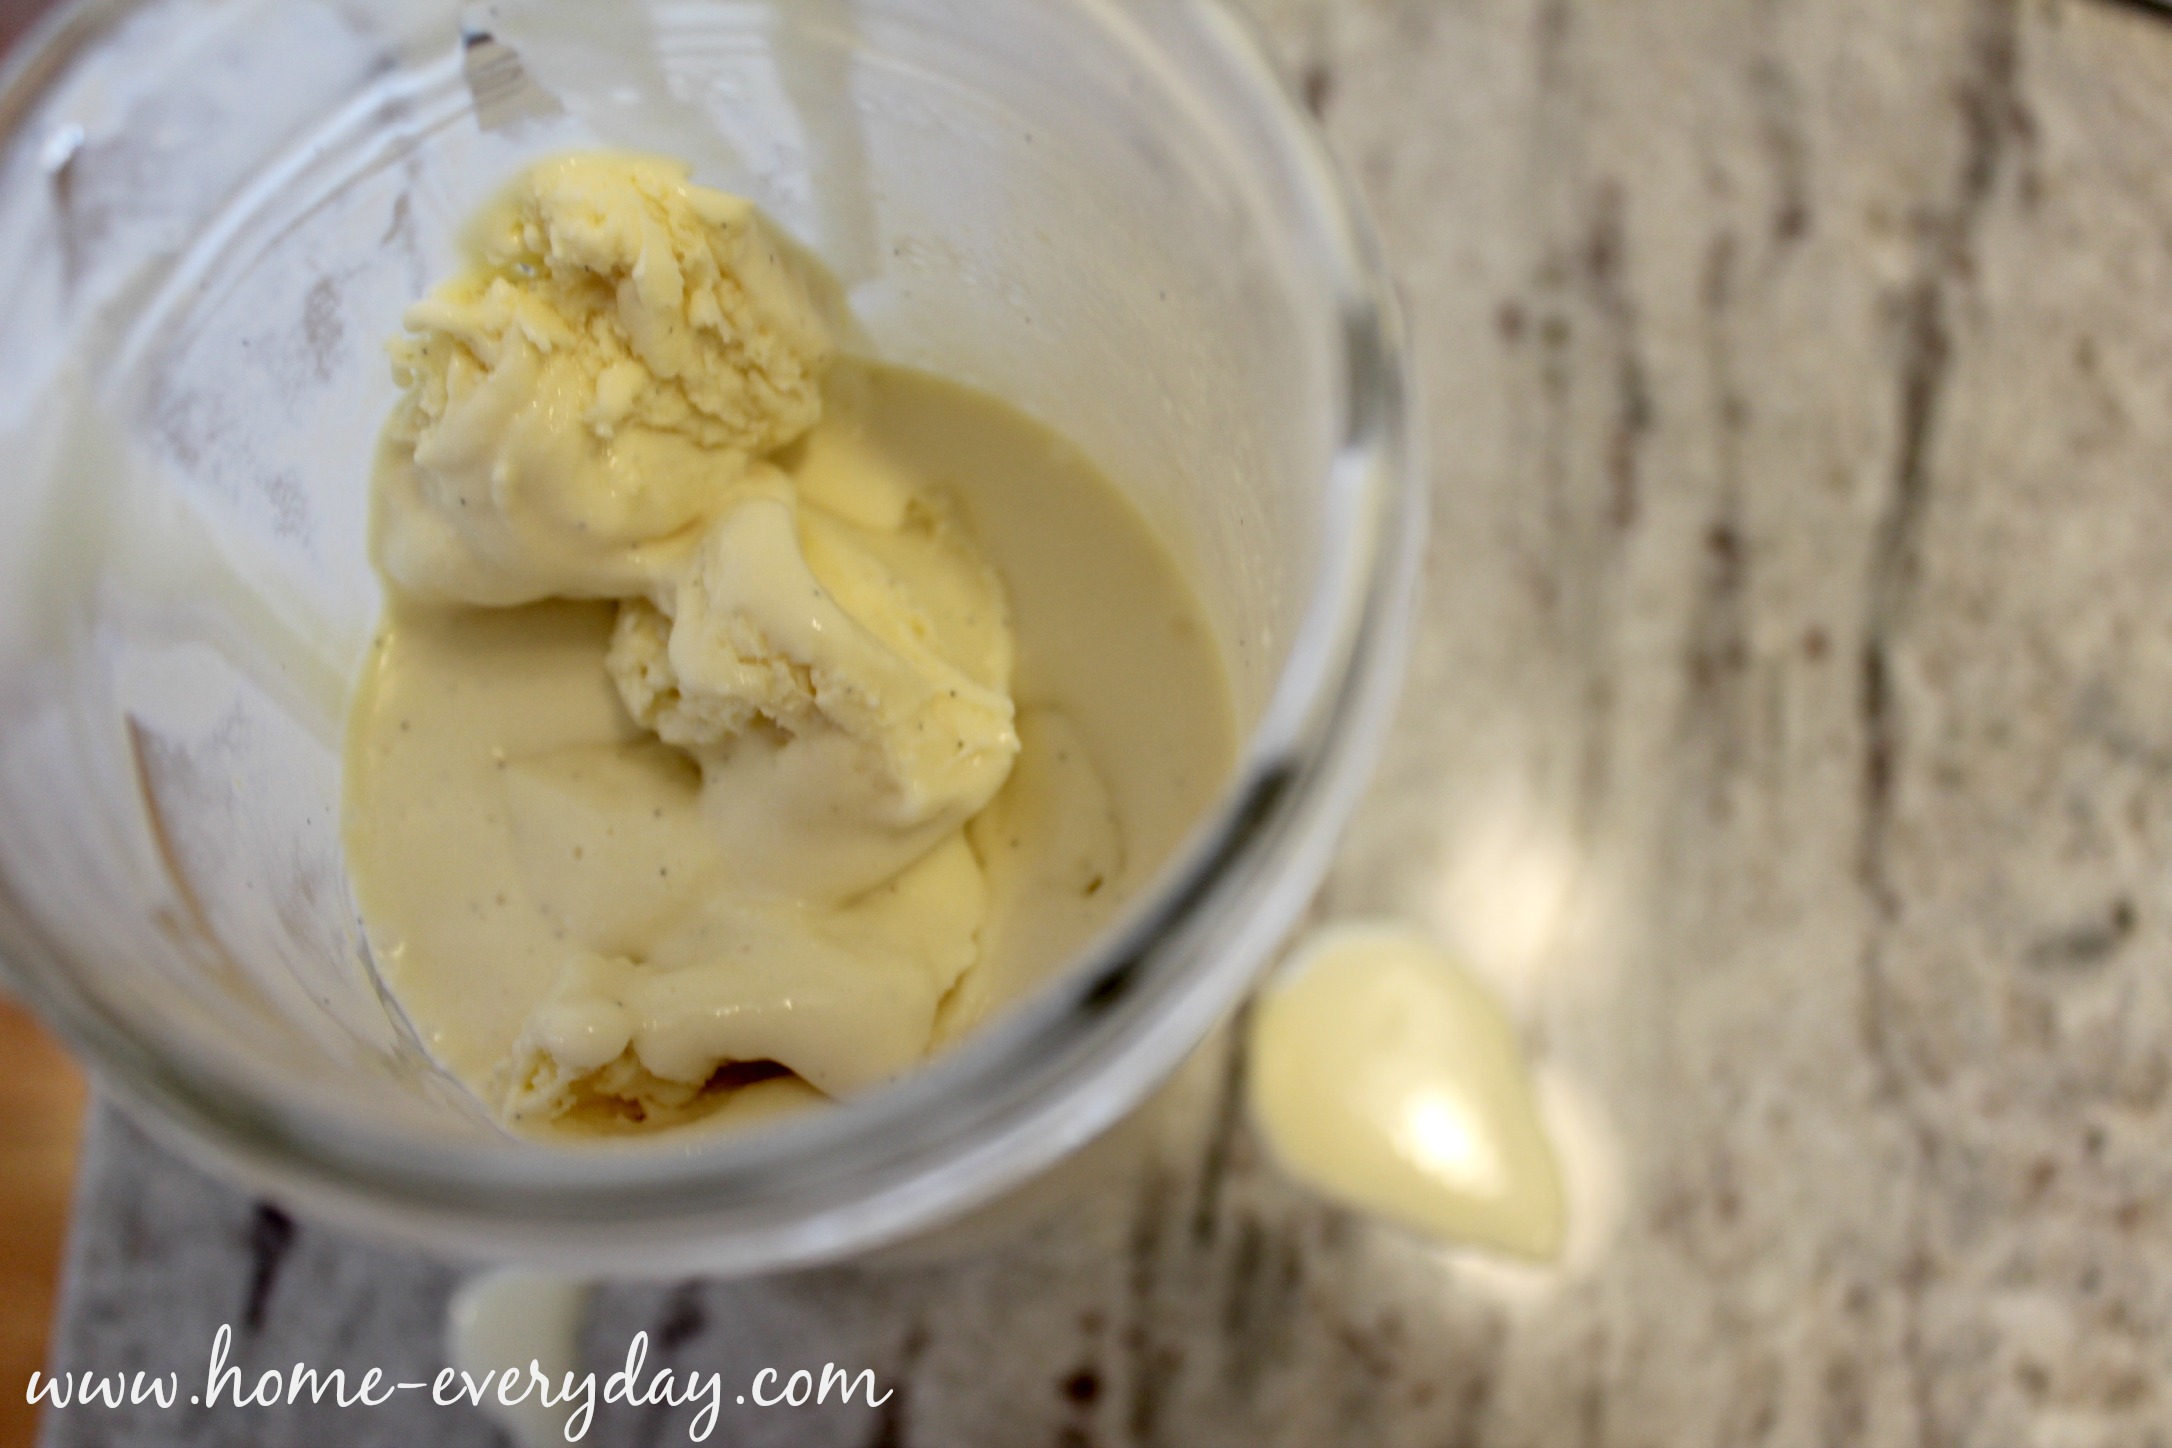
Enjoy with your favorite toppings.

Traditional Vanilla Ice Cream Recipe 16

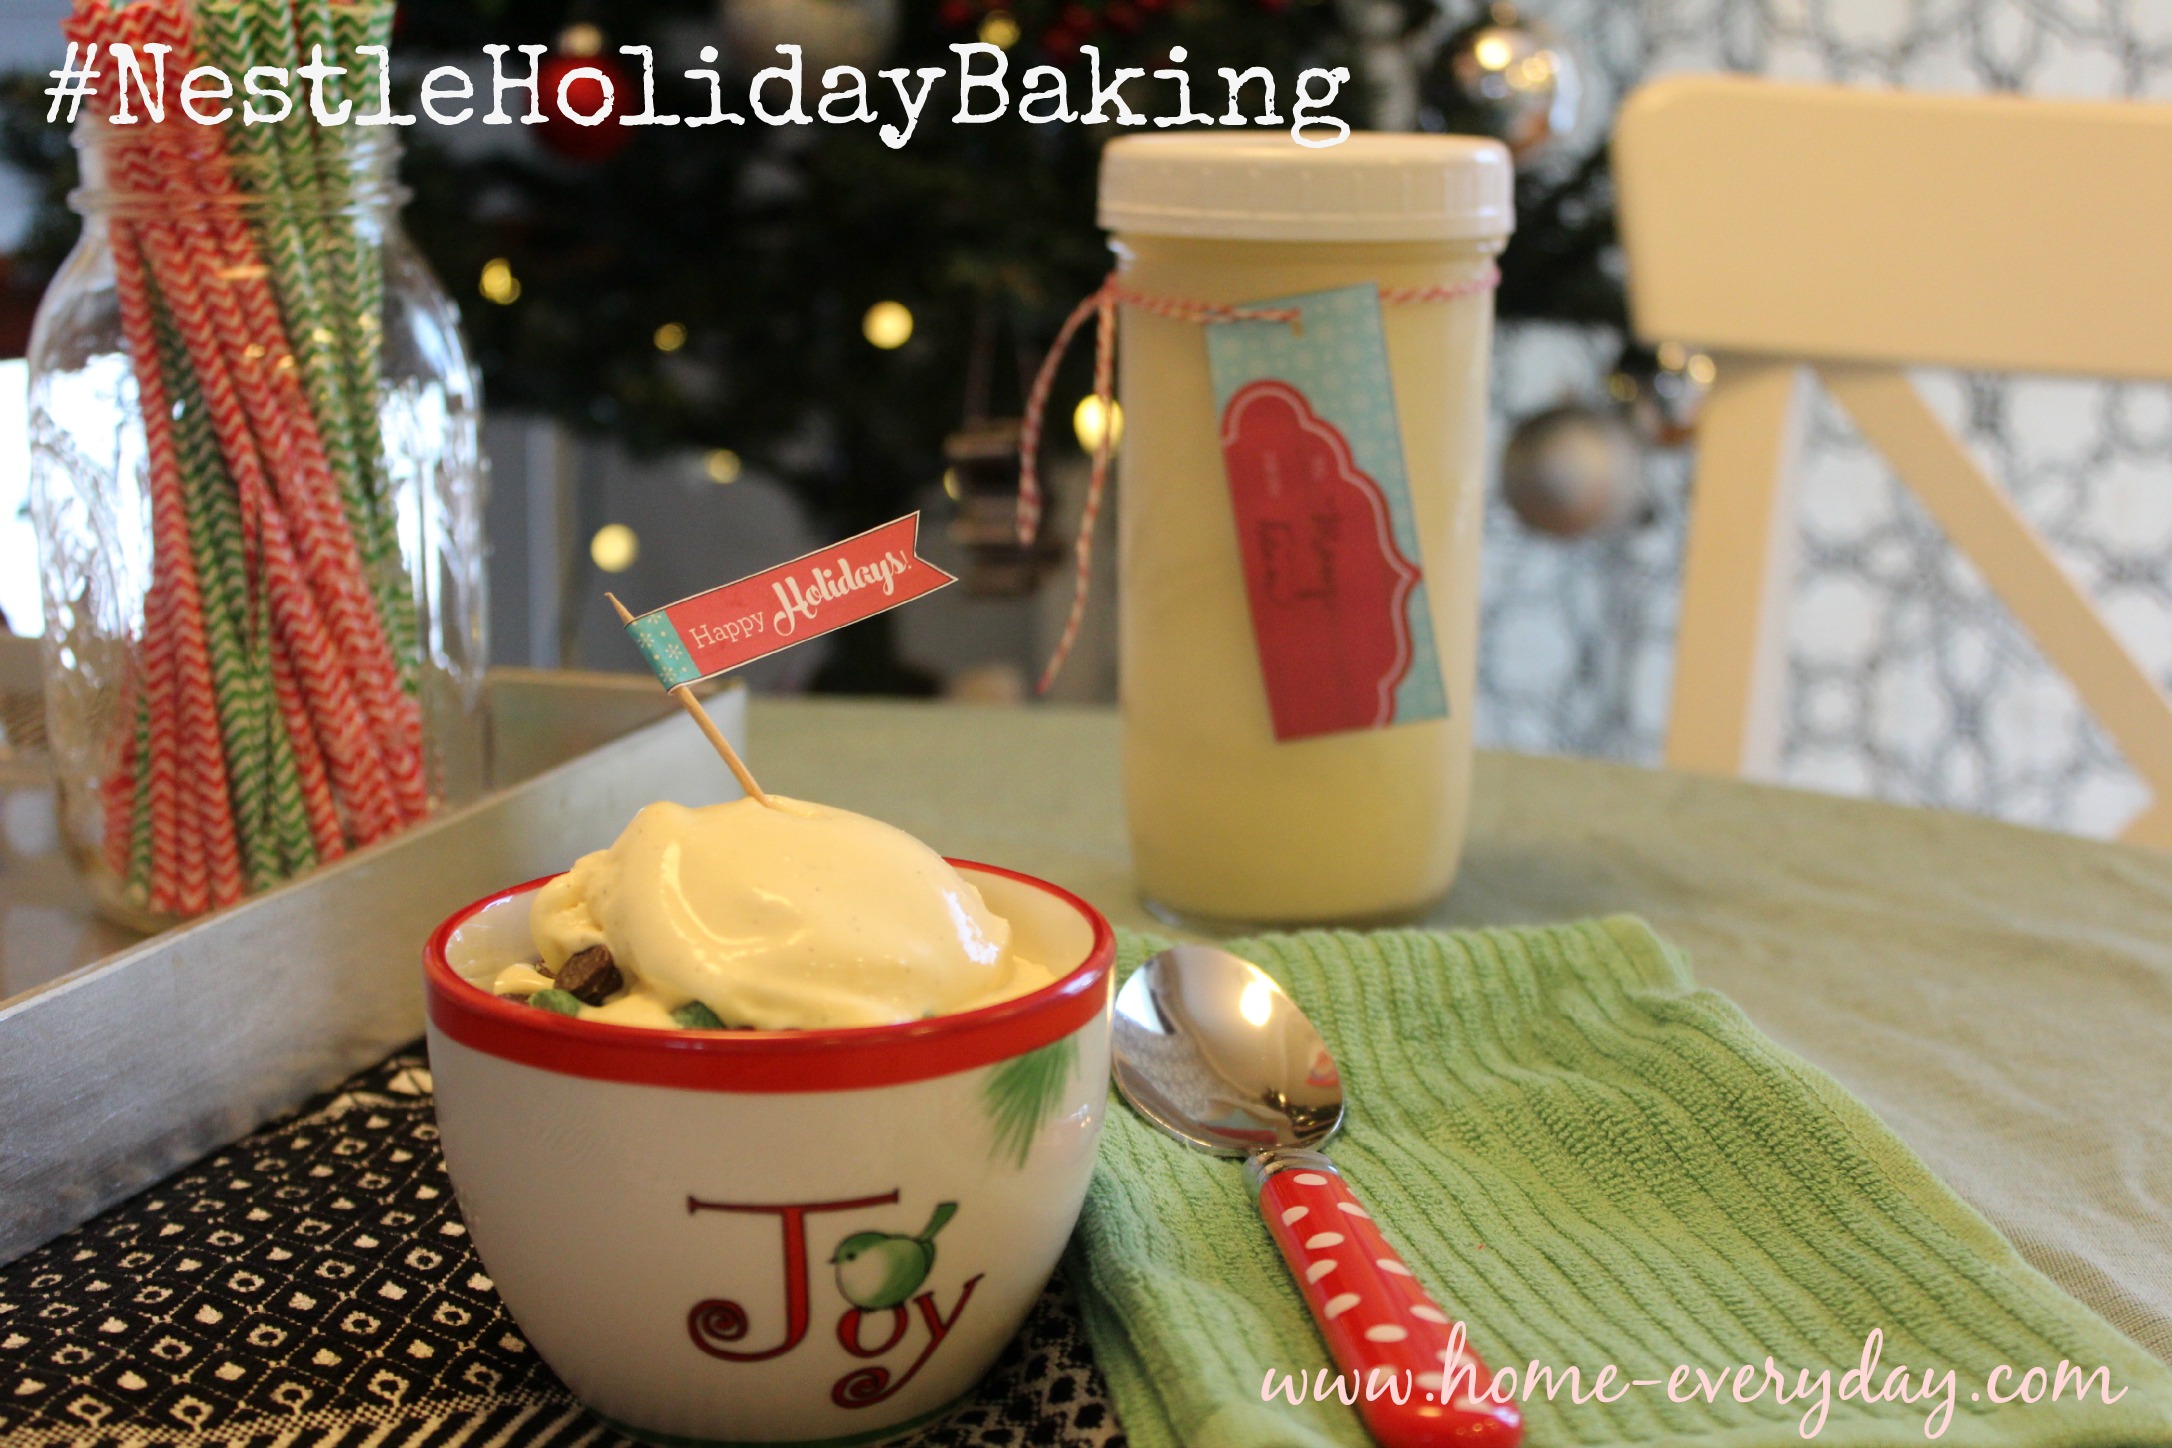
I was able to get enough ice cream to fill two Mason jars, which is perfect! Now, I have one for us and one to share. There is no better gift than something made in the kitchen, and NESTLÉ® has you covered in more ways than one. Not only was I able to get all my ingredients, but check out these adorable gift tags I was able to print out and attach to a jar of Vanilla Ice Cream for my neighbors.
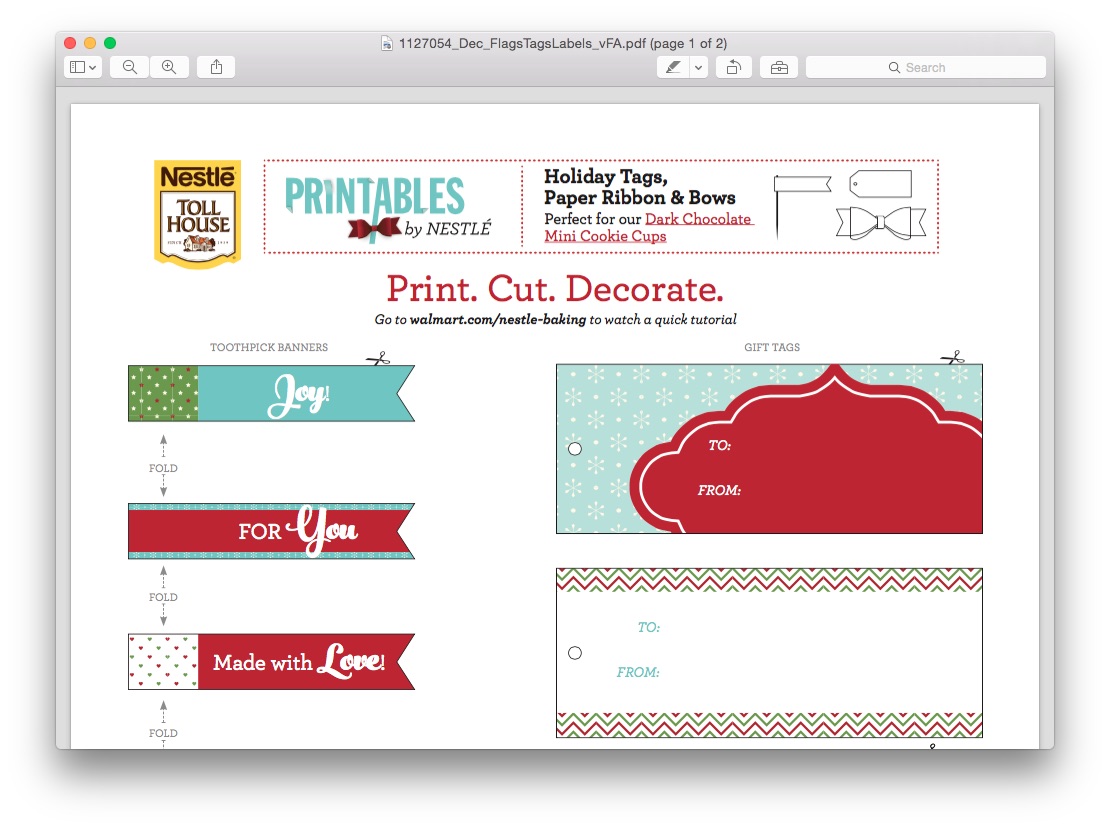
Nestle 4I cannot wait to gift this to my next door neighbors.

Traditional Vanilla Ice Cream Recipe 15

So, after you make the most delicious and vanilla-y ice cream, with some NESTLÉ® morsels stirred in, what else will you be making? Don’t forget you can head over to the Flavorful Moment Pinterest Board for plenty of ideas!

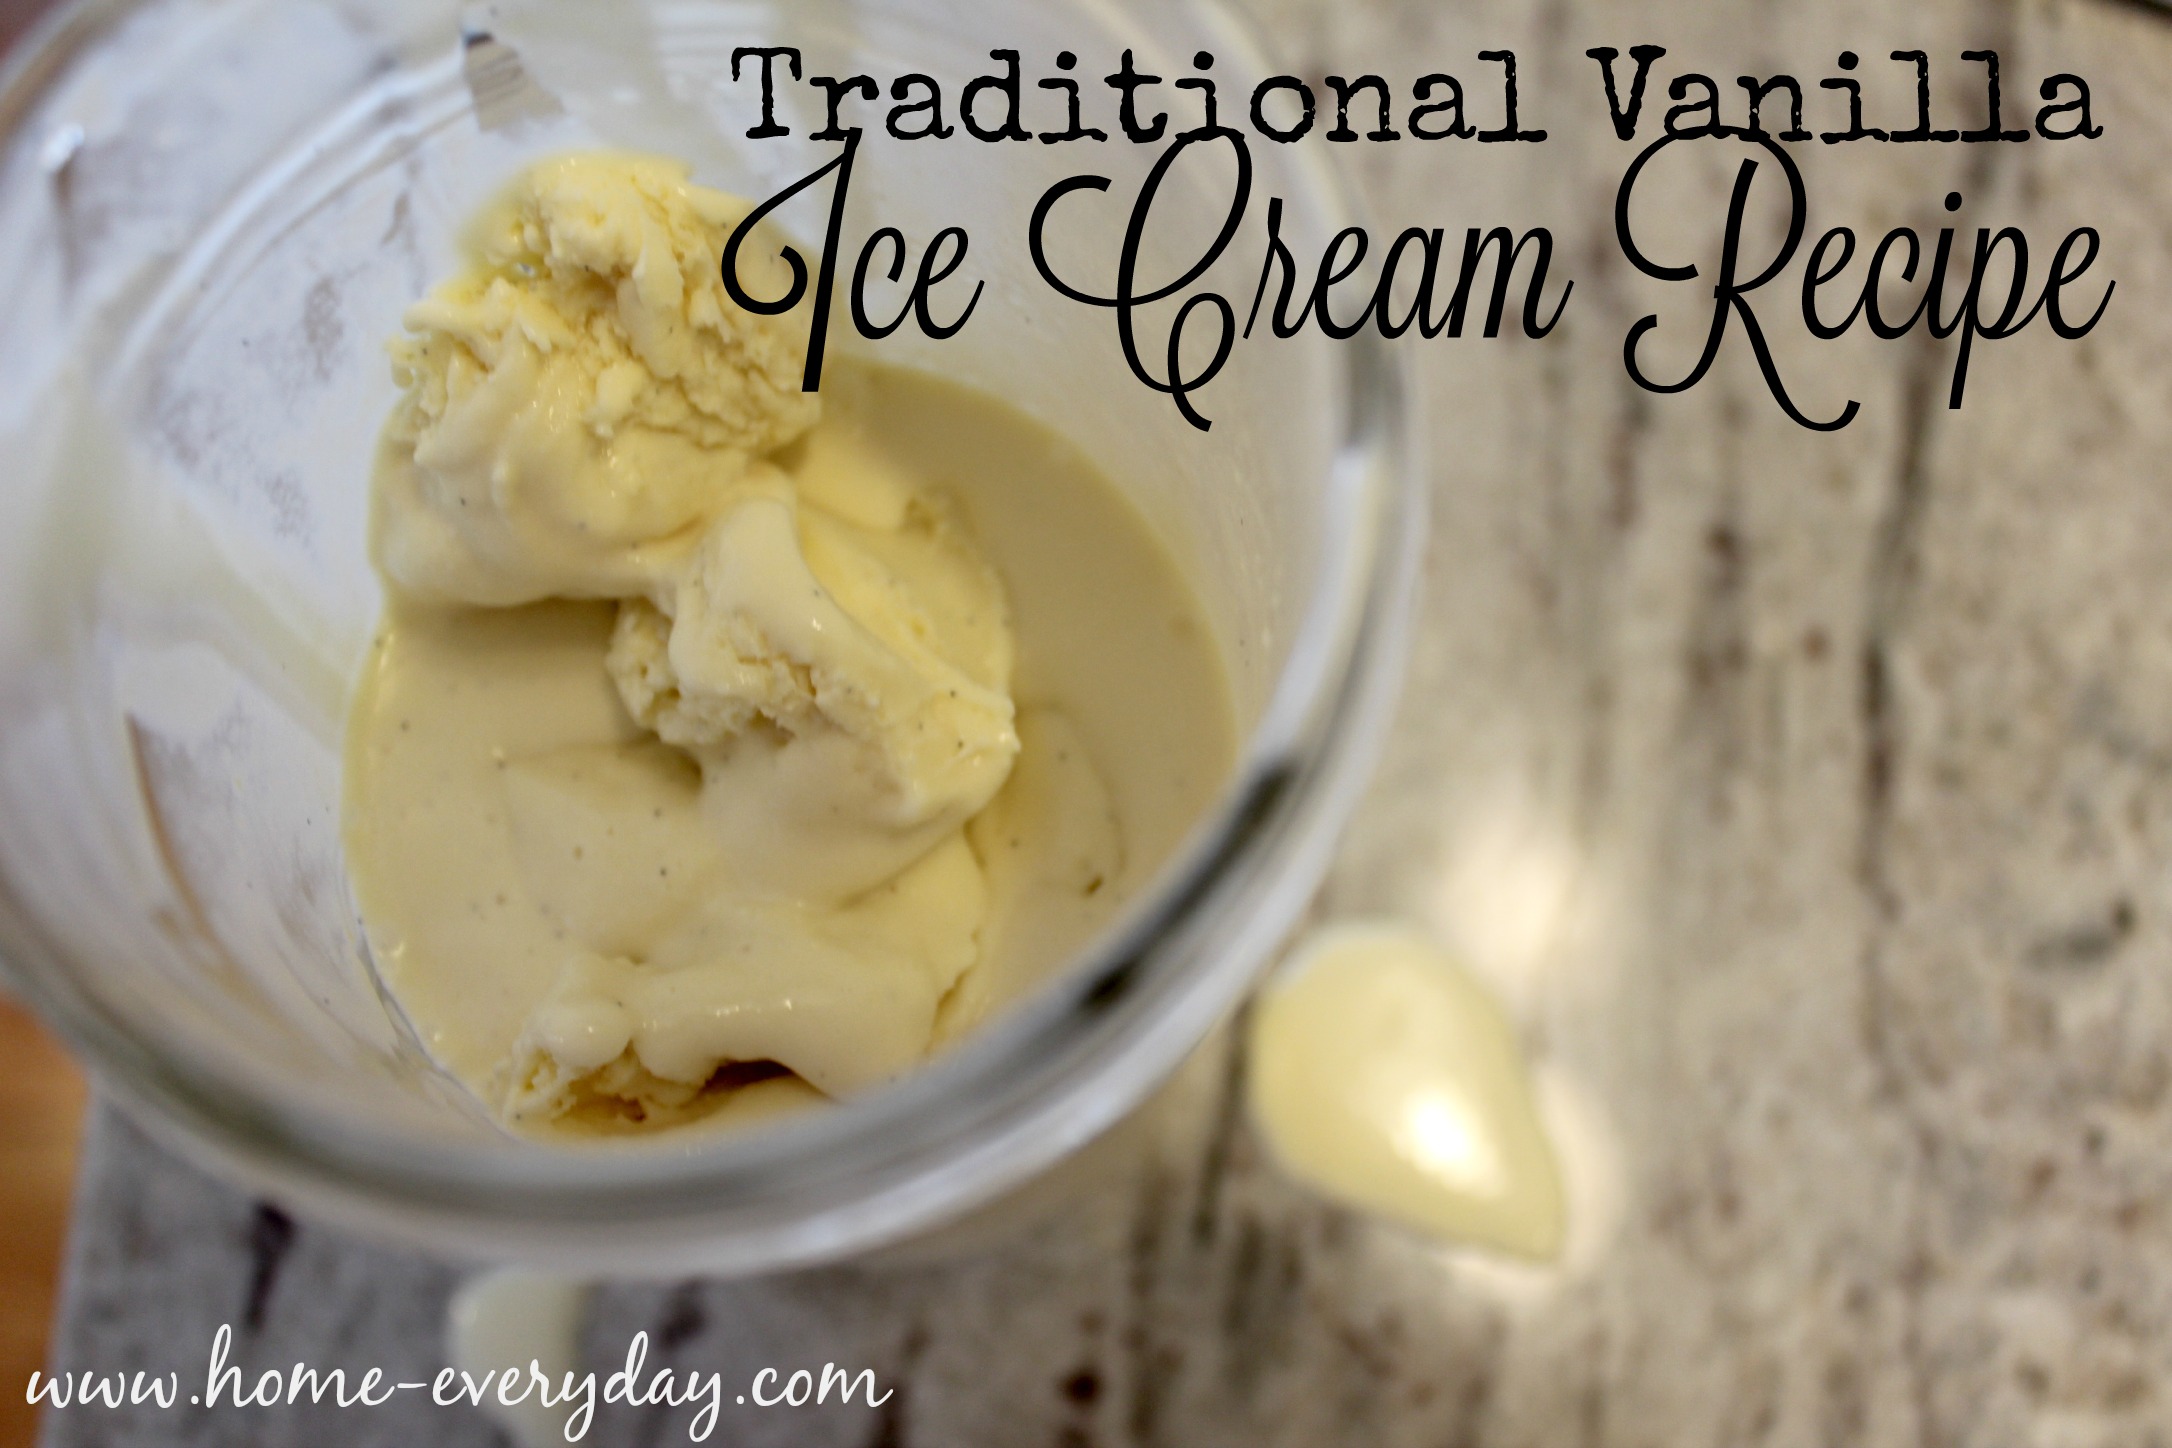


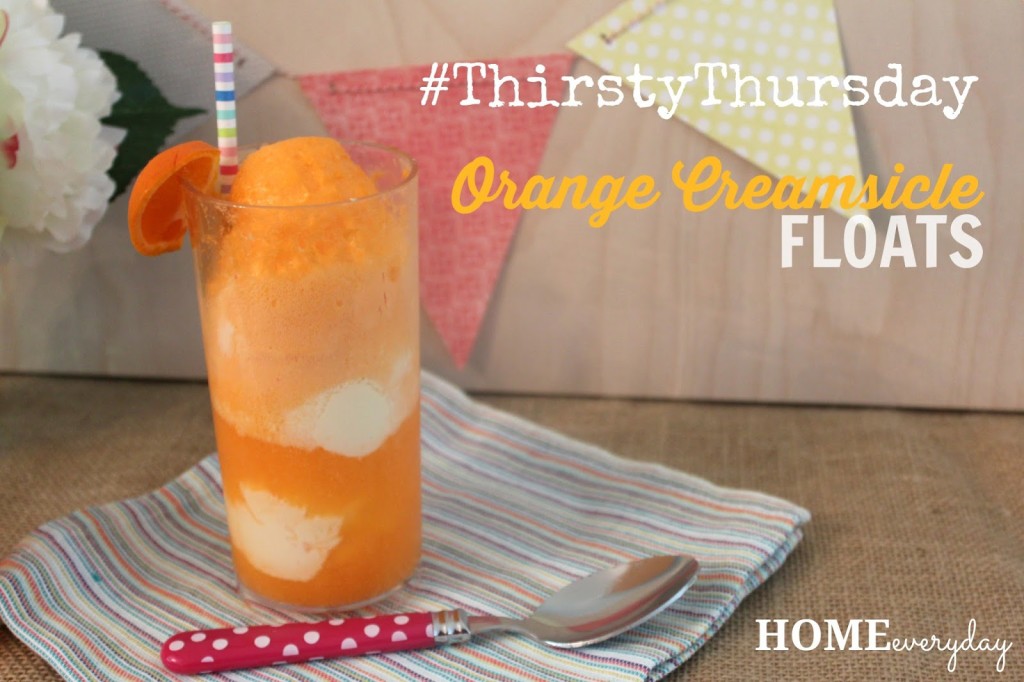
Thirsty Thursday: Creamsicle Floats

I am now on this whole float bandwagon. Ever since I mixed beer and ice cream a few weeks ago (trust me it’s awesome), I cannot get enough. I find myself perusing the soda aisle more and more, looking for different sodas to mix with ice cream. I think it is the ease of having a milkshake like treat without having to break out the blender that has me sold on them.


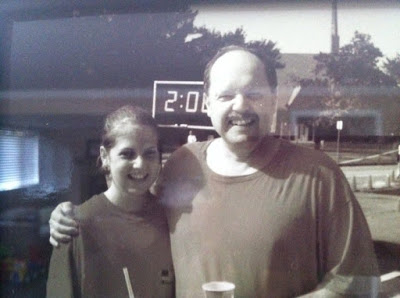
I think it is more that these treats remind me of my Dad.


So, get ready to see more of these awesome concoctions because I’m starting to see the possibilities are endless!
 

My kids are anti-root beer. It is a bummer too, because with it being caffeine free, it is a pop that I would occasionally allow on a weekend for a treat. However, they recently just tried Orange pop for the first time. And loved it.


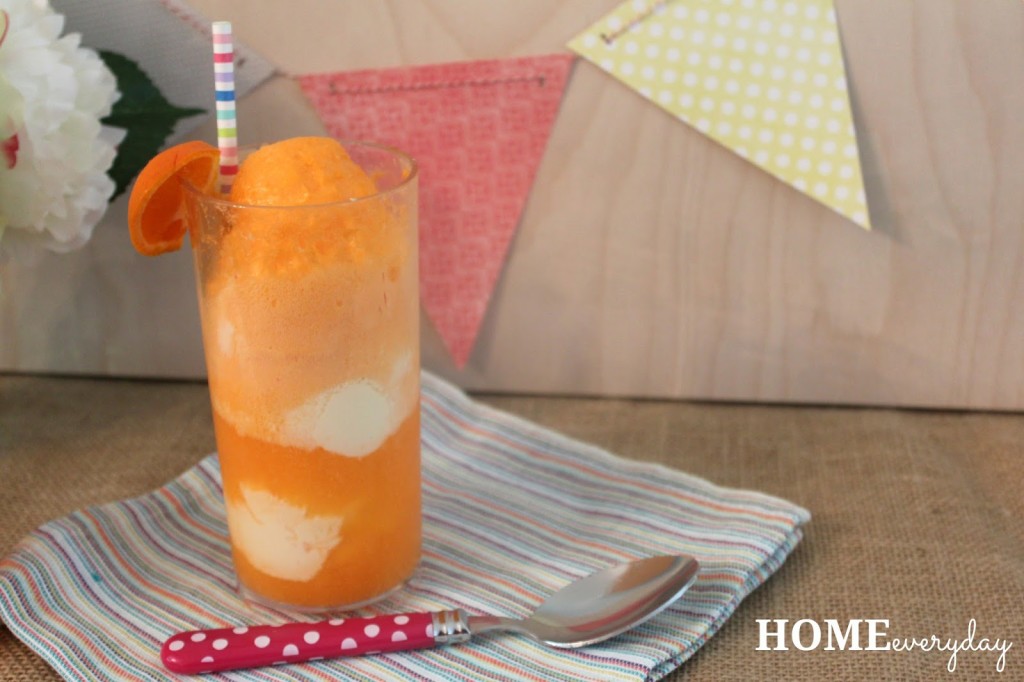
So this is where the Creamsicle float was born.

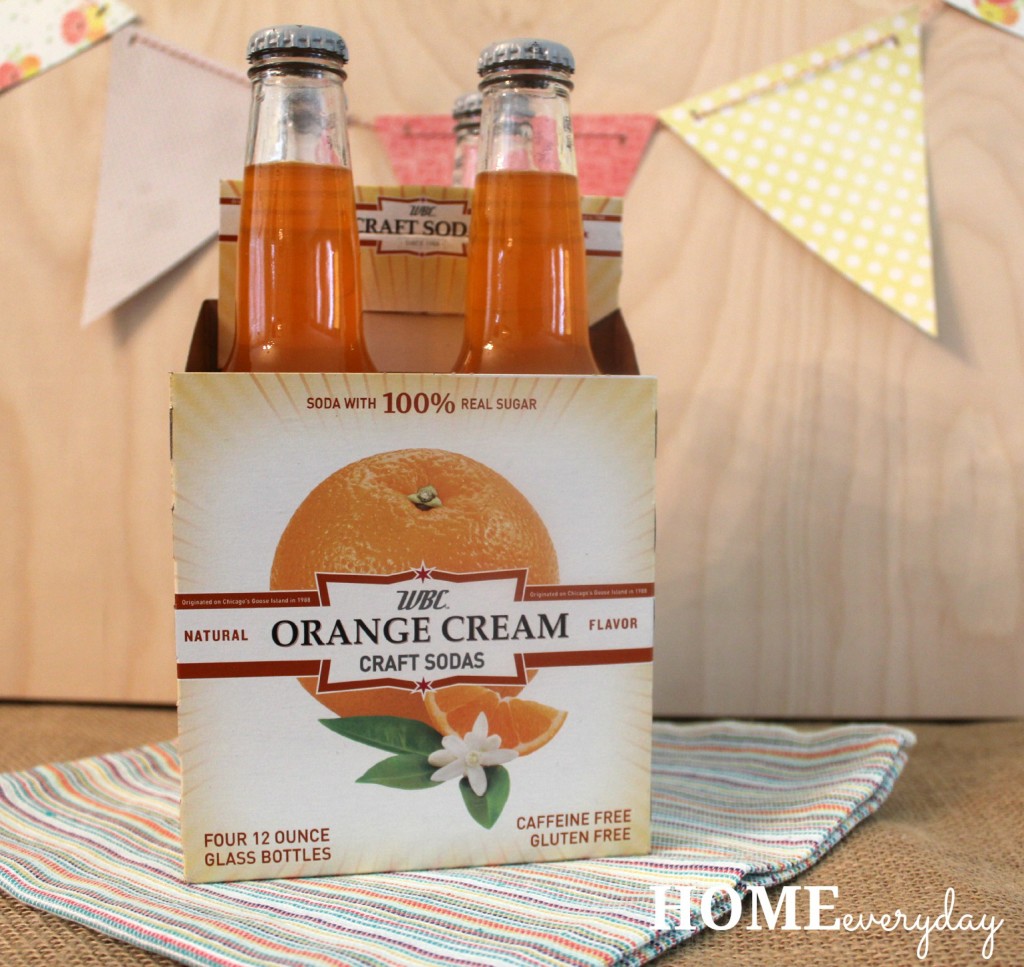
I found a great Orange Cream Soda, but my friend Shannan over at Mom Factually is so amazing and fancy that she actually has a recipe for her very own Orange Cream Soda on her blog.

You can make these Creamsicle Floats with her soda or with orange pop and either way they are a dream for anyone. I was even thinking if you wanted a grown up version, perhaps a shot of vanilla vodka might be nice.

Creamsicle Floats (makes one)

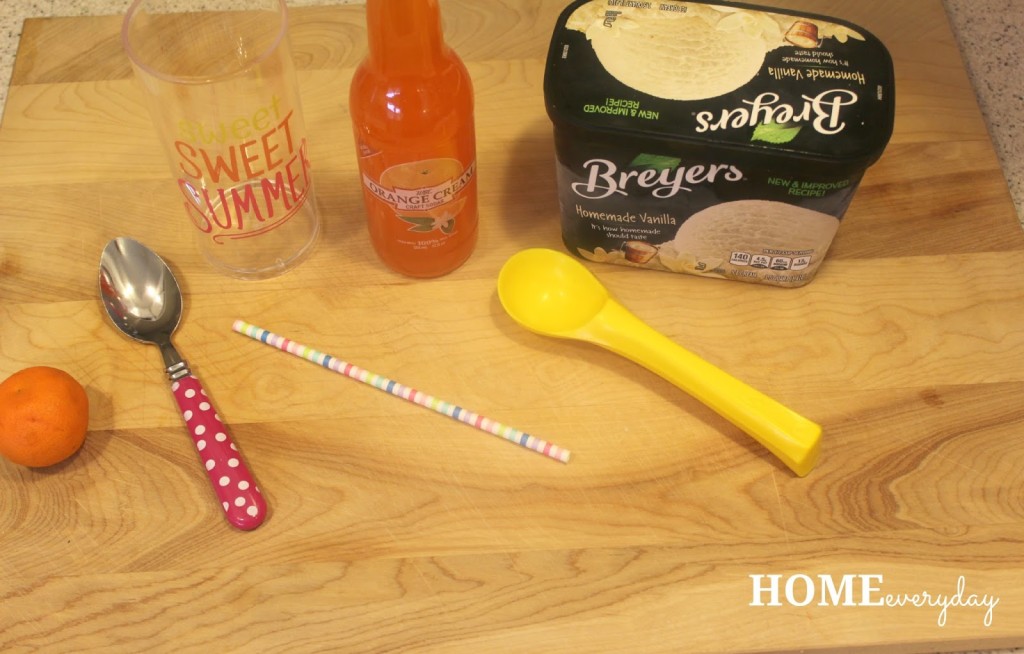
1 bottle or 12 oz orange cream soda or orange pop chilled
3 scoops vanilla ice cream
orage slices for garnish


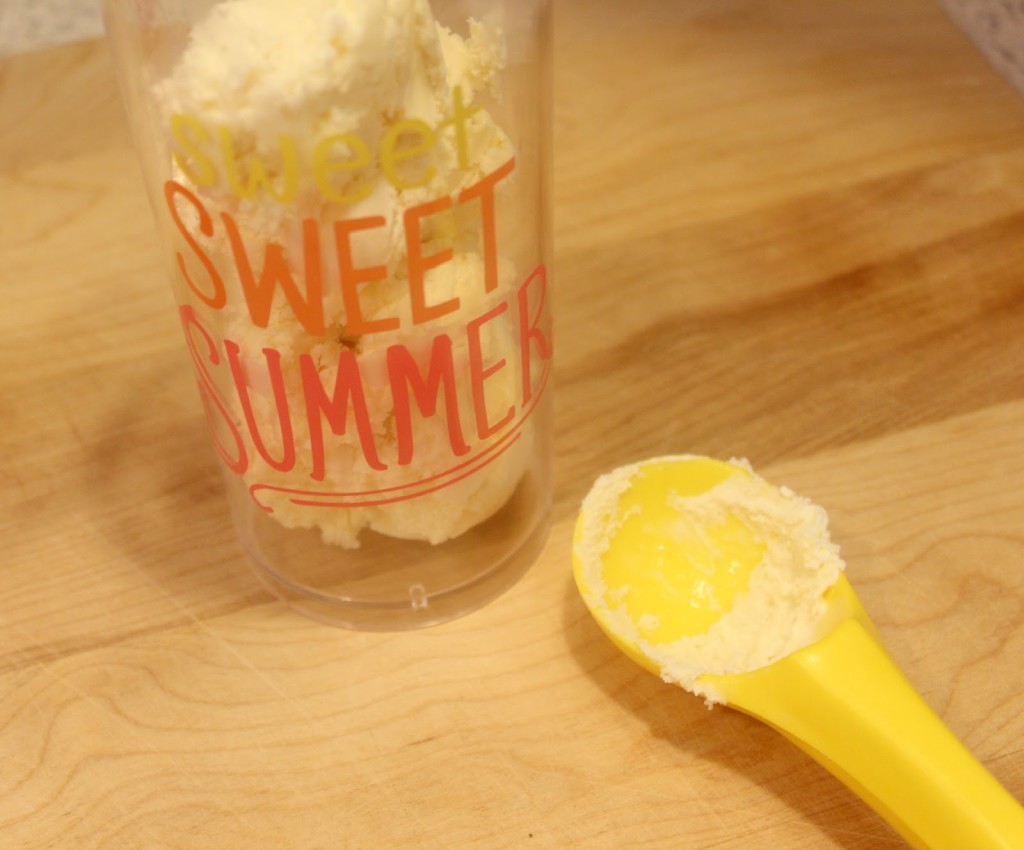
In a large glass scoop ice cream.


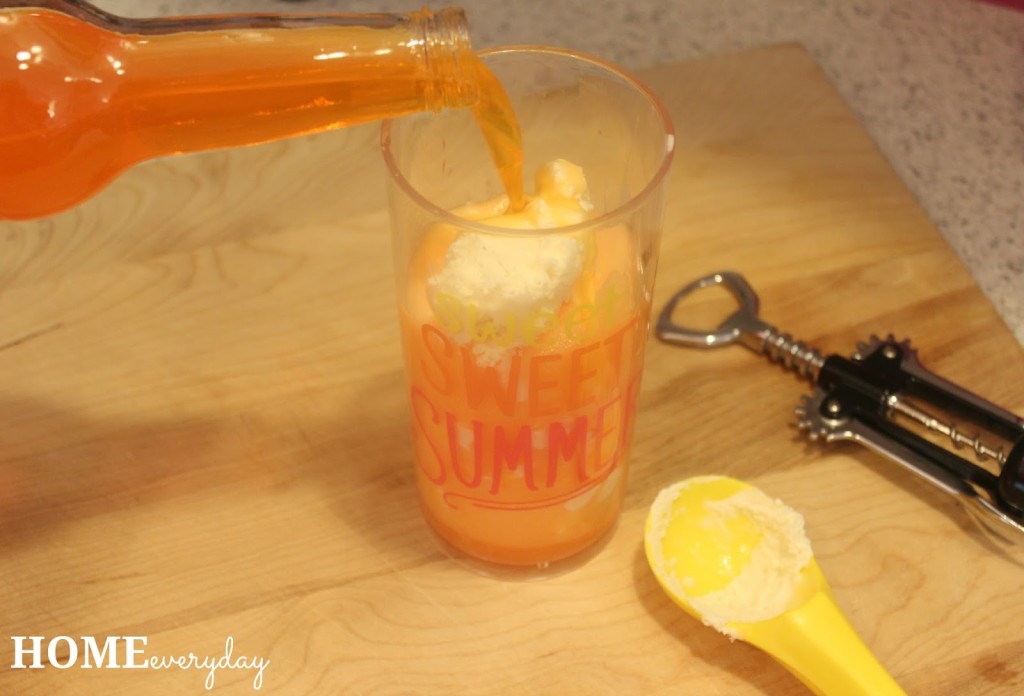
Pour soda over. Serve with orange slices, straw and spoon.


Sipping with your shoes off in the sunshine is best!
 

For last week’s Thirsty Thursday CLICK HERE. For all things beverage related, check out the THIRSTY THURSDAY page for recipes for all kinds of drinks, cocktails, and all things drinkable!


Want to read more about all things domestic with a touch of humor? Become a Home Everyday follower! For blog updates or to see other places I write such as ChicagoNow or Chicago Parent follow Home Everyday on FacebookTwitter, and Pinterest.


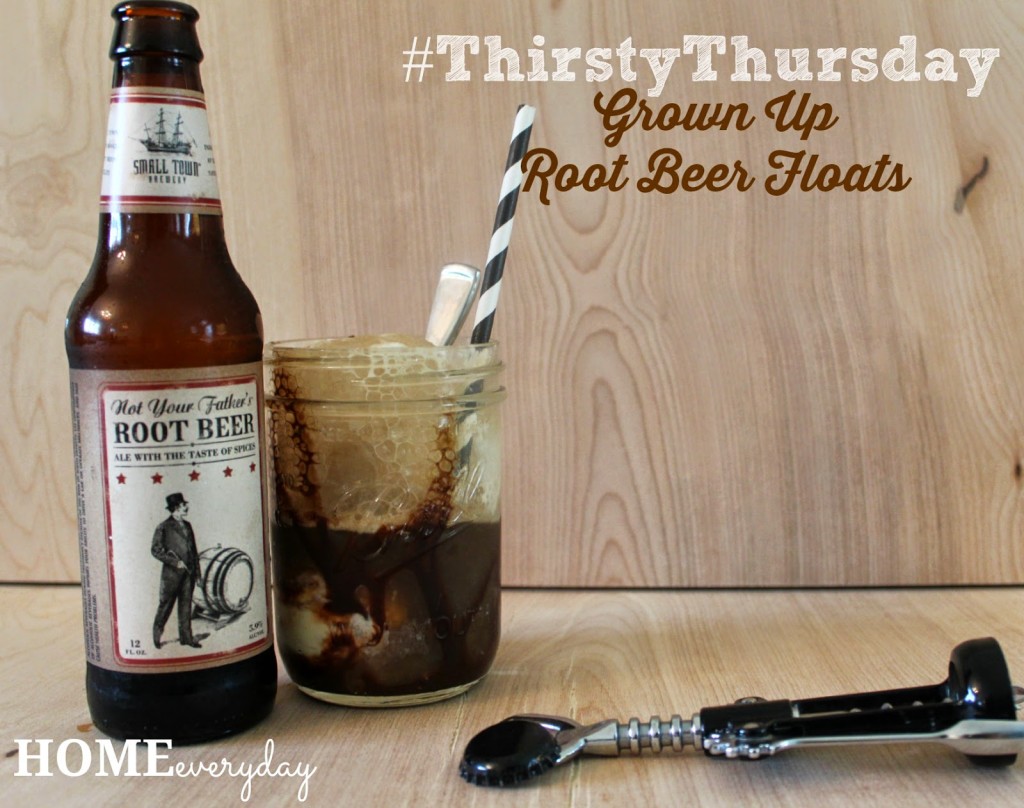
Thirsty Thursday: Grown Up Root Beer Floats

I did something crazy and amazing at the same time. I mixed beer and ice cream. I know. Most of you think this is disgusting. However, for some of you, I have made all your dreams come true.


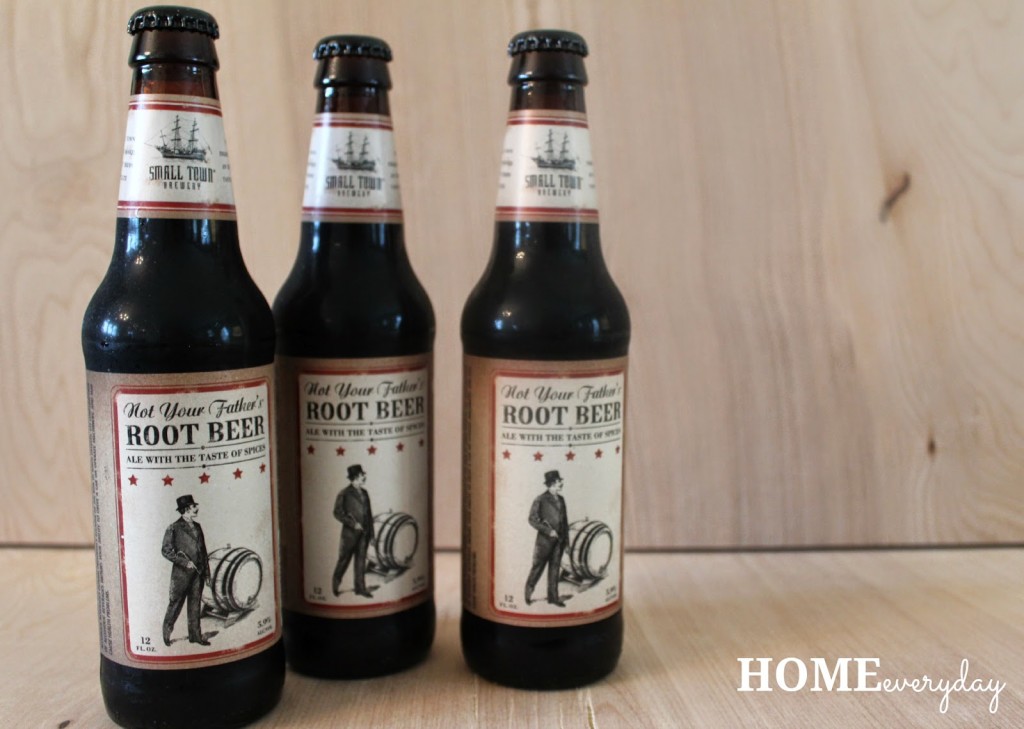
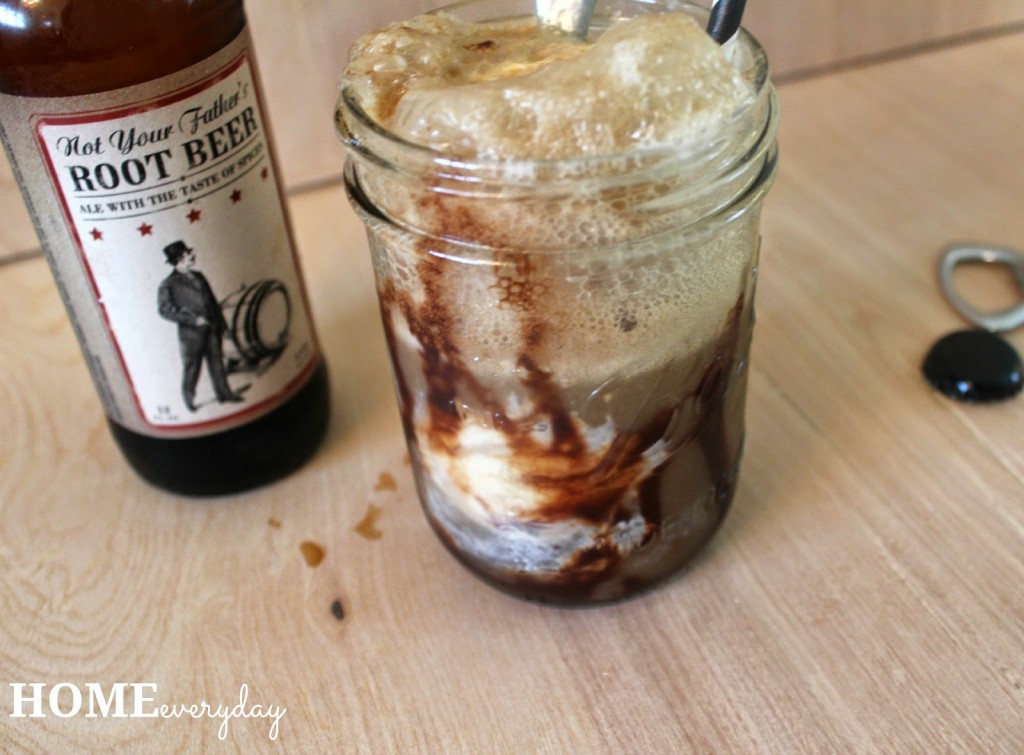
Hear me out first. There is this amazing beer. It is beer, but it tastes like root beer. Like exactly like root beer. Not Your Father’s Root Beer is manufactured by Small Town Brewery and it is a must have for summer! Beer drinkers like it because it has a lot of interest. Non beer drinkers will love it because it tastes like pop!


And if you do what I did, and make an decadent grown up version of an old time favorite with it, you’ll have to keep some on hand at all times because your grown up friends will want you to serve up this treat all summer long!

Grown Up Root Beer Float (makes one)
1 bottle of Not Your Father’s Root Beer (chilled)
chocolate syrup
vanilla ice cream

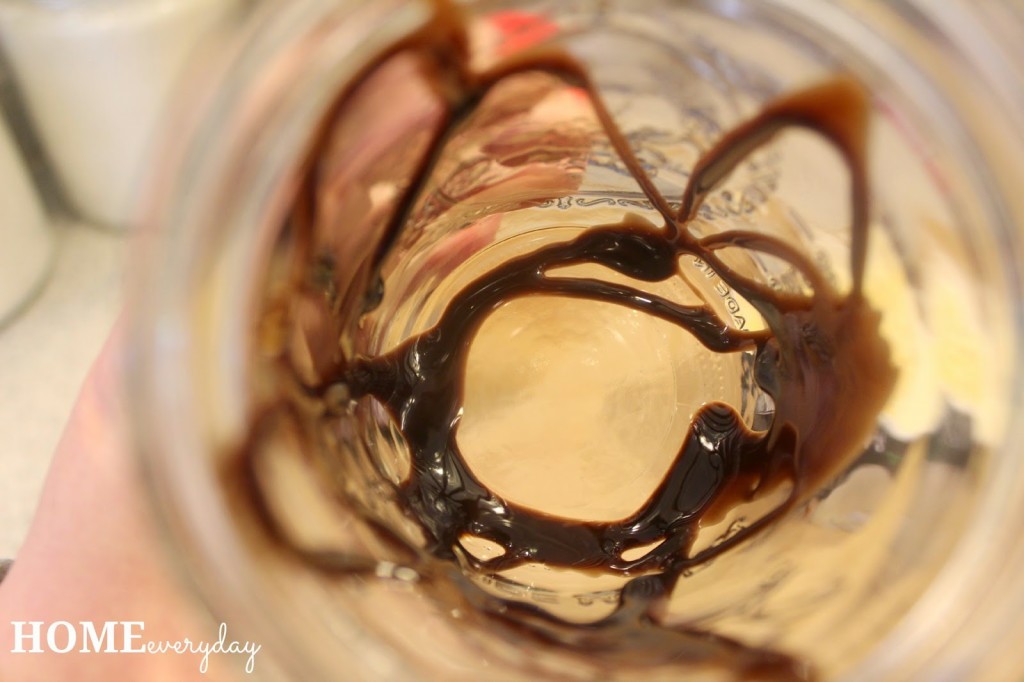
Drizzle the inside of a large glass with about one or two tablespoons of chocolate syrup.


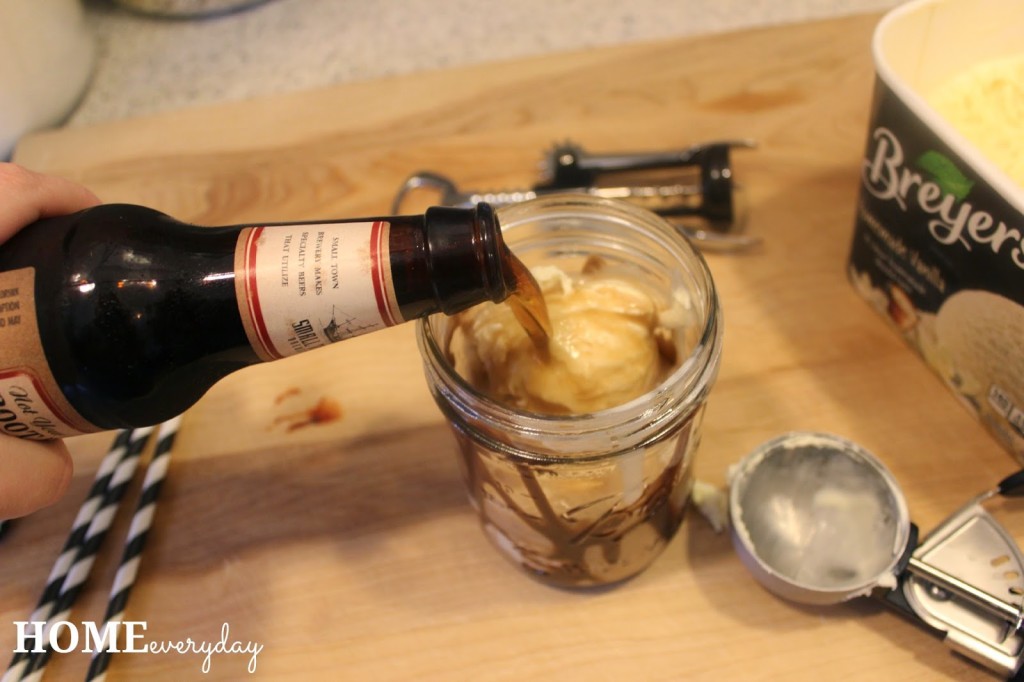
Then, in the same glass, add two scoops of the ice cream.

Finally, carefully pour the chilled beer over the ice cream. The beer will foam like a regular root beer float, so this is where an extra large glass comes in handy.


Serve with a straw for sipping and a spoon for scooping the extra ice cream.

Sit outside and enjoy being a grown up, while having a taste of childhood.


For all things beverage related, check out the THIRSTY THURSDAY page for recipes for all kinds of drinks, cocktails, and all things drinkable!


Want to read more about all things domestic with a touch of humor? Become a Home Everyday follower! For blog updates or to see other places I write such as ChicagoNow or Chicago Parent follow Home Everyday on FacebookTwitter, and Pinterest.

Thirsty Thursday: Frozen Floats

So, my youngest. The baby. She is about to be 4! I know I say this all the time, but the days drag and the years are flying by. She might as well be 14, because how can this:

Turn into this in the blink of an eye?
In addition to being almost 4, this little lady knows exactly what she wants for her birthday. She wants lasagna, salad, and a soccer cake with Elsa and Ana from Disney’s Frozen on Top. So, I am doing my best to abide. I thought it also might be fun for the little princess I would make a special drink for all her guests who join us for dinner too.
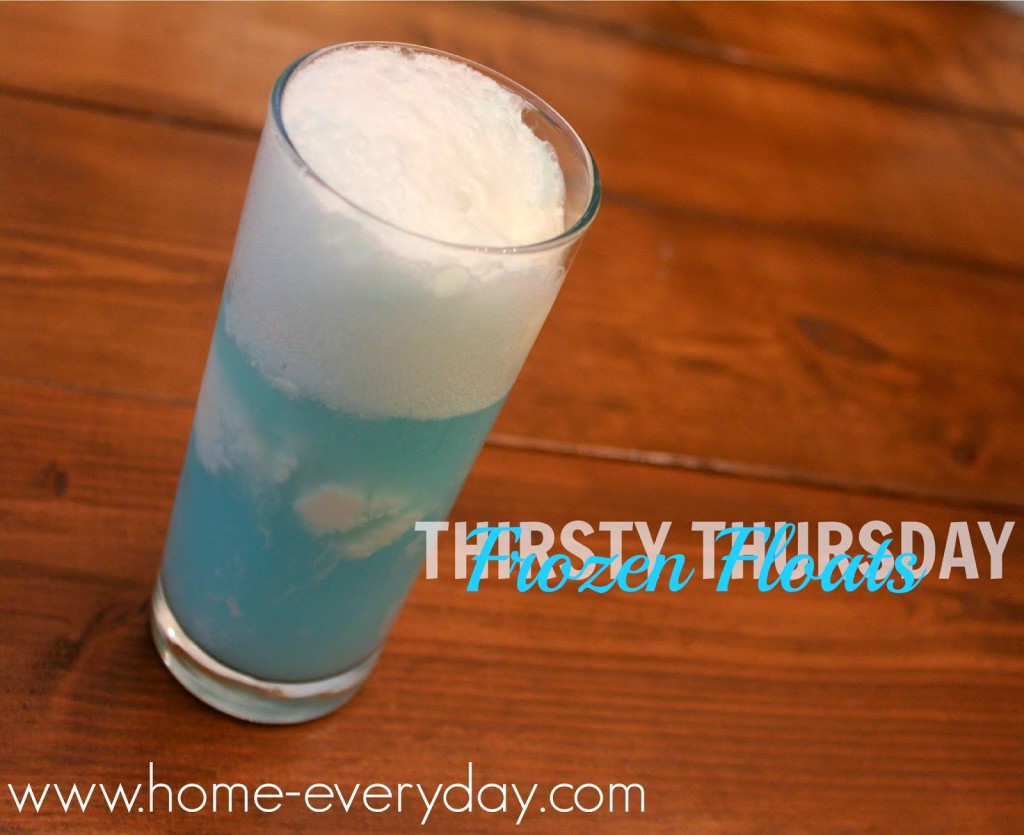
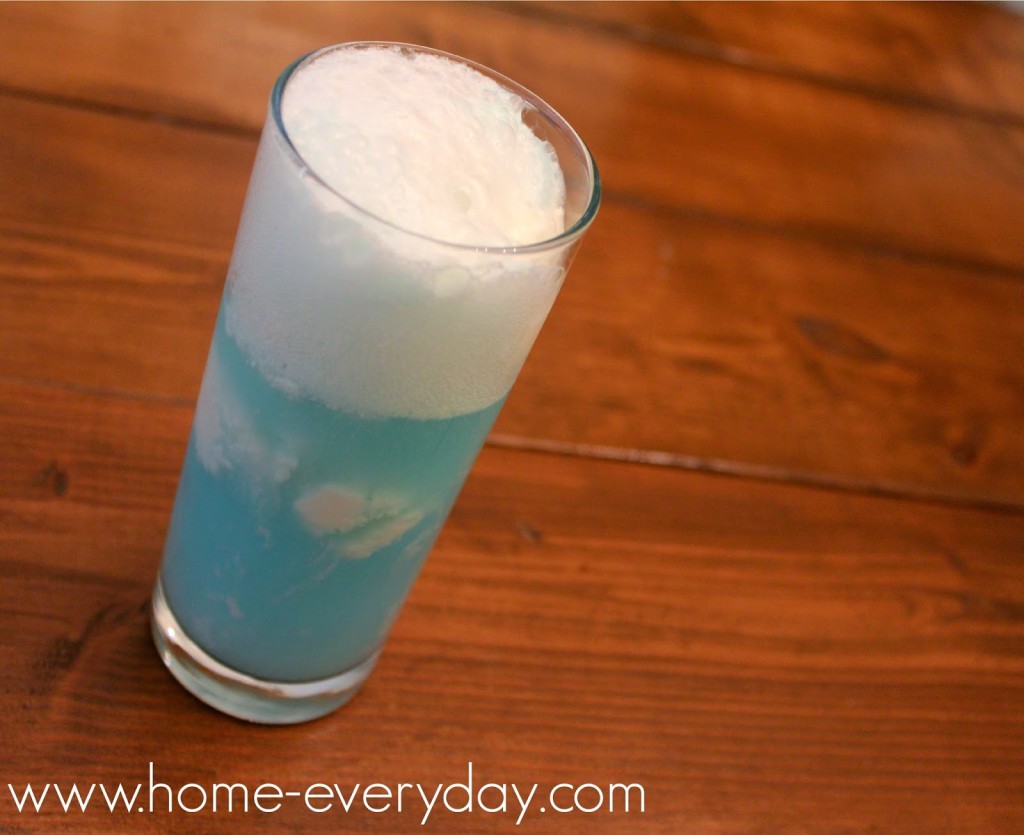
Our friends introduced us to the Frozen Punch at their daughter’s birthday party, and rather than make an entire bowl of punch, I decided to downsize and whip up some Frozen Floats that I can make to order for the smaller crowd we will be hosting this weekend.
They are Coco tasted and approved and perfect for all the princesses (and princes) in your life.
Frozen Float (makes 1)
2 scoops vanilla ice cream
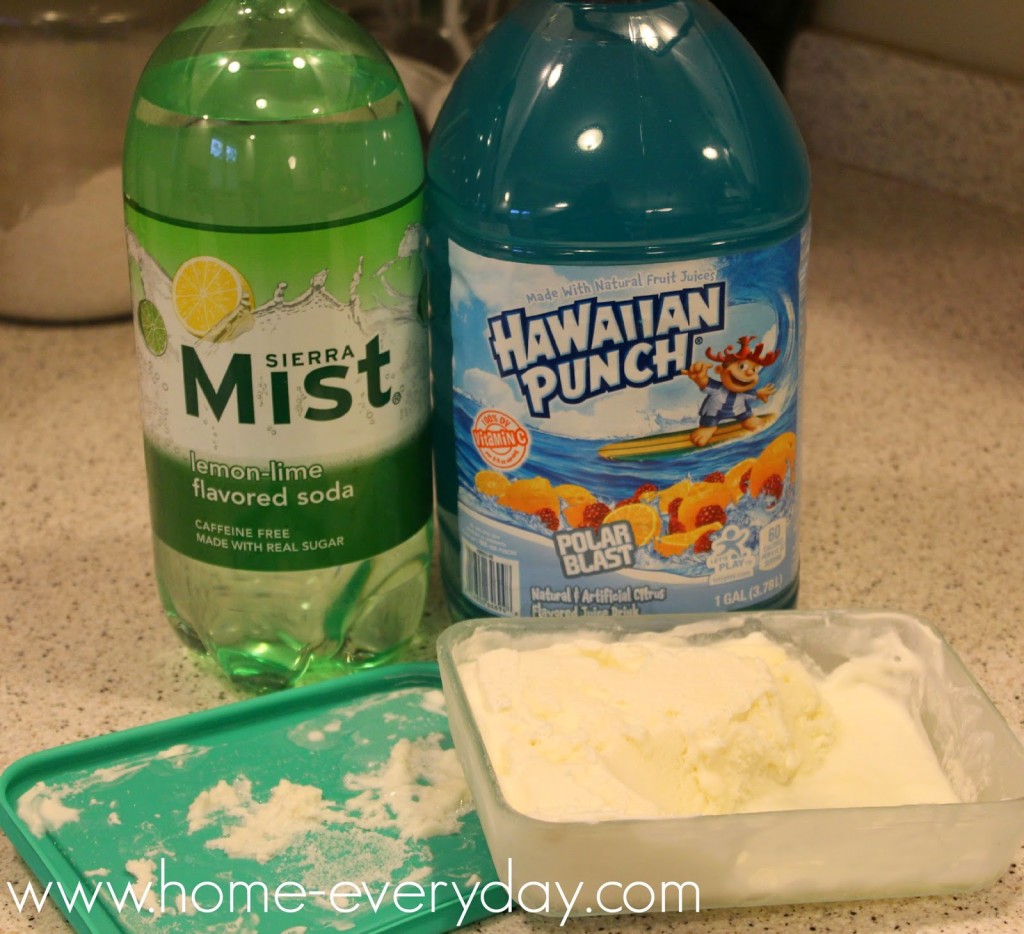
4 oz chilled Polar Blast Hawaiian Punch (or blue fruit punch like beverage)
4 oz Lemon Lime soda (I used Sierra Mist)
Scoop ice cream into chilled glass. Pour Hawaiian punch over ice cream. Top with soda. Serve immediately.
Now, to clarify this Soccer Elsa and Ana cake business.

If you like this post and would like to read more about all things domestic with a touch of humor, become a Home Everyday follower! For blog updates or to see other places I write such as ChicagoNow or Chicago Parent follow Home Everyday on FacebookTwitter, and Pinterest.

Follow on Bloglovin


Summer Treat: Banana Chocolate “Ice Cream”

When the kids are watching Disney Channel, I sometimes watch with them. Ok, ok, you caught me sometime I watch without the kids. I cannot help it, I think Good Luck, Charlie is pretty funny for a kids show.

Anyway, sometimes in between shows there is this little cooking segment. I’m not really sure who hosts it, but I do take notice anytime anything cooking related comes on television.

A few weeks ago, I saw them make banana “ice cream.” I couldn’t believe how healthy and simple this “ice cream” was to make. The reason I keep putting “ice cream” in quotes is because there is no cream, milk, eggs, or sugar in this ice cream, but I’m not really sure what else to call this treat. In the thirty second spot on TV, I pretty much got the gist of the recipe and and I could not wait to try it as a summertime treat.


As you can see, I did make one change though, I added some chocolate syrup, because let’s face it… everything is better with a little chocolate. However, the chocolate is completely optional, and I think would be great with all kinds of other toppings or mix ins.

Chocolate Banana “Ice Cream”

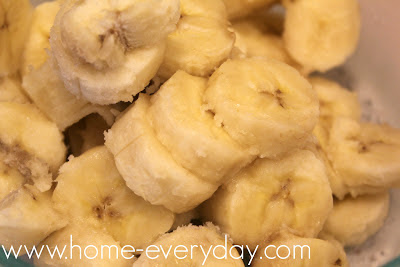
4 large ripe bananas cut into sliced
2 Tbs chocolate syrup

Put the sliced bananas in a freezer safe container or freezer bag. Put in the freezer for at least 6 hours or overnight.


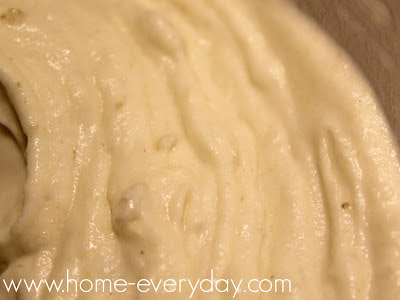
Next, put in a food processor and begin to blend until fluffy consistency is formed.


Add chocolate syrup and blend for 10 seconds until well combined. Serve.


Suggestions for Other Toppings or Mix Ins
– Sliced strawberries
– Sprinkles
– Chocolate chips
– Almonds
– Pineapple chunks
– Nutella
– Peanut Butter
– Blueberries
– Sprinkle of Cinnamon

Do you think you could get any healthier than whipped frozen bananas that taste like Ice Cream for dessert?

I love my readers! If you liked this post and would like to read more, check me out on Facebook or become a follower of Home Everyday here.

Baby, It’s Finally Cold Outside: Snow Cream

In my neck of the woods, we have had kind of a mild winter (which I’ve been thankful for) However, there hasn’t been much of an opportunity for the munchkins to play in piles of snow as most of the time our yard just looks like a muddy mess.

This past week, we got a few inches of good, heavy, packing snow. The kids were thrilled.

By the time the snow stopped falling, it was dark outside, and too late to play in the snow. However, I remembered I had seen recipes all over the internet for how to make snow cream, and thought it might be a good way to hold them over until we could play in the snow the next day. When they heard the words snow cream, they forgot all about playing in the snow before bed.

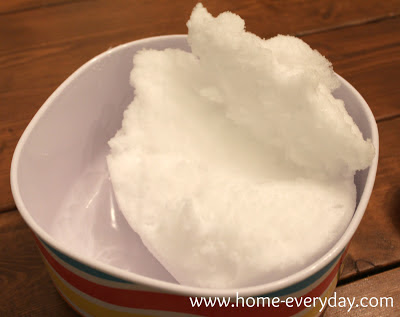
The first order of business was for Brian to bring in a huge container of snow.

Hold ’em over til tomorrow Snow Cream

2 zip lock bags (one large and one small I used a 1 quart bag and a snack size)
1/2 cup cream
1 Tbs sugar
1/2 tsp vanilla extract
3 cups snow
2 Tbs Kosher salt

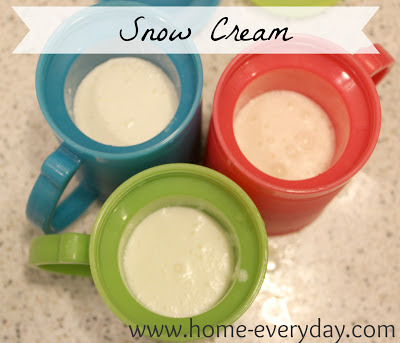
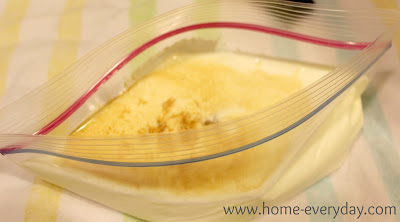
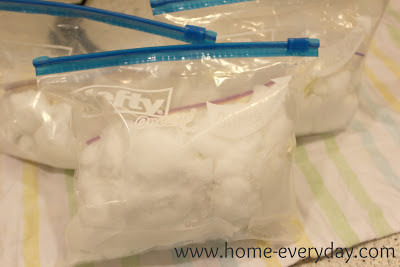
In the larger bag, put snow and salt. In the smaller bag, mix cream, sugar, and vanilla and seal as tightly.

Place the smaller bag in the larger bag filled with snow and seal tightly.

Finally, squish the bags all around for 20 minutes or until an soft ice cream consistency is formed. *NOTE: You may want to wrap towels around the bags so little fingers don’t get too cold while squishing.


Finally, enjoy!

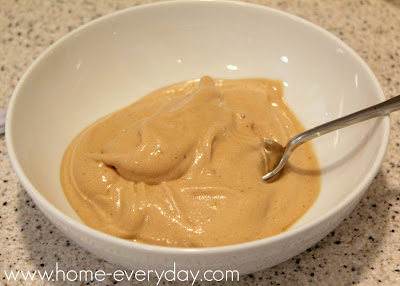
Ours was a little liquidy, the kids used spoons and straws. But there were no complaints.

Soaking Up Summer

Almost everyone around here is back at school or about to start again. My kids, on the other hand, still have a few more weeks of summer left. I definitely have mixed emotions about it. I’m excited for them to meet new friends and be learning new things, however, I’m really going to miss having three kids home with me full time.

Sometimes I’m sure I’ll be grateful (going to the grocery store will be easier), but I think that overall I will miss being able to do things at our own pace (which this summer was very slow).

This past weekend, we went for a walk after dinner to the gelato place that recently opened in town. We took our time strolling up there, and took the long way home with a little bypass to the park. The kids went to bed a little later than normal, but that’s what summer is all about, right?

s


Hope you are enjoying the rest of summer!