Tag

granite

Kitchen Refresh: Countertop Installation

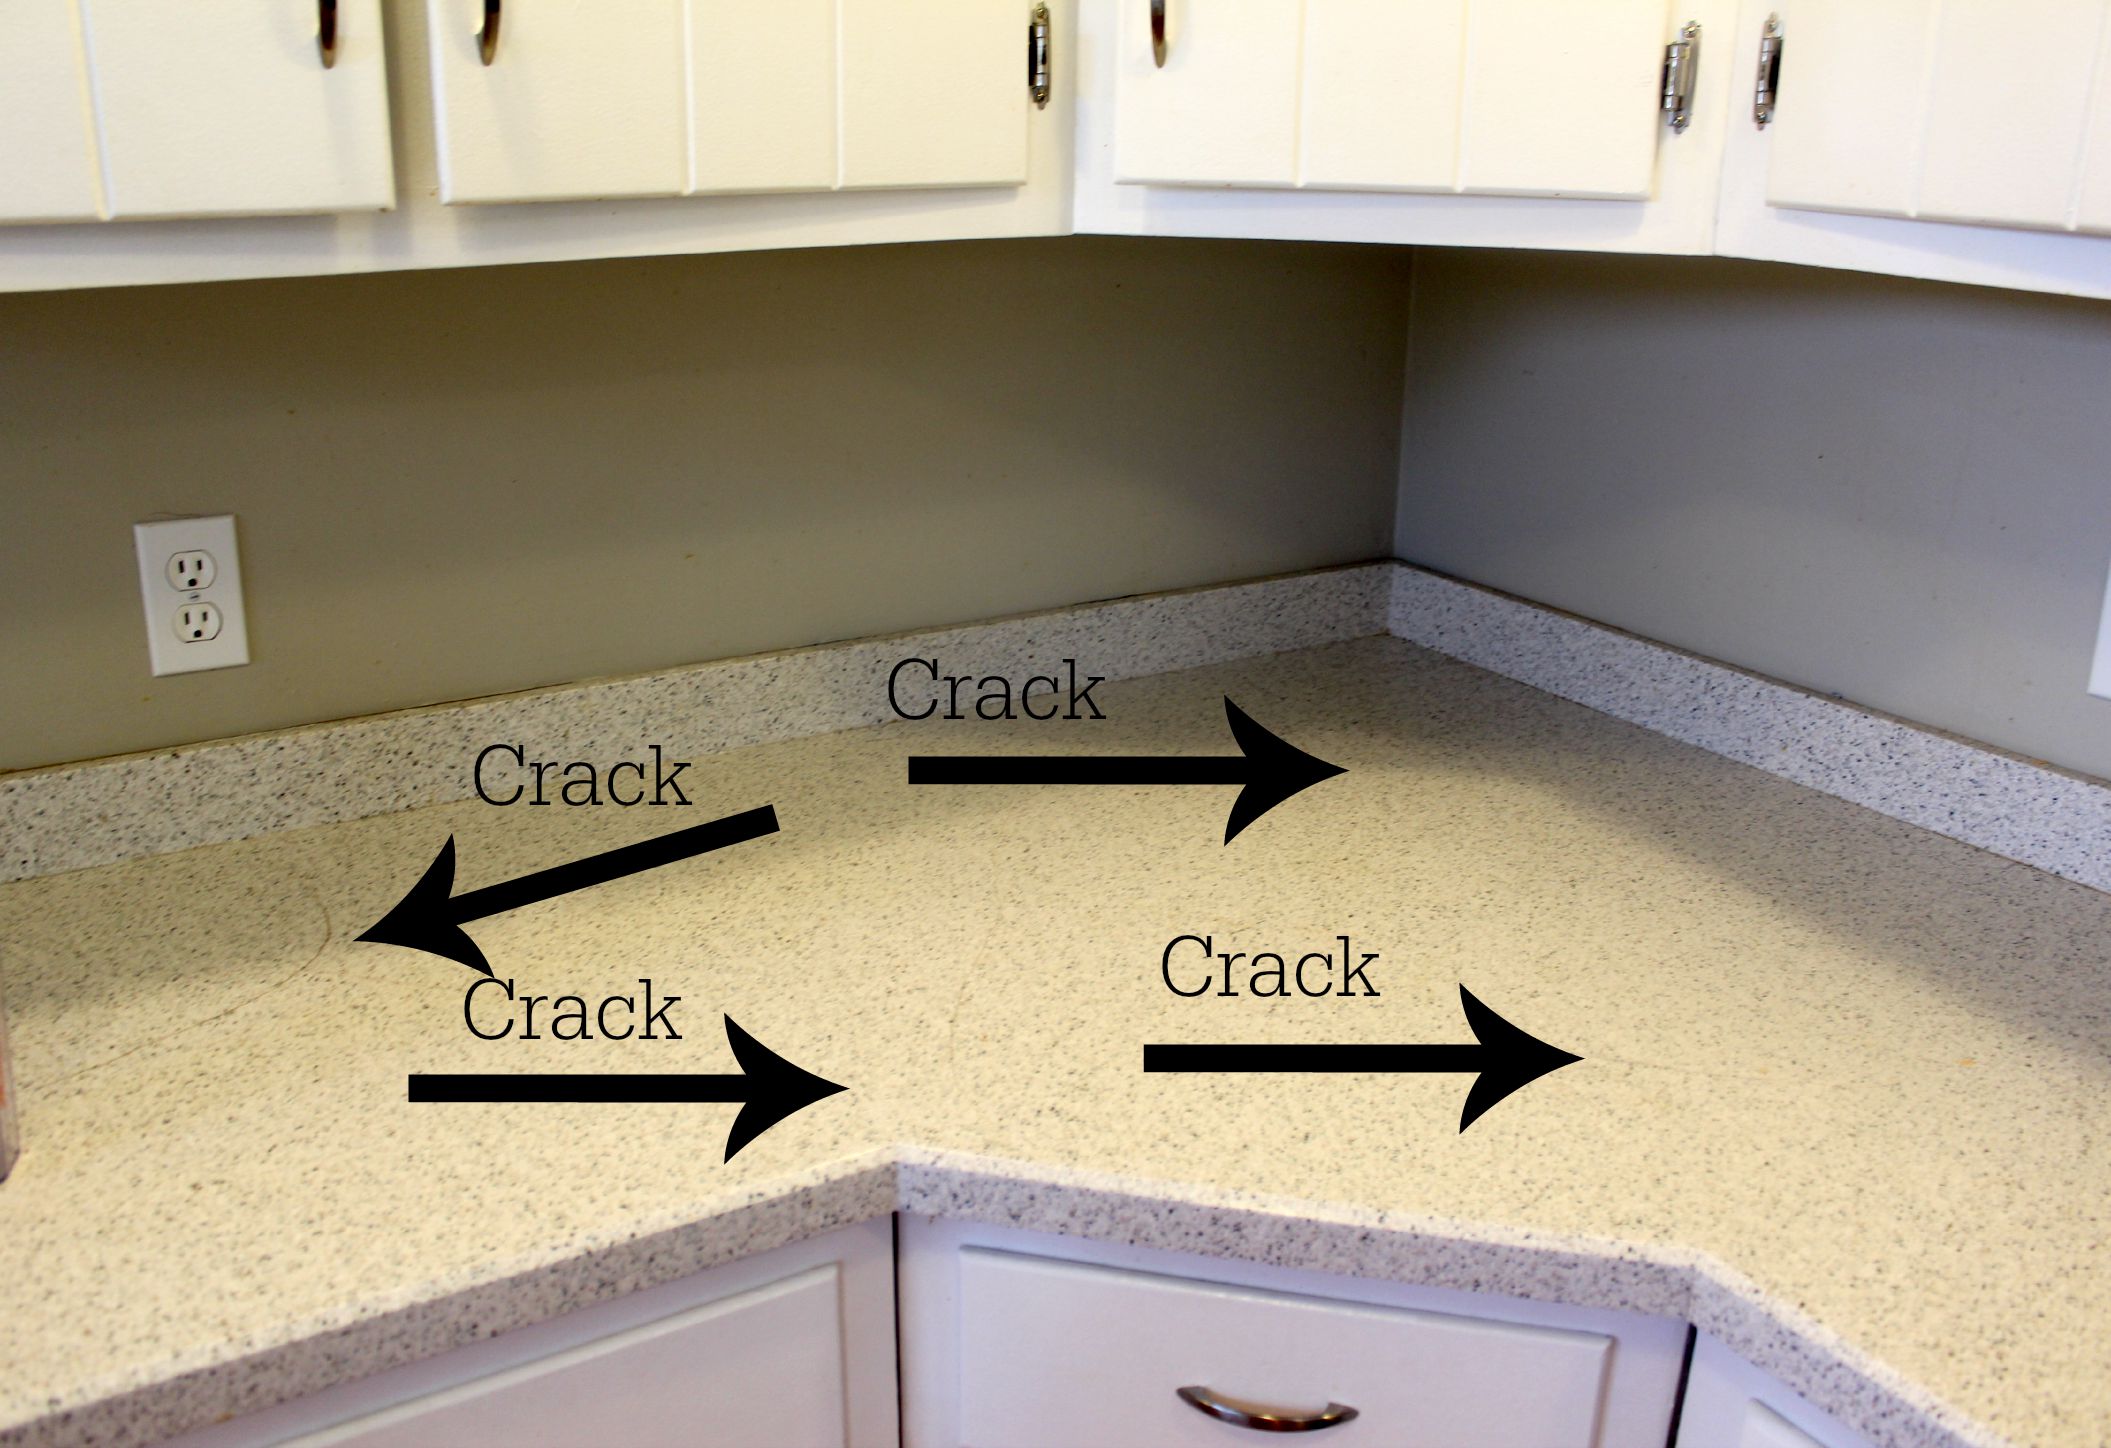
I’m sure you all remember my warning awhile back about being sure to say no to crack (especially in your countertops). The countertops were installed awhile ago, however, because our kitchen is easily the most used room in the house and we also installed a backsplash, a new microwave, a cabinet, did a little painting, and I made some curtains the kitchen was a mess. Then, I immediately started using my new kitchen for cooking and baking out of sheer excitement. Thus, the actual writing about my kitchen got put on the back burner (no pun intended).

I decided to write about the kitchen in stages though as to not overwhelm, otherwise it would be the longest post in the history of the blogosphere, so today we are just starting out with the countertops.

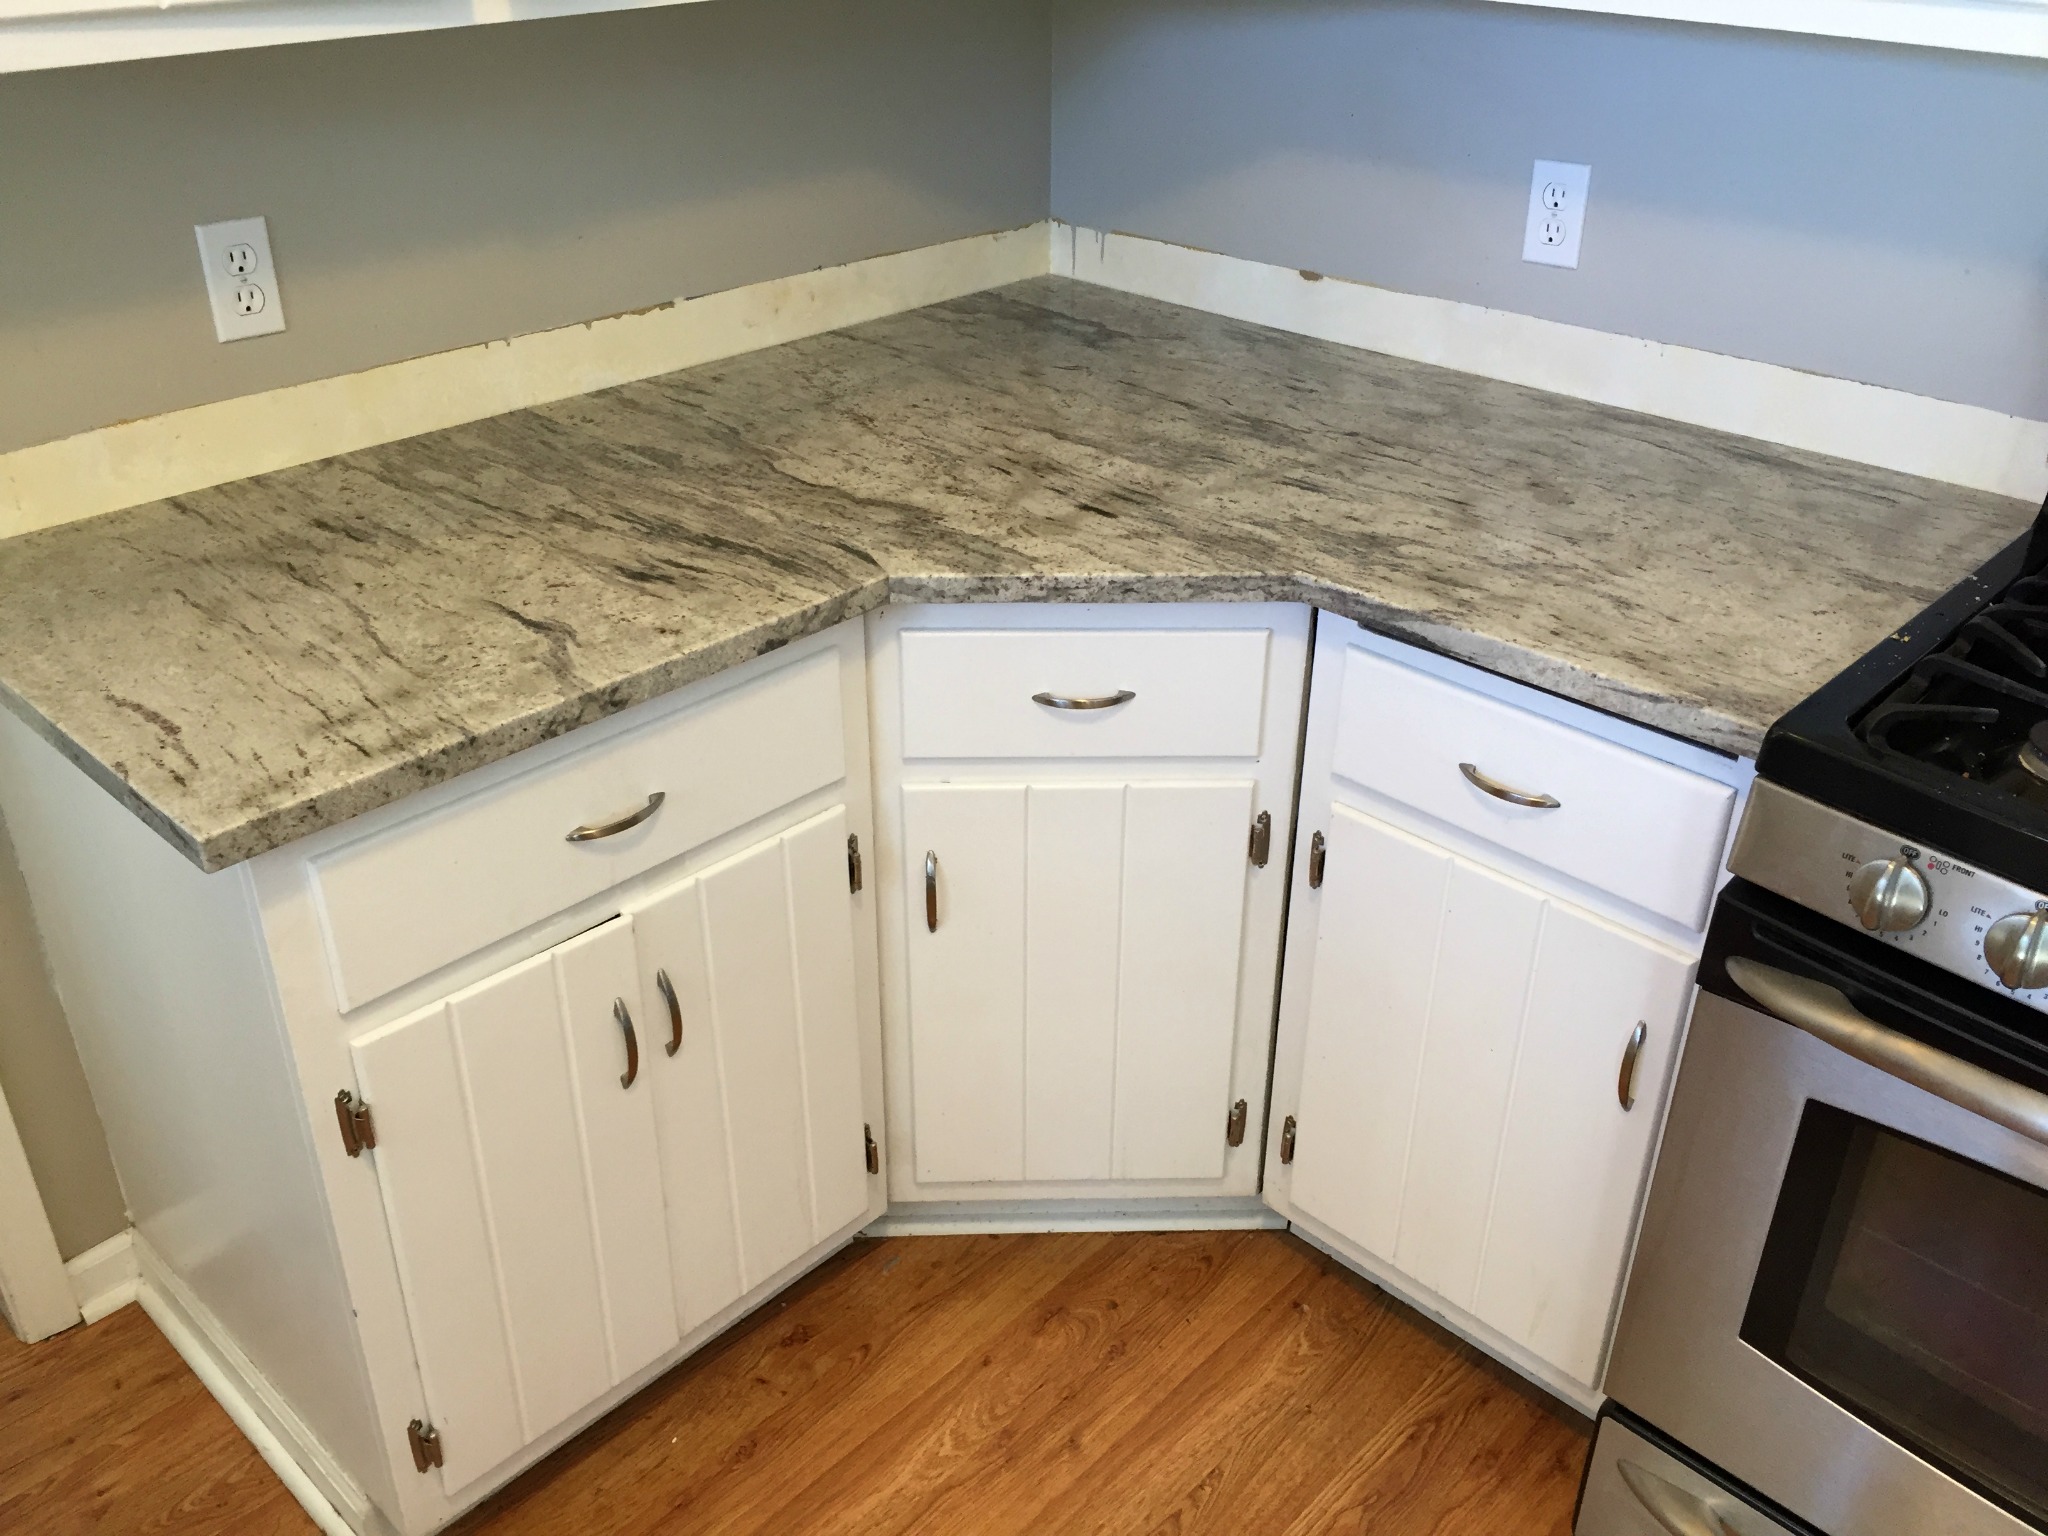
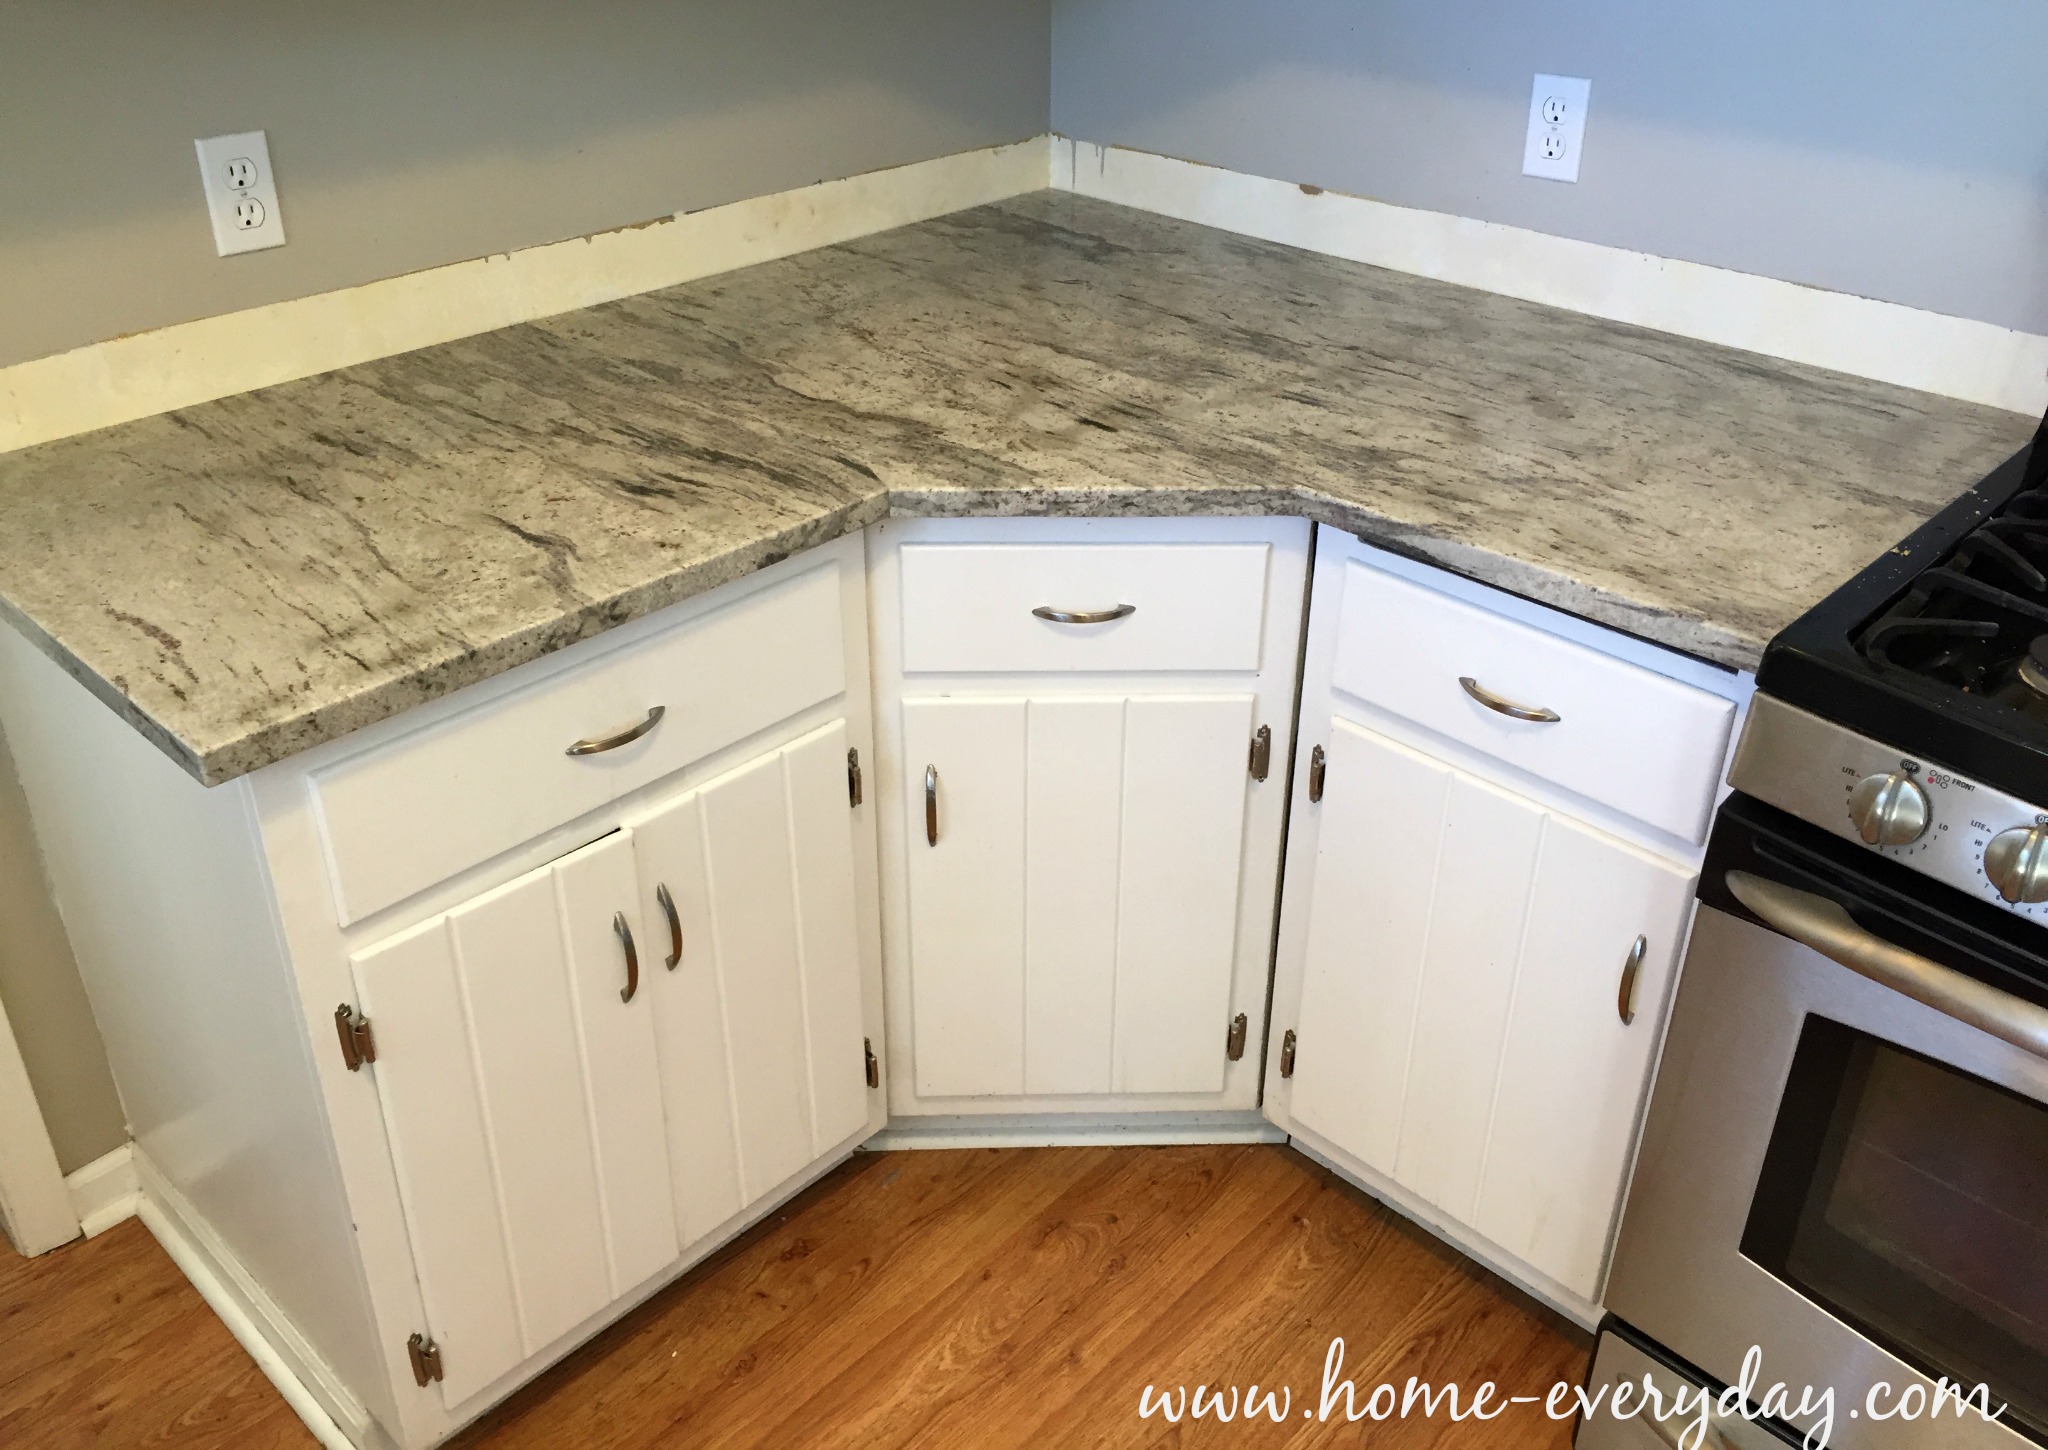
So, here they are! Don’t they look fabulous!?

Countertop Installation 10

Countertop Installation 12

When we finally decided on granite, the installers came out and did a precise measure of our space to let us know exactly how much countertop we would need and to also assist us with what kind of sink would fit best into our base cabinet. We decided on a granite composite sink.

This was my third choice. I wanted a farmhouse sink, but that wouldn’t fit our cabinets (sad), then I wanted a Kohler ceramic sink and that was on a 12 week backorder (I cried), so I did a little research, and this Blanco Granite Composite seemed like a good option. It was large and deep and white. So far I like it.

Once all that drama was done, a schematic drawing of the kitchen was made.

Countertop Installation 6

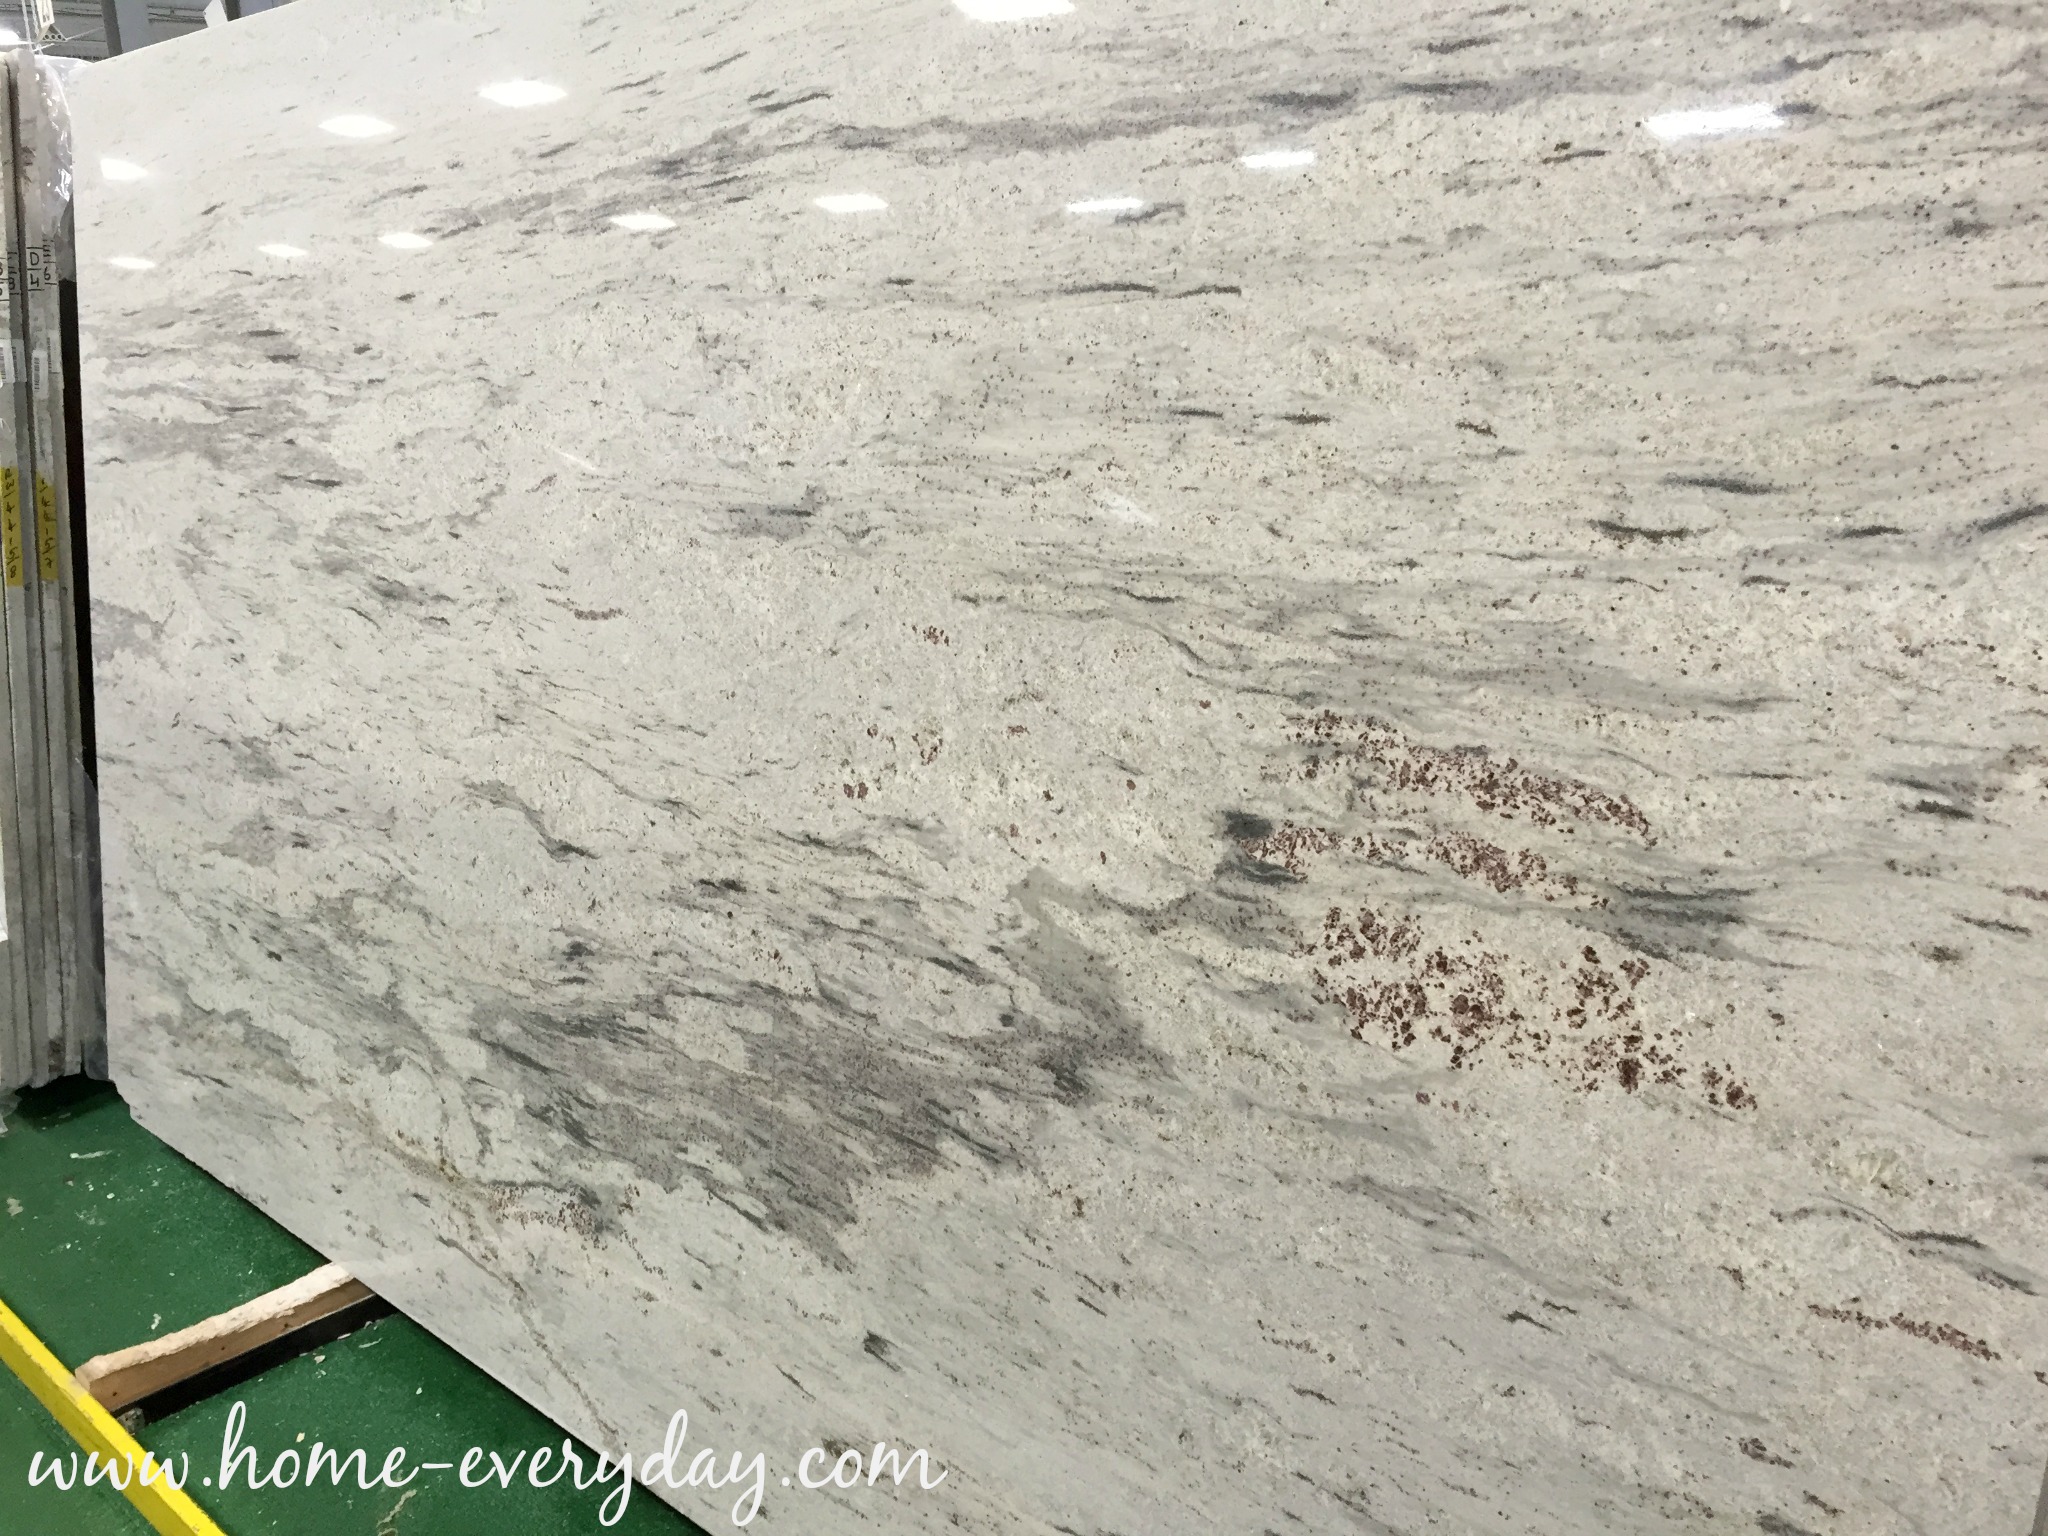
Next, were given the all clear to pick out two slabs of granite at a granite distributer. We had decided on a color and kind when we purchased our countertops, but since granite is a natural stone taken from the earth there is often many variances. Therefore, the fabricator often will let you pick a specific slab that appeals to you.

Countertop Installation 2

PRO TIP: You can sign off and allow your fabricator to pick out your slab(s) too, but we thought it might be fun to do it ourself AND also see a granite warehouse. Just remember that the slab you see is going to be slightly darker in your home after sealing and will be cut to fit your space.

This was my favorite part of the process. Look at all that natural stone!

Countertop Installation 3

Even though our granite is called River White, we picked a slab that had a lot of gray running through it with a lot of variances. We liked that natural and rustic feel.

Countertop Installation 4

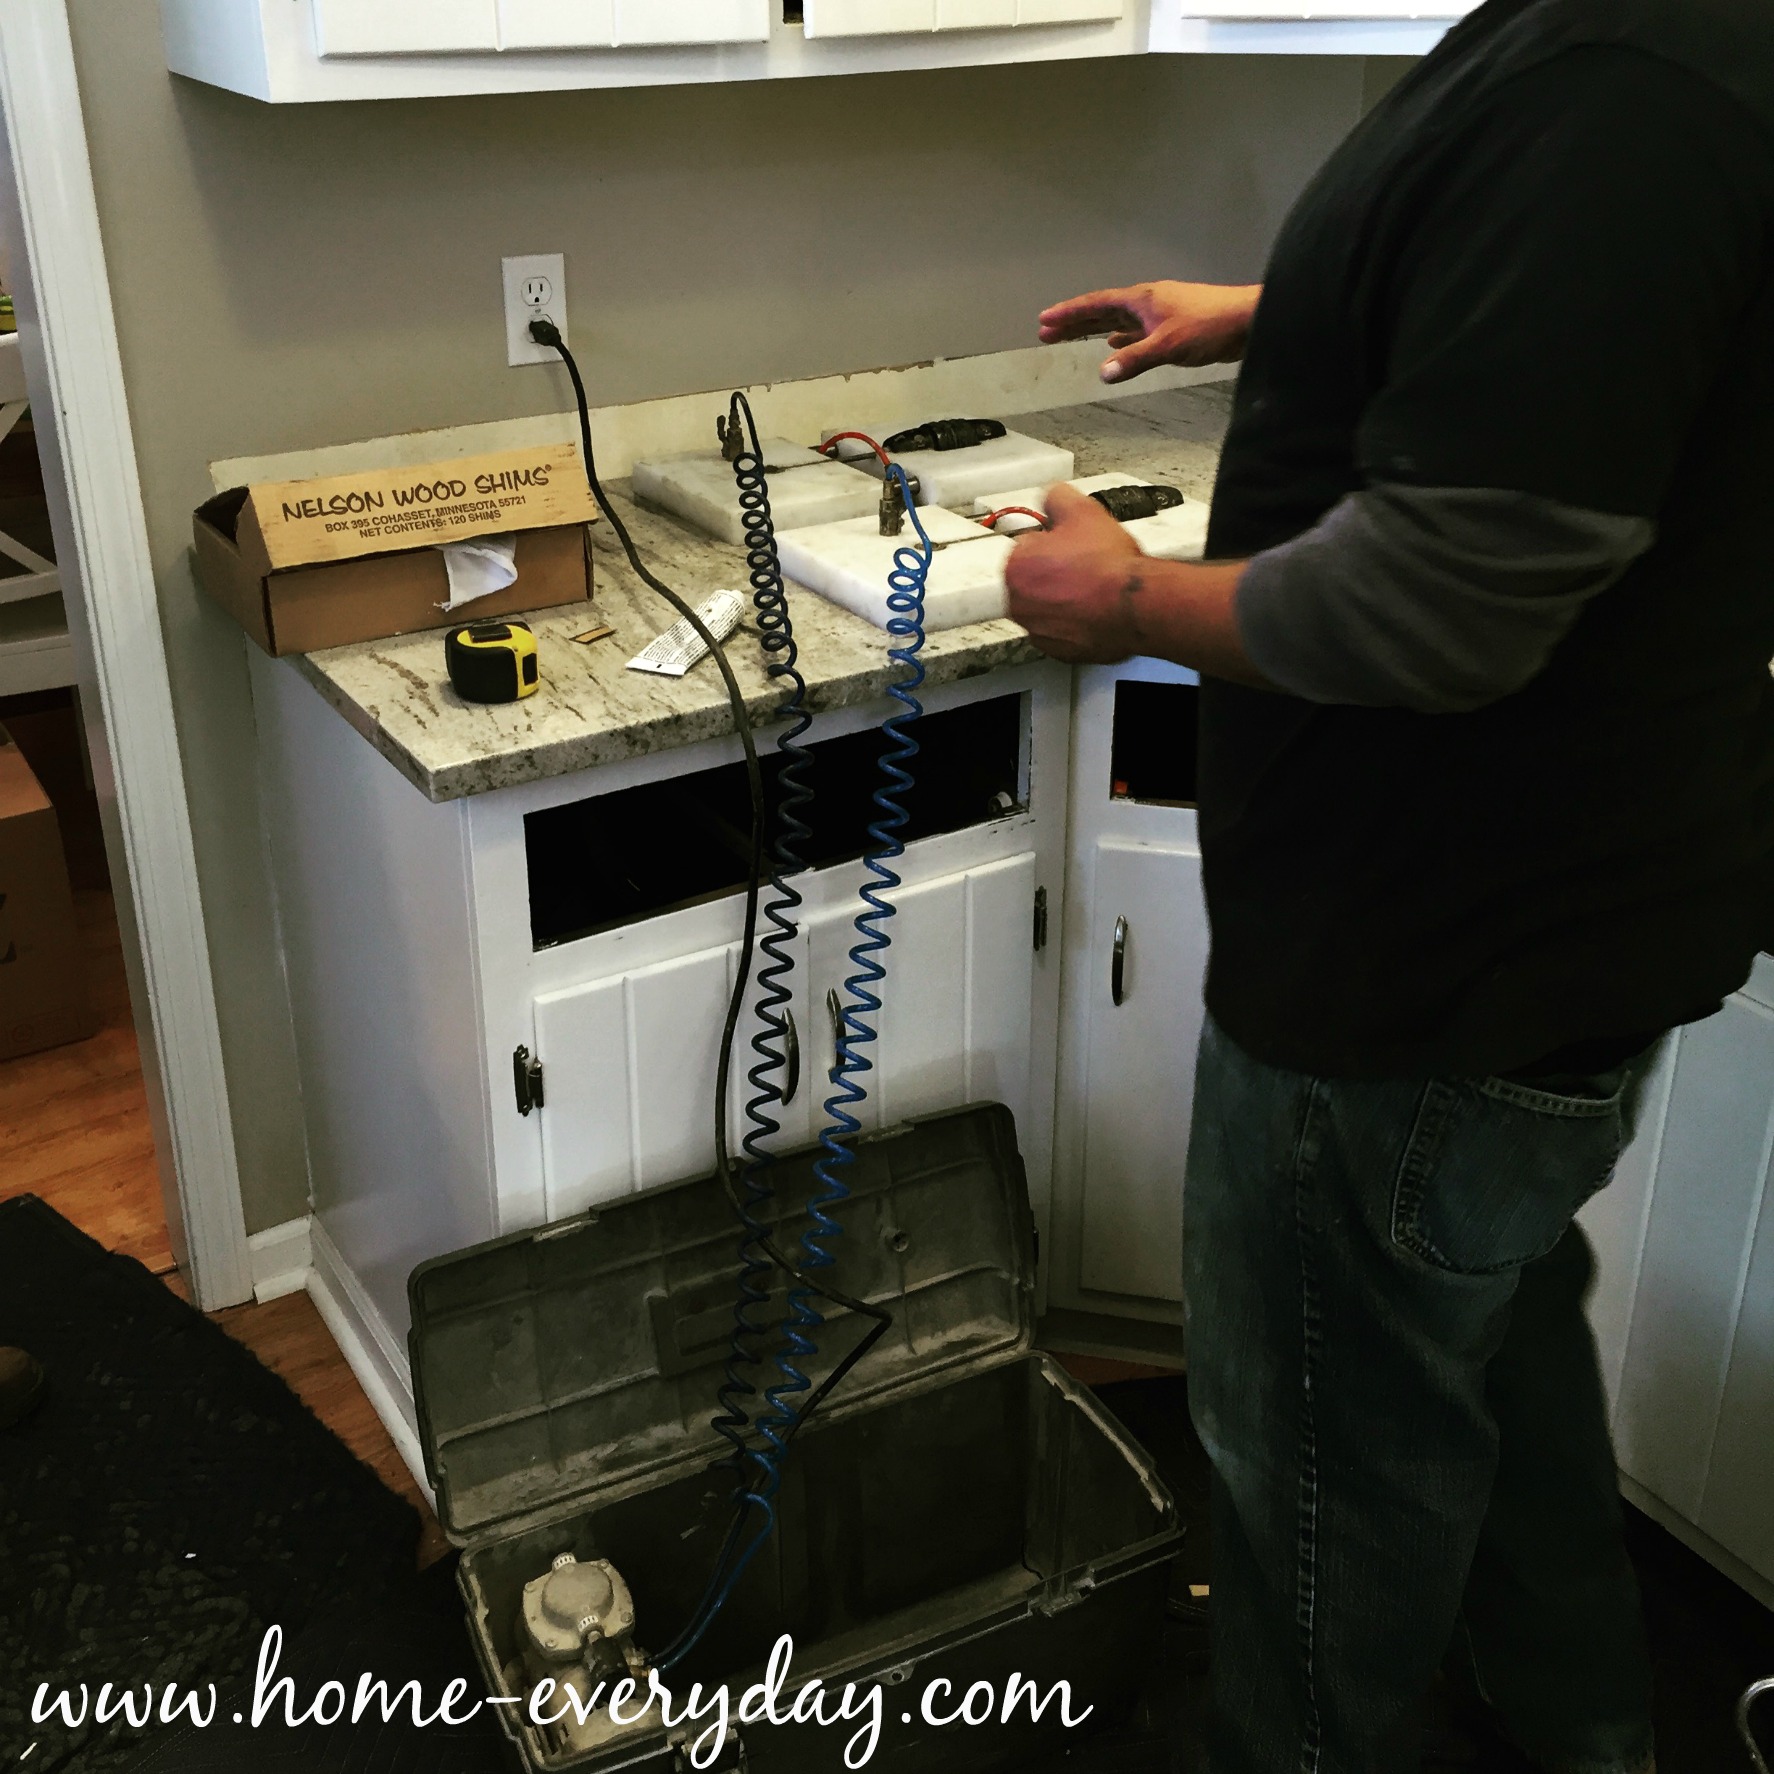
After we picked our slabs, it was a few weeks before the countertops were cut and installed. To prep the kitchen I just had to make sure that everything was off the current counters and remove the drawers.

Countertop Installation 1

The installers removed our old countertops.

Countertop Installation 7

The installers also made sure to shim any areas that were not level due to the house settling too.

Countertop Installation 8

Then carefully installed the new granite countertops.

Countertop Installation 11

We did have to have one awkward area that had a seam, but it is perfectly sealed, and that process was awesome to watch. You can’t even tell where it is now.

Countertop Installation 9

Finally, the sink was installed. PRO TIP: Make sure that the sink you pick out is on site and removed from the box and checked for cracks or imperfections before your installation date. This gives you time to get is exchanged in time for installation day.

When everything was installed, the countertops were sealed and the sink was caulked. PRO TIP: Wait about 24 hours before hooking up the faucet, plumbing, and using your countertops. This gives everything time to dry and settle up. There will be a lot of dust and a slight film on the countertops. When ready for use wipe everything down with a mild soap and water.

Countertop Installation 11 Countertop Installation 12

Next up: Backsplash installation.


Say No To Crack, Especially in Your Kitchen Countertops

When we moved into this house, there was so much updating that needed to be done, we had to prioritize. Obviously we didn’t have the means to do everything all at once, so there were quite a few things that got put on the back burner. One of them, was the kitchen countertops.

Kitchen Countertop Crack 1

The countertops in the kitchen are Corian. Like the original, first draft of Corian. We all know that the first draft of anything always has room for improvement. When we moved in four years ago, there was a small crack above the dishwasher, and also one near the stove area. While this was not exactly ideal, we knew that new countertops was not in the budget. We looked into patching the Corian, which can be done and is inexpensive, but knew that the spot above the dishwasher would most likely keep reappearing due to the expansion and contraction and heat of the dishwasher. We were also wondering what other kitchen upgrades we would want to make in addition to countertops. So, we held off. I used cutting boards for everything, and we made due.

However, if you have read this blog before you know that I spend most of my day in the kitchen. You also know that is where everyone else in the house spends most of their time too. Due to the wear and tear of our family, this is what has now taken place.

Kitchen Countertop 2

There are CRACKS everywhere!

So, we have bitten the bullet and decided to say no to crack once and for all.

Our first choice was butcher block. (If you follow me on Pinterest you can see all the butcher block I pinned.) Brian and I liked how warm wood seemed. We figured that we would be putting in a new backlash with the countertops, which would be tile, and with white cabinets, wood seemed the way to go. We also liked that this was something we could probably do on our own. However, after a great deal of research, we realized that with three kids who like to cook with Mom, this would probably get a great deal of wear and tear. We probably would need to refinish them occasionally, and honestly I don’t want to get into that mess.

DIY-Butcher-Block-copy
Photo courtesy of www.simplymaggie.com

Our next choice was Corian again. Even though we have cracked Corian now, we knew that Corian had come a long way in 20 years. We liked how some of the surfaces looked like natural stone, and that is totally our jam. However, after talking with some people about Corian, we found out that even new Corian can crack, and there have some complaints. In fact one of the places we shopped, doesn’t even sell it anymore due to customer complaints.

That got us thinking about durability, quality, and how often I cook in the kitchen. PRO TIP: Be flexible. Sometimes you might not get the exact material you originally wanted, but after talking to the experts you find it is the best choice for your lifestyle, look, and budget.

So we took a look at natural stones and settled on granite. We loved the natural look and variation of the stone. However, we originally didn’t think it could fit in our budget. Upon doing some good old fashioned shopping around, we were able to find something we loved that fit into our budget. PRO TIP: Make sure you get a written quote from all the places you are shopping. That way they can compete for your business. I was able to get a written quote from a local retailer, and Home Depot was able to beat it, and the quote they gave us was LESS than what we would have paid for Corian.

The counters have since been ordered, and measured. Since our current sink is built into the countertops, we have also had to pick out a new sink.  Also, I have been sampling some tiles. You can follow me on Instagram for updates.

Decisions are being made. #HomeEveryday #SkibsSummer

A photo posted by Erin Skibinski (@eskibs) on


Now we have to pick out our exact slab of granite then wait for installation.

Hopefully, in a couple of weeks, the crack will be gone forever!