This shop has been compensated by Collective Bias, Inc. and its advertiser. All opinions are mine alone. #SendHallmark #CollectiveBias
I know it is not even Thanksgiving, and typically I don’t like to even think about Christmas until I have stuffed myself full of Turkey. However, when I see something that reminds me of someone I love, it is hard for me to not want to buy it knowing that the holidays are coming. I had wandered into the Christmas decor section at Walmart, and I found some Hallmark Ornaments that brought to mind some funny childhood memories. I knew I had to buy them, and along with them, I decided to bake a little treat that I also hadn’t had in forever too!

Walmart has Hallmark Ornaments in 16 different styles that include resin ornaments of all of your favorite characters like Holiday Barbie and some gorgeous decorative figurines, but what caught my eye were the ones from some of our favorite movies that we watched when we were growing up.

I couldn’t help but think of all the hours we spent watching Star Wars, Caddyshack, and National Lampoon’s Christmas Vacation together.

In fact, I think most of our conversations to this day are basically spoken in our favorite lines from Caddyshack.

Like Clark Griswold, I might have overdid it.
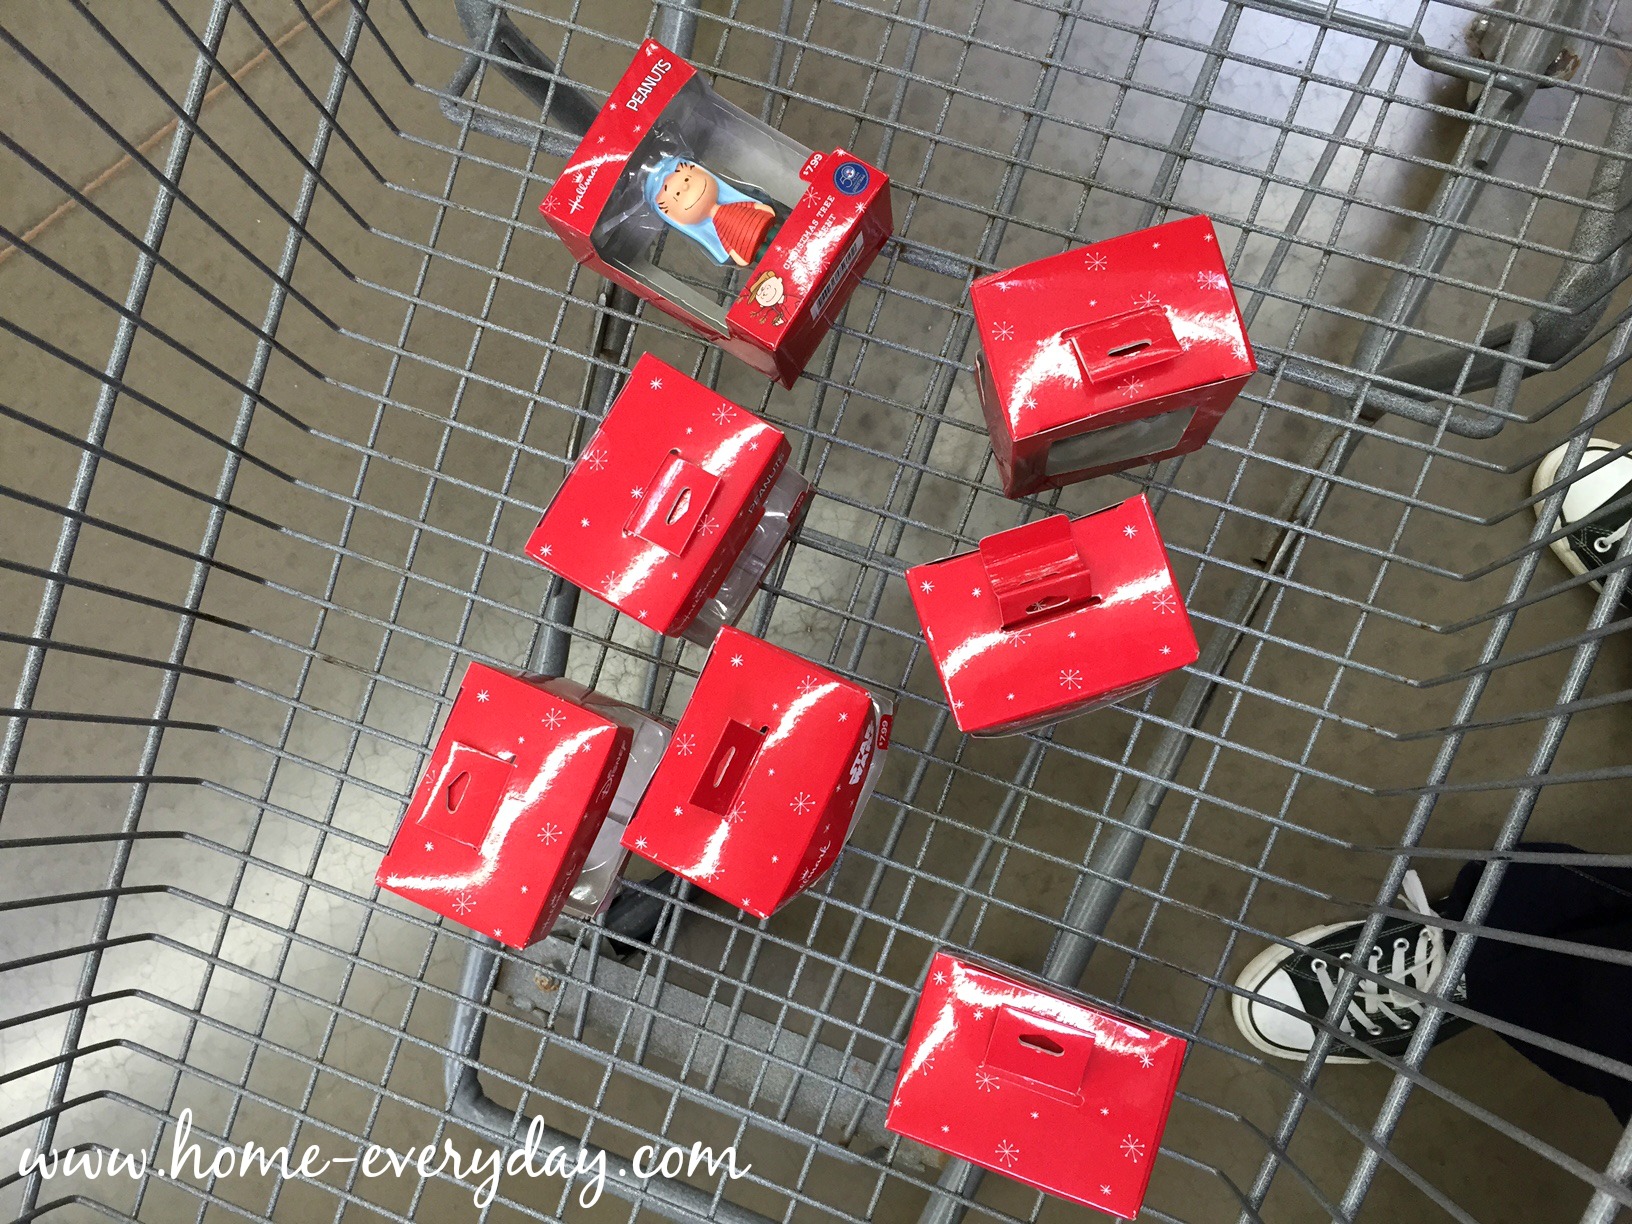
I even found these adorable Hallmark cards nearby to send with my gift idea.

After my purchase I went home and made a classic cookie recipe: Oatmeal Raisin Cookies, one that I have perfected over time, and have decided to send these ornaments and cookies along to my siblings for a pre-Christmas giggle. In my opinion, there’s nothing better than a good laugh and some cookies.
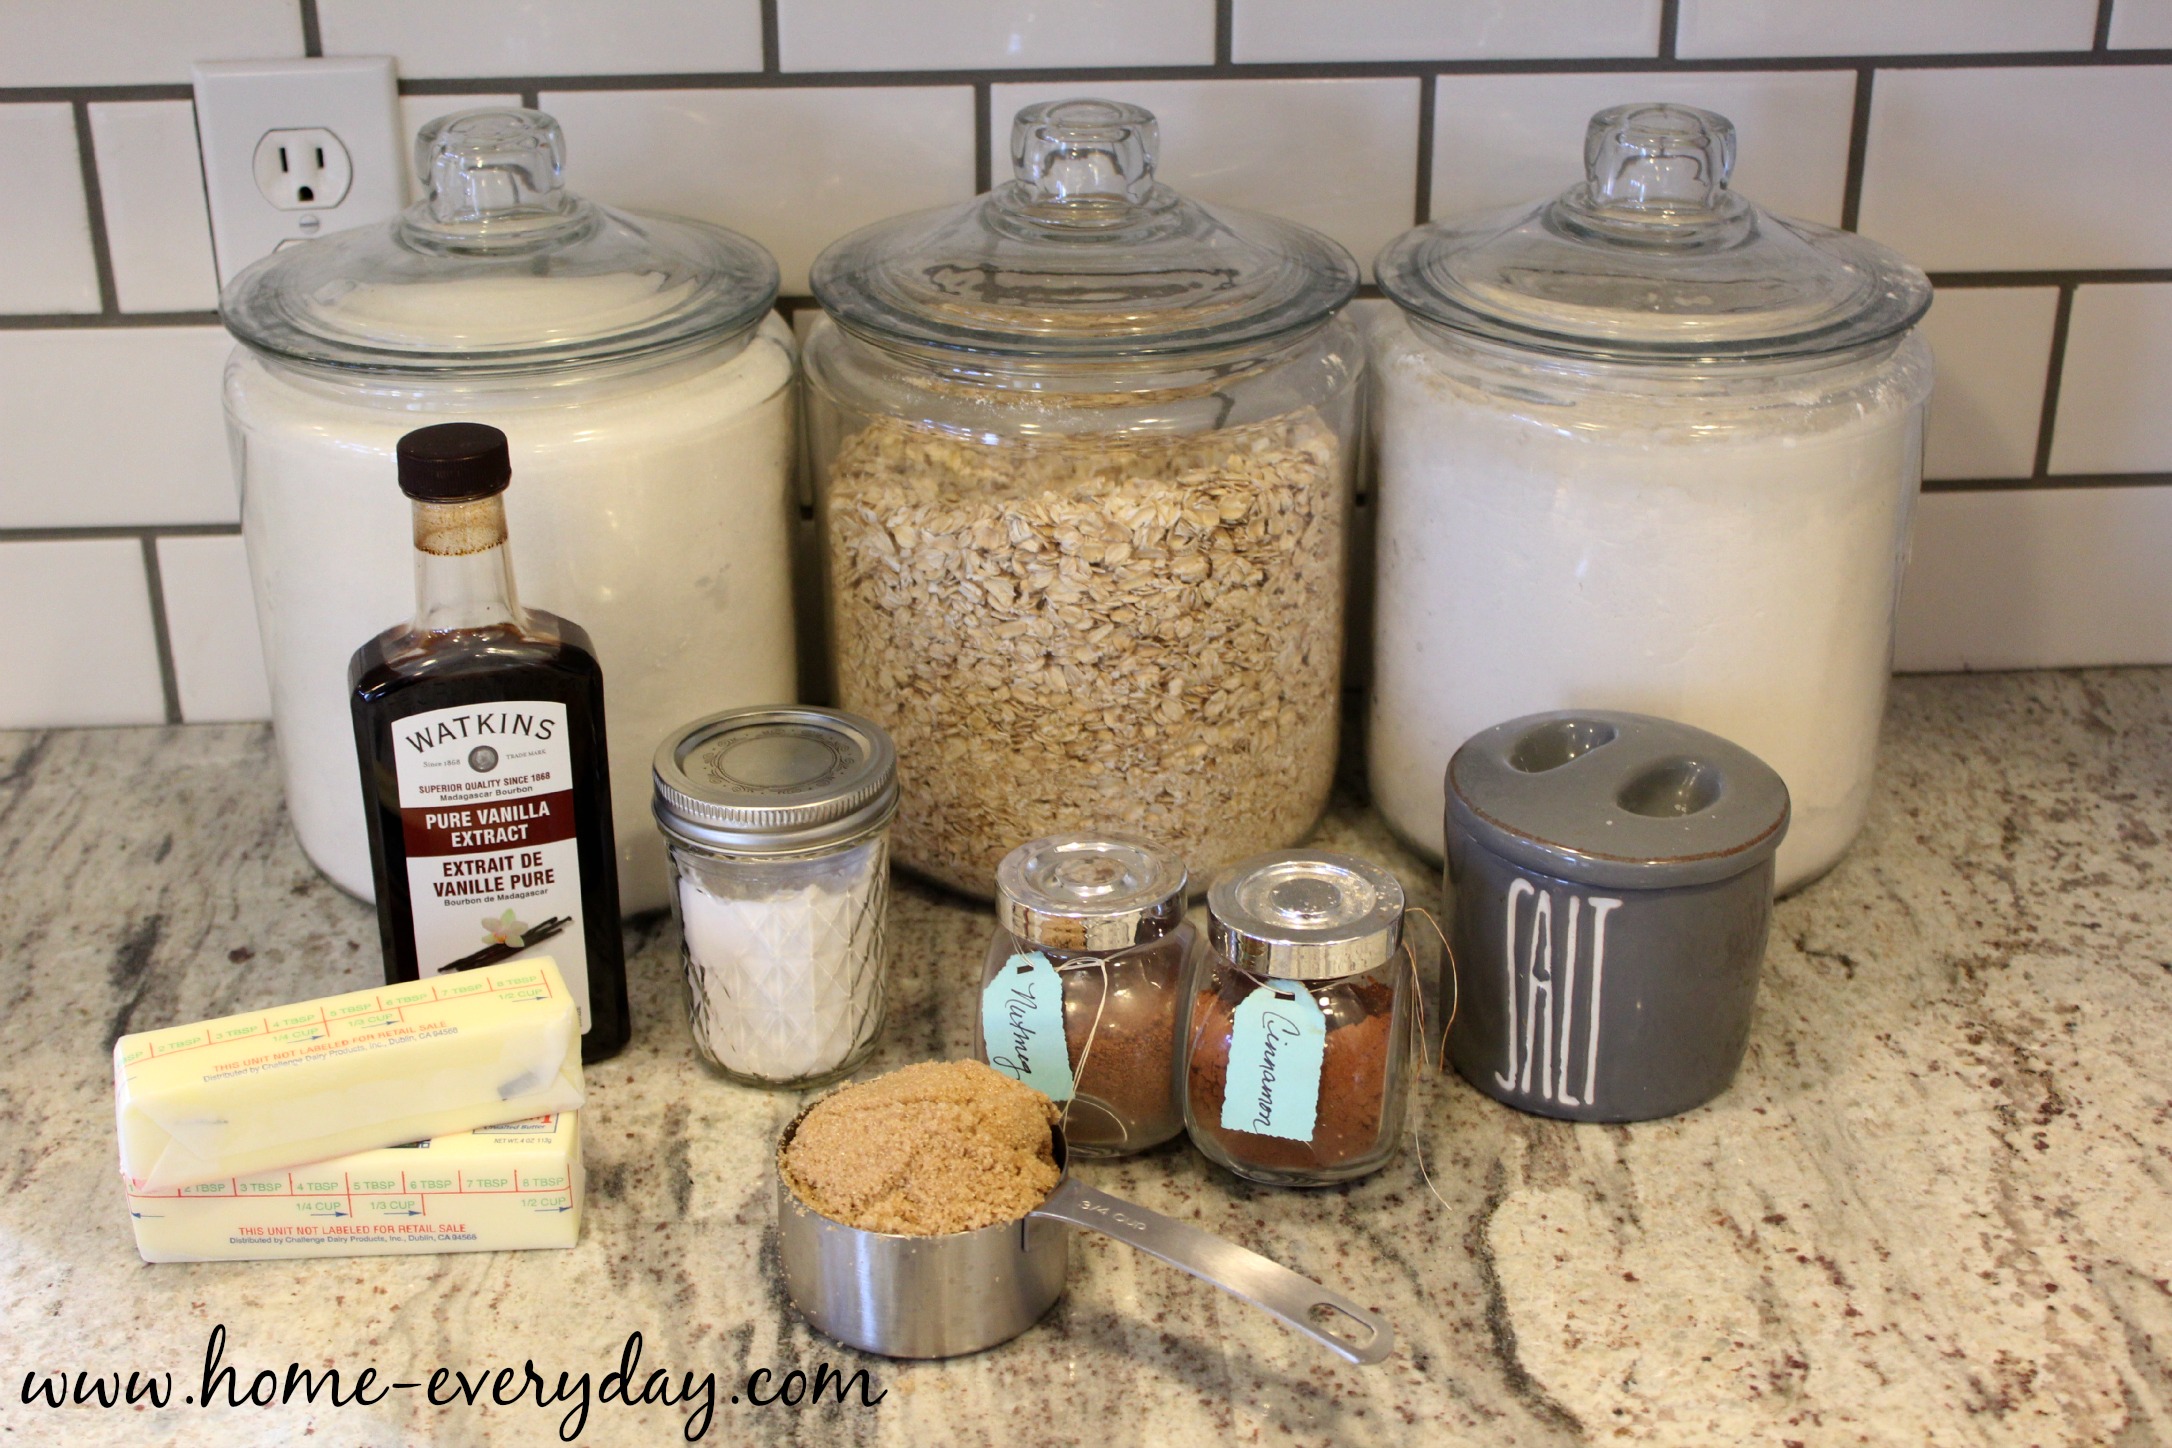
Oatmeal Raisin Cookies (makes 3 dozen)
2 sticks unsalted butter softened to room temperature
3/4 cup packed light or dark brown sugar
3/4 cup granulated sugar
2 large eggs
2 tsp pure vanilla extract
1 1/2 cups all purpose flour
1 tsp baking soda
1 tsp ground cinnamon
1/8 tsp ground nutmeg
1/2 tsp salt
3 cups oats
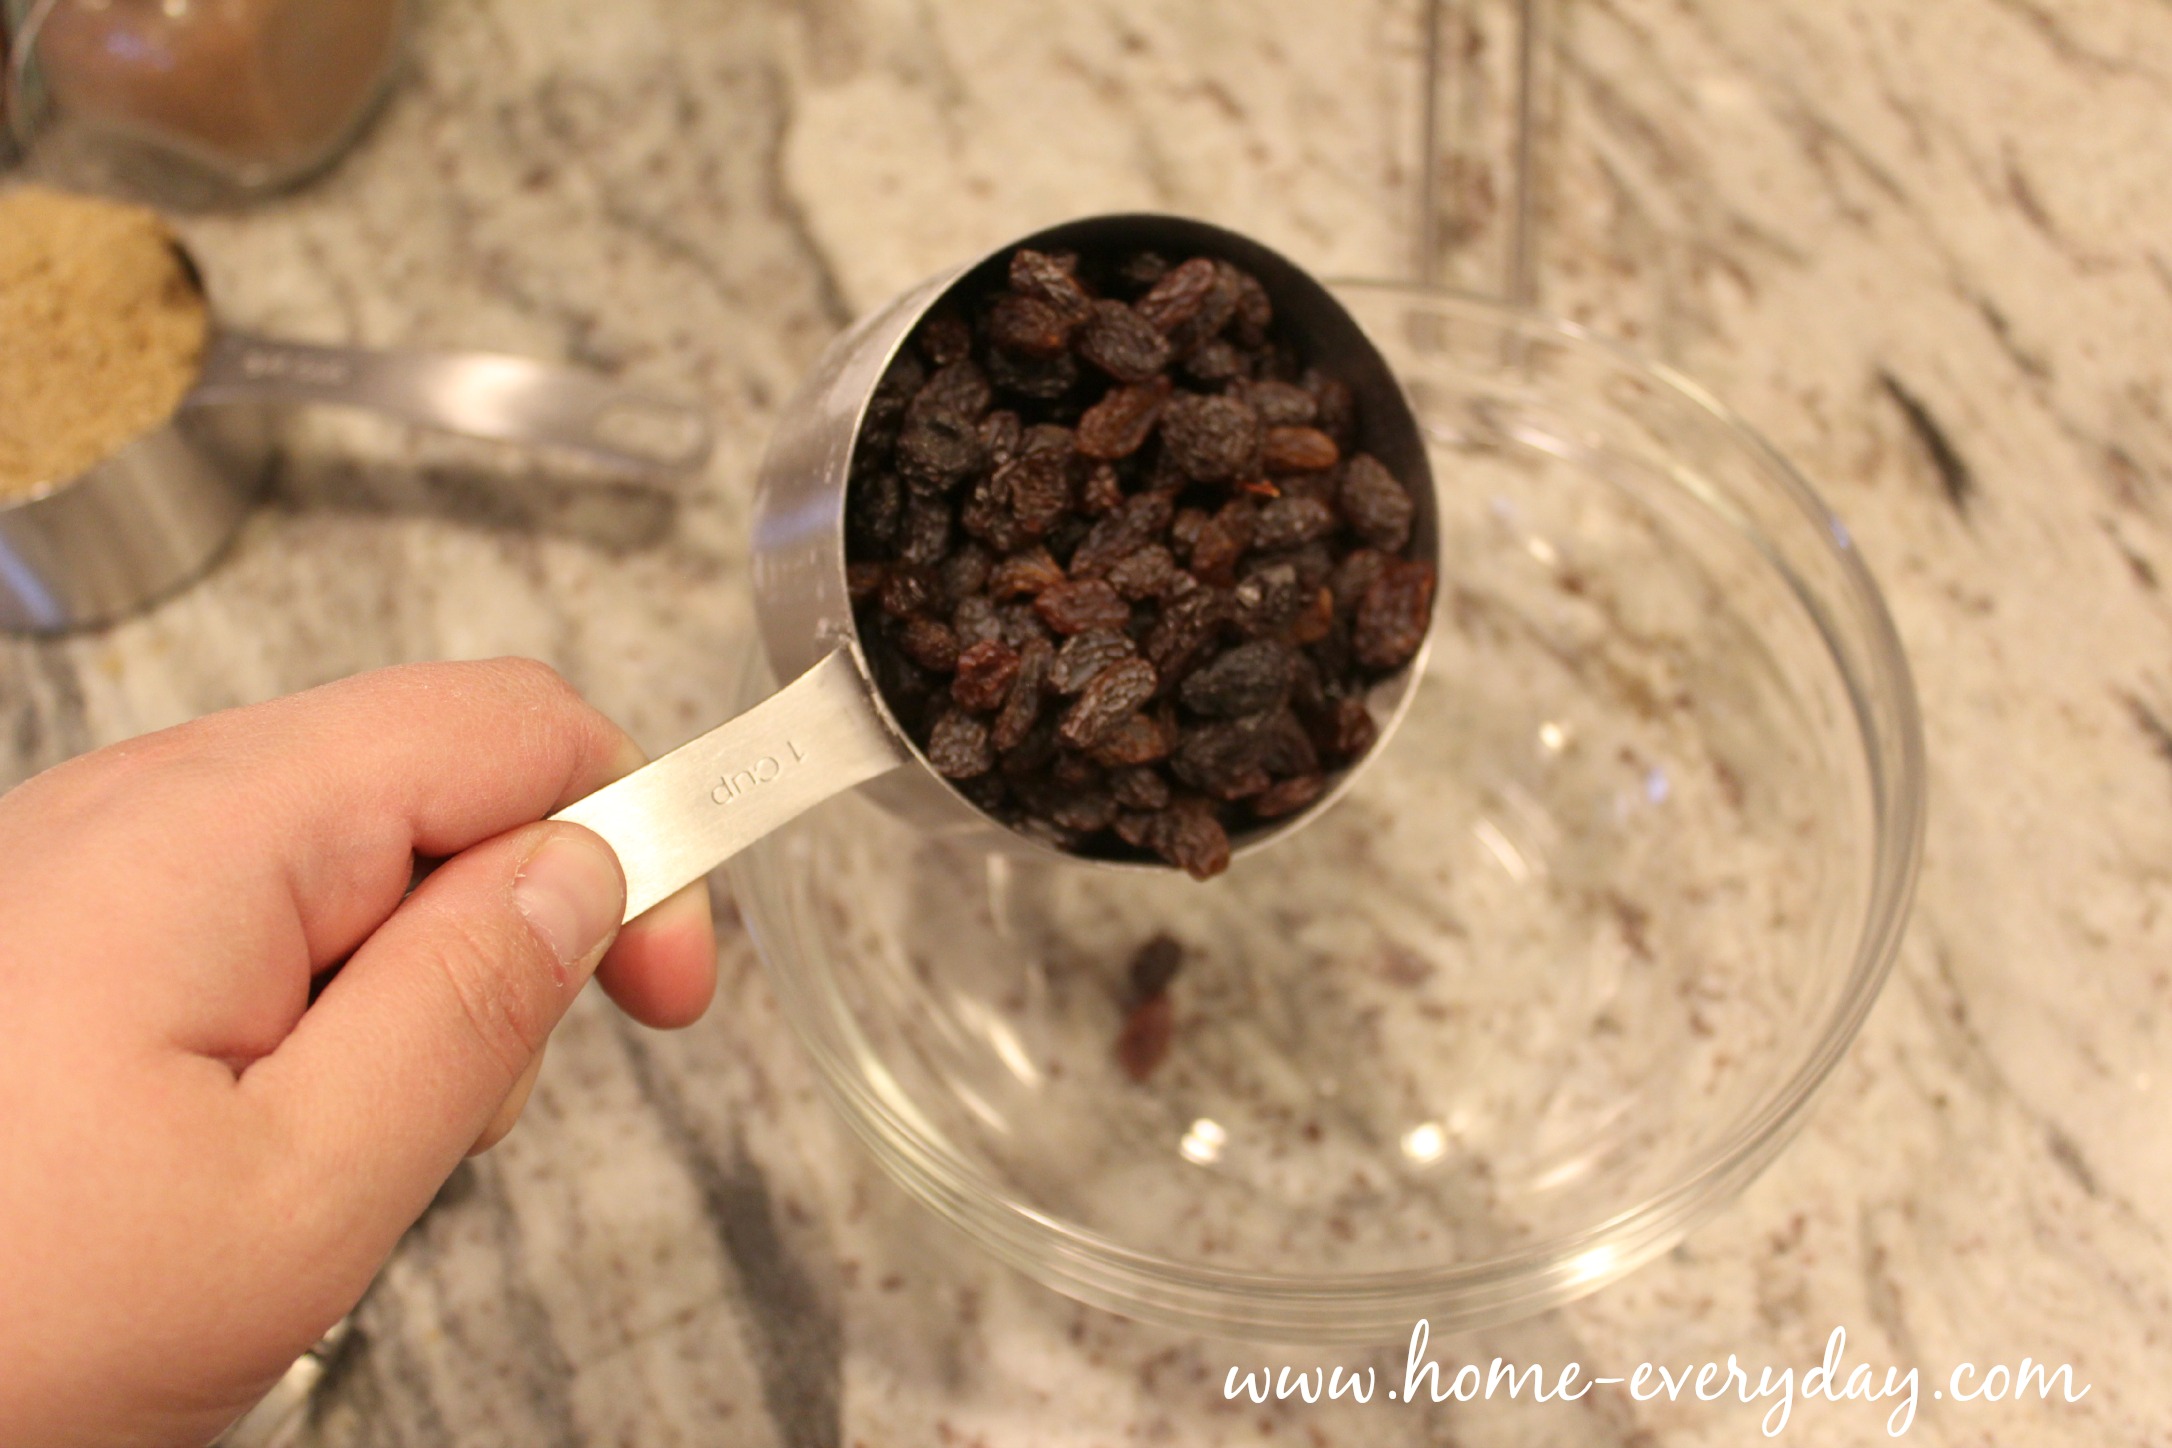
1 cup raisins
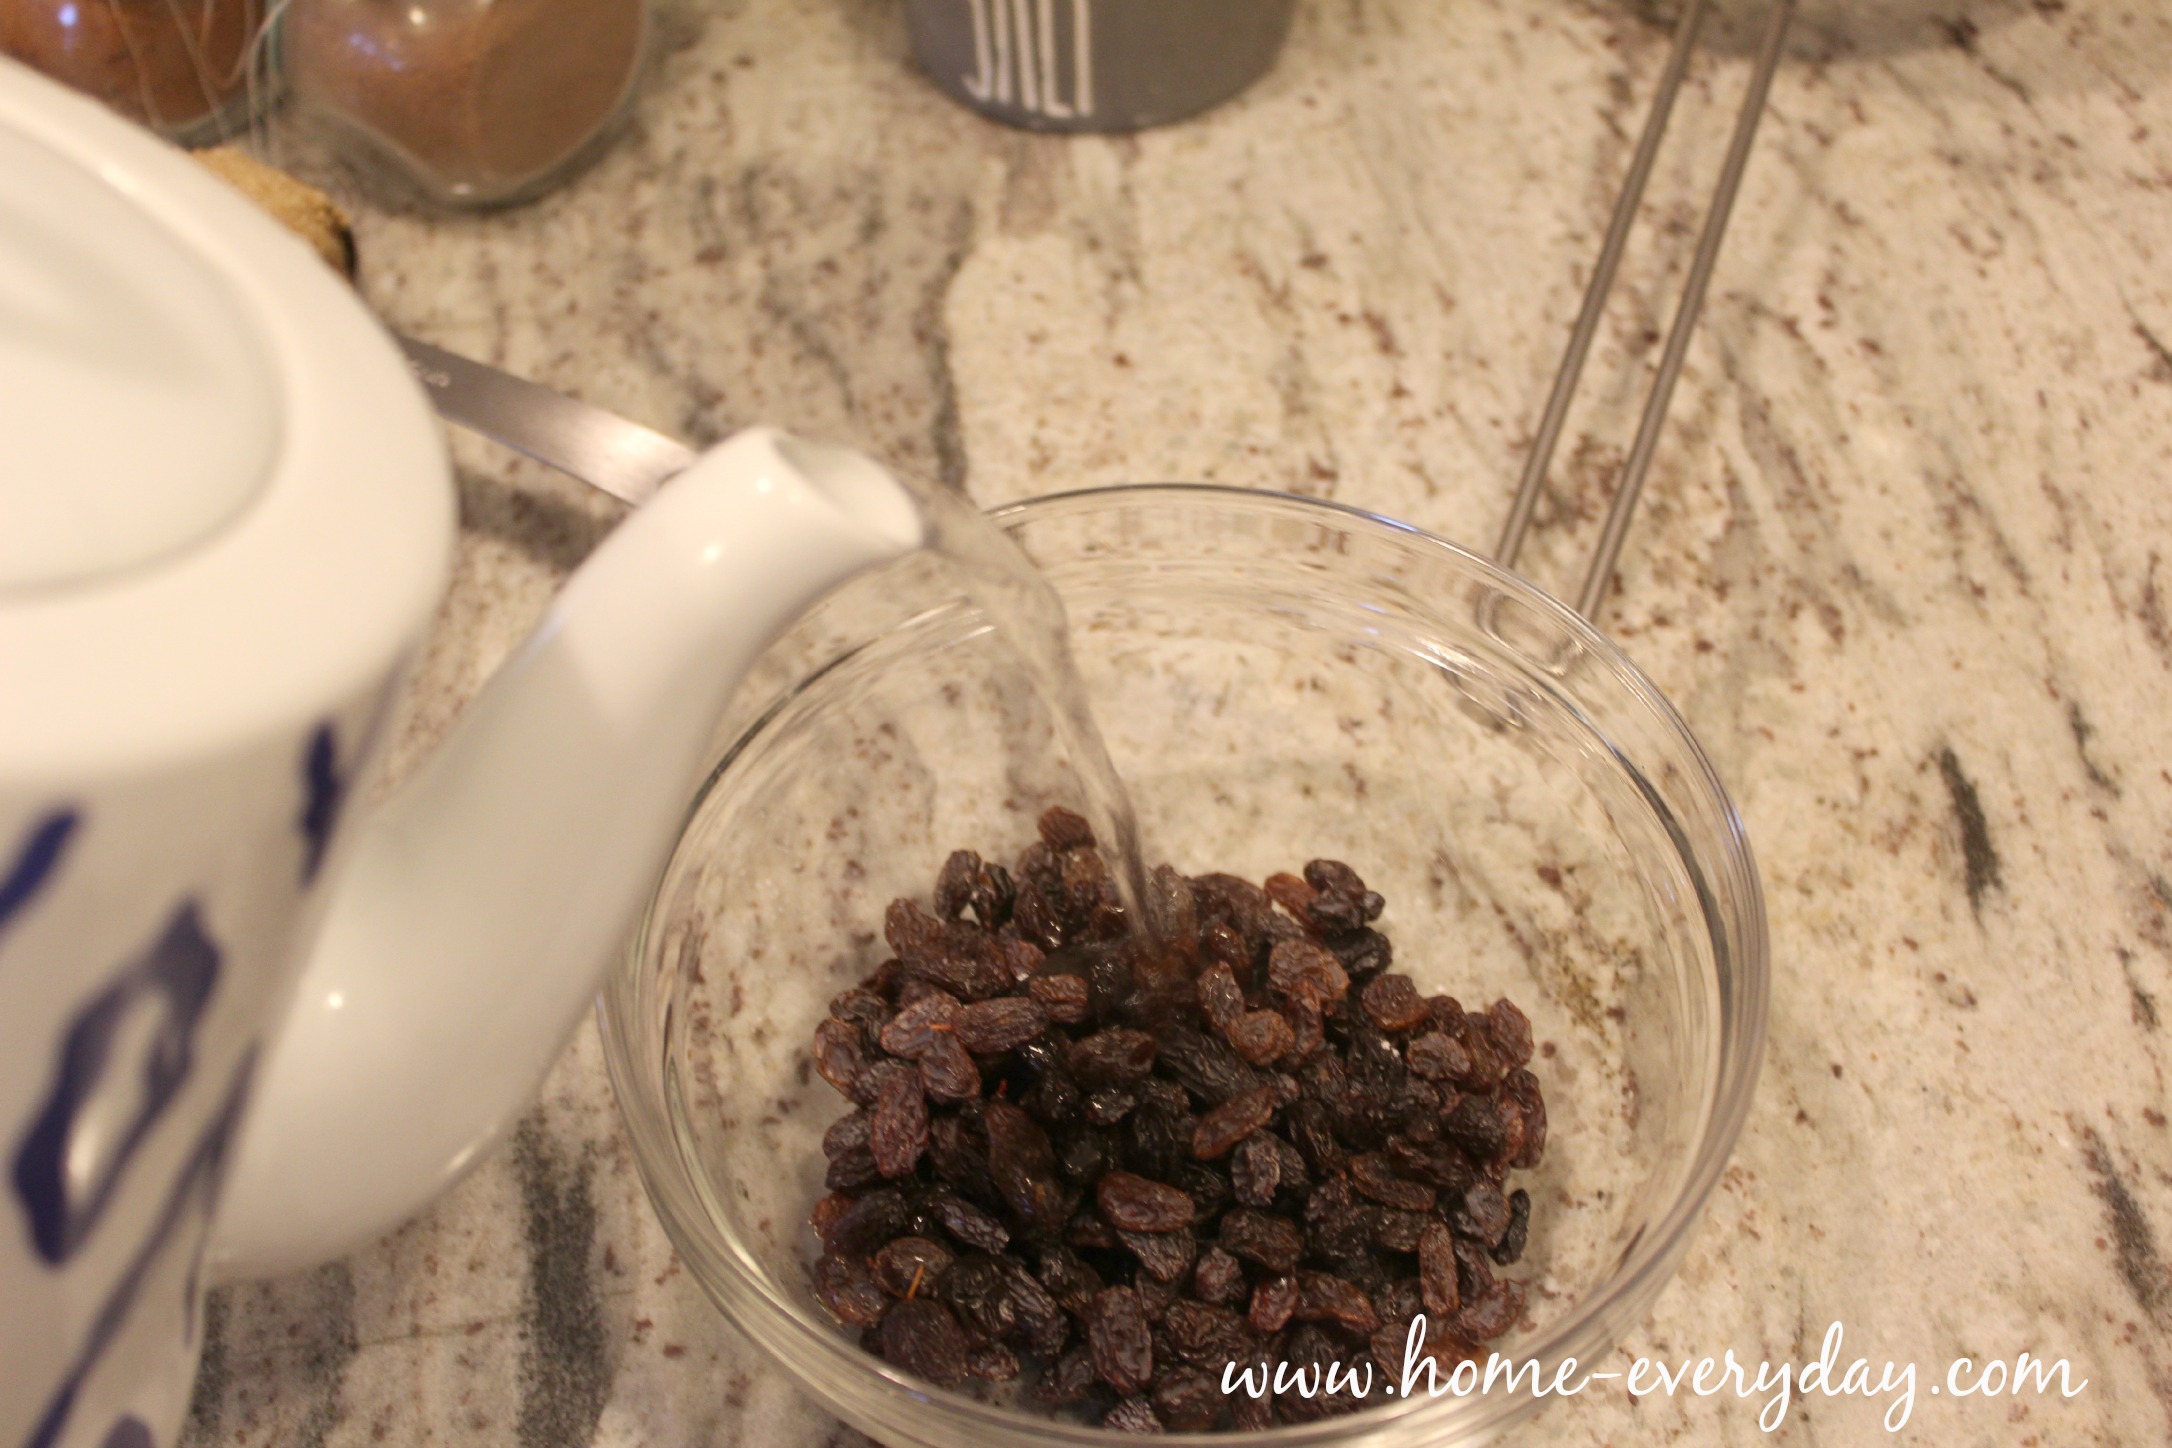
1 cup boiling water (I’ll explain)
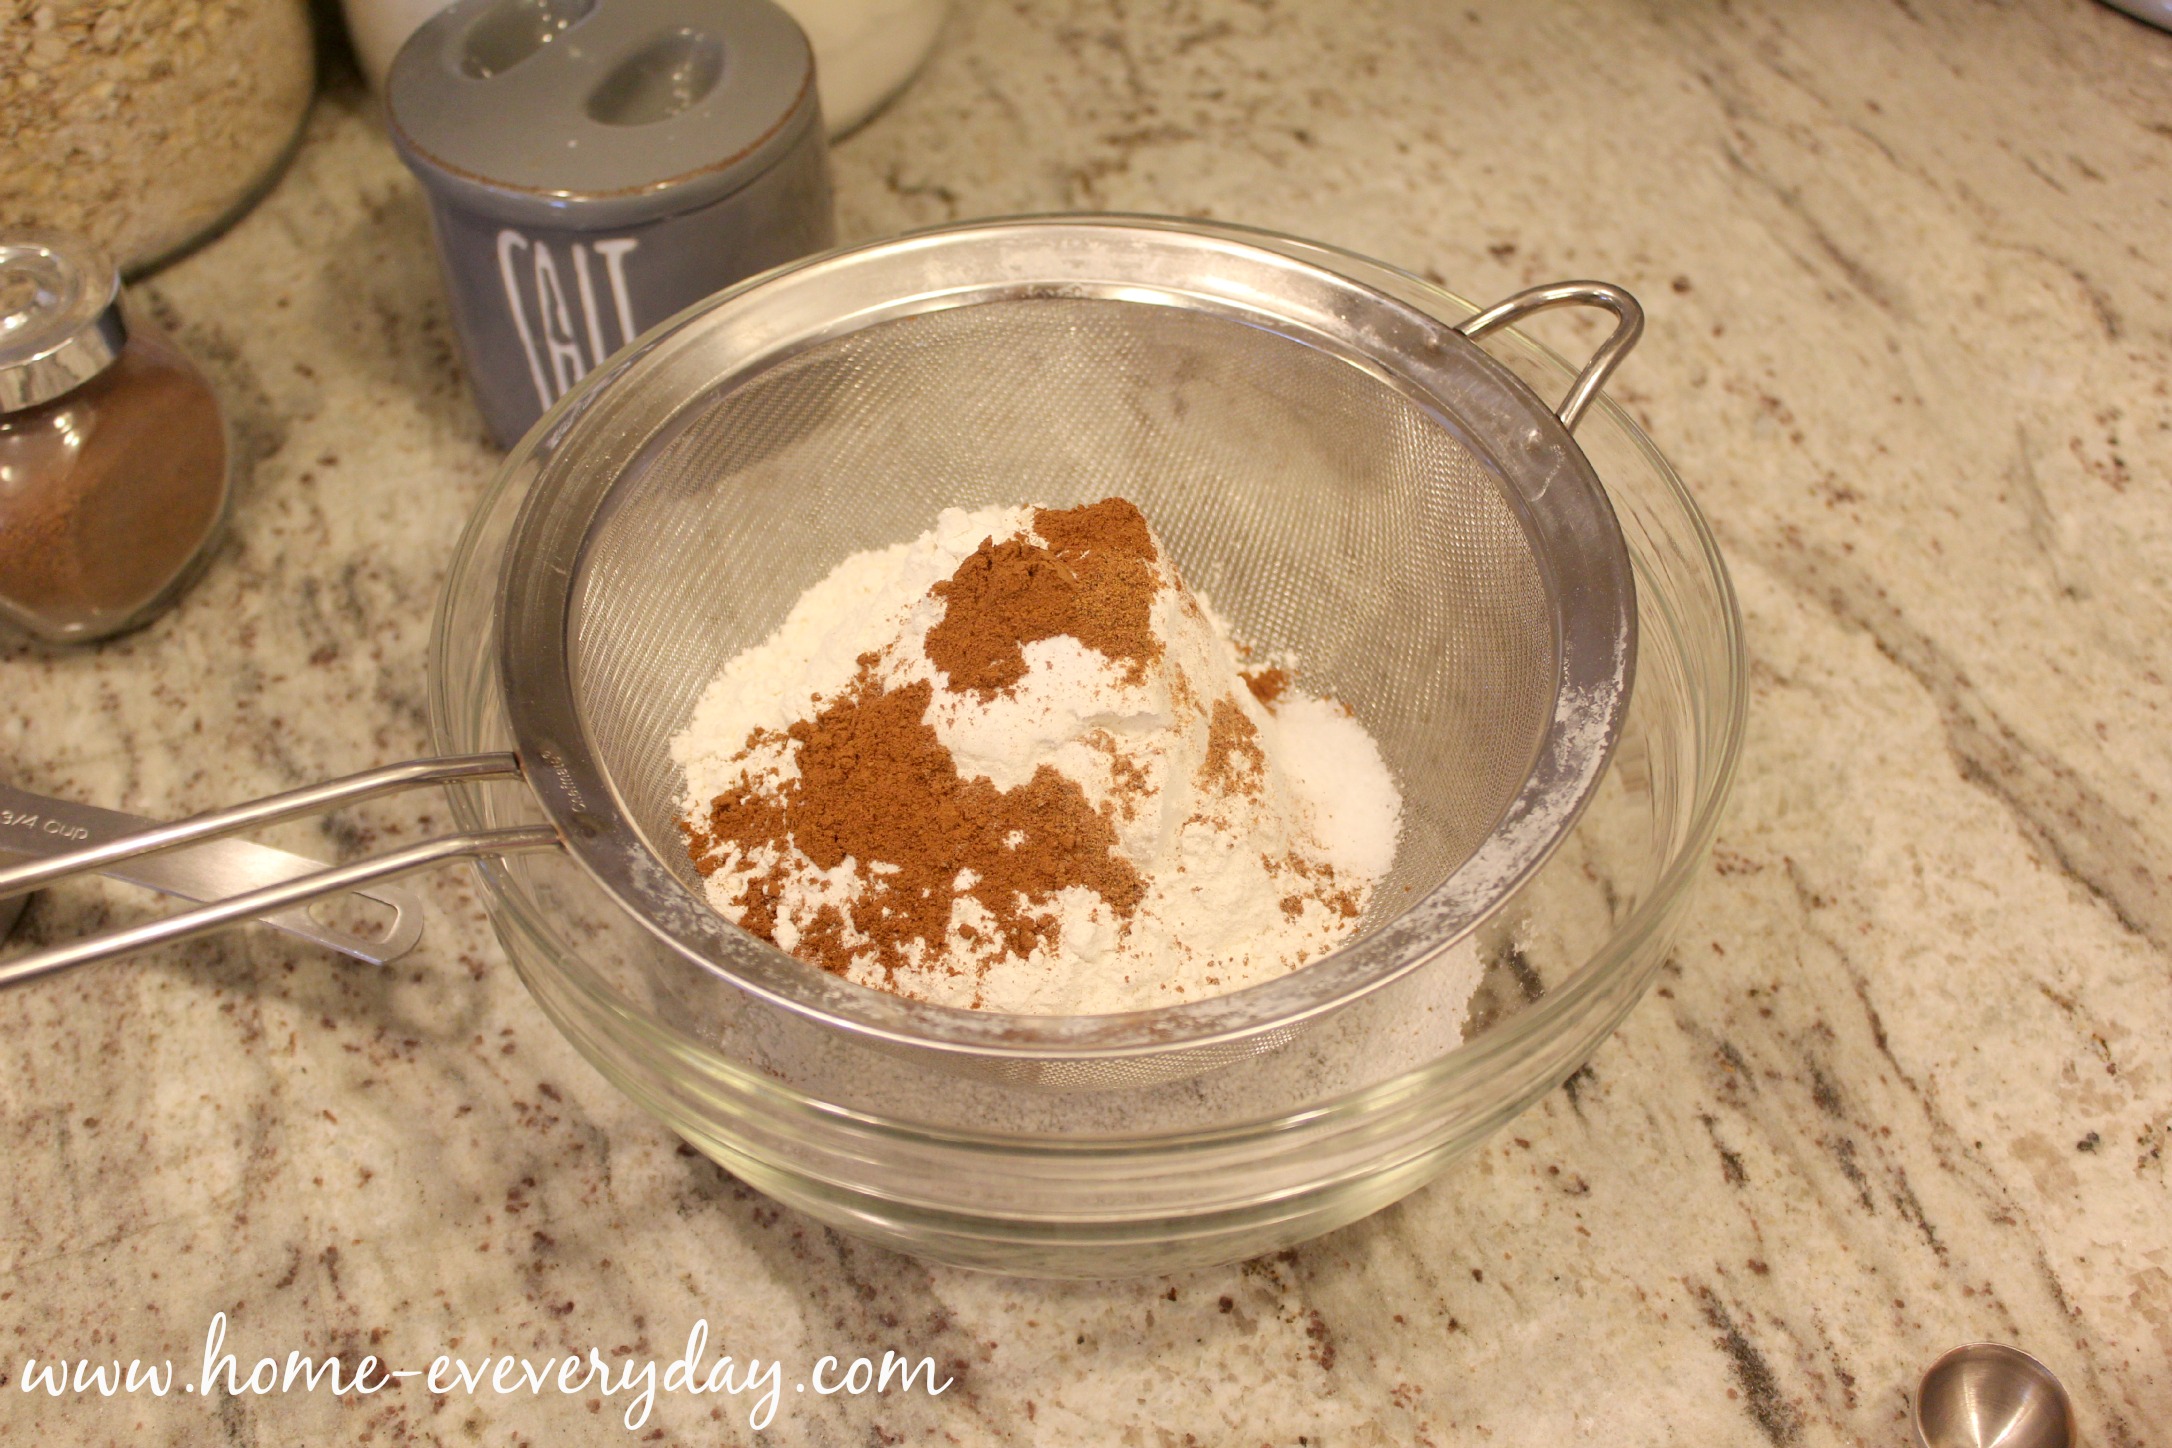
Preheat oven to 350 degrees, and line baking sheets with parchment.
In a large bowl sift together flour, baking soda, cinnamon, nutmeg, and salt. Set aside.
In another smaller bowl, add raisins and cover with boiling water.
Set aside for a few minutes. This helps to make the raisins plump up a bit and are extra delicious in the cookies.
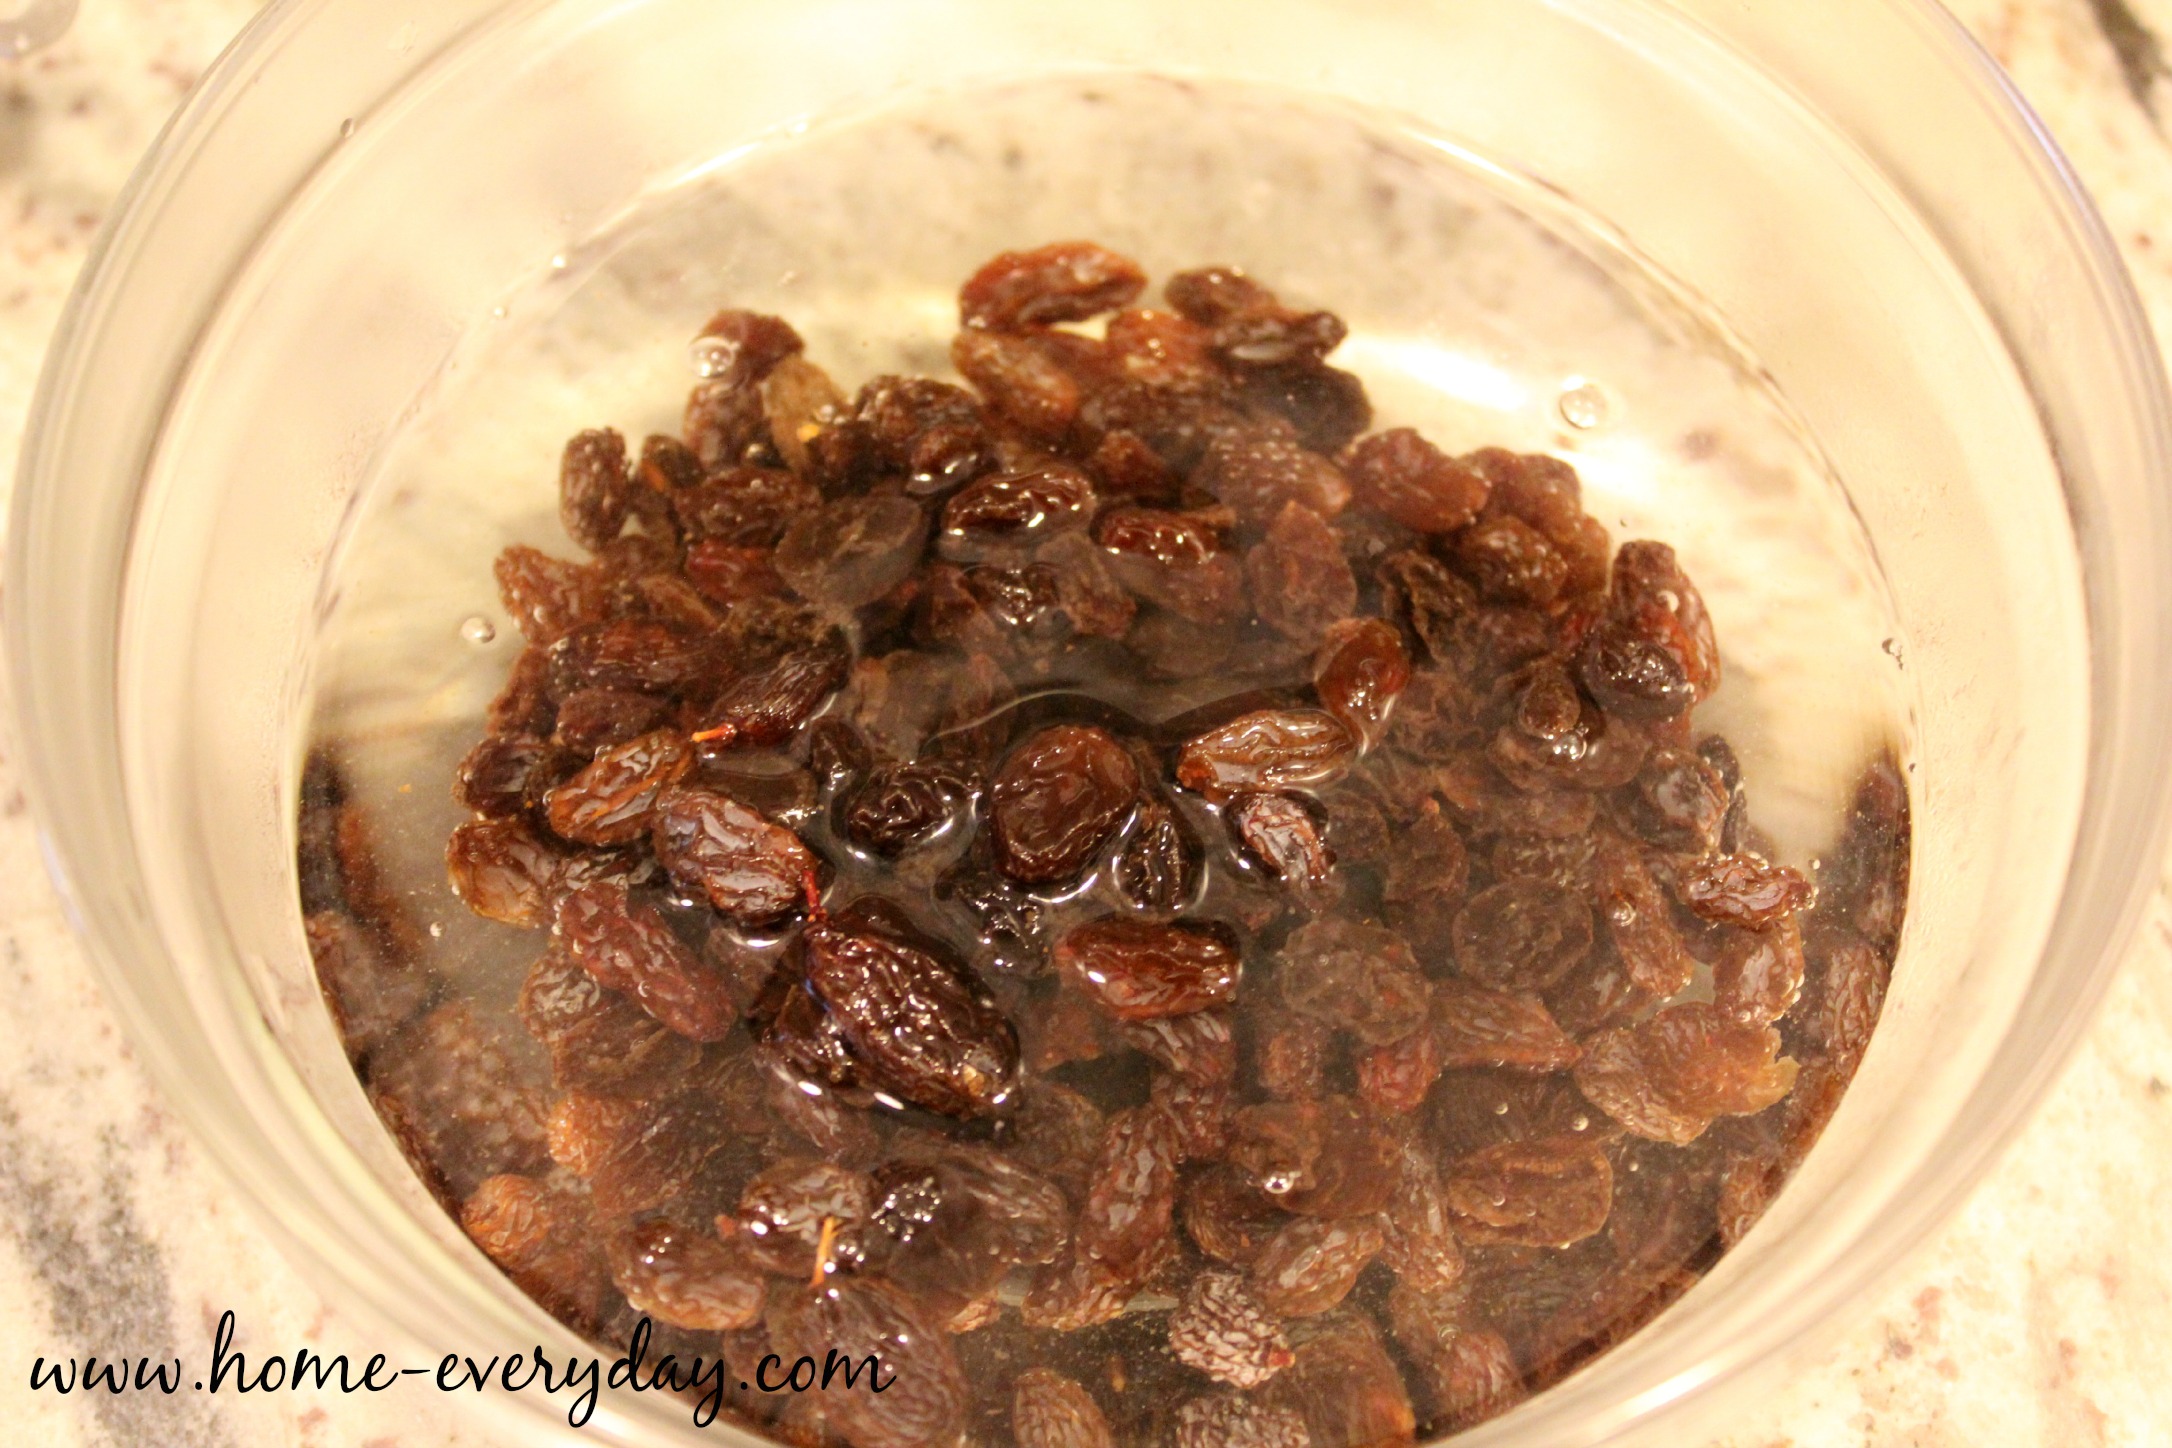
Drain the raisins and set aside.
In a mixer with a paddle attachment, cream together butter, brown sugar, and granulated sugar until well incorporated. Then, carefully mix in eggs and vanilla.
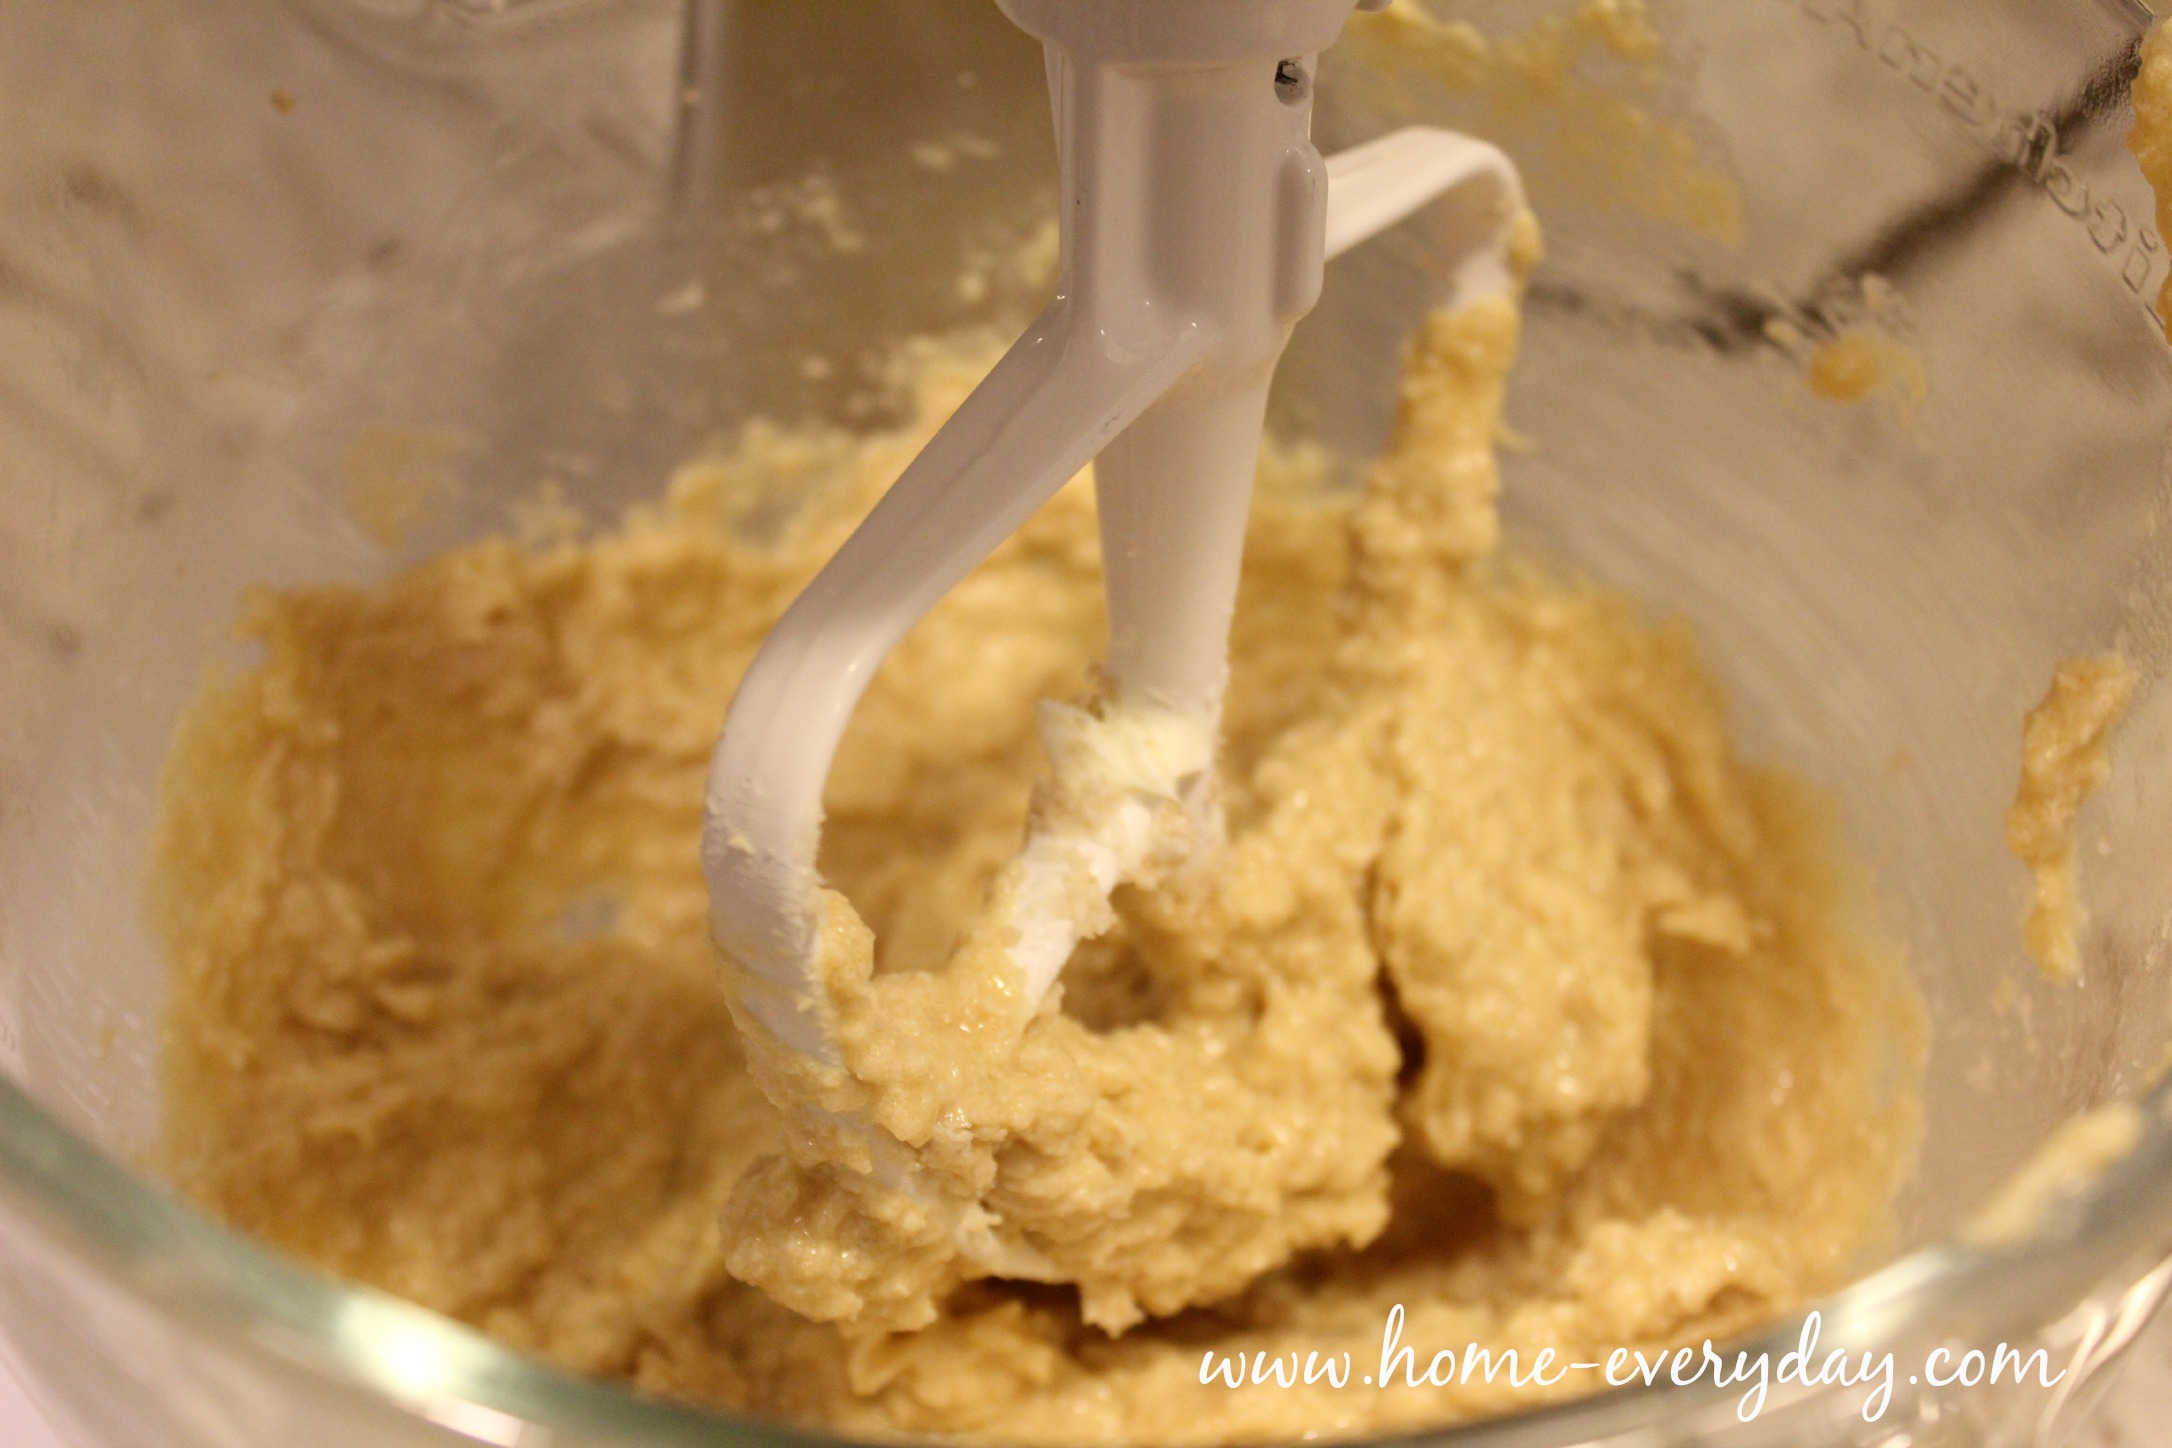
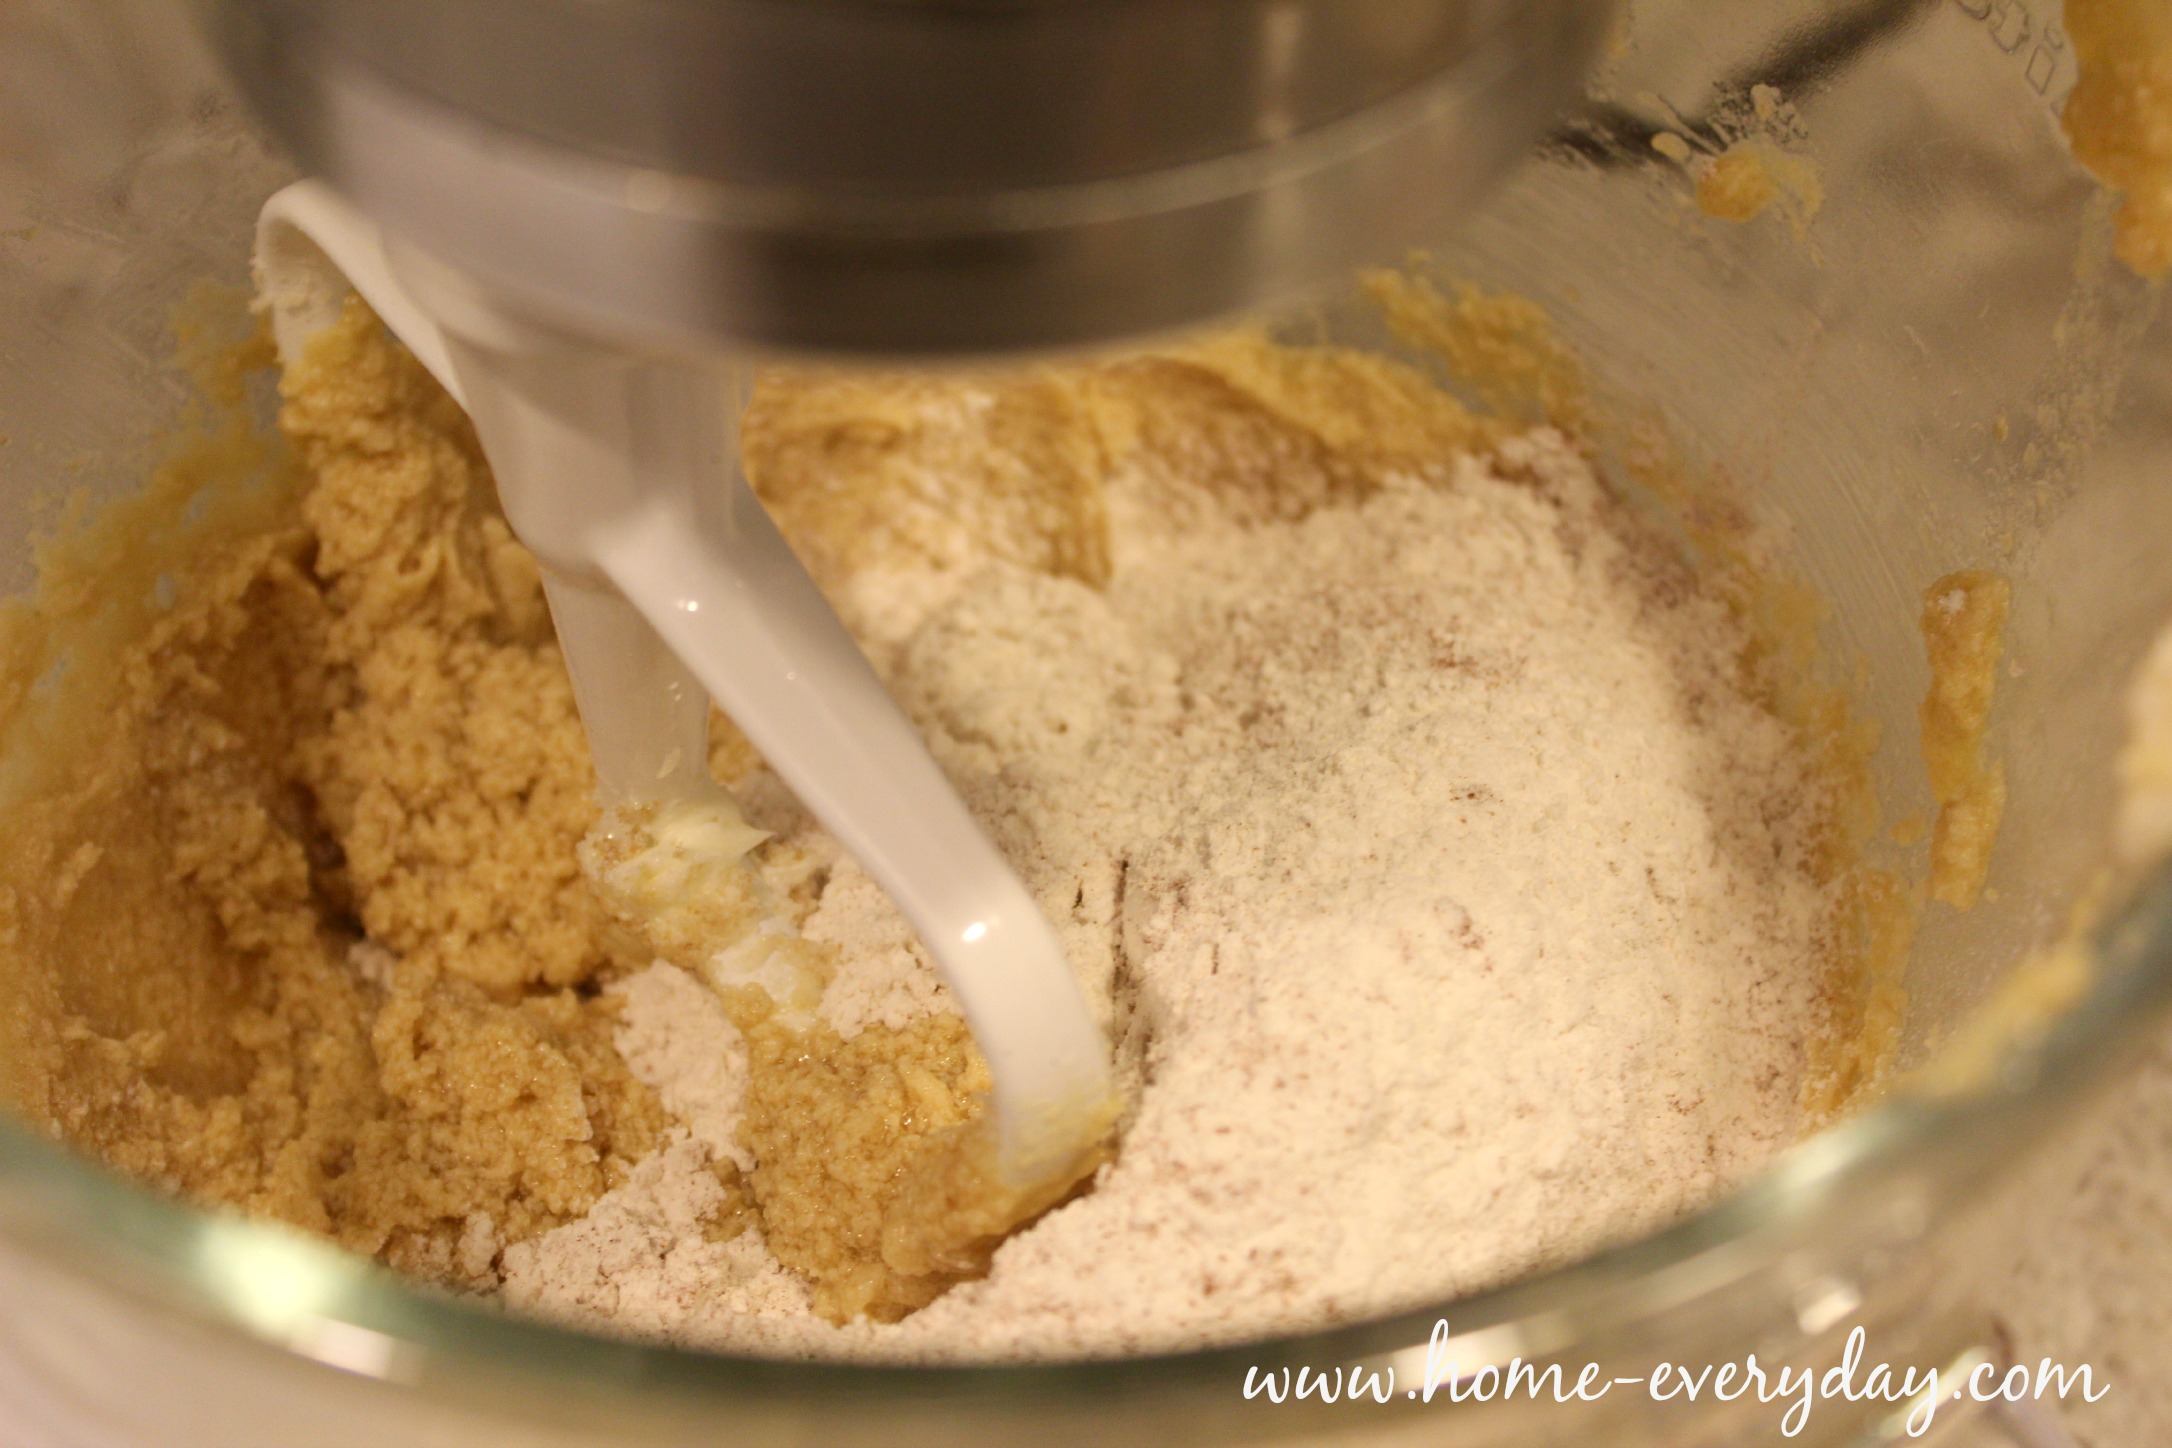
Then, add flour mixture and mix until barely incorporated.
Next, add oats and raisins. Mix until all ingredients form a dough.

Next, scoop dough onto reserved parchment lined baking sheets (about 1 1/2 tablespoons).

Bake for 8-10 minutes or until golden brown.

Cool on wire wrack before packing to send.

I cannot wait to send these cookies with the funny Hallmark Ornaments I found. I think my siblings will love them.

What ideas do you have for Hallmark Ornaments at Walmart this Christmas season? Will you decorate an entire Star Wars themed tree? Will you send a fun gift to a pal with golf balls and a Caddyshack ornament? Share in the comments.