Tag

christmas decor

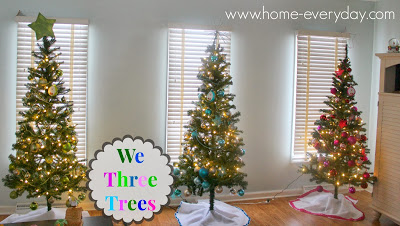
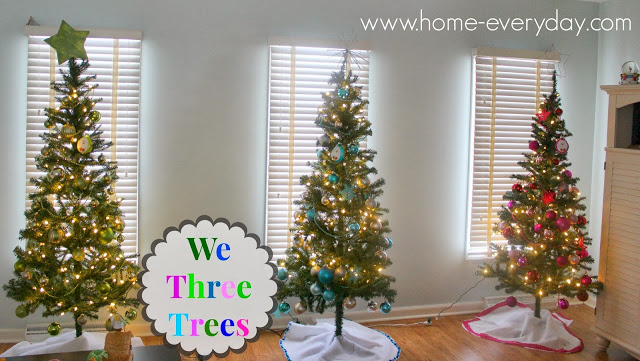
We Three Trees

While I was compensated by JoAnn Fabrics and Crafts, the thoughts and opinions expressed in this post are my own.

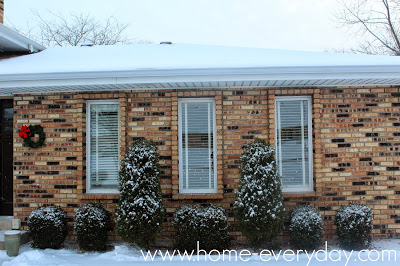
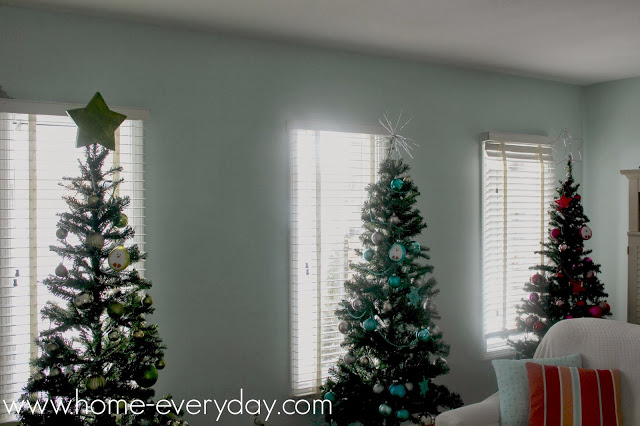
Nothing says #FABULOUSFESTIVE like lots of lights and sparkle! Christmas at our house contains both, but this year we upped the ante a little bit (by three to be exact). You see, I have always been a stickler for symmetry and the three windows in the front of our house looked like they could each use a little Christmas tree all their own! YES, THREE Christmas Trees in my living room (plus the one in the family room so I guess four)!


When I had decided to put up a tree in each window, I was nervous about taking on this project because I know that outfitting ONE tree can be pricey but between Black Friday sales, JoAnn Fabric and Crafts coupons (there’s one for all my readers too), and making a few of the elements myself, I was able to save a ton of money. In fact, I created my own tree toppers and tree skirts.

I first mentioned the idea of THREE (well, actually four) trees to Brian, and he was a little skeptical. “Three trees! Plus the one in the family room?!” However, after a few minutes of thinking he had the brilliant idea of each of our children to have their “own” tree. He suggested we decorate the trees in each of their favorite colors (green, blue, and pink) and use shatterproof ornaments (thanks to JoAnn Fabrics and Crafts) and have the kids decorate. What a great idea! The kids loved it! In fact my daughter said, “This is fabulous!”


So, for JoAnn Fabrics and Crafts #FabulouslyFestive holiday crafts, I decided to share three tree toppers and three tree skirt ideas.

Tree Toppers
We have always put stars as tree toppers, but I wanted each of the kids’ trees to be unique, so here are three clever and inexpensive star tree toppers.


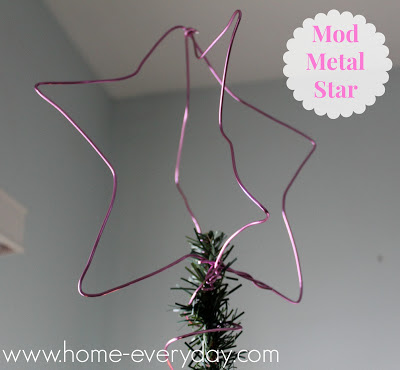
Mod Metal
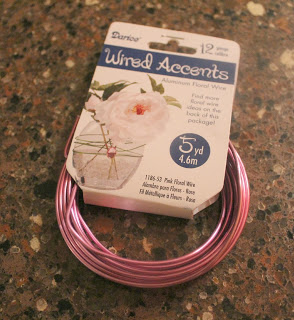
For the first tree toppers, I formed some pink 12 gauge craft wire that I found in the floral department at JoAnn, into two stars that are the same size (I printed out a picture of a star and used it as my guide for forming the star).


Then, using wire cutters I clipped some small pieces and used the small pieces to connect the stars together like a 3D frame.


Firework
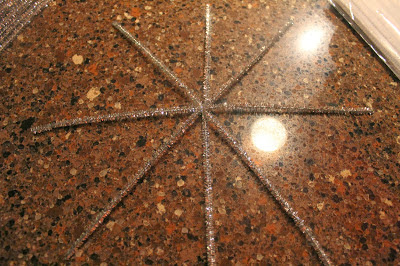
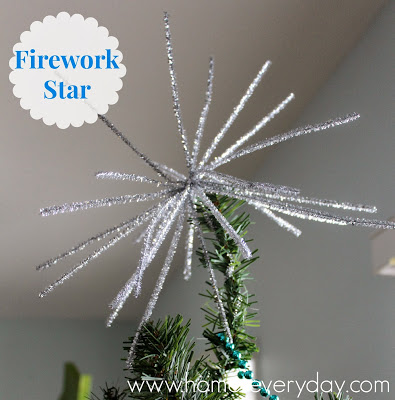
Using silver pipe cleaners, which happened to be on sale, I overlapped them on a flat surface and formed a star pattern.


I did this three times, and then using another pipe cleaner I tied the three flat stars together and adjusted the pip cleaners to form a 3D shape that almost looks like a firework.


Painted Star
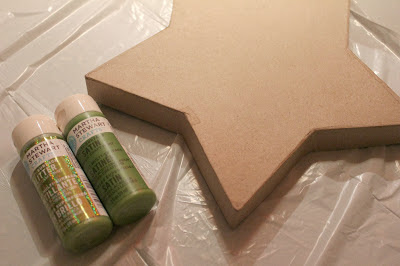
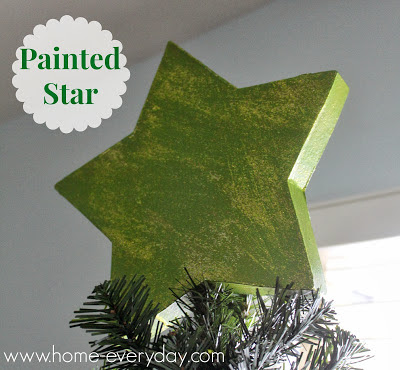
At JoAnn Fabric and Crafts I saw a cardboard box shaped like a star.


I painted the top of the box with both satin and glitter Martha Stewart acrylic paint. Once dry, I cut a tiny hole in the bottom to put on the tree.


Tree Skirts
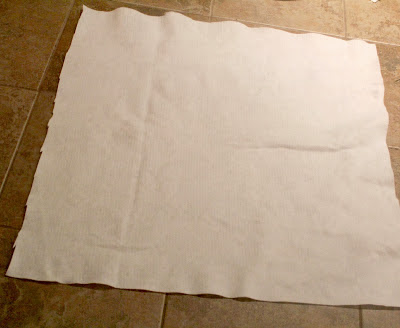
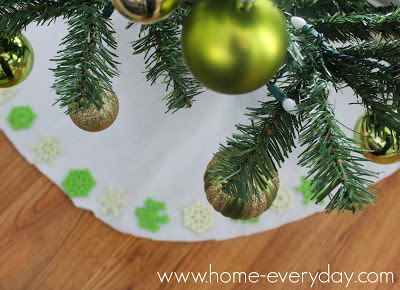
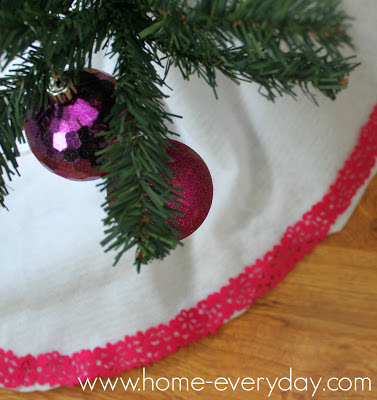
To make the tree skirts I used, the same pattern cut into 1 yard of white felt and then used different embellishment to make each of them unique.


First, I cut the white felt I found at JoAnn Fabric and Crafts into a perfect square (3′ x 3′).


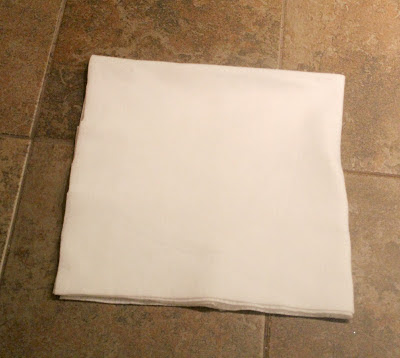
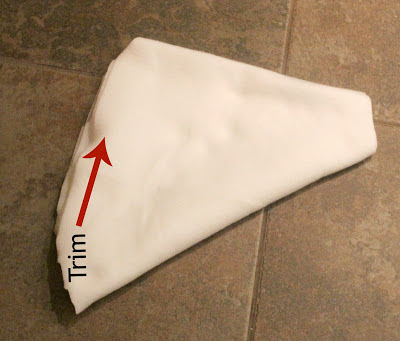
I then folded the felt in half, and then folded it in half again to form a smaller square.


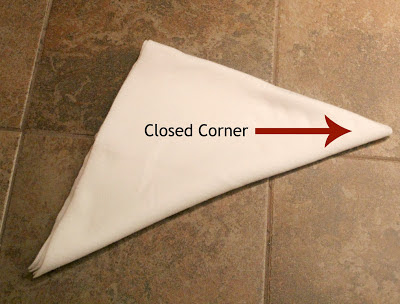
Next, I folded it in half on an angle to form a triangle (just like making a paper snowflake).


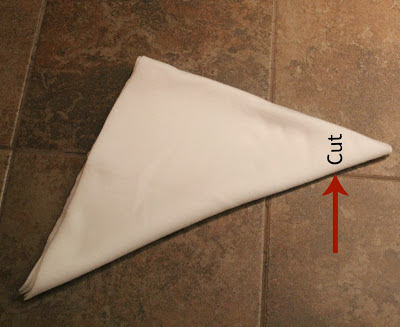
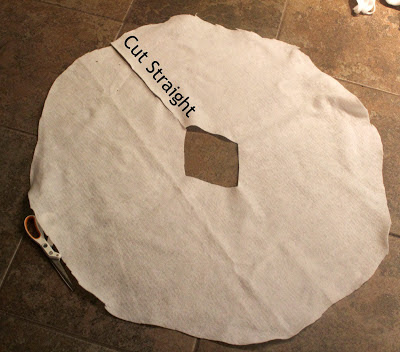
Then, I cut the corner with no open ends. I cut straight across about 2 inches from the corner. This creates the hole for the tree.


Then, on the other end, I carefully cut rounded edges.


Finally, I opened the skirt, and cut a straight line from the edge to the hole to create and opening for to wrap around the tree.


Once all of the skirts were cut, I got out my hot glue gun, and got to work.

Pretty Trim
The trim I found was almost like a felt ribbon, but you could use any ribbon you like. I made sure that it wasn’t very stiff so that I could easily fold it to follow the circle pattern of the skirt.


Pom Palms
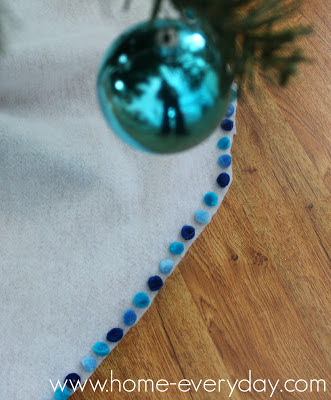
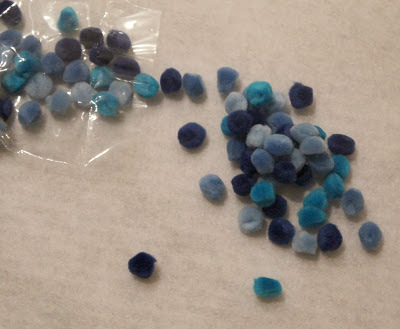
This is my absolute favorite tree skirt. Who knew a bag of pom poms from JoAnn glued to the edge would be so adorable?


Snowflakes
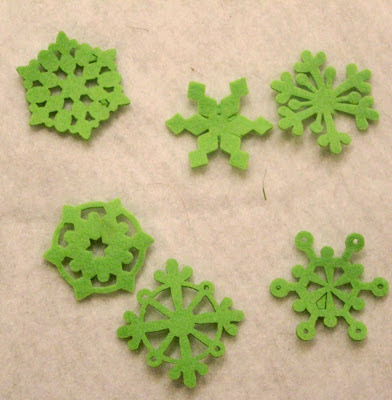
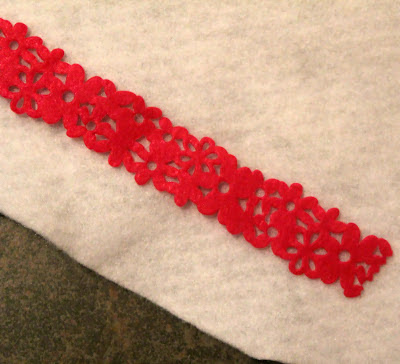
I actually found these felt snowflakes already made, but you could cut your own out of felt from JoAnn too. I glued them around the edge of the skirt.


These THREE (actually four) Christmas Trees are such a wonderful addition to our home, and I’m wondering if someday the kids will take these trees to decorate their own homes someday.


HOPE YOUR HOLIDAYS ARE #FABULOUSLYFESTIVE!
(Hopefully the coupon will help!)
Keep reading this week and next for the Home Everyday Holiday MiniSeries for more ideas on decor, cooking, baking and last minute gift ideas. Speaking of ideas, check out the JoAnn Fabrics and Crafts catalogue HERE!Linking up at Honey We’re Home for Holiday Cheer in the Blogosphere!

For more about DIY, gardening, cooking, baking or all other things domestic, become a Home Everyday follower! For blog updates or to see other places I write follow Home Everyday on FacebookTwitter, or Pinterest.
Follow on Bloglovin


Hanging Holiday Cards

As part of the Home Everyday holiday Mini Series, I have another awesome holiday craft for you!

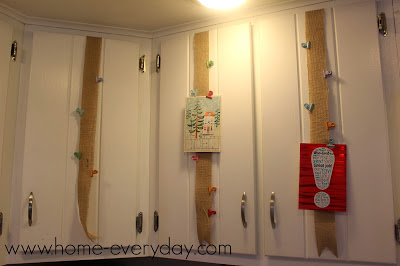
Every year I have the same dilemma. We receive so many wonderful holiday cards from friends and family every year, I always want to make sure they are displayed somewhere that we can admire them. Since I spend many hours in the kitchen I thought it would be nice to have them there. Also, the kitchen is always lacking in holiday decor, so I thought it was the perfect place to display them.

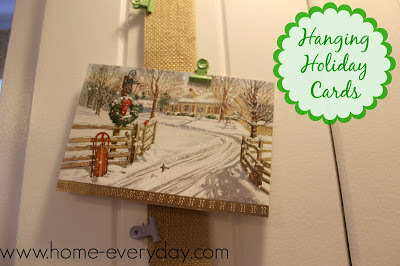
Last year, I used some green ribbon and clips to hang them from the cabinets, but this year I decided to go with something a little more neutral so that the stars were the holiday cards and not the ribbon.

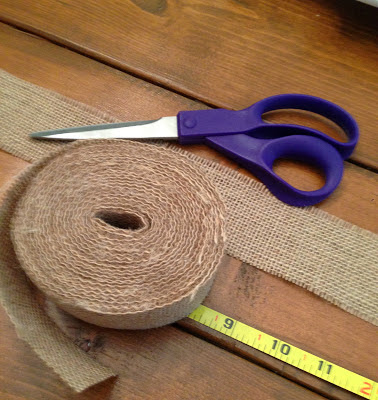
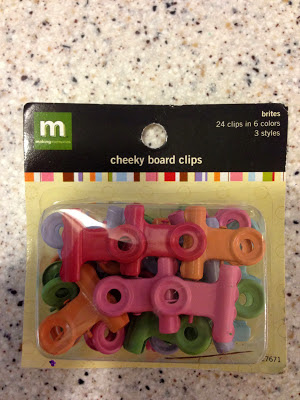
I used burlap ribbon and some cute clips.


I measured the cabinets and adding about 6 inches cut the ribbon to length. I then affixed the burlap to the inside portion of the cabinet using some tape, but you could use 3M Hooks as well.


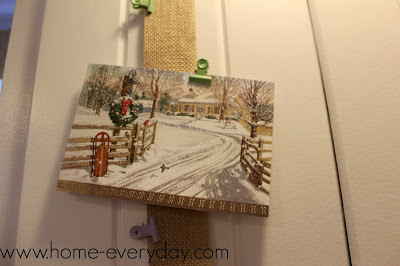
Finally, I used the put the clips on the burlap so that they are ready and waiting for all the gorgeous holiday cards we receive this year. This craft is practical and simple, and cost about $4.99 for the ribbon and about $2.99 for the clips.

Now, I can admire our gorgeous holiday cards while I am baking cookies.

Speaking of cookies…

For more about DIY, gardening, cooking, baking or all other things domestic, become a Home Everyday follower! For blog updates or to see other places I write follow Home Everyday on FacebookTwitter, or Pinterest.
Follow on Bloglovin

A Miniseries and Chalkboard Ornaments

HAPPY HOLIDAYS, Readers! The house is almost completely decorated, we had our family photo taken for Christmas cards, the baking has begun, and I’ve made my list and checking it twice!

Over the next three weeks, there will be holiday crafts, fun Thirsty Thursday recipes, holiday cooking, and baking, and some great ideas for gifts. I am calling it my Holiday Miniseries, and I am kicking off this week with a great ornament idea!

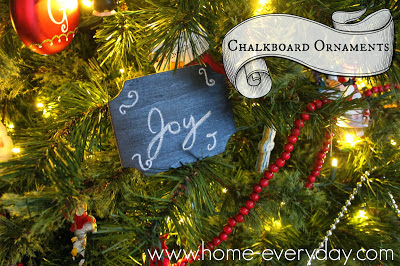
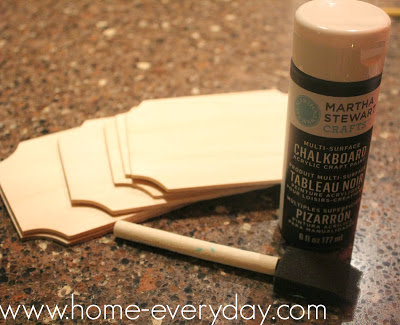
Chalkboard art is becoming increasingly popular and I noticed a few weeks ago that Martha Stewart makes a chalkboard paint. I wanted to desperately to try it out and see how it works. So rather than painting a whole piece of furniture in chalkboard paint (which I think would be neat), I thought it best to start small.


Supplies:
Wooden Shapes or Ornaments
Chalkboard Paint
Plastic Bag
Paper Plate
Paint brush or sponge
Ribbon or string
Stapler or Glue


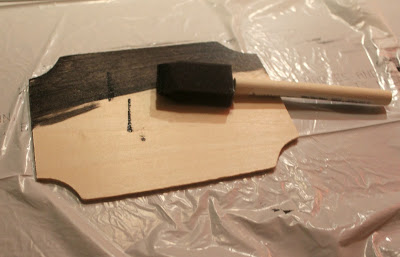
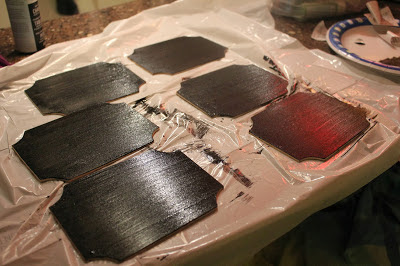
I first made sure to remove any labels from the wooden shapes. Then using just a little bit of chalkboard paint, I started painting very thin coats of paint on the shapes. According to the directions, it is important to use at least two coats.


According to the paint directions, it is important to wait an hour between coats of the paint. However, because of painting in thinner coats I only had to wait about 20 minutes between coats of paint. When it was all said and done, I painted four thin coats of chalkboard paint for good coverage.


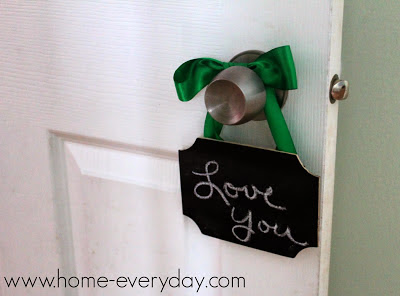
I let them cure for about 12 hours. Then, they were ready for Holiday messages and hanging on the tree. I didn’t attach any ribbon or string to all of the ornaments because they fit nicely tucked between the branches on the tree.


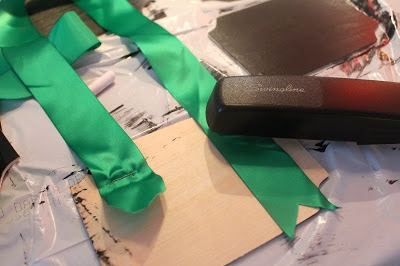
I did staple some ribbon on the back of a few. You could clue or use other adhesives too. I saw the stapler though and the wood was thin enough not to bend the staples, but not so thin that the staples pushed through the other side.

Now, these ornaments look adorable hanging all over the house with little messages. Perhaps I will keep them out all year long.


Make sure to keep checking back for holiday decorating ideas, Christmas baking and cooking, and gift suggestions.

Linking up at Hi Sugarplum for Holiday Cheer in the Blogsphere!


For more about DIY, gardening, cooking, baking or all other things domestic, become a Home Everyday follower! For blog updates or to see other places I write follow Home Everyday on FacebookTwitter, or Pinterest.
Follow on Bloglovin

A Few Christmas Decoration Traditions

There is so much to write about when it comes to Christmas, I feel like I might be writing for weeks after Christmas about all our experiences so far. While everyone has gotten a chance to see tree 1 and tree 2 as well as our mantel and our dining room table. I thought it would be nice to show you a few other decorations we have put up around the house that have been around for many many years.

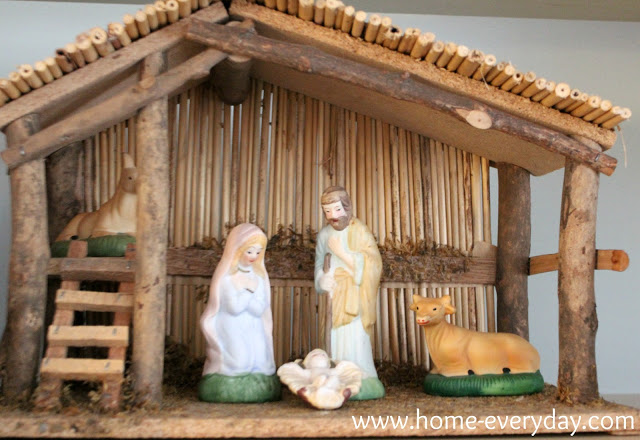
This was my grandmother’s nativity that I inherited after she passed away. Every year when I take it out of its box, I am reminded of her and the millions of cookies we all helped her bake, seeing her at Christmas Mass, and Christmas Eve and Christmas Day dinners of my youth.
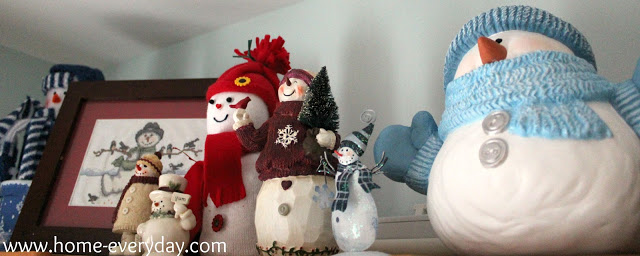
Here is a smalls snippet of my collection of snowmen. Some were gifts from family, some were made for me like the ceramic one by my mother in law. I did the needlepoint one many years ago. But my favorite is the sock snowman with the red hat made for me by my niece and god daughter when she was a little one. Now she is a senior in high school. Time goes too fast!
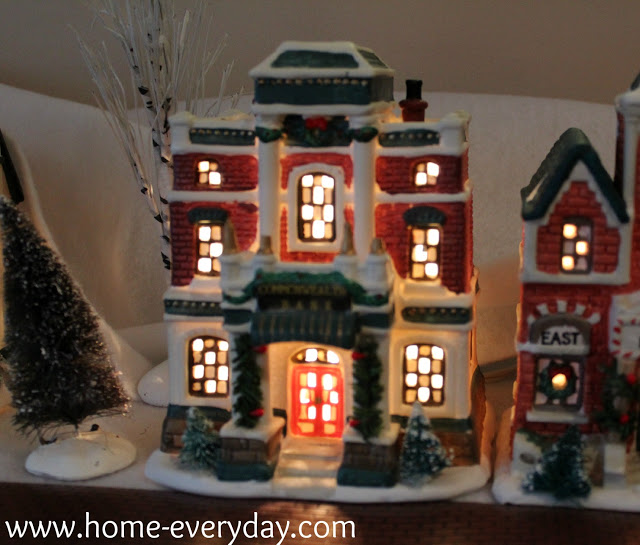
My parents had an idea pretty early on that I was Christmas crazy, so when I was in high school, they started a Christmas village for me. People have added to it over time. The kids love it.
Since Brian and I have been dating, I have bought him a penguin ornament every year. Some are fancy silver from Pottery Barn and, some are plastic from Target . But it is our tradition, and I love the quest of trying to find a unique one every year for our tree.
Do you have any family heirloom type Christmas decorations? Do you have a holiday collection that has been gathered over time? Share!

It Isn’t Much, but It’ll Do: Christmas Tablescape

I’m Christmas crazy. I admit I have an almost unacceptable amount of Christmas cheer this time of year. Because of this, we have a fair amount of Christmas decorations. I have a Christmas village that my parents started for me when I was young, two Christmas trees, stockings hung with care, outdoor lights, my Grandma’s natvity, a small collection of snowmen, so by the time I get to the dining room I’m tired. The dining room needs something though, we are in there every single day.

Here is what I was able to do with what was leftover.

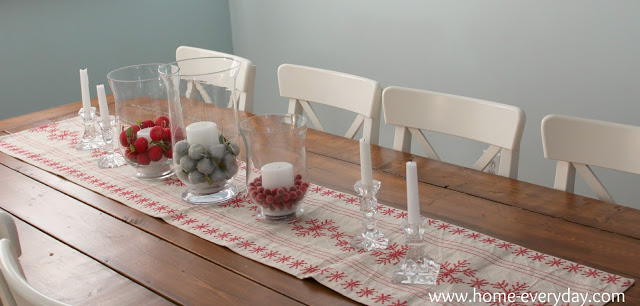
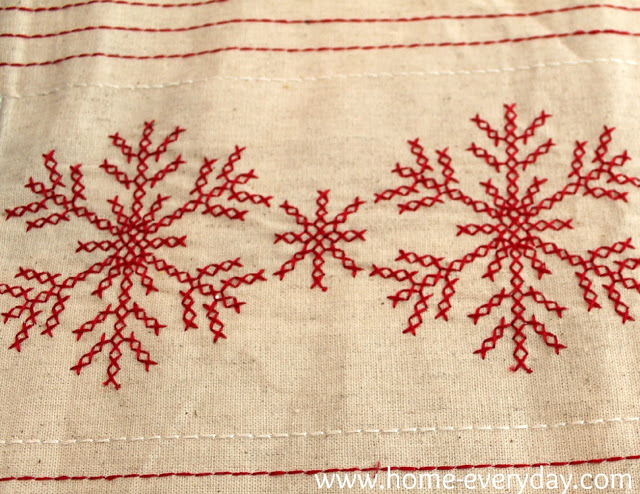
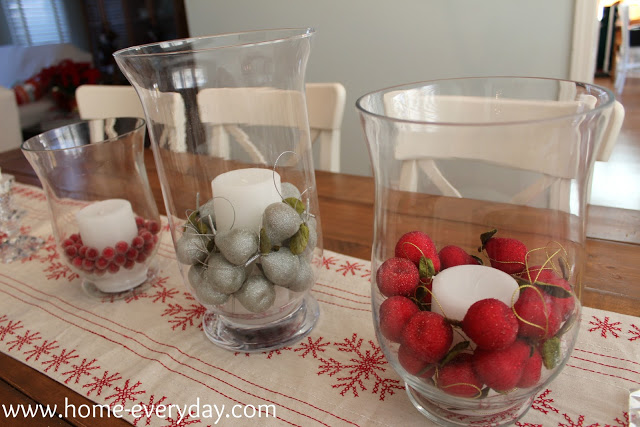
I used my favorite table runner found last year at Target on after Christmas clearance. I love the snowflakes stitched on it.

Then, I filled hurricanes with sparkly pear ornaments found at Home Goods last year and berries from Michael’s.

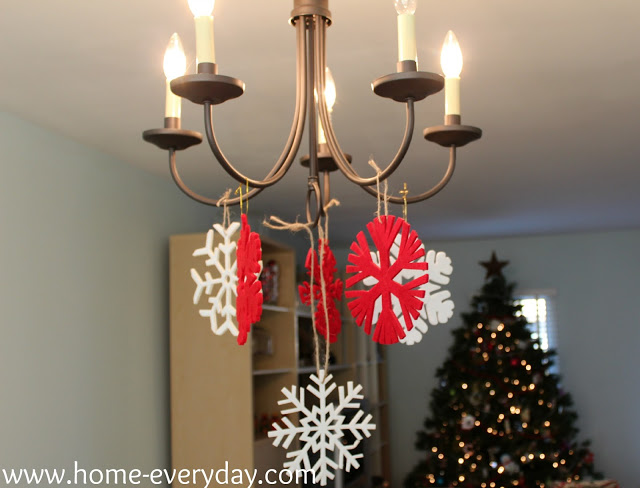
Finally, I added these felt snowflakes from the chandelier.

Not too shabby for leftovers. What do you do with extra holiday decorations?

Check back soon for a full scale tour of our house decorated for Christmas!

The Fire is So Delightful: Holiday Mantel Decor

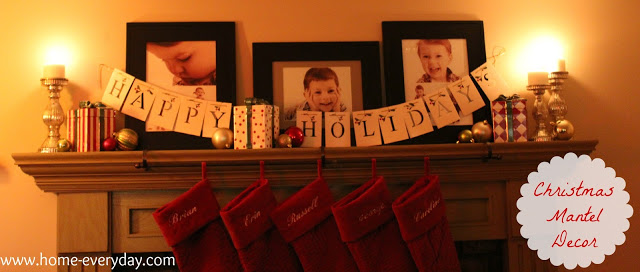
There is no snow here in the midwest yet. In fact, on Monday of this week we had a high of 70. 70 degrees. In December. I have a feeling we are going to pay for this later on this winter.Even though the weather is far from frightful, our mantel is ready for a cozy Christmas fire.


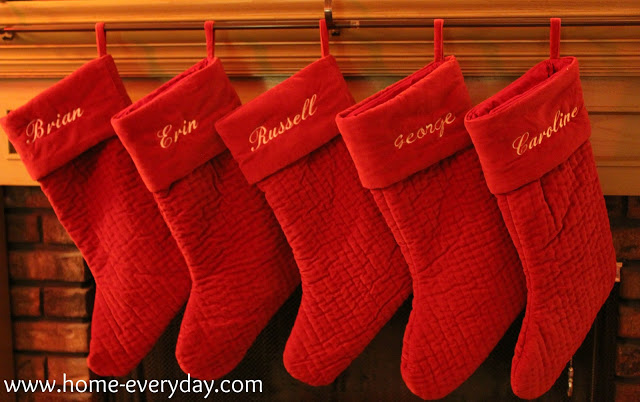
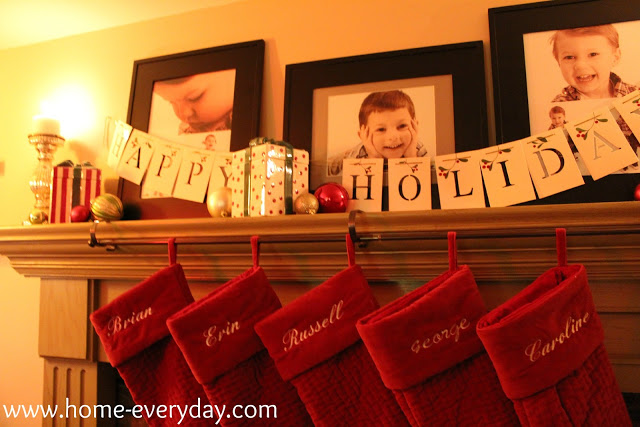
I found these Pottery Barn velvet stockings six years ago at an after Christmas sale for $5.00. Brian and I were just married and weren’t sure how big our family would be, and I was afraid of them being discontinued or something, so I bought six of them. Now we all have matching stockings. Also, we have a wonderful friend who has an amazing embroidery machine, and she has stitched all of our names on them for free!


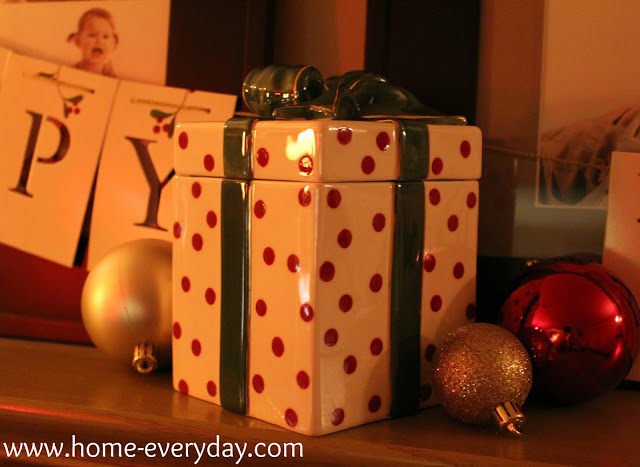
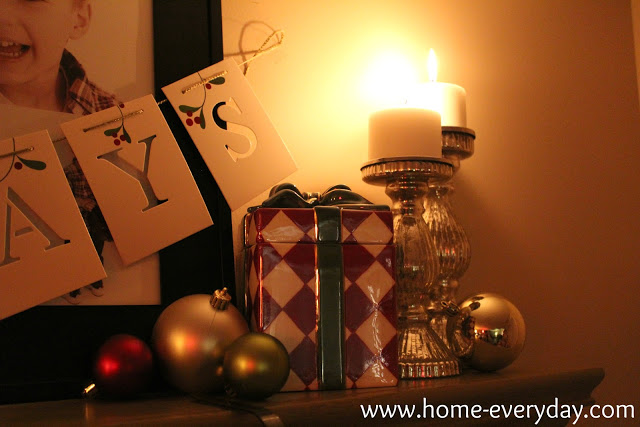
The banner I found at Target for $4.00 and the ornaments are extras I had leftover from our family room Christmas tree. The Waterford ceramic presents were a wedding gift from my oldest brother and sister-in-law 6 years ago (they are probably my favorite Christmas decoration).


The finishing touch are the mercury glass candle holders which put a sparkly glow over the whole mantel. I found these after Christmas last year at Target on clearance. I think they are meant to be holiday decorations, but I keep them out all year. I love how they have a little bit of sparkle.


There you have it. Now, let it snow, let it snow, let it snow.


Linking up today at Ten June for the Christmas Cheer to the Blogosphere Event and The Lettered Cottage for the Holiday Home event! Get your hot cocoa ready for two great link parties. You’ll be at the computer for hours 🙂

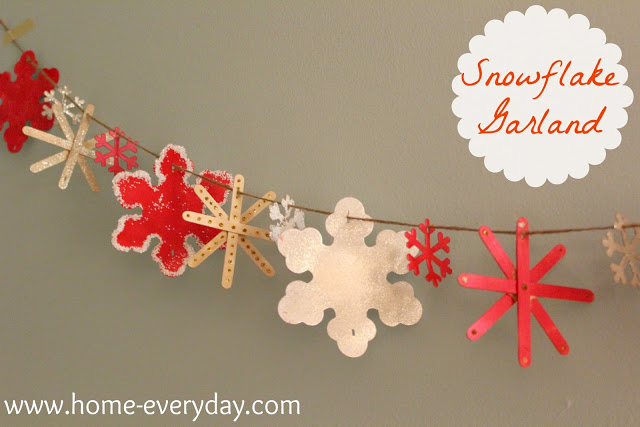
No Two are Alike: Snowflake Garland

Check out the kids and I’s latest craft.


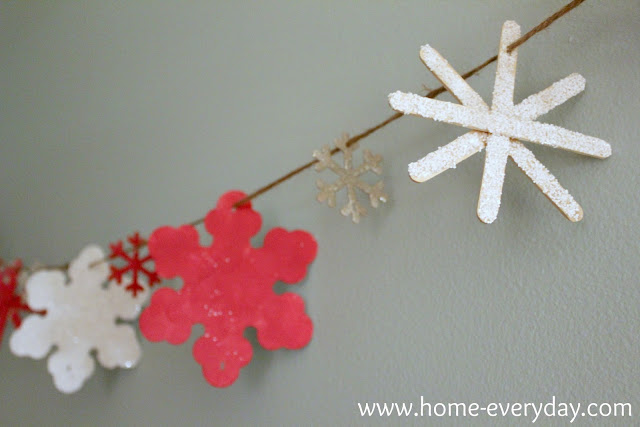
No two of the snowflakes are alike. My kids love anything to do with paint and glitter so this was the perfect craft for them. Plus, I love how simple and rustic it turned out.

The inspiration for this project came from a table runner I found Target on clearance last year. The runner has stitched snowflakes (I will show pictures when I reveal my holiday tablescape). Instead of ornaments, I thought a garland would be more unique and actually more useful as I keep trying to find the perfect decor for our entry way and dining room.

Last week, at Michael’s getting supplies for another project, I grabbed some popsicle sticks for around $3.00 and then I saw a bag of pre-cut snow flakes for around $2.00. The total cost for this project was about $5 and we still have plenty of supplies to string enough snowflake garland around the entire house (which I may do as it kept the kids busy, and turned out so cute).

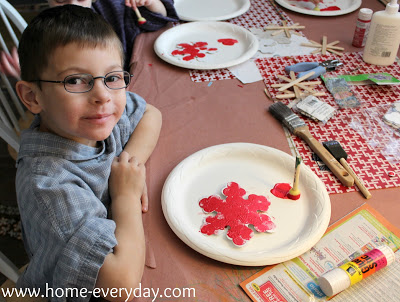
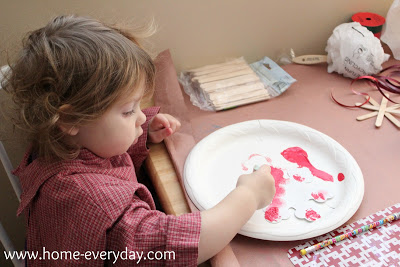
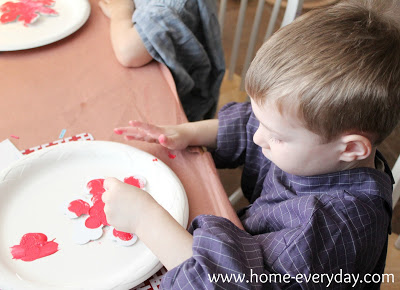
First, I covered the craft table with some paper and then covered the children with some of Brian’s old shirts. Next, I laid out some paper plates with brushes for each kid to have a work surface. Finally, I gathered some red paint (I kept it to one color to cut down on color mixing), glitter, and glue.

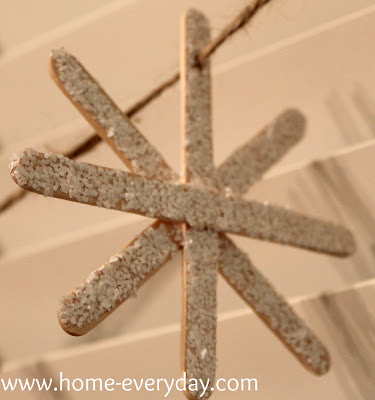
We first made some snowflakes out of popsicle sticks by gluing them into a star pattern.


Then the kids started painting.


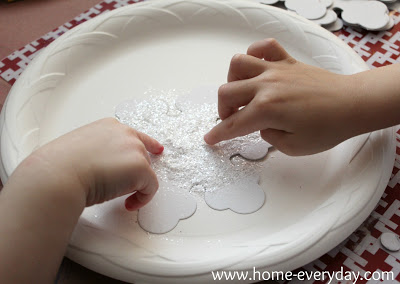
Then came their favorite part: GLITTER!


After painting and glittering, I let everything dry for about 8 hours. Then, using a small hole punch, I made some holes in the snowflakes, and then carefully strung each of them on some twine I had on hand.


The kids are so proud they made the snowflakes themselves, and I am happy to have such a beautiful new decoration hanging in our entryway.

Linking up at Hi Sugarplum for the Christmas Cheer to the Blogosphere. Come check out all the amazing holiday crafts and projects. It seems like a Pinners Paradise!

Also linking up at Centsational Girl for the Holiday Home link event. Another great place for Christmas craft ideas.

Christmas Time is Here: Decorating the Tree

As I mentioned last week, we started Christmas decorating the house. Over the weekend we put up our BIG tree in the living room. This is the tree that holds all of Brian and I’s childhood ornaments, all the ones we buy for the kids every year, all the home made ones, and all the ornaments that Brian and I buy on our vacations together.

Every year, putting up the Christmas Tree at our house gets more fun, as well as more of an event (maybe because we have lots of little elves to help now).

After a dinner of Thanksgiving Leftovers and cleaning up toys, I made some hot cocoa, turned on the holiday tunes. Brian and I assembled the tree and plugged in with bated breath to hoping all the lights would work. They did!
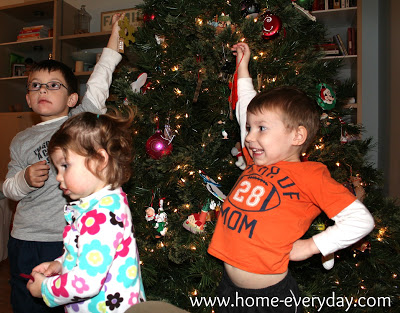
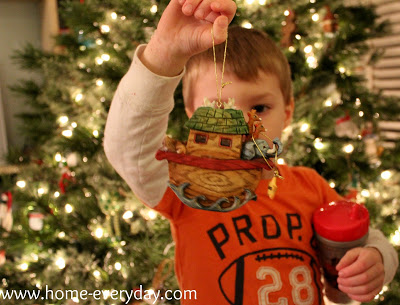
Then, kids helped put up ornaments and beads on the tree. They had a ball and Brian and I had a ball watching them.

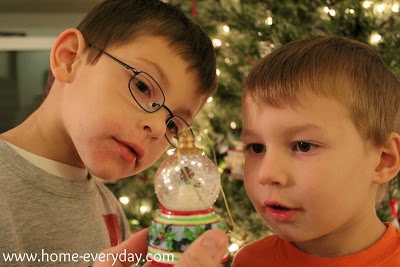
Here are the kids with their new ornaments from West Elm that Brian and I bought for them the day of the YHL book signing.
Trimming the tree.


My kids love snow globes.
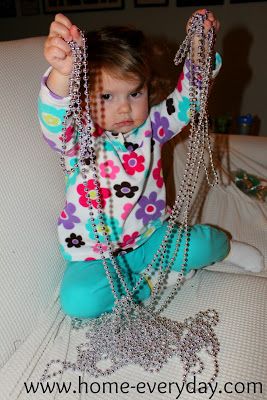
Coco thought this was a necklace.
Do you have a family tradition regarding your Christmas Tree? Is hot cocoa involved? Holiday music? Does anyone get new ornaments?

Something Wonderful is Happening

We put up two trees in our house every year. One is a big traditional tree with ornaments collected over time. The second tree is a small one my Mom gave us last year. We put it in the corner of our family room since the kids spend most of their time there.

The kids yesterday were a bit antsy with some of the boxes being out so I broke my usual rule of no decorations before Thanksgiving. We put up the small tree in the family room.
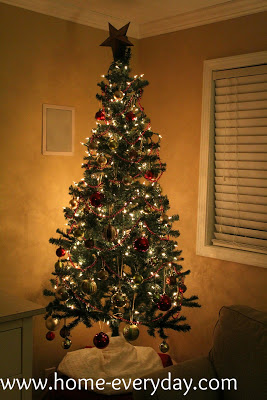
Here is how it turned out.
Last year, I bought a package of coordinating ornaments at Lowe’s on sale which is just enough to fill the tree. I love the chocolate brown sparkly ones best. I put a string of red shiny beads that I had on hand from years past and a small star ornament on the top. I set it on an end table covered with a table cloth and made a tree skirt out of some white fabric I had on hand.
We have a teeny bit of Christmas in our house this week. Anyone else started decorating yet?