Category

Home Improvement

Flashback Friday: Bathroom Spruce Up

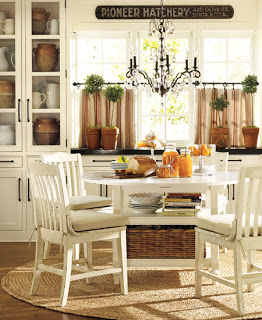
Welcome to the second installment of Friday Flashback. The first Friday Flashback was last week where I talked about our kitchen progress.

This is our upstairs bathroom. Just like last week, this is a primo example of where some paint and a few small changes can make a big difference. So in true HGTV fashion you will see a quick before and after transformation.

We will begin with dark floral border and sponge paint.


Gold mirror, beige painted vanity, and dated hardware.
Old almond toilet, and white tile with yellow triangle pattern.
And this…
First, Brian ripped up all the tile, and we had some help with installing some leftover porcelain tile that the previous owner had leftover from the downstairs bathroom remodel (we only had to get thin set and grout).


Then, on another late night, my mom and I scored and steamed the border and removed it. Sanded down the drywall to remove the sponge paint finish and repainted the bathroom a pale green.


Brian removed the almond toilet, and with a little research and the help of his brother installed a new Kohler toilet in white.
Next, I sanded, primed and painted the vanity in black semi gloss and added brushed nickel hardware and a matching black mirror to freshen it up.
Then we added a few finishing touches.
Like some extra storage with this great cabinet from Target.
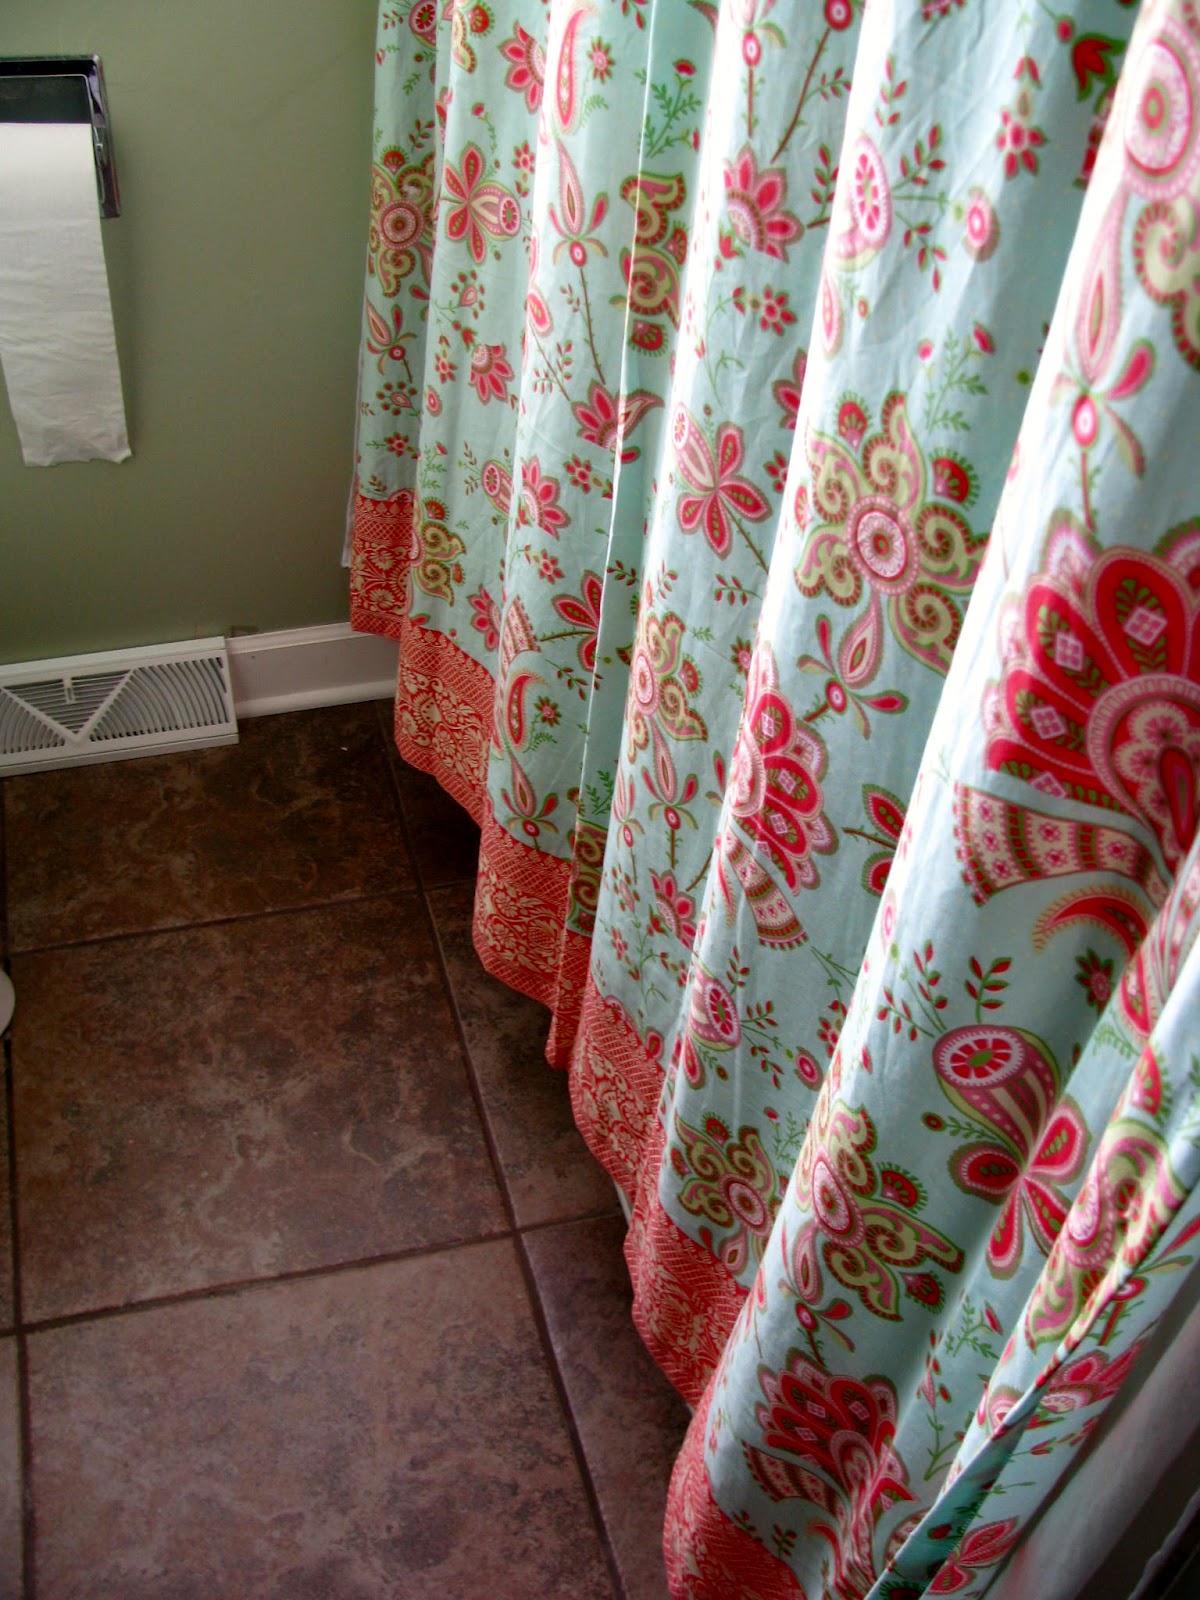
And this adorable Amy Butler shower curtain I got a Bed Bath and Beyond on clearance and with a 20% off coupon (Ca-ching).

Finally, a nice new shower head.

So there you have it. Our upstairs bathroom spruce up. Thank goodness for paint and clearance shower curtains!


Flashback Friday: Kitchen Progress

Last week, a friend asked if I would please post some pictures of our house as a way to kind of see some more ideas as well as our decorating style and such. So, I am in the midst of trying to put together a House Tour page. While it sounds good in theory, with three little ones, it is sometimes hard to keep a room clean long enough to take pictures. So, it will be quite the process to post a whole house tour at one time.

At the risk of never showing pictures of our house, I thought I would try and do “Flashback Fridays” where I will try and feature each room of our house. I will show pictures of the house when we bought it, and then update you on where we are right now. No room in the house is complete, and probably won’t be for a long time (baby steps), but we have done so much since we bought this 35 year old gem in a great neighborhood, and I thought it might be fun to share the progress we have made so far.

So, for the first Flashback Friday, I am going to feature our kitchen. My favorite room in ANY house. When we first put an offer on this house, the kitchen was honestly the least of our problems. The whole house has some issues. We had to do mold remediation, remove all the carpeting on the upper level and sub-basement, replace the furnace, clean all the ducts, replace all the trim, buy and install new doors for the upstairs, paint almost every room, and tile the upstairs bathroom. While most people like to live in a space for awhile until they decide on paint, flooring, etc. This house REEKED of dog everywhere, and plus with us finding mold we wanted make this house as safe as possible. So anything that could possibly have dog dander or mold spores had to go.

Closing day December 2010

So, while Brian was doing major demolition and helping put in flooring, I started painting the kitchen. With a little help from the internet, I researched how to paint cabinets from my favorite blog here. I also talked to some people at my second favorite store, Home Depot (the first being Target, duh).

We kept a crazy schedule while we were getting this house ready for us to move in, but honestly it was totally worth it! So,after Brian would work all day, go to the new house with his dad and put in a few hours, then he would come home eat dinner and go to bed. Then, when my kids and husband were in bed, my sister, my niece, mom and I would head over to the house and do some work until I had to be home for my youngest child’s 4 a.m. feeding (she was only 3 months old at the time). We moved in just six weeks after closing.

Here is the kitchen before move in. I bet you are wondering why we would ever paint these awesome avocado two tones cabinets and mustard walls. Can you sense my sarcasm?


Here are some pictures of the cabinets being painted as well as the walls.


So after painting, adding our stainless steel appliances that we brought with us from our previous house, and a few finishing touches. This is our kitchen now.


Brian and I are always trying to improve, so I know this kitchen will probably change a lot in the time we live in this house, but it is miles and miles from where we started.

MAIL CALL!

Remember that show? I remember any guy friend I had in college thinking that show was awesome. You know what isn’t so awesome? This:

This was our mailbox. WAS, thank goodness! I don’t even know what to say about this mailbox, except that I bet that it hasn’t been touched since 1975. It is straight up Jenky, with a capital J. Anyway, it bothered the hubby and I. It bothered us a lot. We felt like it was such a bad representation of what our house is like, and we kind of felt like it showed we didn’t even care that we could paint the post and put up a $10 mailbox from this century.


It was a project that we figured could handle with some things we already had on hand, and a pretty inexpensive mailbox from Home Depot. Our goal was to spend as little money as possible. We used primer and black exterior paint we had on hand from painting the front door a few days earlier and painters caulk is something that we always like to have around. The only real money spent was on the new numbers and the actual mail box. So, on a cold Saturday, while Meema and Peepa watched the kids, we scraped, sanded, filled in some gaps with painters caulk, primed and painted, and attached some new numbers (have been removed in the pictures for privacy), and screwed in the new mailbox. Brian is not one for painting, but we were determined to finish this project in one day so we tag teamed it.

Here’s the after:


It’s nothing fancy, but it is so much better than before! Anyone else tackle a small weekend project that was just driving them crazy?

I’m a Creative Genius

The window above the sink in the kitchen originally had no window treatment. I didn’t want to do anything right away, because I thought I should live here and shop around for some options before doing something I don’t like. I’m in the kitchen for 80% of the day preparing three meals a day as well as cleaning up said three meals a day. Not to mention, the countless sippy cup refills. The kitchen is pretty much my domain, and I didn’t want to do something that two months from now I would regret. I love all the natural light that comes in the kitchen window, and after a few weeks of living in the new place, I decided I would do cafe curtains. They let a TON of light in and still offer privacy. This is the part that Brian was the most thrilled about. With the lack of trees in the back yard, he was afraid that everyone was watching him load the dishwasher or get a glass of water. Also, cafe curtains would give me that modern/cottage look I’m going for throughout the house. Now that I knew what I wanted to do, the shopping began. I figured I would see what was out there or recruit the help of my dear Mom, who happens to be the designated custom curtain maker of the family. She also gets every catalogue known to man and as I was perusing her Pottery Barn catalogue I saw the following:

I love the oil rubbed bronze rod with matching clip rings. I also love the subtle pattern to the curtains. So the quest began to find something just as cute, but on the cheap. Cue the napkins. Yes, napkins. Not paper napkins, but the most adorable cloth napkins from Target. Yep, that’s right, TARGET!I went there scrounging around for some ideas. I first found the rod and clips. I figured I am going to need them anyway, and the oil rubbed bronze rods were $4.83 a piece. Also, the clips they had to match were about five bucks for a pack of seven. As I am walking around, I am thinking what a pain it is going to be to take a trip after the kids go to bed to a fabric store or try and cart all of them with me to find some fabric that I like. THEN, (cue “Alleluia” song) I walk past the table linen aisle. Miracle of miracles I saw these adorable napkins that compliment the shades of bright white, sculptor clay grey, and rain washed blue already existing in my freshly painted kitchen. I thought 20” x 20” napkins are large enough to make some small curtains, and they are already pre-hemmed. No need for my Mom to help me sew some fabric or do iron on tape a la Young House Love. Although, a phone call to Nana was still made to help me out.So I got home, and with a little help from Mom, hung the rod brackets, clipped the rings to the napkins and hung everything just as things were getting dark and my husband was putting the kids to bed. Ta Da cafe curtains. Total I used four napkins to accommodate the width of my window and to have the wavy ruffly look to them. What about you? Anyone out there every DIY their own curtains? Perhaps out of sheets, table clothes or any other pre-hemmed fabric? Note: Thanks to Pottery Barn’s winter catalogue for the above picture and inspiration.