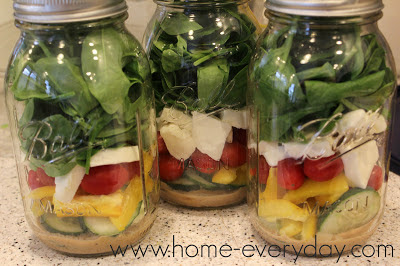
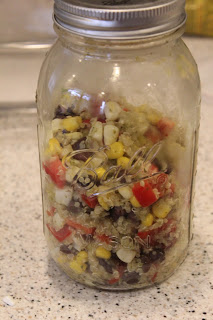
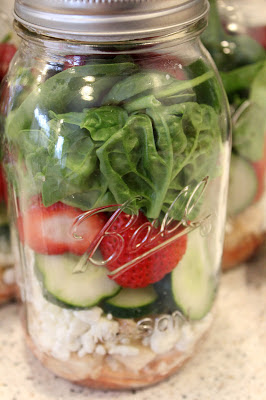
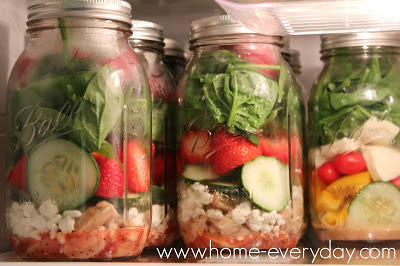
This time of year things are quite busy. Every night there is something to do in the way of holiday preparation. Add in the regular busy schedule with school, activities, and meetings, and it doesn’t leave much time for dinner prep.
Category
Cooking
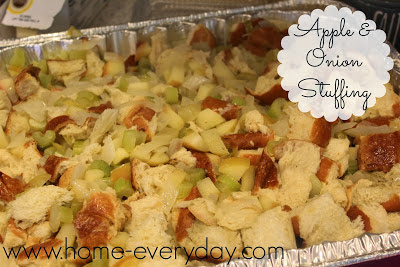
Apple & Onion Stuffing: Technically It’s Dressing
I am continuing my week of Thanksgiving preparedness by sharing one of my all time favorite recipes. The first time I saw it was probably seven years ago on Rachael Ray’s Thanksgiving in 60 Special. The original is Apple and Onion Stuffin’ Muffins, but after making it over and over and over again, I have made a few alterations.
I made it this past weekend and doubled the recipe up for a little Autumn party I was having. I think everyone enjoyed it. While it isn’t real stuffing, it is technically dressing, I am pretty sure that this stuffed inside a turkey would be delicious!
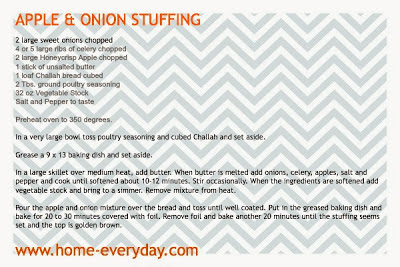
Apple and Onion Stuffing
2 large sweet onions chopped
4 or 5 large ribs of celery chopped
2 large Honeycrisp Apple chopped
1 stick of unsalted butter
1 loaf Challah bread cubed
2 Tbs. ground poultry seasoning
32 oz Vegetable Stock
Salt and Pepper to taste
Preheat oven to 350 degrees.
In a very large bowl toss poultry seasoning and cubed Challah and set aside.
Grease a 9 x 13 baking dish and set aside.
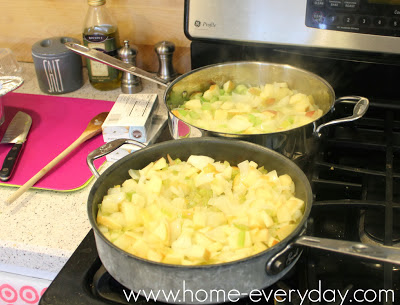
In a large skillet over medium heat, add butter. When butter is melted add onions, celery, apples, salt and pepper and cook until softened about 10-12 minutes. Stir occasionally. When the ingredients are softened add vegetable stock and bring to a simmer. Remove mixture from heat.
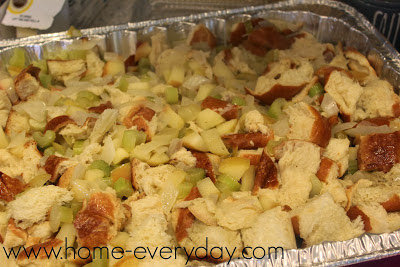
Pour the apple and onion mixture over the bread and toss until well coated. Put in the greased baking dish and bake for 20 to 30 minutes covered with foil. Remove foil and bake another 20 minutes until the stuffing seems set and the top is golden brown.
Enjoy!
 |
| For a printable version of this recipe Download HERE! |
If you liked this recipe or for more Thanksgiving fun, here is last year’s recipe for Corn Bread Stuffing, my Williams and Sonoma Roast Turkey, or yesterday’s Thanksgiving placemats. Can you tell I like Thanksgiving?
For more about DIY, gardening, cooking, baking or all other things domestic, become a Home Everyday follower! For blog updates or to see other places I write follow Home Everyday on Facebook, Twitter, or Pinterest.
Commence My Yearly Organizational Freak Out Oh and I Made Mason Jar Salads
 |
| Last day of school last year. |
If you like this recipe and would like to read more about DIY, gardening, cooking, baking or all other things domestic, become a Home Everyday follower! For blog updates or to see other places I write follow Home Everyday on Facebook here.
LINKING UP AT SERENITY NOW FOR WEEKEND BLOG READING!!
Quaker Oats Keep Us Going All Summer Long
compensated for this post by Quaker, the opinions are my own.
swimming, baseball, and all of the other fun activities that summer entails, I
am always trying to think of new and creative breakfasts that will keep us full
until lunch.
I have
been eating Quaker oatmeal for a long time, so I was thrilled to be a part of
their ongoing commitment to fueling active and healthy families. Also, because
I have three little soccer fans in my house, I was excited to learn about
Quaker’s ongoing partnership with Major League Soccer (MLS) club, The Chicago
Fire. As part of the partnership, Quaker serves as the title sponsor of
the Chicago Fire Juniors, the club’s youth player development program that
supports more than 10,000 soccer kids and families in Chicago and nationally.
August 9 through August 11, Quaker and The Chicago Fire will team up to host
The Quaker Invitational, which brings together hundreds of Chicago Fire Juniors
teams from around the country for a weekend of soccer, community and fun.
The two winning youth teams will earn a chance to play on The
Chicago Fire’s home field, Toyota Park in Bridgeview, IL on Sunday, August 11,
and each player in the tournament will receive a free game ticket to attend the
Chicago Fire vs. Montreal Impact MLS game at Toyota Park on Saturday, August
10.
even imagine fueling all of those active little bodies that will be at Toyota
Park. However, I think I have come up with the perfect summer breakfast using Quaker
Oatmeal that does not involve hot cereal. Let’s face it, in the summer, cold is
where it’s at.
breakfast as we chase the kids out the door to an activity. The kids on the
other hand, enjoy smoothies and love anything with yogurt. I like making them
parfaits, but, often times I have to leave out the granola because of their
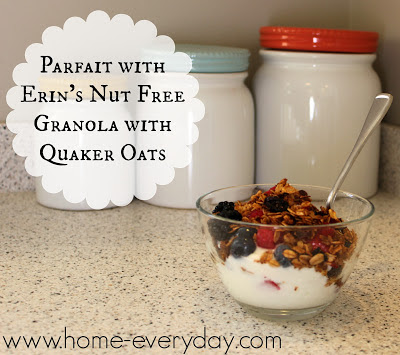
food allergies. This is when I came up with the awesome idea to make my own nut
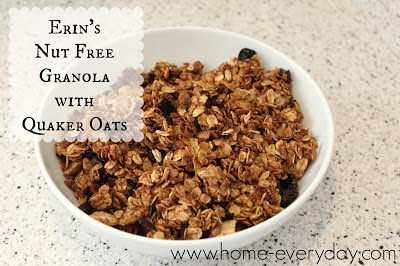
free granola with my favorite Quaker Old Fashioned Oatmeal.
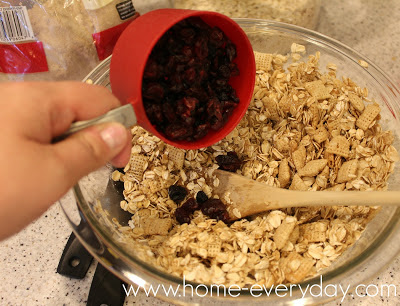
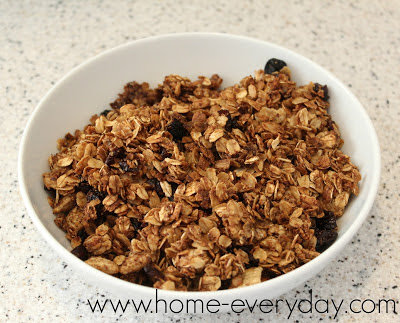
Erin’s Nut Free Granola with Quaker Oats
until well combined. Add brown sugar, syrup, honey, oil, vanilla, and salt and
fold together gently.
stirring occasionally (about every 6 minutes). Remove from oven, and let cool
before serving.
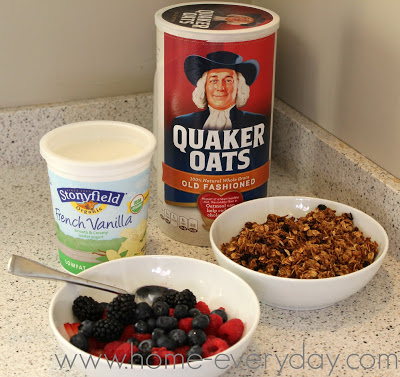
berry parfaits.
There almost as many things to do with Quaker Oats as there
are activities to do in the summer. Almost!
Chicago Fire, click HERE.
It’s Getting Hot in Here: Spicy Vegetable Stir Fry
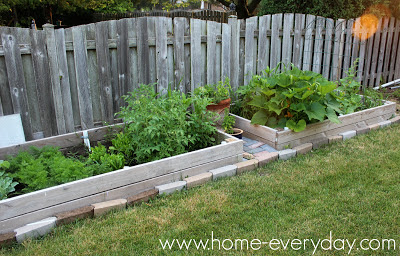
In the past few weeks, I have been eating a lot more vegetables. Maybe it is because of the trips to the farmer’s market (popcorn and lemonade) or because my vegetable garden currently looks like this:
Crazy right?!
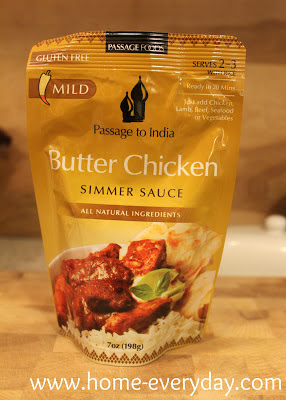
Other than salads, I am never really sure how to cook up vegetables where they will still be healthy and delicious. I walked down the aisles of the grocery store trying to think of something, and I saw dozens of different kinds of stir fry packets. Little pouches of different flavorings for stir fry. While I am no stranger to seasoning packets (check out this Indian Butter Chicken), I am sometimes leery of the ingredient list and am afraid of anything that says MAY CONTAIN NUTS on the package due to my kids.
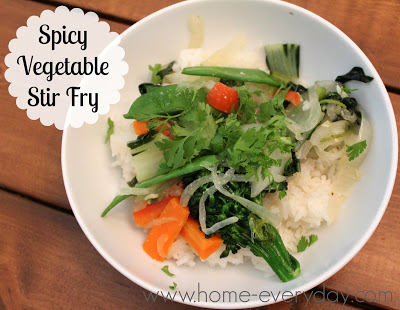
That’s when I had a brilliant idea. I decided to recall everything I know about food (from my Mom, Grandma, and Food Network) and came up with a wonderful and TASTY Spicy Vegetable Stir Fry that contains only fresh ingredients and made a Spicy Vegetable Stir Fry.
Spicy Vegetable Stir Fry
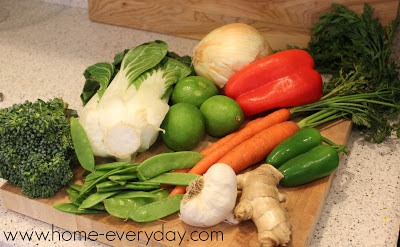
1 medium sweet onion sliced
1 large or 2 medium bell peppers sliced into strips
3 or 4 large carrots cut into strips
1 bunch bok choy cut into chunks
1 1/2 cups snow peas
1 small bunch broccolini cut into small florets
2 cloves of garlic minced
2 inches of ginger minced
1 or 2 jalapeño peppers minced (I used two and it was REALLY spicy)
2 limes zested and cut into wedges
1 bunch of fresh cilantro chopped
1 Tbs vegetable oil
Salt and Pepper to taste
1 cup prepared rice
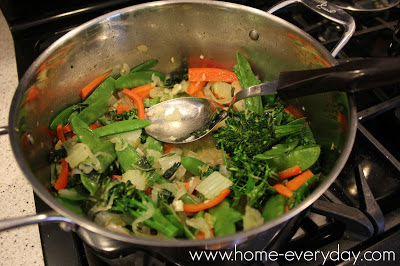
In a very large skillet on medium to medium high heat add vegetable oil. When the oil is rippling, add onions, peppers, carrots, and broccolini and sauté until just tender. This should take about 5 minutes. Add garlic, ginger, jalapeño peppers, lime zest, and salt and pepper and cook for another 3 minutes. Finally, add bok choy and snow peas and continue to sauté stirring occasionally for about 5 minutes.
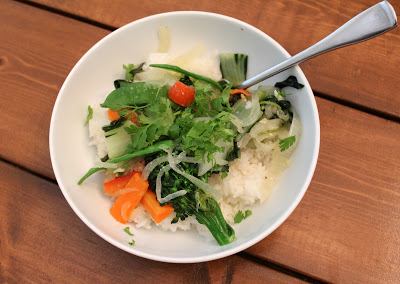
Serve over prepared rice and garnish with lime juice and cilantro.
If you would like this recipe and would like to read more about DIY, Cooking, Baking and all other things domestic you can check me out on Facebook or become a follower of Home Everyday here.
Summer Treat: Banana Chocolate “Ice Cream”
When the kids are watching Disney Channel, I sometimes watch with them. Ok, ok, you caught me sometime I watch without the kids. I cannot help it, I think Good Luck, Charlie is pretty funny for a kids show.
Anyway, sometimes in between shows there is this little cooking segment. I’m not really sure who hosts it, but I do take notice anytime anything cooking related comes on television.
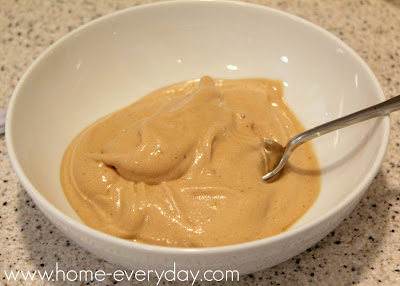
A few weeks ago, I saw them make banana “ice cream.” I couldn’t believe how healthy and simple this “ice cream” was to make. The reason I keep putting “ice cream” in quotes is because there is no cream, milk, eggs, or sugar in this ice cream, but I’m not really sure what else to call this treat. In the thirty second spot on TV, I pretty much got the gist of the recipe and and I could not wait to try it as a summertime treat.
As you can see, I did make one change though, I added some chocolate syrup, because let’s face it… everything is better with a little chocolate. However, the chocolate is completely optional, and I think would be great with all kinds of other toppings or mix ins.
Chocolate Banana “Ice Cream”
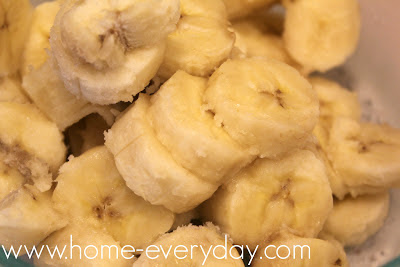
4 large ripe bananas cut into sliced
2 Tbs chocolate syrup
Put the sliced bananas in a freezer safe container or freezer bag. Put in the freezer for at least 6 hours or overnight.
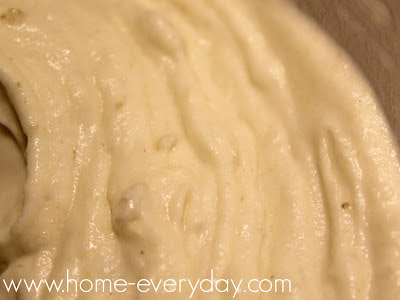
Next, put in a food processor and begin to blend until fluffy consistency is formed.
Add chocolate syrup and blend for 10 seconds until well combined. Serve.
Suggestions for Other Toppings or Mix Ins
– Sliced strawberries
– Sprinkles
– Chocolate chips
– Almonds
– Pineapple chunks
– Nutella
– Peanut Butter
– Blueberries
– Sprinkle of Cinnamon
Do you think you could get any healthier than whipped frozen bananas that taste like Ice Cream for dessert?
I love my readers! If you liked this post and would like to read more, check me out on Facebook or become a follower of Home Everyday here.
Delayed Steak Fajitas
This is the infamous recipe that I was working on the day I cut my finger. Now, that I am over the trauma (it wan’t the bad, unless you’re a baby, which I am), I think it is ok for me to share the recipe finally.
Fajitas are a family favorite here because I always have guacamole with them. While the kids aren’t that crazy about the actual fajitas, they do love guacamole. If they really aren’t having the fajitas, I will grill up some quesadillas (cheese between two tortillas thrown on a low grill for less then a minute on each side) for them to dip in the guacamole too.
I personally like this recipe because it is quick, and Brian likes it because well, he likes steak and Mexican food, so for him it is the best of both worlds.
Steak Fajitas
1 lb flank or skirt steak
3 limes zested and juiced
1 Tbs extra virgin olive oil plus 1 tsp for cooking.
1 pinch of Cayenne pepper
1 large sweet onion thinly sliced
2 mediums sized bell peppers thinly sliced (I used yellow)
I bunch of Cilantro
Flour Tortillas shells
Salt and Pepper to taste
In refrigerator safe dish add lime zest, lime juice, 1 Tbs of olive oil, cayenne pepper, and salt and pepper and whisk together. Add steak, cover and refrigerate to marinate for about 4 to 6 hours.
Preheat grill (around 400 to 425 degrees).
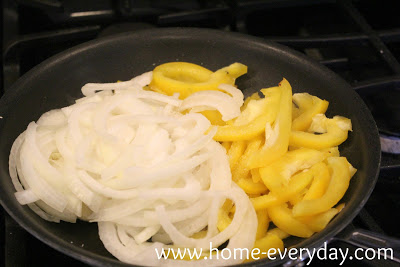
In a large skillet over medium high heat, add 1 tsp olive oil, sliced onions and peppers. Stir occasionally and cook until tender by still crispy, about 7 minutes. Keep warm.
Put the marinated steak on the grill, and cook for about 12-15 minutes flipping about halfway through. When the steak is finished, tent with aluminum foil, and let rest for about 10 minutes.
While the steak rests warm tortillas shells (I usually heat them in a dry skillet on medium low heat).
Slice the steak against the grain and at an angle in VERY thin slices. Assemble fajitas with pepper and onion mixture, steak, and a few sprigs on cilantro.
Enjoy, just please don’t cut your finger!
I Think I Have a Caprese Problem
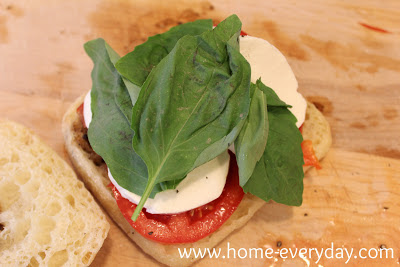
If there was a Caprese Addicts Anonymous group, I think that I would immediately have to join. I know that it was only a few weeks ago that I shared with you my portable caprese salads, but I cannot help it. There is just something about tomatoes, basil and mozzarella that makes this gal think summertime.
Last week, in order to help out some dear friends of mine, I made lunch. With the help of another friend, I made a huge batch of Italian pasta salad, baked cupcakes, and put together a bunch of turkey sandwiches, ham sandwiches, and for the vegetarians, some Caprese sandwiches. To be honest, I could have made some pitas with hummus and veggies like I did a awhile ago, but with all the vegetable garden planning, I already had tomatoes and basil on the brain.
Caprese Sandwiches
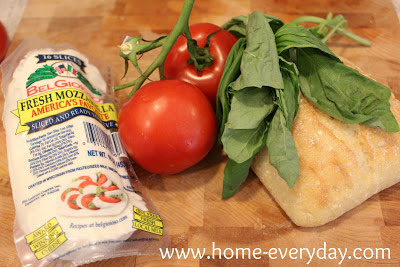
1 loaf ciabatta bread
1 vine ripened tomato sliced thin
1 large bunch basil
3 or 4 slices fresh mozzarella cheese
2 Tbs balsalmic vinegrette
Salt and Pepper to taste
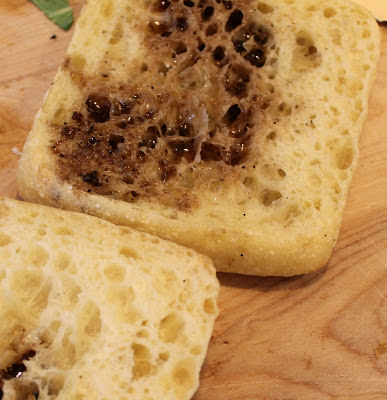
Slice the ciabatta bread lengthwise. Drizzle balsalmic vinegrette on both sides of the bread, spreading with a basting brush if necessary.
Arrange tomatoes, mozzarella, basil leaves on the bread, and sprinkle with salt and pepper.
Cut into slices, and serve immediately.
Brian who claims he hates tomatoes, devoured it. I cannot wait to bring this on our next picnic.
If you LIKE Home Everyday, then LIKE me on Facebook for any and all things domestic!
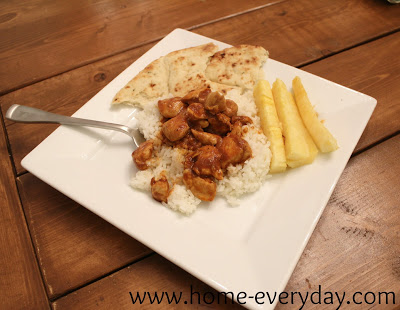
Quick Dinner and Reminiscing: Indian Butter Chicken
When it comes to making dinner for my family, there are days where I just want to prepare something fast and not do a ton of prep or cleanup.
Brian had seconds, which means it was good.
Now that I have my feet wet, I’m ready to dive into some Indian cooking. It look like I will have to start trying recipes in my fellow ChicagoNow blogger, Anupy Singla’s book, Indian as Apple Pie.
A Blast from the Past: Recipes
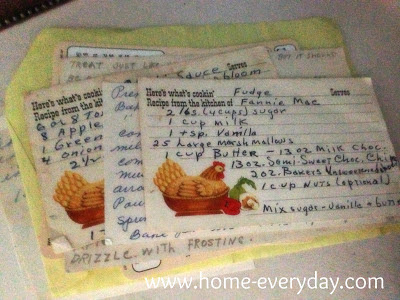
There seem to be few things that can take you to the past like food. While I agree, old photographs and mementos can remind of you certain moments of you life. The smells and tastes of certain foods can immediately take you back in time to experiencing a moment again.
Sometimes, I like to think of food as a time machine.
There are certain recipes that I make to remind me of certain people. There are recipes in my family that come to be known by the person’s name, simply because it reminds us of them.
We have a recipe for baked chicken that has come to be known as Nano’s Chicken. My Grandma Nano made it quite a bit. While it is a common recipe and can be found pretty easily, I make it from memory and think of eating dinner with my family at her house.
I have been trying to master zucchini frittata for years, as it reminds Brian of his own grandmother. When I first made it for him, he immediately started telling stories of sleepovers and stopping by his Grandma’s house after work.
A few weeks ago, my cousin emailed and asked if I had any old recipes. I am so glad she did. I asked my Mom and one of my Aunts if they had anything, and they had a few things for me.
After sending them to my cousin, I cannot wait to try some of them.
Perhaps, I will be transported back in time.
What are your favorite family recipes? What do they make you think of?
Home Everyday continues to send concern and thoughts to those affected by the events at yesterday’s Boston Marathon.

