If you like reading Home Everyday, you can vote for me to win The Best Home Projects and DIY Blog at Apartment Therapy’s 2013 Homie Awards here.
Thank you so much!
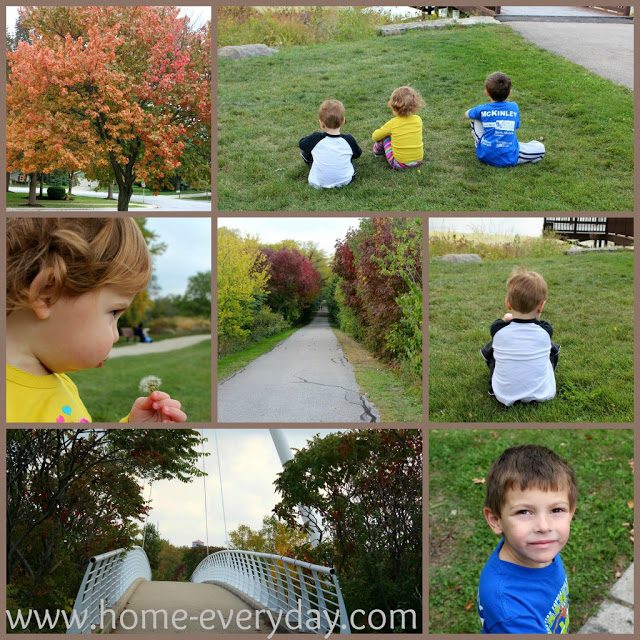
A few weeks ago, a blogger friend, Nikki (More for Four) asked me how I get labels and things on my photos. I told her I could do a quick tutorial of PicMonkey to show how I use it to quick edit my photos, add labels and make collages. The features I use most are cropping, exposure, labels, and text. In this tutorial, I will show you the steps I use most often when editing a picture. I will then show you a few tricks to creating a collage.
Editing
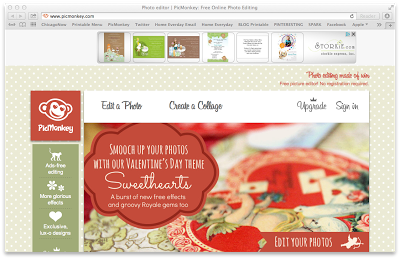
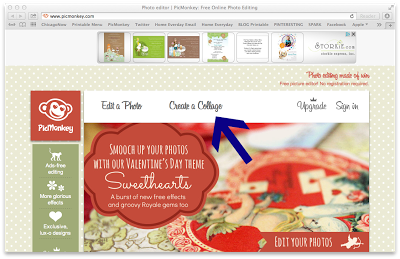
1.) Open your internet browser, and go to www.pickmonkey.com (it is free and there is no registration). The main page looks like this:
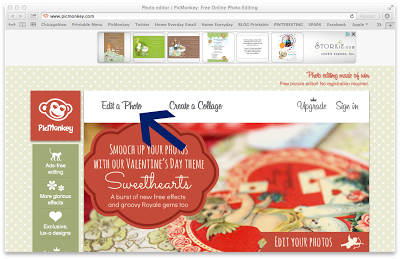
2.) Click on Edit Photo. A window will open asking you to choose the photo you would like to edit. Choose the photo, and click Choose.
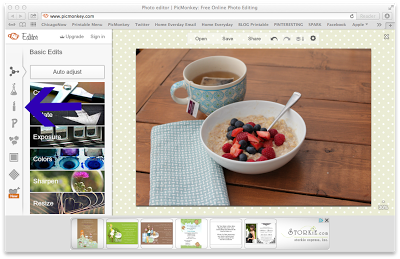
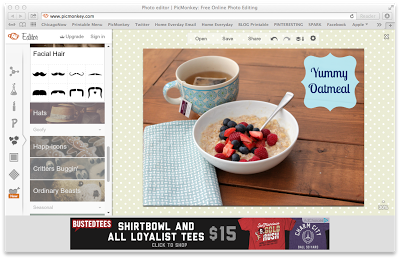
3.) Once you have chosen your photo, on the left hand side of the screen, there is a list of editing options on the far left indicated by pictures. They are Basic Edits, Effects, Touch Up, Text, Overlays, Frames, Textures, and Themes. The three I use are Basic Edits, Overlays, and Text.
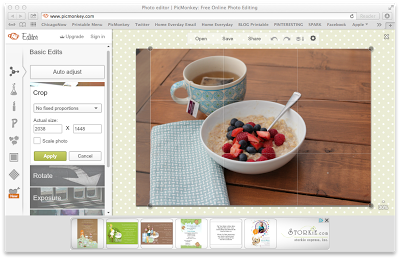
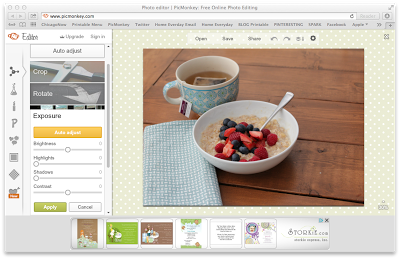
4.) The first thing I do, is crop my photo.
5.) I then adjust the exposure.
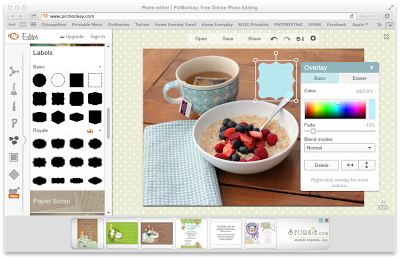
6.) Next I click on the Overlays button on the left, and choose my overlay, as well as color. (once you choose an overlay a window opens allowing you to adjust color and if you would like it to fade). You can adjust size just like you would adjust the size by clicking, holding, and dragging the dots around the edges of your overlay. You can position your overlay, by clicking it and dragging it to its location.
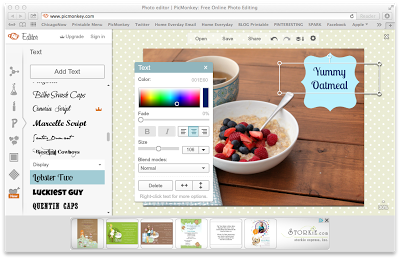
7.) I then add text. If you would like your text to appear inside an overlay, you must do the overlay part first. Then you can position text on top. This process is similar to the overlay. You can choose a font, and then click add Add Text. A window will appear so that you can adjust color, fade, bold, center, etc.
8.) Once you are done making all your adjustments. You can click Save at the top of the page. Choose where you would like to save it, and give your photo a name.
Making a Collage
1.) Open your internet browser and go to www.picmonkey.com
2.) Click on Create a Collage
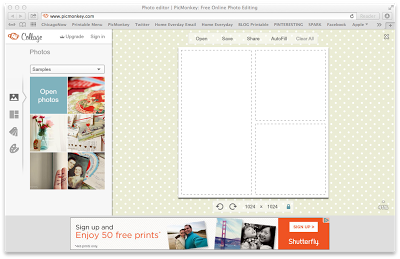
3.) On the left hand side, click Open Photos. This will allow you to choose any photos you would like included in the collage. (NOTE: For ease, I suggest first editing any photos before making the collage.)
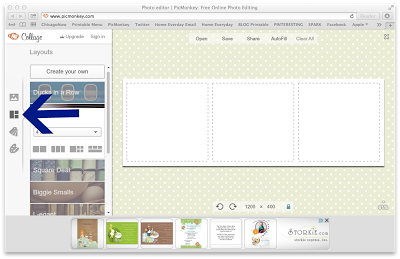
3.) Once you have chosen your photos, you can now choose a layout.
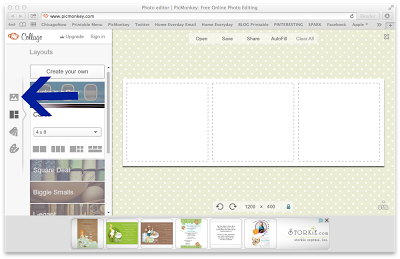
4.) Once you have chosen your layout, you may now click back to
5.) Finally, you can drag and drop your photos where you would like them. If you want to remove a photo or move it location, you may click the small gray X in the corner of each photo and drag and drop again.
6.) Save just as you would when editing.
There you have it. My novice blogger’s uses for PicMonkey. I know it isn’t nearly elaborate as using PhotoShop, but it works for now, it is easy, it is free, and I have been happy with how the pictures have turned out thus far.
Hope this helps!
Linking up today at Serenity Now for Weekend Bloggy Reading!


