Tag

bread

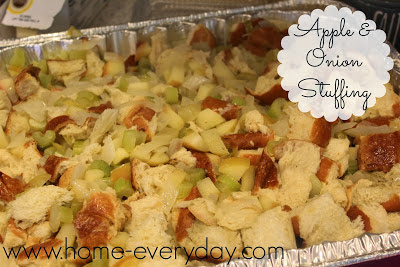
Apple & Onion Stuffing: Technically It’s Dressing

I am continuing my week of Thanksgiving preparedness by sharing one of my all time favorite recipes. The first time I saw it was probably seven years ago on Rachael Ray’s Thanksgiving in 60 Special. The original is Apple and Onion Stuffin’ Muffins, but after making it over and over and over again, I have made a few alterations.

I made it this past weekend and doubled the recipe up for a little Autumn party I was having. I think everyone enjoyed it. While it isn’t real stuffing, it is technically dressing, I am pretty sure that this stuffed inside a turkey would be delicious!


Apple and Onion Stuffing
2 large sweet onions chopped
4 or 5 large ribs of celery chopped
2 large Honeycrisp Apple chopped
1 stick of unsalted butter
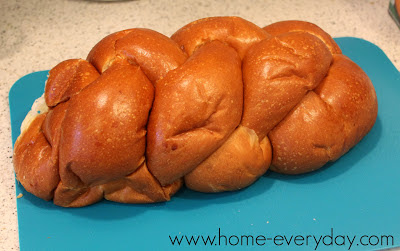
1 loaf Challah bread cubed
2 Tbs. ground poultry seasoning
32 oz Vegetable Stock
Salt and Pepper to taste

Preheat oven to 350 degrees.

In a very large bowl toss poultry seasoning and cubed Challah and set aside.

Grease a 9 x 13 baking dish and set aside.

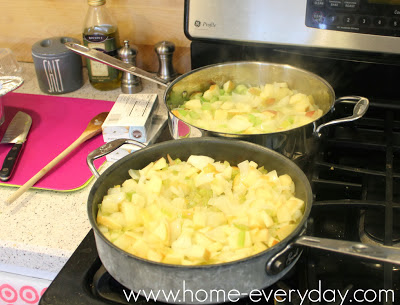
In a large skillet over medium heat, add butter. When butter is melted add onions, celery, apples, salt and pepper and cook until softened about 10-12 minutes. Stir occasionally. When the ingredients are softened add vegetable stock and bring to a simmer. Remove mixture from heat.

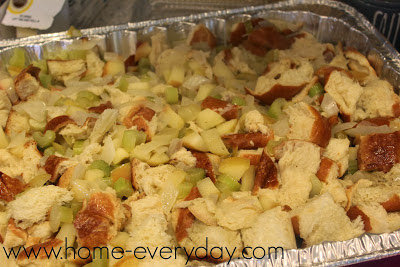
Pour the apple and onion mixture over the bread and toss until well coated. Put in the greased baking dish and bake for 20 to 30 minutes covered with foil. Remove foil and bake another 20 minutes until the stuffing seems set and the top is golden brown.

Enjoy!
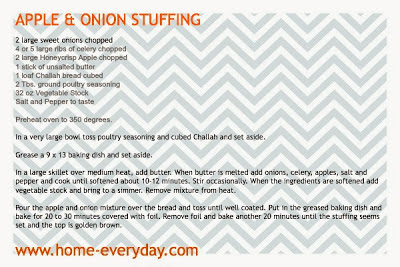
For a printable version of this recipe Download HERE!

If you liked this recipe or for more Thanksgiving fun, here is last year’s recipe for Corn Bread Stuffing, my Williams and Sonoma Roast Turkey, or yesterday’s Thanksgiving placemats. Can you tell I like Thanksgiving?

For more about DIY, gardening, cooking, baking or all other things domestic, become a Home Everyday follower! For blog updates or to see other places I write follow Home Everyday on FacebookTwitter, or Pinterest.

Follow on Bloglovin


Chatting: Irish Soda Bread

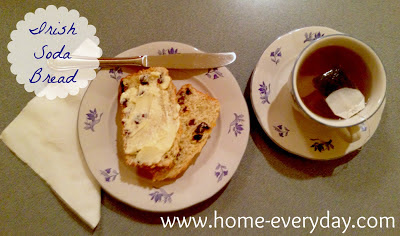
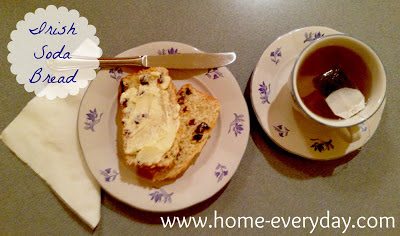
This is a recipe that I can honestly say, I have only made once myself. It isn’t that it is difficult or time consuming. It is actually quite easy and a little different than a traditional Irish Soda Bread.


The reason I have only made it once, is my Mom makes it for everybody all the time, and therefore always has some in her house. She makes it when babies are born, when she is visiting a friend, when someone is sick, or when it is someone’s birthday. She gives it to the families of people who have suffered a loss, and people who have moved in next door. She brings it to people when she is stopping by for a chat. It is just what she does.
Last night, I stopped by to pick up the recipe to post, and of course she had a loaf that she has just made on the counter with the kettle on for tea. She grabbed my Grandma’s dishes, and we drank tea, ate soda bread, and had a chat. I’m so glad she lives only ten minutes away. It was nice to have her listen to my hellacious boot shopping trip with the kids or how we are in the middle of a project right now.
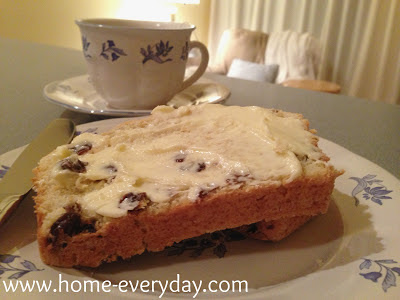
This recipe had originated with my Mom’s cousin Laura. We’ve been eating it all the time (not just on St. Patrick’s Day), and it kind of has a quick bread or cake consistency. If you slice it a little thicker and put it in the toaster it is delicious. Also, it makes two loaves, one for you, and one to share.
My favorite way to eat it is with just a little butter, a cup of tea, and a chat.
Laura’s Irish Soda Bread
5 cups all purpose flour
1 tsp salt
1 tsp baking soda
1 tsp baking powder
1 cup sugar
2-3 eggs (2 large 3 medium)
2 cups raisins
2 1/2 cups buttermilk
2 sticks butter (cold)
Preheat oven to 350 degrees.
Grease and flour two loaf pans, and set aside.
Put the raisins in a small bowl, and pour some very hot or boiling water over them and let sit for 3 to 5 minutes. Drain and set aside (this step is not necessary, but makes the raisins plump and delicious).
Sift together flour, salt, baking soda, and baking powder. Cut in butter, or mix until butter and dry ingredients are a cornmeal like consistency. Add raisins, and set aside.
In a separate bowl, mix together sugar, eggs, and buttermilk until well incorporated.
Finally, add the egg mixture to the flour and butter mixture, and mix until just combined (do not over mix). Pour the mixture evenly into the to prepared loaf pans.
Bake for one hour or until golden brown.
Get your kettle ready and call a gal pal.

Rainy Day: Chocolate Chip Banana Bread

WOOHOO! The weekend is here! This week included tons of activities, an abrasion on my eye, and my oldest explaining to another Mom, “You don’t have to tell your daughter to stop picking her nose. Sometimes, I pick my nose. We are kids and sometimes kids have to pick their nose!” (total mother of the year moment, I wanted to crawl in a hole and die).

I know yesterday when I put out my autumn decorations it didn’t seem like fall here yet, but the forecast for the weekend calls for cool temperatures and some rain. To me this is perfect baking weather. The kitchen stays cool, and it is the perfect activity to do with the kids. So, after the busy (and crazy) week we have had, I thought I would make one of the kids favorite sweet treats: Chocolate Chip Banana Bread. (The kids like this even more than the chocolate chip zucchini bread I made a few months ago).


A few weeks ago, I browsed around the internet, and from a few different recipes I created this one. Earlier in the week I talked about how baking cookies for someone can show you care, but I think this bread will help bring us some comfort on this rainy weekend.

Erin’s Rainy Day Chocolate Chip Banana Bread

3 large ripe bananas, mashed and set aside
3/4 cup white granulated sugar
1 egg
1/3 cup butter, melted and then cooled to room temperature
1 tsp pure vanilla extract
1 1/2 cups plus 1 Tbs flour
1 tsp baking soda
1 tsp baking powder
1 tsp ground cinnamon
1/2 tsp salt
1 cup mini chocolate chips

Preheat oven to 375 degrees. Grease a bread loaf pan and set aside.

In large bowl sift together 1 1/2 cups flower, baking soda, baking powder, cinnamon and salt and then set aside. In a smaller bowl, take remaining flour and toss together with chocolate chips until chocolate chips are coated with flour (This is my mom’s trick to keep the chocolate chips to well distributed throughout bread).

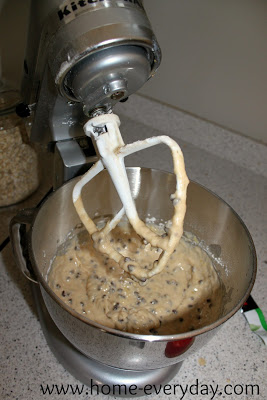
Using a stand mixer to a hand mixer on medium speed, mix together mashed bananas, sugar, egg, butter, and vanilla until well combined. Then with mixer on low speed at flour mixture until just incorporated. Finally, mix in chocolate chips.


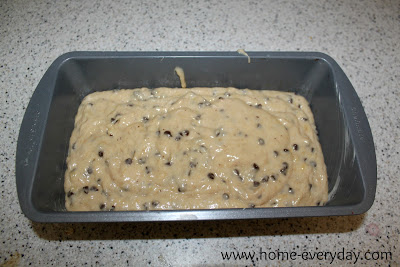
Put in greased bread pan, and bake for 45 – 50 minutes or until toothpick inserted comes out clean.


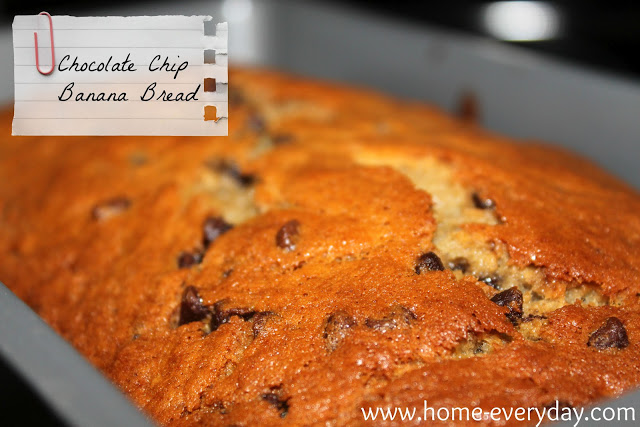
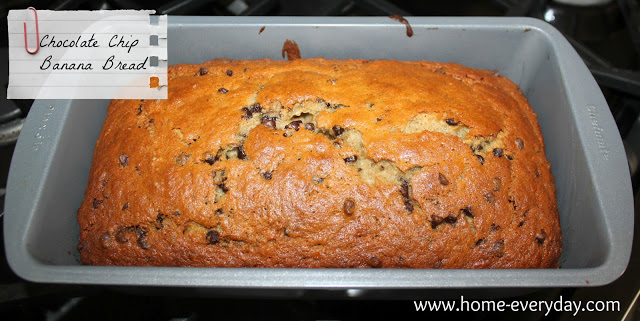
This is what it should look like when done. Hope you enjoy it as much as we do!


Linking up today at Serenity Now for Amanda’s weekend blog reading link up. You have to check it out, there are tons of recipes and craft ideas!

Honey Wheat Bread and Grilled Cheese [How I Get Around a Food Allergy]

My kids have a few food allergies. I feel bad for them sometimes because they have to be denied certain foods that other kids get to have so regularly, but overall, they are very healthy.

One of the allergies that we have at our house is an egg white sensitivity. We call it a sensitivity, as it is not severe, and according to the doctor, it will probably be outgrown over time. Egg whites are everywhere it seems, including bread. This is why sometimes I make my own bread for the kids. There are a few brands out there without egg whites, but if you suffer from an allergy, it is nice to have a recipe that you know EXACTLY what all the ingredients are.
My cousin, Sarah, sent me a recipe last summer from allrecipes.com It is a Honey Wheat Bread that is outstanding. It is pretty simple to make for the first time bread baker, and you can make a few alterations to the recipe. For example, Sarah’s suggestions were to change up the white to wheat flour ratio, or possibly add some flax seeds or sunflower seeds.
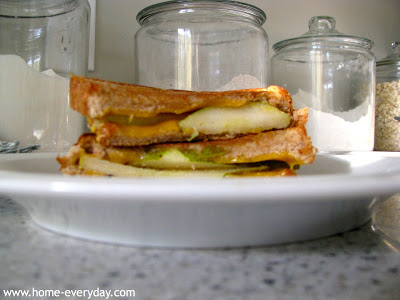
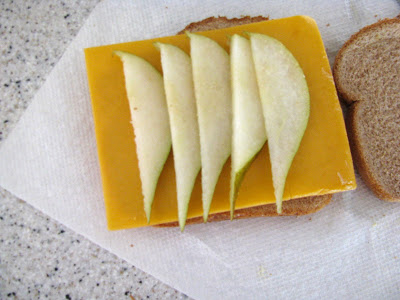
Just like last week’s french bread recipe, I wanted to share some things we like to make with Honey Wheat Bread. Brian and I love it toasted with the chicken salad recipes I shared on Tuesday. The kids absolute favorite is Pear and Cheddar Grilled Cheese. 


Pear and Cheddar Grilled Cheese
1/4 of a large pear cored and sliced thin
2 sandwich sized slices of sharp cheddar cheese
2 slices honey wheat bread
1 tbsp unsalted butter softened*Disclaimer: If you know how to make grilled cheese, skip the directions. I actually felt weird typing them out, but I figured someone (cough cough Brian cough) could use them.


Spray a small skillet with non-stick spray and preheat over low heat. Then using a butter knife, divide the butter evenly and spread on one side of a piece of bread. Place the slice of bread butter side down in the skillet. Quickly add one slice of cheese on the bread, then the pears.


Finally, add the second slice of cheese. Butter the second slice of cheese with the remaining butter, and place butter side up on top of the sandwich. When the bread is starting to brown and cheese just starting to melt, this takes about 2 minutes. Using a spatula, flip the sandwich over, and cook until the cheese is completely melted. Serve while still warm.


French Bread, Oui? Easy to Bake Bread for the First Timer

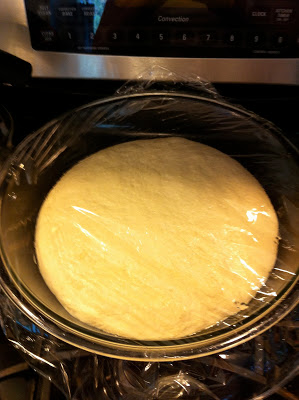
I found this recipe over a year ago, and I have made it several times. I know what you are thinking, “Baking your own bread sans bread maker… are you nuts?” No, its really not that hard, and it was the second bread I ever tried to bake (the first bread turned into a Thanksgiving disaster). This French bread is easy, and so far comes out perfect every time I make it. I sometimes double up the recipe and use a loaf for French Toast.

I found this recipe doing a simple Google search, and I pinned it on Pinterest only having made it a few times. I wanted to make sure that even me, a newbie to bread baking could make it before I shared it. Here is the link.


The key for me to making this bread, was patience and a thermometer. Before I made this bread, I bought a Taylor Tru-Temp instant read thermometer at Target for around 8 bucks.


http://www.target.com/p/taylor-trutemp-instant-read-thermometer/-/A-11010672#?lnk=sc_qi_detaillink

It was wonderful for making sure my water was not too hot or too cold when trying to proof the yeast, and also for measuring the internal temperature of the bread when baking (which is suggested in the recipe). Without the thermometer, I don’t think my first attempt at home made bread would have been such a flop. For an eight dollar investment, I couldn’t go wrong.

As I mentioned above this bread is great for making French toast, but it is also wonderful fresh out of the oven slathered with my favorite garlic and herb compound butter.

Garlic and Herb Compound Butter

1 stick unsalted butter softened
1 large or 2 small cloves of garlic grated
1 tsp chopped oregano leaves
1 tbsp chopped thyme leaves
1 tbsp chopped rosemary leaves
1 tbsp chopped parsley leaves
2 tbsp grated parmasen cheese
Salt and Pepper to taste

In a small bowl using a fork, smash together butter, garlic, herbs, cheese, salt and pepper until well incorporated. Spread on favorite bread or grilled corn on the cob. Keep refridgerated.

Paula Deen has a recipe without butter: Chocolate Chip Zucchini Bread

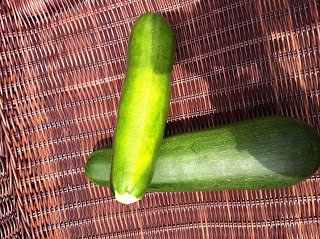
Over the past two weeks, I have been harvesting lots of zucchini from our vegetable garden, which you can read about here and here.

Zucchini is one of those vegetables that I have very little experience. I am used to sautéing it or using it as part of a crudite (boring), but about a year ago (cue the Alleluia chorus), I found the most amazing recipe for zucchini bread. Paula Deen’s Chocolate Chip Zucchini Bread is wonderful as a breakfast treat or a great dessert. It is one of my favorite recipes to share. In fact, I just made some for my Aunt, Uncle and Cousin as a thank you gift. They hosted us for the day at their amazing home on a beautiful lake. The kids had an amazing time swimming and going out on the boat. (Look for more pictures of our trip later this week). 

The recipe doesn’t have any butter, but it does have a bit of orange zest, which totally makes the recipe. It is my absolute favorite zucchini recipe, and I have experimented a little bit with it over the past year, and have found a way to make muffins too. The muffins are more portable, and they bake faster than the conventional bread recipe, which means we get to enjoy them sooner.

To make Chocolate Chip Zucchini Muffins, mix all the ingredients according to the recipe. Prepare two 12 cup muffin tins by spraying with cooking spray. Bake in a 350 degree oven for 20-30 minutes or until an inserted toothpick comes out clean. Cool for 10 minutes in the muffin tin then remove and cool to room temperature on a cooling rack.