While this shop has been compensated by #CollectiveBias and its advertiser #QuakerTime all opinions are 100% mine.
We are a Quaker family. I am sure you have seen several of my recipes using Quaker products in the past, like my several variations of oatmeal cookies, or all the different times I have used oatmeal in other recipes. Quaker oatmeal is allergen friendly, and many of their other cereals are too. Also, Brian kind of has a thing for their granola bars.
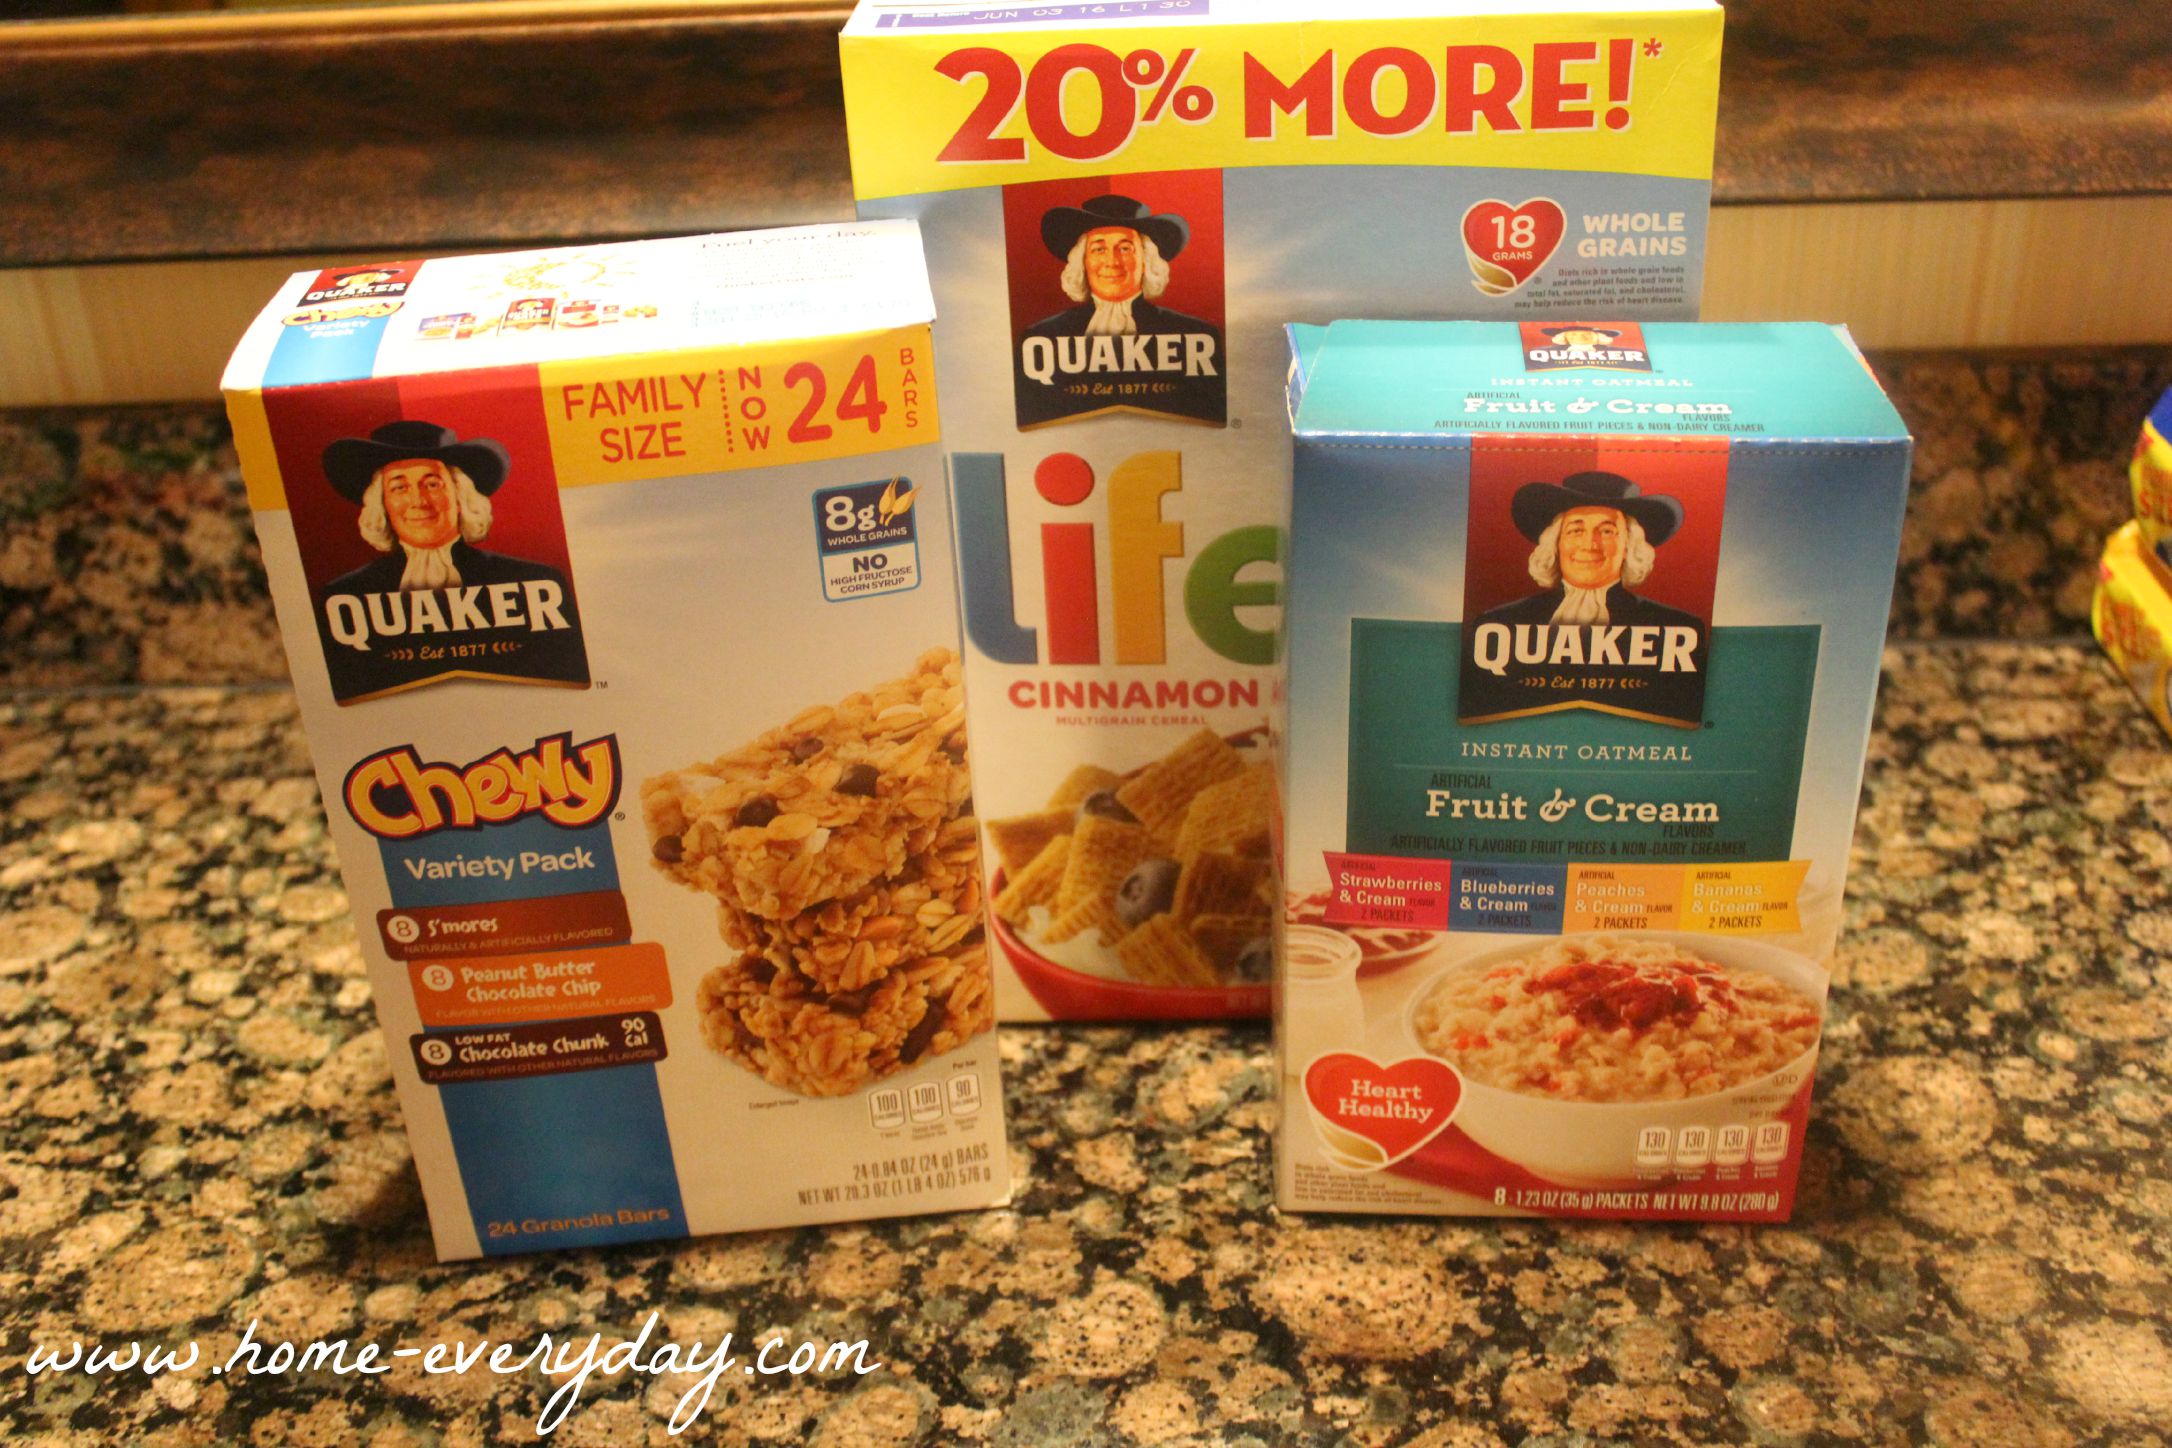
It should come as no surprise to you, that I brought a selection of Quaker products with us on our family road trip this year. From Instant Oatmeal and Life Cereal for the kids to Chewy Granola Bars for Brian, all of these things have been tasty and healthy snacks to keep us full of energy on our travels. Also, when I run out of any of these things, we have always been able to stop at a Wal-Mart and pick up more along the way.
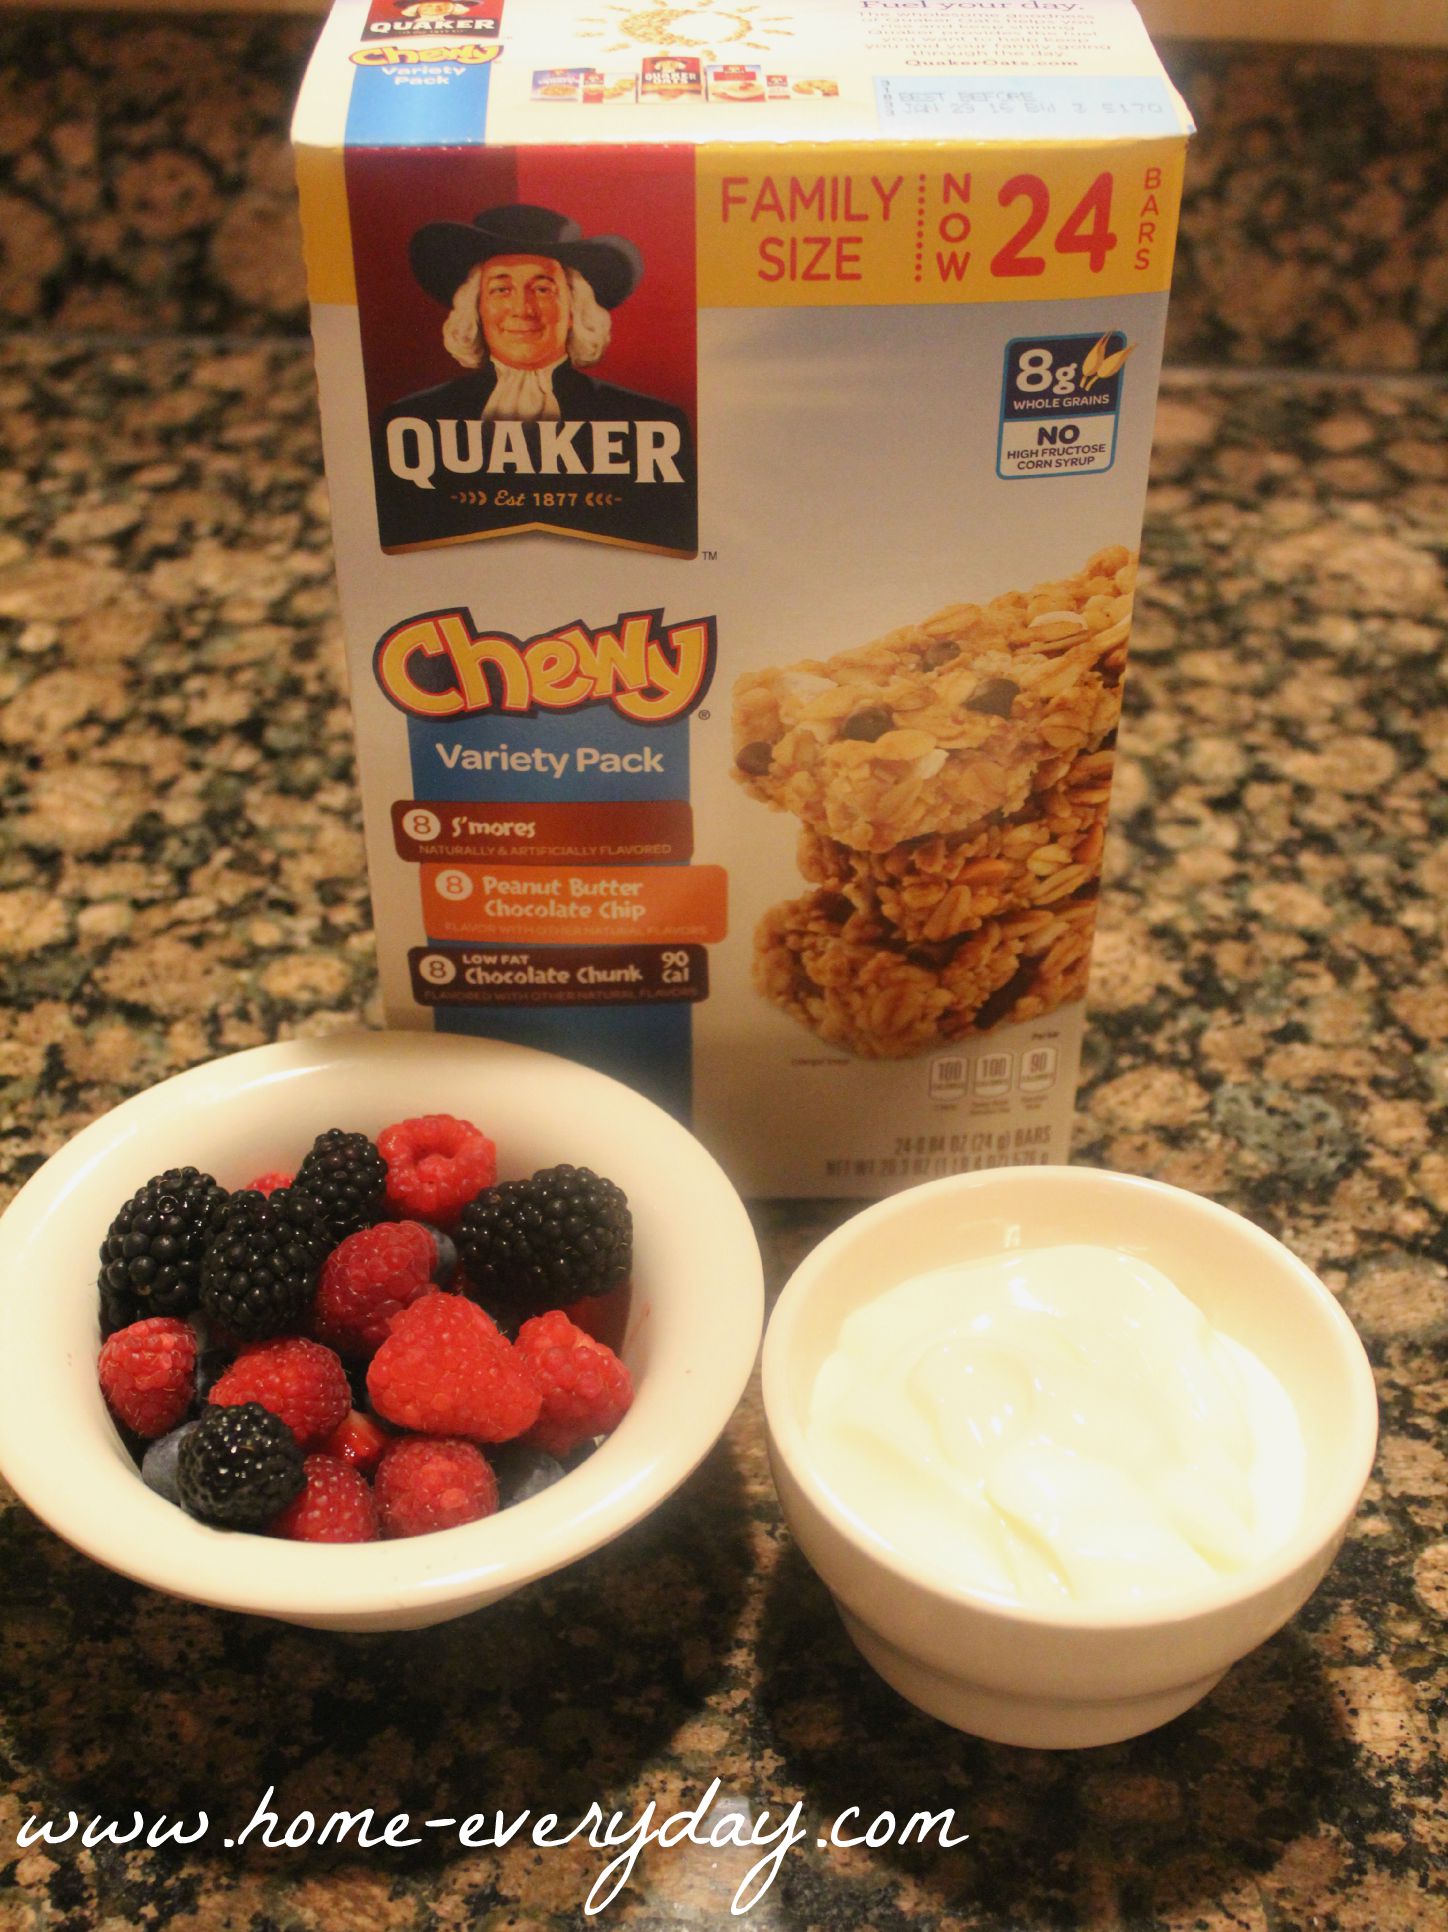
After being in a hotel for a few days, I started to get a bit creative with snacks. After a particularly long day of sightseeing, Brian and I were exhausted. The kids in true kid fashion, were not. We were planning on a evening swim before dinner to perhaps wear them out a bit, but I needed a snack with a little more oomph. So, with some Quaker Chewy Granola Bars, and some other ingredients I had in the hotel room, I made an healthy treat to help Brian and I keep up with our energetic kids.
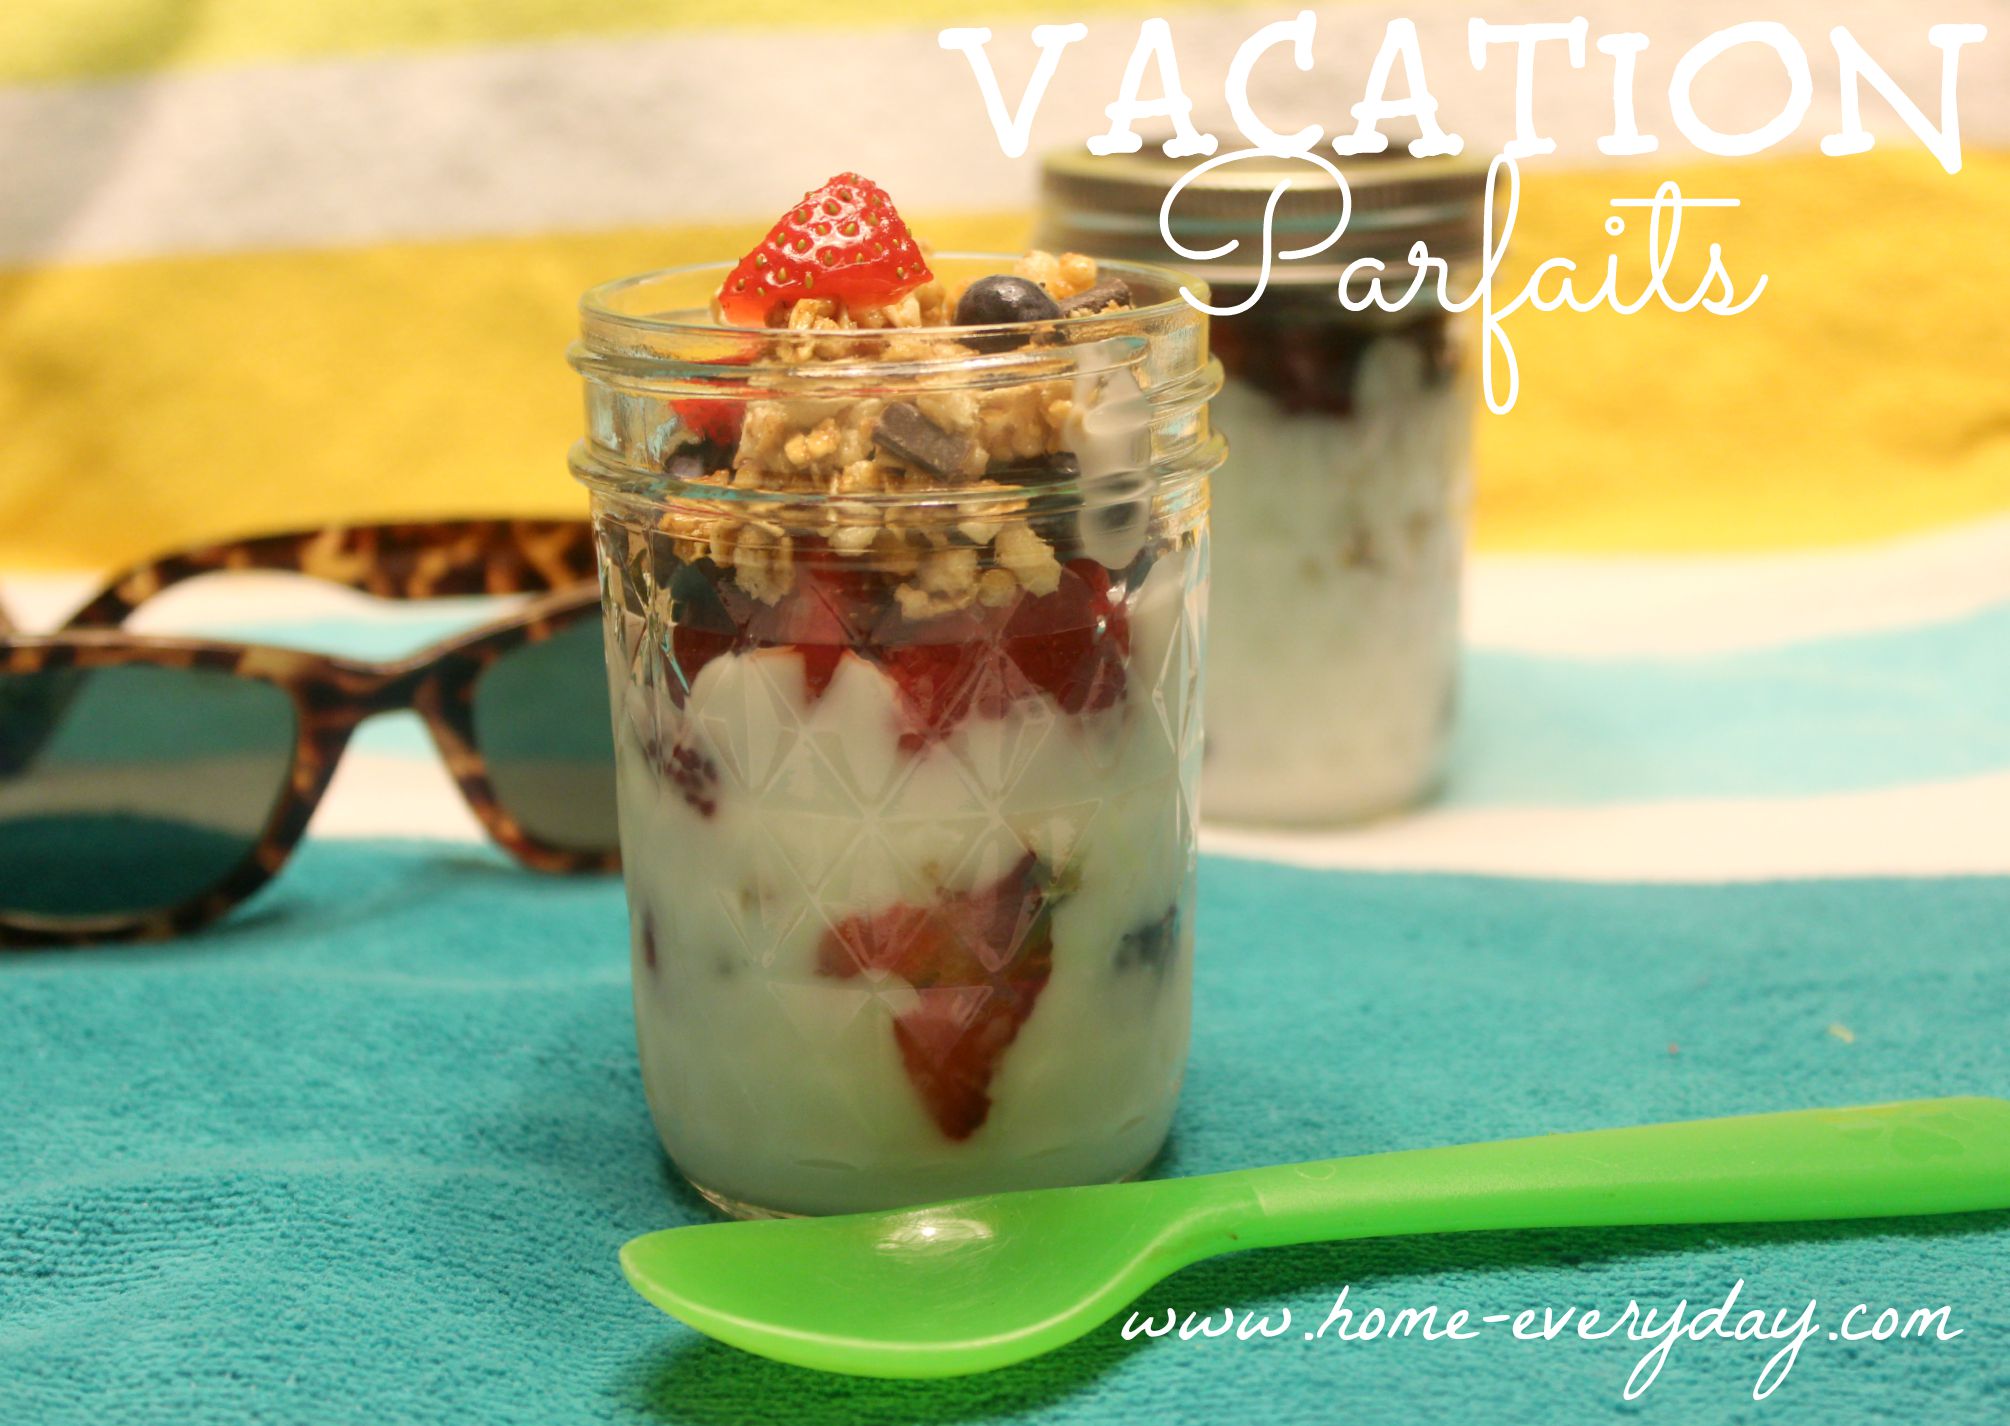
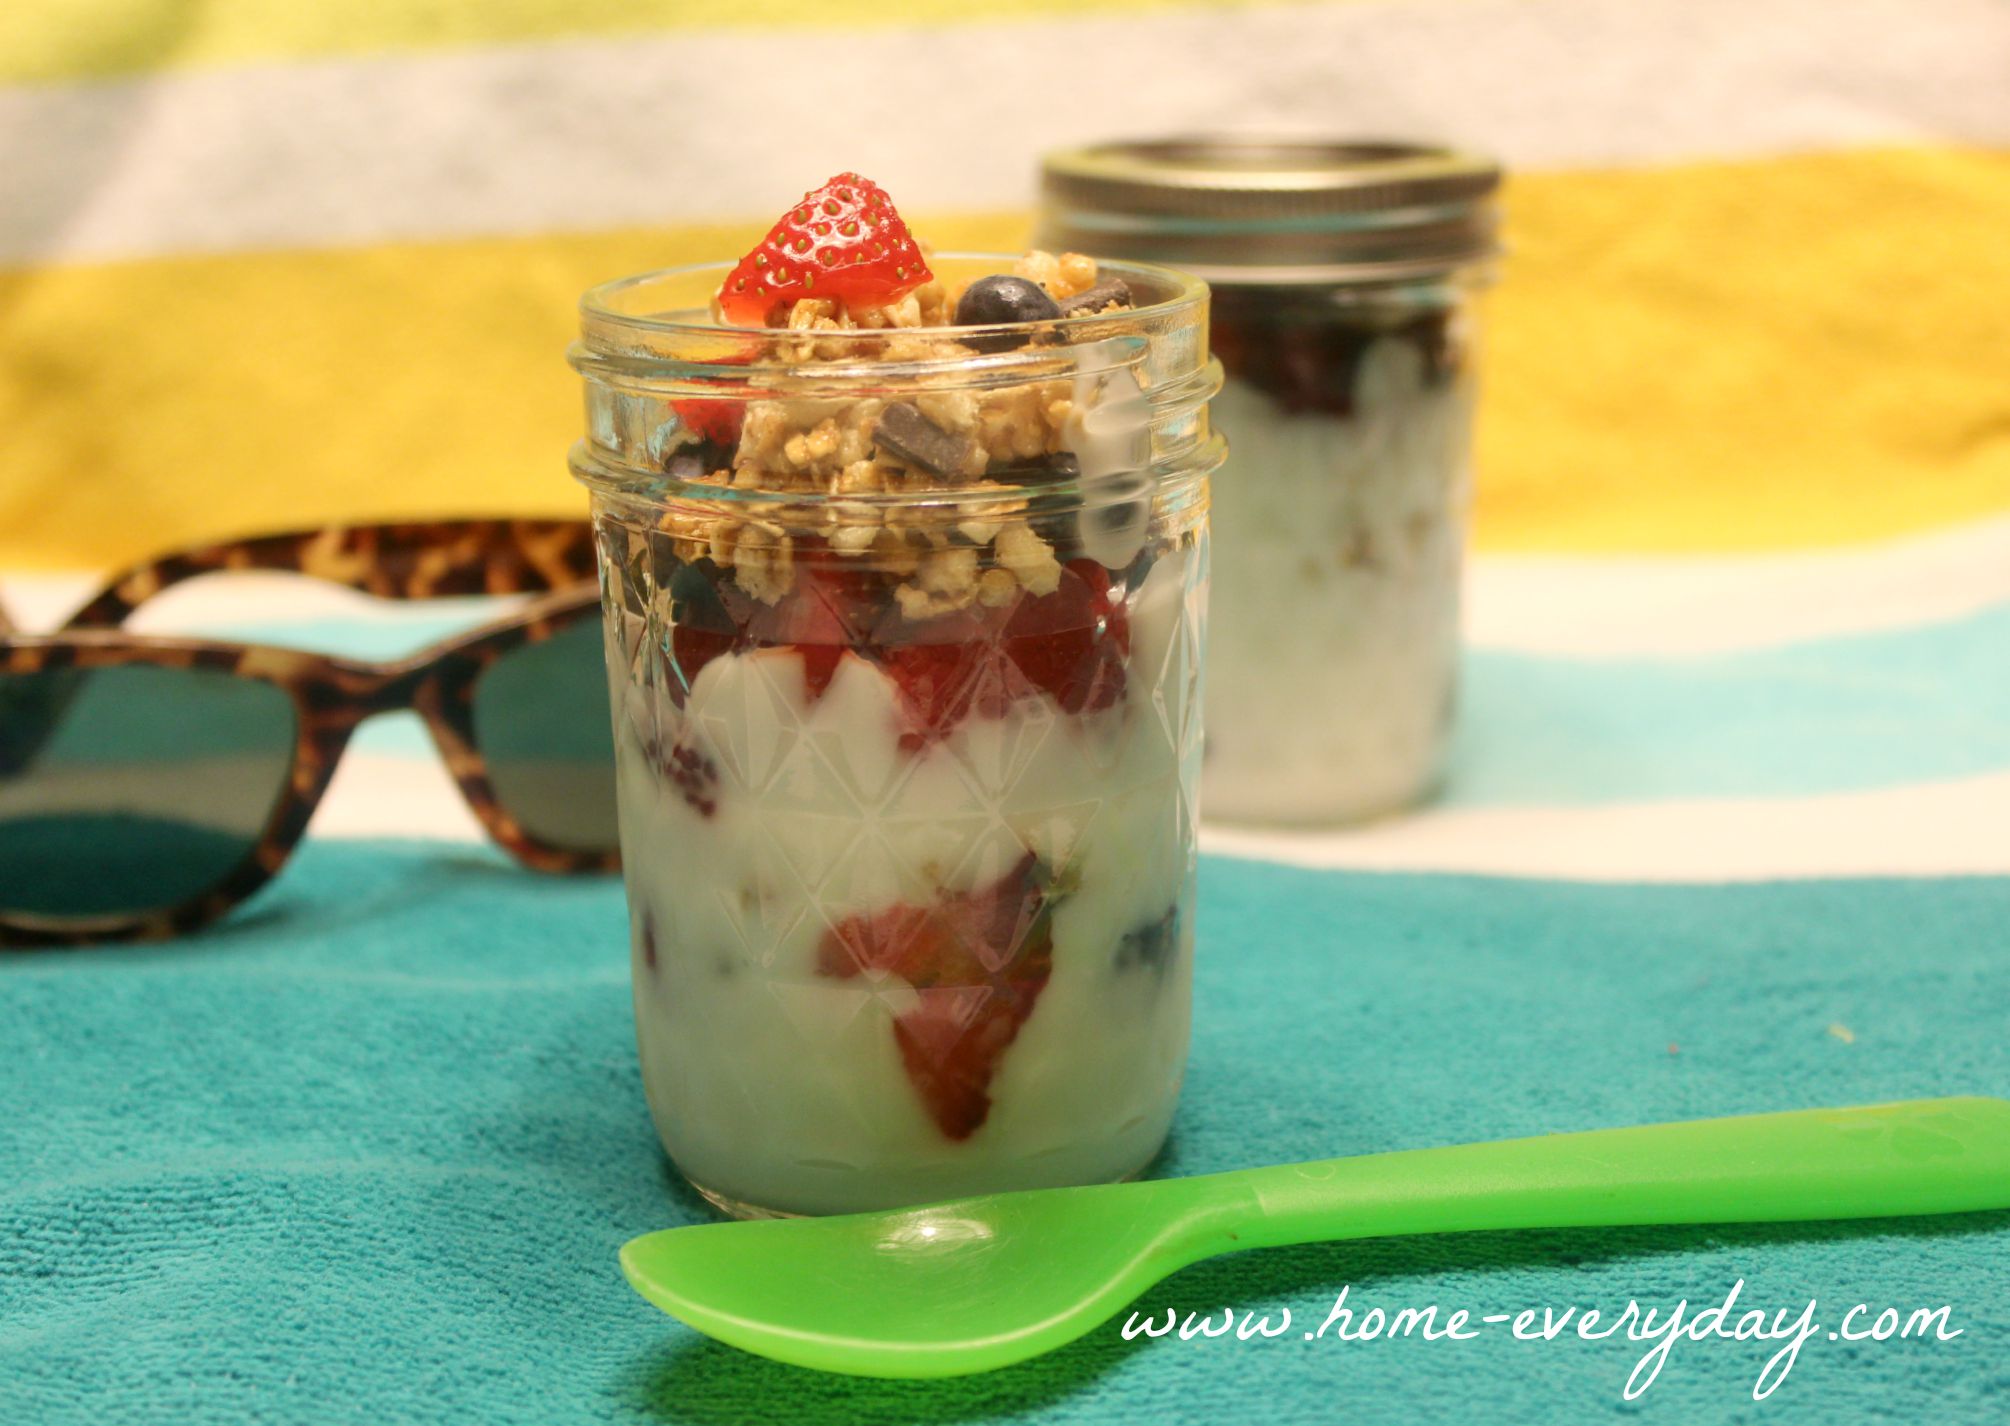
I made the perfect Vacation Parfaits, and you can make them too.
I just layered up some yogurt, berries, and then crumbled my favorite flavor of Quaker Chewy Granola Bars (Chocolate Chunk) on top. And voila, we were able to conquer the pool with three little ones.
I was so happy that I was able to enjoy this awesome snack. Even though I am still in vacation mode, there is a little part of my brain that is thinking ahead to school starting and all the great things I can whip up with Quaker for my hungry kids. CLICK HERE and use this link to as a fabulous resource for some awesome back to school treats. For more information about Quaker and to stay up to date on all things delicious check out Quaker on TWITTER of FACEBOOK.
Have you ever had to do any cooking or assembling in a hotel on vacation? What creative idea did you come up with?
I love breakfast foods. So does Brian. So do the kids. We could eat them any time of day, and a lot of times when we are a little indecisive about what to have for dinner, most of the time we pick Breakfast for dinner. Also known as brinner.
We have been grilling a lot this summer. Also, my kids have discovered the joy of putting anything grilled on a pretzel roll. I found a brand that is allergy friendly for them, and now I always have them in the house. So, we have kind of forgotten about our old stand by, brinner. Until recently.
I was kind of getting sick of grilling, and wanted to bring our old friend back for a special dinner brinner.
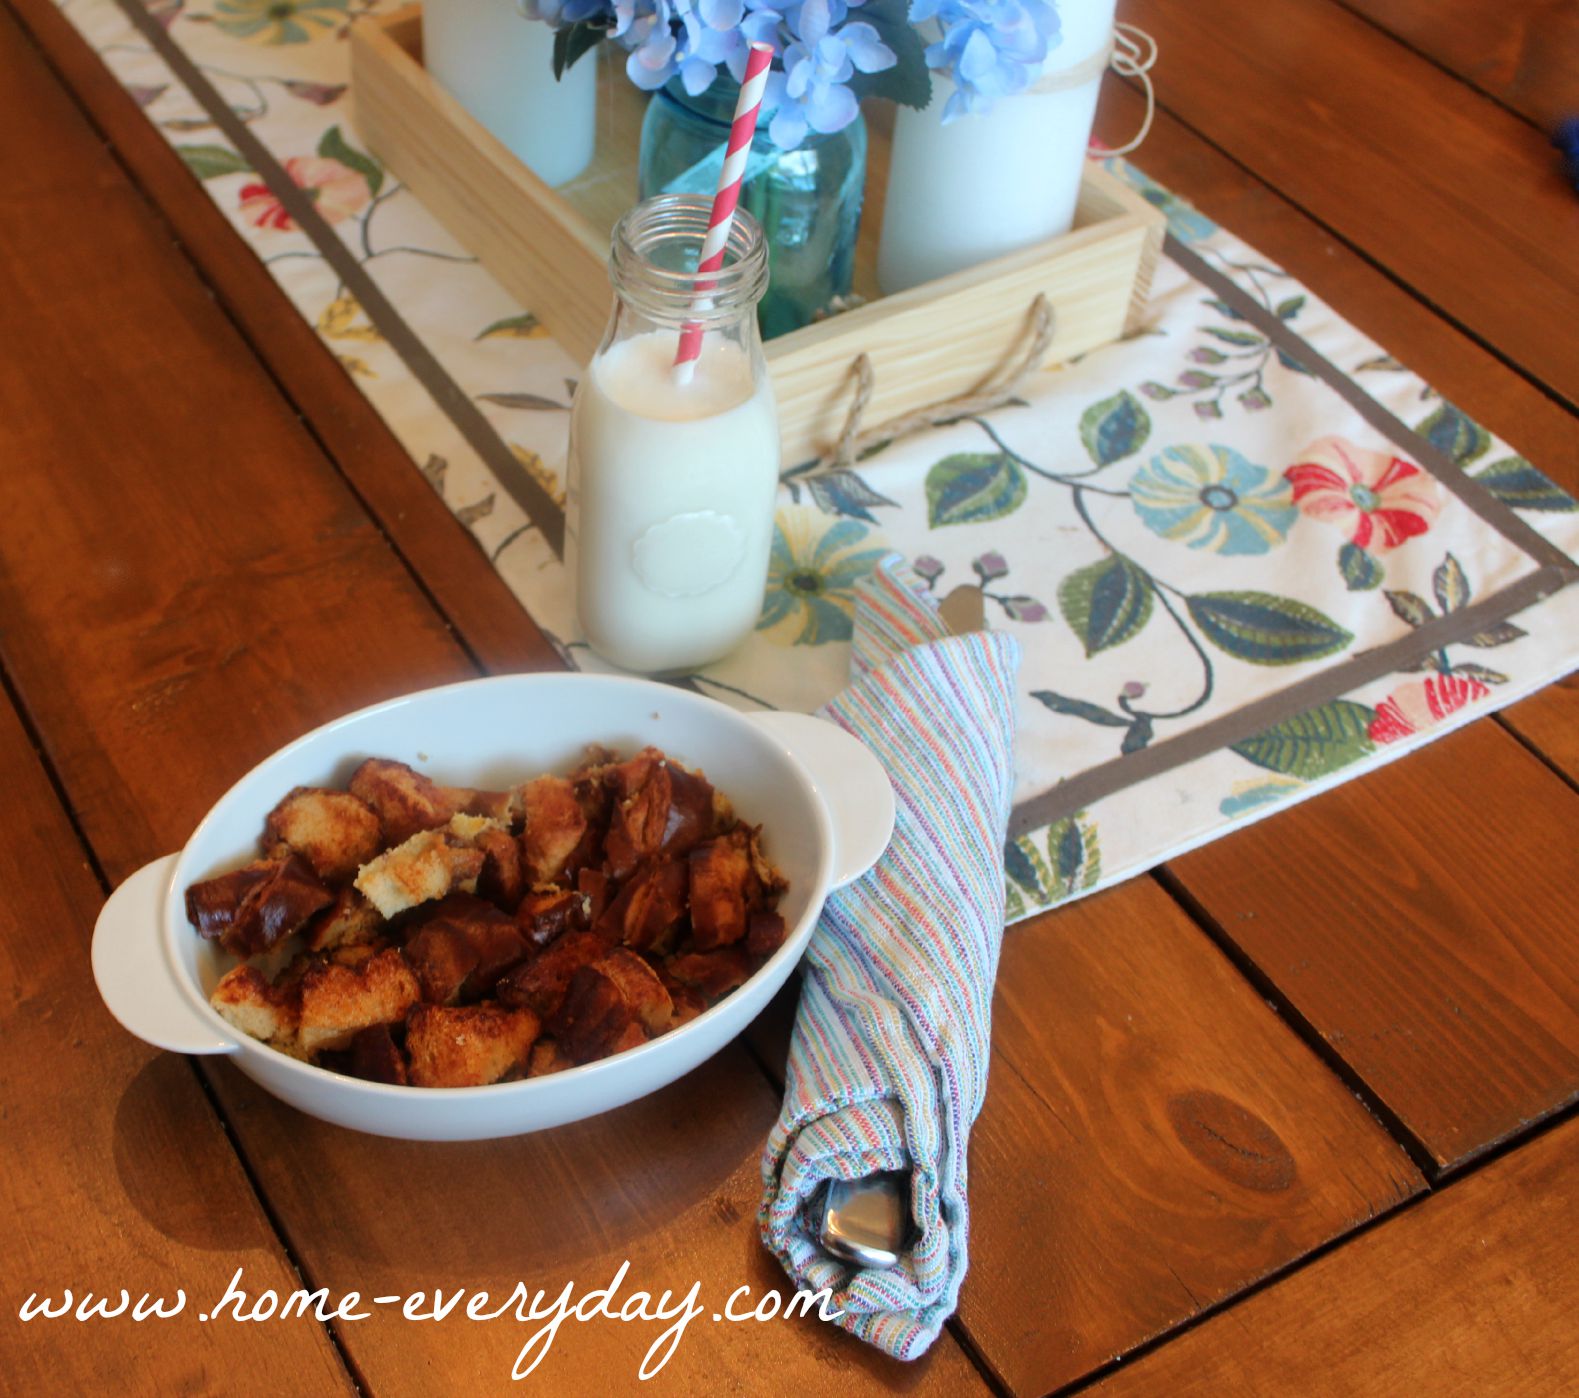
I made pretzel bread french toast, and it was delicious.
You could have this delicious treat any time of day, and you could even serve it up with a vanilla glaze instead of syrup for dessert and call it bread pudding. That is how good it is!
Pretzel Bread French Toast
Ingredients
1 large pretzel loaf or 6 small pretzel rolls cut into cubes
6 large eggs
1 1/2 cups 2% milk
1/2 cup whipping cream
2 tablespoons granulated sugar
1 tsp ground cinnamon
2 tsp pure vanilla extract
Instructions
Spray a 9 x 13 baking dish with cooking spray and arrange bread cubes in dish.
In a large bowl, whisk together eggs, milk, cream, sugar, cinnamon, and vanilla.
Pour the egg mixture over the bread mixture and making sure to coat all the bread. You may have stir it a bit.
Cover the baking dish and refrigerate for at least 2 hours, but overnight is best.
The next morning, preheat oven to 350 degrees.
Bake the French toast for 40-45 minutes or until golden brown. Serve with maple syrup.
3.3.3077
What is your favorite go to dinner? Is it brinner? Do you have a favorite recipe that you always have ingredients for on hand?
When you’re a Mom and a blogger it is very rare that I am in front of the camera. I am usually on the other side of the lens happily taking photos of the people and things that I love. Also, the longer that I have been writing, I have found that editing and playing with photos is fun too.
Confession Time: I used to loathe having my picture taken.
Photo courtesy of Stephanie Kush of Natural Light & Lifestyle Photography.
I have always felt that that old saying “a picture is worth a thousand words” was always lost when it came to photos of myself. My bubbly, and friendly personality never was showing through because I was always so self conscious about my tummy, double chin, my hair, having enough make-up, too much makeup, everything that really isn’t important. My self consciousness was showing. It was hard for me to walk into a portrait studio or see examples of beautifully coiffed and airbrushed small women and then trying to put on a brave face for a camera.
With all the changes at Home Everyday, I knew that I would also need new professional headshots, but I was determined to let what was really important show through.
Photo courtesy of Stephanie Kush of Natural Light & Lifestyle Photography.
The first thing I did was call my friend, Stephanie Kush of Natural Light & Lifestyle Photography. I knew it was imperative I call a friend. This was someone who knows my personality, my quirks, my business, and most importantly my strengths. I told her what I like about headshots, and kind of the look I wanted. I know not everyone has friends who are photographers, but I also know that friends have friends who are photographers. I also know that photographers like repeat business and want their customers to be happy with their photos. In the past, I think I was too wrapped up in a photographers professional opinion to tell them what I wanted, or tell them what I was like, or have a conversation with them for a few minutes to get comfortable. Ultimately, this showed up in the photos, and I ended up paying for photos I hated and the photographer lost a repeat customer.
Tip #1: Get Friendly. Talk to a photographer friend, a friend of a friend or communicate with your photographer before your session. Tell them about yourself, and let them know as much about you, your likes, dislikes, and your business as possible.
Photo courtesy of Stephanie Kush of Natural Light & Lifestyle Photography.
Next up, with Stephanie I planned a location for our photo shoot. This is going to depend on a lot of factors many of which your photographer will have expertise such as lighting, background, and overall feel of photos. However, don’t be afraid to do what makes you feel comfortable and what will help showcase your personality too. It would be silly for a blog all about camping and fishing to have a headshot that wasn’t taken outdoors, don’t you think?
Tip #2: Location. Location. Location. With the help of your photographer pick a location that not only represents your personality and showcases your business, but also makes you look and feel comfortable too.
Photo courtesy of Stephanie Kush of Natural Light & Lifestyle Photography.
Deciding on my outfit, makeup, and hair for photo shoot day was no small feat. However, once I came to the conclusion that I should be comfortable, the decision making became much easier. I decided to do my make up myself, I didn’t want my outfit to require Spanx or seem too formal or uncomfortable, I wanted my hair to be styled in a way that would make me recognizable, and I wanted my outfit to show my sense of style. I knew that if I felt comfortable, wore my favorite outfit, colors, and accessories, and wore my make-up and hair in a way that made me feel confident that would translate to my photos.
Tip #3: No Spanx. Wear clothes, makeup, and hair that make you feel COMFORTABLE and confident. Confidence will translate to your photos.
Photo courtesy of Stephanie Kush of Natural Light & Lifestyle Photography.
The day of my photo shoot, I had to bring my kids with me. I know this wasn’t an ideal situation, however, it ended up being a fun time. It was a beautiful day, and my kids were playing in the park nearby. Also, it was fun to hear the questions they were asking Stephanie, and to be fair they kind of put me in relaxed Mom mode for the duration of my photo shoot. In addition, because we met at a set location there were no photos in a studio to look at and make me self conscious about myself, the outfit I had chosen or anything else I was about to do. I was honest with Stephanie and told her that I was a bit nervous, and she made sure to keep the conversation flowing about other things to keep my focus on the fact I was not having my photo taken. Between the kids and Stephanie, I had a relaxed smile on my face and was even able to take a few fun and silly photos.
Tip #4: Accentuate the positive. If your photographer is not your friend, ask if it is ok to bring someone to talk with or who will make you laugh or smile in a natural way.
Photo courtesy of Stephanie Kush of Natural Light & Lifestyle Photography.
When I saw my photos for the first time, I could have cried. I had never been so happy to have received photos I actually liked. This was the first time I looked at a photo of myself and was as pleased as pie. And that that, my friends is saying something. I am convinced that Stephanie’s awesome eye and my relaxed attitude brought about the best photos ever. I was sure the day of the photo shoot to stay relaxed and leave the rest to Stephanie making sure to carefully listen to her directions.
Tip #5: Leave the rest to the pros. You hired a professional photographer with expertise for a reason. The day of your photo shoot it is your job to smile and look pretty. Do just that.
Photo courtesy of Stephanie Kush of Natural Light & Lifestyle Photography.
Have you had to get your photo taken recently? Were they family portraits or professional headshot? What are your favorite tips and tricks for looking your best?
Photo courtesy of Stephanie Kush of Natural Light & Lifestyle Photography.
For more information about Stephanie Kush and Natural Light & Lifestyle Photogrpahy you can visit her Facebook page or email to make an appointment.
For those that know, I am a bit thrifty, a little stubborn, and incredibly interested in how things work. I often believe that it is this combination of traits that has lead me to my DIY passions and can do attitude. Which is why after about a year of research, debate, talking it over with blogger friends, and attending a blogger conference last weekend, I finally decided to make a switch here at Home Everyday, and of course I did it mostly by myself.
You will notice that the design is a bit lot different than before. However, that is not all that has changed. I made some changes behind the scenes too, which will hopefully make writing this here blog more fun, but more importantly will make your experience as a reader even better too!
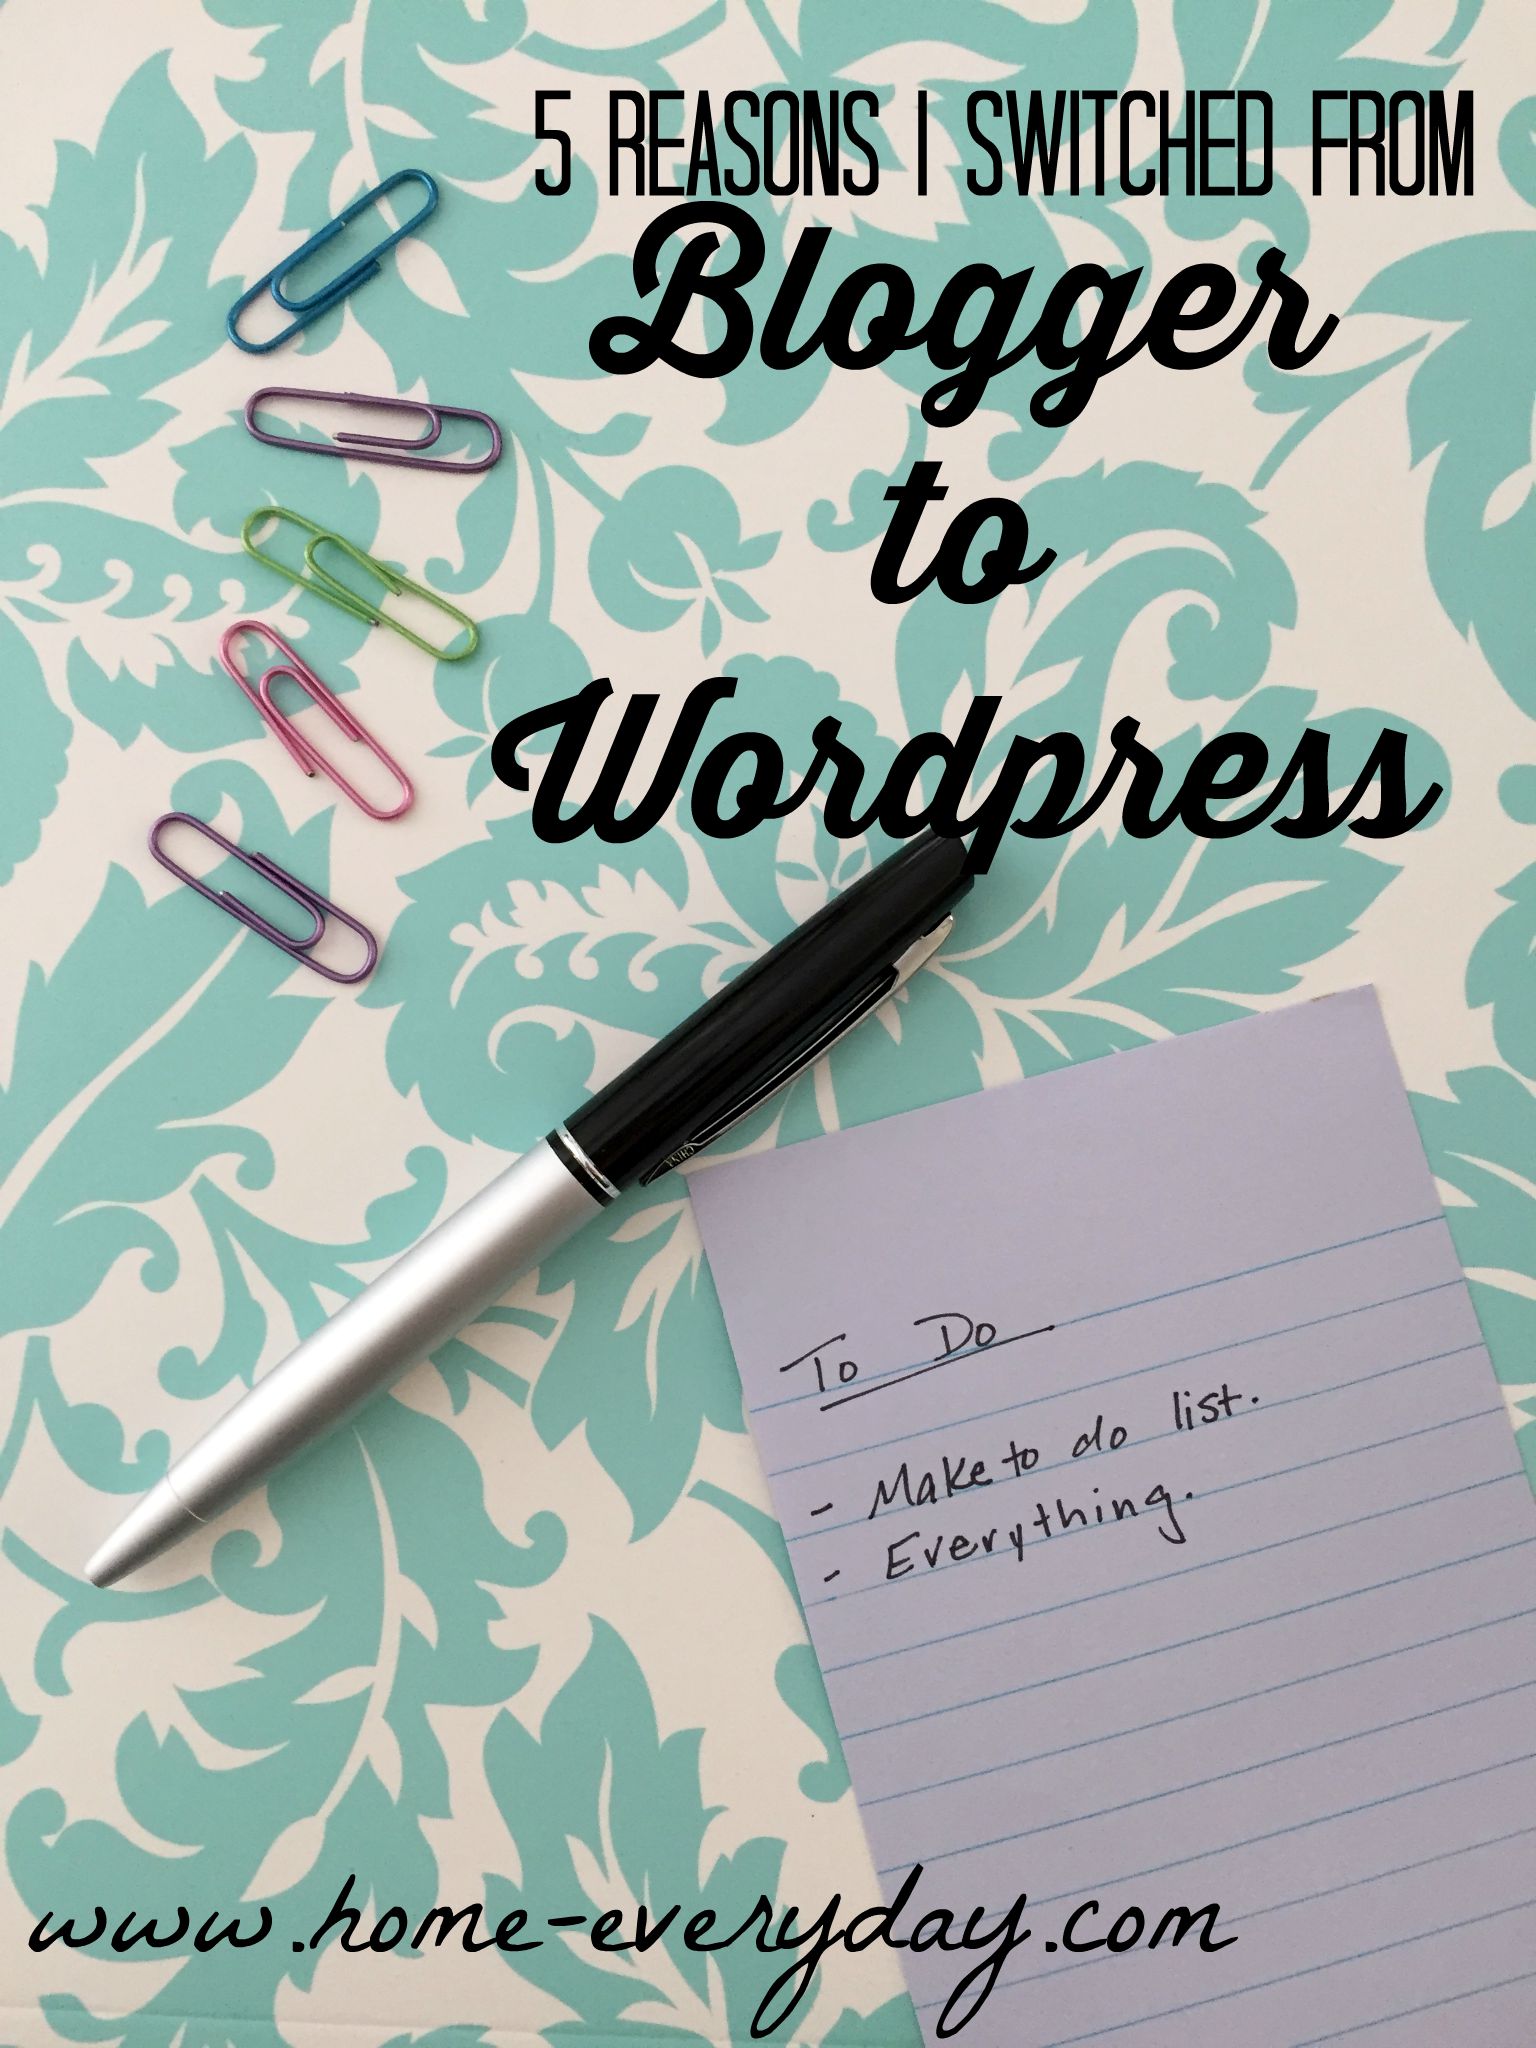
I made the switch from writing all of my posts on Blogger to a self hosted WordPress site, and here’s why:
1. Labor of Love: When I started Home Everyday, I wasn’t sure where it was going to go. I didn’t want to spend a great deal of money on something that might not succeed, and beginning my blogging journey on Blogger seemed like an easy, foolproof, and low risk way to get moving on a blog. I was able to customize some features I wanted. However, as Home Everyday grew, and I learned more about this blogging industry, I learned that there are some set backs to starting a blog on Blogger. Also, I want to own my own content. To quote blogger buddy Jennifer Evers of Me Myself and Jen who gave a great keynote talk at Collective Bias’s SoFabU On The Road Chicago Conference last week, “not having a self hosted site is like building your dream house on rented land.” So, after about a year of hemming a hawing, I decided to make the switch. The hundreds of posts and photos on this site chronicling a lot of me and my families adventures were too much for me not to own.
2. Back Up the Backups: While I was always sure to back up every photo and blog post I wrote on Blogger, I was never really positive if something went really awry, would have I have a way to restore everything quickly and easily. Not only did I want to build my dream house on land that I owned, but I also wanted good homeowner’s insurance too. With WordPress and my hosting provider, I now know that if something does happen, my content is safe, and I am able to restore it much more easily.
3. More Features: Writing on this platform has so many more features in which I can showcase my writings with all of you. There are also ways to better organize the information on this site so it is more easily accessible.
4. Familiarity: When I first began Home Everyday, I had no idea what I was doing in regards to a blog. However, I have had the amazing opportunity to also write on my South of I80 blog at ChicagoNow. This is where I was first able to become familiar with WordPress and learn some of the awesome features, and over time I have become increasingly familiar with this platform.
5. Customization: One of the reasons I have never gotten a tattoo is because I change my mind way too often. I like being able to switch things up and customize them depending on seasons and trends. WordPress will allow me to more easily make design customizations to this site to make it more beautiful.
Home Everyday is a labor of love, and I wouldn’t do it without my wonderful readers. Over the next week, I will be making some changes on the back end (all by myself), that will enhance your reading experience.
If things look a little fishy here to you, I apologize profusely, and want you to know that this one man lady operation will work as quickly as possibly to get things up and running as as possible.
I was compensated for this post by zulily, but the opinions expressed are 100% my own.
There are a few things I feel I have missed the boat on: Breaking Bad, Cronuts, and zulily. I don’t know if it is because I have been so busy carting people to various activities, watching Parks and Rec, or debating if I should paint the kitchen cabinets (again). I just sometimes feel that I am often late to the game on things.
When the awesome people of zulily reached out and asked if I would like to write about zulily, I felt a little more than sheepish admitting I had never even purchased anything from there. However, after one shopping trip, I am a zulily believer!
I cannot stress to you enough the awesomeness of zulily!
Obviously, when going to zulily.com I made a bee line for the home category, and was astounded at all the adorable, functional, and amazing items they had. Also, the prices couldn’t be beat! From rugs to lamps, furniture to kitchenware, I was sold.
Look at this adorable vintage flour sifter I snagged. My grandma used to have one of these, and they work perfectly, but I hadn’t been able to find one anywhere at a price I liked!
Also, check out the vintage kitchen section. All of the glassware is just begging for a Thirsty Thursday cocktail.
Photo courtesy of zulily.com
What about this chair? I know I cannot even. This would look great as an accent chair or a dining chair or a desk chair or…
I also loved the art section. I found this cute print, and I cannot take my eyes off of it!
This site has more than housewares though, they have clothes for every member of your family, health and beauty items, shoes, and all kinds of things for baby and kids.
I know I was late to the game on this, but I think I have found a new place to shop!
If you like this post and would like to read more about all things domestic with a touch of humor, become a Home Everyday follower! For blog updates or to see other places I write such as ChicagoNow or Chicago Parent follow Home Everyday on Facebook, Twitter, and Pinterest.
This post was compensated with products from NOW Foods, however what I whip up and opinions regarding the products are 100% my own.
There is nothing better than a cocktail you can make with things you already have on hand. There is also nothing better than a giveaway!
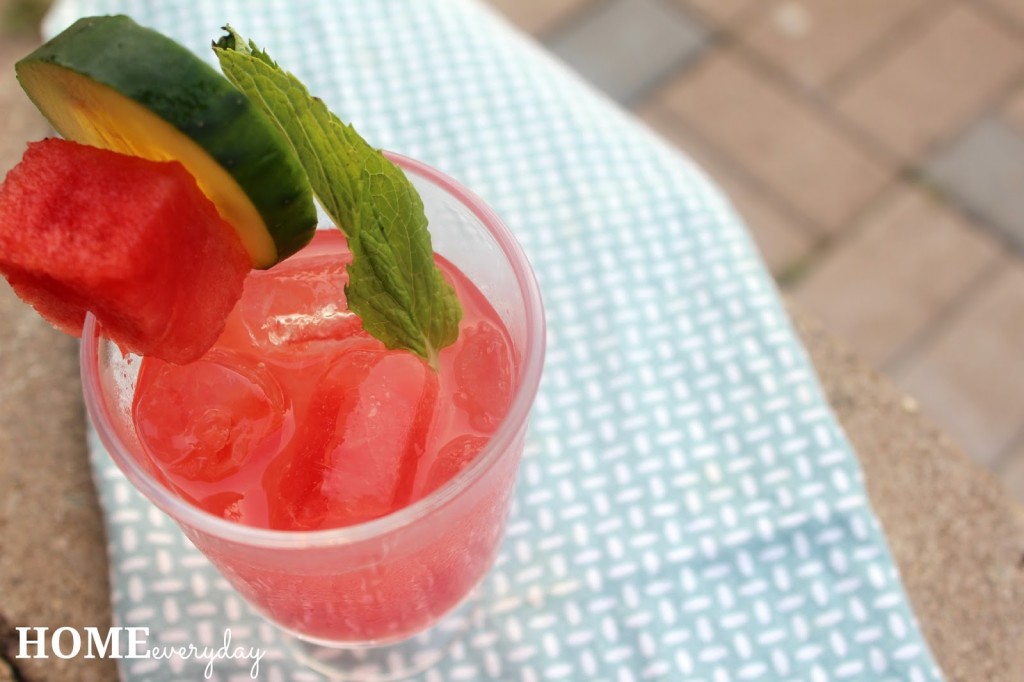
With summer here, there are three things I always have on hand: watermelon for the kids, cucumbers for the kids, and mint because it has so many uses this time of year. I was looking through Pinterest, and noticed there are so many recipes for salads combining these three ingredients, I thought why not a cocktail.
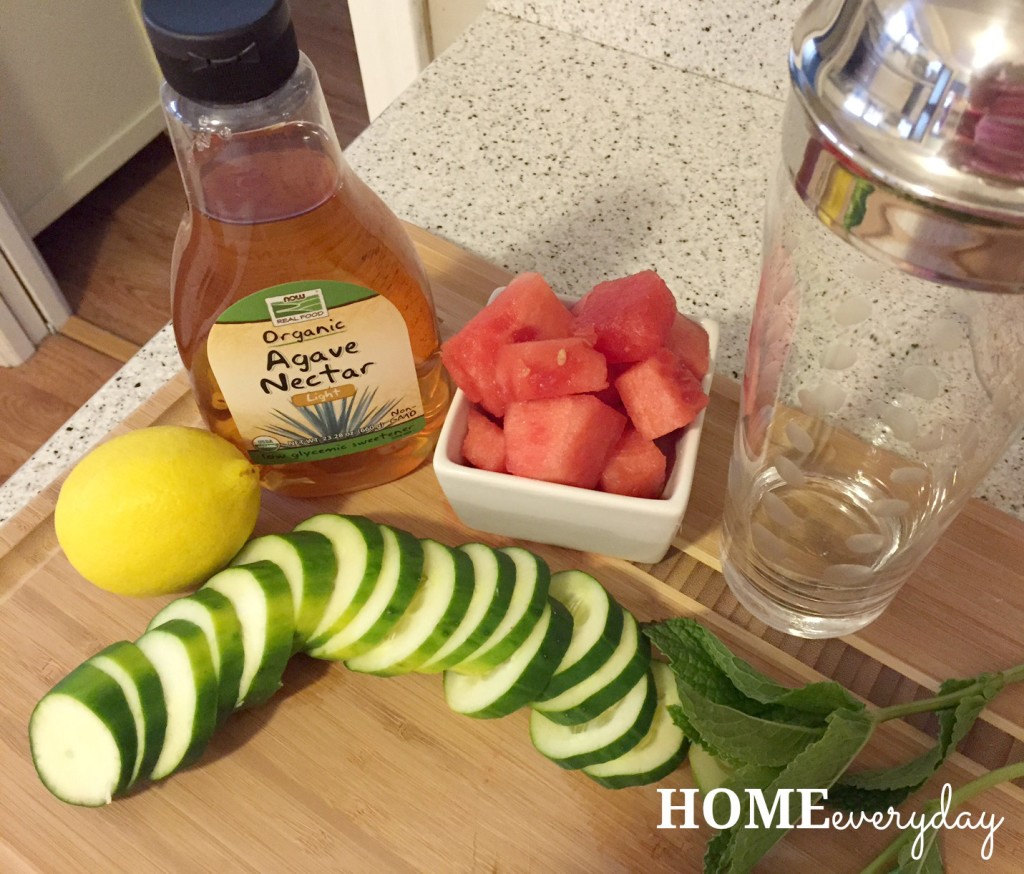
The two best things about this drink (besides the watermelon, cucumber, mint combo) is that is can be made both virgin and traditional, and instead of using sugar for the muddling, I used NOW Foods Organic Agave Nectar. This dissolves a lot better and actually tastes a lot better too.
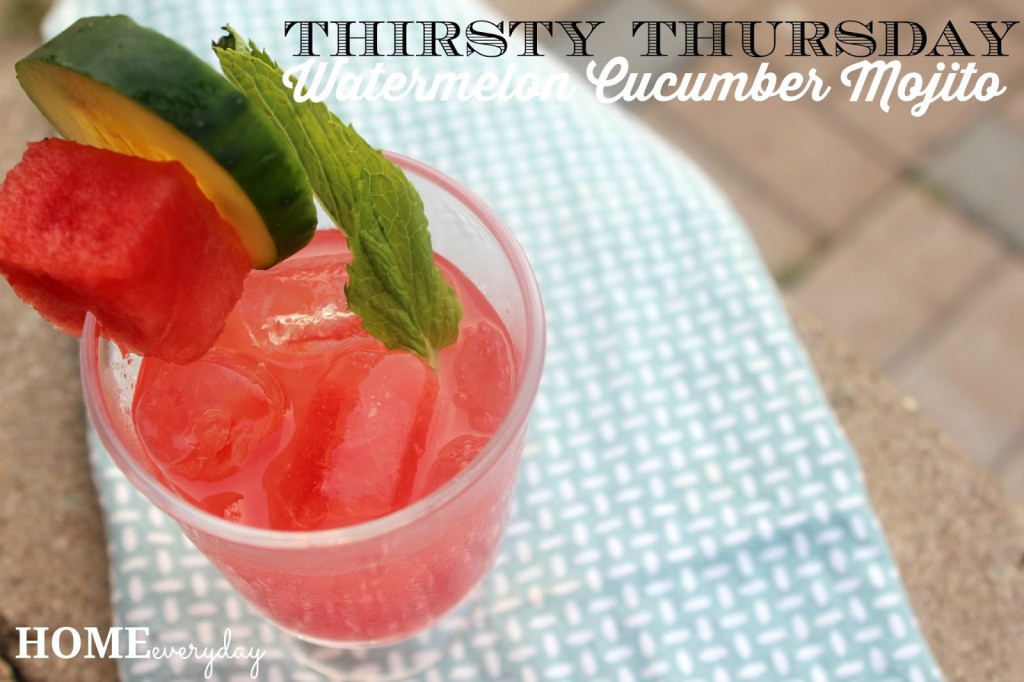
Watermelon Cucumber Mojitos (makes one)
1/4 cup watermelon chunks
4 slices cucumber
3 or 4 mint leaves
2 tsp NOW Real Foods Organic Agave Nectar
1 tbsp lemon juice (or juice of a lemon wedge)
1 shot of white rum (optional)
ice
In a small glass, add ice and set aside to chill.
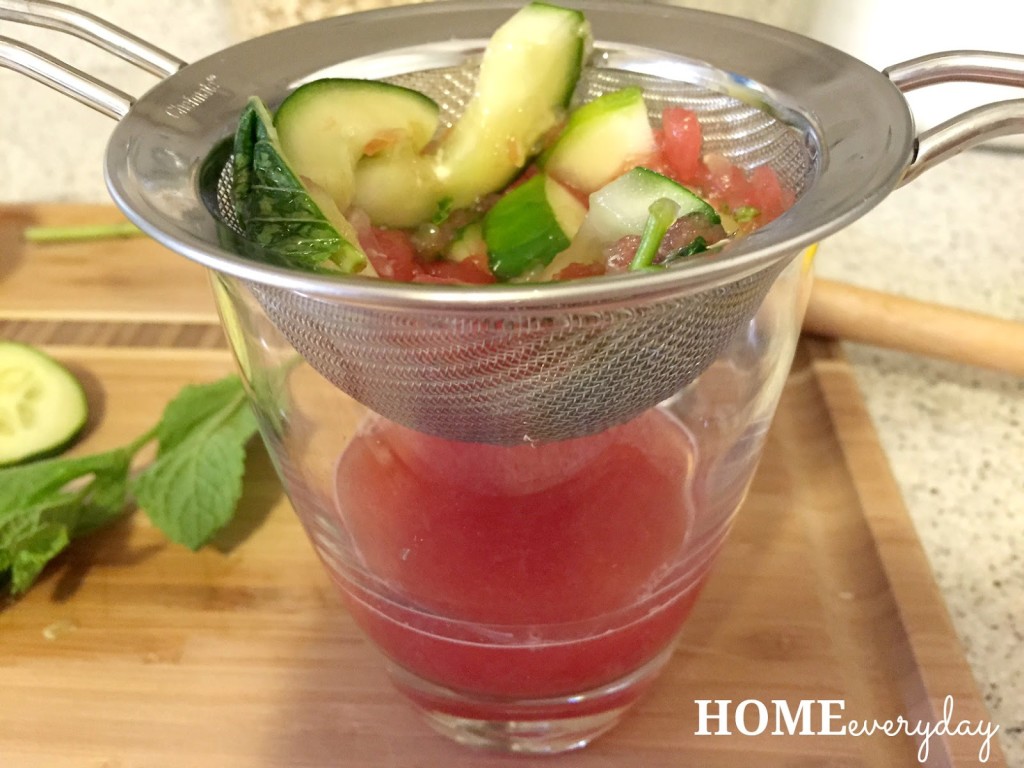
In a large glass or cocktail shaker, muddle together melon, cucumber, mint, and agave.
Strain the melon mixture well to remove seeds, flesh, skins, and mint leaves.
Pour this mixture into glass with the ice. Top with the optional rum, and lemon juice. Stir and garnish with melon, cucumber, and mint.
Serve immediately.
NOW (see what I did there?) it is the moment you have all been waiting for! I have published a few recipes this week with all of the wonderful things you can do with NOW Foods, and honestly know I will be adding their healthy ingredients as a regular part of my every day cooking. To enter the giveaway, all you have to do is comment below and tell me what is the FIRST thing you will make when YOU WIN $130 in NOW Foods Products?
For all things beverage related, check out the THIRSTY THURSDAY page for recipes for all kinds of drinks, cocktails, and all things drinkable!
If you like this post and would like to read more about all things domestic with a touch of humor, become a Home Everyday follower! For blog updates or to see other places I write such as ChicagoNow or Chicago Parent follow Home Everyday on Facebook, Twitter, and Pinterest.
This post was compensated with products from NOW Foods, however what I whip up and opinions regarding the products are 100% my own.
When I first began cooking, I never really thought of cooking oil that much. I would use what was listed in the recipe, often substituting an oil I already had on hand. Then, when my kids were born and were diagnosed with food allergies, I started to become much more mindful of nut oils and oils containing soy, and avoiding them at all costs.
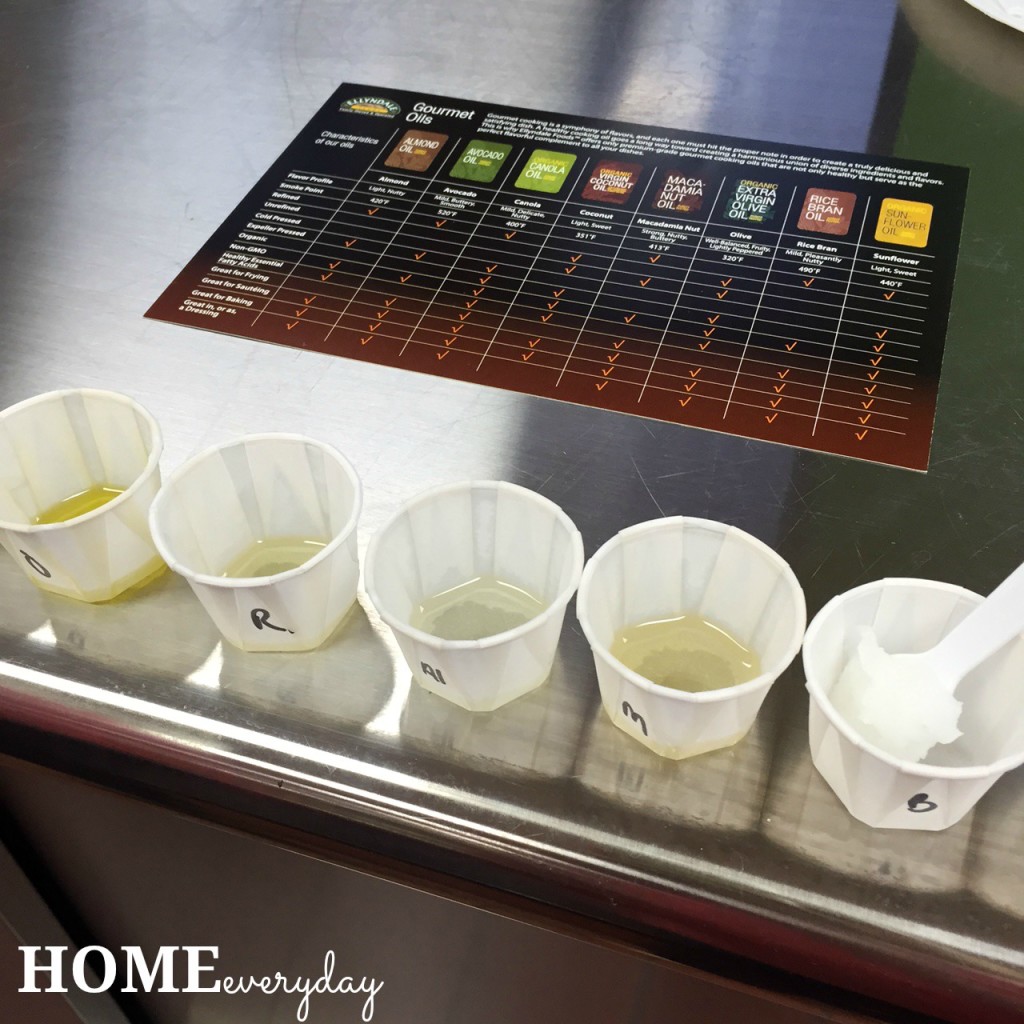
Then, as I became more of an intermediate at-home chef, I stuck with my three main cooking oils for baking, sautéing, and roasting. I used extra virgin olive oil (usually a middle of the road brand that seemed good), a canola oil for when I needed to cook at higher temperatures, and butter for when I wanted to add a bit of flavor to things like eggs. I gave very little thought to the quality, flavor, or health benefits to any of the oils I was using, until I visited the NOW Foods kitchen and had my first oil tasting.
I couldn’t believe the different tastes of each oil. I also learned about smoking points and health benefits.
Now, after cooking for a couple weeks with different kinds of oils, I cannot believe the change in taste in some of my favorite every day recipes. Also, I now know that some of these recipes will have added health benefits, and will offer some benefits to my friends and family who have dietary restrictions too!
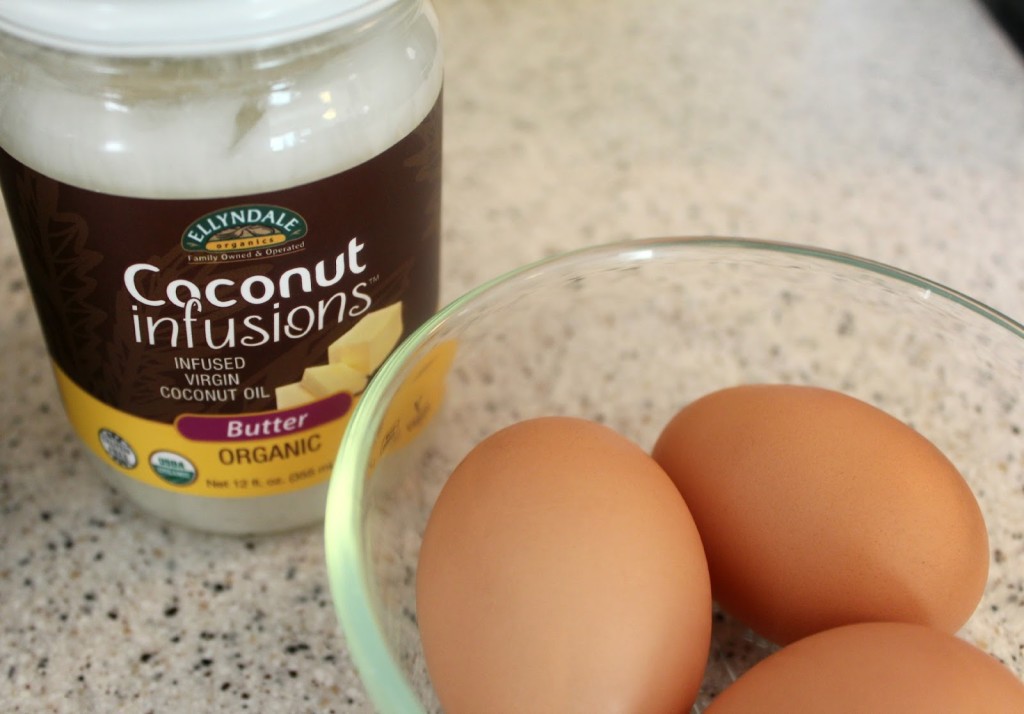
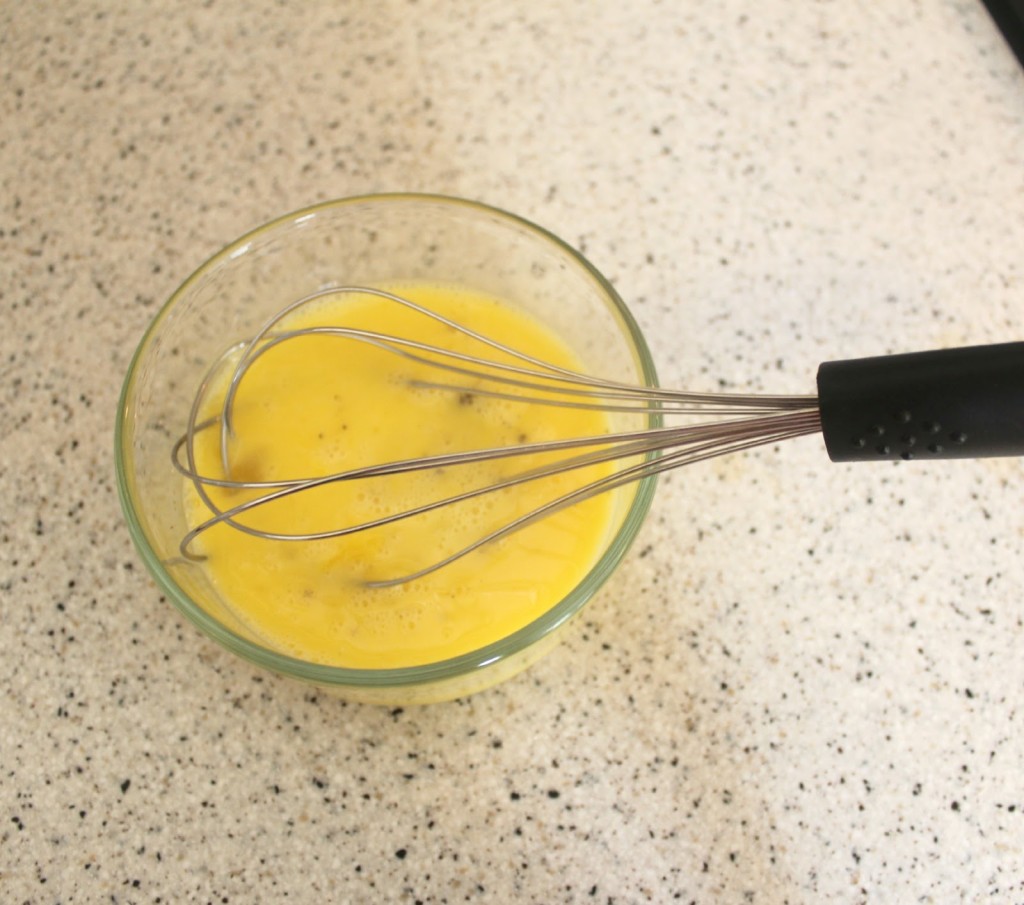
For example, one of my favorite go to breakfasts is scrambled eggs. I make them probably four mornings a week.
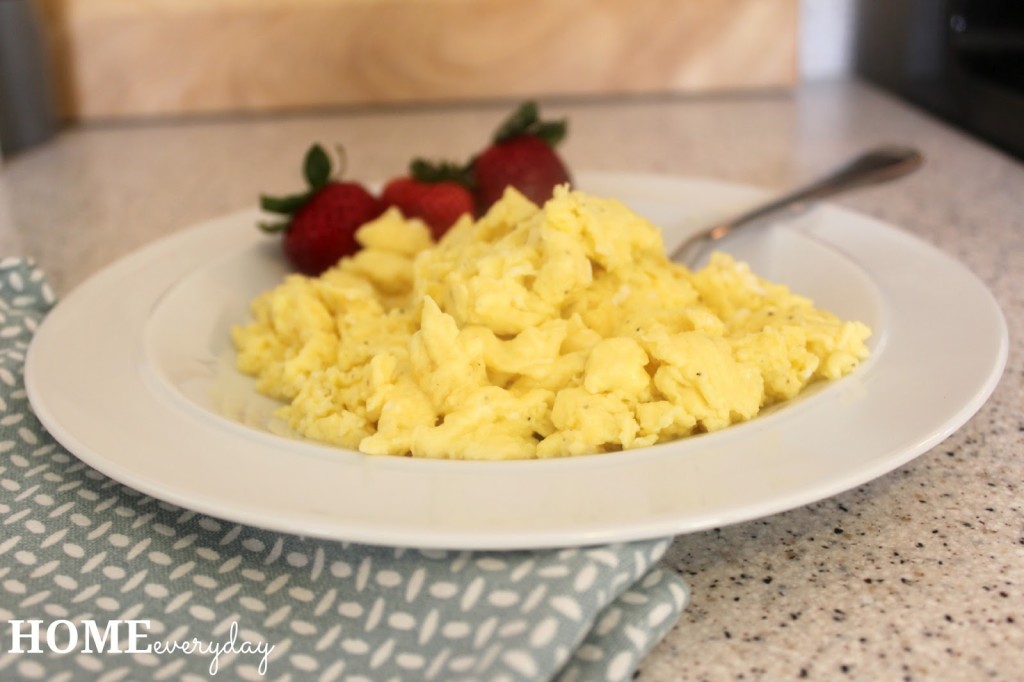
In the past, I would use a pat of butter in the pan, which while it adds flavor, it can burn easily, adds unnecessary fat and empty calories and isn’t helpful for those with dairy allergies. Ellyndale Organics has created Coconut Infusions virgin coconut oil that tastes like butter.
It is also a one to one substitution for butter which means it can be used in all of your favorite recipes where butter is used, and is completely dairy free (vegan). Also, coconut oil has so many healthy
components, I don’t think I will ever use butter to make eggs again.
I just put about 1 or 2 tsp in a pan over low heat.
Add the eggs which I have whipped up with a splash of water, a pinch of salt and pepper (I don’t even add milk anymore that’s how good this oil is!)
Cook low and slow stirring constantly until perfect.
These eggs are my new favorite breakfast, packed with protein and perfect for when I want something hot in a hurry.
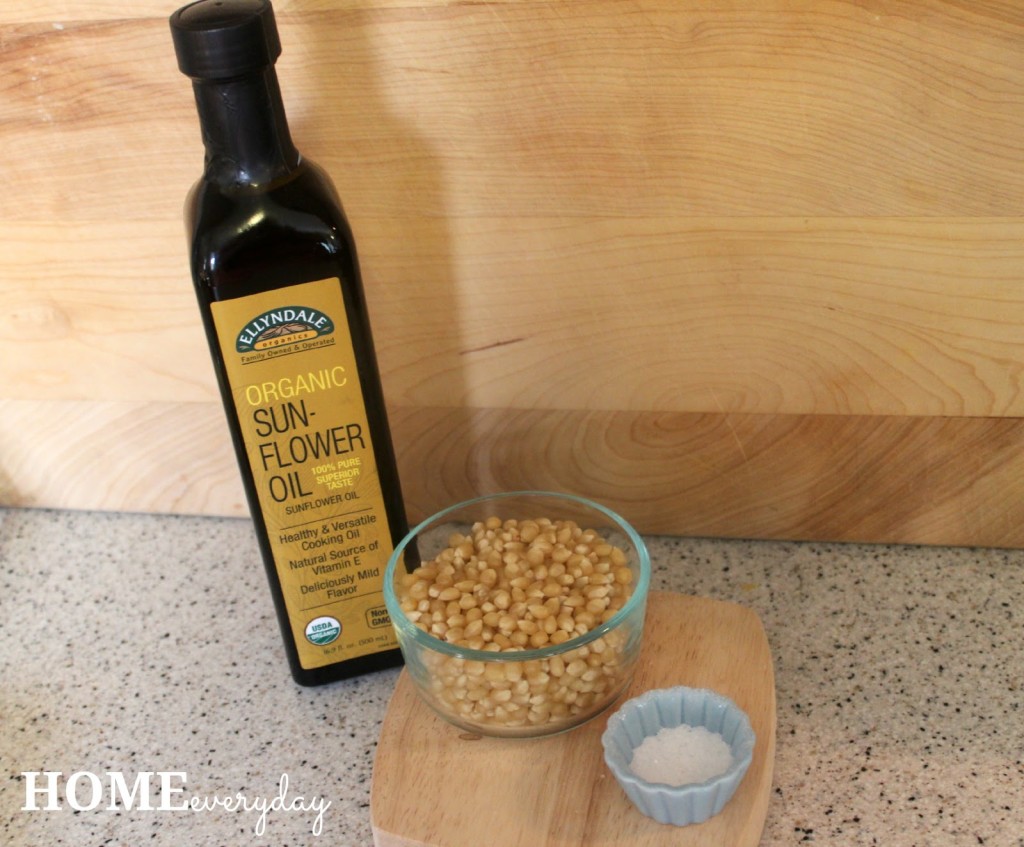
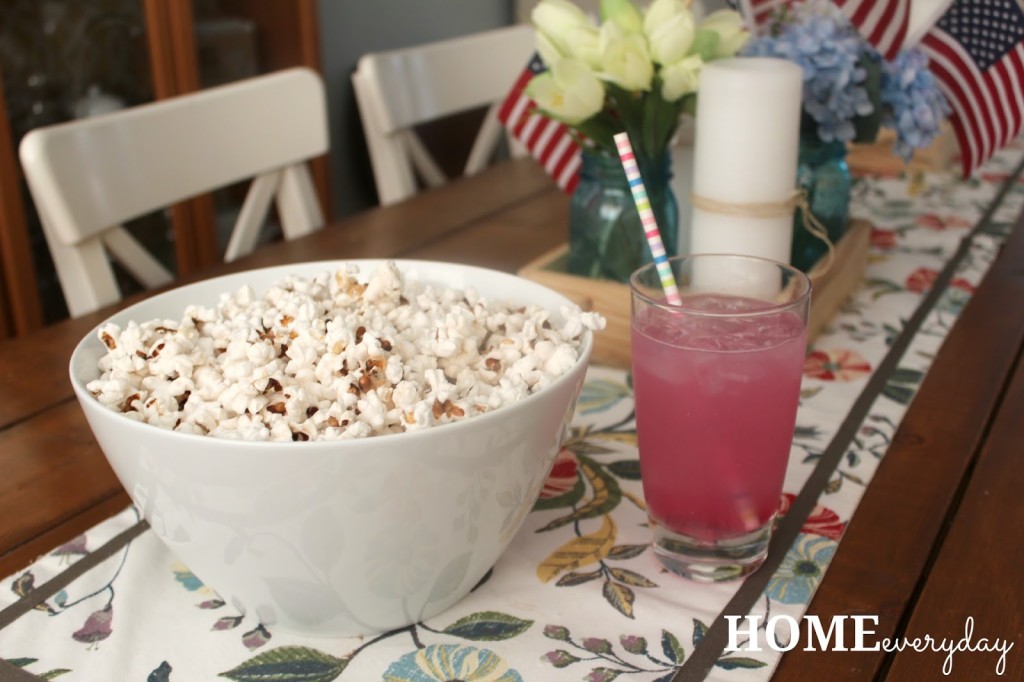
Another favorite regular thing in our house is popcorn. It is a snack eaten almost every day. I like to make stove top popcorn because it is healthy, easy, and doesn’t have a bunch of other artificial things like preservatives, flavorings, and possible allergens that store bought and microwave popcorn have in it.
For this, I used the Ellyndale Organics Sunflower Oil which is mild in flavor and perfect for delicate popcorn. It also won’t complicate any toppings you would want to add to it yourself.
I first put a tbsp of oil in the bottom of a large heavy bottom pot with a tight fitting lid over medium heat. Then, I add about 1 cup of pop corn kernels.
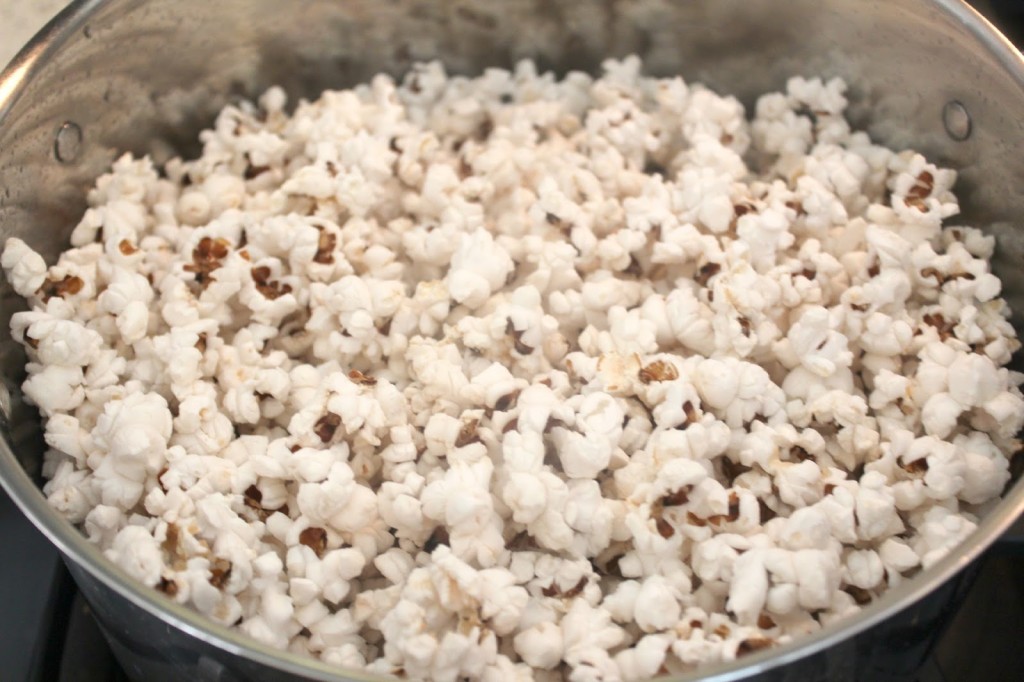
I put the top on the pot and shake the pot occasionally so as to not burn the kernels. After about 10 to 15 minutes the kernels start to pop. Keep shaking the pop with the lid still on, and when the popping slows down, remove from the heat.
Pour the popcorn into to a bowl, add salt or pepper or your favorite topping, and serve with your favorite beverage (I did a NOW Food Tropical Punch Slender Stick with some cold water).
After cooking some of my favorite everyday favorites as well as some dinners with these different oils, I don’t think that I will be so careless with my oil choices again.
If you like this post and would like to read more about all things domestic with a touch of humor, become a Home Everyday follower! For blog updates or to see other places I write such as ChicagoNow or Chicago Parent follow Home Everyday on Facebook, Twitter, and Pinterest.