If I ever moved away from this area, I think I would have a hard time figuring out where to eat. As much as I like to try new things, there are restaurants in my neck of the woods (errr… suburbs) that we visit over and over again.
Food kind of has a way of becoming a part of tradition and memories that not a lot of things in your life can. This list was not only created as a reference for anyone interested in the South Suburbs of Chicago, but also as a trip down memory lane for me.
Aurelio’s is a Pizza Chain that now even has locations in Minnesota and Arizona, but when I was growing up, the Aurelio’s in Homewood was THE place to get pizza. Many a night after basketball games were spent here. Let’s not forget all the pizzas ordered for movie nights. My favorite is a thin crust with veggies! If you’re a true Aurelio’s fan, you’ll know to ask for your pizza made in the Old Oven. Thank goodness there is a location right near my home to keep the tradition alive with our own kids.
I know you’re noticing the theme here, but I cannot help it. When I think Italian food, I think comfort. With several locations all over Chicagoland, Francesca’s is a place I started going to when I was in college for special events and dinners. My sister even hosted my bridal shower here. The menu changes with the seasons, so while it has become a tradition in my family, there is always a new fresh feeling every time we go.
This is one of the newer restaurants on my list, and somewhere I don’t take the kids. It is my absolute favorite place to eat with my gal pals. The menu consists of small plates, and the cocktails are divine. You can even try a few in a cocktail flight. I’ve laughed til I cried here with some of my absolute favorite women while dining on some of my favorite dishes. The beet salad is awesome, but my absolute favorite is the pear crostini with blue cheese foam.
My most favorite conversations have happened in this restaurant! It is typically a meeting up place for me and my friend Samantha, but it has also served as the perfect place to enjoy farm to table cuisine in the south suburbs. There are often new things to try on the menu, and often I cannot resist a cocktail, but my absolute favorite meal is a starter of the Med Dips, the Roasted Beet and Goat Fritter Salad, and I always finish with a hot tea (A Walk in Earl’s Garden) and a sweet treat from the dessert menu!
If Brian and I had a place, this would be it! Usually a date night with us starts or finishes at Mama Maria’s. The atmosphere I would describe is upscale casual, and the menu has a lot of updated favorites.We always order Mojitos and start with Empanadas!
If you’re looking for a great place to celebrate or enjoy a nice meal with people you love any one of these is a perfect choice. Remember, part of dining out is the people you’re with so make sure you grab your favorite people and head out!
In order to achieve some balance in my life, I want eat a little better. I mean who doesn’t right. It is a new year after all. However, this doesn’t only apply to the kinds of food I’m eating, but also eating at regular intervals.
Since I started working from home, I have to admit, I got into a really bad habit of eating lunch 2 out of 5 working days a week. This means that after a breakfast of coffee and maybe a bagel or a banana, I am waiting until dinner to eat and by then I’m famished from all the things that I accomplished that day.On the days that I was eating lunch, I was grabbing anything that was within my reach (ie donuts). This is not healthy, balanced, or a good example to set for my kids.
Part of my struggle with lunch, is I am the only one home all day and I’m working through lunch, taking my lunch break to go for a walk, or take care of another responsibility. I am trying to maximize the time I have while the kids are at school, so that when they are home, we can enjoy each other and not spend it doing other things.
Also, truth be told, I’m super lazy. To me it seems like a lot of effort to break out a bunch of stuff, dirty some dishes, heat something up, and put it all back again for one person. I know that is like the epitome of laziness, but I know I cannot be the only one who feels this way. Right? I hope. I mean, if that were the case, fast food restaurants and convenience foods would not be in business.
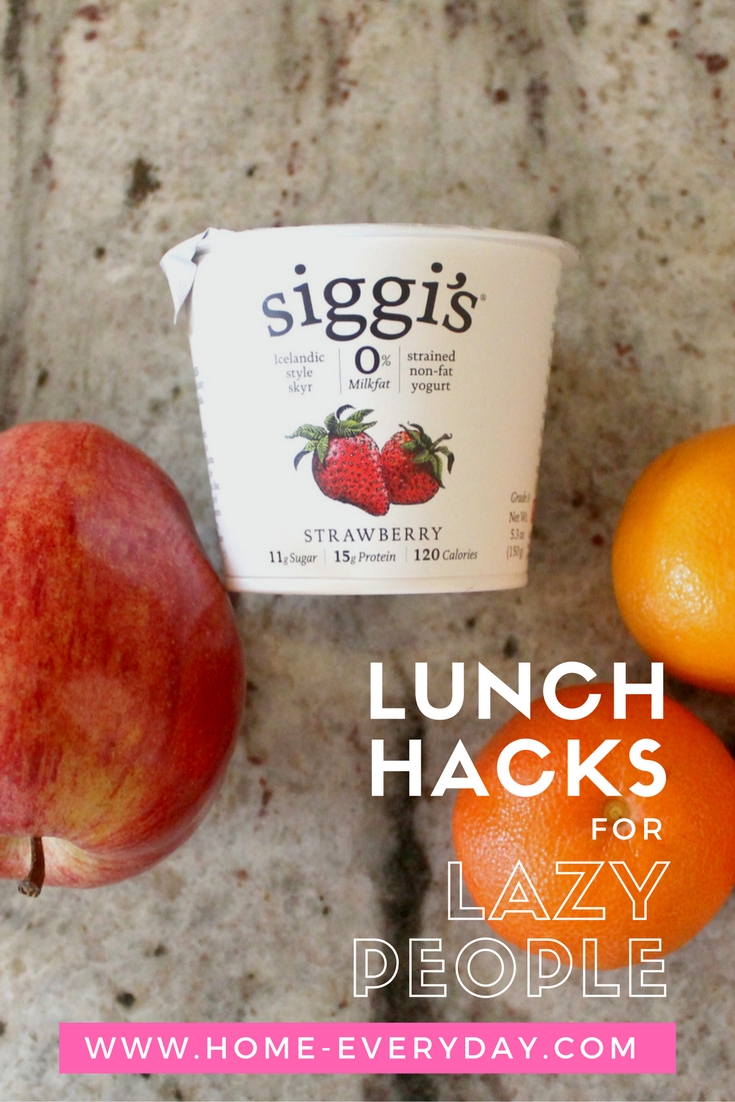
So, I made a list of Lunchtime Food Hacks for Lazy People Like Me that I think will help me get out of this skipping lunch rut.
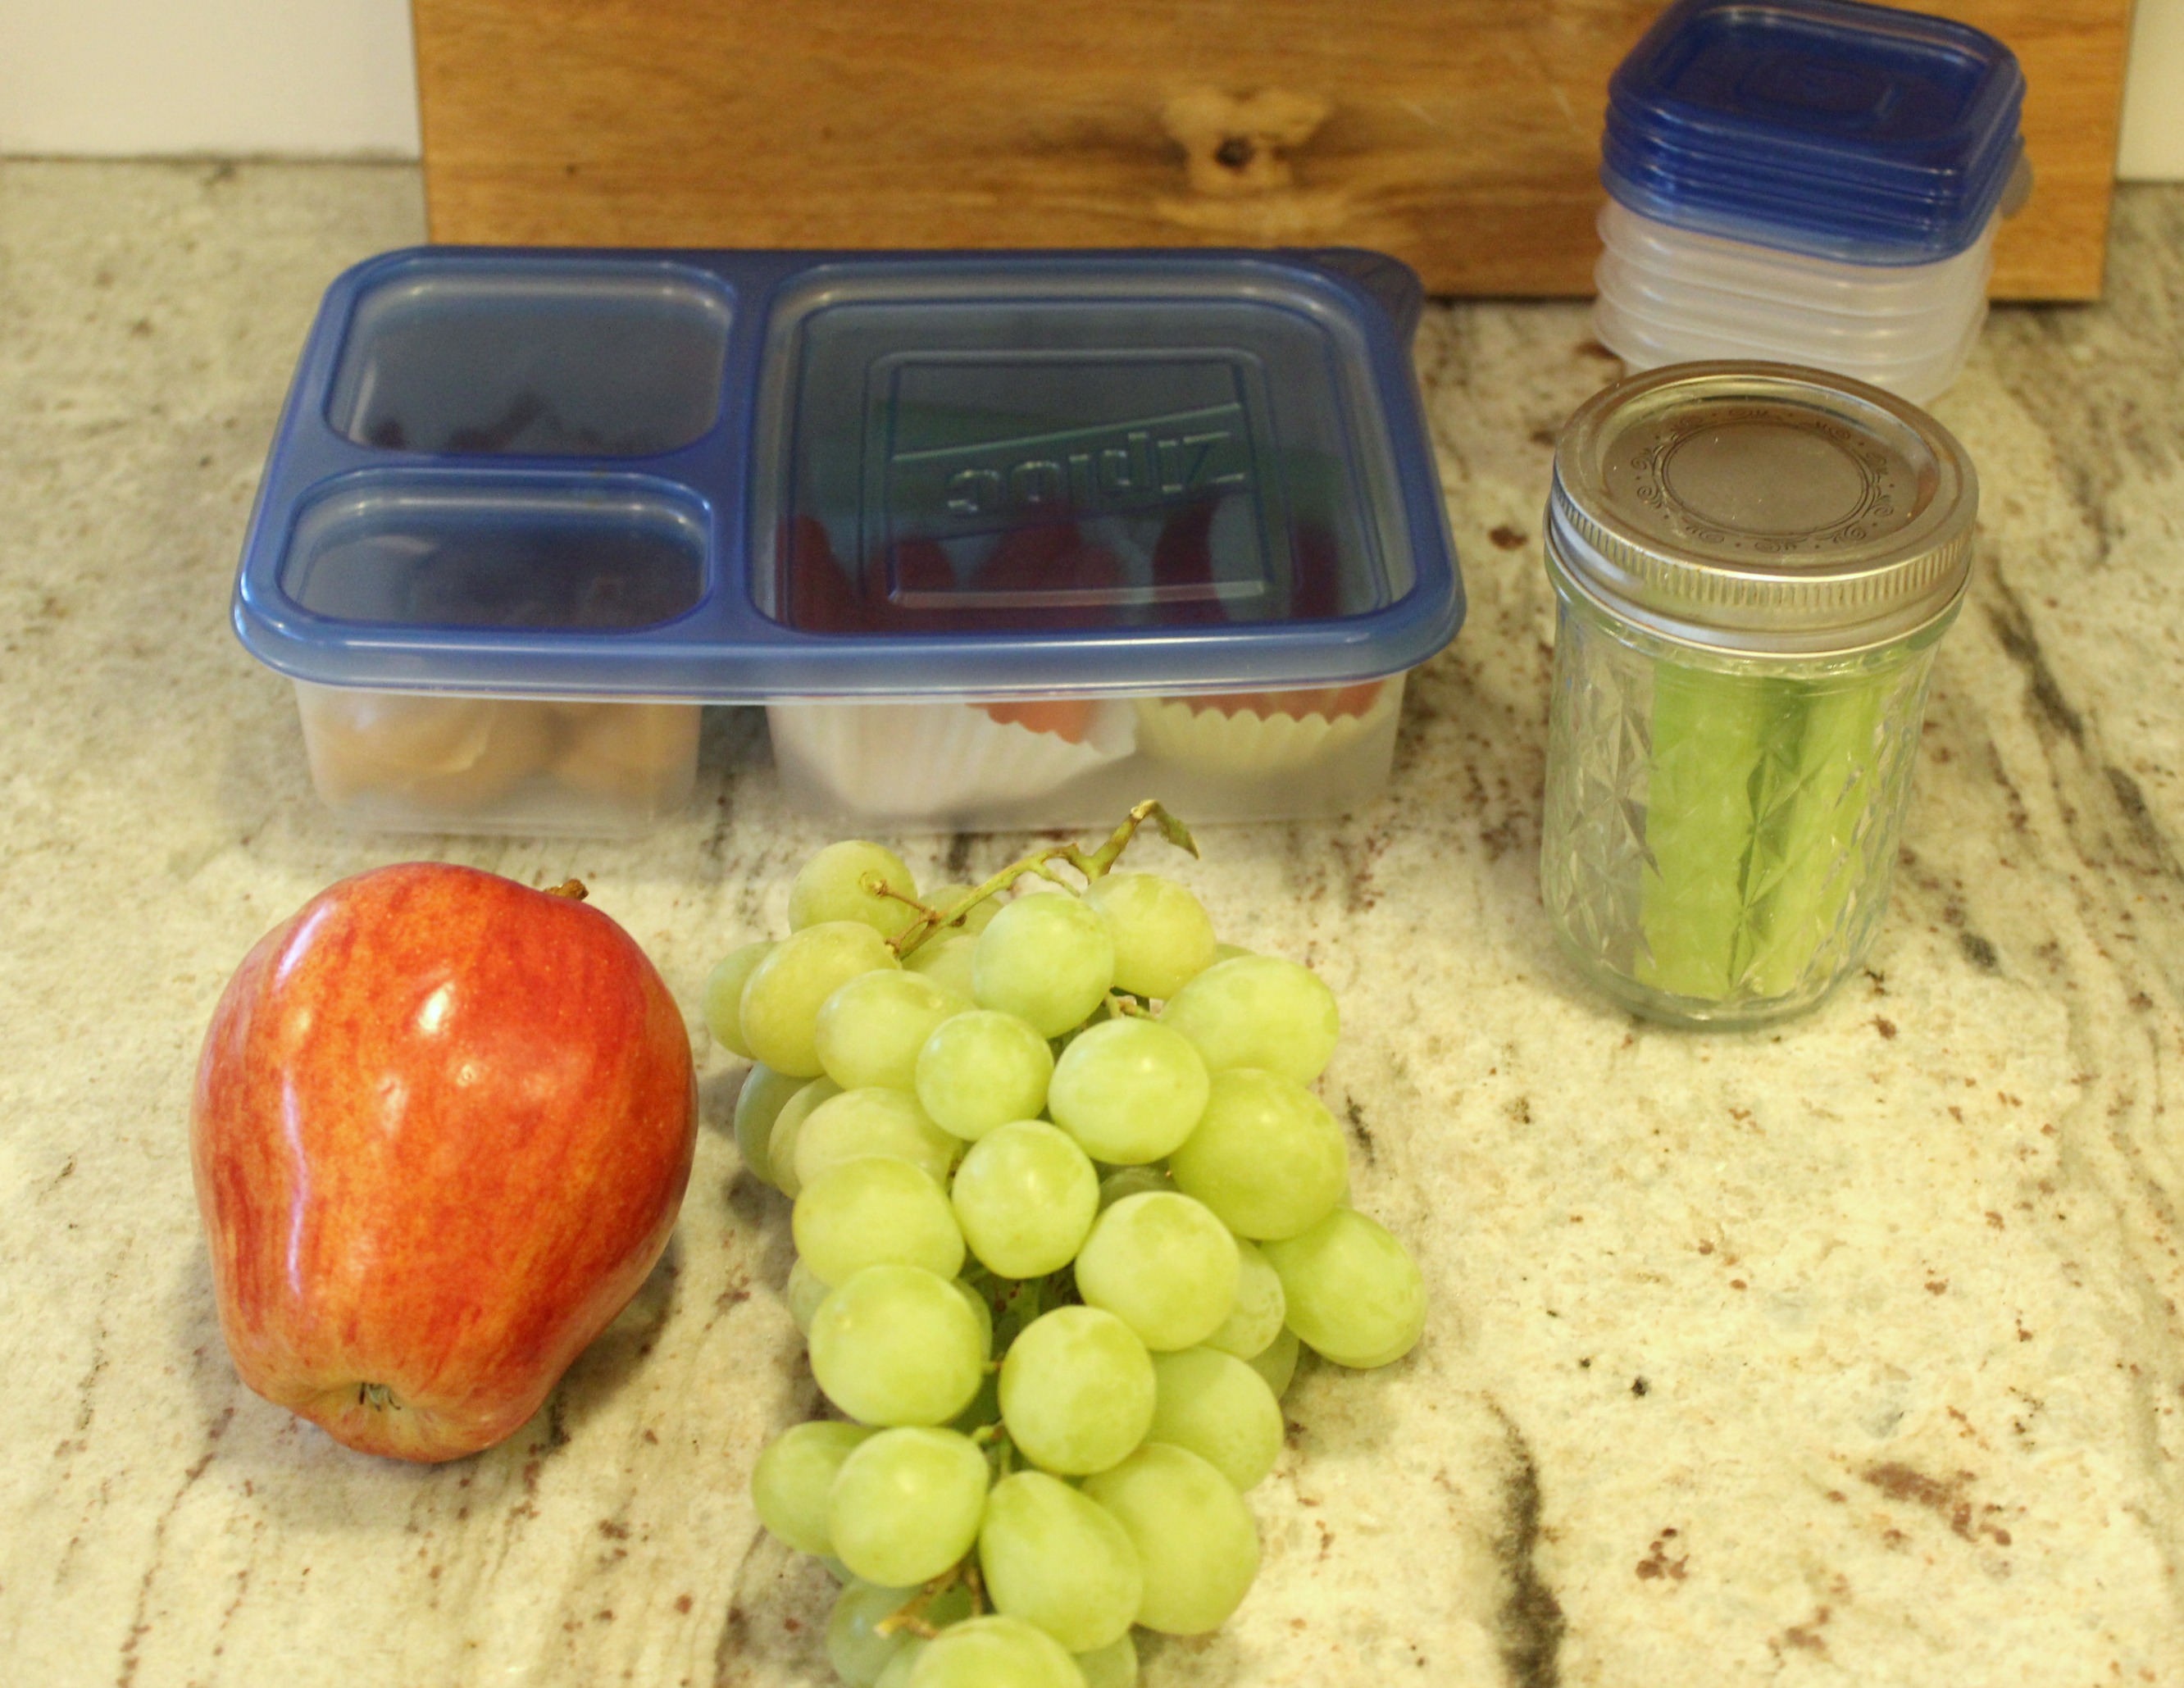
1.) Make lunch when you make the kids lunches in the morning. Pack up a lunch for yourself too. Even though you may not be leaving the house, it is nice to just be able to grab pre-washed fruits and veggies and some cut up cheese right out of the fridge.
2.) Make lunches a week at a time. If you go on Pinterest, this is a hot trend right now. Take a few minutes on Sunday night to wash and cut up veggies, fruits, make a pasta salad, or pre-measure things in a container to grab and go.
3.) Pack up dinner leftovers in smaller containers. When you’re putting away leftovers after dinner, put lunch sized portions in smaller containers or even mason jars to reheat the next day.
4.) When prepping dinner, prep lunch too. Sometimes when I’m making fajitas or stir fry, I cut up additional veggies and then put them in a container to grab and go the next day. I already have the cutting board and knife and all the food out, I might as well chop away to save time later.
5.) Keep foods on hand that don’t need any prep. Clementines, apples, bananas, and greek yogurt are some of my favorite whole foods that take no time prep. They are already grab and go!
6.) Keep small sized containers, snack size resealable bags, mason jars, and other food storage solutions on hand.
7.) Double up recipes. This is one of my favorite tricks to do for meals like chilis or soups. I serve some for dinner, and then freeze the rest in smaller containers to thaw and eat for lunch.
This hacks have already helped me keep some balance in my life. I’m eating lunch again!
My hubby and I had a date night the other night. We were so excited to see LA LA LAND together!
When I was a kid, old movies were always playing in the background. My Mom liked to have them on while she was ironing, cleaning house, or doing other tasks around the house. However, unlike today when you can just get something on Netflix, our old movies were recorded from antenna TV (no cable for us) on our Beta VCR. (And that my friends is a very old fashioned sentence I just typed).
I remember when Cary Grant passed away, and WGN Chicago ran a weekend long Cary Grant marathon, we were going through Beta Tapes like it was going out of style. We especially loved when PBS would be doing its annual pledge drive and we would often get to tape a few musicals.
Watching these old classic movies was one of my favorite and happiest memories from childhood. They were so much more complex than watching Sesame Street, and often times would provide a good musical score to do some chores to.
To this day, I love watching movies of all kinds, but sometimes I wish there were movies that were made like the old movies and musicals of yore. The glamor, the music, movies that just completely capture your heart. LA LA LAND completely fit the bill. Even my husband who is not into classic movies liked it. If you saw LA LA LAND and loved it but need a little help picking out some old classic movies, here is a list of movies that will get you in the mood until LA LA LAND is on DVD or streaming.
Casablanca. This movie is referenced quite a few times in LA LA LAND, and for good reason! Humphrey Bogart and Ingrid Bergman are in their most famous roles. Get your tissues though.
Singin’ In the Rain. When everyone else was singing songs from New Kids on the Block, I kind of prided myself at knowing all the words to all the songs in this movie! The singing, the dancing, and there is plenty of comedy thrown in for a giggle. Gene Kelly is magnificent. If you’re looking for a movie to watch to honor the late Debbie Reynolds, this is the one. She was only 18 when it was filmed! This is a movie definitely every family should watch together, in fact the #SkibsKids have been known to watch this movie quite often and wake up singing “Good Morning!” for school.
Rear Window. This is a great introduction to famed director, Alfred Hitchcock. While it is a thriller and a mystery, I bet you’re wondering how it ties into LA LA LAND. The sheer glamor of Grace Kelly and all her absolute beauty just radiates from the screen. The way that it was filmed also gives the silver screen luster that you’ll start to crave the more of these movies you watch. Also, Jimmy Stewart is someone you’re absolutely rooting for!
Charade. Another mystery starring Cary Grant and Audrey Hepburn. This was my first introduction into a gasp ending.
Indiscreet. Next to The Apartment which is listed further down on this list, Indiscreet is definitely one of my favorites. Cary Grant and Ingrid Bergman are hilarious and witty. When the movie is over, I always want to watch it again right away because everything about it is so gorgeous. You’ll find yourself wanting everyone to win in the end. Side note: Ingrid Berman’s apartment decor has me wanting to decorate my living room like that!
The Music Man. I think I wore the tape out watching this movie over and over and over again. I was always singing along to every song in this movie. The dancing, the costumes, the humor. It basically has it all.
Philadelphia Story. Sigh. When I was a tween and all the other girls were swooning over God knows who, I just wanted to watch Philadelphia Story on repeat and just look at Jimmy Stewart and Cary Grant! I was also getting some tips on being a strong woman from Katherine Hepburn. How I love her!
Roman Holiday. Gregory Peck is usually most known for his role in To Kill a Mockingbird, but if you’re looking for an even softer and even more lovable Gregory Peck, this is your movie!
Sabrina. (the ORIGINAL with Audrey Hepburn and Humphrey Bogart). This movie made me want to run away to Paris and go to cooking school. This is the ultimate wallflower girl to independent confident woman movie. Remember all those 90’s movies where the high school girl takes off her glasses and is suddenly desired? Those don’t hold a candle to Audrey showing that she is a “woman of the world.”
An American in Paris. Gene Kelly again. Listen, the dancing in this is superb!
Some Like it Hot. I have a personal love of Jack Lemon, but this movie is a great comedy that anyone would enjoy. Also, it has Marilyn Monroe to boot!
The Apartment. Let me give you some background on my love for this movie. I wrote a paper on it in high school for a mass media class. When a 17 year old girl is willing to risk ridicule from classmates and an eye roll from a first year teacher to write an entire paper on a black and white movie, it is THAT good. This film was an Oscar for Best Picture in 1950. Jack Lemon is an ordinary guy who got himself in a bad situation. Shirley McClain learns an incredible lesson. There’s humor along the way, and love at the end. Who could ask for anything more?
Many of these movies can be found on Netflix right now! You could call my Mom too, I bet she finally was able to score them on DVD, especially since they haven’t made a Beta machine or tapes since 1988. She’d probably bake for you too!
I suggest getting under a cozy blanket with your favorite hot beverage and binge watch all of them! Happy Weekend!
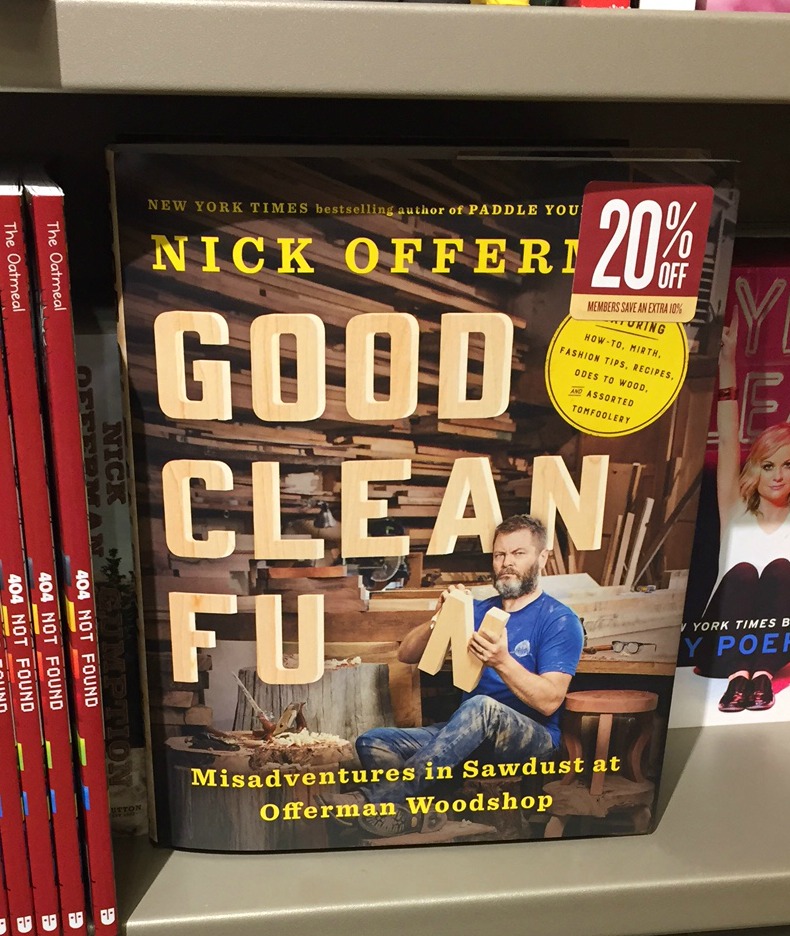
Brian and I had a date night the other night. In between an amazing dinner at our favorite Mexican restaurant and seeing LA LA Land (which is amazing by the way and a must see), we had some time to kill and ran into Barnes & Noble to look around at books.
My taste in books is not nearly as eclectic as my taste in food and music. I typically stick with funny books, however in keeping with my word of the year, I thought it might be time to switch things up a bit. Needless to say I wanted to read ALL THE THINGS! So I took lots of photos of what I think I would like to read in 2017 and created my own #2017readingchallenge
When I’m in a bookstore or the library, I just take photos of the books I want to read and then I keep them on my phone so when I am in the reading mood or am looking for something I want to read I have book selections right at my finger tips.
Here is my reading list for 2017 (thus far).
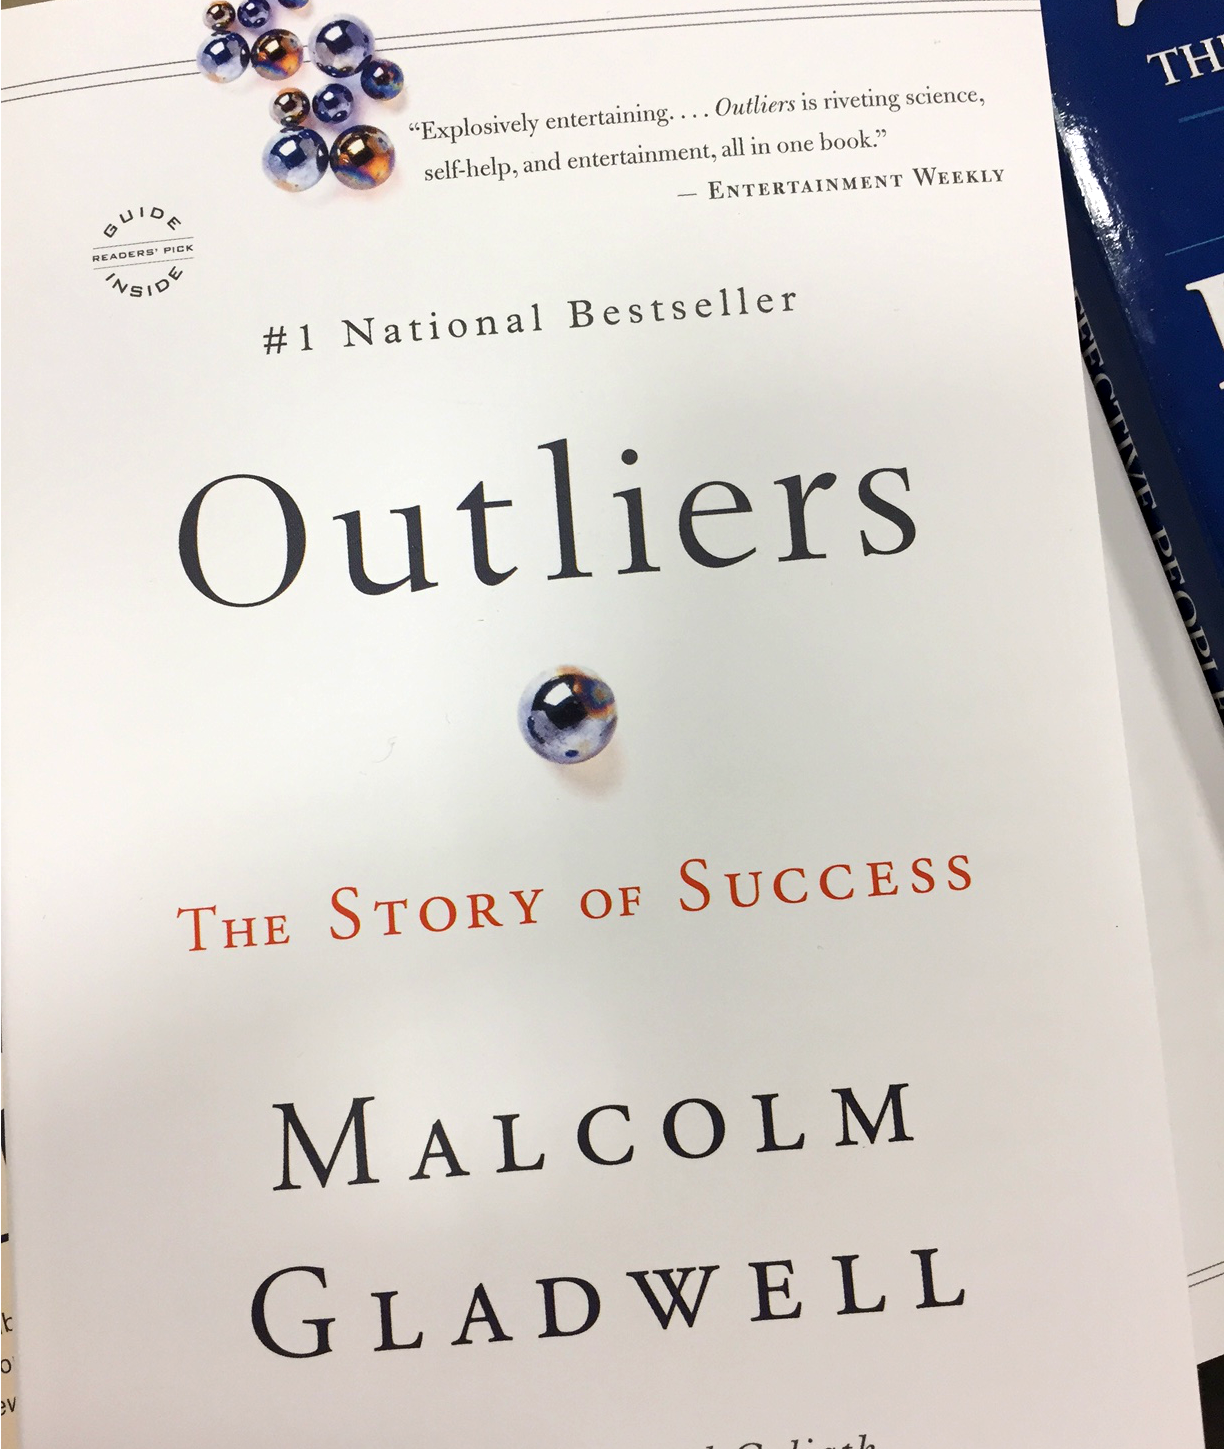
Books I should have Read Already
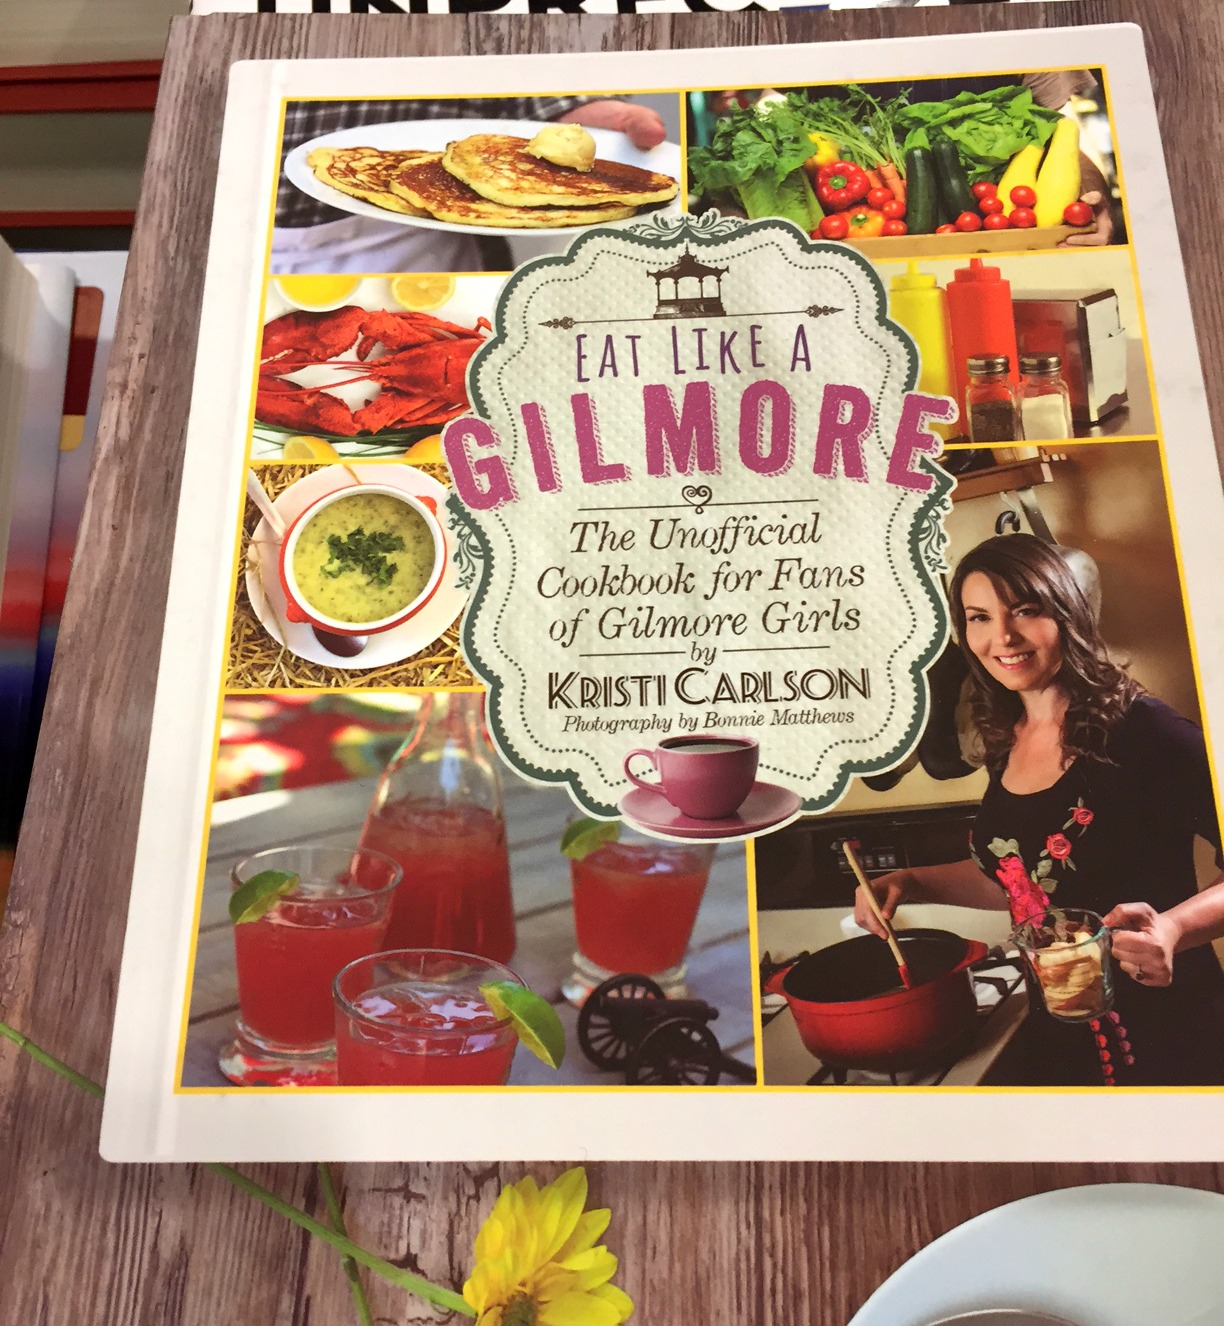
Books I thought I would like because of Gilmore Girls.
Books because I like funny books
Books because I read The Pillars of the Earth by Ken Follett and liked it.
A book because sometimes learning is necessary.
Self help. Kidding… another funny book.
Finally, a book I need to read because I love all things Harry Potter and cannot believe I haven’t read this one yet either!
I purchased Ireland by Frank Delaney and am starting with that because I do have a love of books relating to Ireland and this is not a funny book either.
I stopped making resolutions a long time ago. When I did, New Year’s Resolutions honestly gave me more stress than actually helping me accomplish anything.
Resolutions to me feel like rules.
Lose weight. Read more. Save money. Get organized. Work more. Work less. Drink water. Less sugar. Write letters. Pray more. Write more. Watch less TV. Do this. Do that.
All of these pressures made me feel like I was back in Catholic School trying to remember the uniform code. Longer skirts. Tucked in shirts. Socks pulled up. No earrings. No makeup. No patch pockets. No gym shoes. I don’t need to put more pressure on myself to follow a laundry list of rules as if there is some sort of “New Year’s Nun” who is marking my accomplishments and failures somewhere.
I am all about efficiency. Which is why this whole word of the year thing has grabbed my attention. I like the idea of focussing on one word in every area of my life, and this way I’m not distracted, I stay focussed, and I feel more accomplished at the end of the year. ONE WORD is way more efficient than a bunch of rules.
I also feel that focussing on one word is a much more positive way to approach the year than with being constantly worried that I am not living up to a list of long expectations each and every day. Even if I apply living out my word in only one area of my life each day, at least I accomplished something.
So, now, I bet you’re wondering what The Word is.
Drumroll….
The past year was kind of a whirlwind for me, and while my family and I are blessed with many opportunities to remain busy, it is time to strike some balance amongst this chaos. I specifically chose this word, because I can apply it to every area of my life. Whether it applying it to my health…
…or striking a good balance amongst all my other goals. It is time to find some balance so not only am I more physically and emotionally healthy, but also the people I love most are taken care of too.
Happy 2017, readers! I hope you find some BALANCE too.
About 4 years ago, Brian came home a little later than to be expected from work. The kids who hadn’t seen their Dad all day were thrilled as he walked in the door. They ran to him in their footie jammies with their damp hair from being just newly bathed and hugged and kissed him.
Meanwhile, I was cleaning the kitchen after having made the fifth meal of the day, a supper of chicken, rice, and a vegetable. I had a warm plate in the oven for my dear husband. Brian watched me sweeping rice up from the floor. For any of you who have had little kids and had to sweep up rice from the floor, it is the worst. THE WORST.
My husband said to my oldest who was just 4 at the time, “Is Mama ok?”
He asked because as I was sweeping that sticky uncooperative rice from my kitchen floor, I was tearing up. Of course, he was the only one who noticed my silent welling of tears, because when you have three kids who are 4, 3, and 2, they don’t notice such things when Dad walks in the door. He sent the kids upstairs and told them to read books until we came up, and sort of tip toed toward me and said, “Sooooo, how was your day?”
I replied curtly, “Well, this is the 9th time today I’ve swept the floor.”
He responded still unsure of my current mood, “Ummm, and this is bad right?”
“YES! This is bad! I cannot keep up with anything!”
He said, “Keep up with what’s important, Erin. How about, tomorrow, just sweep once at the end of the day. Or how about not at all. It really doesn’t matter, just feed the kids from the floor. That is where it all ends up.”
His comments at the time made me laugh, and made me feel a lot better. Thank goodness for Brian making me laugh. When he said, “Keep up with what’s important.” I didn’t really know what that meant at the time.
I was very much caught up with life with three kids so close together, who were all home with me. Let me tell you, it was utter chaos for so long.
Every day for many years was like sweeping the floor Nine Times times a day.
Sweep up a mess. Someone drops cheerios. Sweep up that mess. Someone drops blueberries. Sweep up that mess. Someone drops noodles.
You get the picture.
It was hard to keep up with these babies and toddlers.
As soon as I would think I was done with a stage, or with a pile of laundry, or cooking a homemade pureed baby food meal (how stupid I was), or a size of clothes from Rubbermaid tub, or bottles, I would be delivering another baby, or potty training someone else, or pulling another tub of hand me downs out from the basement, doing laundry or cooking or cleaning or SWEEPING THE FLOOR FOR THE 9th TIME THAT DAY!
At the time, I thought I was keeping up with what was important.
Last week it happened. My youngest started full day Kindergarten.
I’m home alone, you guys.
And I’ve kind of noticed a trend. I have a bit more time in the day to myself, but…
Today as I write this, I look around and I have a To Do List a mile long. There are dishes on my counter. I have laundry piled up (clean to be folded and unclean to be washed). I have soccer uniforms that need ordering. A doctor’s appointment to make. Not to mention, now the kids get older there is a whole host of issues and homework and stages and fun(?) that I need to keep up with. Also, we’ve added my full time career to the mix. Not to mention, I probably still should sweep the floor, but I haven’t touched it yet today.
There were days when I had three little ones crawling/scooting/toddling around and I would be sweeping that floor for the 9th Time That Day and I dreamed of the light at the end of the tunnel. The day all three of my kids were in school all day and I would have all this time to get things done and focus on our home. I would say things like, “I cannot wait until the kids are in school all day and I can clean all day and make our home lovely for them.” or “I cannot wait until the kids go to school so I can focus on making the perfect snacks and when they get home we can blissfully play board games and read stories around the fire place like a magazine.” or “I will never have to sweep the floor 9 Times A Day again.”
I’ve learned a little bit over these last few years. The dishes and the laundry and the Legos and sweeping the floor 9 times a day really doesn’t matter. I have the rest of my life to clean. I wish I could go back and say to myself 4 years ago crying silently as I swept that sticky rice from the floor, “Erin, put down the broom and smell your kids baby shampoo scented heads and snuggle their footie jammied pudgey bodies.”
I’ve lived a little and learned a lot.
This is what I know now:
The light at the end of the tunnel isn’t that the mess is gone. The light at the end of the tunnel isn’t a pretty house. The light at the end of the tunnel isn’t a perfectly laid out snack after school. The light at the end of the tunnel is being ok with the messy kitchen floor. It is not caring about the trivial. Brian was right those years ago, I needed to keep up with what’s important. (That’s right, Brian, you were right.)
I literally have seen the light. I know what’s important. Sweeping the floor 9 Times A Day is not Important.
So, tonight when the kids get home (from soccer and various other things) we will gather around the dining room table (after moving aside my laptop and take home folders) I will put together a dinner (from the slow cooker) and we will eat and talk and clean up together and maybe play a game of cards. Brian and I will do some laundry after the kids go to bed (the bare necessities), then we will quickly order soccer uniforms (before heading to bed ourselves) and perhaps I can sweep the floor one time (tomorrow)… if there’s time after I snuggle my kids.
This shop has been compensated by Collective Bias, Inc. and its advertiser. All opinions are mine alone. #NurseryMusts #CollectiveBias
I have written a few parenting posts with suggestions for new parents. Some of these posts included sleep tactics, cloth diapering, registry suggestions, and even ideas for making your own baby food. However, now that my three kids are a bit older and I am further removed from the baby phase, I have some different perspective on parenting babies than I did all those years ago.
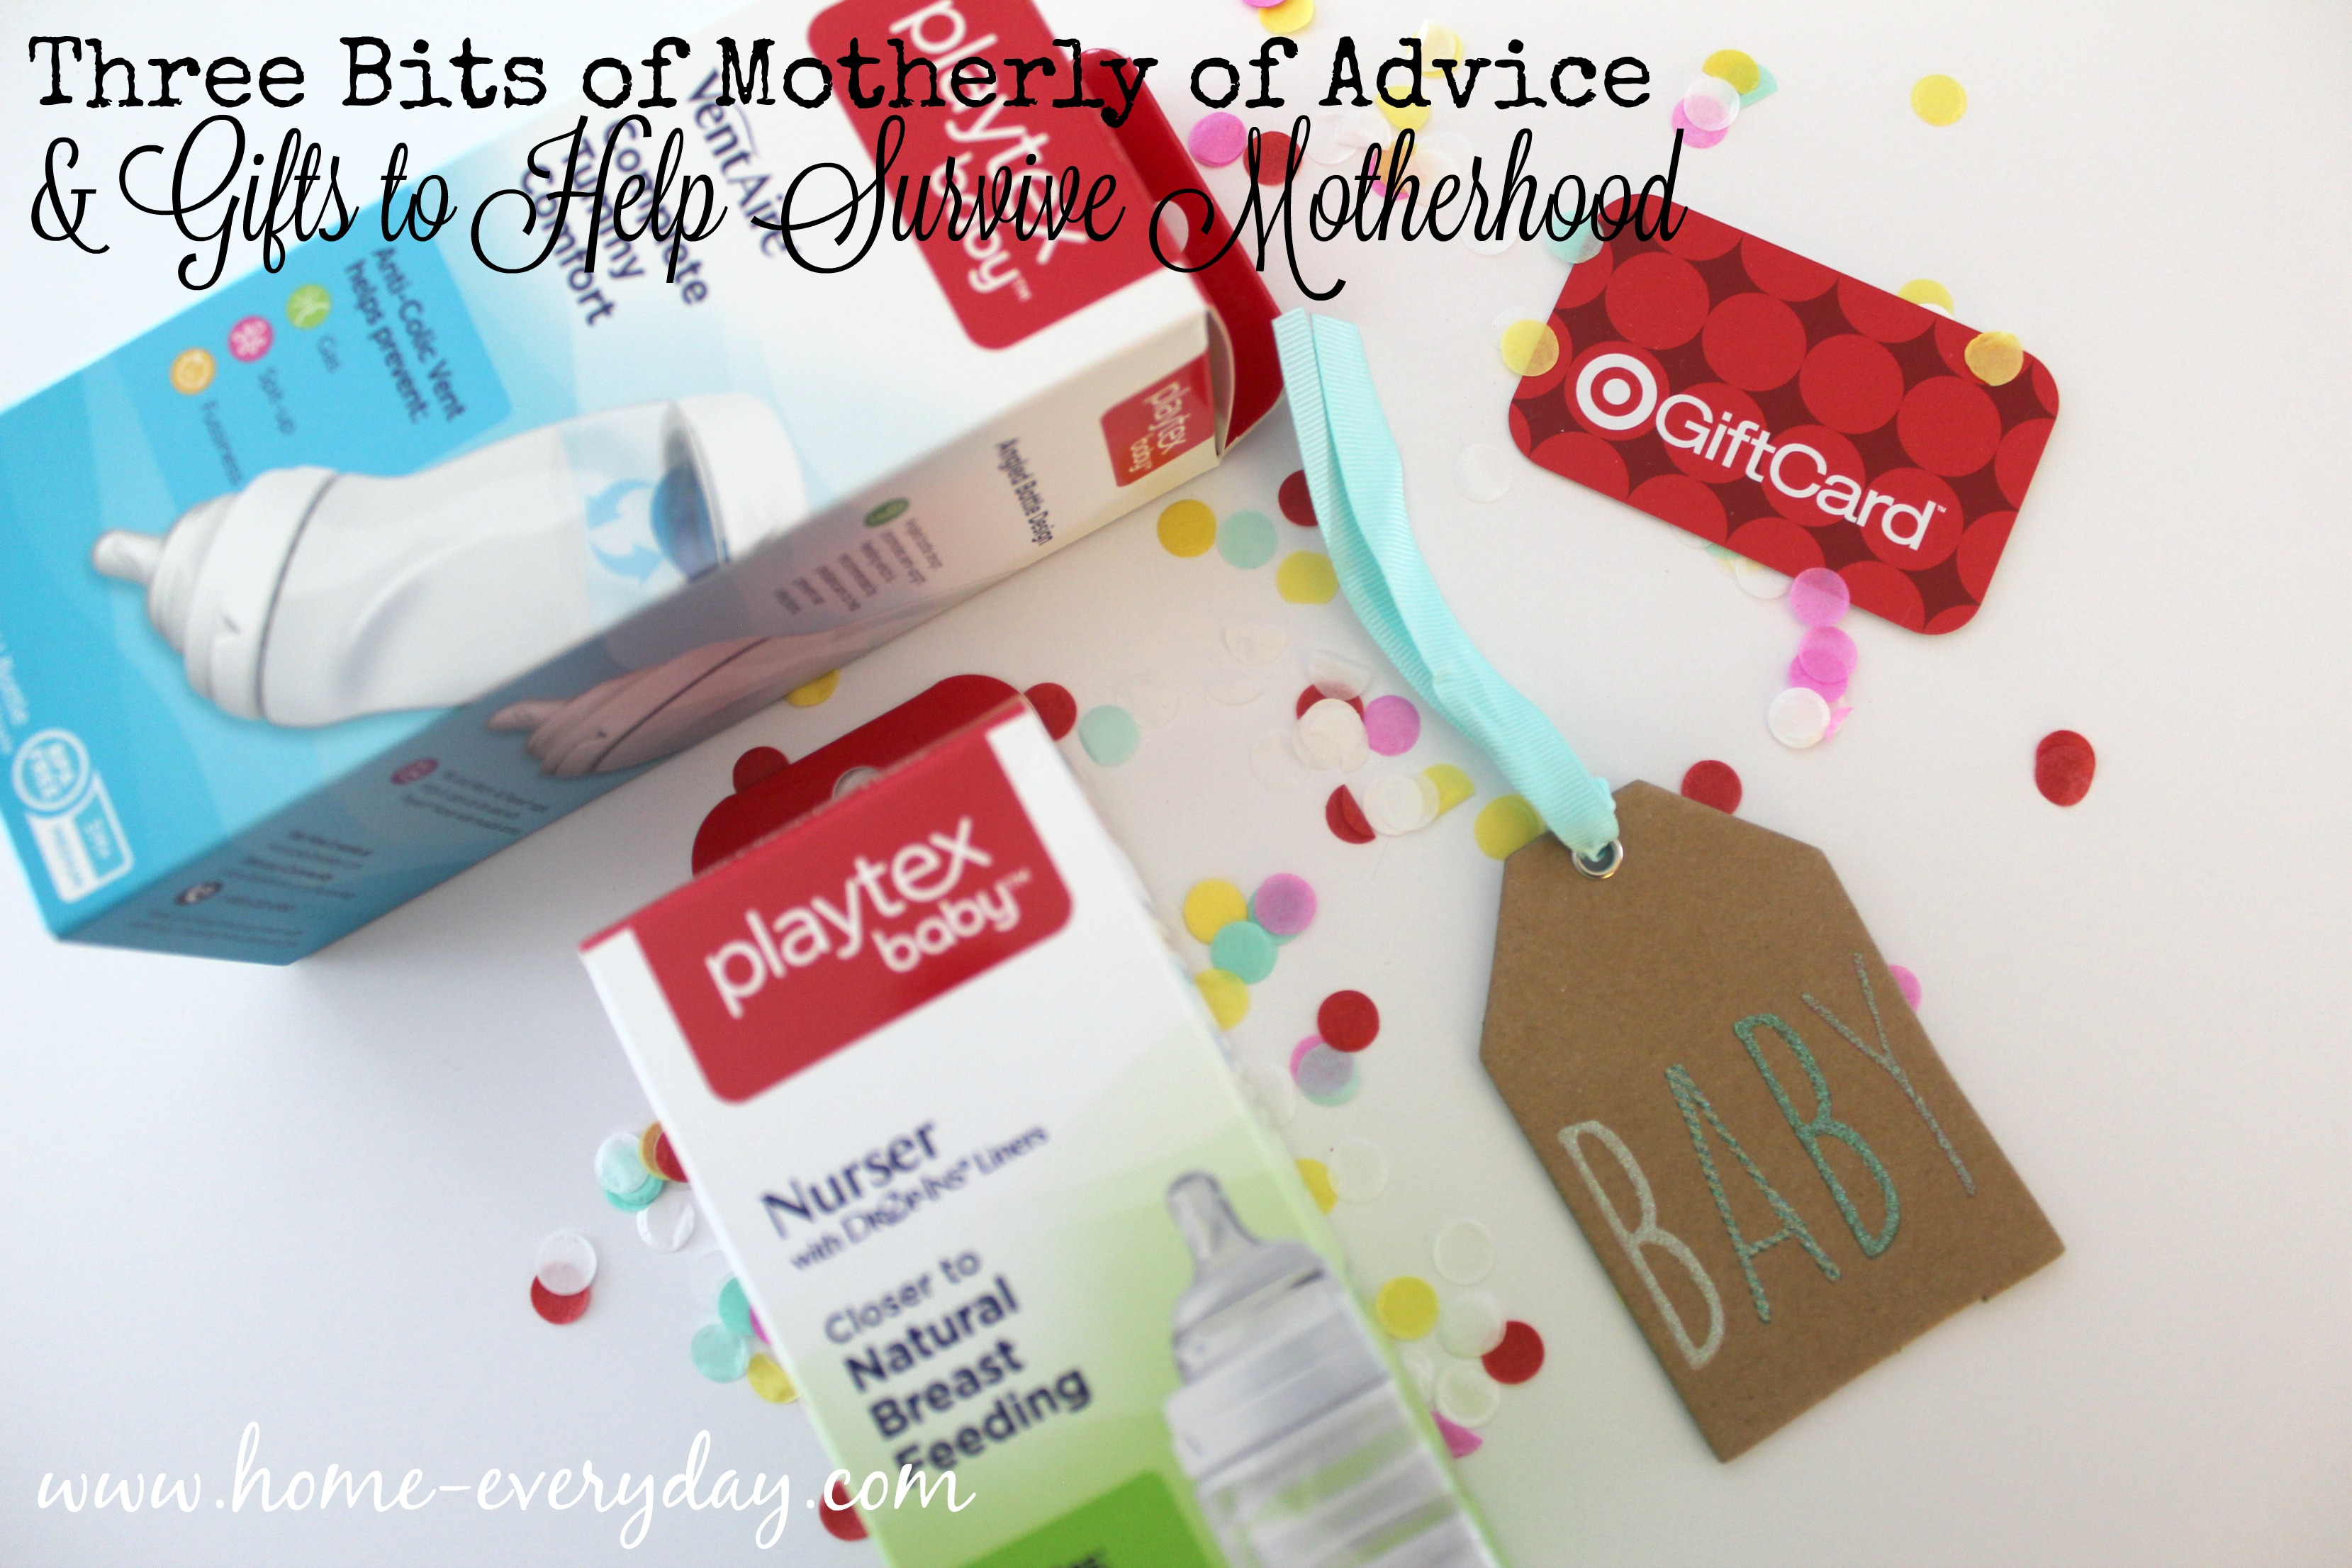
I have combined the three best pieces of advice I can gift all my expectant Mom friends into a little gift.
1.) Trust your mother’s intuition (and your nose).
Whether it be through adoption or birth, being a new Mom is tough work. Everyone is trying “to help” with various suggestions and advice. From trusted friends to the stranger waiting in line at the supermarket telling you she didn’t need all these new fangled appliances like teething rings for her babies.
Moms have a sense of intuition when it comes to their children. Sometimes it is there right away, sometimes it develops over time. A mom can usually tell when their baby is overtired, needs to be fed, is bored, or needs a change (that one is pretty obvious). However, you should trust YOUR intuition FIRST! Then, if you need advice ask for it.
Then, when do you change that diaper you don’t want to smell it again. Trust me on this one.
This Diaper Genie features a 7-layer refill bag with double Air-Tite® CLAMP, built in carbon filter which can help absorb those nasty odors, and can hold up to 270 blow outs! In addition to lots of Target runs, there will be blow outs in your future. So after you trust your nose, trust your instincts.
2.) Follow your baby’s lead (each baby is different).
All three of my kids are as different as they come. They were born in a span of 33 months, I attempted many of the same parenting techniques, but I can tell you that some of them worked, and some didn’t. My oldest switched back and forth between nursing and bottles pretty easily but was a premie and was kind of a gassy baby and the first bottle we tried wasn’t the best for him, my middle guy preferred nursing and I had a hard time finding a bottle that simulated nursing for him, my youngest preferred a bottle over nursing after awhile. Even now, I can tell you I parent them each a little differently because they are three different individuals who have different needs and require a little bit different care.
Babies after all are little humans, all with different temperaments, likes, dislikes, DNA, and habits. Let’s face it, what works for one little cutie, isn’t going to work for another. Which is why, I say if you try something a few times and it isn’t working, move on to plan B, C, D… there is a whole alphabet after all.
This is why I always give a couple different options when it comes to bottles and Playtex has lots of options.
First, The Playtex Nurser with Drop-Ins Liners is closer to natural breastfeeding and can simulate the same suck, small, and breathing patters as breastfeeding. This would have been a great fit for my middle son who would have, I am sure, appreciated a smoother transition from nursing to bottle feeding. Also, with a Like Mom® NaturaLatch® Nipple it can help with a natural latch.
Second, The Playtex VentAire has a unique anti-colic bottom vent which helps to create fewer air bubbles. This would have been perfect for my oldest. And when baby is happy, Mom is happy. Also, this bottle has the added bonus of having an angled design which helps prevent ear infections because you can then feed baby in a semi-upright position. This bottle also features the Like Mom® NaturaLatch® Nipple for easy switching from nursing to bottle feeding.
3.) Be kind to yourself (with a Target run).
Finally, as a new Mom you need to be kind to yourself. Be gentle and forgiving. It’s ok that you don’t know how to fold down the stroller completely and just put it in the back of the car completely open (me). It is ok if you go to Mom and Me Music Class with your shirt on inside out and backwards (also me). All of us Moms are with you in solidarity.
We see you. I see you.
So, lastly, in my Mom Advice Gift, I put a Target Gift Card.
This is just for you. For that rainy day when you cannot walk to the park, but you cannot stand another day in the house. You can wander around with your baby in the stroller sound asleep (don’t stop walking the baby will wake up) and buy yourself some caffeine and a shirt that doesn’t have a stain on it. Because you deserve it!
For more information about Playtex products, follow Playtex on Facebook, YouTube or Twitter @PlaytexBaby.
What advice would you give to a new Mom? What kind of gifts would you include for some #NurseryMusts? Would it be an assortment of Playtex bottles? Share in the comments.
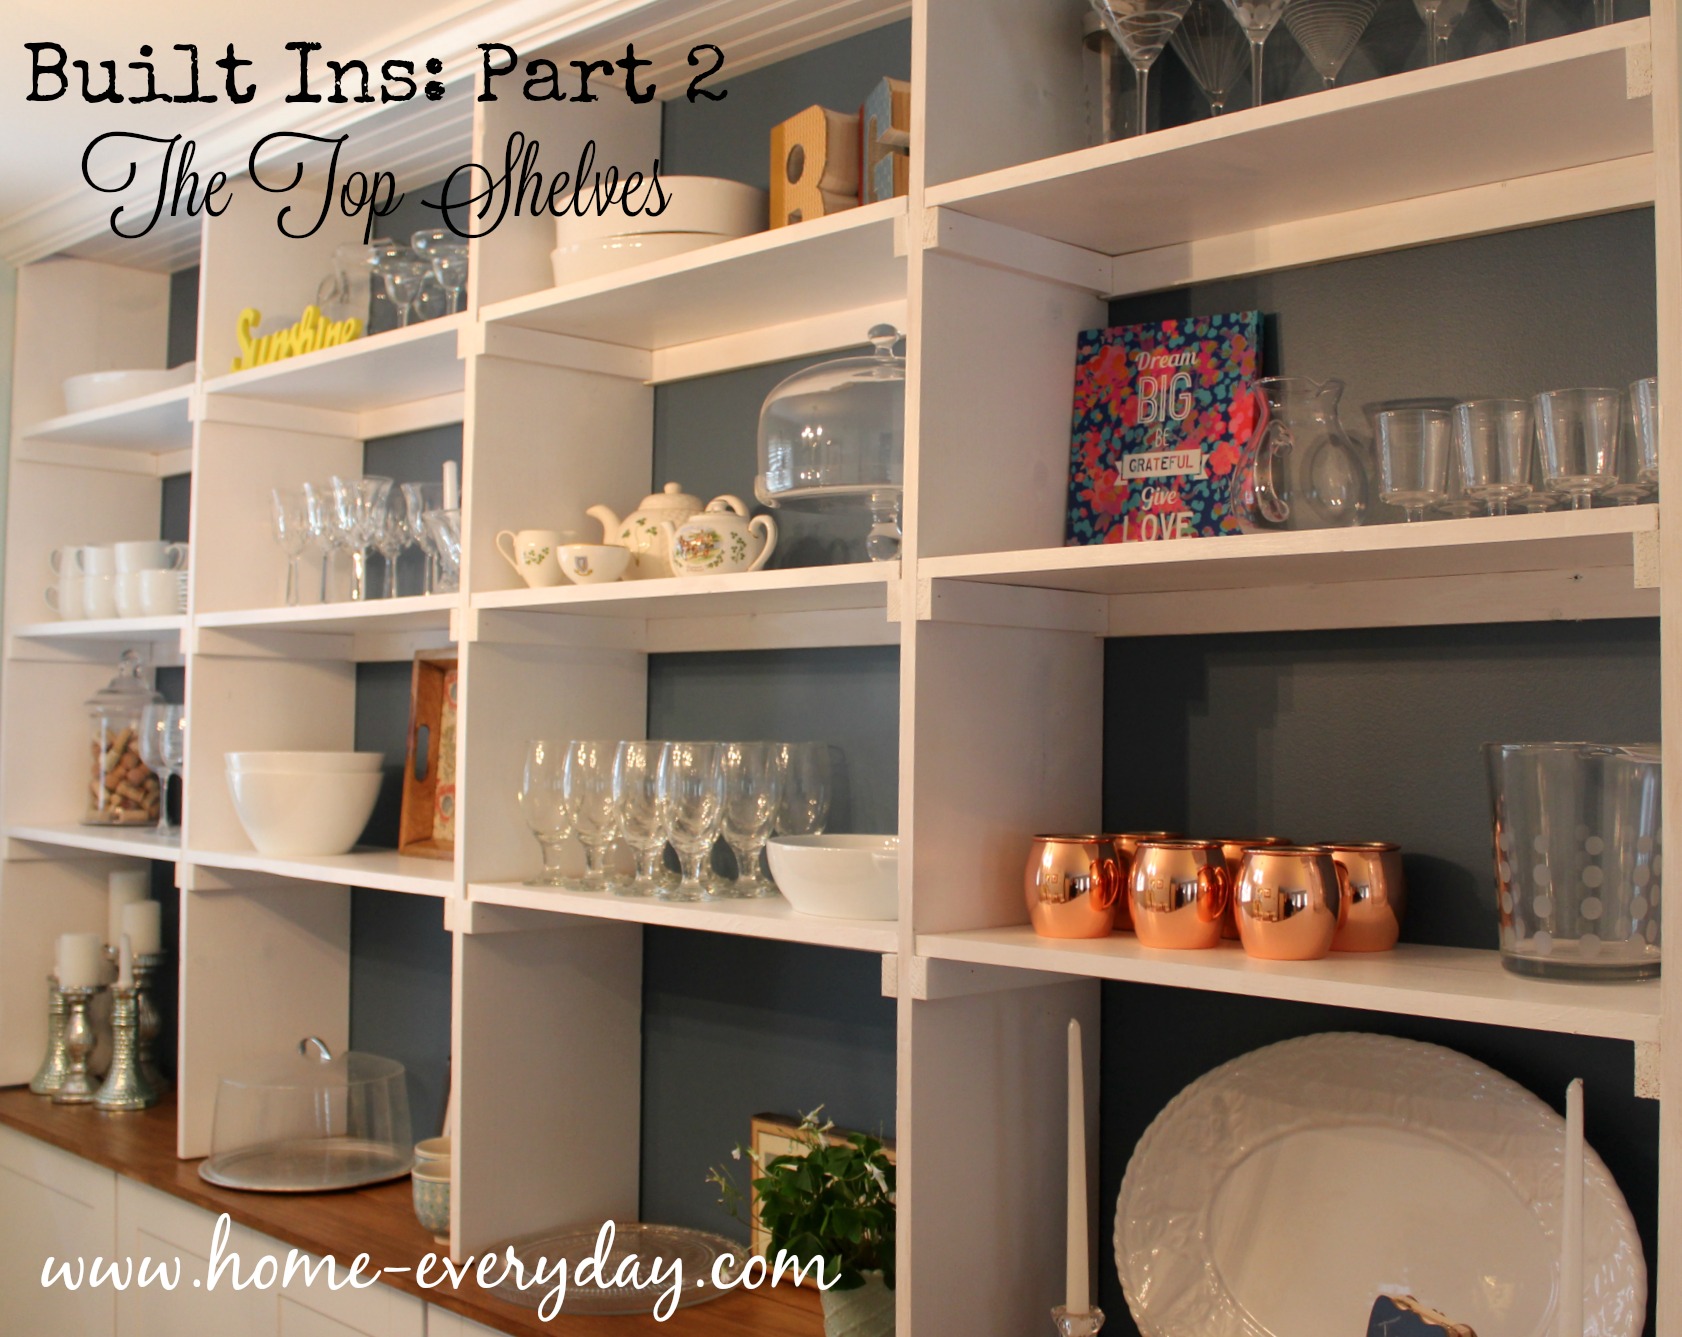
I’m not going to lie, this was the more difficult part of the building as there was more measuring and cutting and painting involved. Hence, the longer gap in between posts. I am thrilled with how this project turned out, and happy to say it was worth the wait.
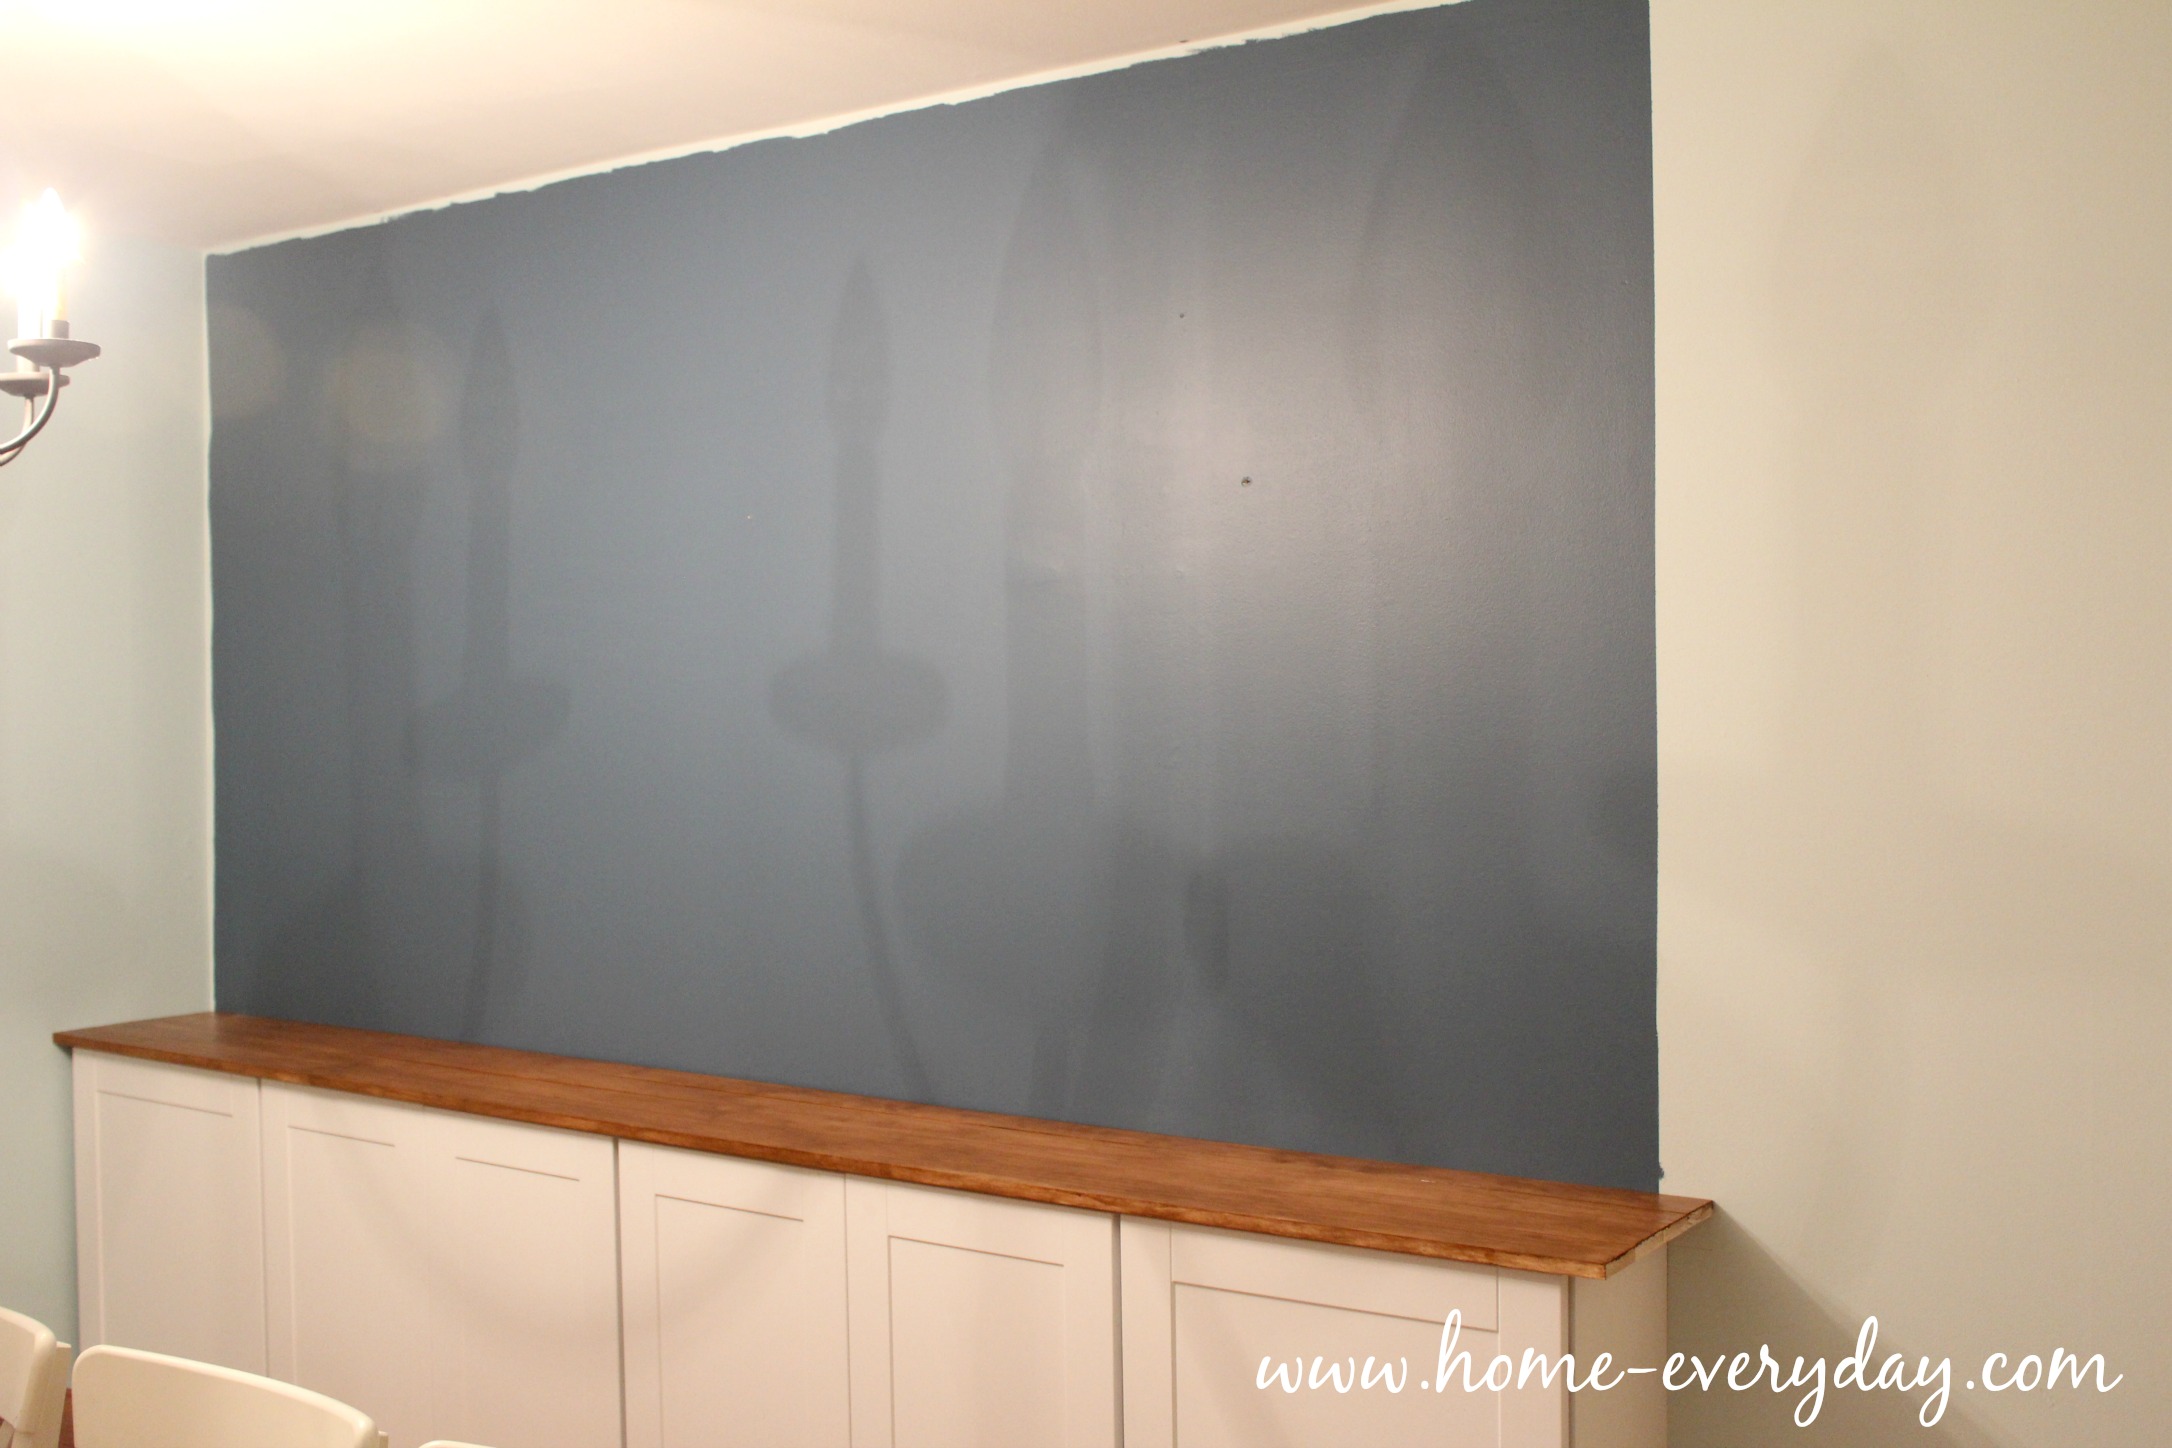
We left off PART 1 at the installation of the countertop on top of the cabinets and painting the wood that was going to be the upper shelving.
I felt that it was easier to paint as much of wood first and then touch up things later because A) I could paint on a flat surface and my arms wouldn’t get sore B) I’m not stinking up the house with paint C) I wouldn’t have to tape up the blue wall I just painted or counter top I had just stained.
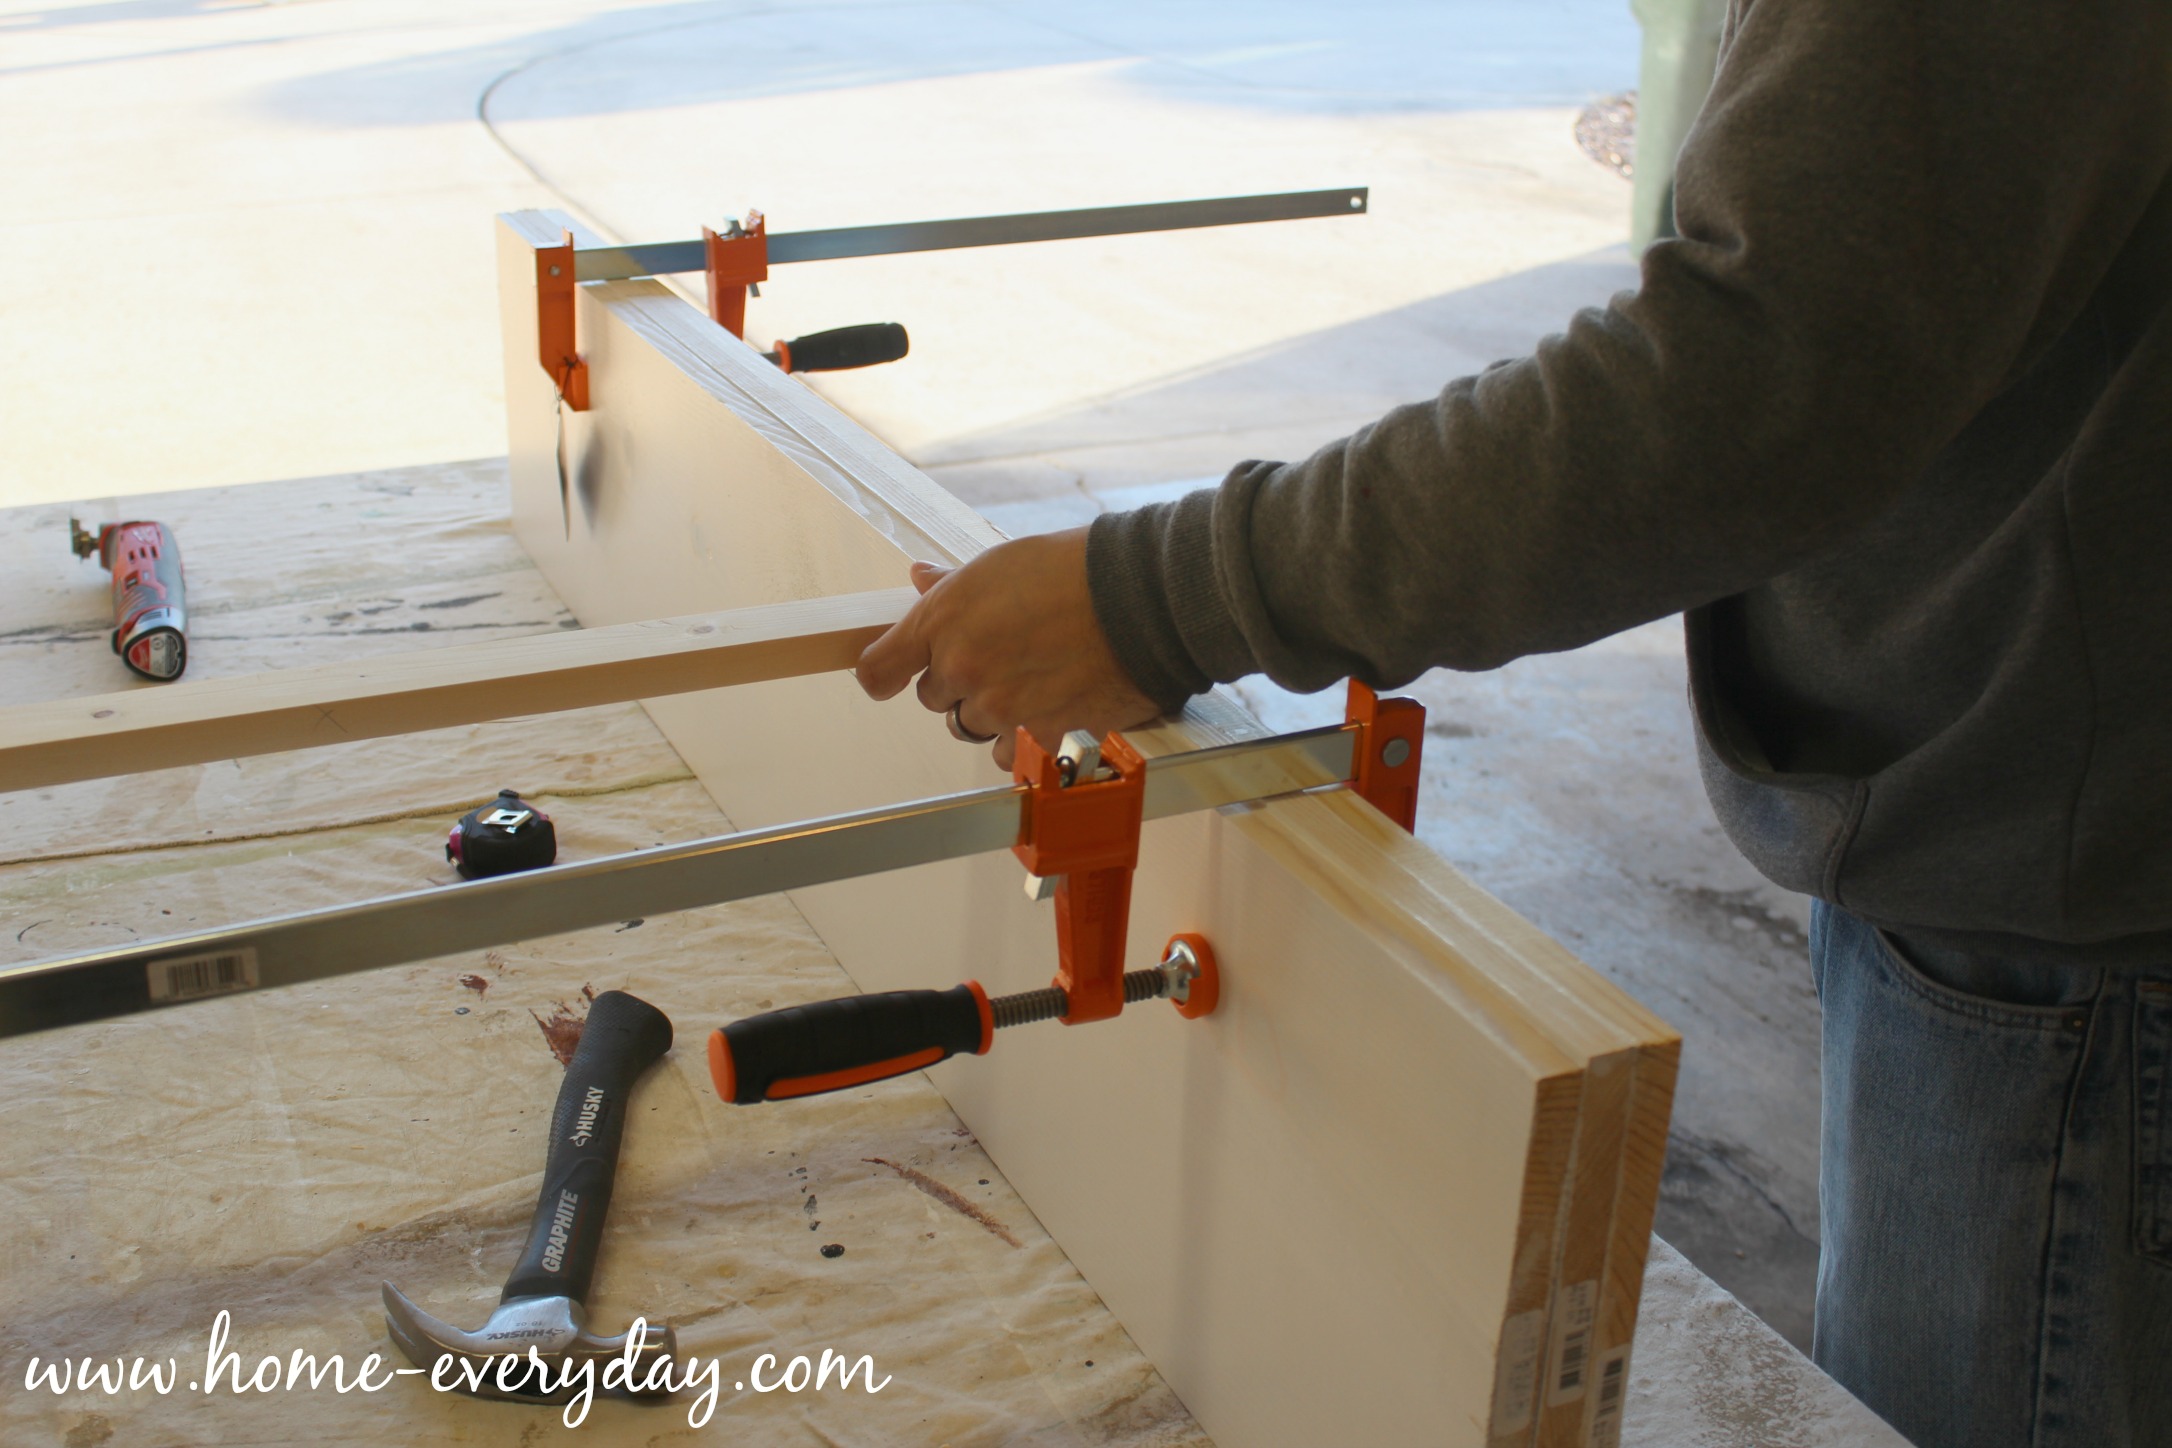
For the upper shelving we used 1″ x 12″ common board. and cut a 10′ foot header and 5 -5′ vertical supports.
Then after we had determined the height of each of our shelves (three not including the counter shelf), we marked on 3 of the vertical supports where those shelves would be and clamped them together. Pro Tip: If you know you will be making the same cuts at the same points on same pieces of wood. Try to clamp them together and do it at the same time to save time, and ensure accuracy.
Next, using a multi-tool, Brian notched out a 1″ deep by 2″ width piece into the three center vertical supports. Notching this piece of wood on the back of each of these vertical supports at each of the heights of the shelves served several purposes. 1) It allowed us to screw 3 1″ x 2″ x 10′ rails into the back of the shelves for extra sturdiness. 2) These rails were flush against the vertical supports allowing the shelving unit to be flush against the wall. 3) It gave us another place to secure the shelving unit other than the ceiling for extra support. 4) Having rails that run the length of the back of later installed shelves will help to prevent bowing in the future.
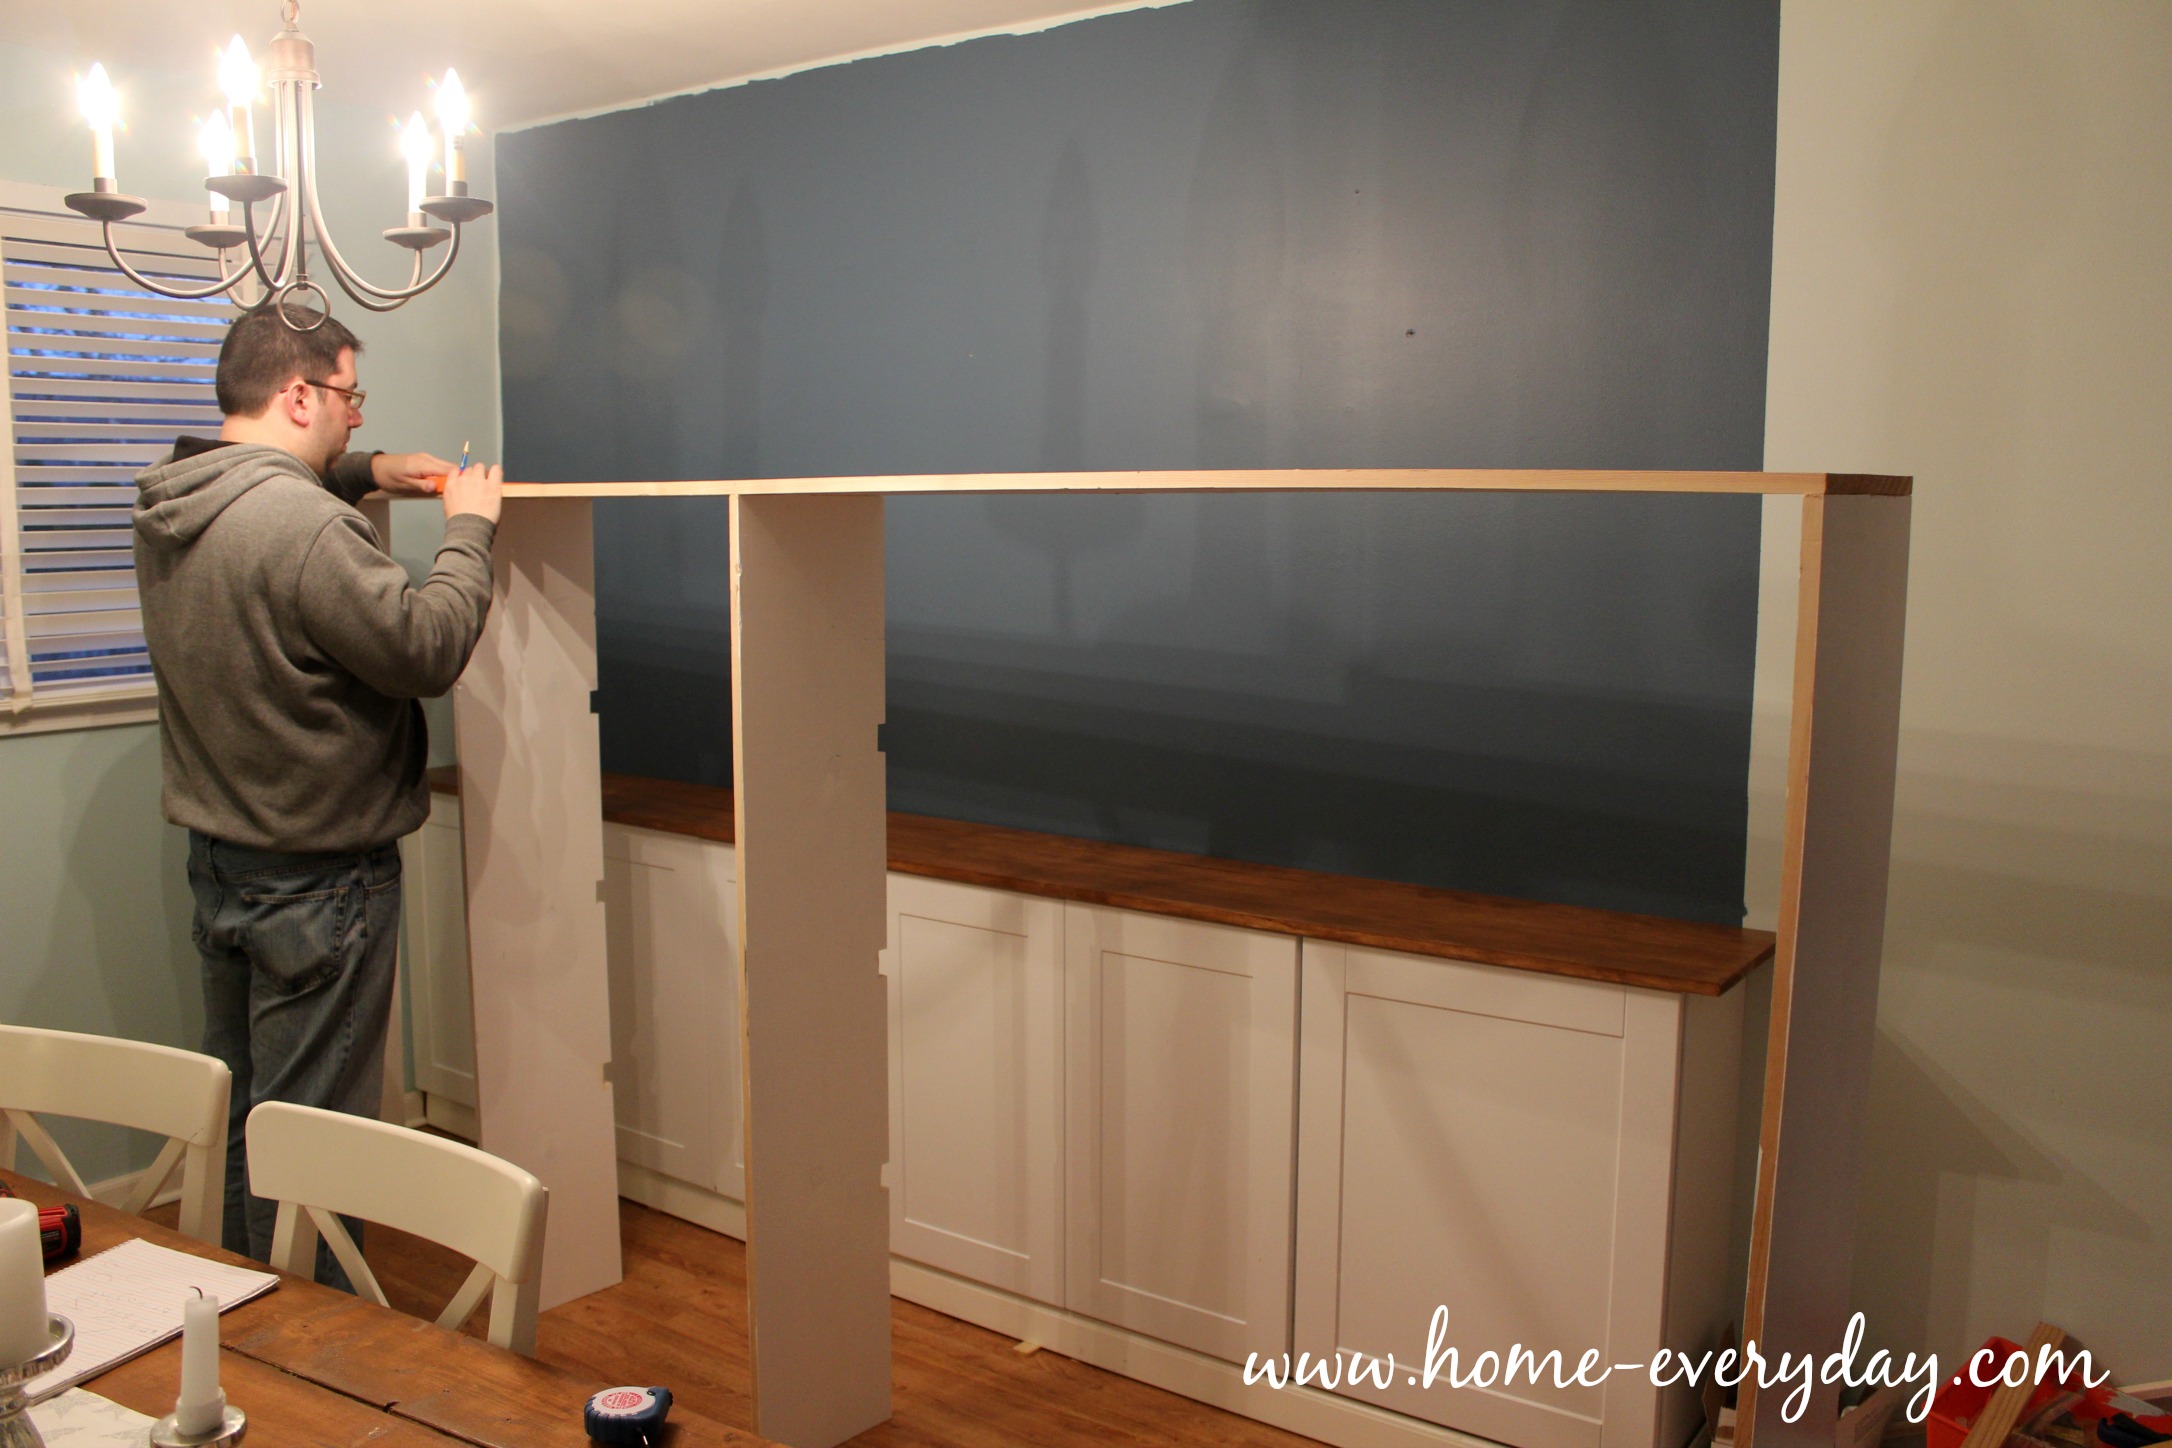
Once the vertical supports, header, and rails were ready to go, we brought everything in the house to put together. We screwed the vertical supports from the top of the header at equal intervals allowing us to have 30″ wide shelves.
Then we attached the rails.
Then we lifted it up on top of the counter. Perfect fit (thank goodness)! Brian screwed the this shelving unit into the ceiling wherever there were studs. and again into the side wall by the window. He also secured a few screws into the rails we had just constructed where ever there was a stud. This baby isn’t going anywhere.
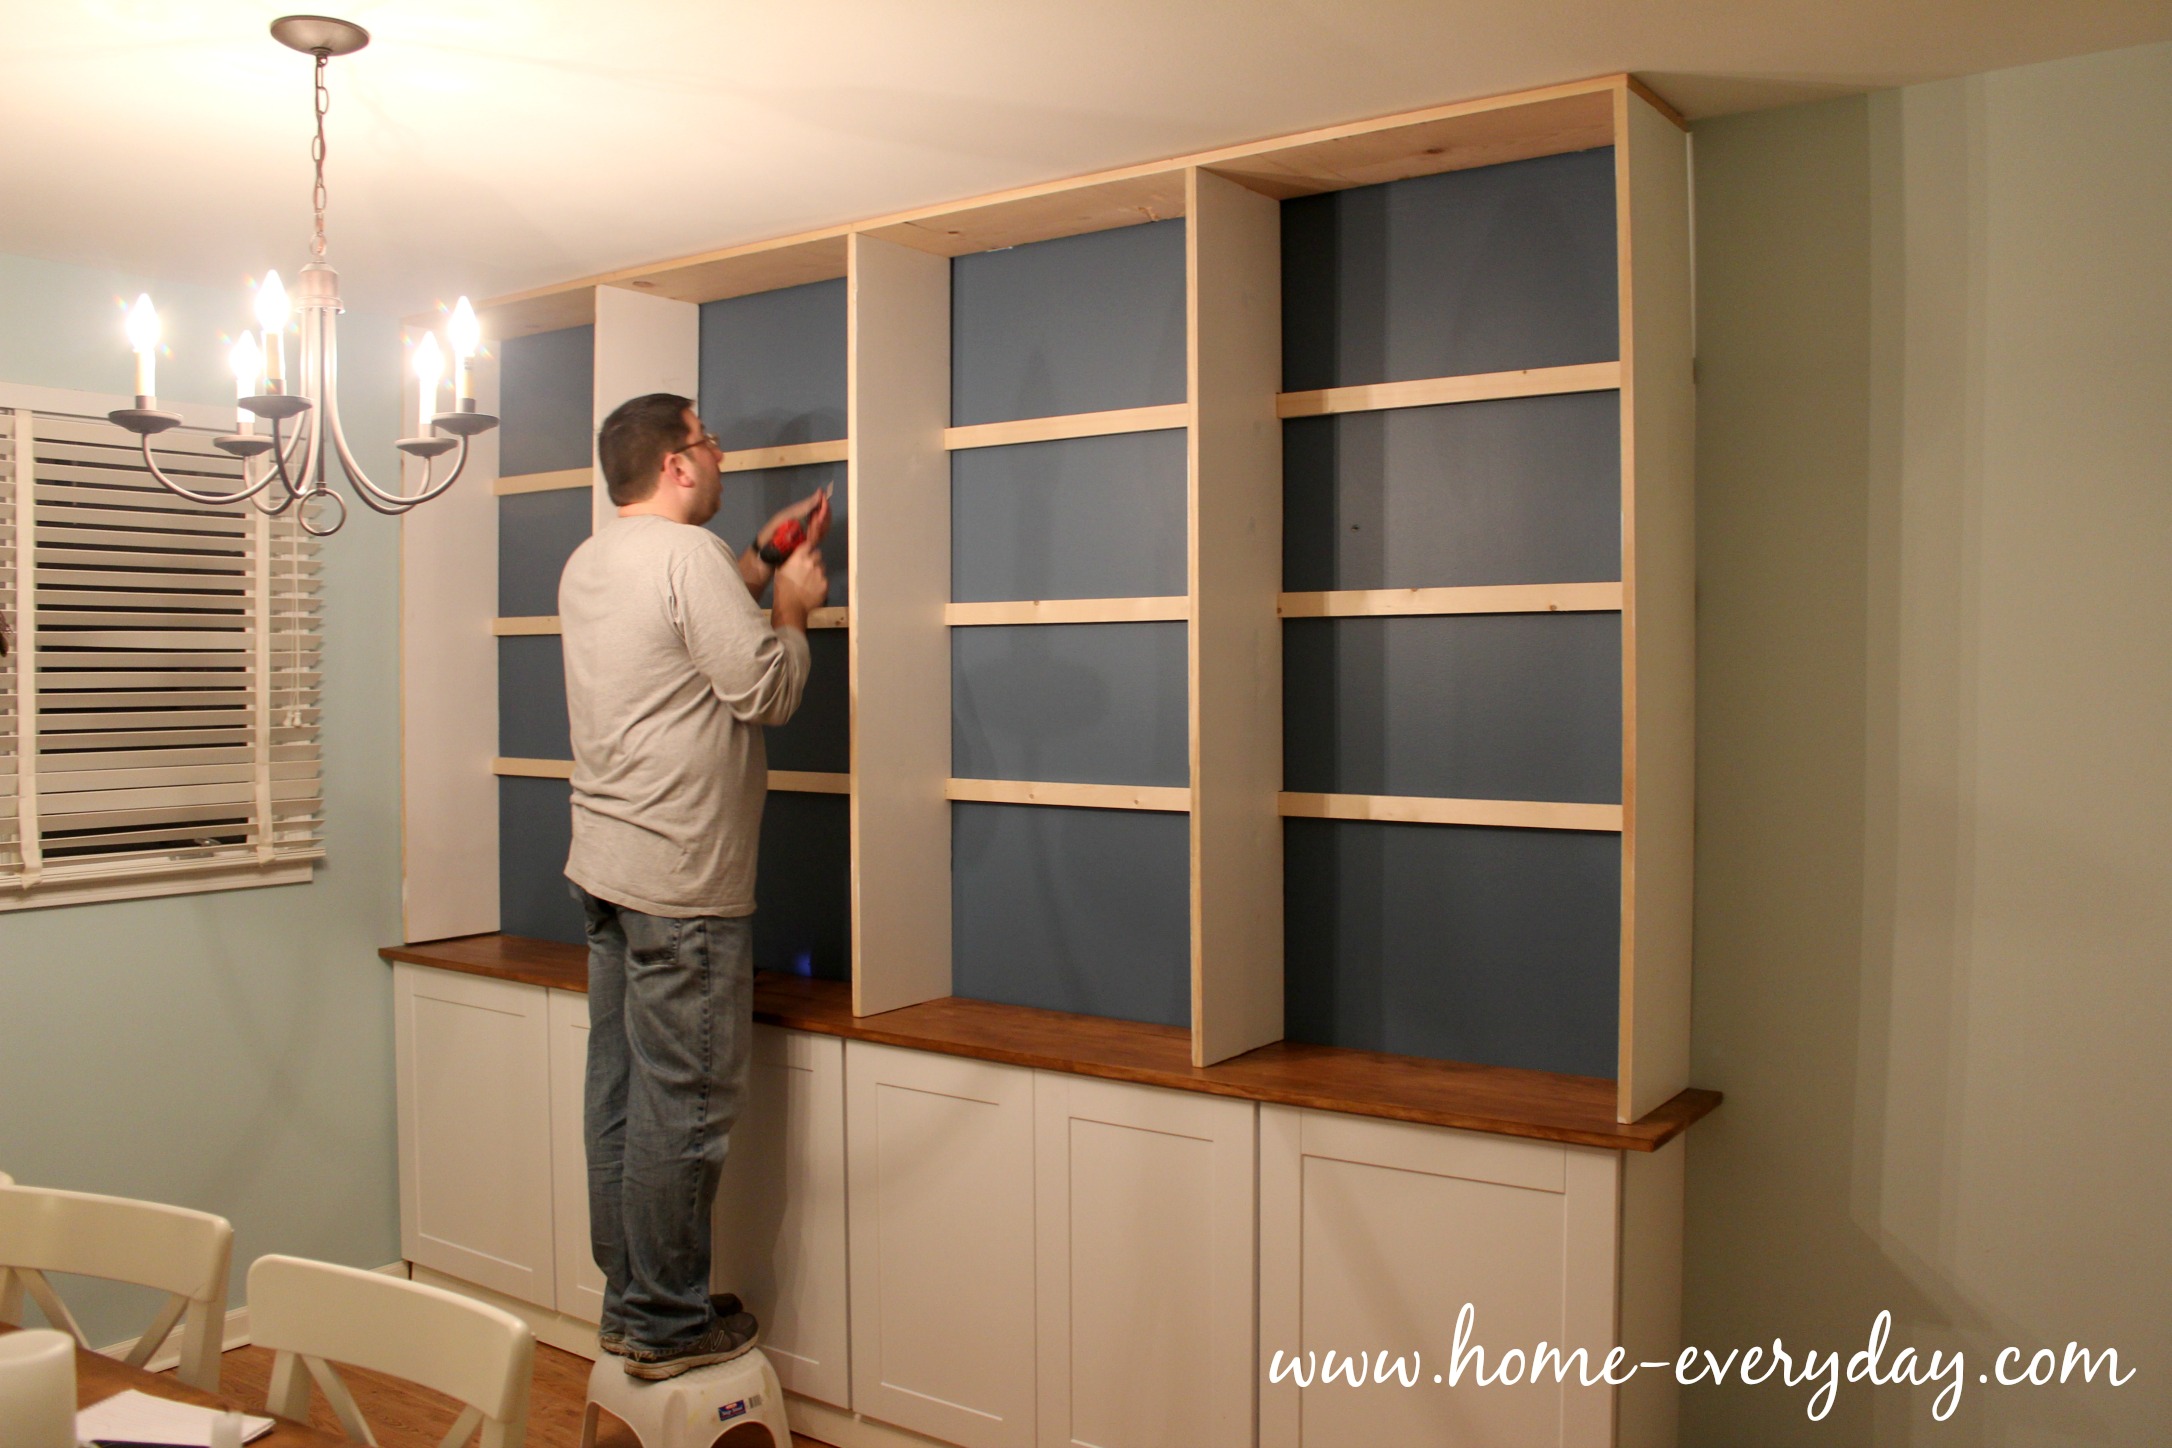
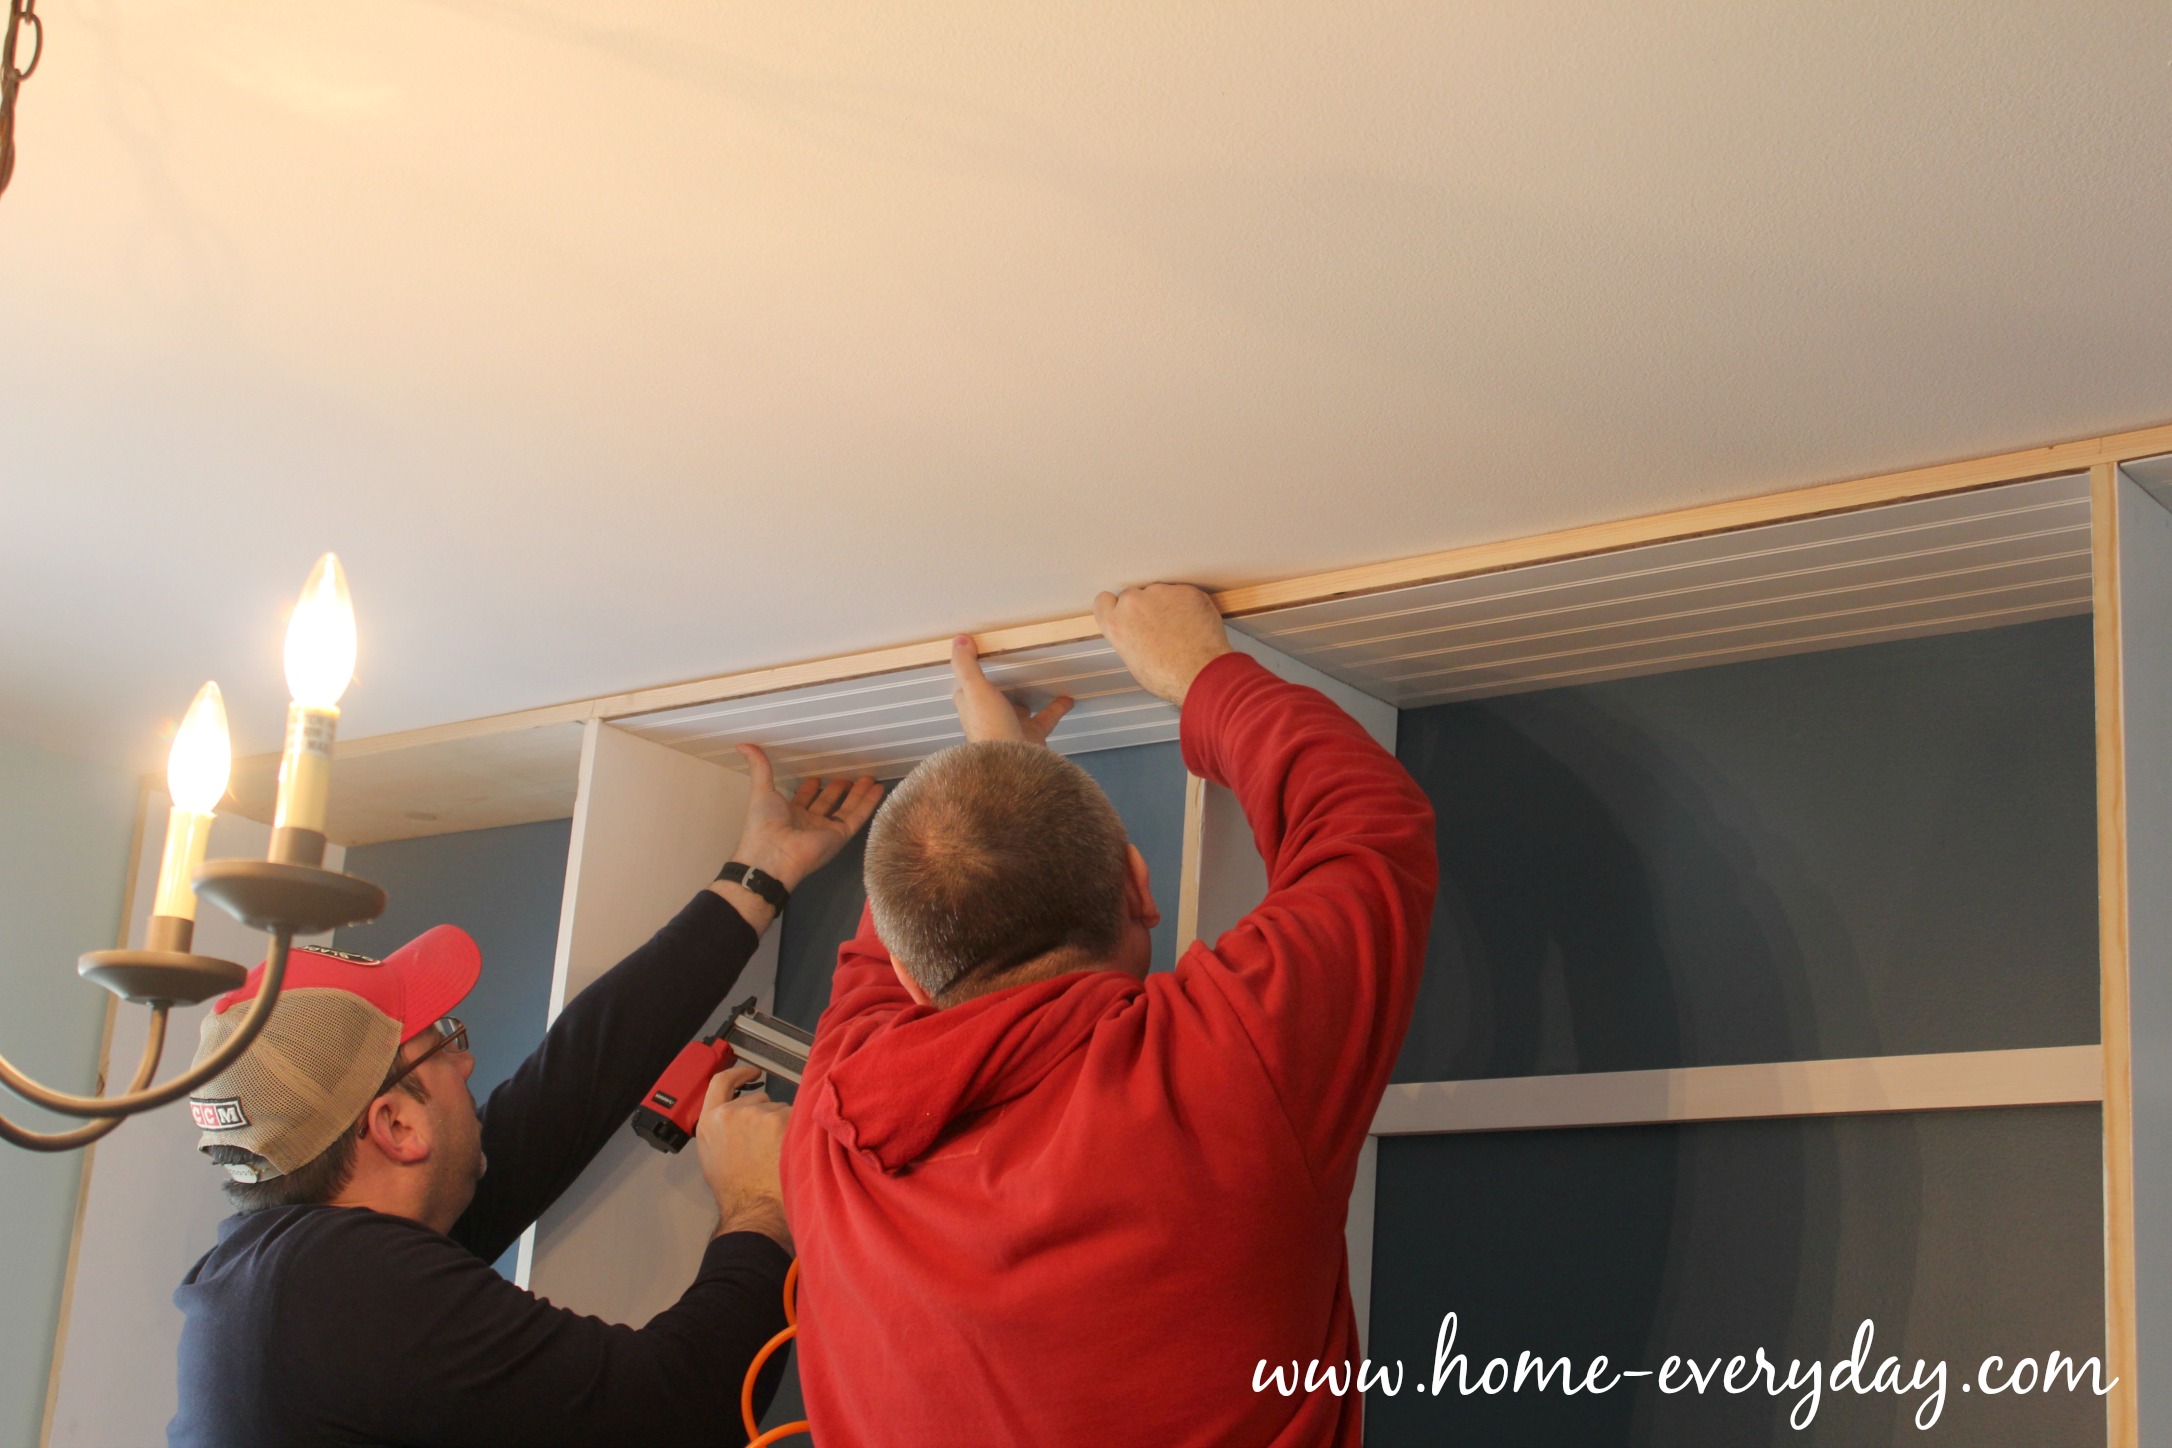
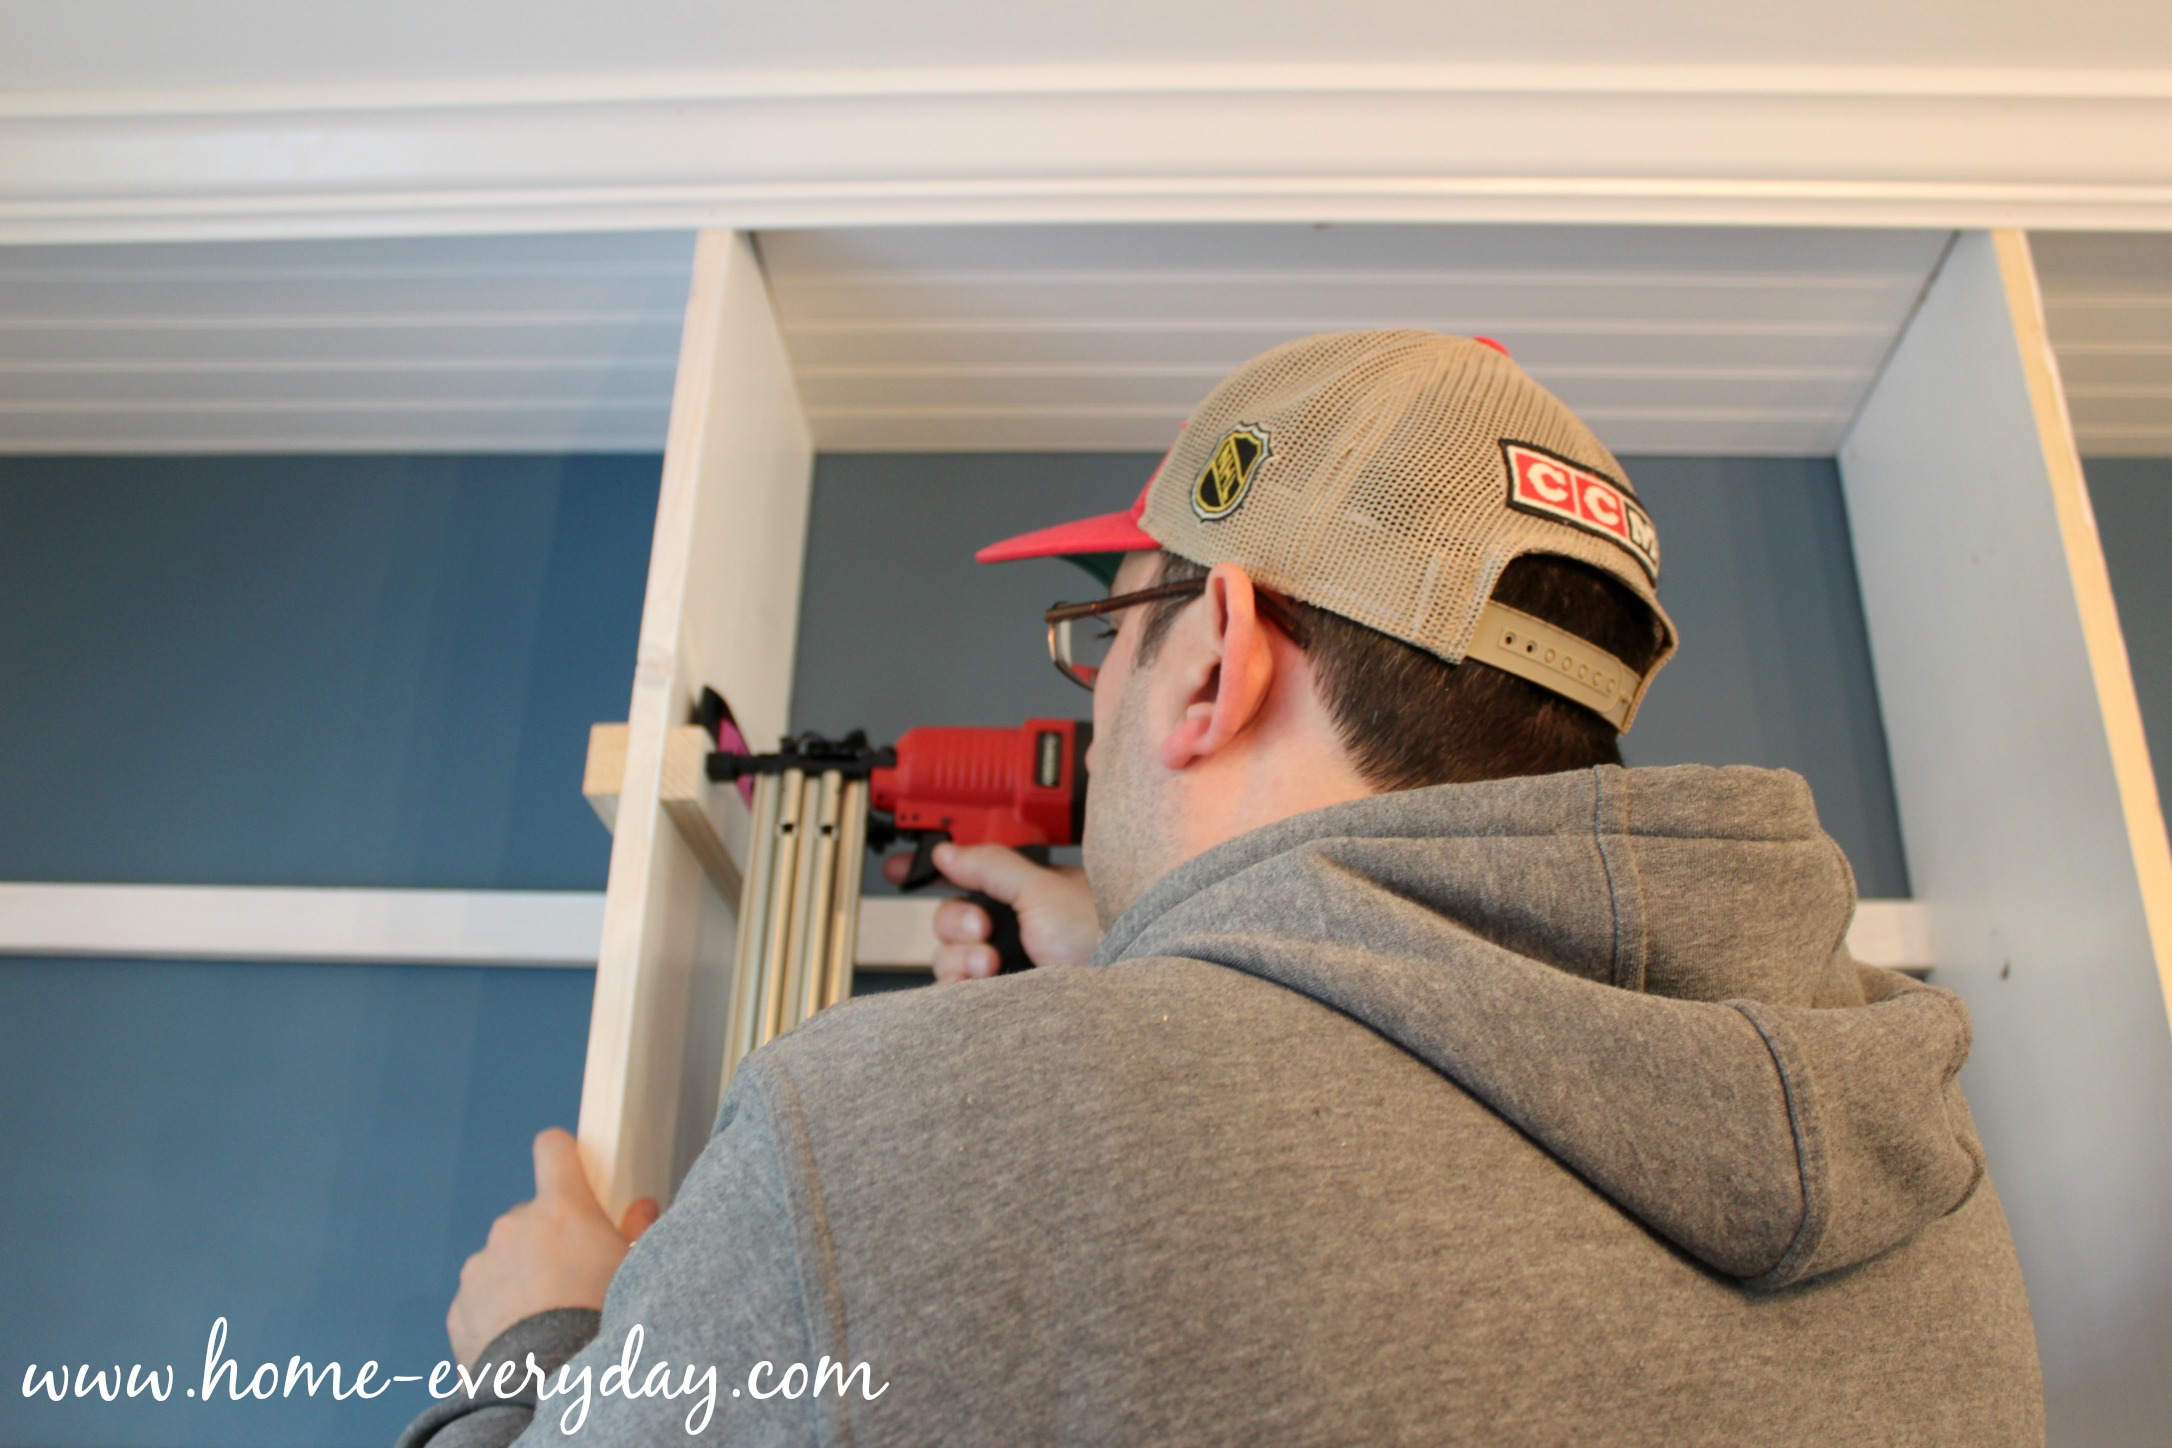
In the ceiling of the unit, instead of painting and trying to find cover the heavier duty screws we used to attach the header. With the help of our handy friend, Scott, we cut some pre-finished bead-board to size, and nail gunned that into the the unit.
Next, we took the same pieces of 1″ x 2″ and cut them into approximately 11″ pieces to make the side rails for the shelves. Brian then used a nail gun to attach these rails.
Using the same 1″ x 12″ common board we cut the shelves to size, slid them into place, and we nailed those in too.
Then, it was crown moulding time. We used pre-finshed moulding to save us another step, because this was where we needed the most instruction. We had no idea what we were doing. We called in reinforcements with the help of our handy friend, Scott and a ASK This Old House Video. We figured out how to cut the moulding for an outside corner using our chop saw. After a few test pieces, we got the hang of it, and using the nail gun, we got it up there. Pro Tip: We did have a slight gap, however white painters caulk can fill any gaps, or nail holes in your finished product.
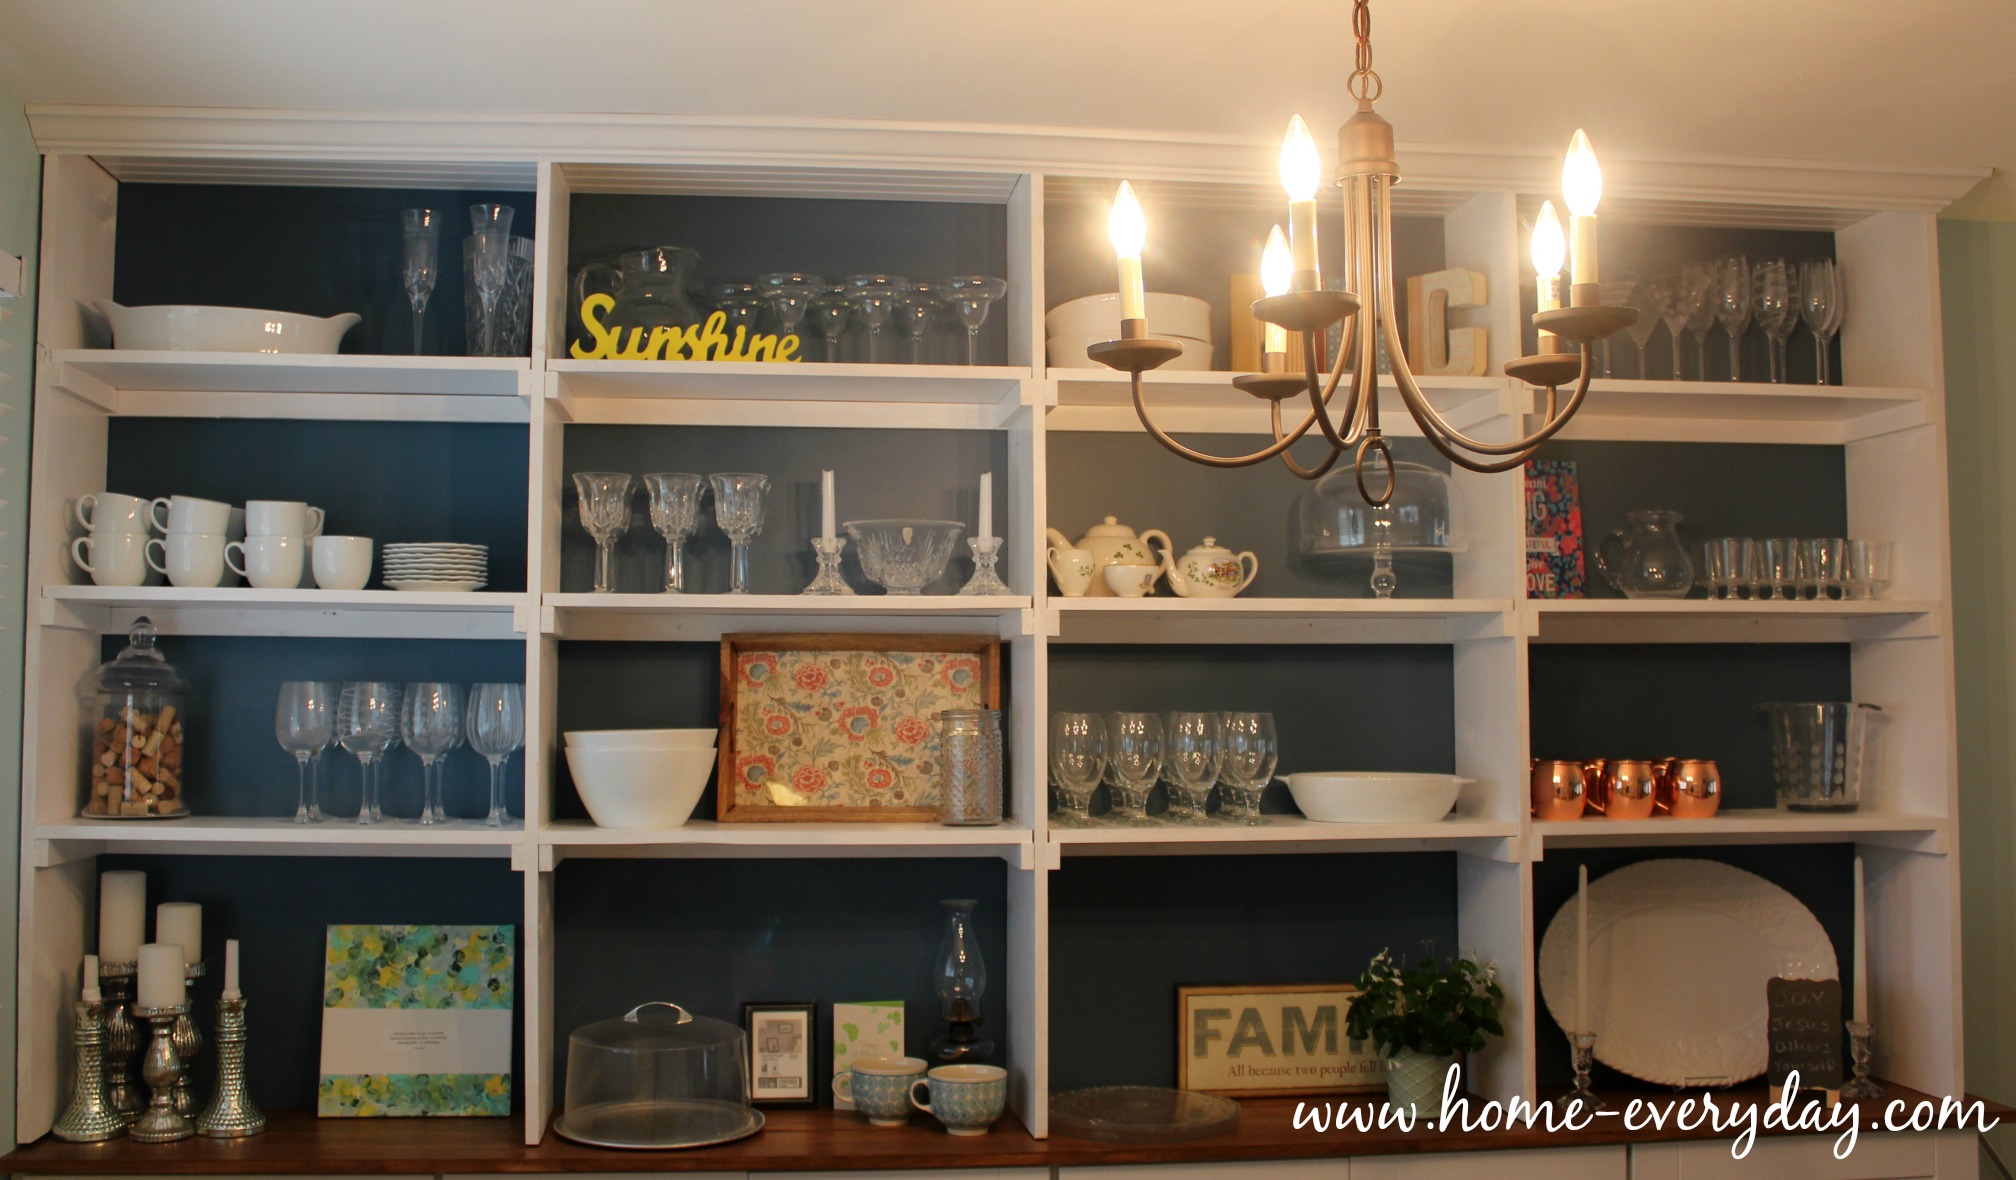
I touched up any paint that needed to be done.
Wiped everything down.
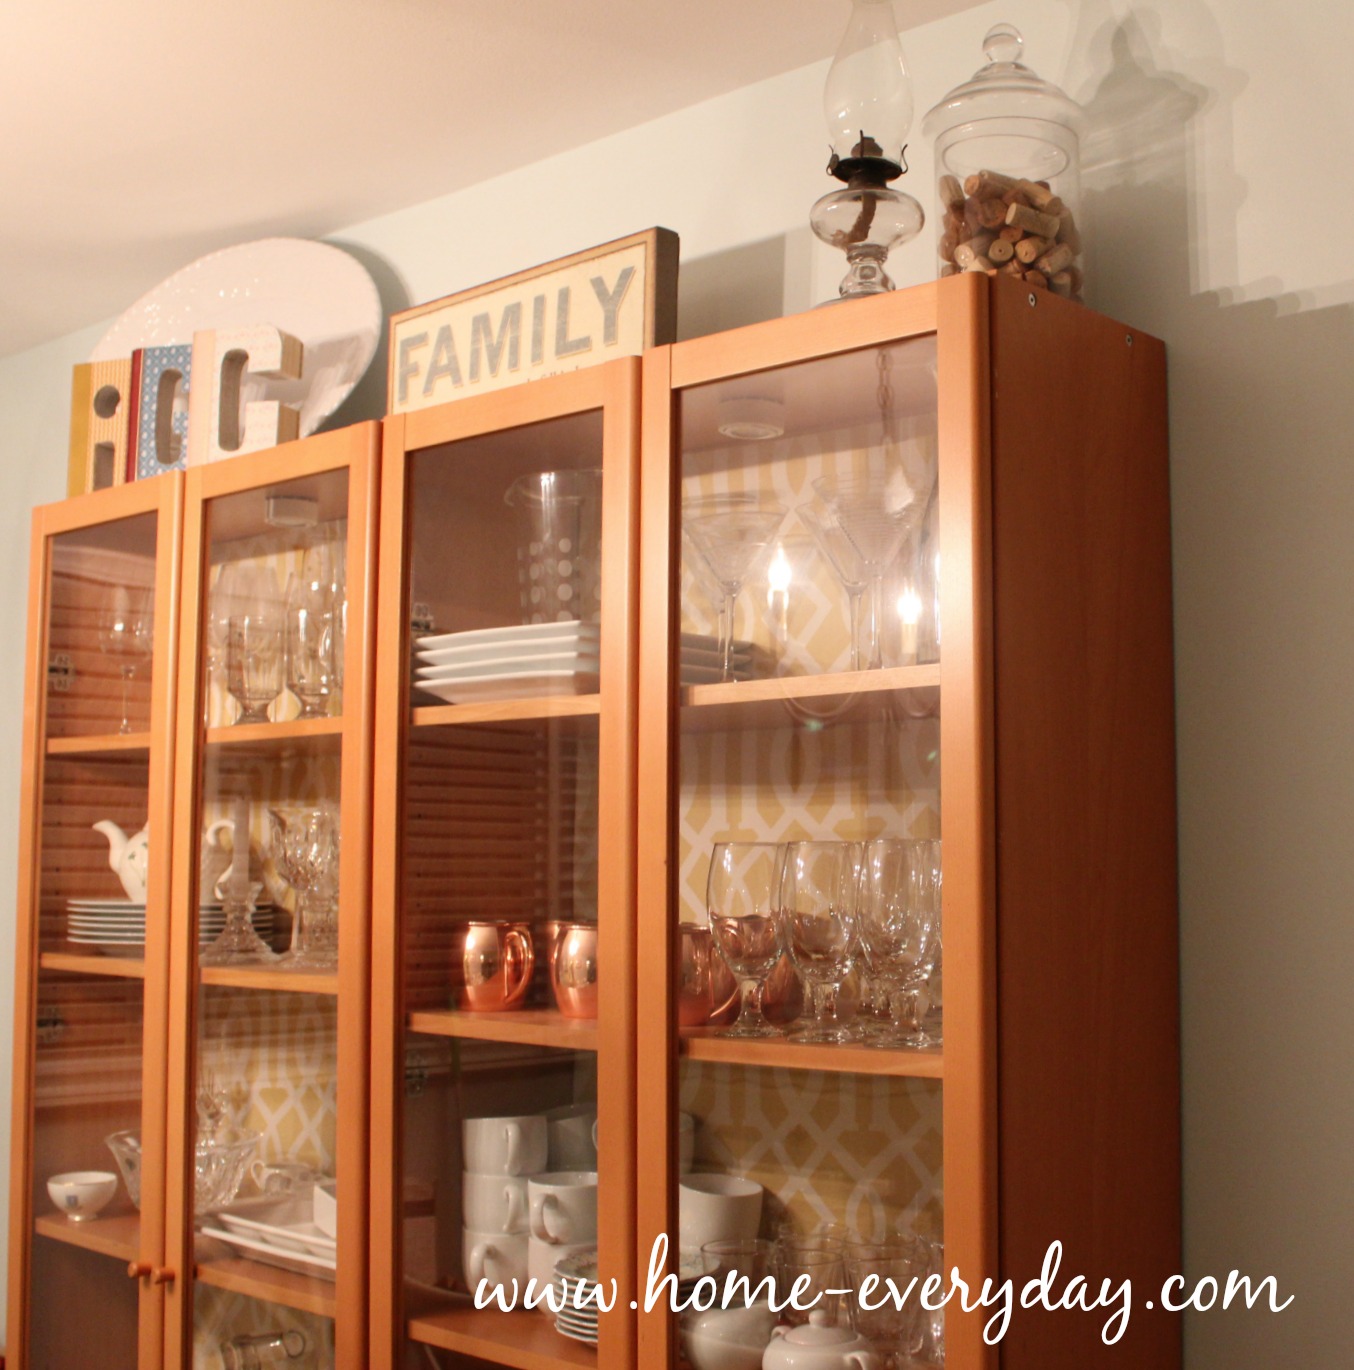
It took a few days, but I think I have them styled how I want them.
This shop has been compensated by Collective Bias, Inc. and Walmart Family Mobile. All opinions are mine alone. #DataAndAMovie #CollectiveBias
You’d think that Brian and I are in the stage of our lives when we don’t require elaborate data plans with awesome coverage. After all, our kids are little and we have awhile before we cross the bridge into getting them their first handheld or smart device.
However, in addition to Brian having a full time career, he also works part time offering consulting from home. Also, with me working and writing and blogging and social media-ing. We need data, and we need coverage. We do have WiFi in our home, but as anyone who works from home will tell you, sometimes you aren’t always at home when you get a call to do work. Sometimes, responding to an email while waiting at the bus stop is is necessary. Other times it requires researching information for a post or a client while walking through the store. Other times, it might mean setting up an office after putting the kids to bed after a day of exploring and swimming at a hotel who’s WiFi went down for the week (true story).
Working hard from home does not always mean we are in the physical space of home. Which is why, we are so grateful now for Walmart Family Mobile PLUS. We scored an amazing deal. The Walmart Family Mobile PLUS deal includes Unlimited Talk, Text, & Data with 10GB of 4G LTE data plus a FREE movie on VUDU for only $49.88 per month for our small enterprises. Brian and I are not only able to get our work done, but we are infinitely more productive and don’t spend our time looking for coffee shops with WiFi. There is no more running out data on our personal lines! Also, with a free movie every month on VUDU we can kick back and relax with the kids and watch free movie.
Work hard, play hard.
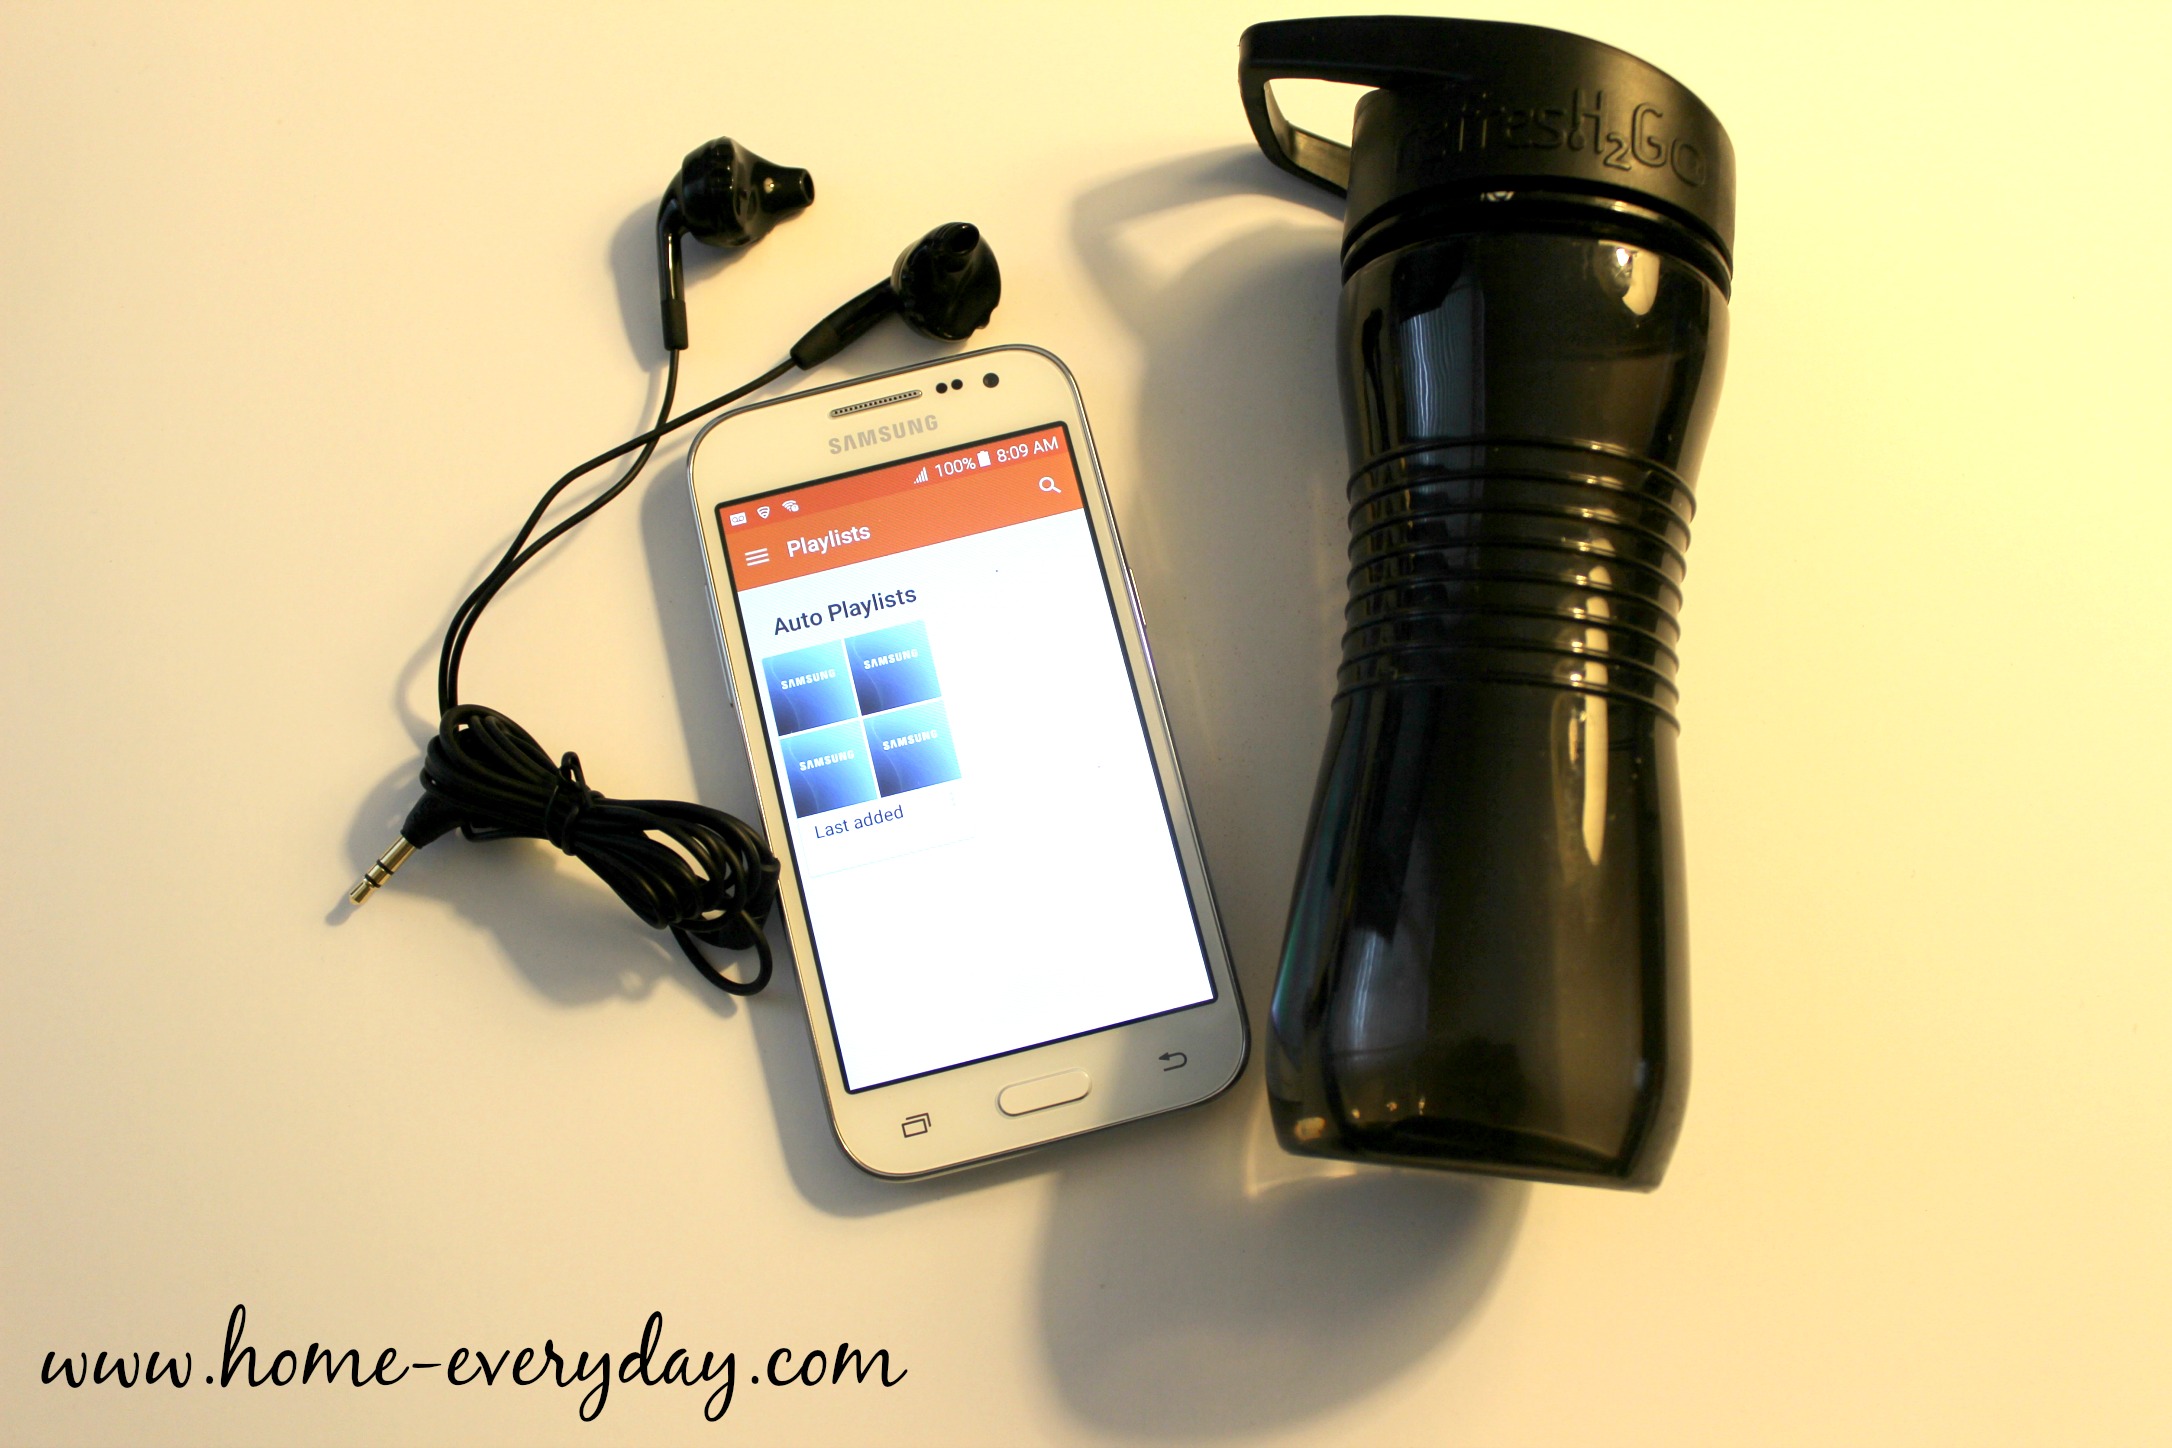
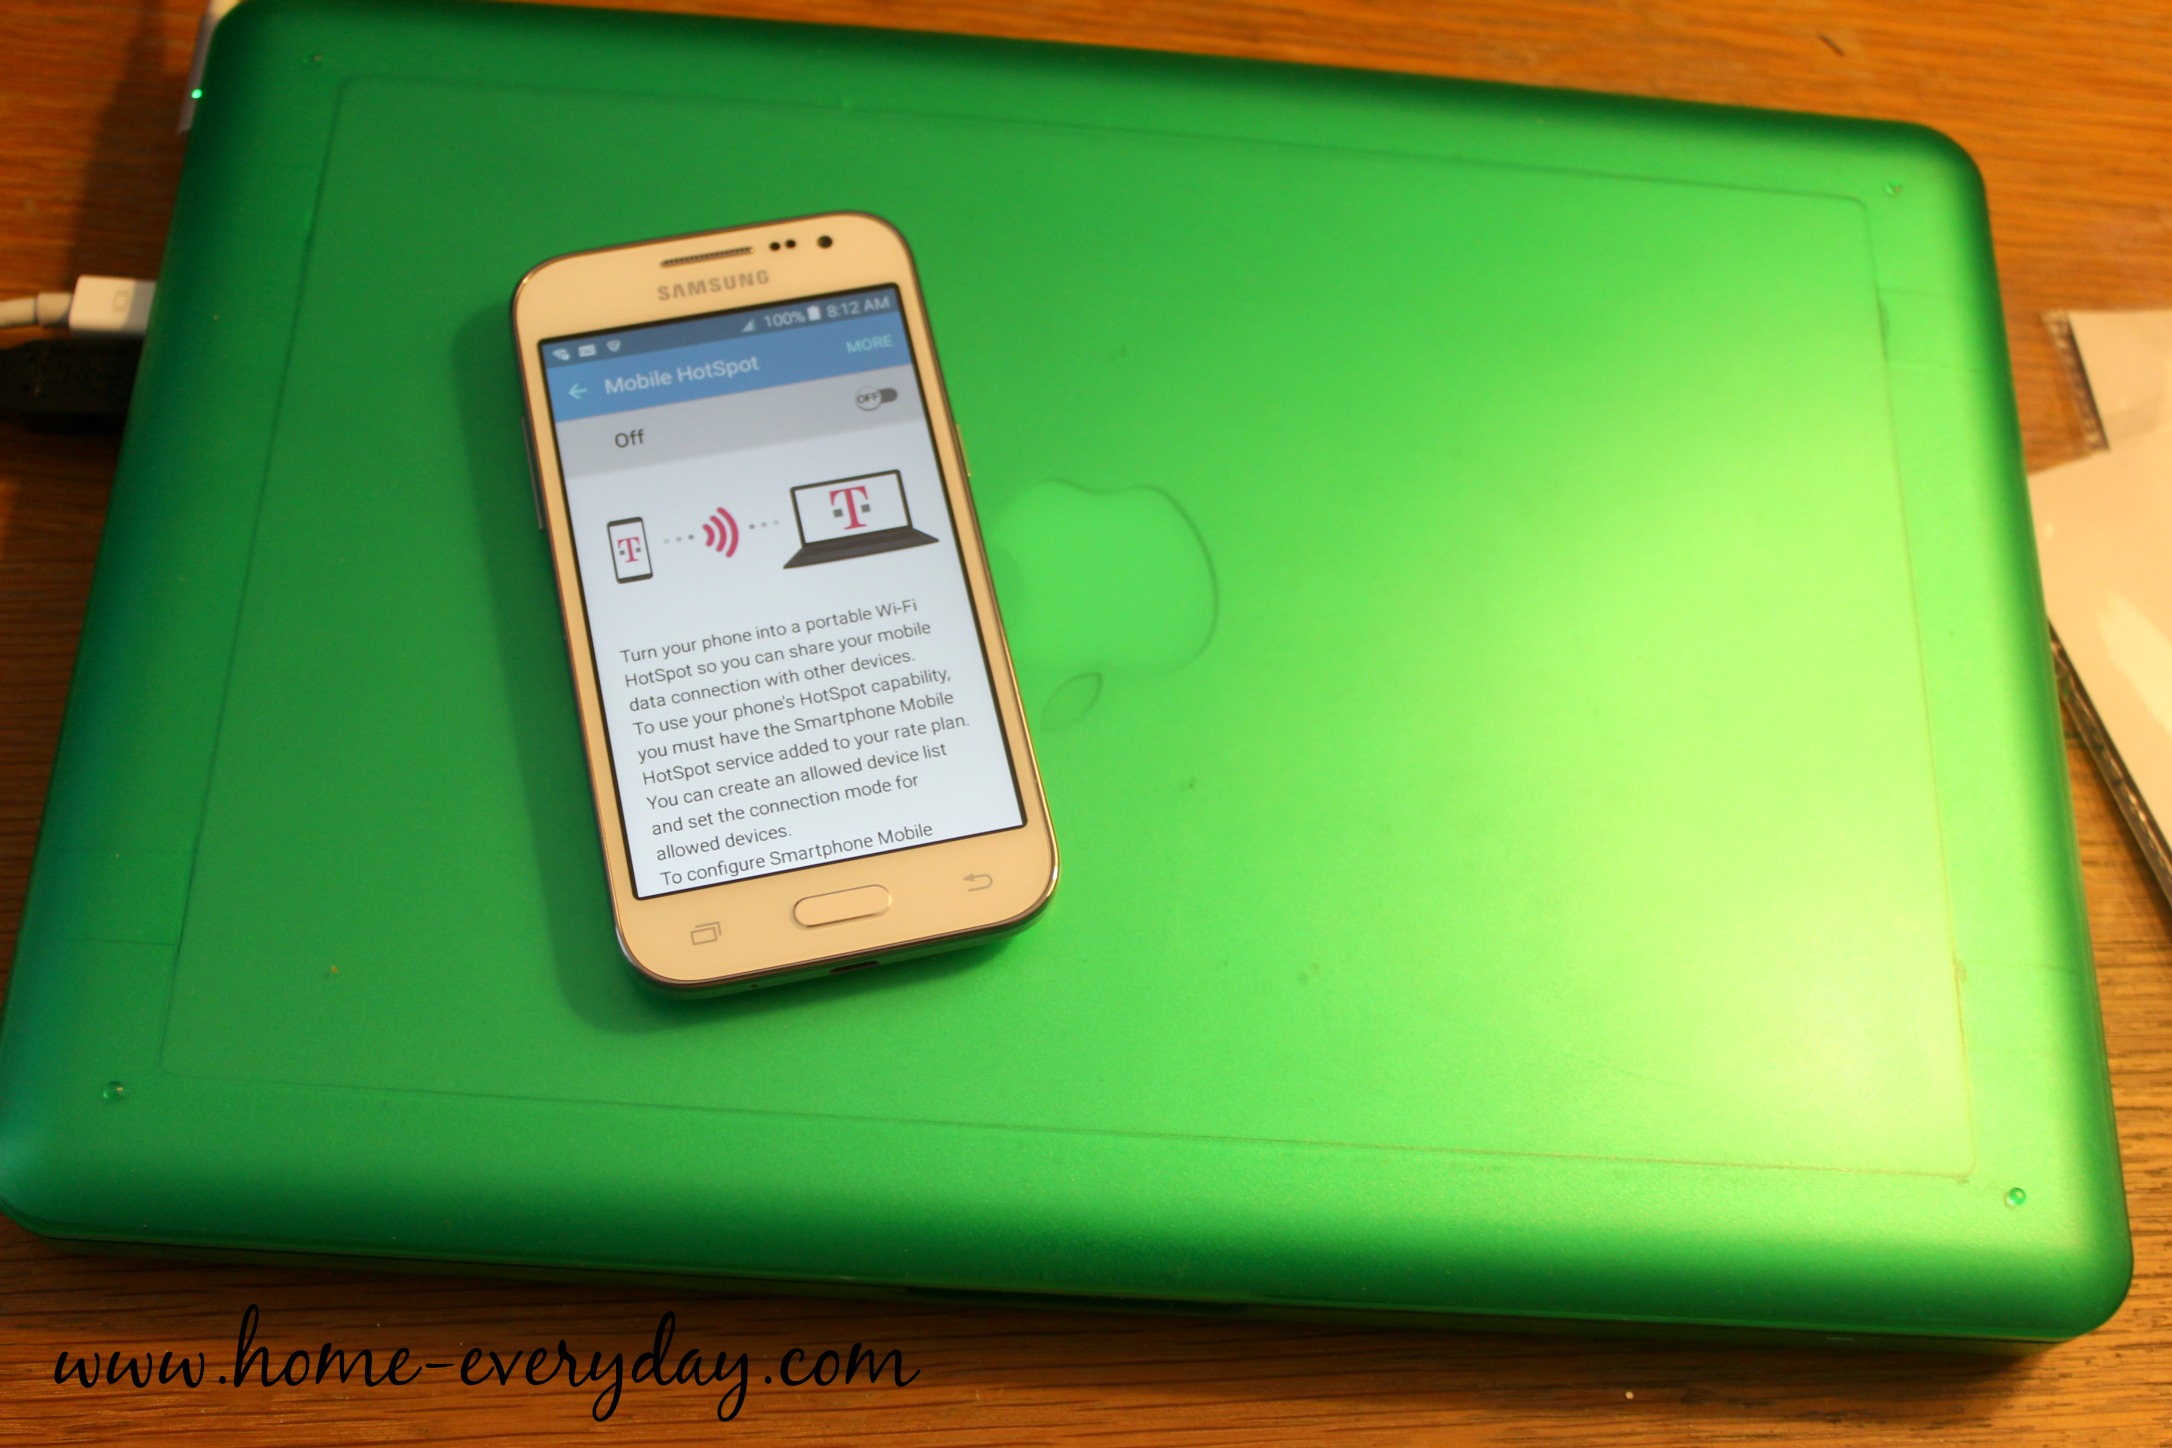
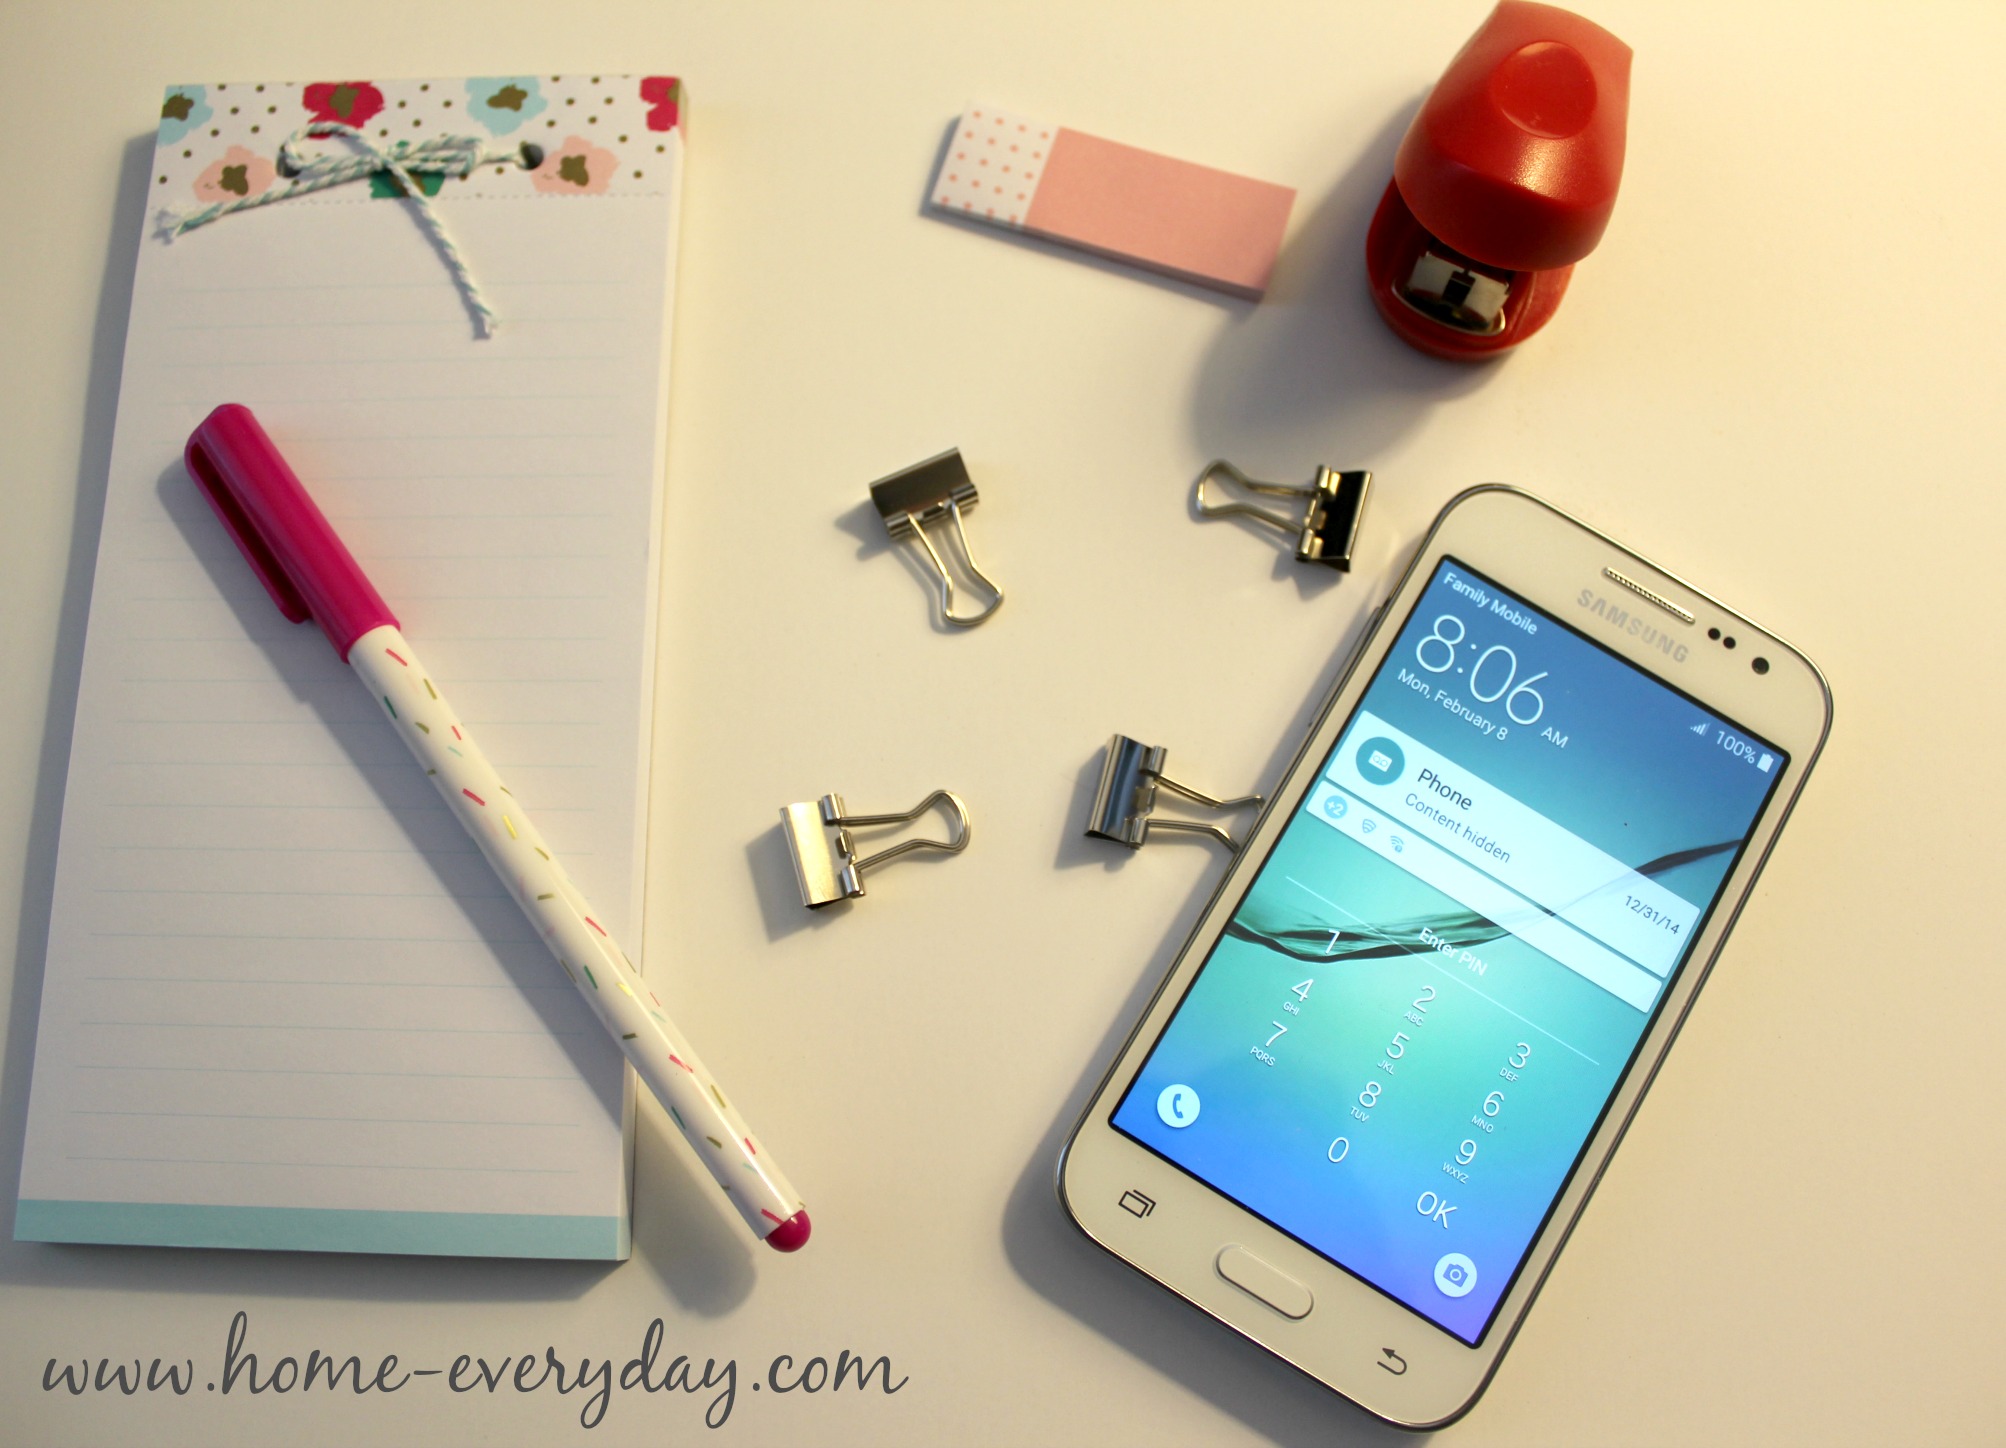
When we found out about the Walmart Family Mobile PLUS plan, I headed to Walmart to see what phone options we had. We didn’t need anything to fancy, just something that would be able to help us email, have access to a few apps, and be able to serve as a wireless hot spot. I decided on the Samsung Galaxy Core Prime for a steal at $79.92 this phone is currently on Rollback from $99.92. It was a breeze to set up, and before I knew it, I felt like a blog boss.
All prices for phones and plans included in this post are accurate as of the date of posting; however, these prices are subject to change. Please refer to oryour local Walmart for current pricing.
Here are all the ways I cannot wait to use my knew Samsung Galaxy and Walmart Family Mobile PLUS
Creating and emergency Wireless Hot Spot
Reading articles, blogs, news, to keep up to date anytime anywhere
Listening to my favorite social media, writing, and blog podcasts while I’m working or walking on the trail.
Responding to emails right away.
Watching movies with my family.
Streaming music while we work.
Not searching for WiFi everywhere I go.
Even if you’re not an aspiring blogger loss, check out Walmart Family Mobile PLUS at Walmart! Tell me in the comments all the reasons more data would be helpful to you.
For more information, CLICK HERE! I guarantee you’ll be more productive, and have way more fun. Work hard, play hard.
This project started out as me reorganizing the cabinets in my dining room to create some more space.
To Brian saying, “Sweetie, you need more storage. Let’s not buy anything, let’s build something. That way it is exactly what we need.”
I went from a simple reorganizing project to prepping the dining room for built-ins. As Ron Burgundy would say.
As we sat together at the kitchen table scrolling through blogs for inspiration like Thrify Decor Chick’s gorgeous built ins and Addicted to Decorating awesome built in entertainment center. We knew we wanted some open and closed storage. We also knew that to maximize storage, we should probably try and use the entire length of the wall in the dining room. Finally, we wanted to add some cool style elements to the bookshelf to kind of mimc some other elements in the house like stain the countertop the same color as the dining room table we built and maybe paint the wall behind the shelves a different color like when I put fabric in the cabinets before to help make the dishes pop.
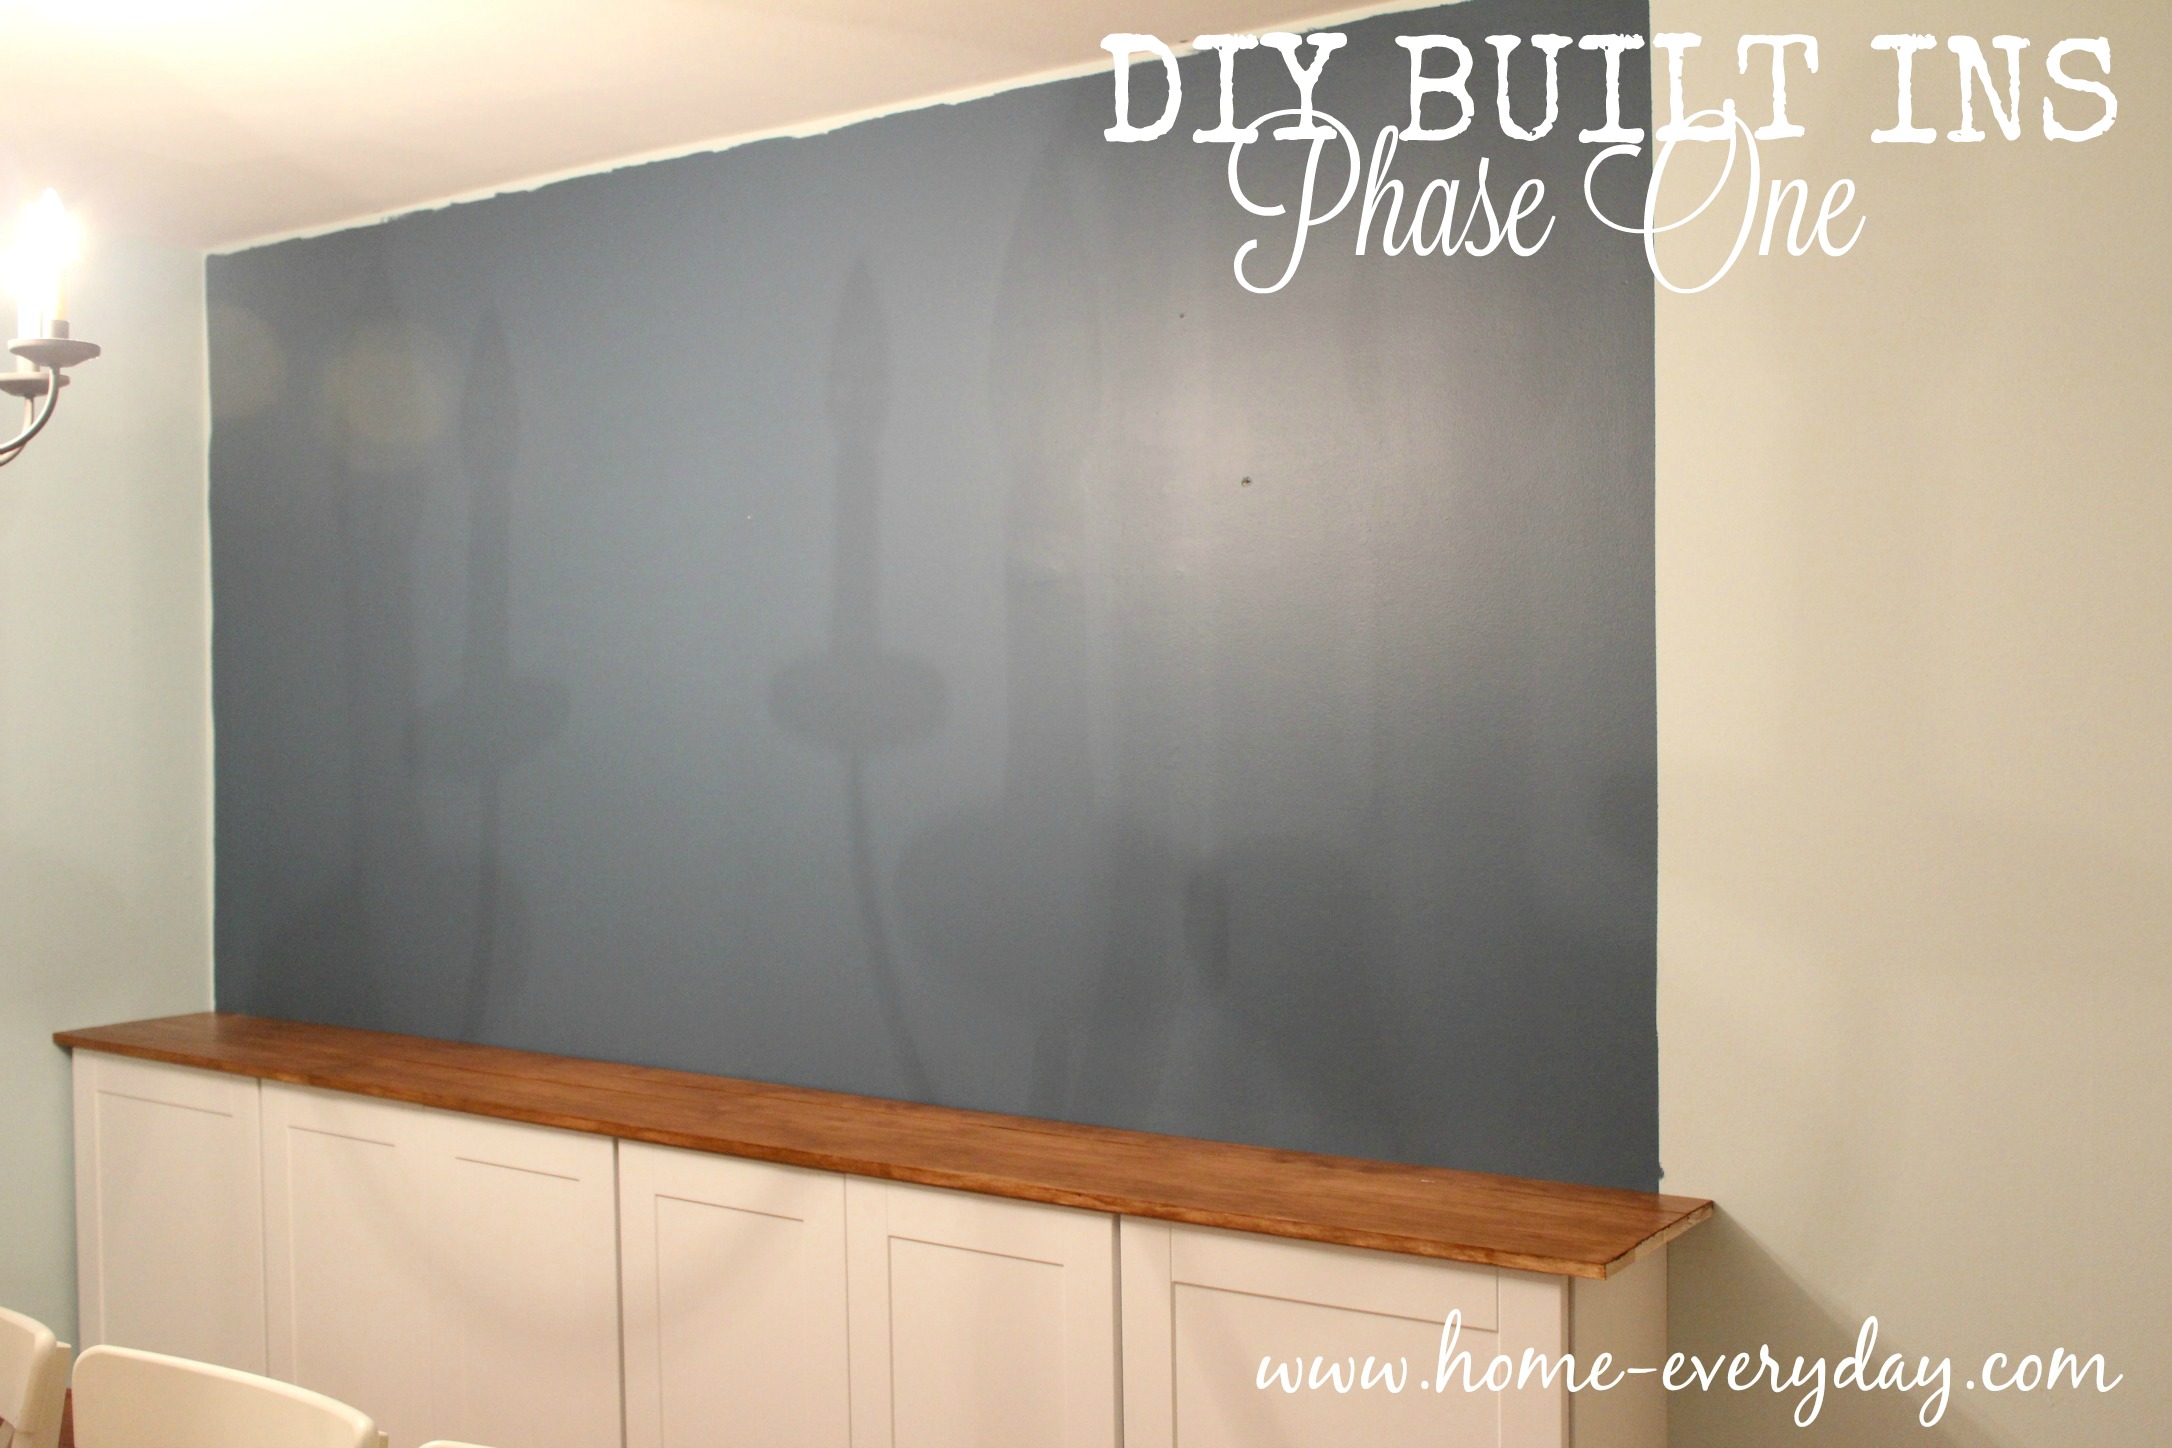
This is as far as we have gotten in the last 10 days.
Considering it took me an entire day to carefully empty and move the cabinets that were sitting there, I will take that as a win.
Also, life is still going on which means school, soccer, ballet, tap, school functions, homework, library volunteering, library board, work meetings, and a sinus infection.
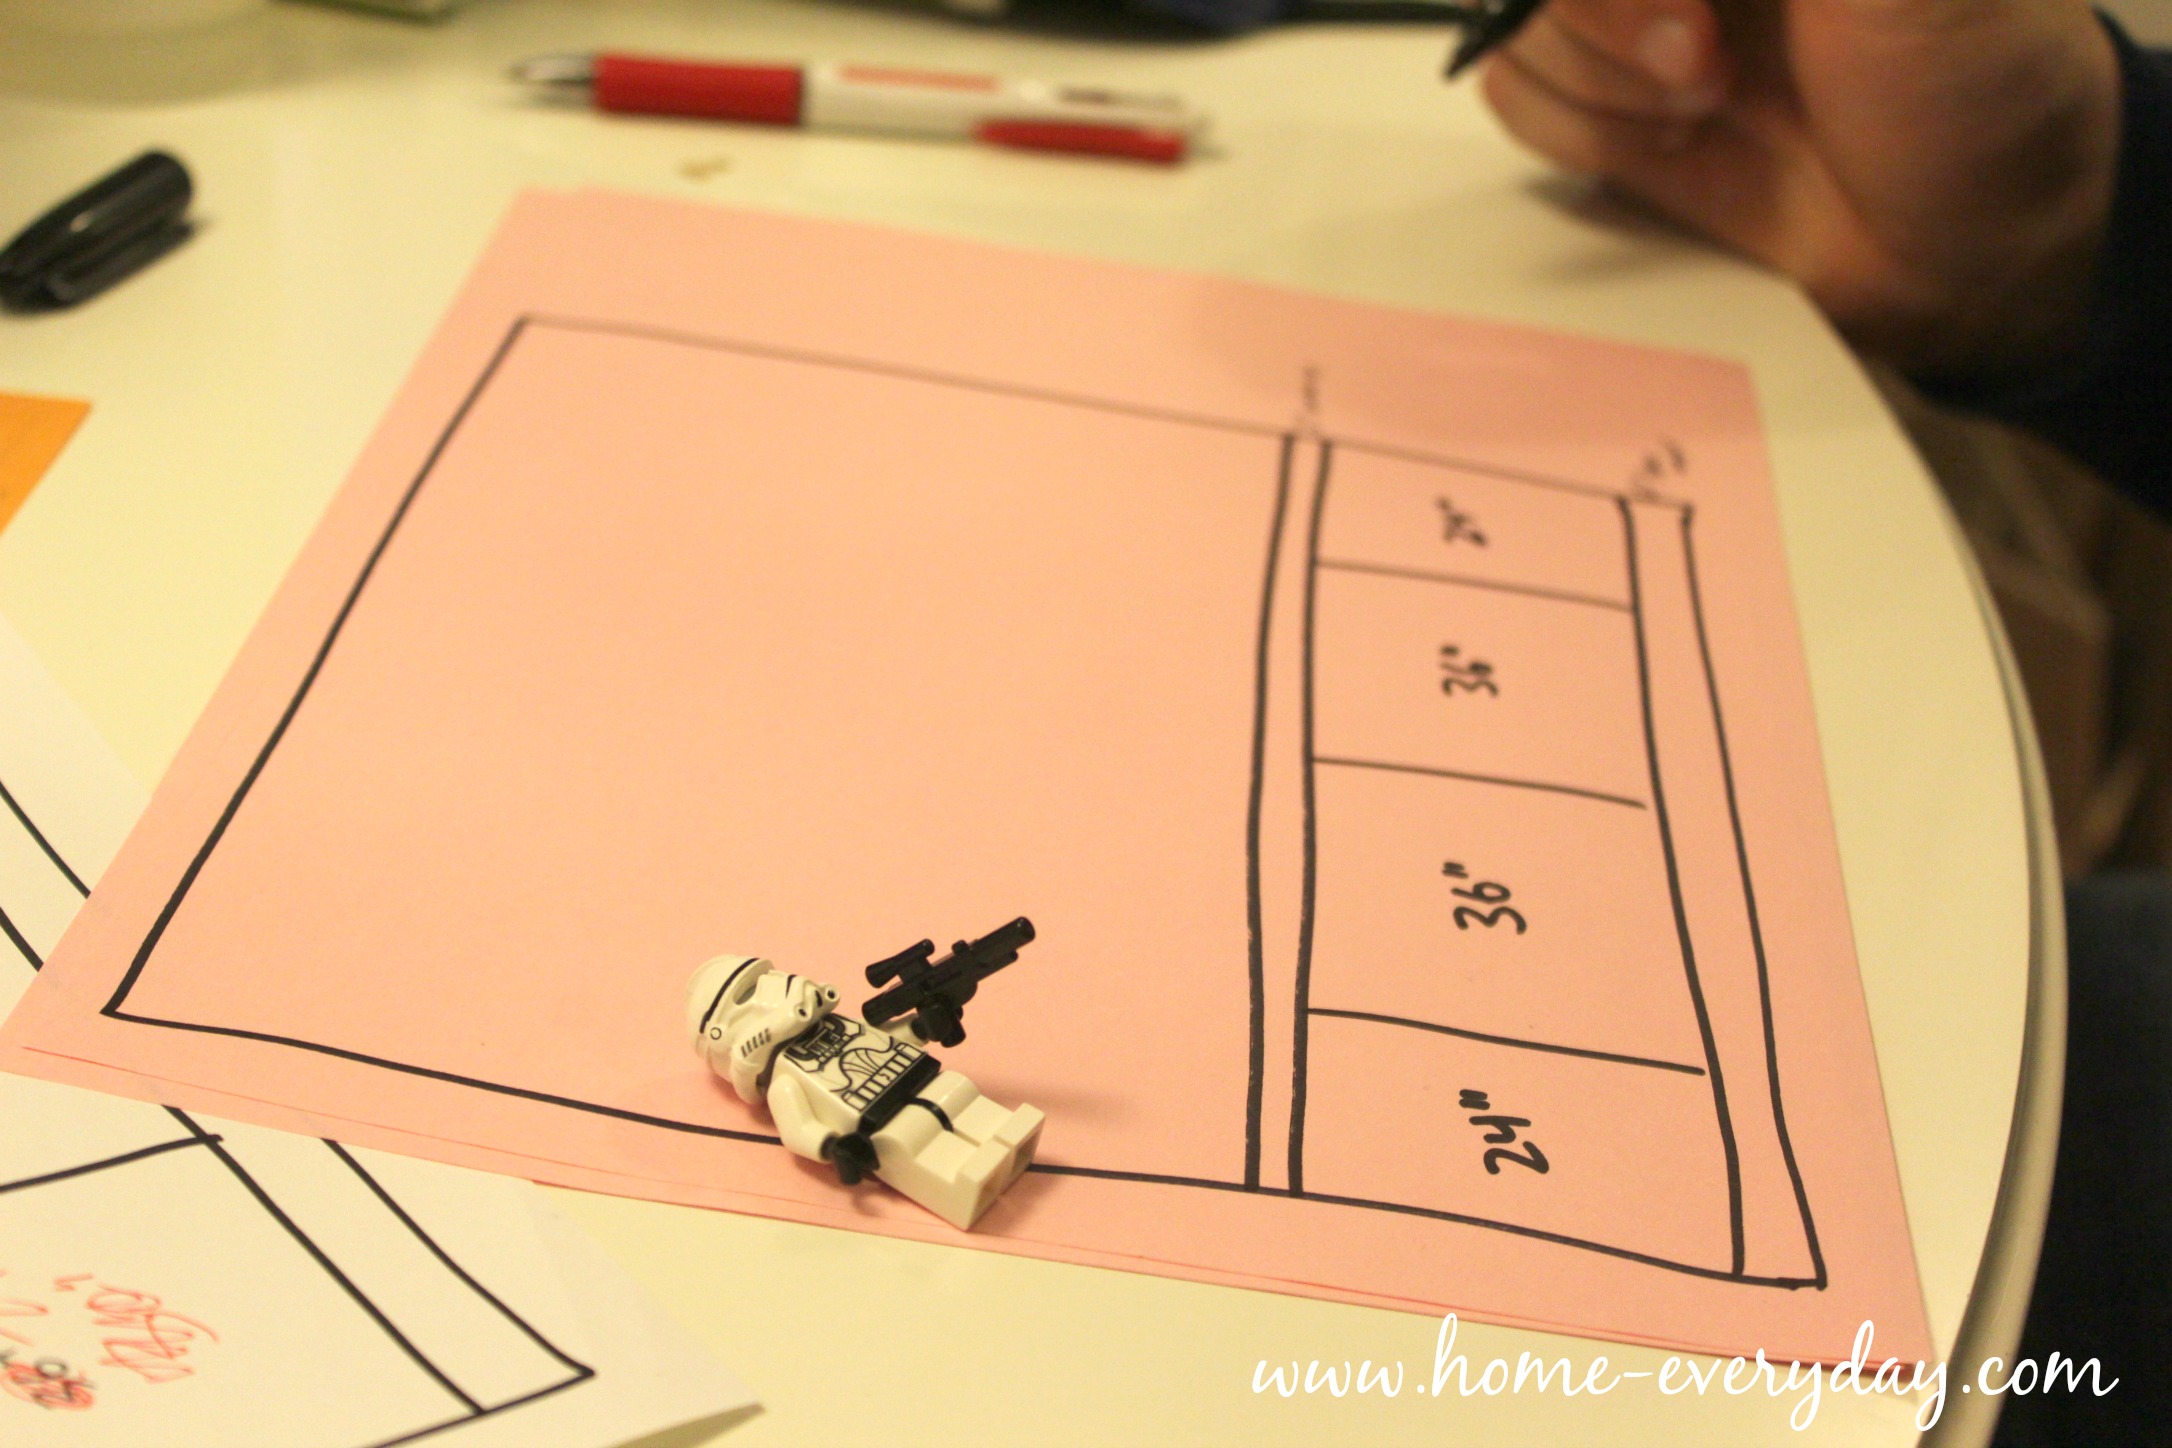
The first step was to decide how big we wanted to create the built in unit. We knew we were going to use stock UPPER cabinets as our base. Stock cabinets come in only a few standard sizes, so we just had to figure out the correct combination of cabinets that would fit into the dining room and look good. We used painter’s tape as a guide. For us, we decided ten linear feet of cabinets (two 36″ cabinets and two 24″ cabinets). This was just short of the opposite wall in the dining room, and we figured just short was better than two feet too long.
Then, we drew out a plan. Twice. Actually, three times.
Using Addicted to Decorating and Thrifty Decor Chick as a template we drew out how to create our built ins. We did this a few times measuring a few times, and getting out our calculators just to be sure everything would be right. Pro Tip: Remember when following directions from another site, Pinterest, or blog, make sure to keep in mind that YOUR house is different. Measure your space a few times. Things to consider: What is the height of your ceiling? What kind of trim do you have, how big is it? What kind of flooring do you have carpet, wood, tile? Are there walls on each side of the built ins for support? Where are the studs? Are you going to be covering one or multiple outlets and do you need to call an electrician to move them before you get started? Are you insane to try something like this on your own?
Then, we made our supply list of everything we needed. To do this, we literally talked through every step a few times together out loud down to the finishing nails. This helped us make a good an thorough list. Pro Tip: You might want to check online or give a call to your hardware store just to make sure they have everything you need ahead of time. (We had to go to two Home Depots BLERG).
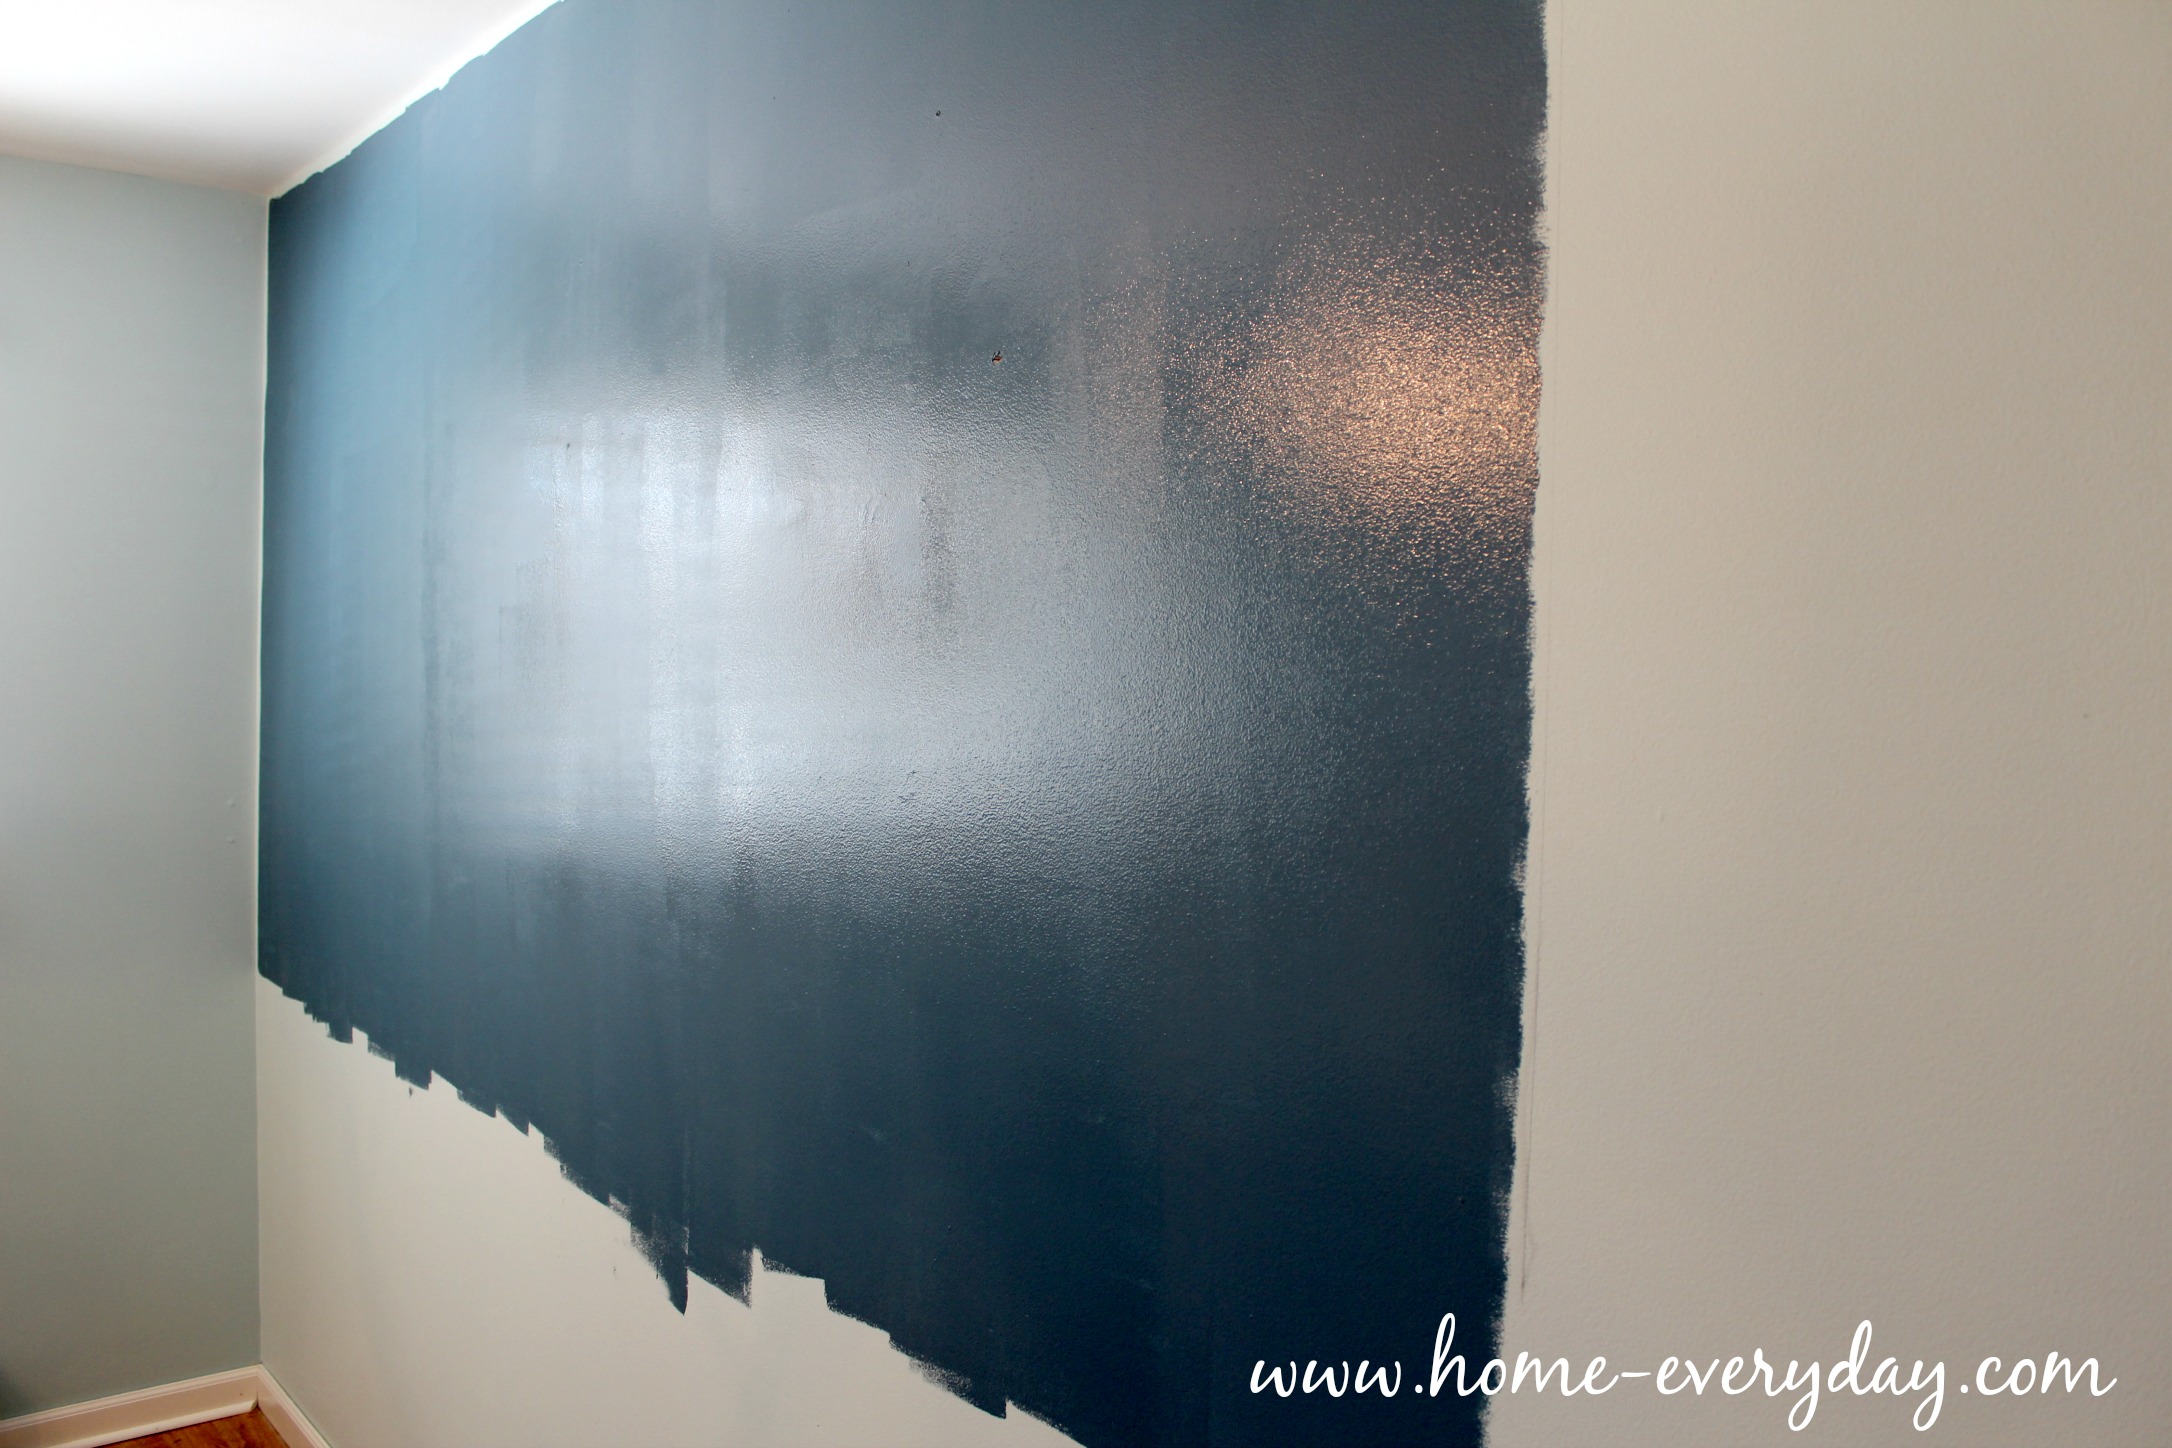
Next, I painted. This step is not necessary, but if you want to make your life a little easier and you also want to have a pop of color behind your built ins this is the time to do it. I measured out where the bookshelves were going to be, and I rolled on a dark blue I already had on hand (and luckily compliments my existing scheme). My sister, Beth, had given me a whole gallon to me when she had it mixed up for her dining room and it didn’t work out. I tried a swatch and love it. It is Valspar’s Victory Blue.
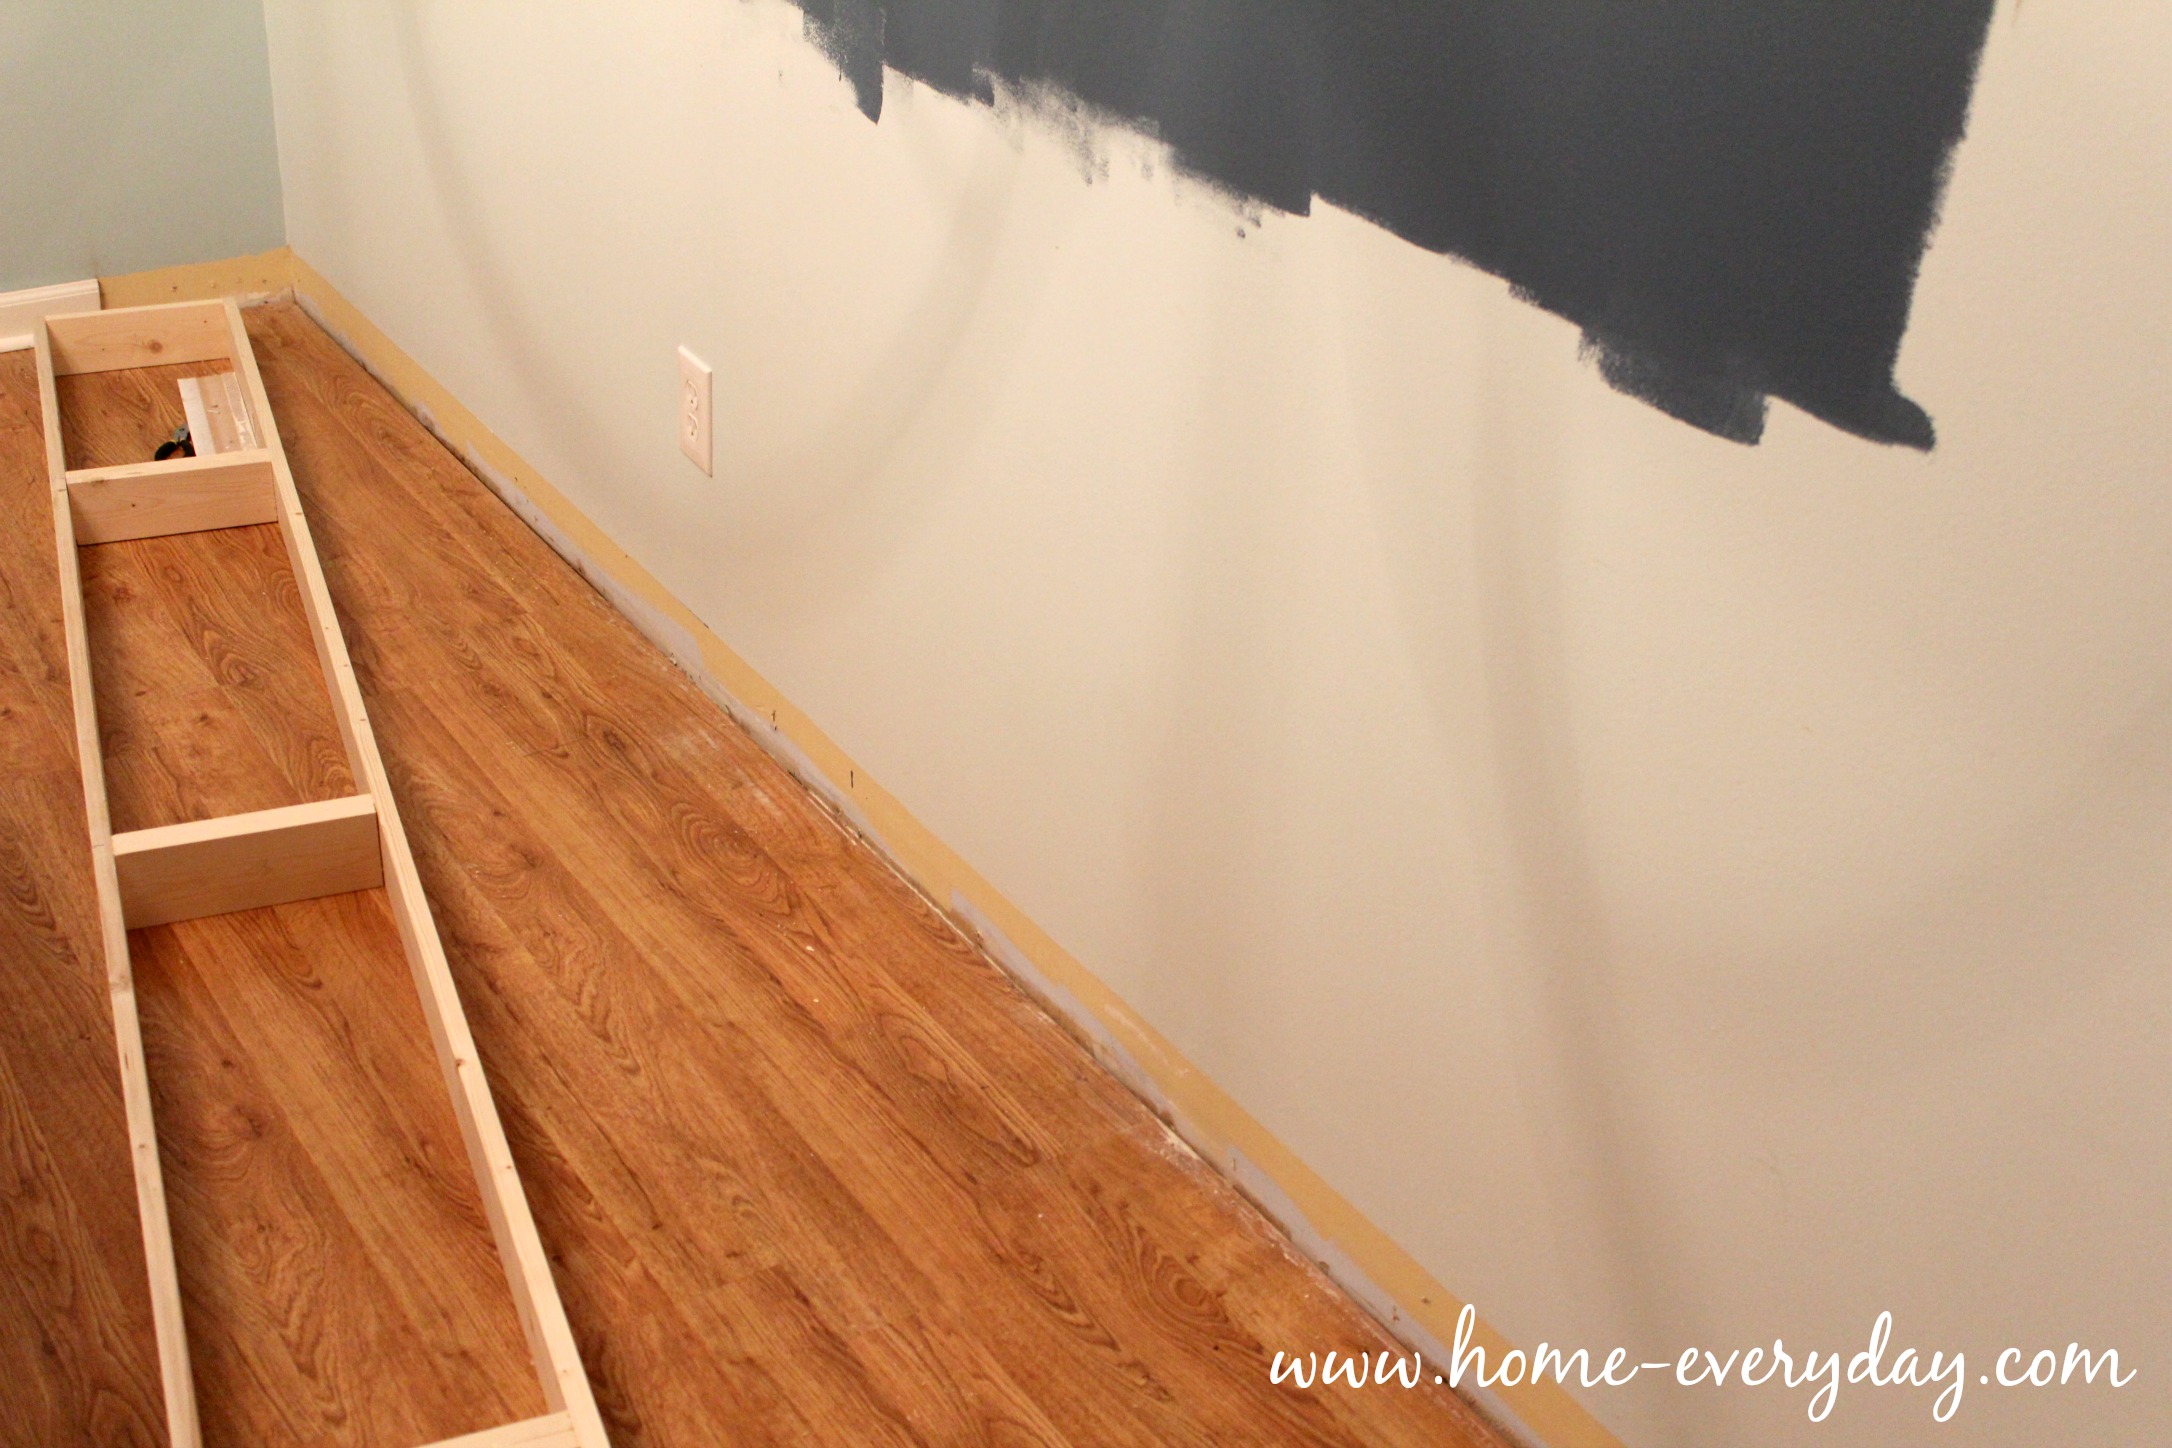
Then, Brian measured (you see a theme here, right?) the trim and shoe along the wall and marked where the new built ins would be, and cut that portion of the trim out. This way, the built in cabinets and shelves would be right next to the wall without any gaps, would be more easily affixed to the wall, and we wouldn’t have to cut into the cabinets.
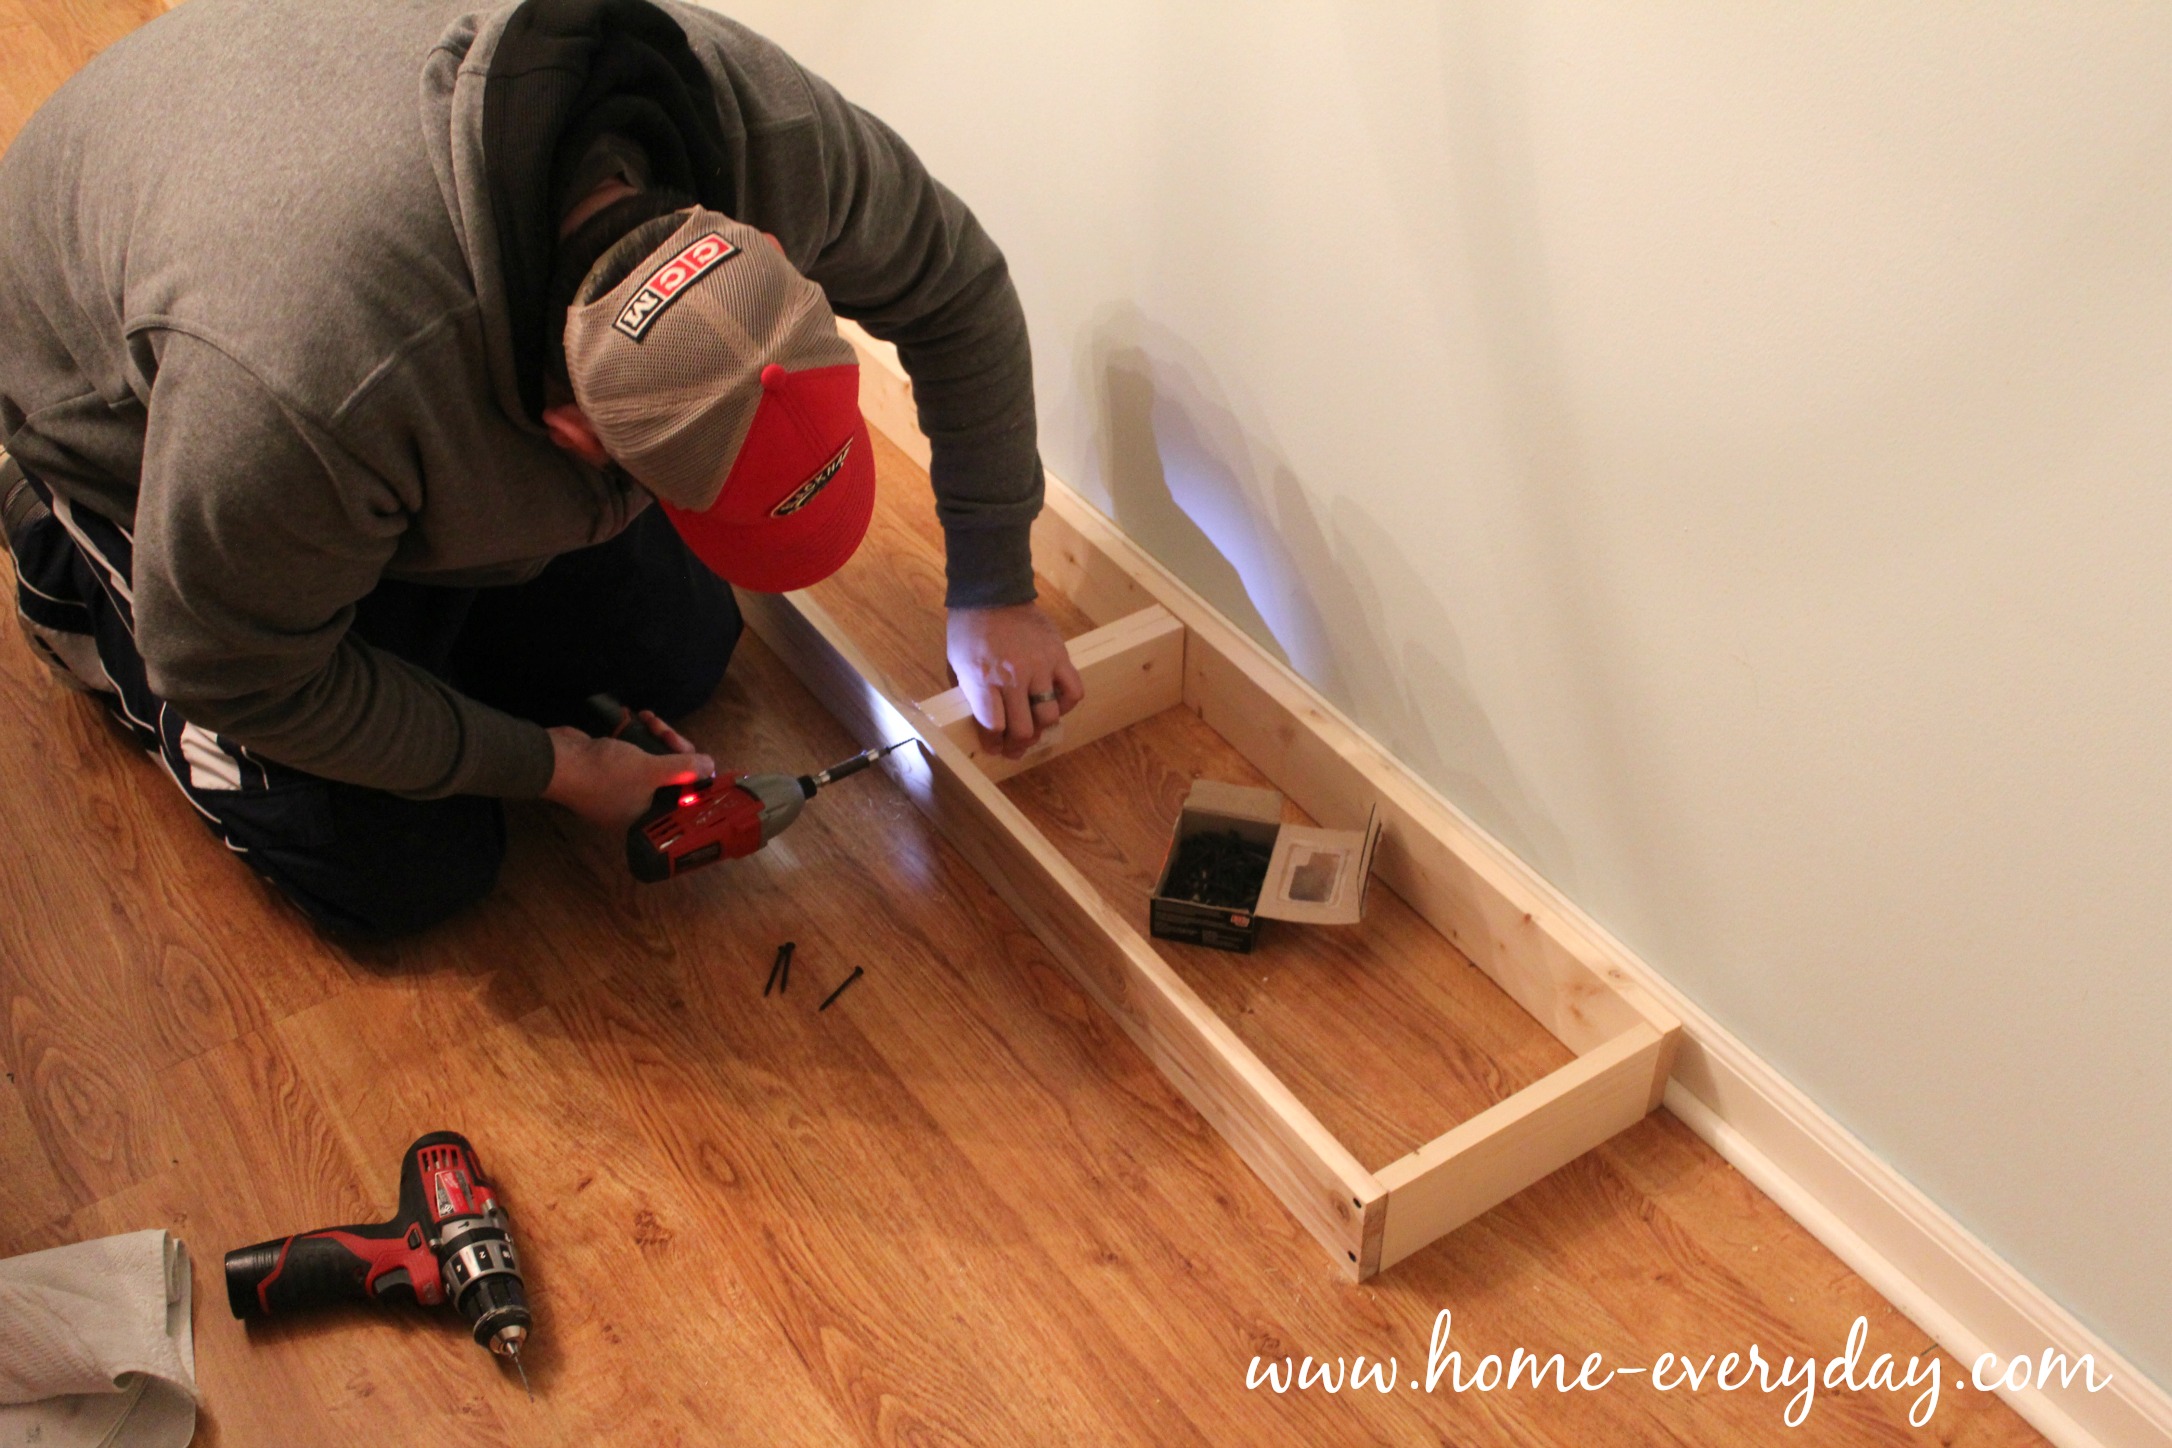
Next, Brian built a base for the cabinets to sit on. The reason for the base was that we used UPPER stock cabinets the closed bottom storage for our built ins. This was because, uppers are only 12 inches deep, and don’t have built in drawers. This way they would take up less space in our already narrow dining room. If we would have set the uppers right on the floor, the cabinet doors would have dragged right along the floor, and also they would have have been has sturdy. To create the base, Brian used 1″ x 4″ common board and created a 10′ x 1′ rectangle that fit perfectly along the wall into the gap created by the cut out trim. Then he reinforced the base by screwing in 1 foot boards to line up where edges of the cabinets would sit. Finally, we affixed the base to the wall.
Then, made a teeny mistake. We have an outlet on the wall that we don’t entirely want to cover up because we I think it might be cute to have a lamp sit on the open shelves. So, Brian had to cut a hole in the back of one of the cabinets, in order to have access to the outlet. We messed up a little with our measurements, and ended up cutting a much bigger hole than necessary. Hey, at least we knew to keep access to the outlet.
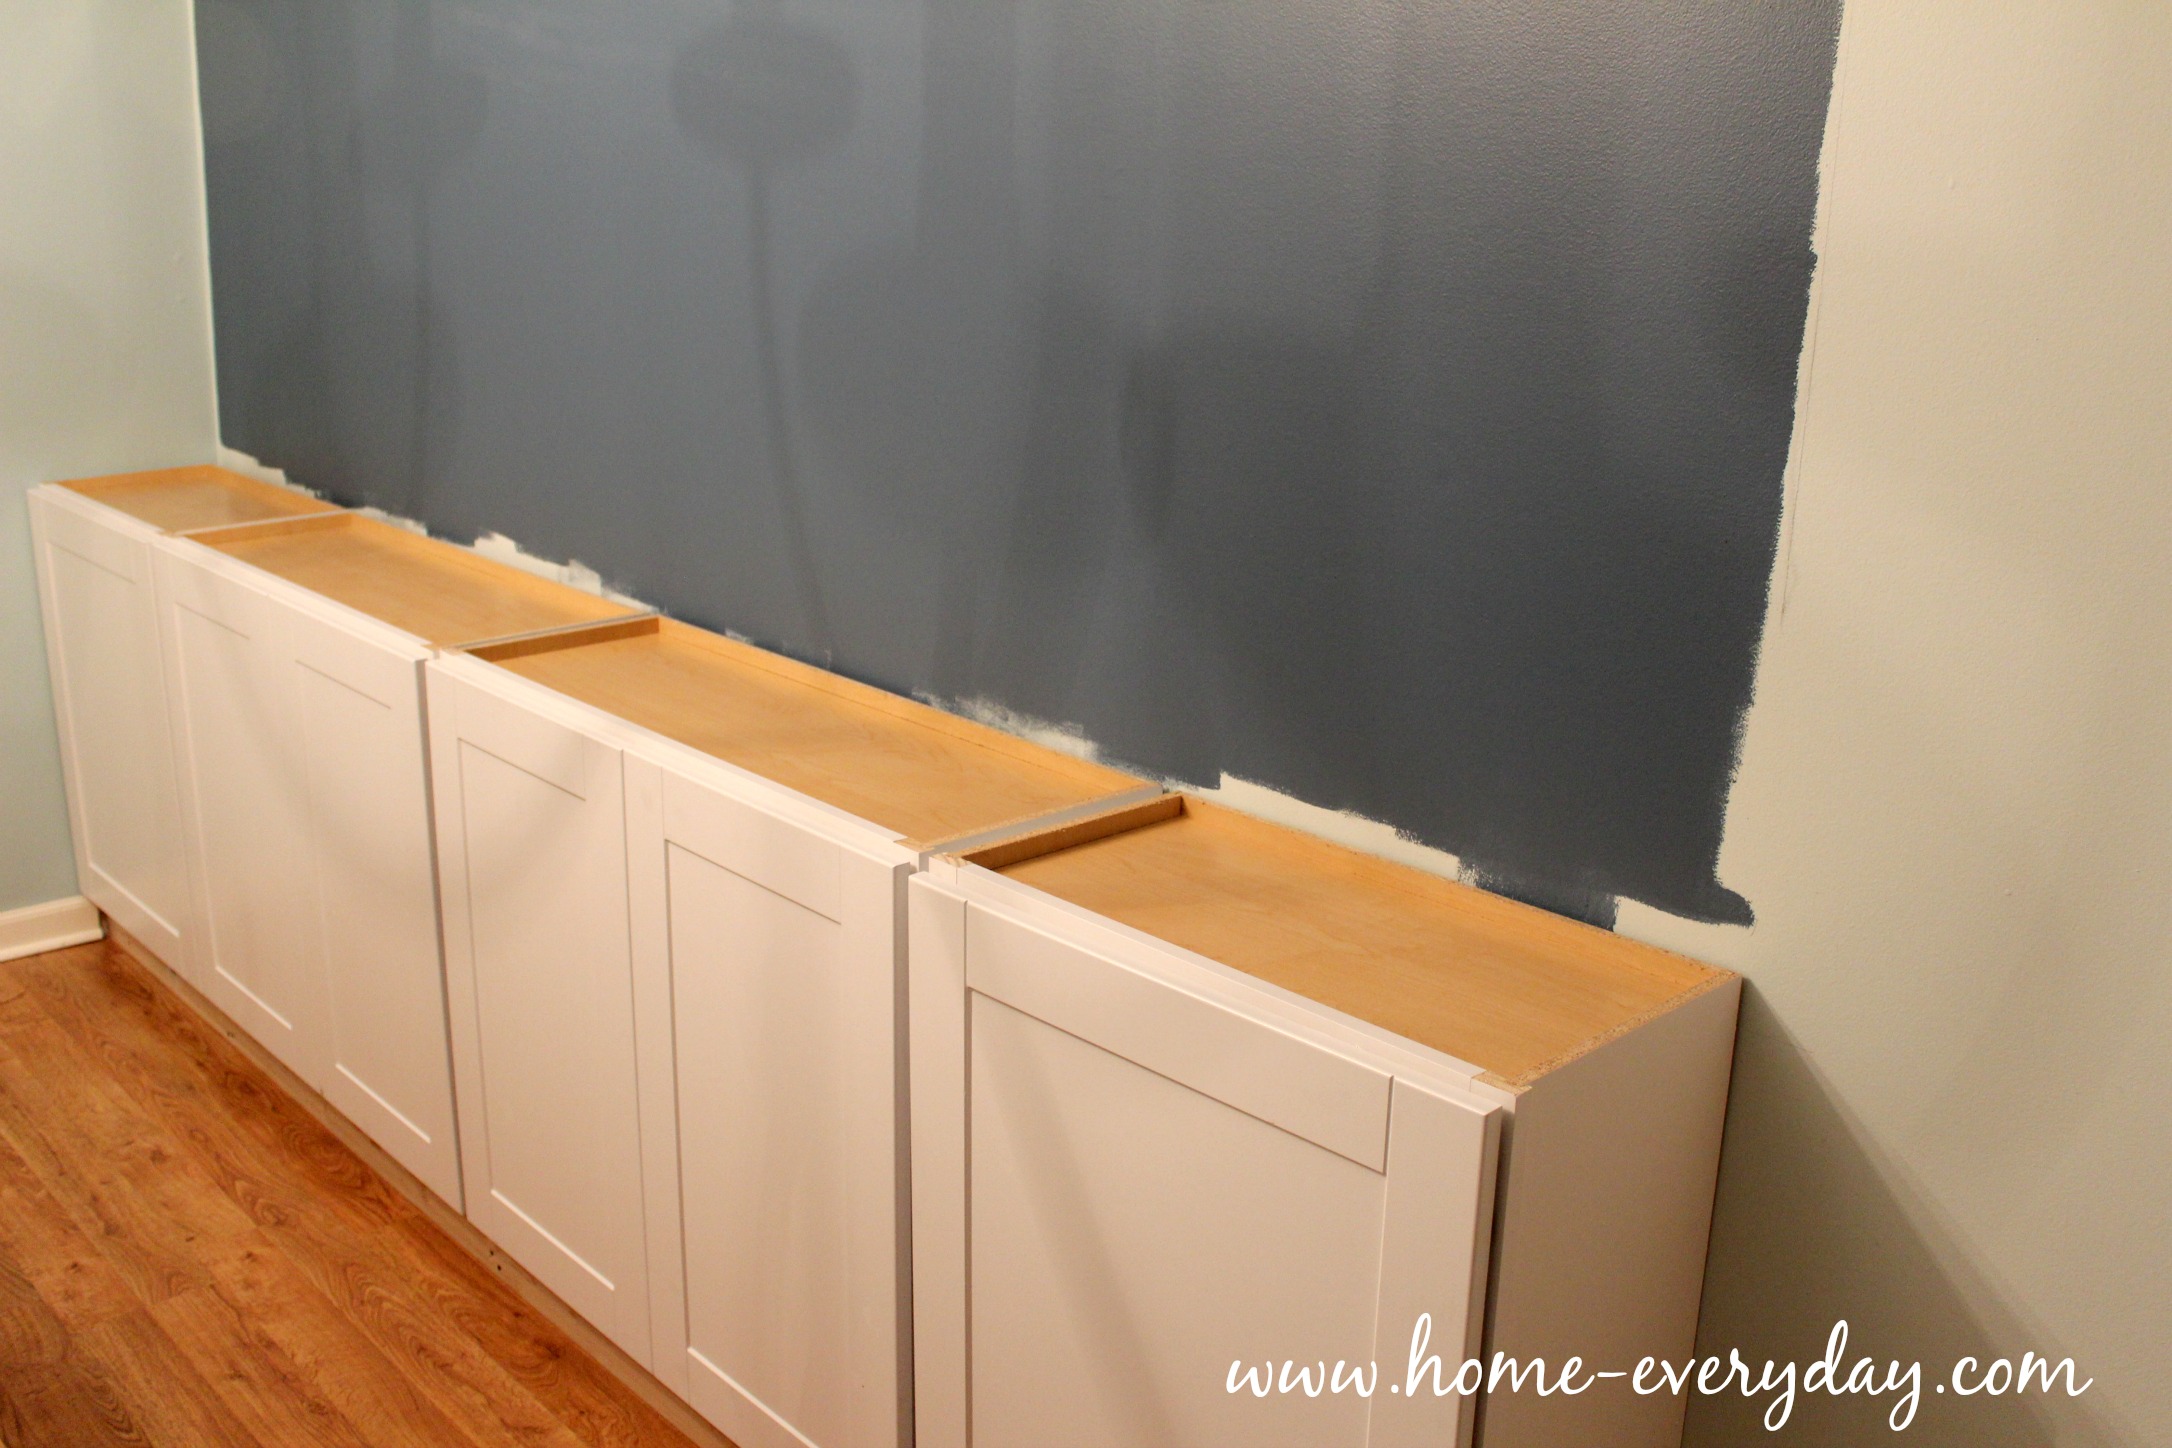
Next, we set the cabinets on the base. Starting with the outside edge (not against the corner wall because it is not plum or level in our 1975 settled house) we set each cabinet in place.
Then, we clamped the cabinets together. and predrilled holes in the base of the cabinets and screwed the cabinets together.
Then, using a level, and many many shims. We made sure all the cabinets were perfectly level. We screwed the cabinets to the wall using shims for support, and making sure that we were screwing the cabinets into studs. Pro Tip: If you are unsure where studs are, you can use a stud finder. To double check, using a measuring tape and a pencil, from the corner of a room or an outlet (outlets and switches are often affixed to studs) and measure every 16 inches (or the red numbers in house on your tape measure) and mark the wall with a pencil. When you drill and the screw pulls tight and doesn’t keep spinning you have hit a stud.
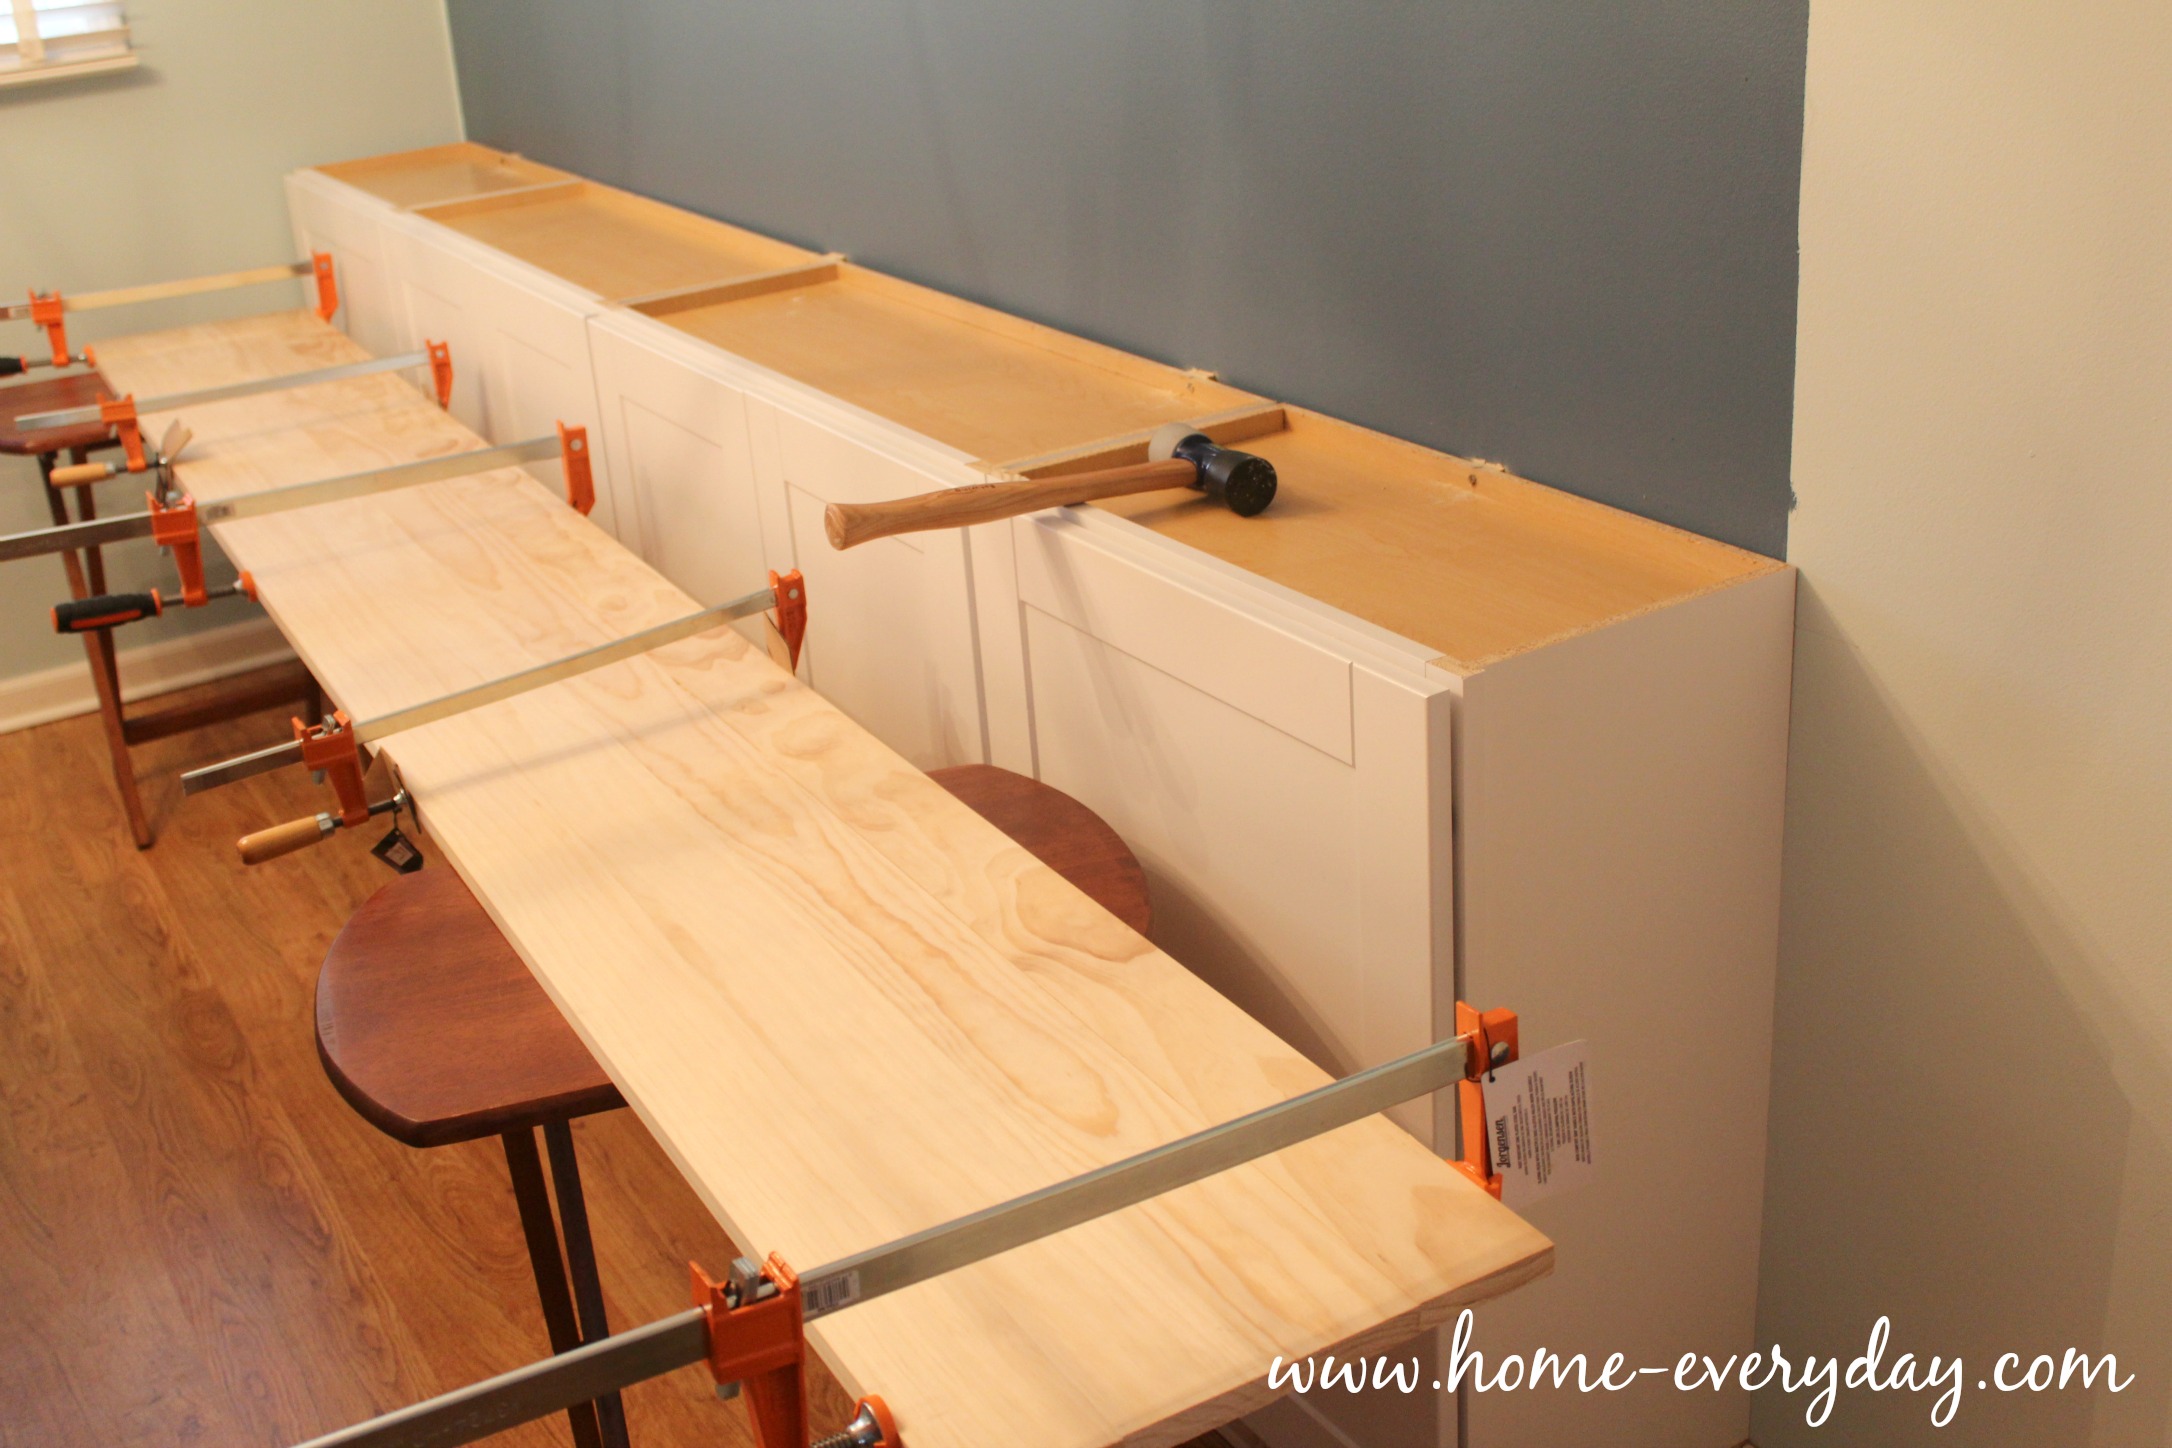
After the cabinets were in securely in the wall, it was time to put together the “counter”. Rather than buy a piece of butcher block, we wanted the counter to mimic the dining table Brian had built a few year ago, but on a smaller scale. Using four 1″ x 3 1/2″ pieces of pine, we created a similar look. Since, we could only buy these boards in 12′ pieces, we ended up cutting them to the length we needed, and made a countertop for the top of the cabinets.
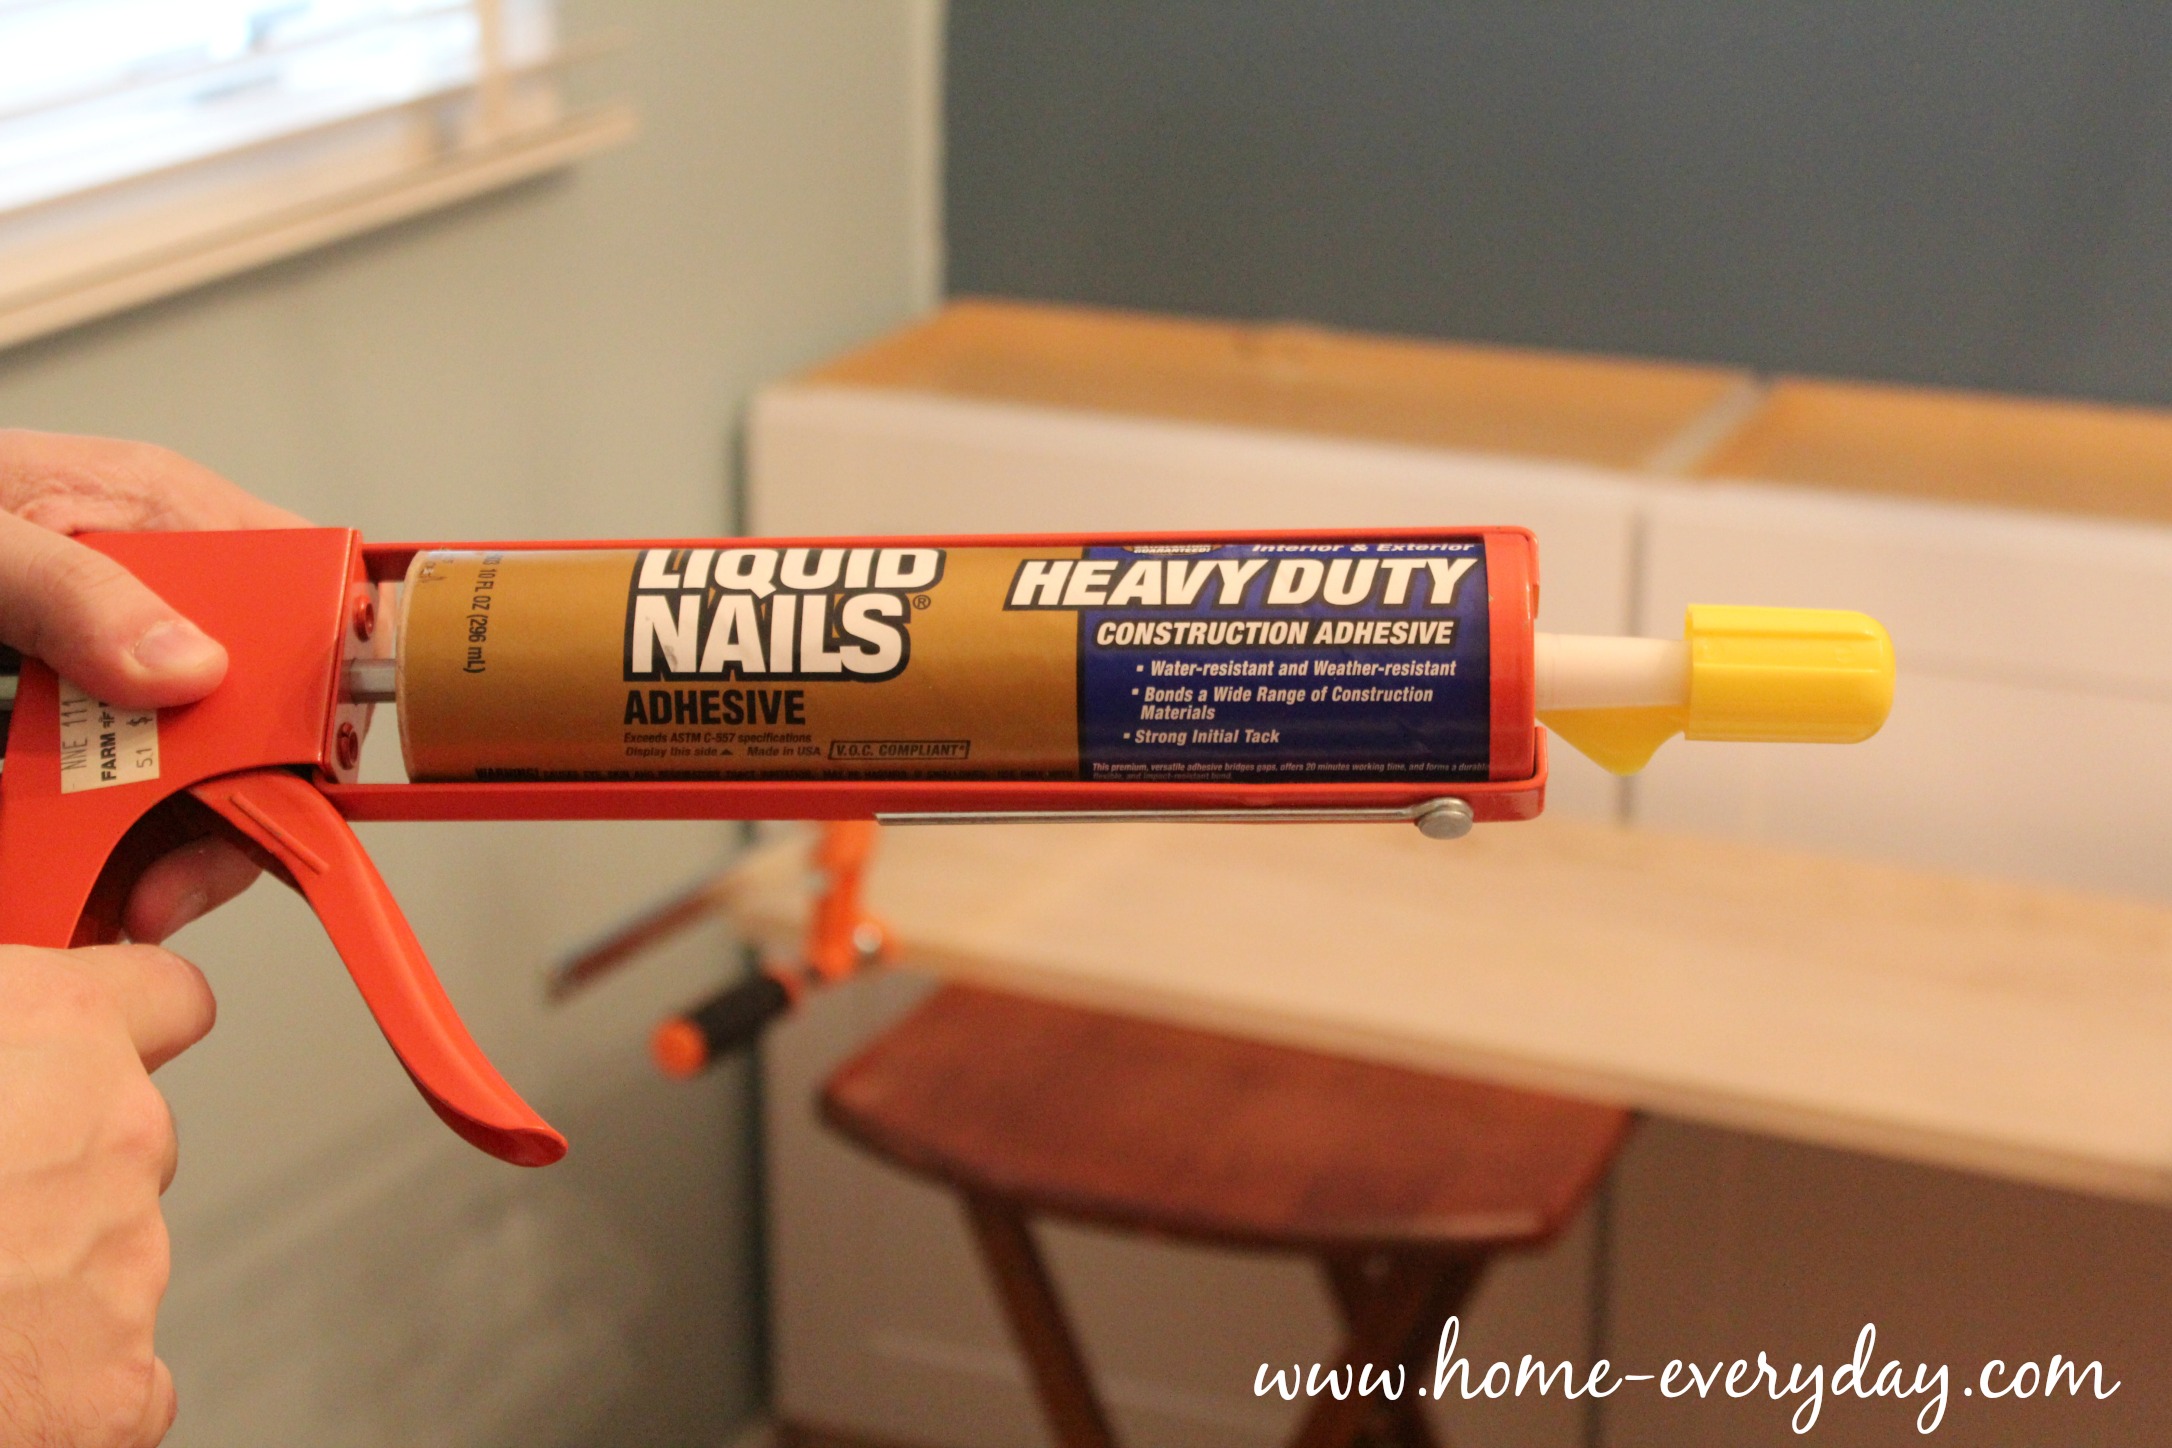
Next, as a recommendation from the handy helpers at Home Depot, using Liquid Nails and clamps. Pro Tip: It never hurts to tell the people at Home Depot or your hardware store what you’re up to. Often times, they have lots of tips and tricks to help you with your project and are willing to help.
We glued the boards together lengthwise, and used clamps to hold them together. We let the boards dry longer than the recommended time. Pro Tip: Make sure to wipe any excess Liquid Nails that oozes out between seams with a wet cloth right away. It is easier to remove when wet than dry, and will help with a smooth finish.
After it dried, we removed the clamps. Then, I sanded, stained (three coats just like the table), and poly-ed it.
Which brings us to today.
Exhausted, and looking forward to/prepping for Phase 2, the upper open shelves.
Did you ever have a project that got out of hand quickly? Share in the comments.