Oh YEAH! Yesterday was deliciously warm, dare I say summer like. Instead of bundling up for soccer practice we wore shorts and the kids were actually sweaty. It.Was.Awesome!
Now that we will be outside more and exercising more, we have all been drinking more water around here.
I have to be honest though, after my morning cup of tea and a few glasses of water, by lunch I’m adding lemon. Water all day just seems a little bland. The self proclaimed Queen of Thirsty Thursday needs a little more zing! You know?
Then, I was thinking to when my sister and I go for our yearly SISTER DAY at the spa and how much I love the SPA WATER there. It is just water infused with just a hint of fresh fruit, veggies, or herbs. I decided to make some flavors of my own, and let me tell you, this is almost as relaxing as a cocktail as it makes me feel like I am back at the spa. Also, there are the added bonuses of no hangover, it is healthy, and no one is judging me for drinking it before 5:00 p.m.
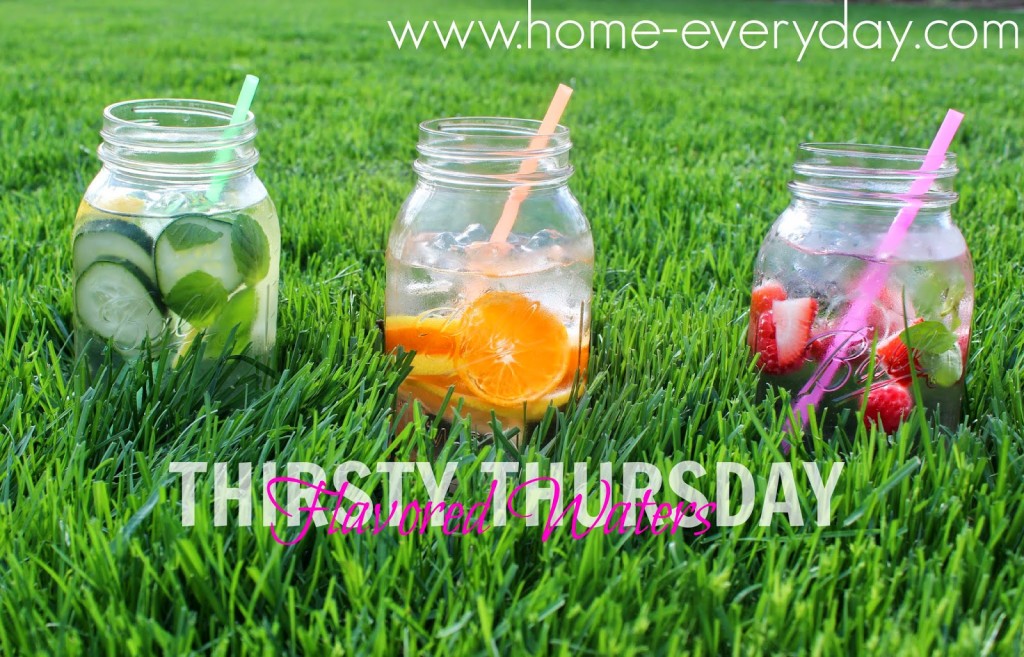
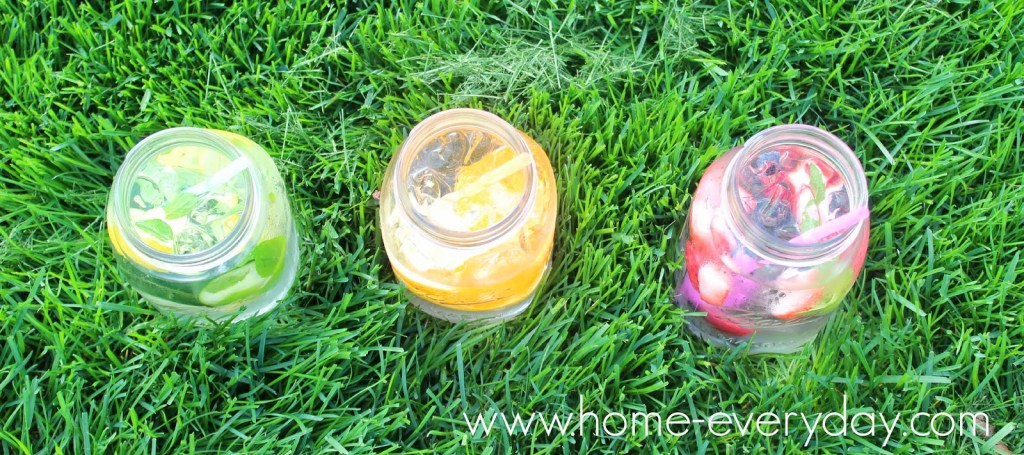
I made three flavors: Minty Cucumber Lemon, Citrus, and Mixed Berry Mint these waters are perfect for making ahead and having to grab out of the fridge all day to stay healthy and hydrated!
Minty Cucumber Lemon Flavored Water (Makes one water bottle worth)
4 or 5 slices of cucumber
4 slices of lemon
5 sprigs of fresh mint
cold water
ice (optional)
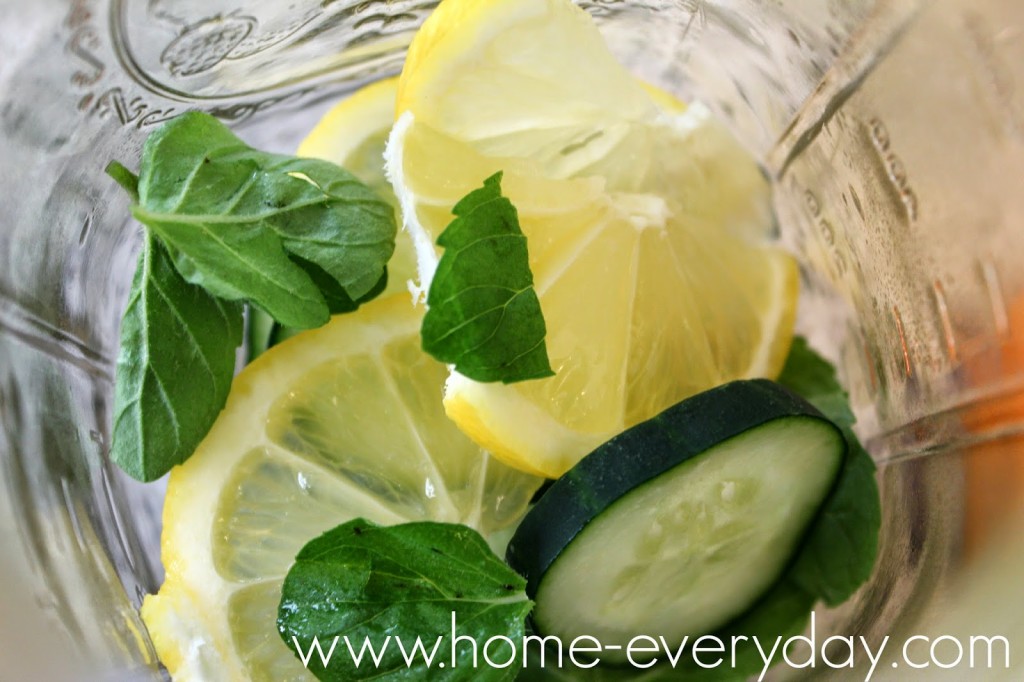
In a large water bottle or mason jar, add cucumber, lemon and mint and add just enough water to cover. (NOTE: This will help to infuse a small portion of the water and then topping off with more water later will help to dilute as there won’t be such a strong flavor, and will also taste fresher.) Store in the refrigerator. When ready to drink or take with you add ice and fill to the top with water.

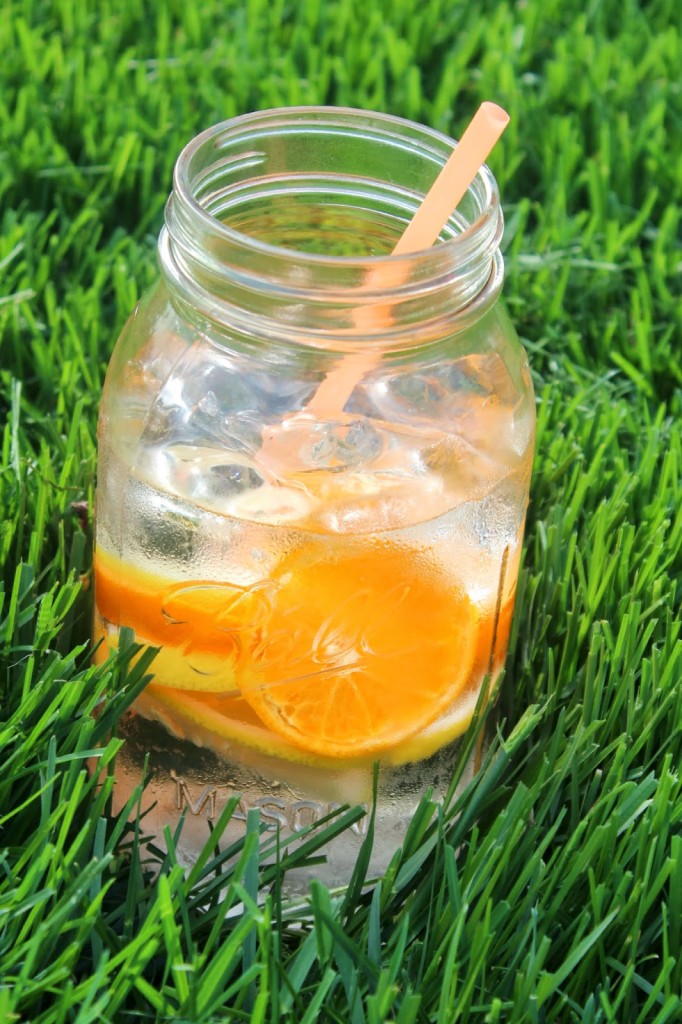
Citrus Water
4 slices of lemon
4 slices of orange
3 slices of lime (optional)
cold water
ice (optional)
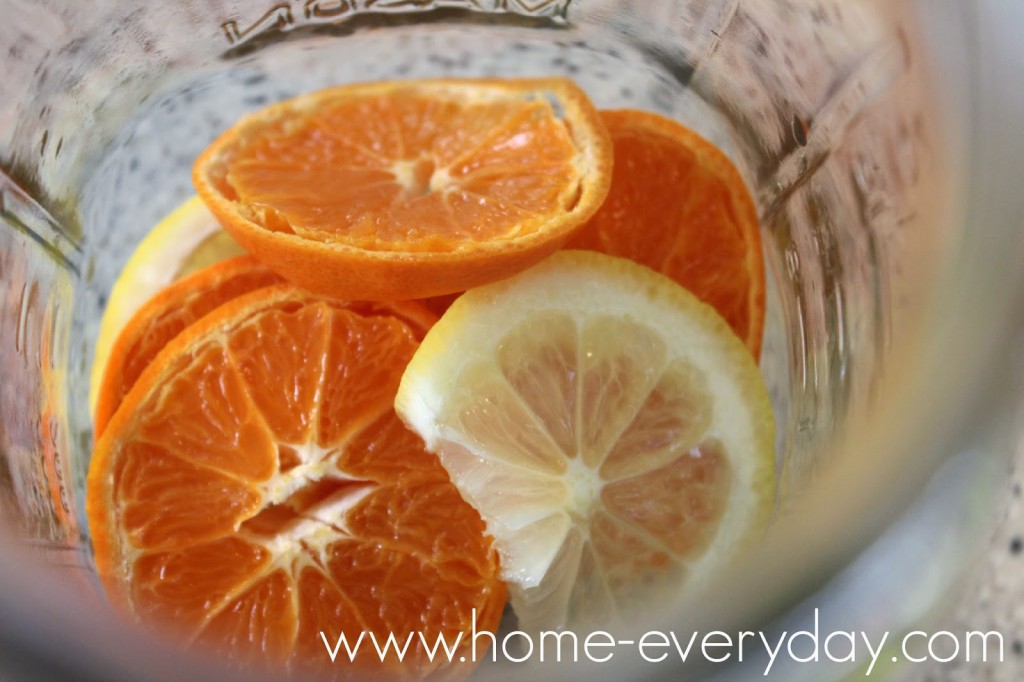
In a large water bottle or mason jar, add lemon, orange, and lime. Then, add just enough water to cover. (NOTE: This will help to infuse a small portion of the water and then topping off with more water later will help to dilute as there won’t be such a strong flavor, and will also taste fresher.) Store in the refrigerator. When ready to drink or take with you add ice and fill to the top with water.
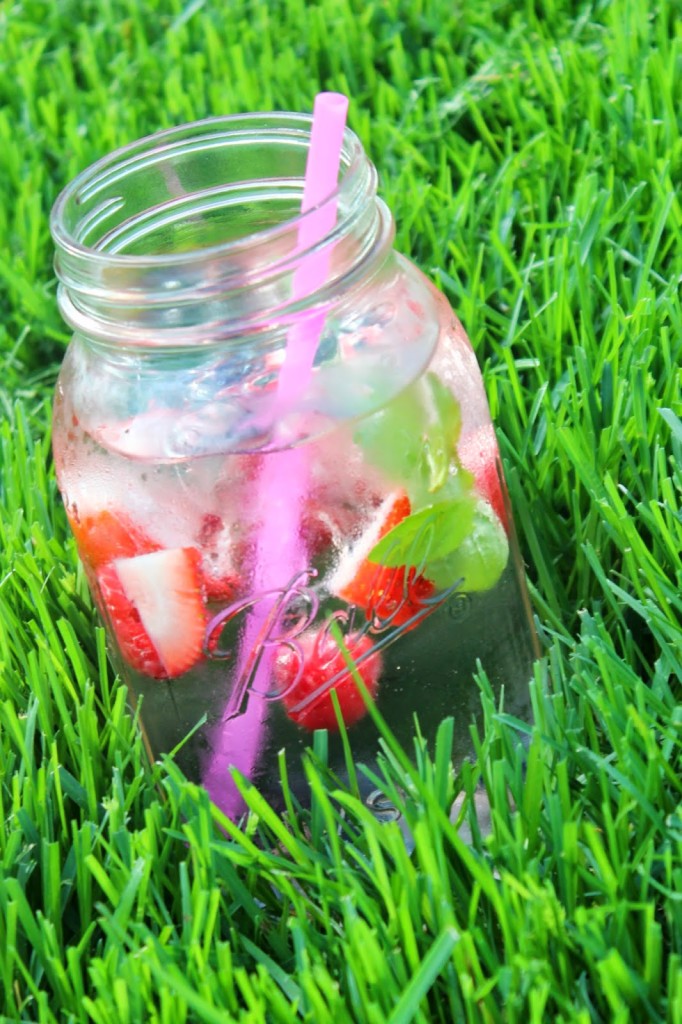
Mixed Berry Mint Water
2 Strawberries cut in half
4 or 5 raspberries
4 or 5 blueberries
4 fresh mint springs
cold water
ice (optional)
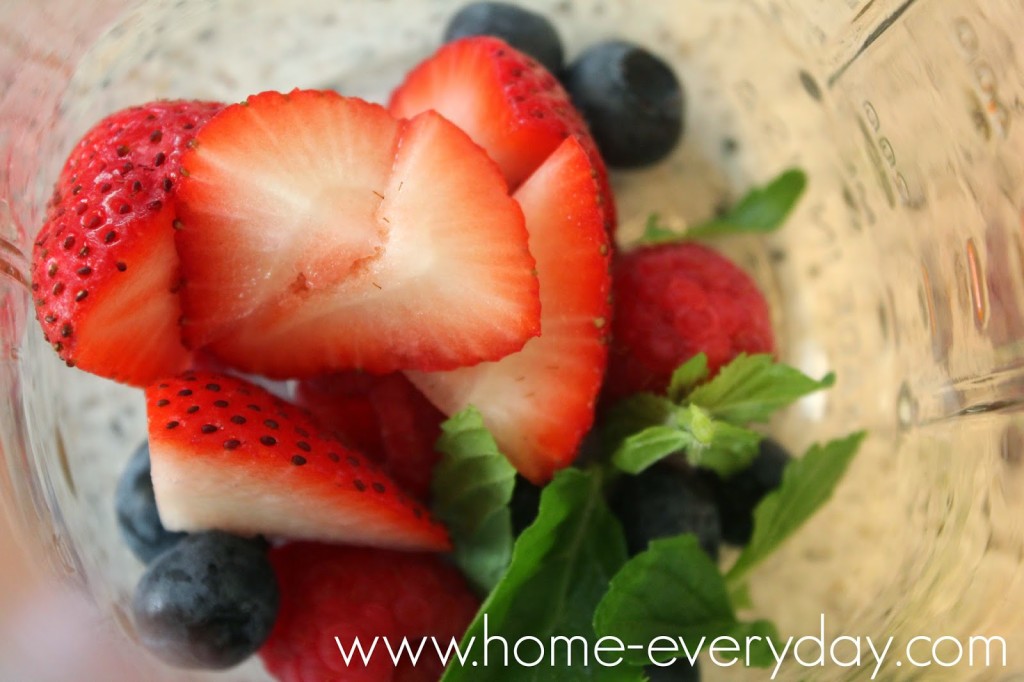
In a large water bottle or mason jar, add berries and mint. Then, add just enough water to cover. (NOTE: This will help to infuse a small portion of the water and then topping off with more water later will help to dilute as there won’t be such a strong flavor, and will also taste fresher.) Store in the refrigerator. When ready to drink or take with you add ice and fill to the top with water.
What flavors of what do you think you could come up with?

If you love all things beverage related, check out the THIRSTY THURSDAY page for recipes for all kinds of drinks, cocktails, and all things drinkable!
If you like this post and would like to read more about all things domestic with a touch of humor, become a Home Everyday follower! For blog updates or to see other places I write such as ChicagoNow or Chicago Parent follow Home Everyday on Facebook, Twitter, and Pinterest.