Tag

vanilla

More Vanilla Please: Traditional Vanilla Ice Cream Recipe

This shop has been compensated by Collective Bias, Inc. and its advertiser. All opinions are mine alone.  #NestleHolidayBaking  #CollectiveBias

Sometimes, I think it is fun to add some new holiday recipes into my repertoire. Let’s face it, I am a pinning, FacebookingInstagramming and did I mention pinning junkie this time of year. Which is why, with the help of NESTLÉ® and Pinterest I have added a few recipes to my arsenal this year.

All of these wonderful resources are really inspiring me to create some awesome things in the kitchen. These are recipes that I will be nice to have in the house for when friends stop by, or even keep on hand to give to a neighbor when I see them out and about. The only problem with recipes like this, is sometimes they are so delicious it will be hard for the kids me to sneak these awesome treats while staying up late to watch my favorite Christmas movies. Especially, this awesome treat I recently made.

Traditional Vanilla Ice Cream Recipe 13

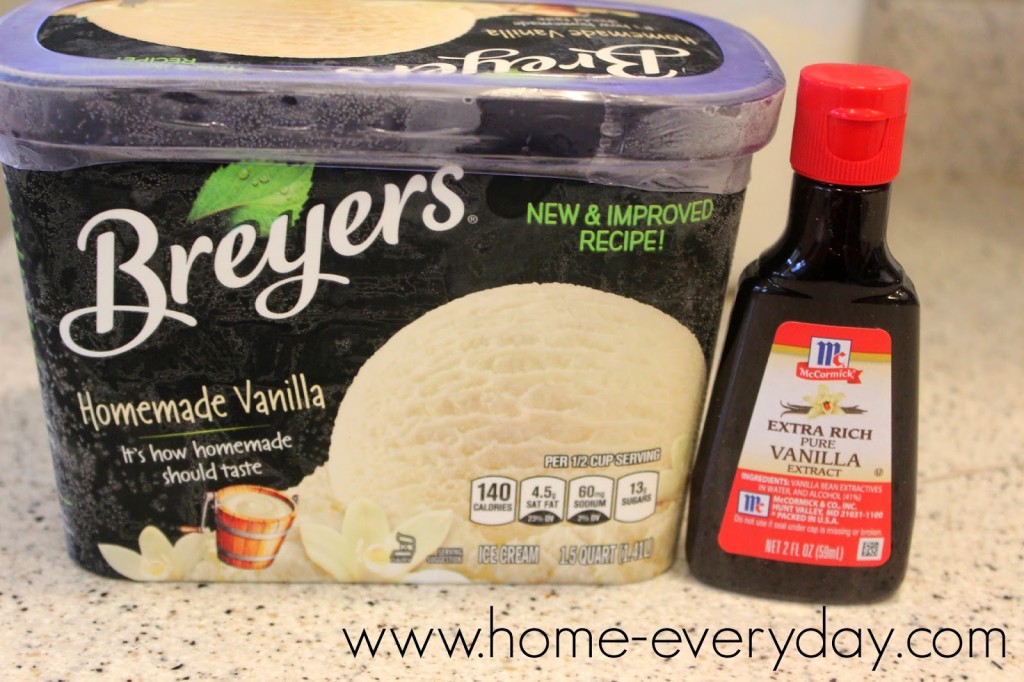
One of our favorite treats is home made vanilla ice cream. It is a home made staple in our house because we like our vanilla ice cream, very vanilla-y (is that a word?). I have made several different versions. Our two favorites are a Philadelphia style version requiring no eggs, and this more complicated version using NESTLÉ® CARNATION® Evaporated Milk, eggs, and a little cooking. This version has a creamier texture and is perfect for the Holiday season.

Traditional Vanilla Ice Cream Recipe 15

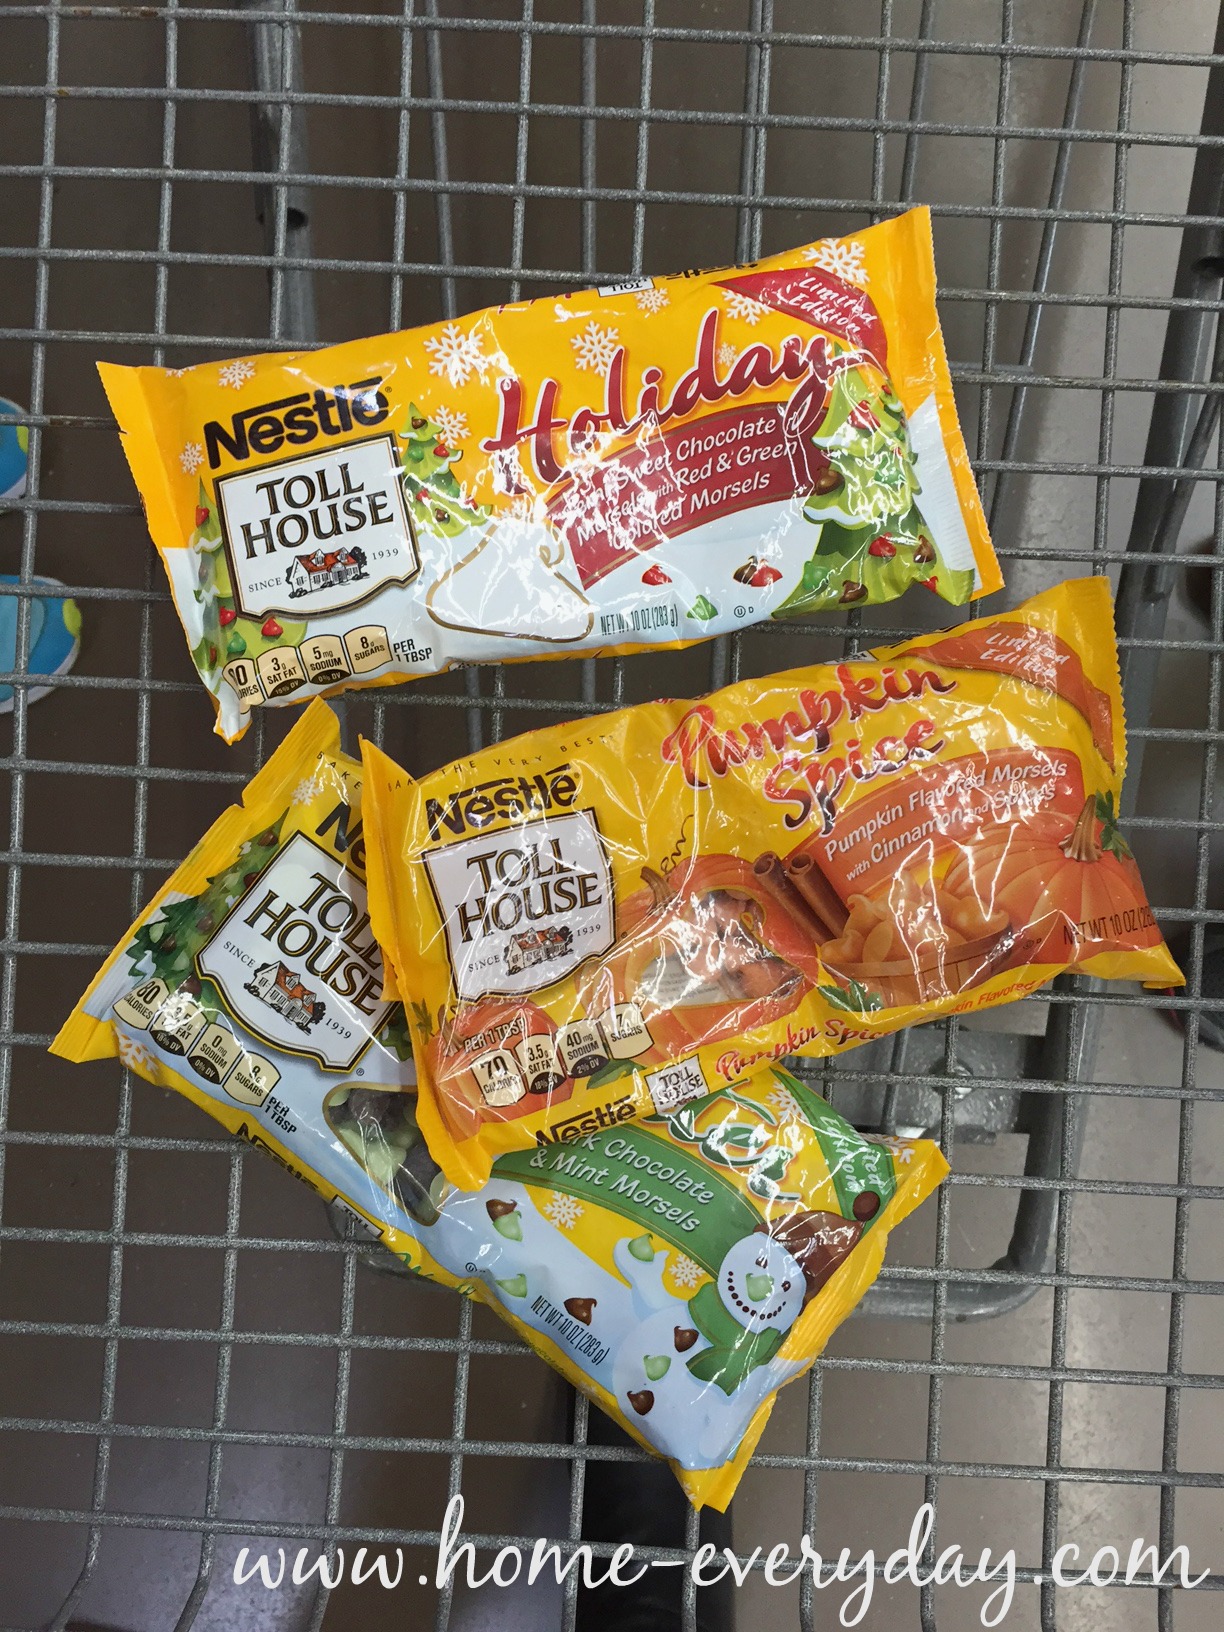
When I was at Walmart to pick up the supplies to make this ice cream, I saw these NESTLÉ® TOLL HOUSE® Red and Green Morsels next to a whole host of awesome NESTLÉ® baking products.

Nestle 1

Nestle 2

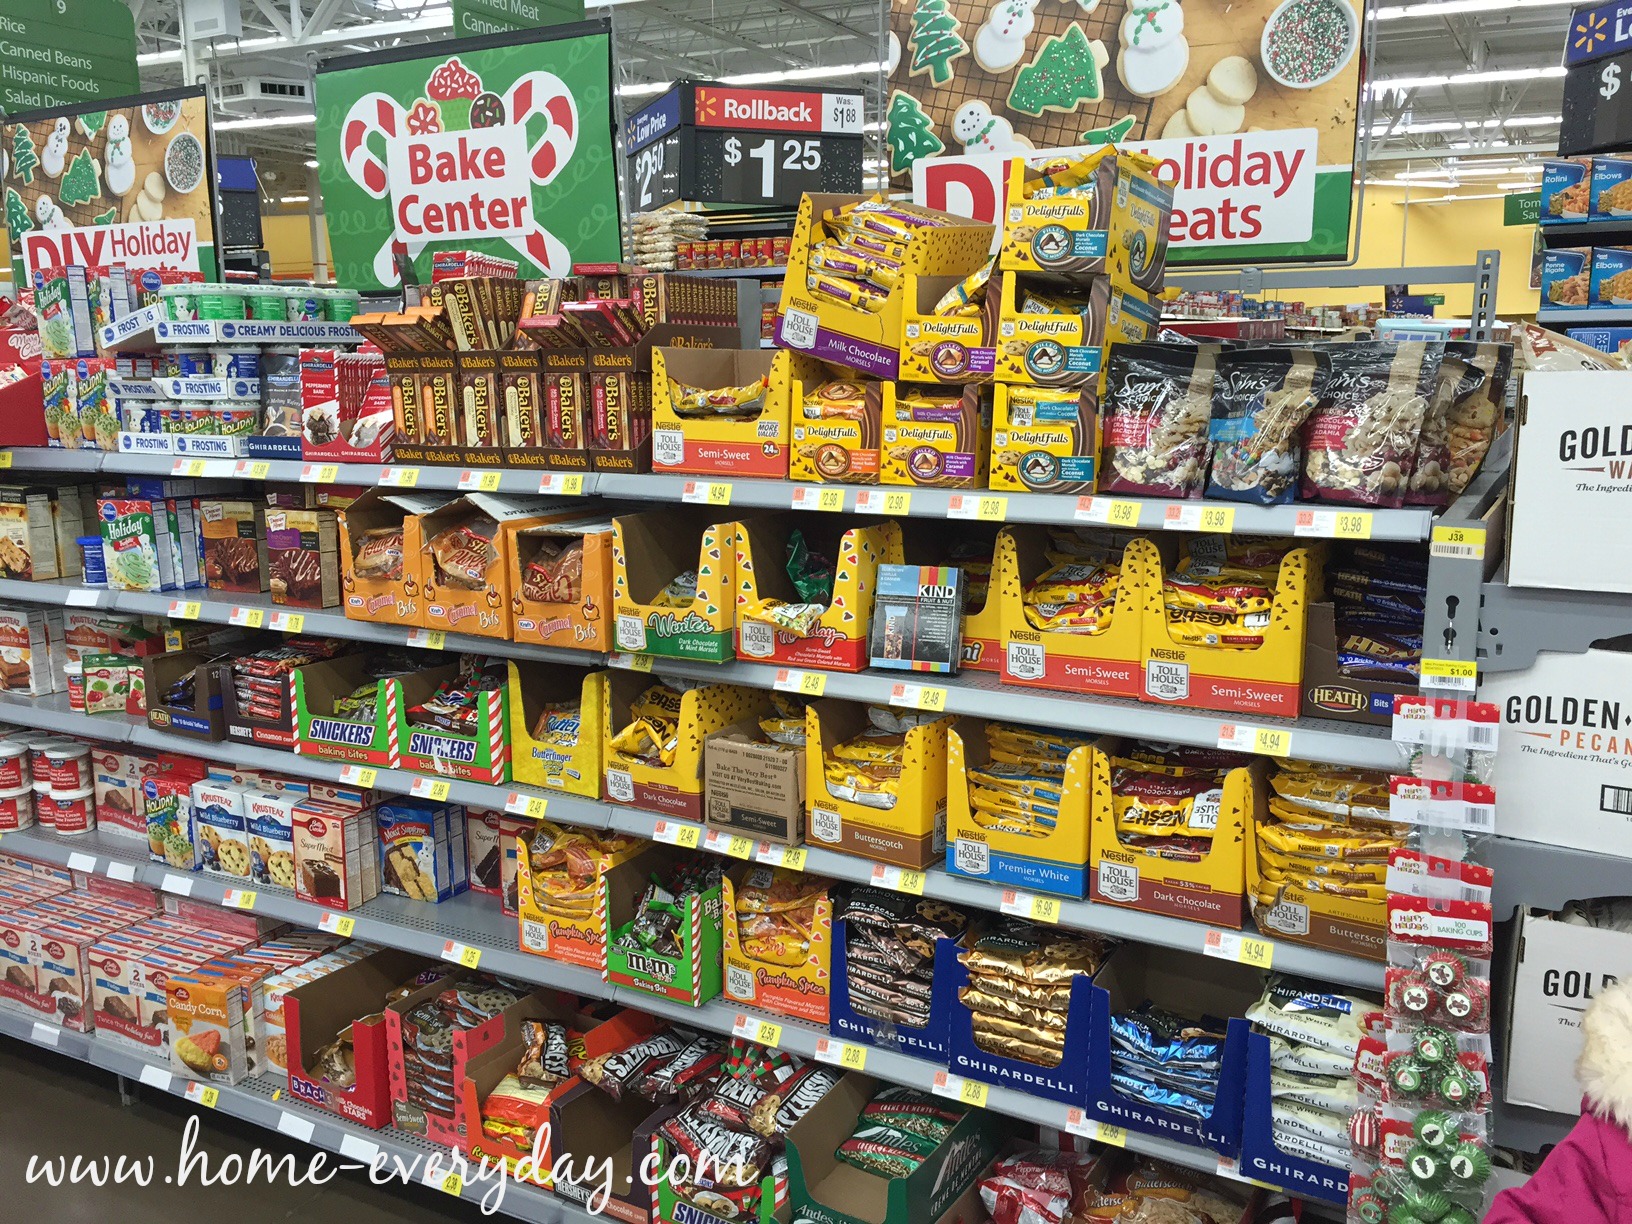
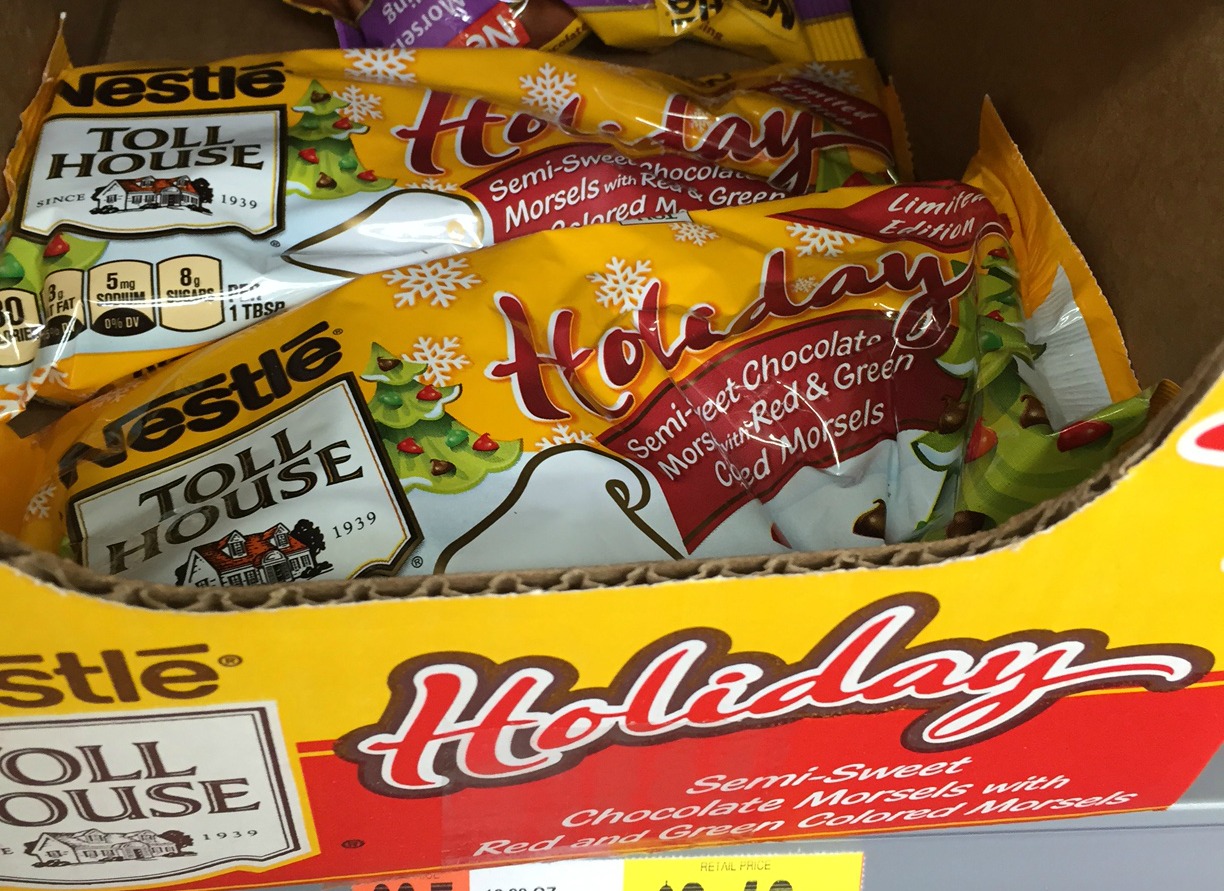
I went a little crazy and bought a bunch of things I needed to get ready for the season. Won’t these Red and Green Morsels be a cute and festive treat for Brian who likes to stir in all kinds of toppings into this classic flavor?

Nestle 3

Traditional Vanilla Ice Cream (makes about 4 cups)

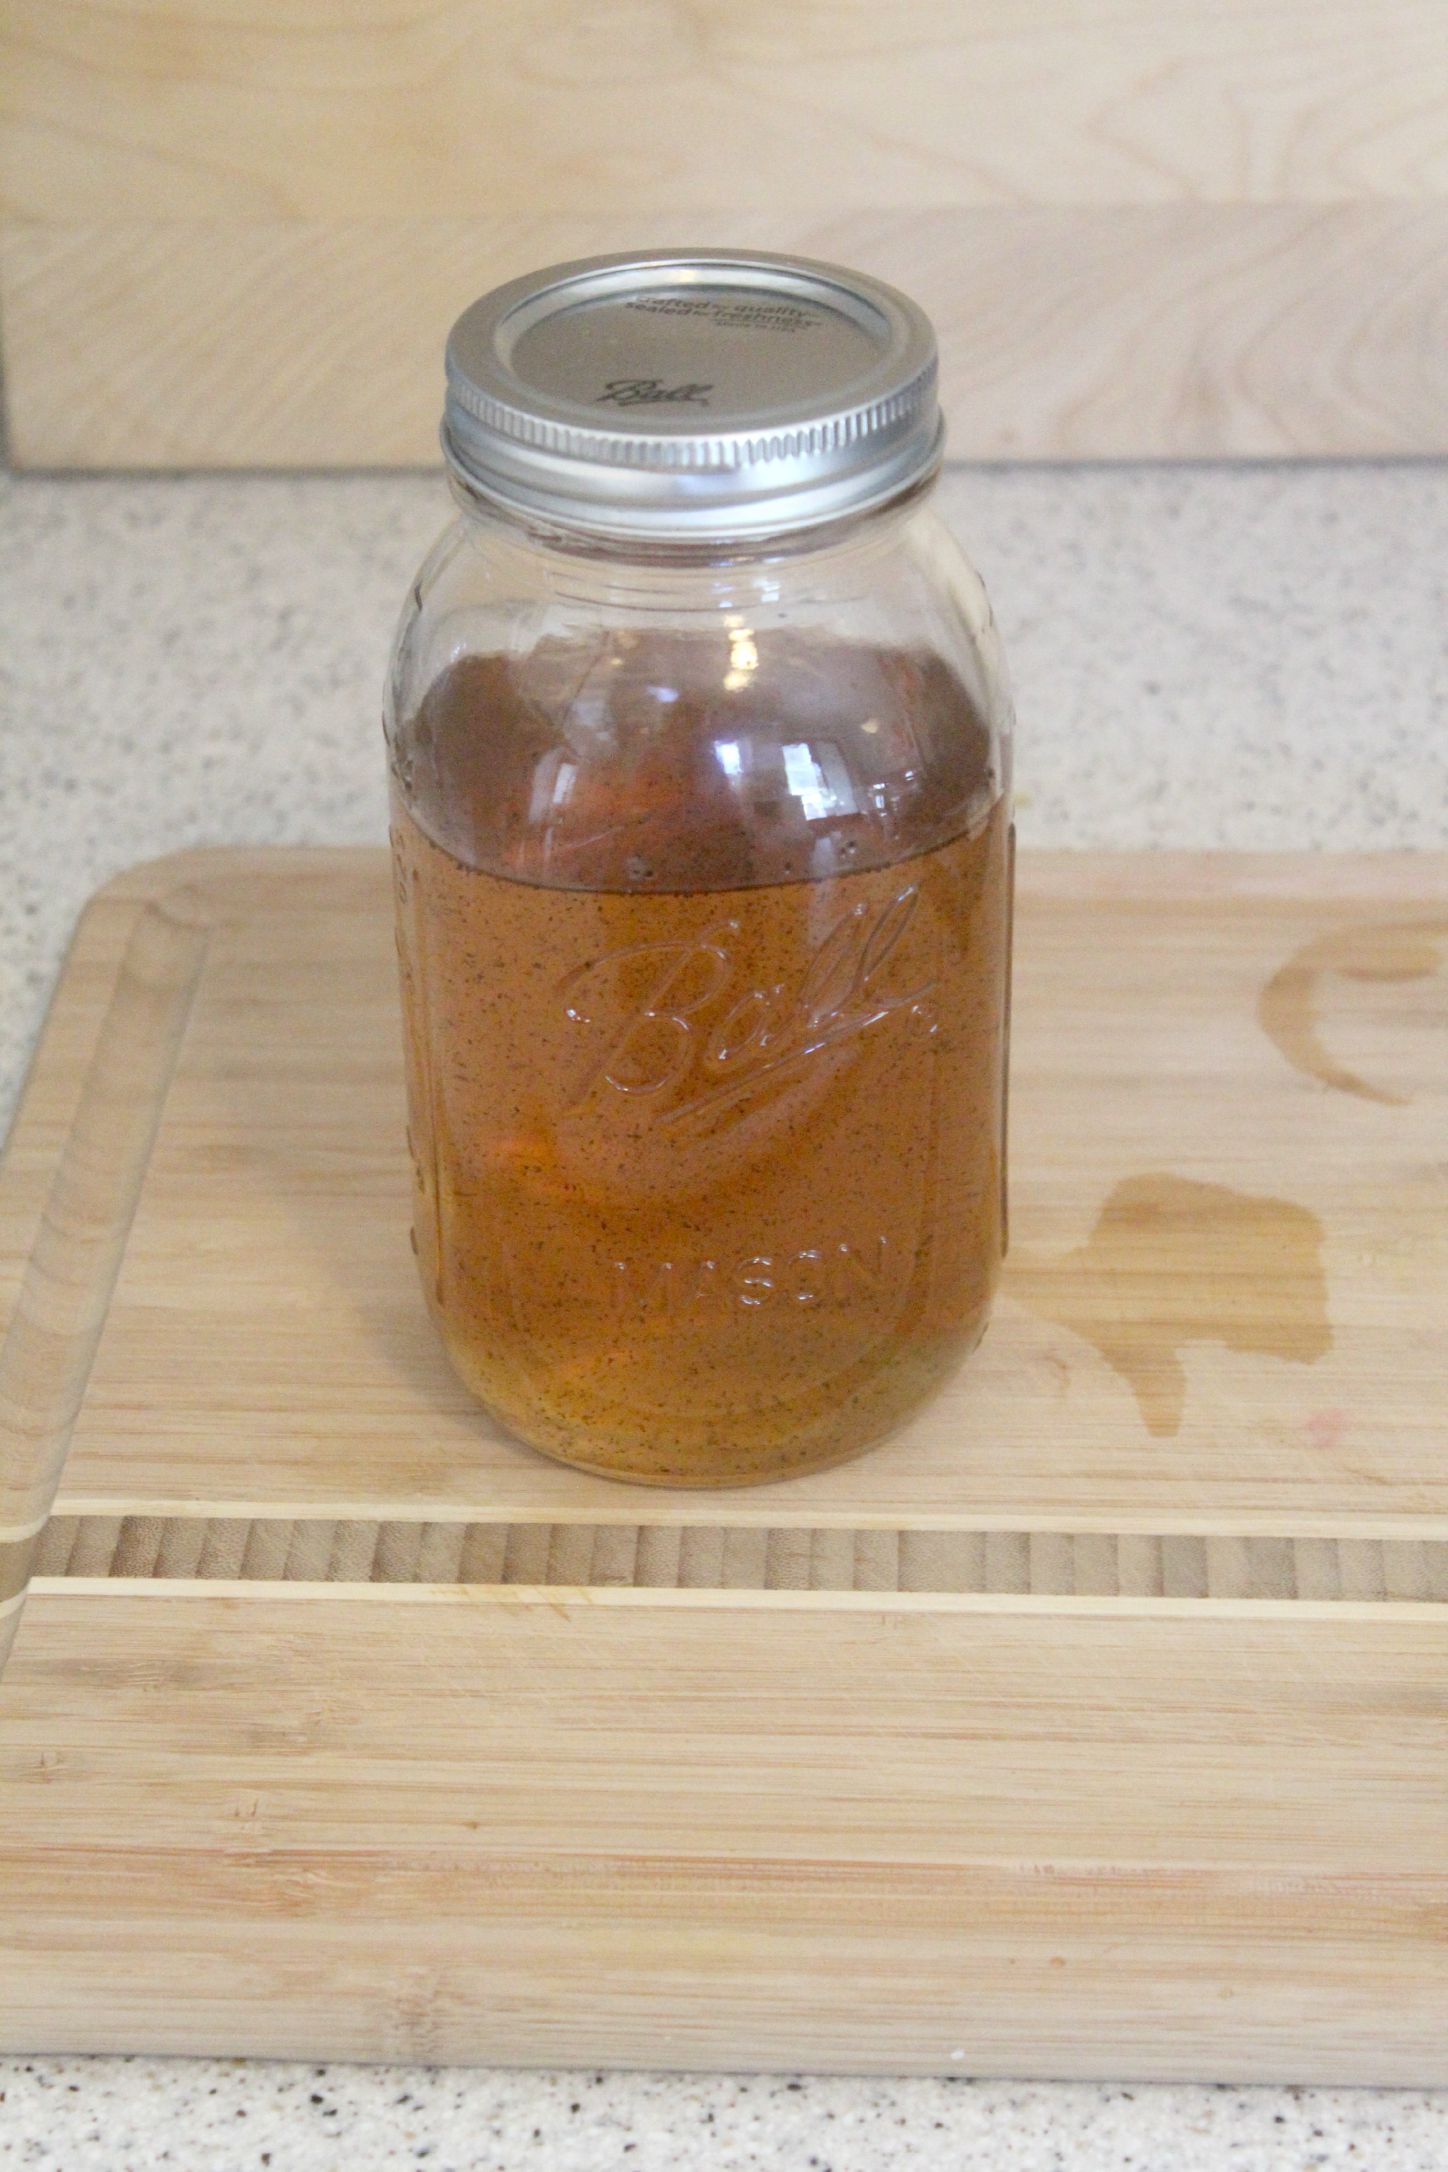
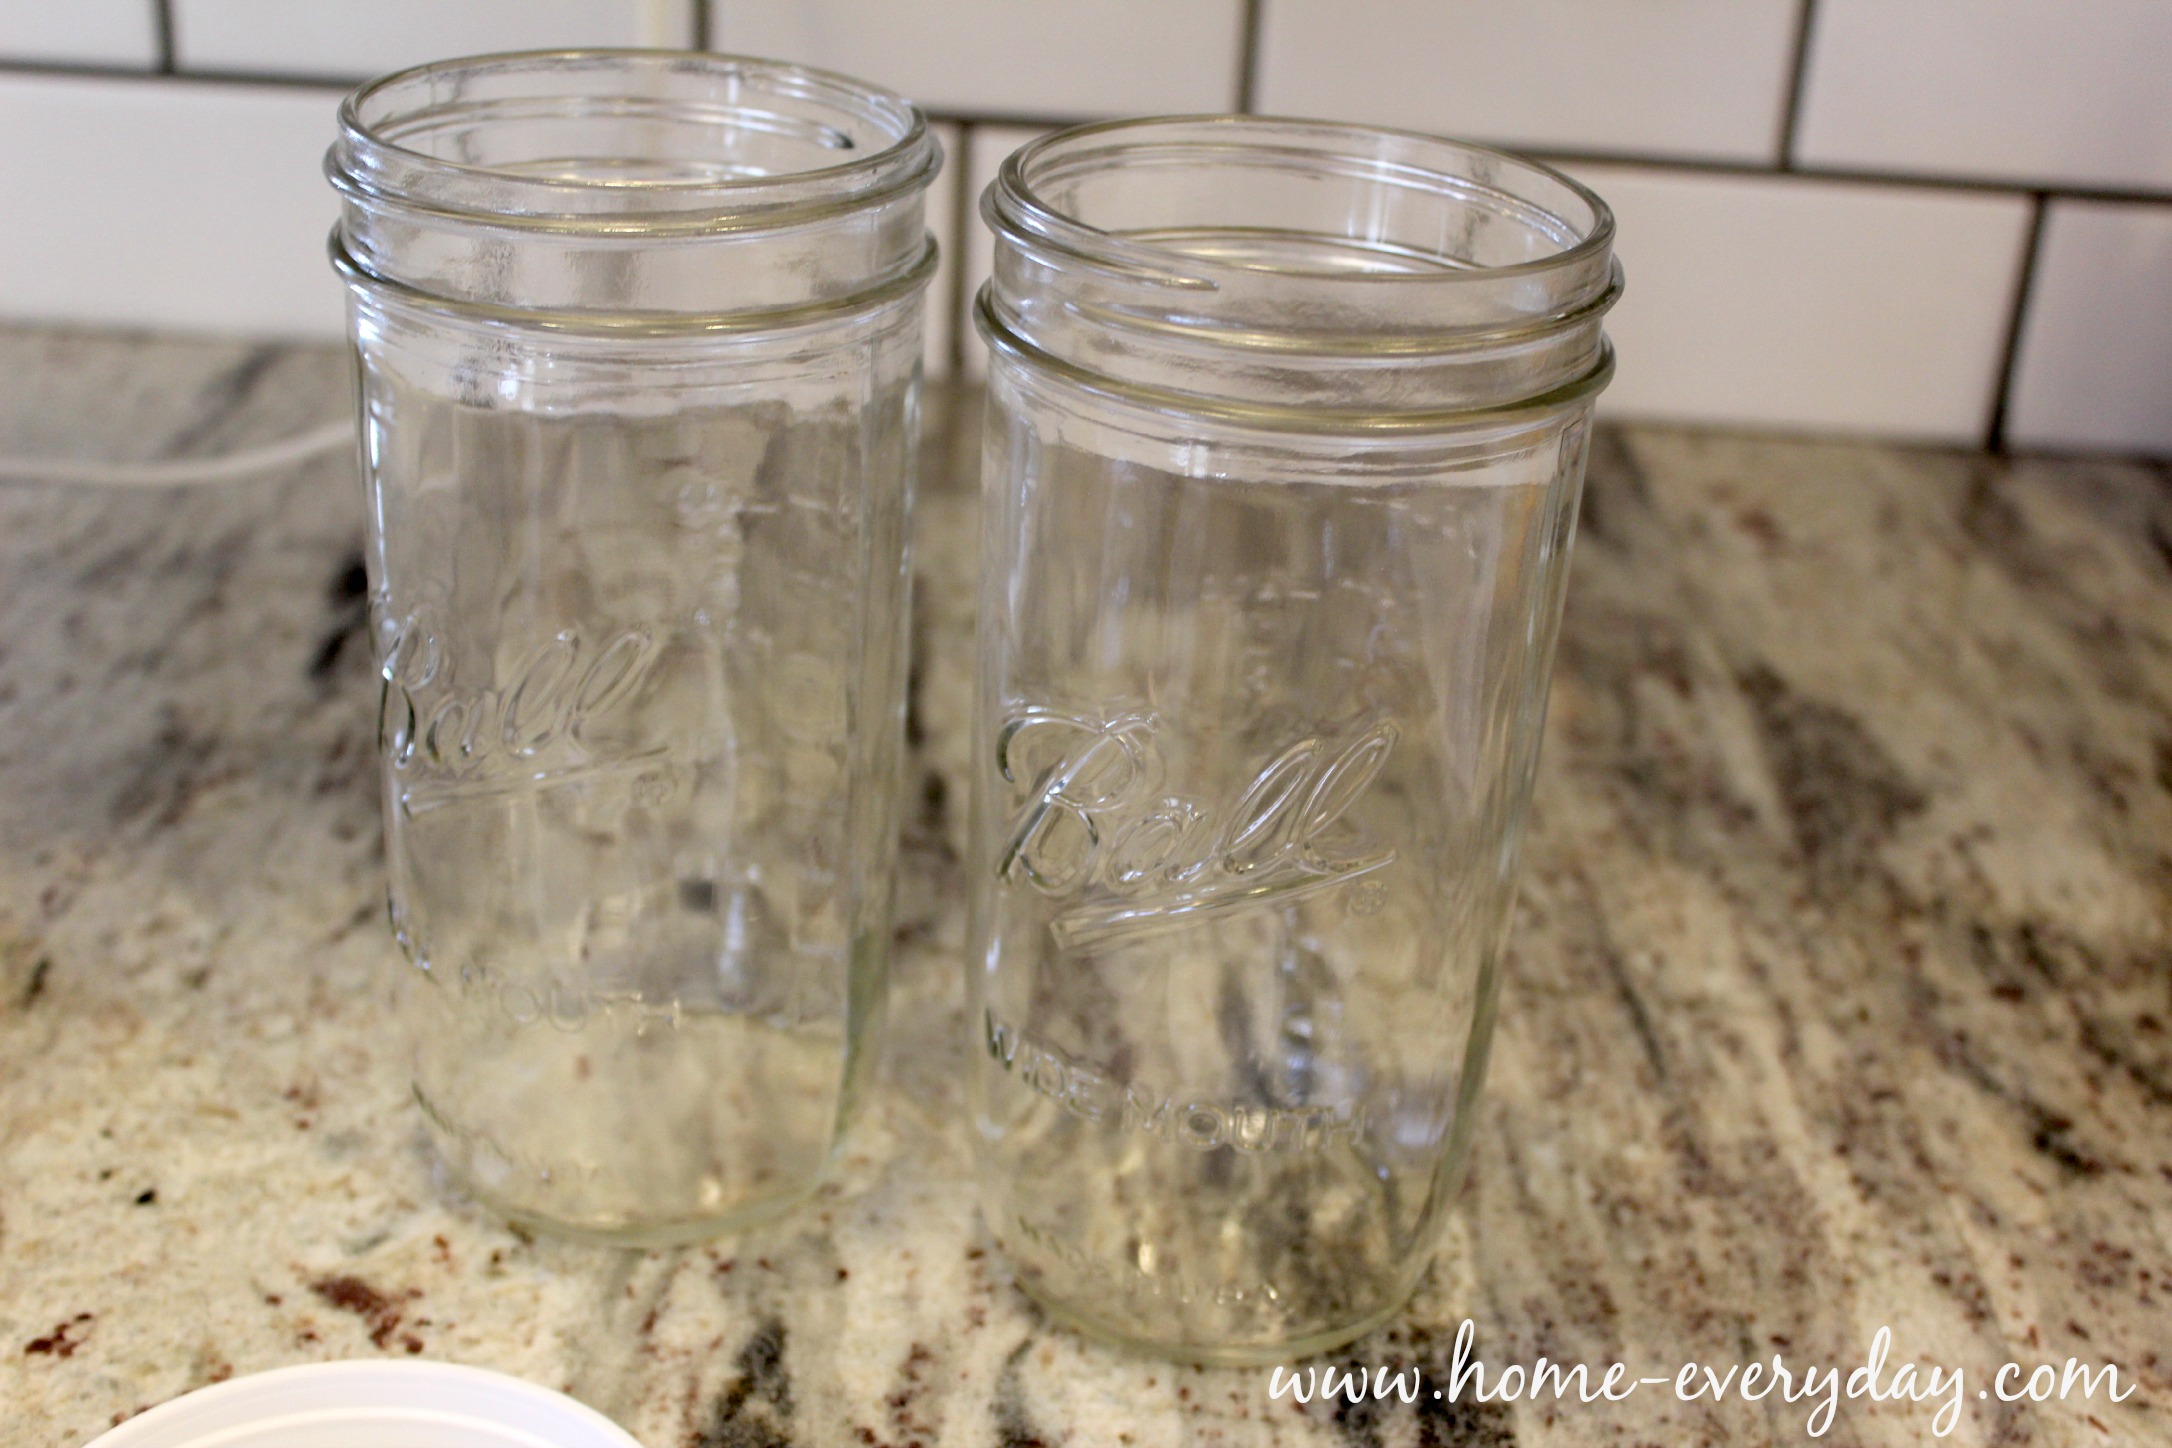
Pro Tip: Before you begin please note this version of ice cream does require an ice cream maker. Please prep your bowl ahead of time in your freezer according your your manufacturer’s instructions. Also, please make sure you have a freezer safe container in which to store ice cream. I used wide mouth freezer safe Mason jars with plastic lids.

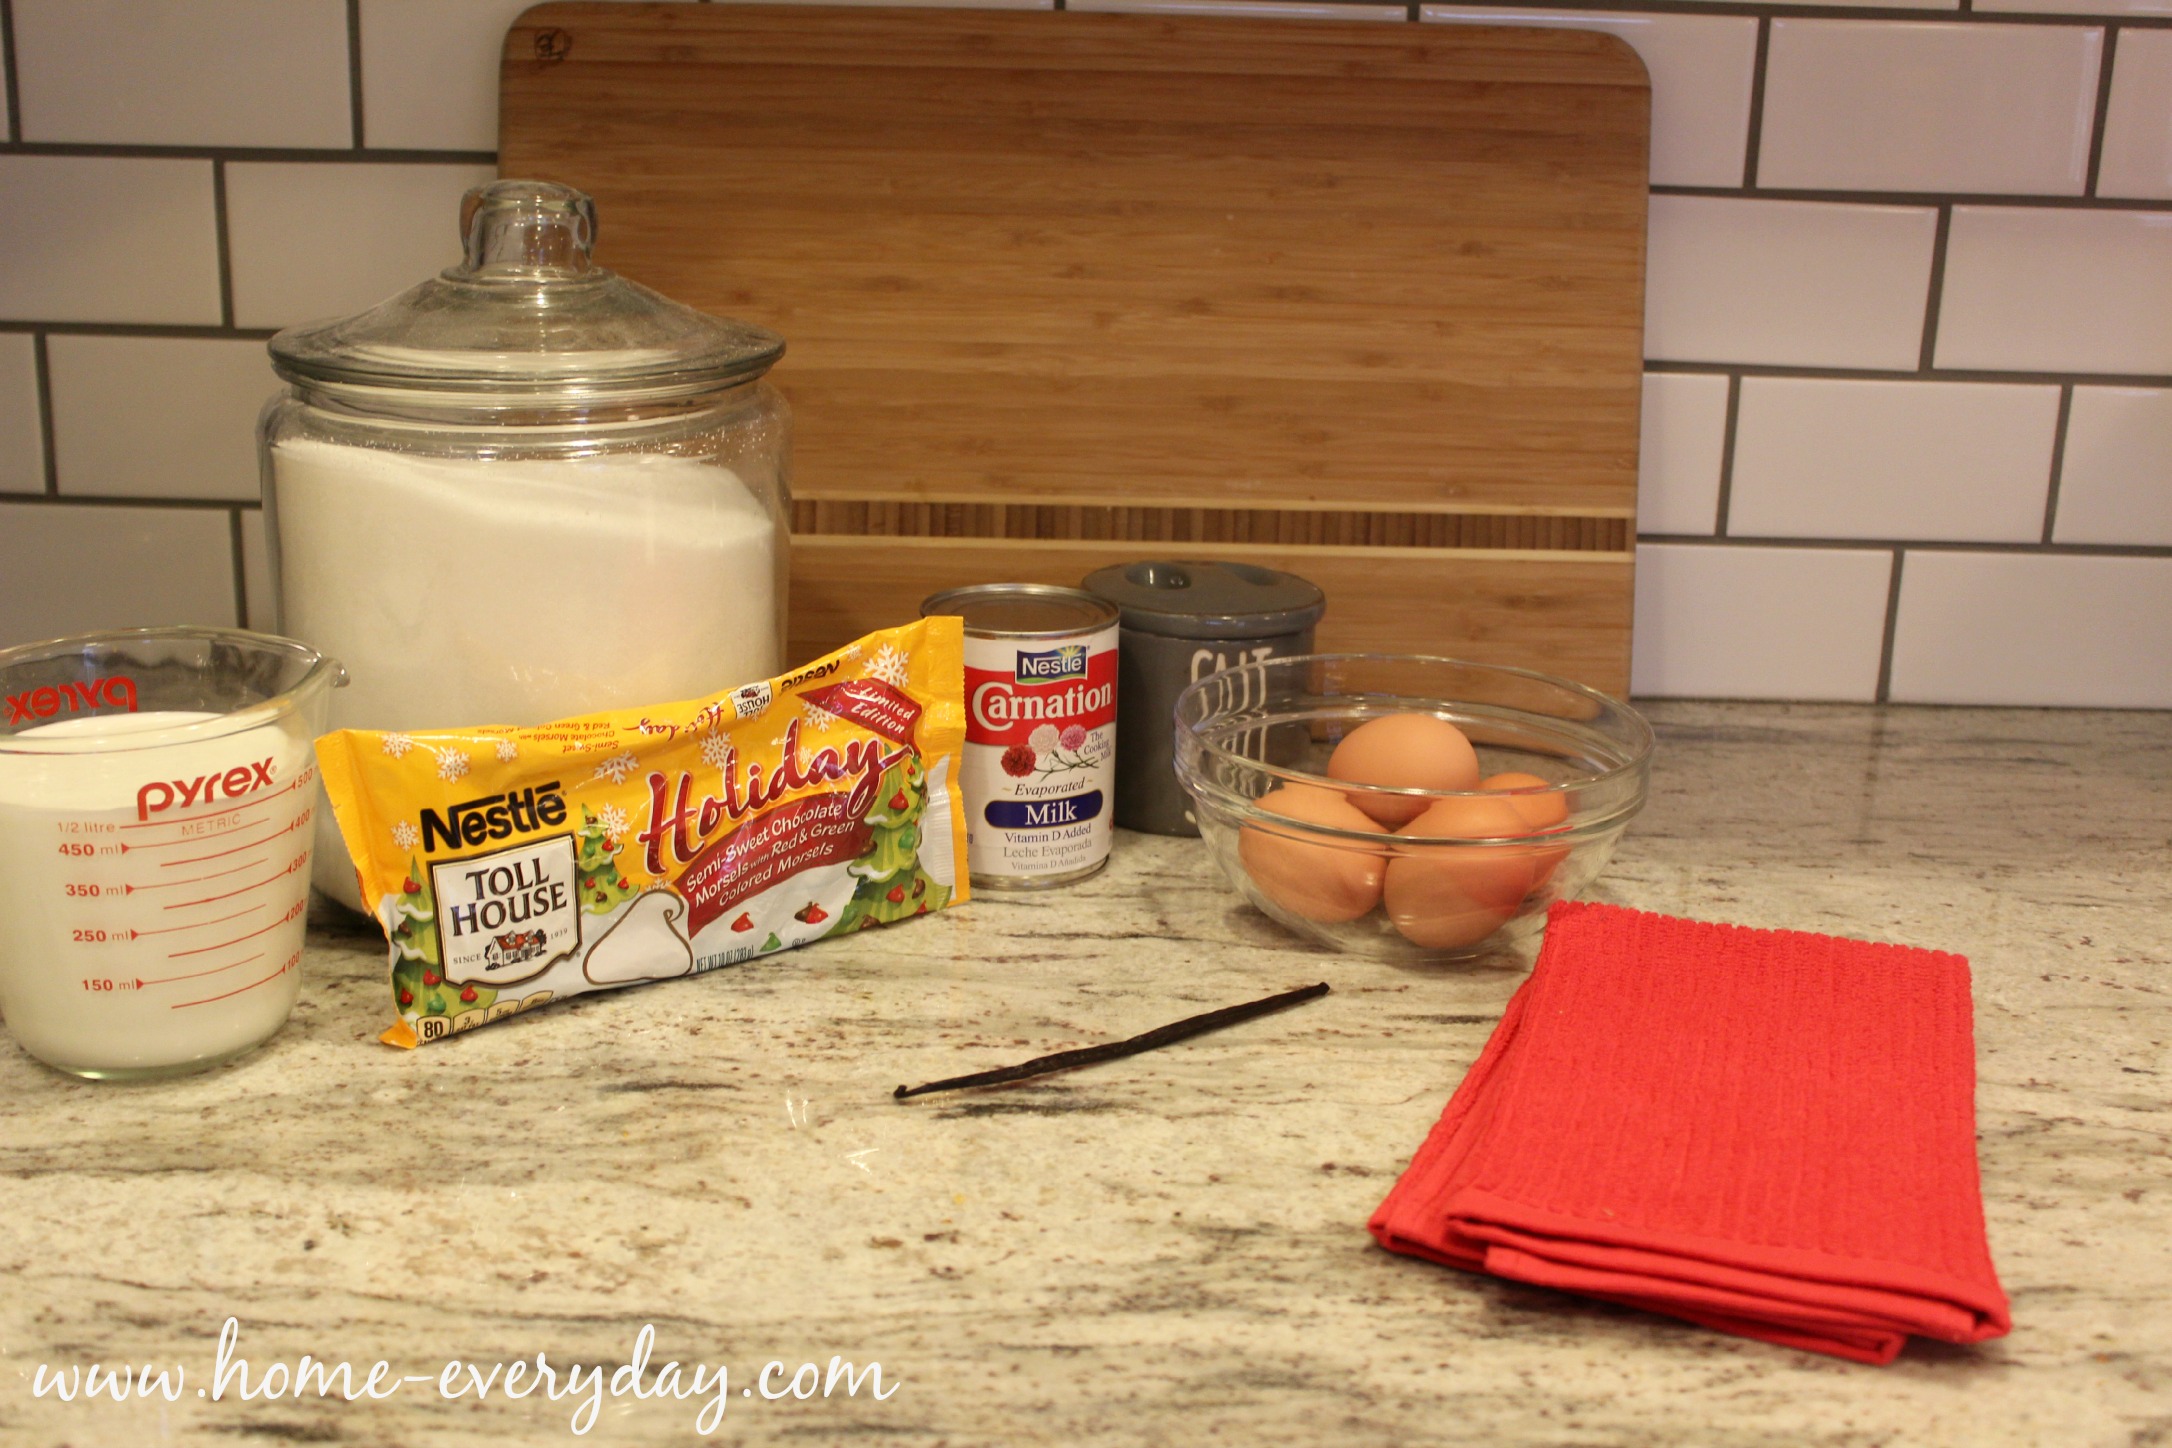
1 12 oz can NESTLÉ® CARNATION® Evaporated Milk

2/3 cup sugar

5 egg yolks

1/8 tsp salt

2 cups heavy cream

1 vanilla bean split and seeds removed

3 tsp pure vanilla extract

Traditional Vanilla Ice Cream Recipe 1 Traditional Vanilla Ice Cream Recipe 2

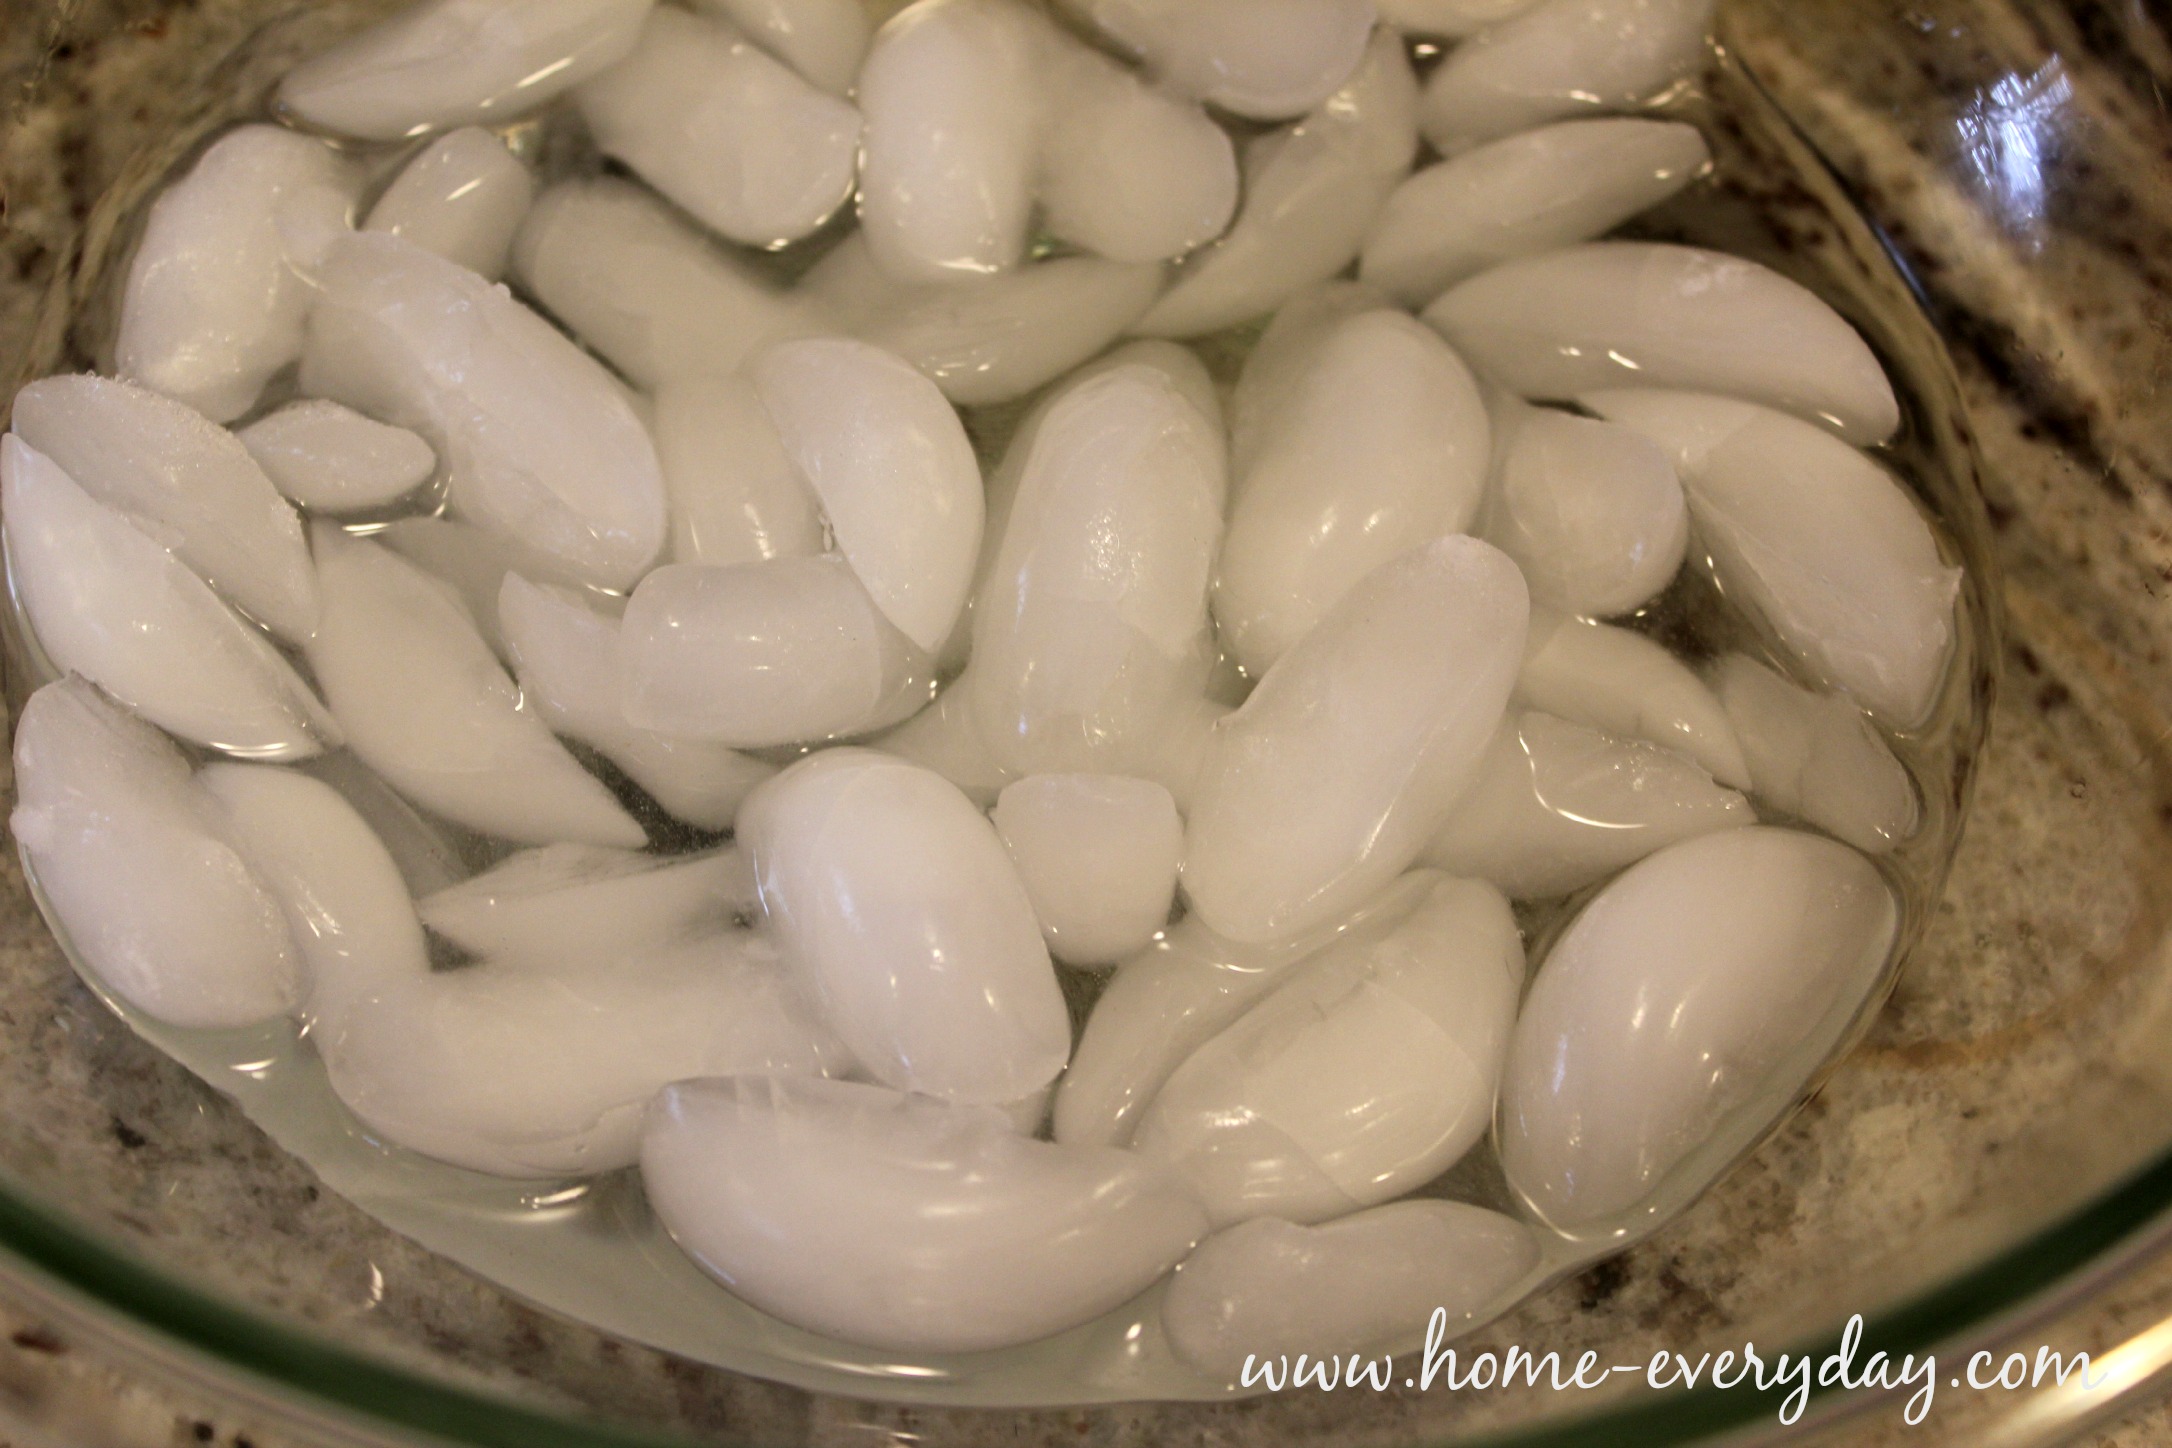
In a large mixing bowl, add ice water. Set a smaller bowl inside this bowl with whipping cream. Set aside.

Traditional Vanilla Ice Cream Recipe 7

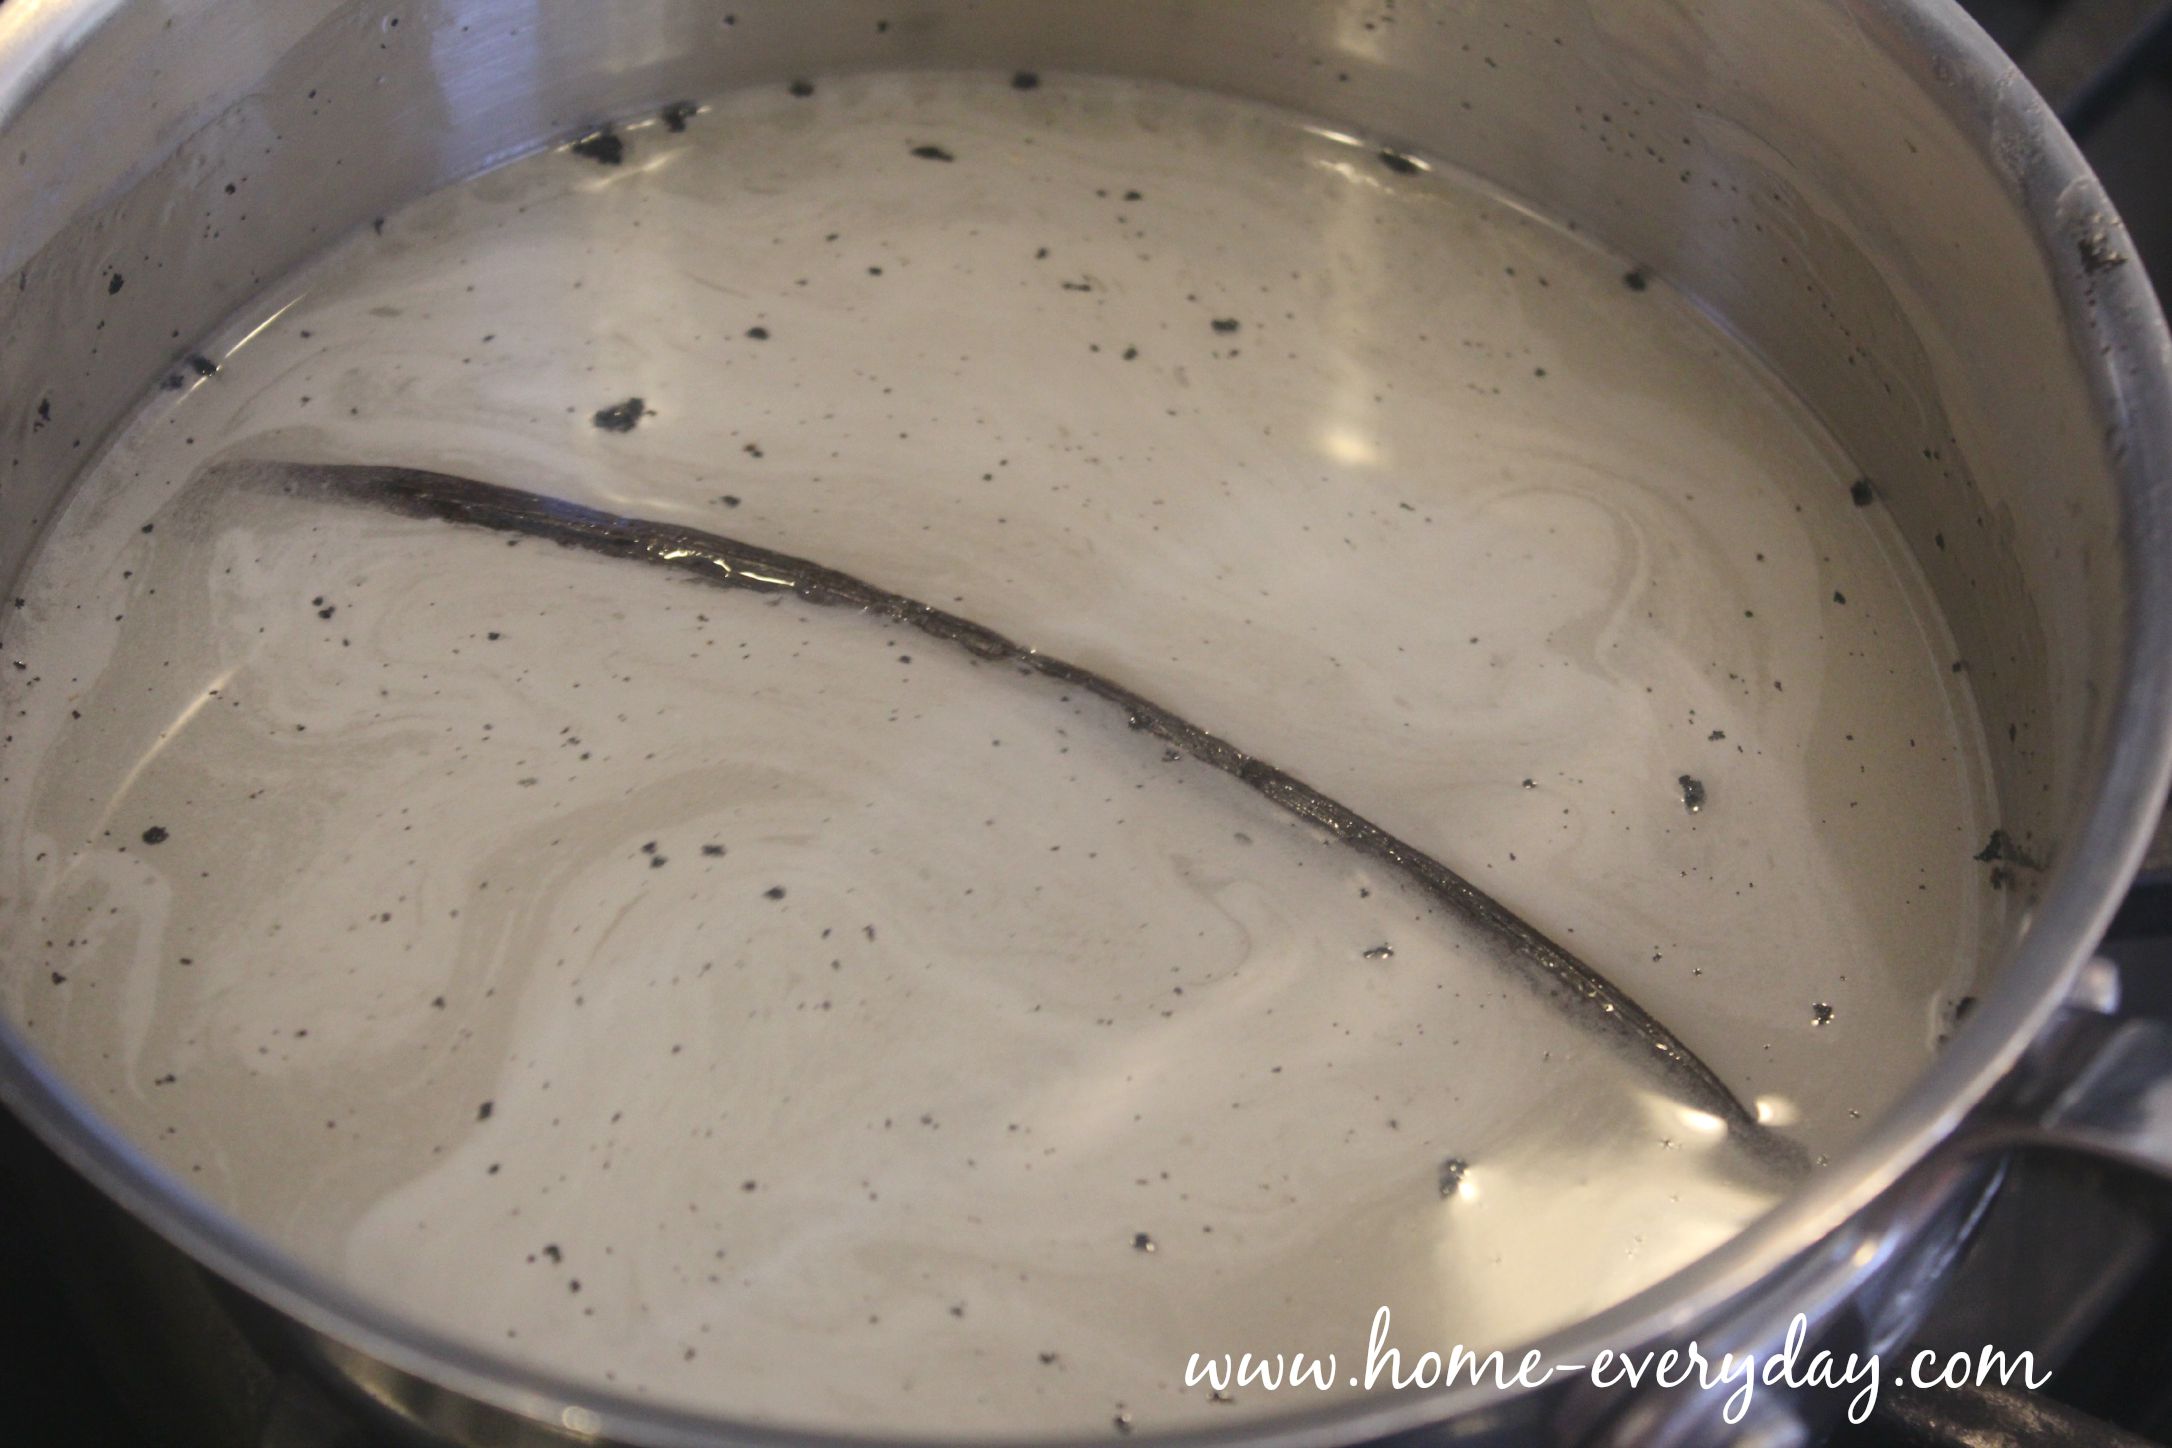
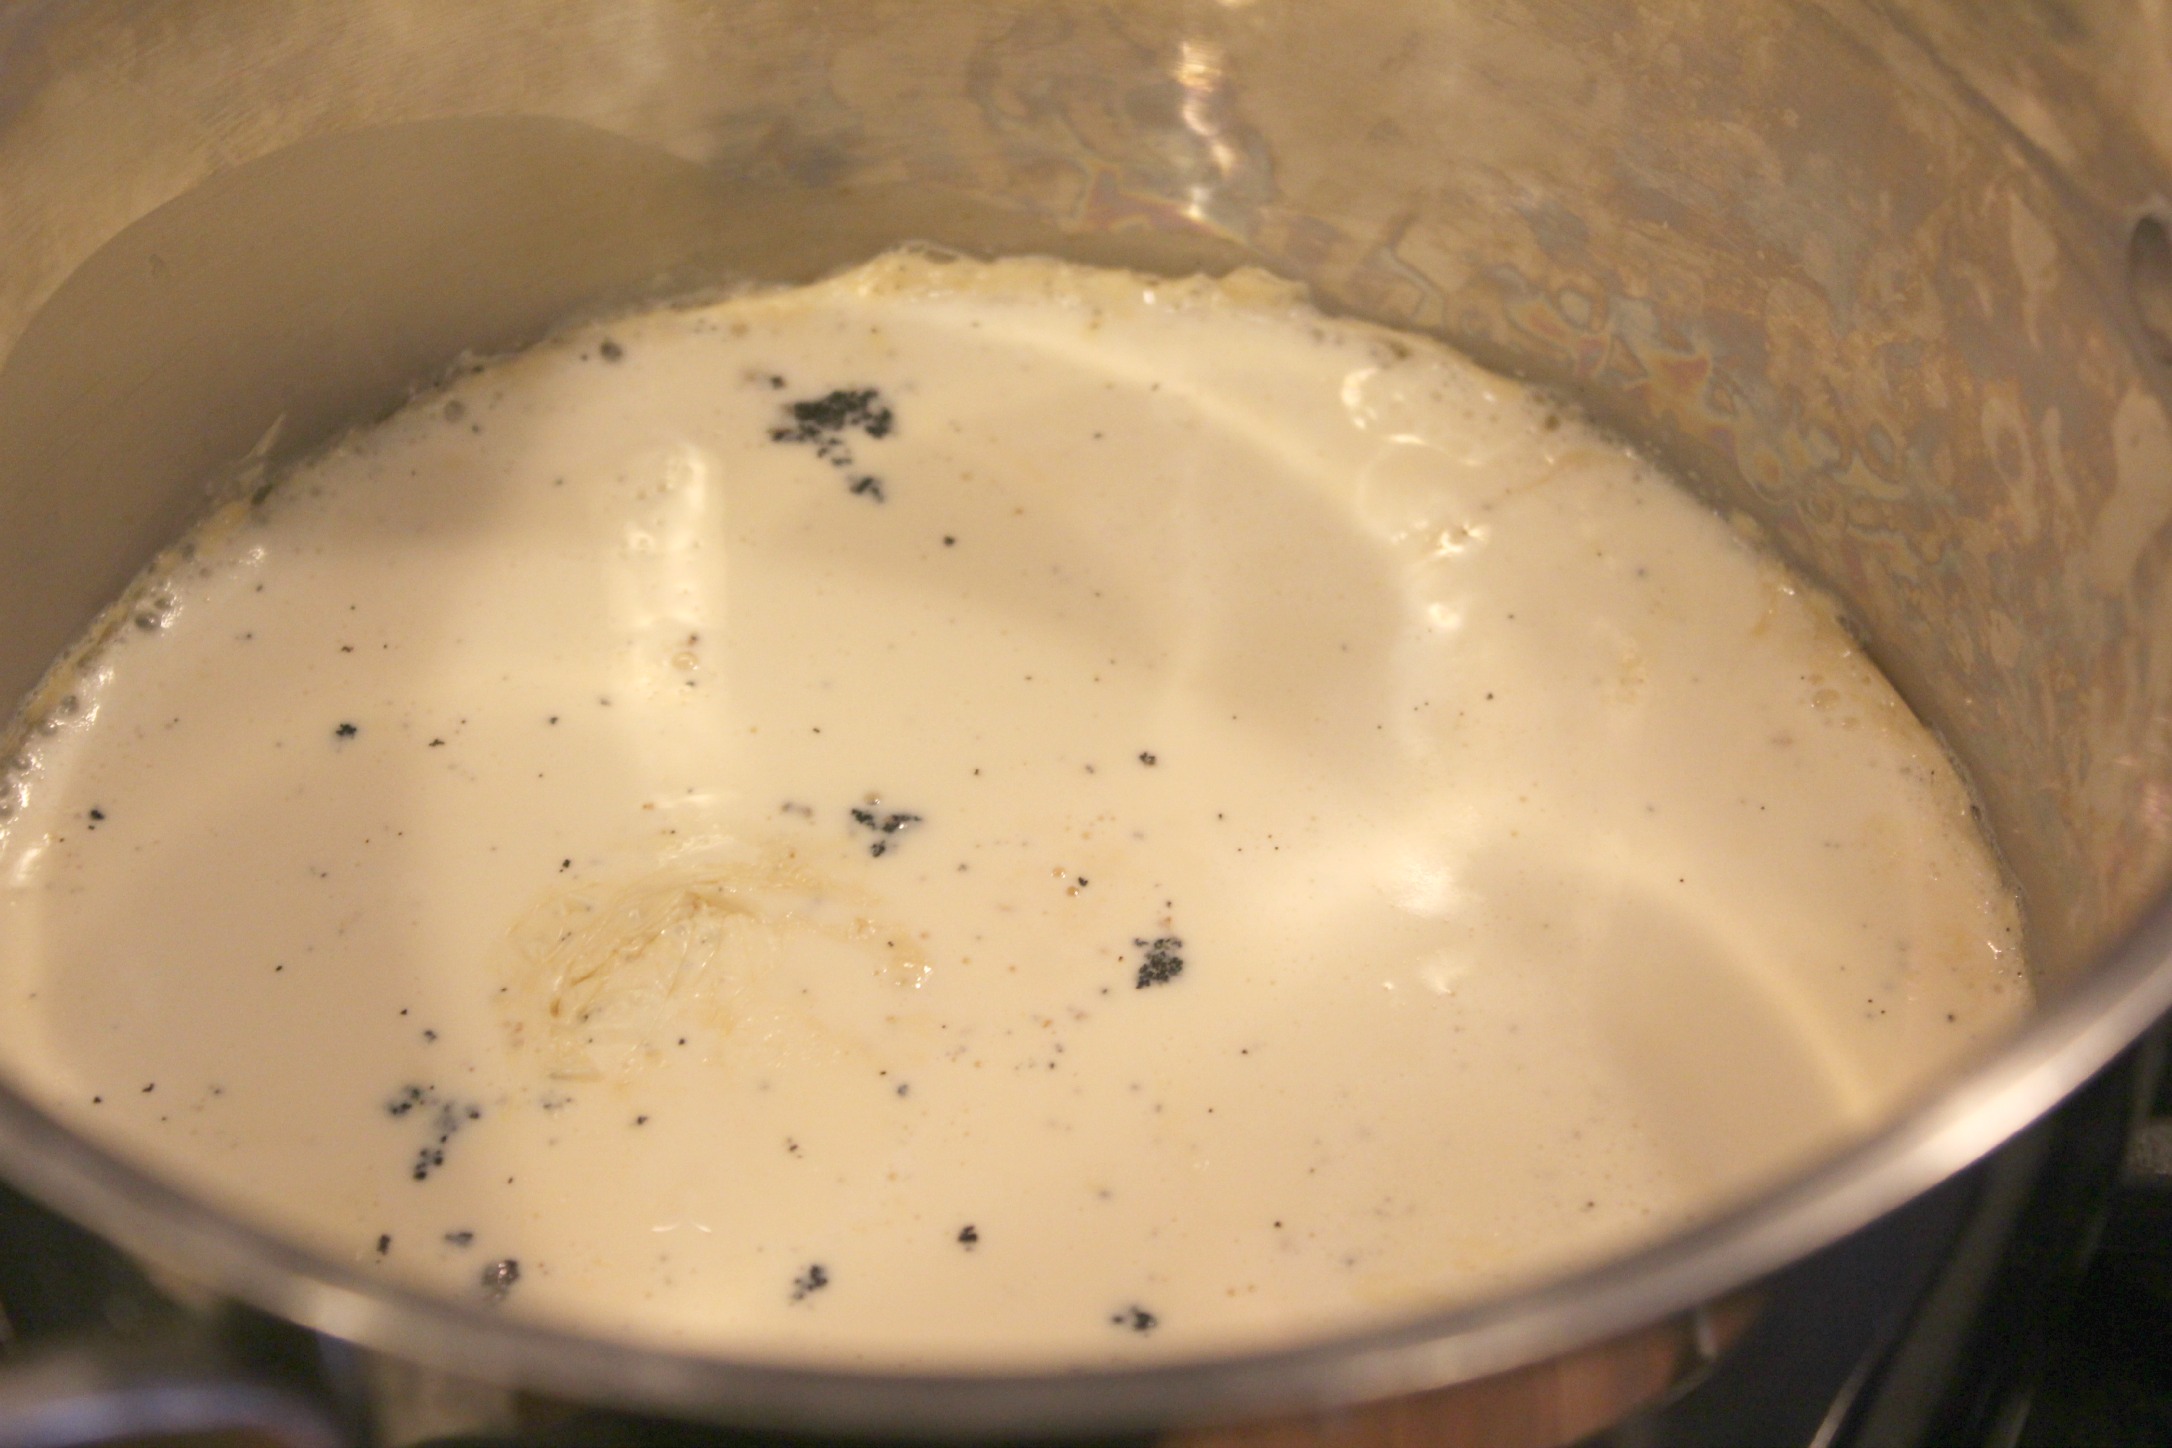
In a sauce pan over medium heat and stirring occasionally, add evaporated milk and vanilla seeds.

Traditional Vanilla Ice Cream Recipe 4

Heat for about 3-5 minutes or until the milk is about 160 degrees with a candy thermometer. You will notice a slight skin form on the top of a the milk.

Traditional Vanilla Ice Cream Recipe 5

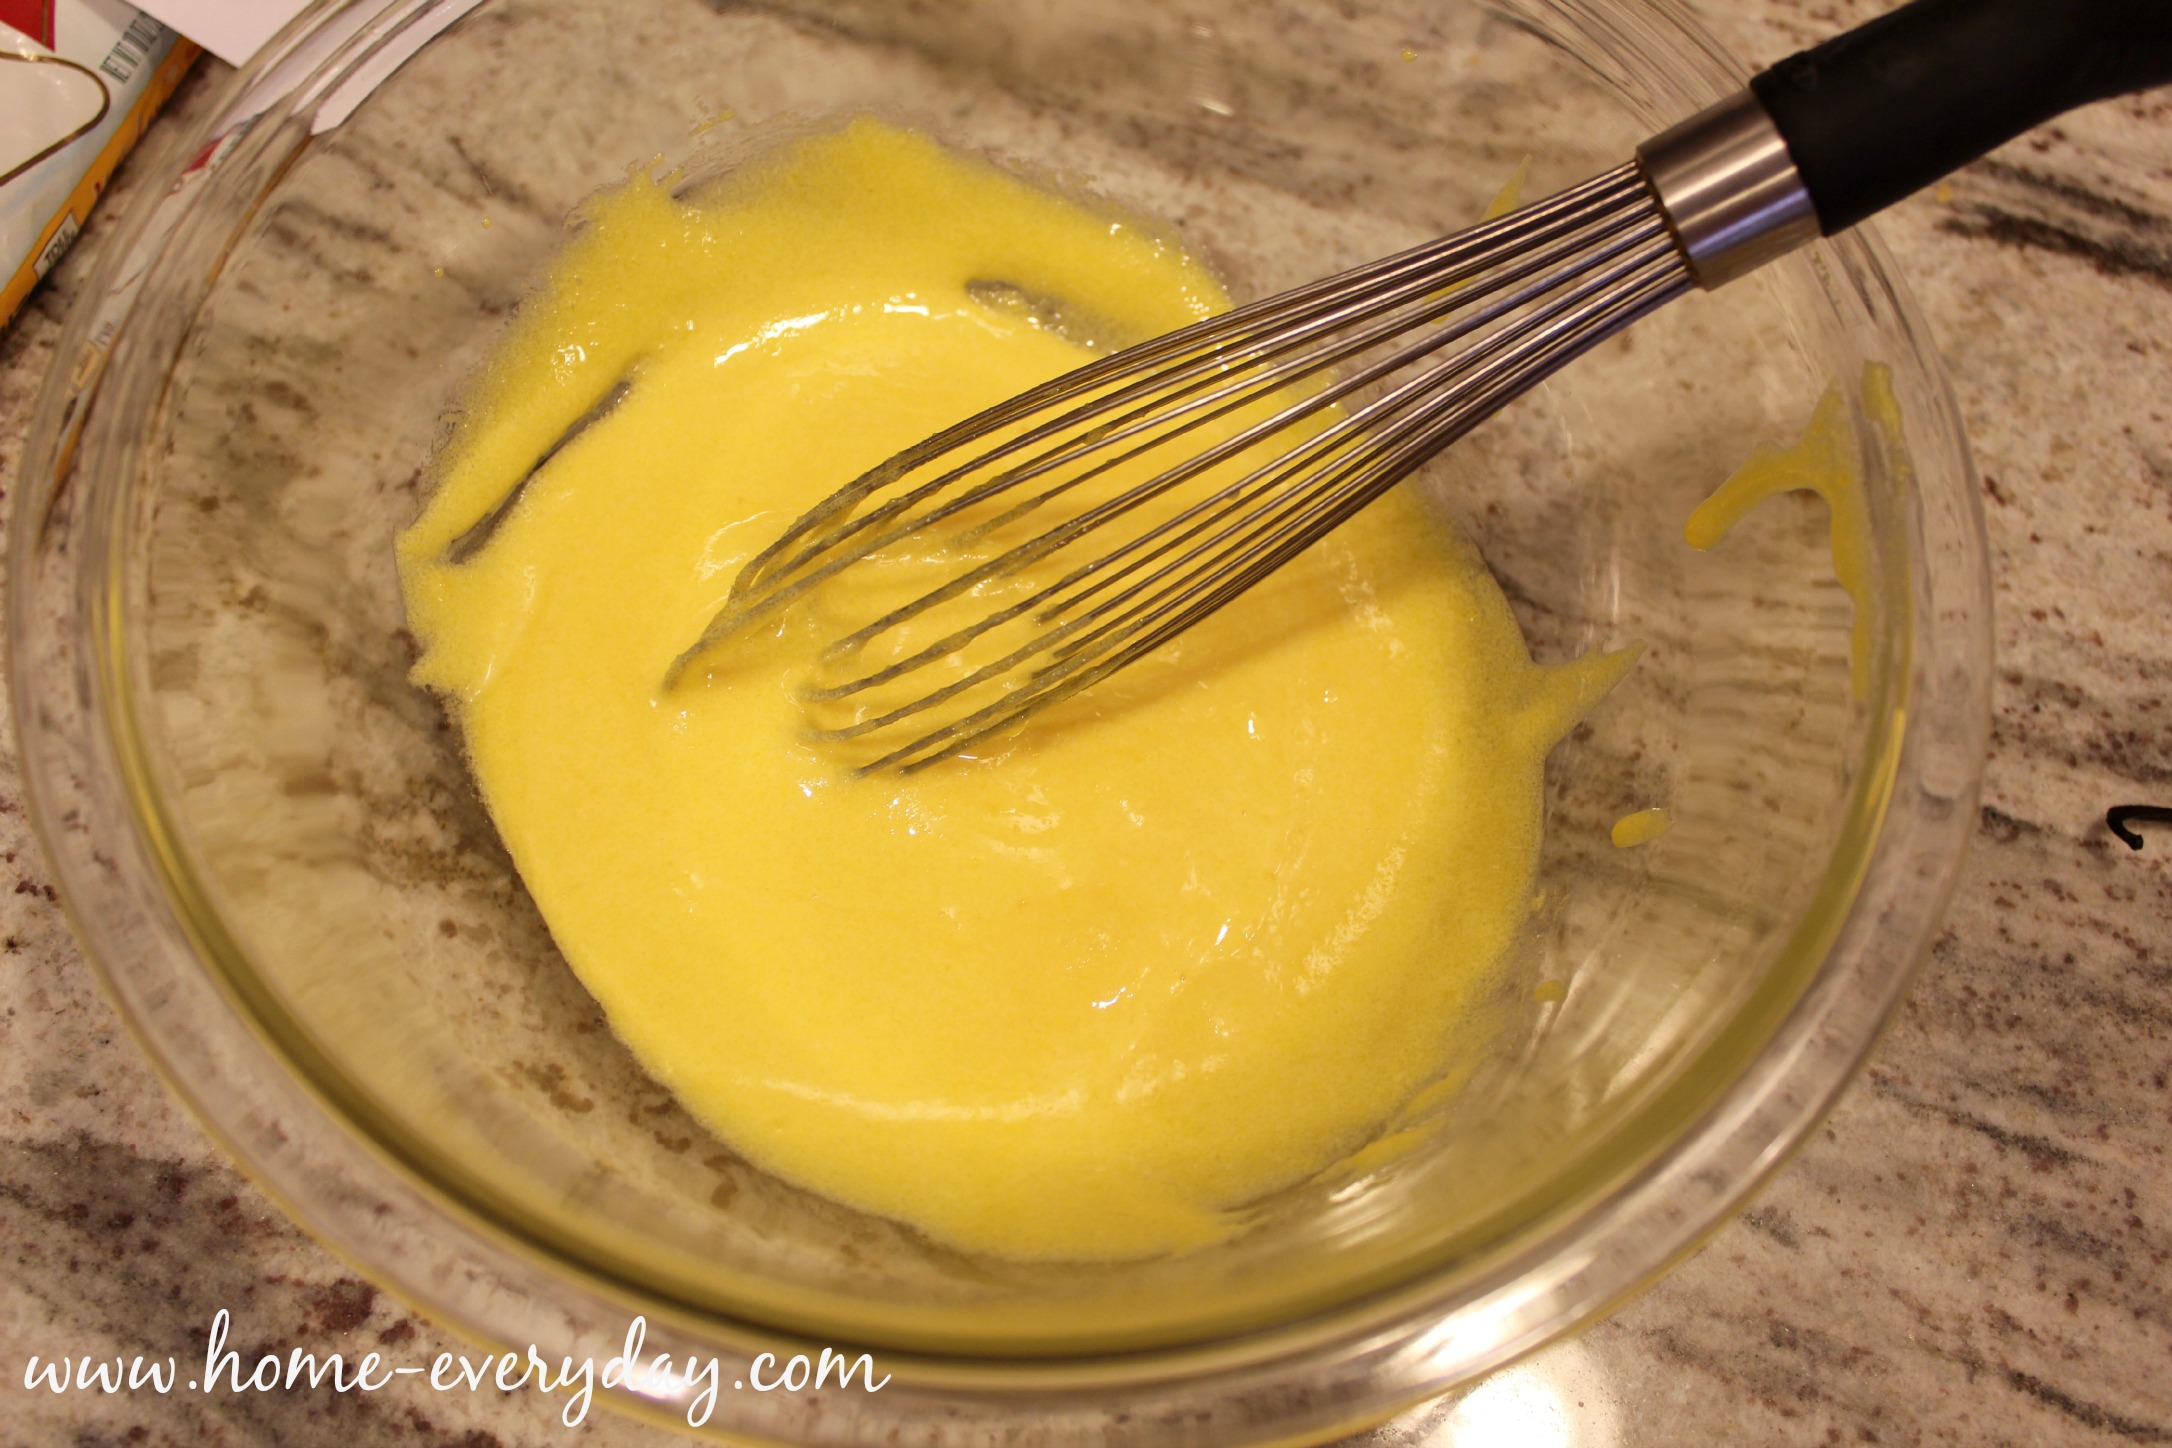
While the milk is heating, in a large bowl whisk together the egg yolks, sugar, and salt for a few minutes until completely combined.

Traditional Vanilla Ice Cream Recipe 3

When the evaporated milk has reached the optimal temperature, lower the heat to low. Then, ladle one spoonful into the egg mixture and whisk vigorously and continuously for about 30 seconds. Repeat this step until about 2/3 of the milk mixture has been added to the egg mixture. Pro Tip: This is called tempering the eggs. If you do not ladle the hot milk mixture into the egg mixture slowly and continue to stir the egg mixture will scramble. 

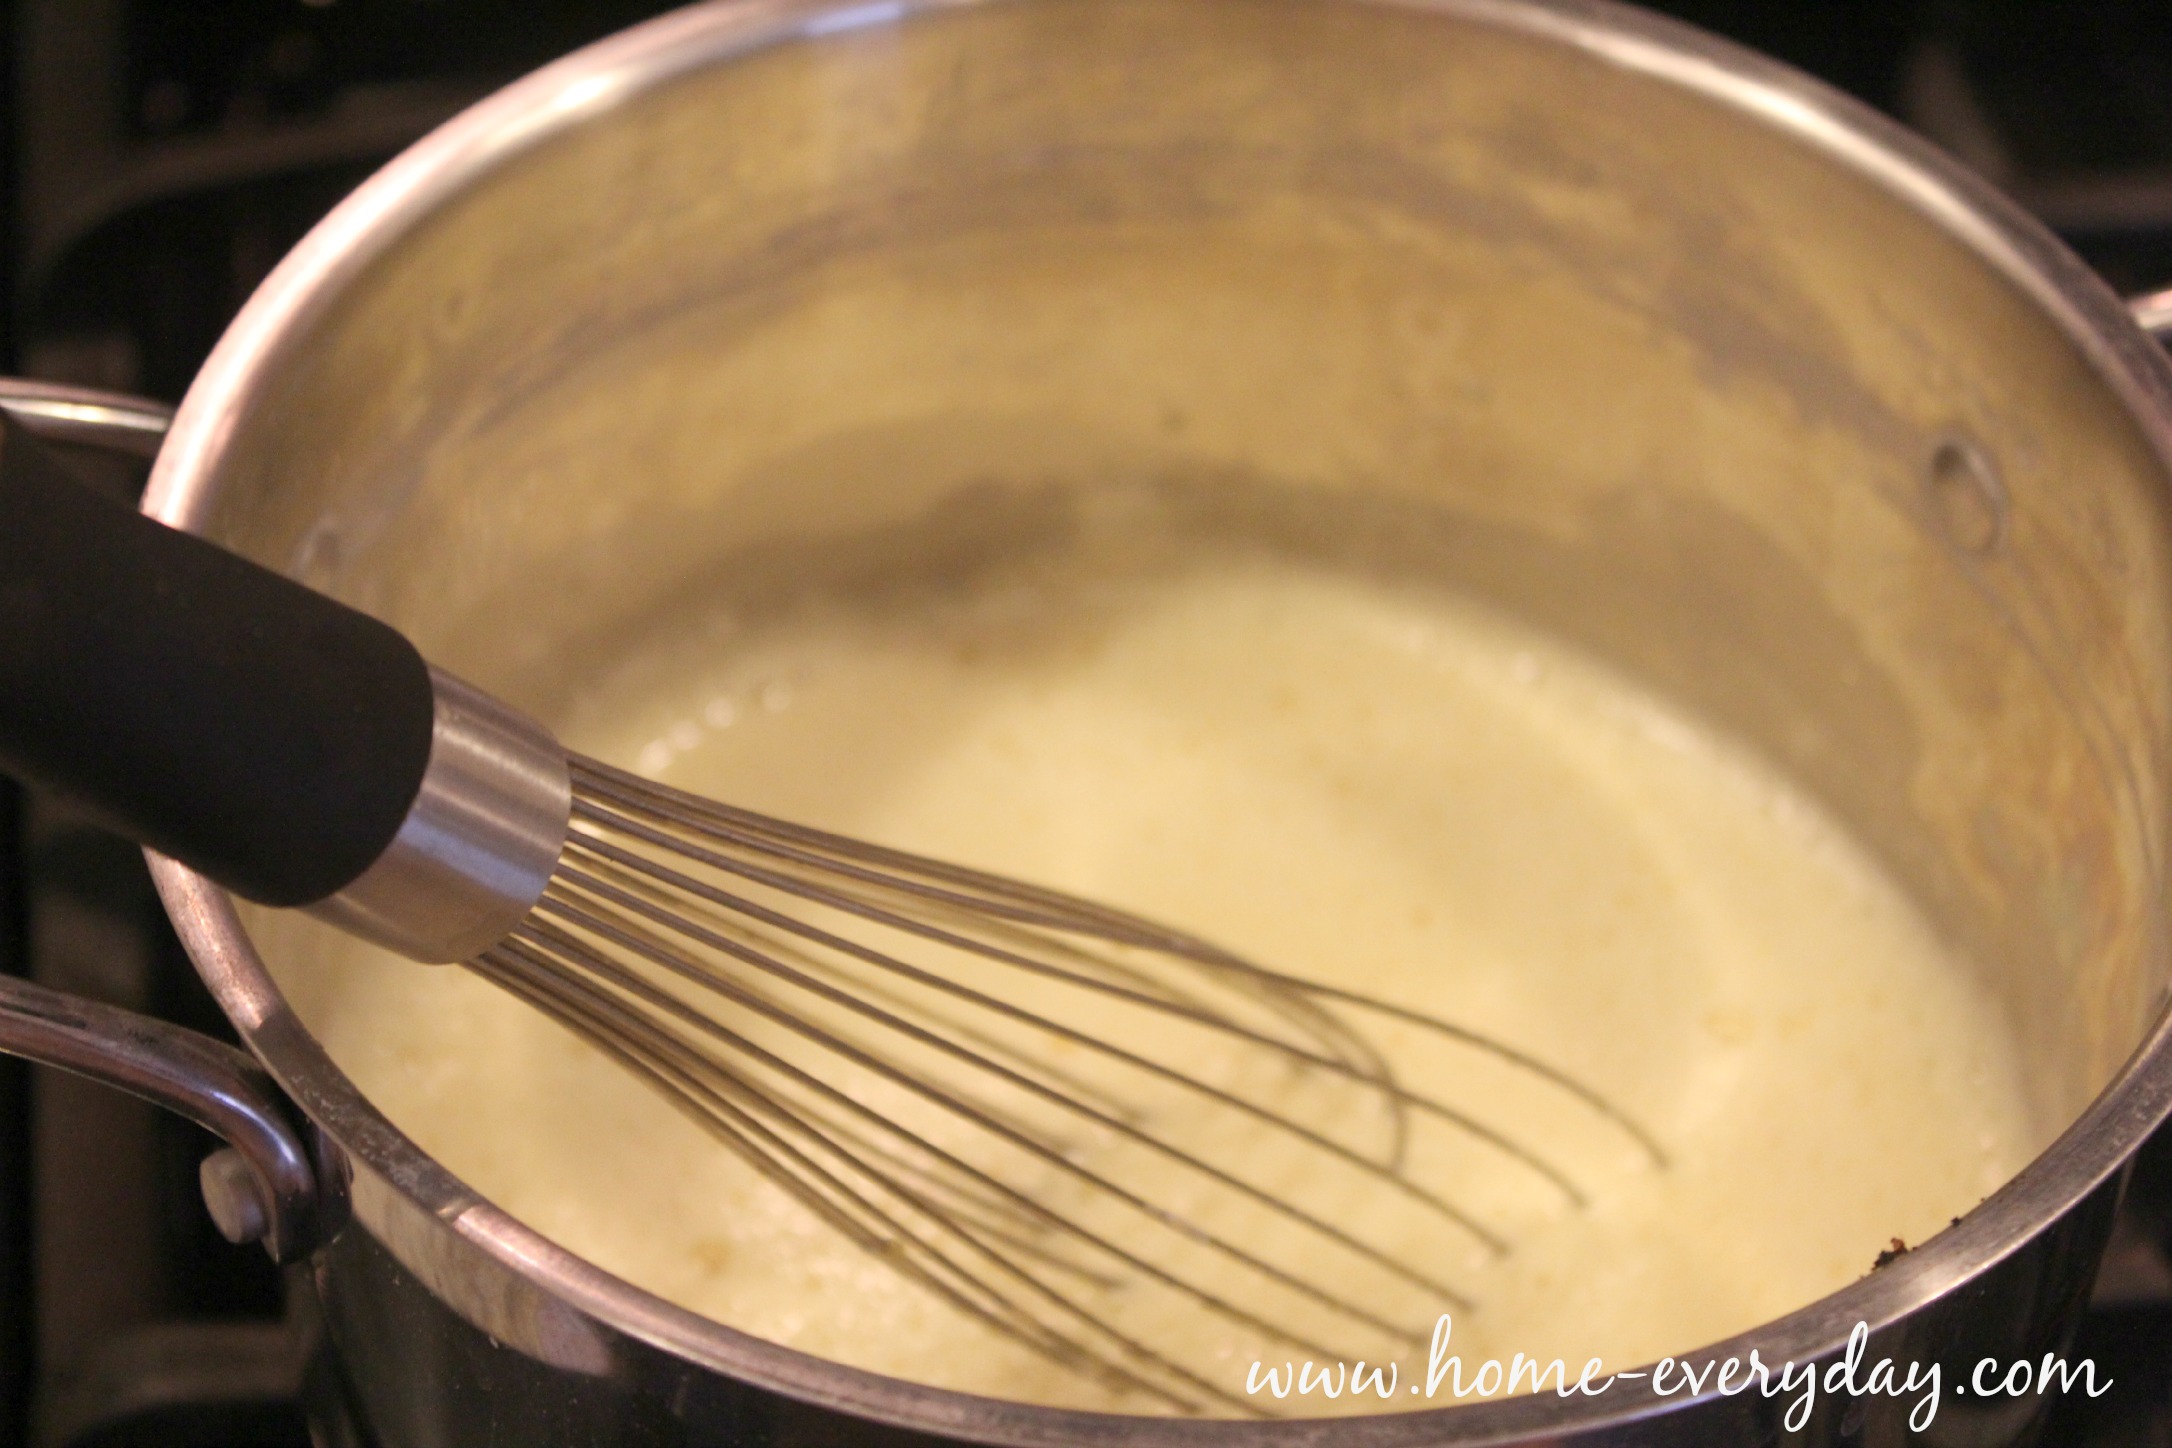
Next, add the tempered egg mixture to remaining milk mixture on the stove on low heat. Stir this mixture continuously for 3-5 minutes over low heat. This mixture will get frothy. You will want this mixture to reach a temperature of 175 degrees in order to cook the eggs.

Traditional Vanilla Ice Cream Recipe 6

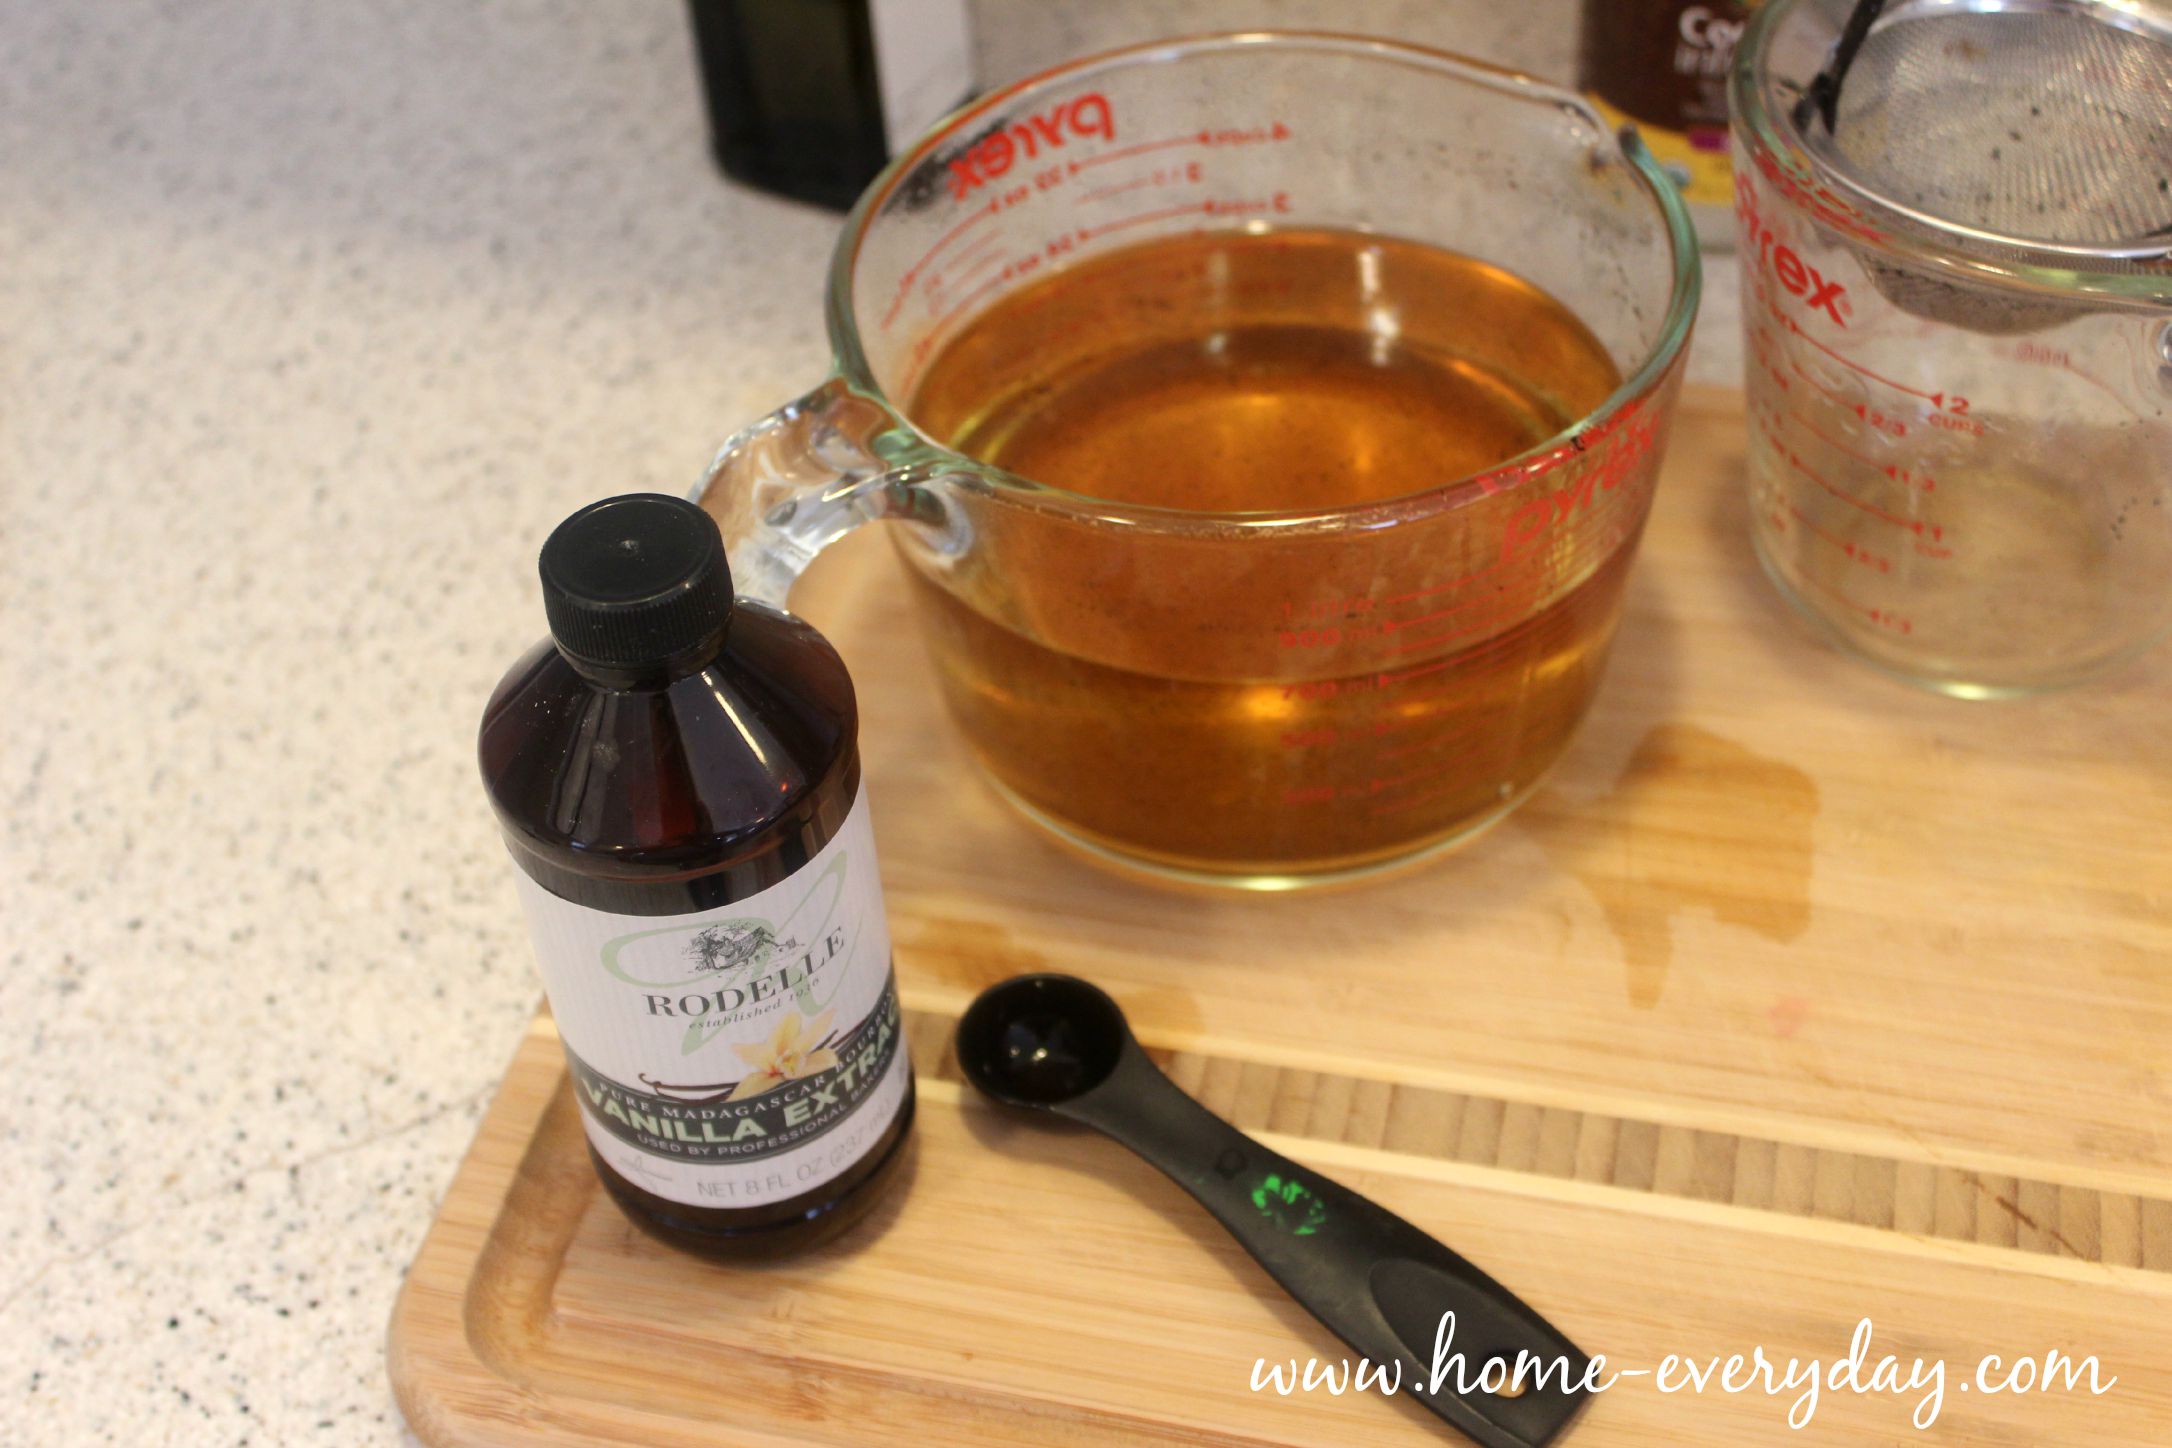
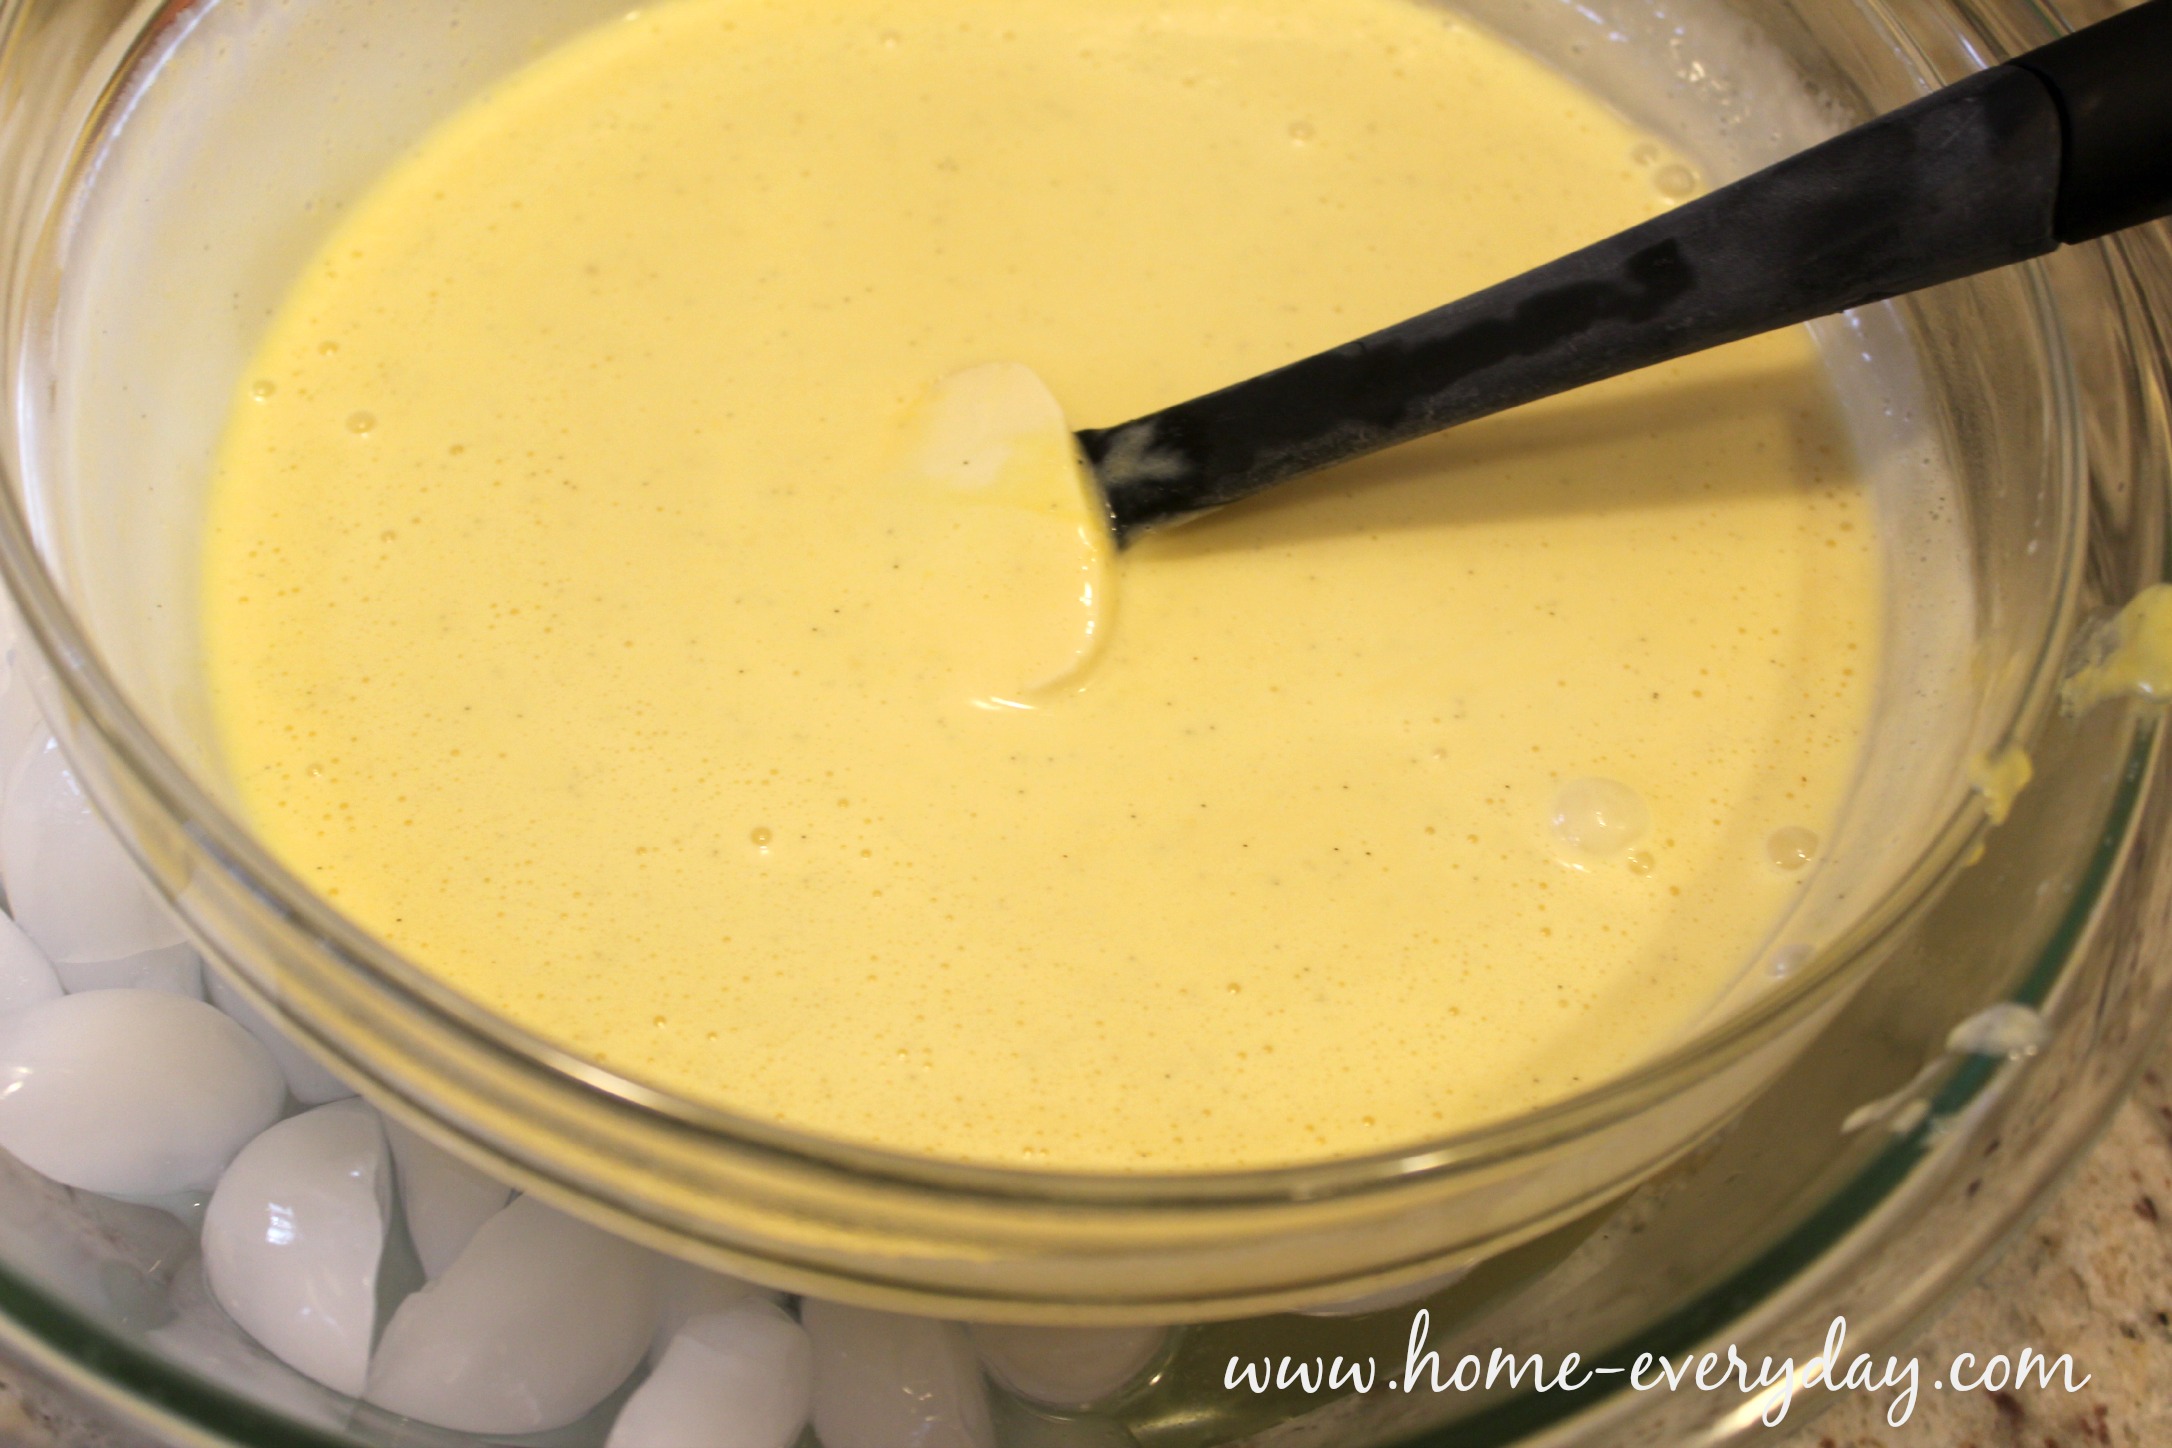
Once the egg mixture has reached optimal temperature, add this mixture to the chilled heavy cream mixture sitting in the ice water bath. Stir with a spatula slowly and continuously for about 5 minutes until the mixture has completely cooled. Pro Tip: If you want, you can pour the egg mixture through a fine sieve into the heavy cream to remove any lumps for an extra smooth texture. 

Traditional Vanilla Ice Cream Recipe 8

Next, add the vanilla extract.

Finally, turn on your ice cream maker, and pour in the final mixture.

Traditional Vanilla Ice Cream Recipe 9

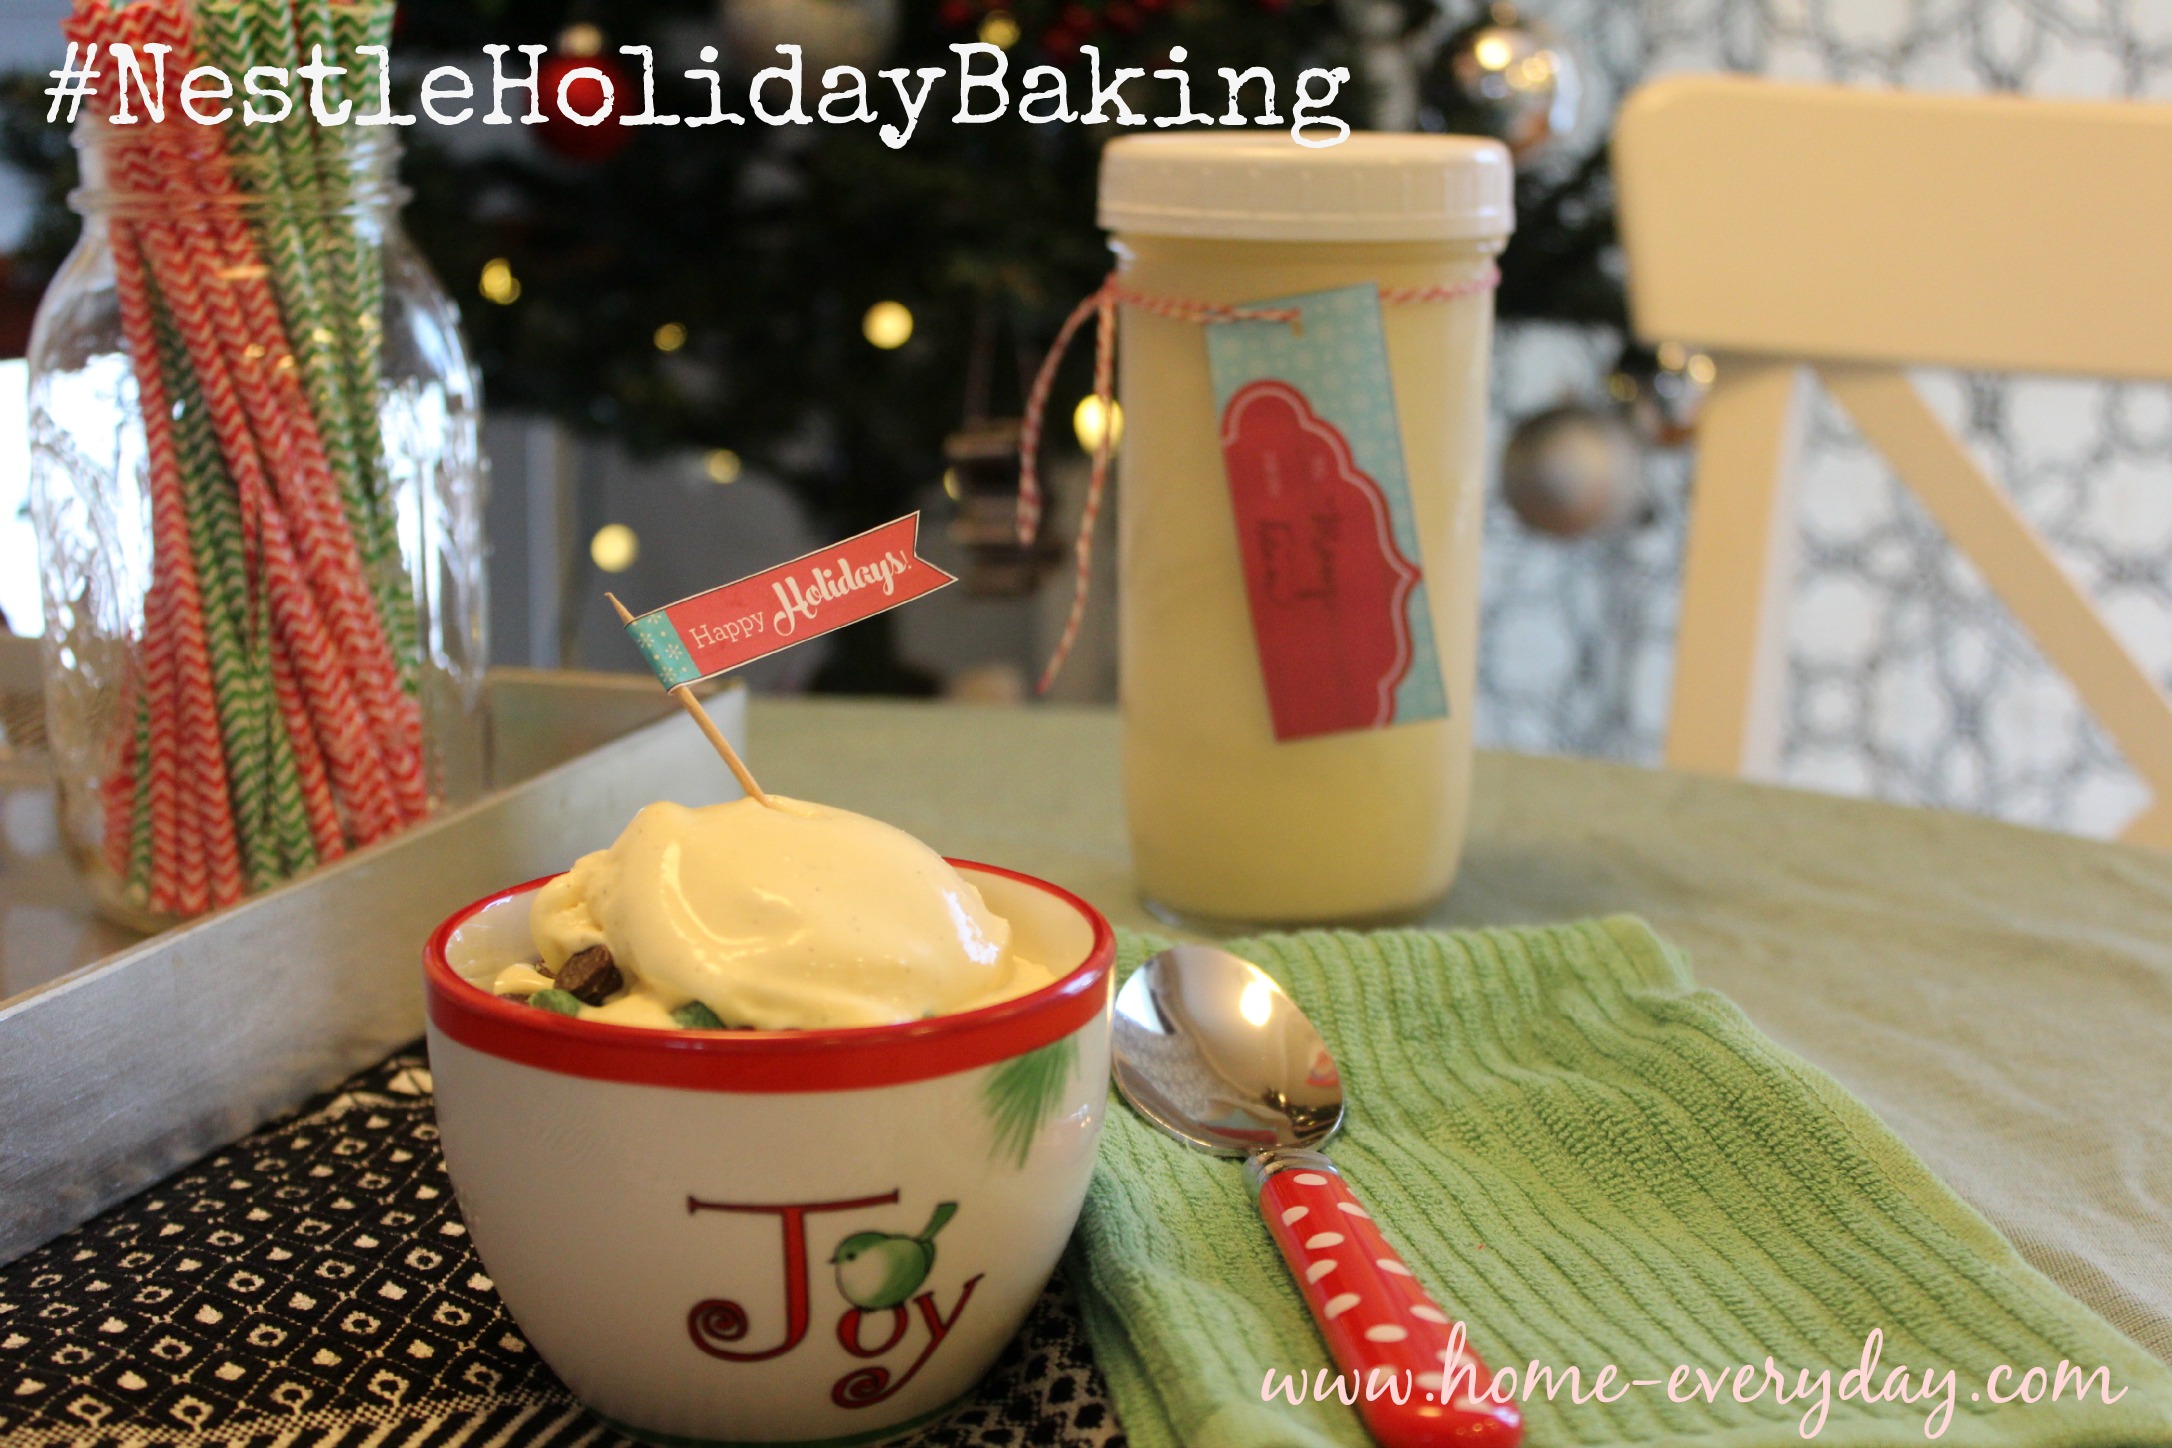
Once, you have churned the ice cream. Put the ice cream into a freezer safe container (I used wide mouth Mason jars with plastic lids).

Traditional Vanilla Ice Cream Recipe 11

Freeze for at least two hours. This will keep in your freezer for about 2 weeks.

Traditional Vanilla Ice Cream Recipe 12

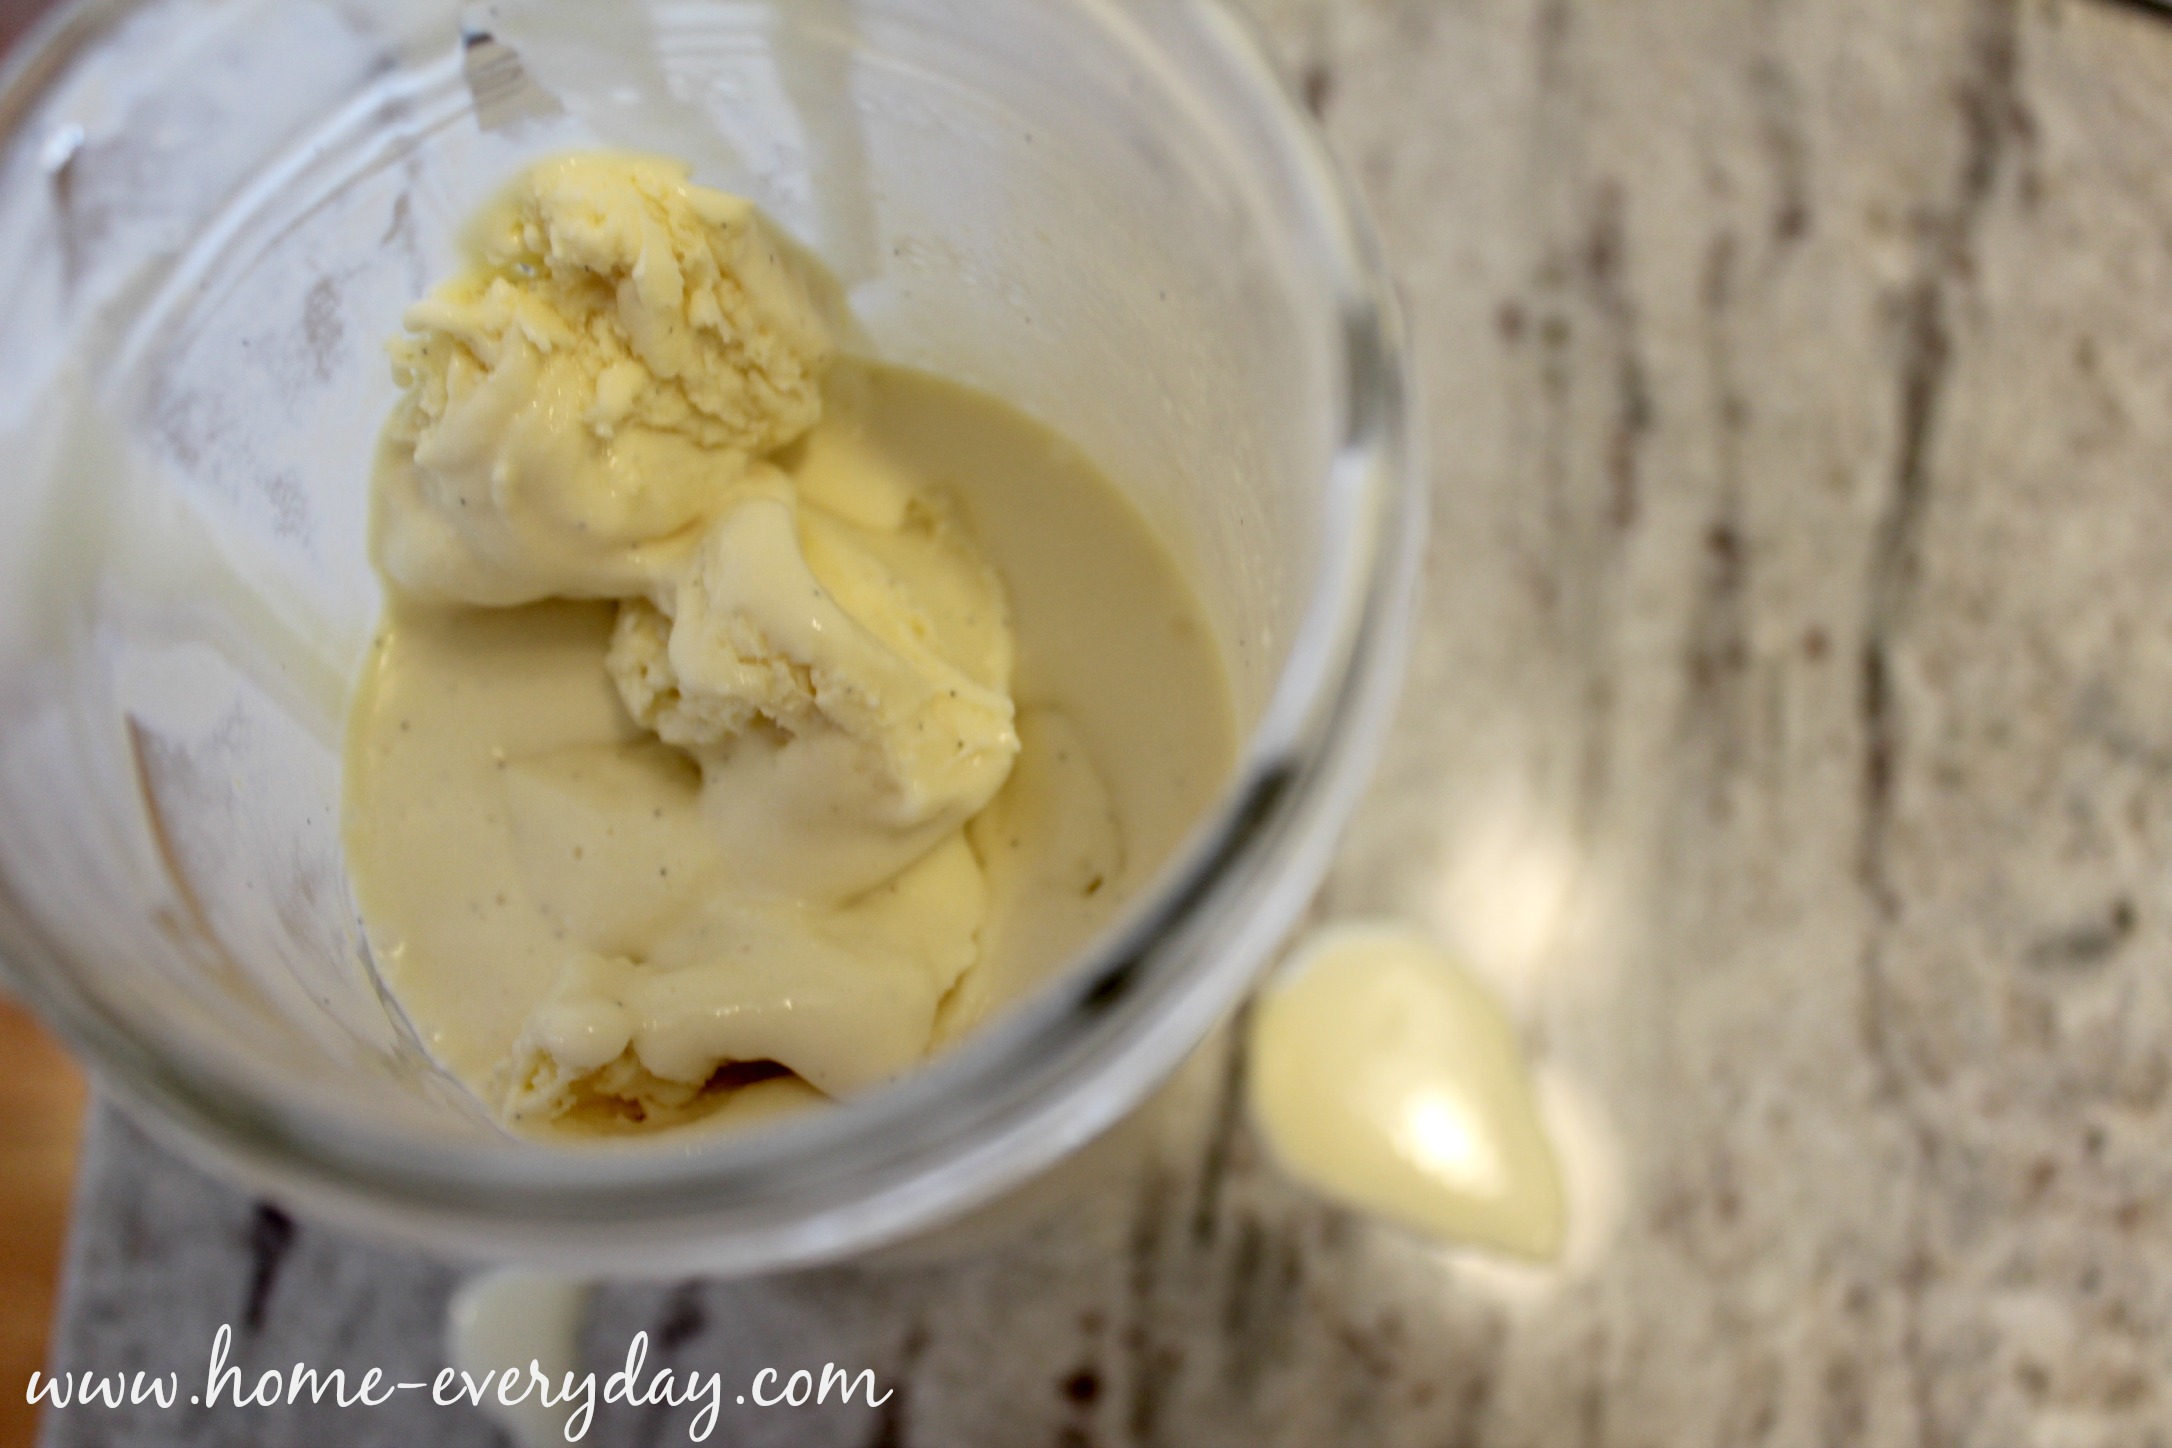
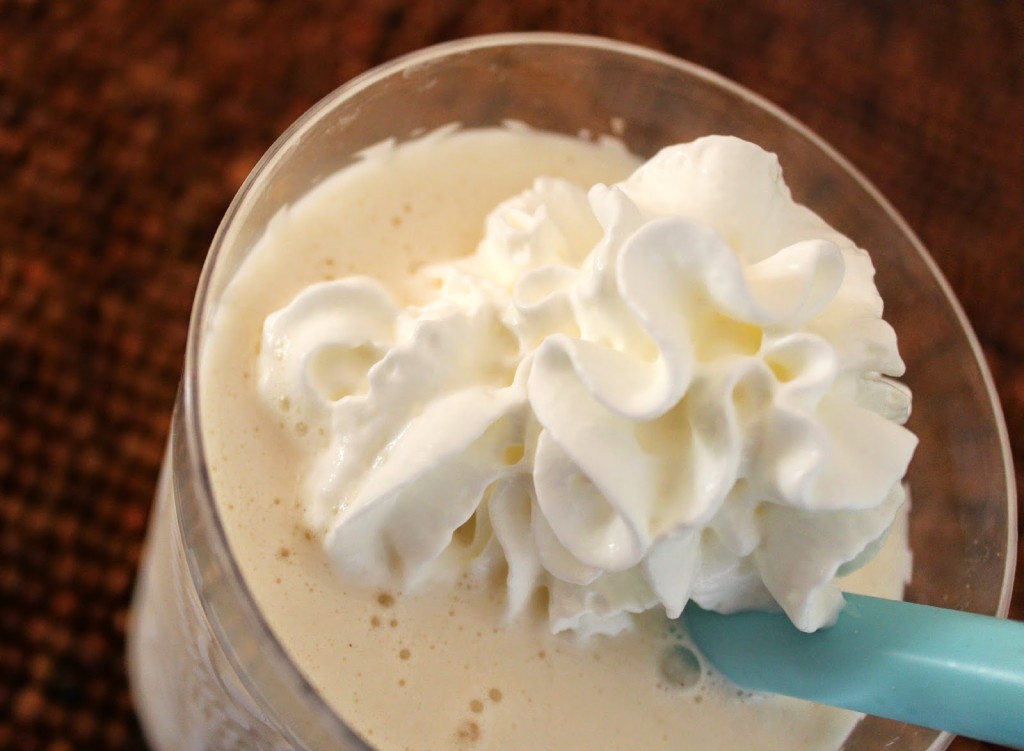
Enjoy with your favorite toppings.

Traditional Vanilla Ice Cream Recipe 16

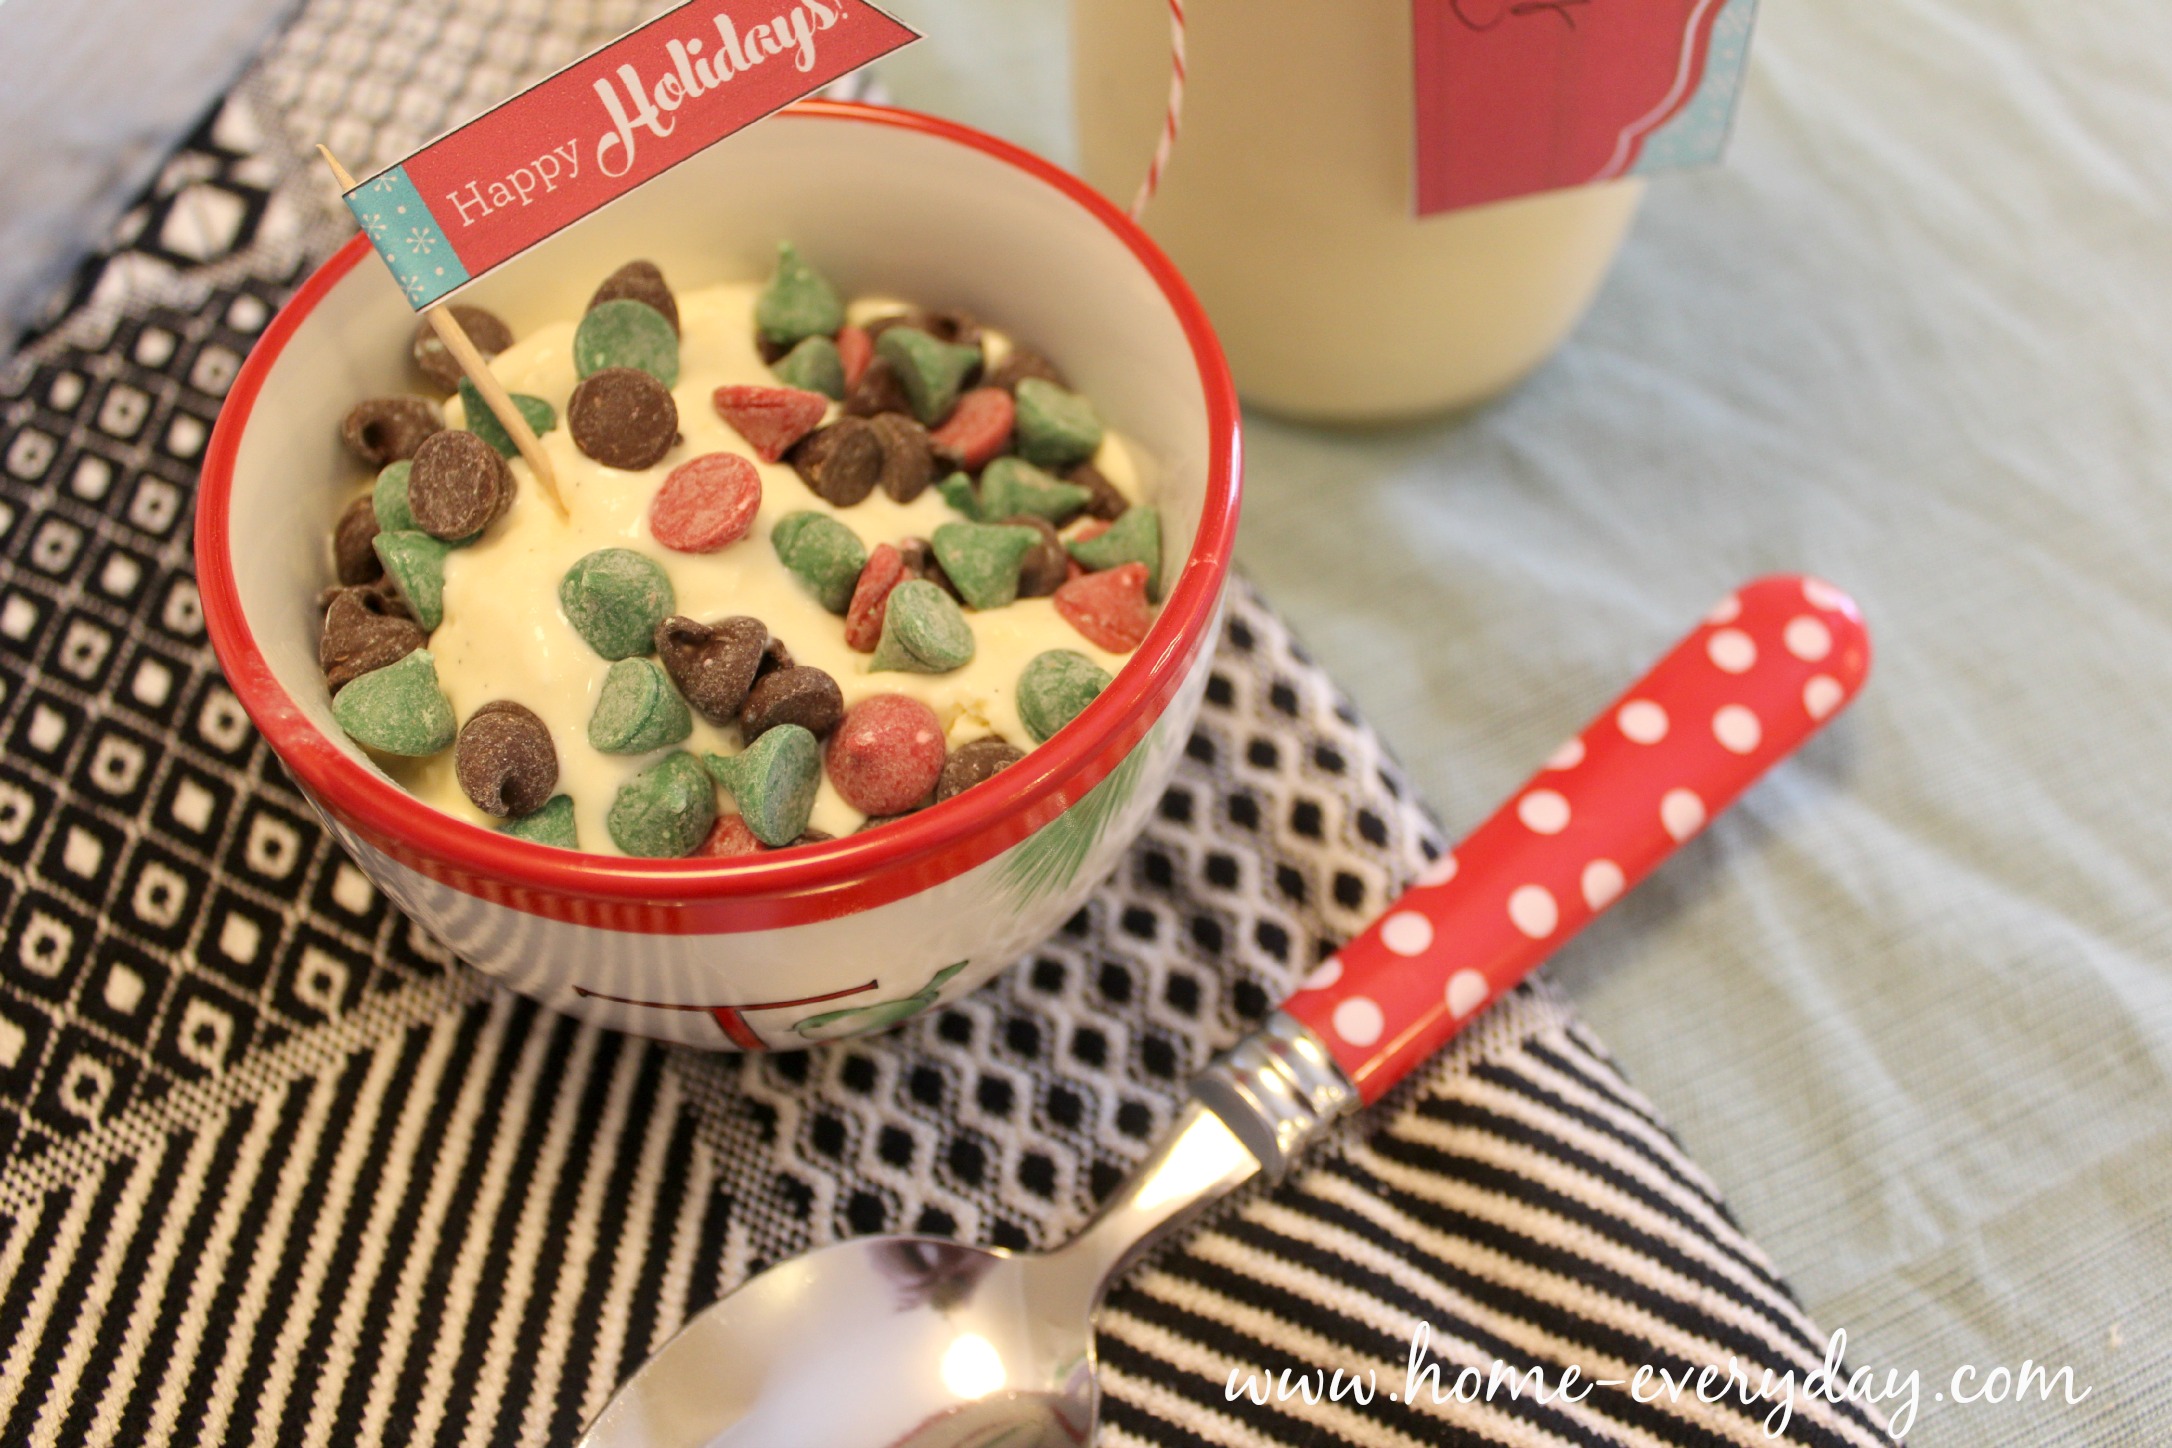
I was able to get enough ice cream to fill two Mason jars, which is perfect! Now, I have one for us and one to share. There is no better gift than something made in the kitchen, and NESTLÉ® has you covered in more ways than one. Not only was I able to get all my ingredients, but check out these adorable gift tags I was able to print out and attach to a jar of Vanilla Ice Cream for my neighbors.

Nestle 4
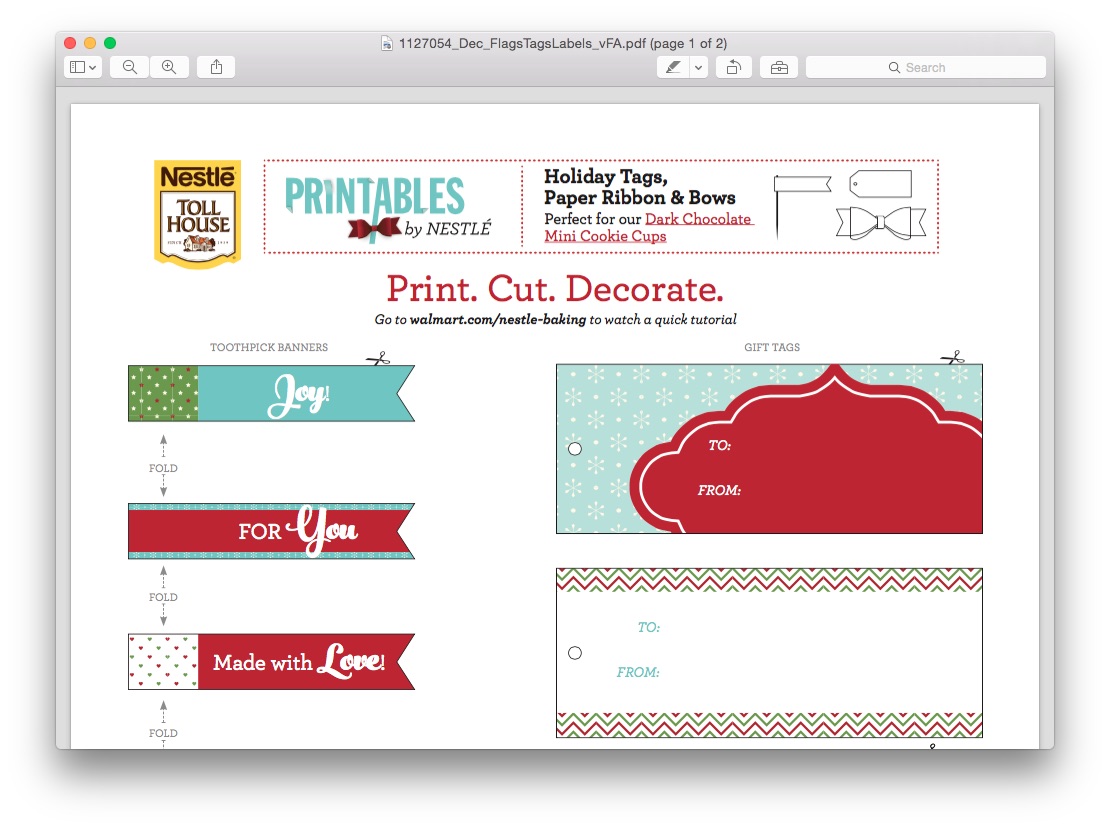
I cannot wait to gift this to my next door neighbors.

Traditional Vanilla Ice Cream Recipe 15

So, after you make the most delicious and vanilla-y ice cream, with some NESTLÉ® morsels stirred in, what else will you be making? Don’t forget you can head over to the Flavorful Moment Pinterest Board for plenty of ideas!


Thirsty Thursday: Ice Vanilla Latte with Homemade Vanilla Syrup

We are officially back to school. This means running around and paying dearly my lack of preparation. This also means my afternoon pick me up is no longer a nap with the kids, but caffeine.

I usually do caffeine in moderation as I am highly sensitive to it, but let me tell you this week has really called for it. I have been going to bed too late and waking up too early to make it all the way through the day without a little something. I wish I could say that I was going to bed late because I am doing something fun and creative like crafting or baking, but it is mostly folding laundry and waiting up for Brian who is working insane hours getting ready for back to school.

One of my favorite treats is an iced vanilla latte. I have an espresso maker, but to be honest I don’t have time for that noise. Also, sometimes I find the place that rhymes with Schmarbucks can be a pain to run to in the afternoon when I am home getting things done. So, I have come up with my own recipe.

Iced Vanilla Latte 10

The key to a good one though is the syrup, and I think I have perfected the recipe. What I have done is used both a fresh vanilla bean, and the best vanilla extract I could find. This makes a creamy and vanilla simple syrup that can be mixed into coffee, tea, or even lemonade and stays good in the fridge for up to two weeks.

Iced Vanilla Latte with Homemade Vanilla Syrup

Vanilla Syrup

2 cups granulated sugar

2 cups cold water

1 vanilla bean

2 tsp pure vanilla extract (preferably organic)

In a medium sauce pan over medium heat add water, sugar. Cut the vanilla bean lengthwise and add it to the pan.

Iced Vanilla Latte 1

Then stirring occasionally, bring the mixture to a low boil or simmer and cook for 3 minutes. Remove from heat, and strain mixture into a heat safe container.

Iced Vanilla Latte 2


Let cool completely. Then, add the two tsp of vanilla extract.

Iced Vanilla Latte 4


Finally, put in a refrigerator safe and airtight container (I used a Mason Jar), and put in the refrigerator for up to two weeks.

Iced Vanilla Latte 5


Iced Vanilla Latte

3 oz of boiled water

1/2 – 1 tsp instant espresso powder

1/2 – 1 Tbs vanilla syrup

Milk (you can use whole, skim, soy, or almond)

ice

Iced Vanilla Latte 6

In a heat safe cup, mix together boiled water and desired amount of espresso powder (I used 1/2 tsp as I don’t like my lattes too strong).

Iced Vanilla Latte 7

Then, add vanilla syrup. In a large glass add ice, espresso mixture, and then top with as much milk as you like.

Iced Vanilla Latte 8

Sip with a straw for the perfect afternoon jolt to keep you going.

Iced Vanilla Latte 9


For more Thirsty Thursday recipes or information on all things drinkable, visit the Thirsty Thursday Page.

Thirsty Thursday: Pear Vanilla Smoothies

There are some flavors of fall that I find completely under rated. Of course, there is always the pumpkin spice craze and then there is the apple, but for me, it’s all about PEARS lately. I have been trying to incorporate them into everything. Pear tarts, pear salads, if you follow me on Instagram or Twitter, you’ll see I tried Pear Hard Cider, and for this week’s THIRSTY THURSDAY, I made Pear Vanilla Smoothies.


They are great for a healthy breakfast or a nutritious after school snack for the kids, and contain some old fashioned oats to help keep you full.


Pear Vanilla Smoothies (makes 1)

1/2 cup vanilla yogurt (I used Fruyo)
1 large ripe pear cut into chunks
1 tsp vanilla extract
1/4 cup old fashioned oats
1/2 cup ice

Add ingredients to a blender, and blend until smooth. Serve immediately.


If you like Autumn drinks, check out this pumpkin pie shake. For all things beverage related, check out the THIRSTY THURSDAY page for recipes for all kinds of drinks, cocktails, and all things drinkable!


Want to read more about all things domestic with a touch of humor? Become a Home Everyday follower! For blog updates or to see other places I write such as ChicagoNow or Chicago Parent follow Home Everyday on FacebookTwitter, and Pinterest.


Thirsty Thursday: Pure Vanilla Shake

This weekend kicks off the unofficial start to summer! Can you believe it?! Even though school is still in session, we have already started doing some things you can only do in the summer time. We have been playing in the water table, staying up a little later, playing lots of catch outside, and enjoying our favorite frozen treats.

The kids are currently on a vanilla milkshake kick, and while I appreciate the ease of dumping vanilla ice cream and milk into a blender, my oldest complained that it doesn’t taste like a vanilla cupcake. I agreed, it just isn’t vanilla-y (is that a word?) enough. So this week for THIRSTY THURSDAY, I made it my mission to fix this problem!


I played around in the kitchen. I don’t know if you all remember my hot vanilla from the winter (I know we are all trying to block out winter), but I tried a few tricks from that creation, and I think I have found the perfect recipe for a PURE VANILLA MILKSHAKE! (NOTE: A good grown-up version might be to add a shot of vanilla vodka! YUM!)


PURE VANILLA MILKSHAKE (makes two large shakes)
2 cups vanilla ice cream
2 cups cold milk (I used 2%)
2 tsp pure vanilla extract
1 Tbs sugar
1 pinch cinnamon
whipped cream for garnish


In a blender, add ingredients and blend until smooth. Pour into glasses and garnish with whipped cream.


What is your favorite summer frozen treat?

If you love milkshakes, try this recipe for an OLD FASHIONED CHOCOLATE MALT. Or for all things beverage related, check out the THIRSTY THURSDAY page for recipes for all kinds of drinks, cocktails, and all things drinkable!

Want to read more about all things domestic with a touch of humor? Become a Home Everyday follower! For blog updates or to see other places I write such as ChicagoNow or Chicago Parent follow Home Everyday on FacebookTwitter, and Pinterest.

Follow on Bloglovin


Thirsty Thursday: Warm Vanilla Spiced Cider

For this installment of Thirsty Thursday, I am continuing a week of Thanksgiving preparedness with what has now become my absolute favorite Warm Cider Recipe. It is so simple, it is delicious, and I think it would be the perfect way to cap off Thanksgiving or an awesome way to begin a day of cooking.


This is a recipe that can easily be altered to your taste and can be made alcoholic or non alcoholic. With a garnish or without. However, no matter how you make it up or garnish it, this drink fastest like Autumn in a cup! I originally found this recipe from the Martha Stewart website, but I have adapted parts of it to make it more tasty.

Warm Vanilla Spiced Cider (serves 2)
2 cups fresh apple cider
1 Tbs brown sugar
1 pinch cinnamon
1 pinch nutmeg
1 tsp pure vanilla extract
whipped cream and caramel syrup for garnish


In a small sauce pan over medium heat, add apple cider. Then slowly whisk in brown sugar, cinnamon, nutmeg, and vanilla.


Stir occasionally until the cider is heated through. This takes about 2 minutes.


Pour into two mugs and garnish with whipped cream and caramel syrup or leave plain.


I hope you enjoy this treat as much as we do.


Print the recipe card and bring the ingredients for this amazing cider as a gift for the host of your Thanksgiving Celebration.


For a printable version of this recipe CLICK HERE!

For more about DIY, gardening, cooking, baking or all other things domestic, become a Home Everyday follower! For blog updates or to see other places I write follow Home Everyday on FacebookTwitter, or Pinterest.

Follow on Bloglovin


Smart Cookies: Chocolate Dipped Vanilla Biscotti

When I think college in December, I think coffee. Coffee by the gallon. While everyone is hustling and bustling getting ready for the holidays, college students are writing, researching, writing, studying, writing, and testing. This usually means lots of all nighters.

So, this month’s Smart Cookie recipe has to have the perfect combination of Christmas cheer and go great with coffee. Here is what I came up with:

This recipe is a double batch. The reason being it is so good, that there is no way you’ll be able share and not keep any for yourself. As we speak… er as I write this I am enjoying some with a cup of Mighty Leaf Vanilla Tea.

Vanilla Biscotti Dipped in Chocolate

1 1/2 sticks (12 Tbs) butter softened to room temperature
1 1/3 cups sugar
1 tsp salt
2 Tbs pure vanilla extract (I know it seems like a lot but it is vanilla biscotti)
3 tsp baking powder
4 large eggs
4 cups all purpose flour
2 cups milk, dark or semi sweet chocolate chips

Preheat oven to 350 degrees. Line two cookie sheets with parchment paper.

In a large bowl or electric mixer bowl on medium speed beat together softened butter and sugar until smooth. Then turn mixer to low and add salt, vanilla, baking powder. When this mixture is well combined, add eggs one at a time. The mixture kind of appears curdled at this point but this is fine.

With the mixer on low, slowly add the flour (in 1 cup increments). Mix until just combined.

Divide the dough in half and place each half on the lined cookie sheets. Using wet hands to avoid stickiness form the dough into inch high rectangle logs. Bake for 25 minutes.

Remove from oven, and reduce temperature in oven to 325 degrees. Cut the logs into one inch wide slices, gently separating them.

Place in oven and bake for 25 minutes.

Remove from oven and begin cooling. While biscotti cools, melt chocolate in glass bowl over simmering water or very slowly in microwave.

When chocolate is melted.

Dip cooled biscotti in melted chocolate. Let chocolate harden before serving.

This is probably one of my new favorite treats. I cannot wait to make more for a Holiday Brunch!

For other Smart Cookie recipes, click here, here, and here.

Linking up at Serenity Now.