Tag

healthy

Lunch Hacks for Lazy People Like Me

In order to achieve some balance in my life, I want eat a little better. I mean who doesn’t right. It is a new year after all. However, this doesn’t only apply to the kinds of food I’m eating, but also eating at regular intervals. 

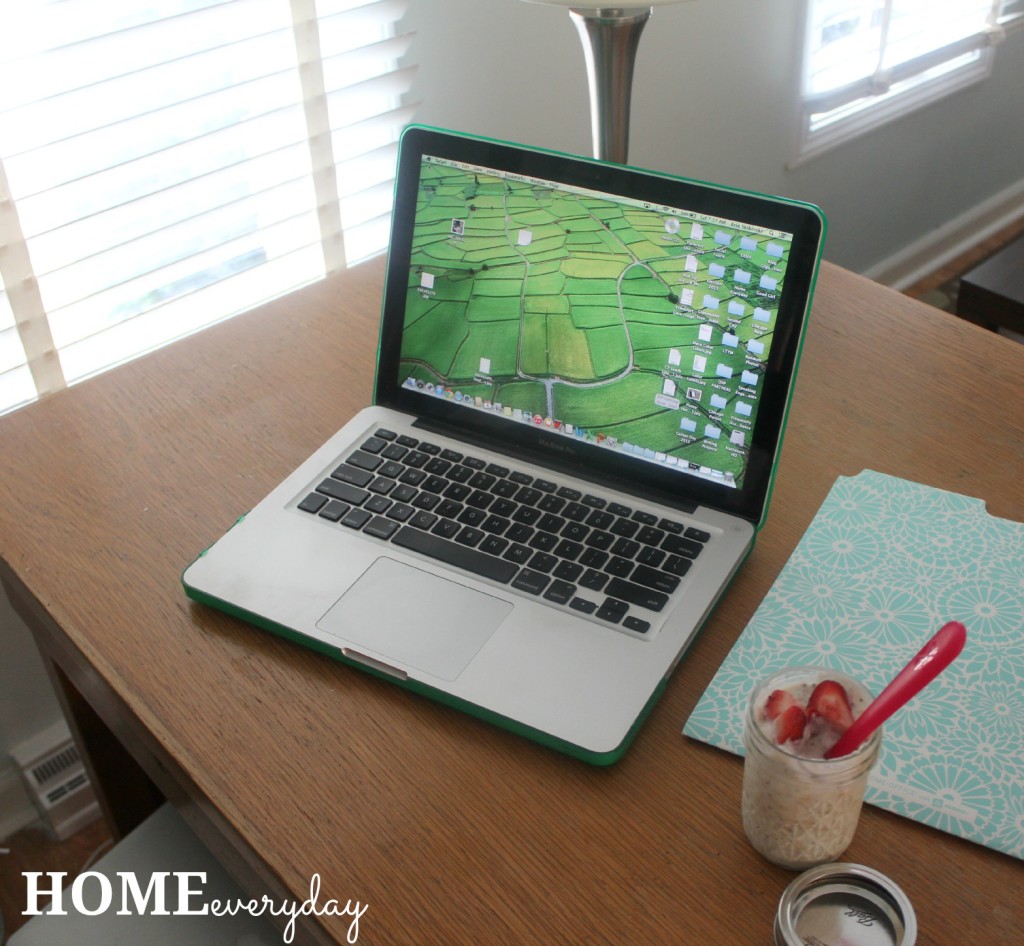
Since I started working from home, I have to admit, I got into a really bad habit of eating lunch 2 out of 5 working days a week. This means that after a breakfast of coffee and maybe a bagel or a banana, I am waiting until dinner to eat and by then I’m famished from all the things that I accomplished that day.On the days that I was eating lunch, I was grabbing anything that was within my reach (ie donuts). This is not healthy, balanced, or a good example to set for my kids. 

Part of my struggle with lunch, is I am the only one home all day and I’m working through lunch, taking my lunch break to go for a walk, or take care of another responsibility. I am trying to maximize the time I have while the kids are at school, so that when they are home, we can enjoy each other and not spend it doing other things. 

Also, truth be told, I’m super lazy. To me it seems like a lot of effort to break out a bunch of stuff, dirty some dishes, heat something up, and put it all back again for one person. I know that is like the epitome of laziness, but I know I cannot be the only one who feels this way. Right? I hope. I mean, if that were the case, fast food restaurants and convenience foods would not be in business.

So, I made a list of Lunchtime Food Hacks for Lazy People Like Me that I think will help me get out of this skipping lunch rut.

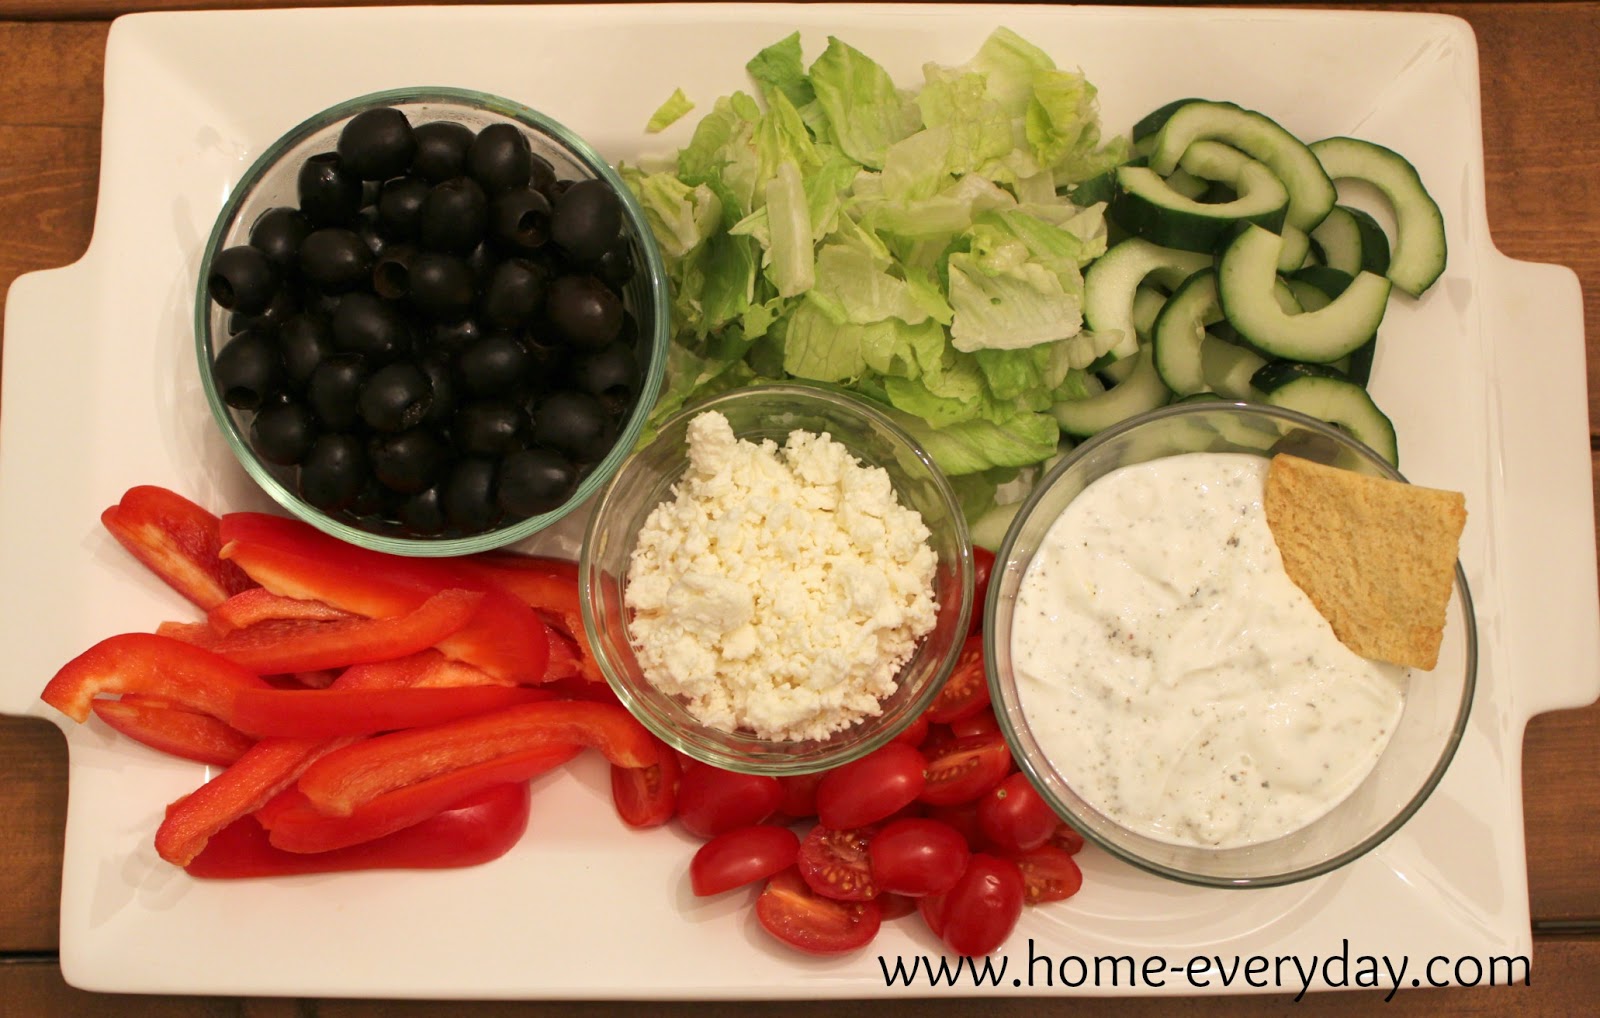
1.) Make lunch when you make the kids lunches in the morning. Pack up a lunch for yourself too. Even though you may not be leaving the house, it is nice to just be able to grab pre-washed fruits and veggies and some cut up cheese right out of the fridge. 


2.) Make lunches a week at a time. If you go on Pinterest, this is a hot trend right now. Take a few minutes on Sunday night to wash and cut up veggies, fruits, make a pasta salad, or pre-measure things in a container to grab and go.

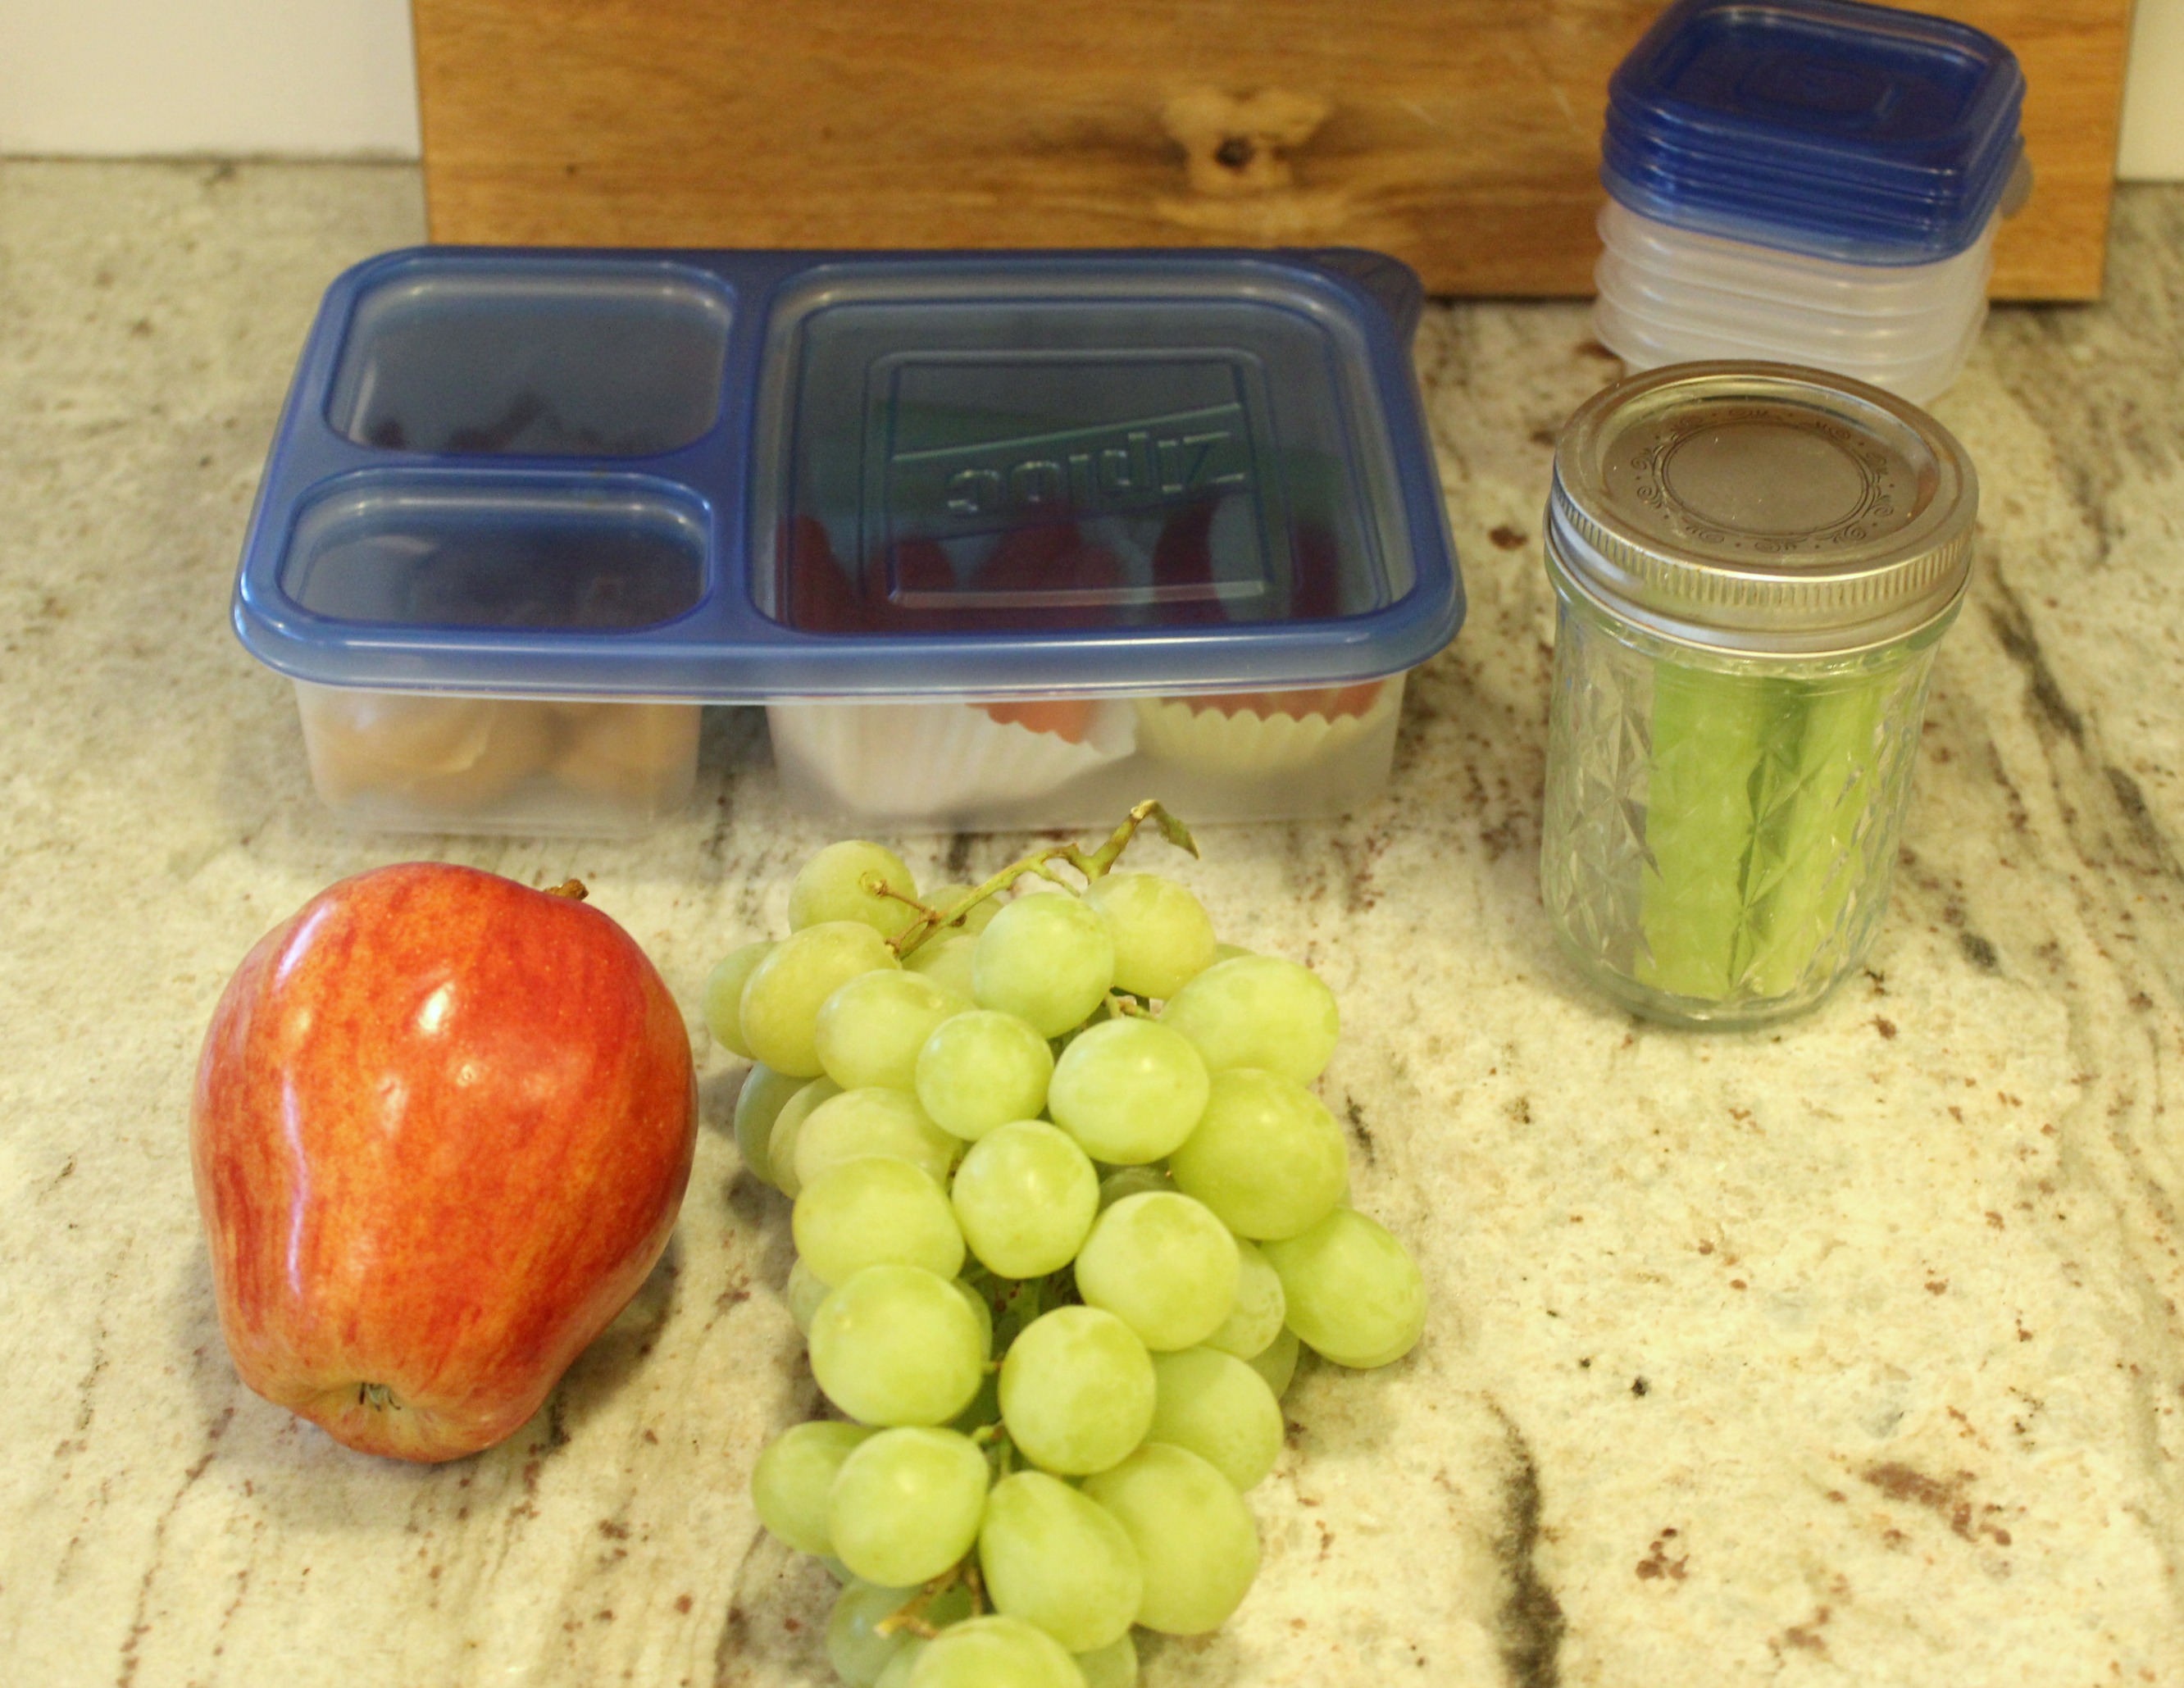
3.) Pack up dinner leftovers in smaller containers. When you’re putting away leftovers after dinner, put lunch sized portions in smaller containers or even mason jars to reheat the next day.

4.) When prepping dinner, prep lunch too. Sometimes when I’m making fajitas or stir fry, I cut up additional veggies and then put them in a container to grab and go the next day. I already have the cutting board and knife and all the food out, I might as well chop away to save time later.

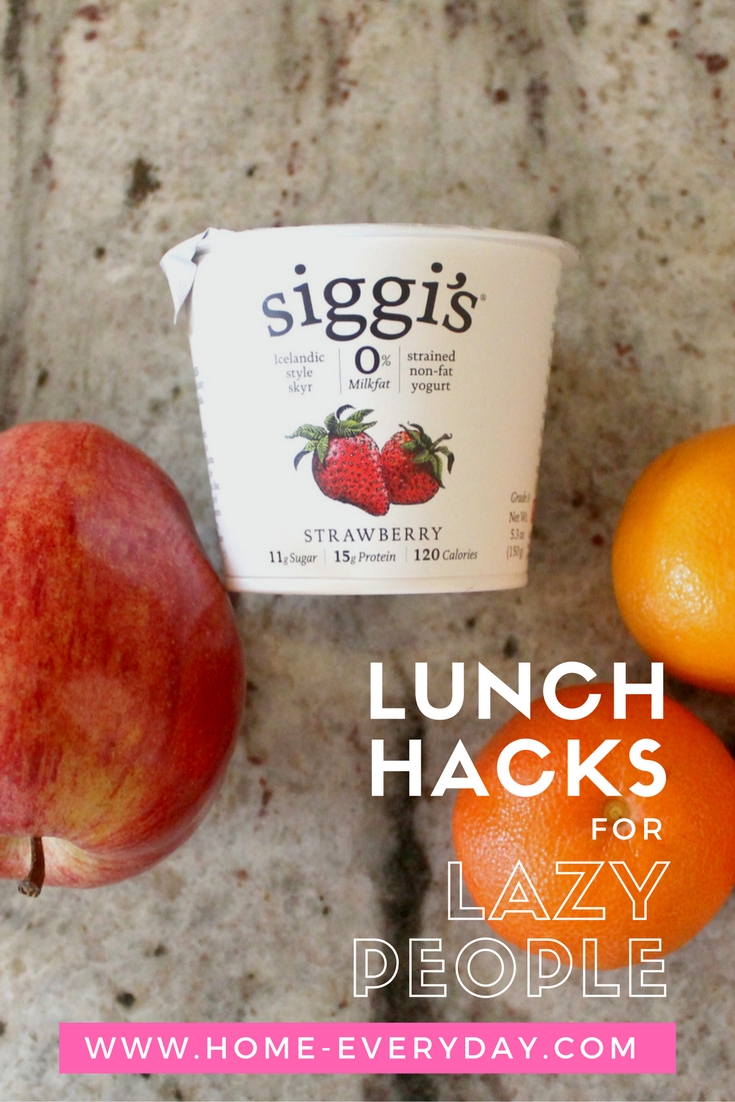
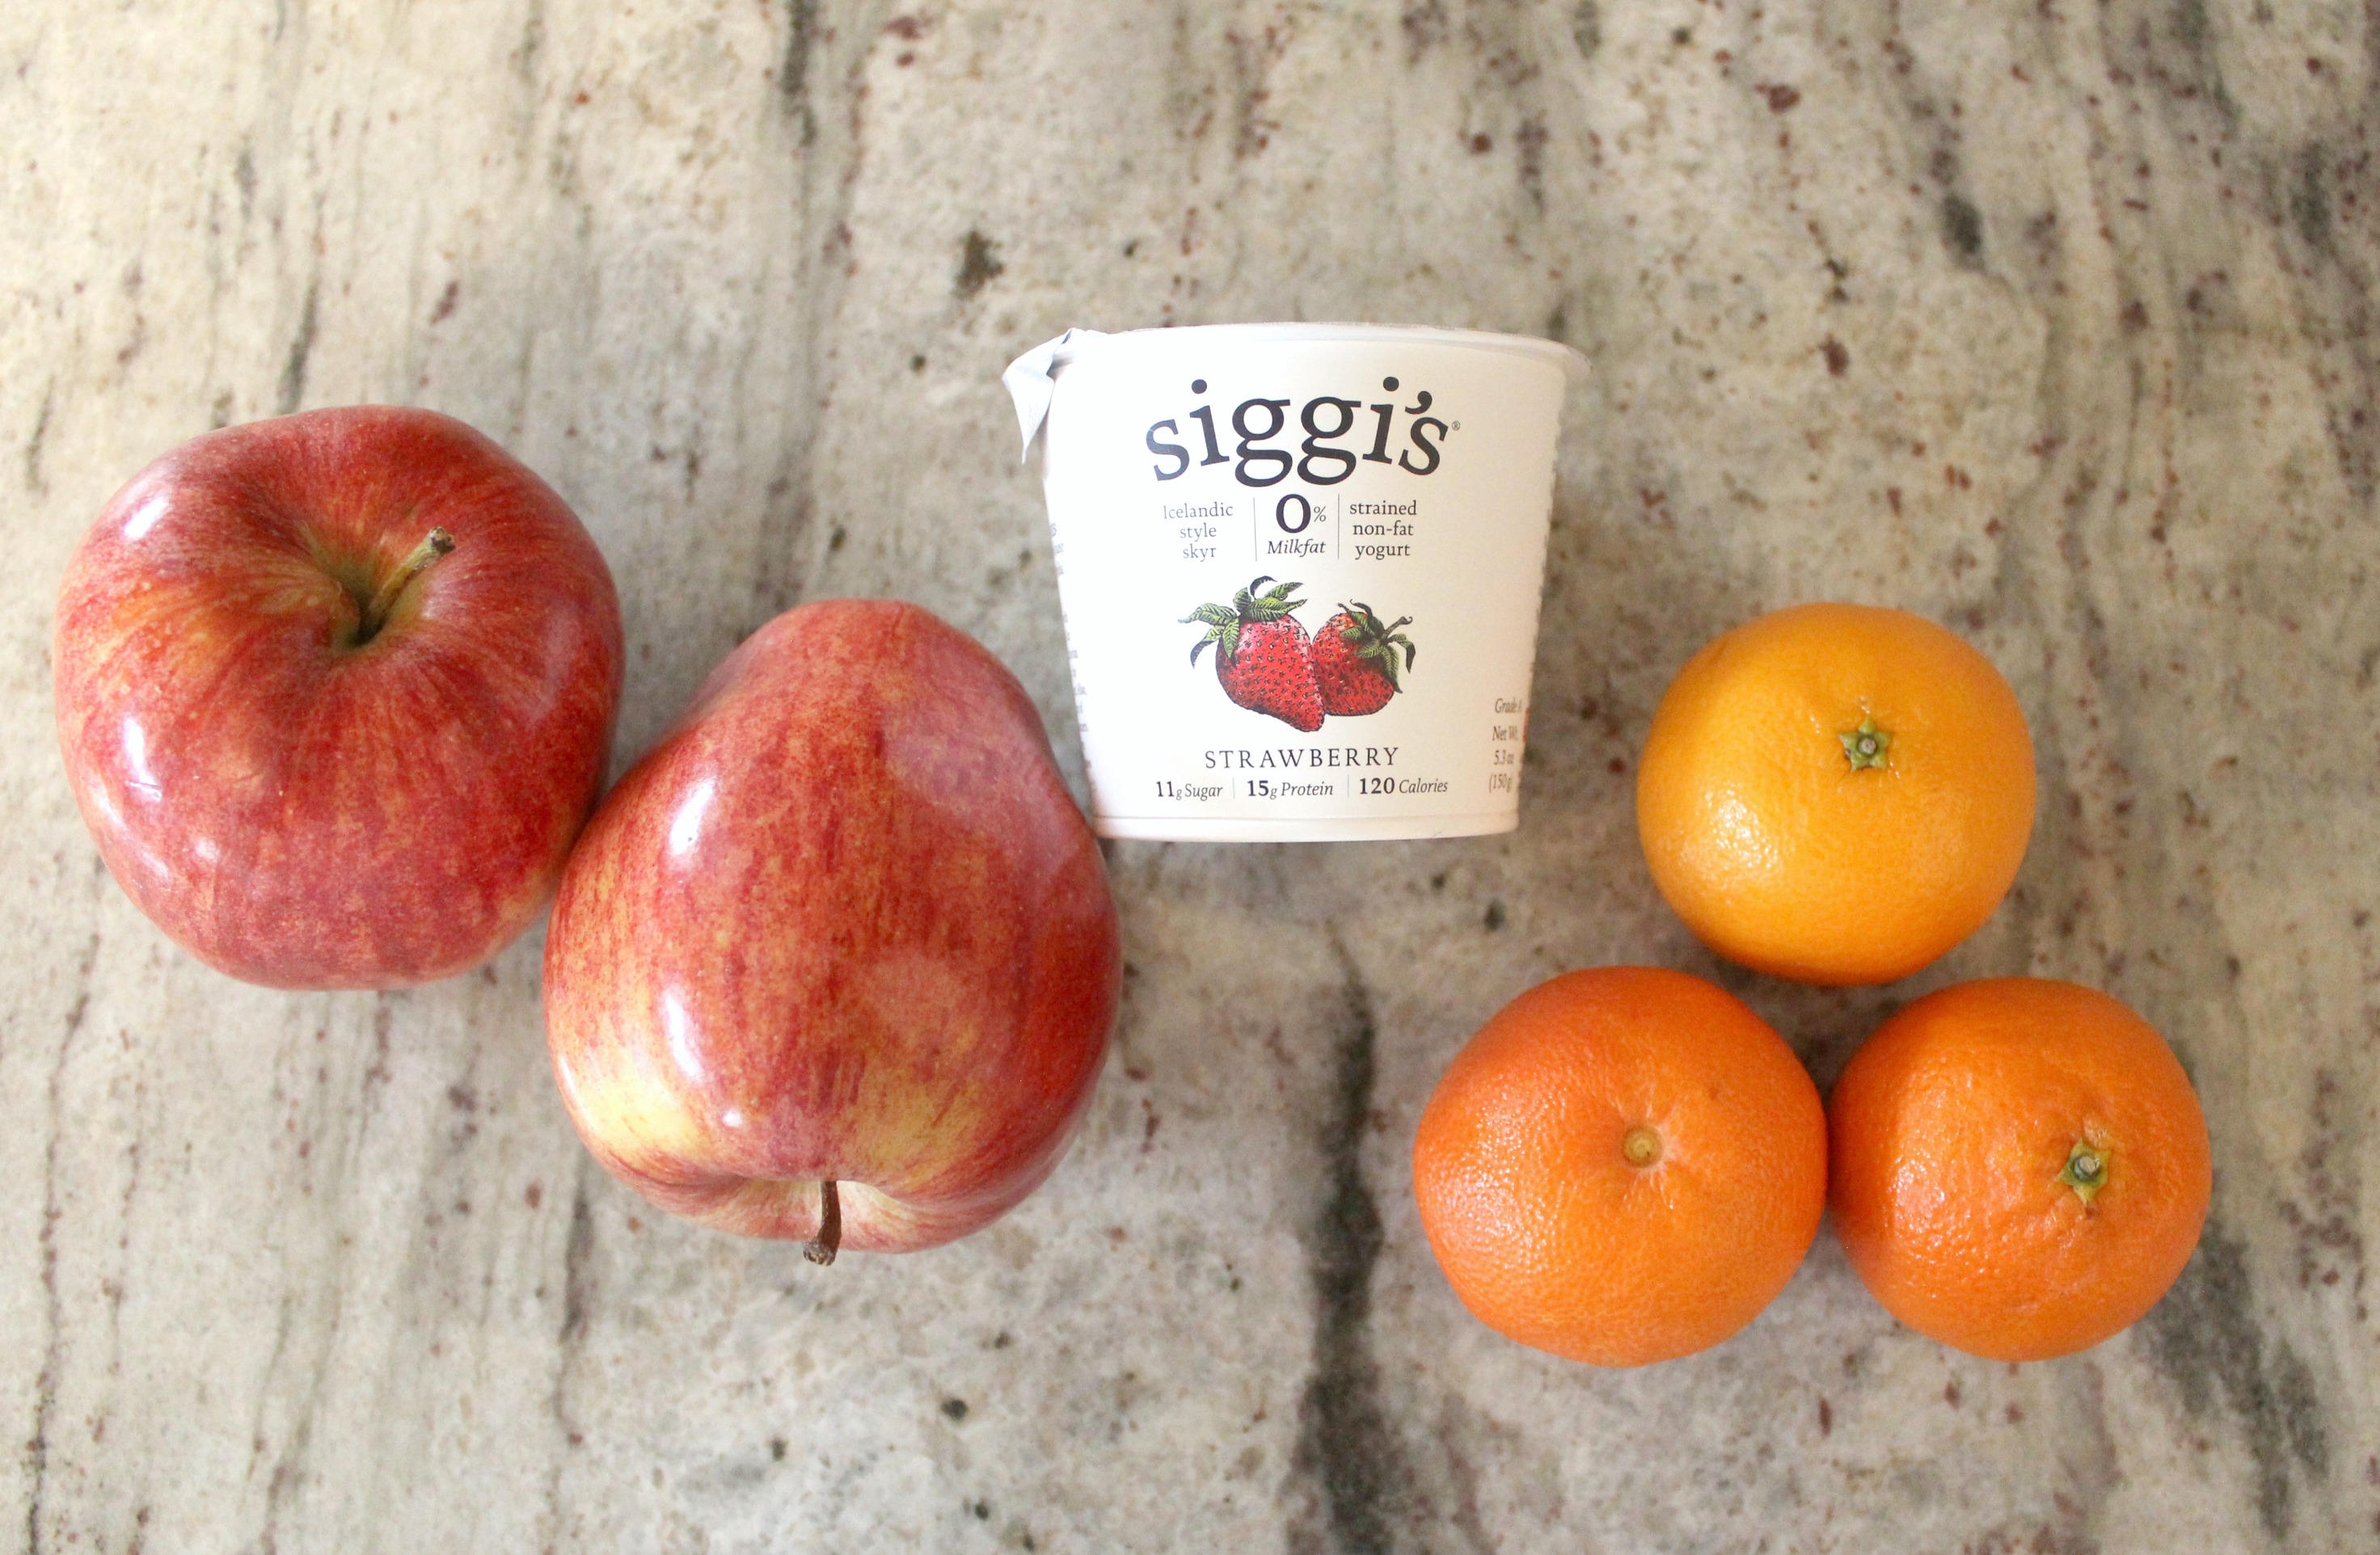
5.) Keep foods on hand that don’t need any prep. Clementines, apples, bananas, and greek yogurt are some of my favorite whole foods that take no time prep. They are already grab and go!

6.) Keep small sized containers, snack size resealable bags, mason jars, and other food storage solutions on hand.

7.) Double up recipes. This is one of my favorite tricks to do for meals like chilis or soups. I serve some for dinner, and then freeze the rest in smaller containers to thaw and eat for lunch.

This hacks have already helped me keep some balance in my life. I’m eating lunch again!

What are some of your favorite lunchtime hacks?

Why Cooking Oil Matters

This post was compensated with products from NOW Foods, however what I whip up and opinions regarding the products are 100% my own.


When I first began cooking, I never really thought of cooking oil that much. I would use what was listed in the recipe, often substituting an oil I already had on hand. Then, when my kids were born and were diagnosed with food allergies, I started to become much more mindful of nut oils and oils containing soy, and avoiding them at all costs.

Then, as I became more of an intermediate at-home chef, I stuck with my three main cooking oils for baking, sautéing, and roasting. I used extra virgin olive oil (usually a middle of the road brand that seemed good), a canola oil for when I needed to cook at higher temperatures, and butter for when I wanted to add a bit of flavor to things like eggs. I gave very little thought to the quality, flavor, or health benefits to any of the oils I was using, until I visited the NOW Foods kitchen and had my first oil tasting.

I couldn’t believe the different tastes of each oil. I also learned about smoking points and health benefits.


Now, after cooking for a couple weeks with different kinds of oils, I cannot believe the change in taste in some of my favorite every day recipes. Also, I now know that some of these recipes will have added health benefits, and will offer some benefits to my friends and family who have dietary restrictions too!


For example, one of my favorite go to breakfasts is scrambled eggs. I make them probably four mornings a week.


In the past, I would use a pat of butter in the pan, which while it adds flavor, it can burn easily, adds unnecessary fat and empty calories and isn’t helpful for those with dairy allergies. Ellyndale Organics has created Coconut Infusions virgin coconut oil that tastes like butter.


It is  also a one to one substitution for butter which means it can be used in all of your favorite recipes where butter is used, and is completely dairy free (vegan). Also, coconut oil has so many healthy
components, I don’t think I will ever use butter to make eggs again.

I just put about 1 or 2 tsp in a pan over low heat.


Add the eggs which I have whipped up with a splash of water, a pinch of salt and pepper (I don’t even add milk anymore that’s how good this oil is!)


Cook low and slow stirring constantly until perfect.


These eggs are my new favorite breakfast, packed with protein and perfect for when I want something hot in a hurry.

Another favorite regular thing in our house is popcorn. It is a snack eaten almost every day. I like to make stove top popcorn because it is healthy, easy, and doesn’t have a bunch of other artificial things like preservatives, flavorings, and possible allergens that store bought and microwave popcorn have in it.

For this, I used the Ellyndale Organics Sunflower Oil which is mild in flavor and perfect for delicate popcorn. It also won’t complicate any toppings you would want to add to it yourself.


I first put a tbsp of oil in the bottom of a large heavy bottom pot with a tight fitting lid over medium heat. Then, I add about 1 cup of pop corn kernels.


I put the top on the pot and shake the pot occasionally so as to not burn the kernels. After about 10 to 15 minutes the kernels start to pop. Keep shaking the pop with the lid still on, and when the popping slows down, remove from the heat.


Pour the popcorn into to a bowl, add salt or pepper or your favorite topping, and serve with your favorite beverage (I did a NOW Food Tropical Punch Slender Stick with some cold water).


After cooking some of my favorite everyday favorites as well as some dinners with these different oils, I don’t think that I will be so careless with my oil choices again.

If you like this post and would like to read more about all things domestic with a touch of humor, become a Home Everyday follower! For blog updates or to see other places I write such as ChicagoNow or Chicago Parent follow Home Everyday on FacebookTwitter, and Pinterest.

Overnight Oats: How I Was Finally Convinced Chia Seeds are Ok

This post was compensated with products from NOW Foods, however what I whip up and opinions regarding the products are 100% my own.

I am always willing to try new things. I try not to be picky. Since having children, I am especially conscience of this. I want the kids to know that trying new foods should not be that scary, and they might find something they actually like if they just try.

However, I have always had a problem trying Chia Seeds. For some reason they freak me out. I have a mental block. What is ridiculous, is that they are so tiny and they are so incredibly healthy.


I know what it is, though. When I was a little kid, I got horribly sick one time. I was prescribed a medicine that could only be given to me in a capsule form. I was way too little to be taking capsules as I was used to taking liquid medicines. So, the pediatrician told my parents to break open the capsules and put the medicine in applesauce. Then, I would easily be able to swallow the medicine. I would be fine.

I was not fine.

The texture of the little seed like medicine in the applesauce made me gag. It was terrible. AWFUL! Since then, I have not had applesauce or anything seed like. I know. It was like 30 years ago, and I am still harboring this not even that traumatizing experience.

When I saw we had Chia seeds in our NOW Foods gift bag, I told myself, this was it! The research began, and here we are. I started slowly. At the NOW Foods event we used them as a binding ingredient for the quinoa burgers, and I didn’t even know they were there. Perfect! Next, I started adding them to smoothies. HOORAY!

Then, I made overnight oats combining a few of my favorite flavors, vanilla, strawberry, and banana. This has helped tremendously with my fear of Chia Seeds, and now I think I am over it.


Strawberry Banana Overnight Oats (makes 4 servings)
1 1/3 cup oatmeal
1 1/3 cup milk (you can use almond or dairy)
1 1/3 cup Greek yogurt
2 tsp Ellyndale Organic Vanilla Extract
4 tsp NOW Real Foods Organic Agave Nectar
2 tsp Organic Chia Seeds
1 large banana chopped into small pieces
8 or 10 strawberries cut into small pieces


Get four small glass or plastic containers with tight fitting lids. In each container add: 1/3 cup oats, 1/3 cup milk, 1/3 cup yogurt, 1/2 tsp vanilla, 1 tsp agave, 1/2 tsp chia seeds, 1/4 of the sliced banana, and 1/4 of the sliced strawberries.


Put the lids on the containers and refrigerate for at least 3 hours, but overnight is best.


This is the perfect breakfast or snack on the go, while working, or to combat a weird fear of a Chia Seeds.


If you like this post and would like to read more about all things domestic with a touch of humor, become a Home Everyday follower! For blog updates or to see other places I write such as ChicagoNow or Chicago Parent follow Home Everyday on FacebookTwitter, and Pinterest.


Your Choice Herb and Lemon Hummus

Tired of the same old bland store bought hummus? I was too!

Hummus is one of the easiest things you can make, and it can be customized so many ways to appease anyone’s palate. I wasn’t always a hummus fan, and then I started making it myself. Once I did that, I was addicted to this healthy and delicious snack (so was everyone else in my house). There is now always some in the fridge.


I have found, the keys to a good hummus, are flavor and texture.

Hummus is made with chick peas. However, I realized that one of the main reasons I didn’t like hummus in the past was because I prefer a smoother texture so I wondered if I could use something else. Also, while there are some excellent brands of hummus that can be bought in the store, I found that many of the flavors were much too strong for me. So, after doing a bit of research, I have come up with the perfect formula to creating my own hummus recipes.

I made a small graph below: basically first you choose your beans (choose 1), then your acid (choose 1), then your flavorings (any combo you like), add olive oil, salt and pepper, and zip in in a food processor and you will have the perfect hummus that is customized to your taste.


With summertime here and my garden flourishing, I have been using all the herbs growing. My favorite combination right now is either Thyme or Basil and Lemon with Cannellini Beans.


Herb and Lemon Hummus
1 15.5 ounce can of Cannellini beans, drained and rinsed
1 lemon zested and juiced
1 clove of garlic
1 large handful of basil leaves OR 2 sprigs of thyme
1 TBS extra virgin olive oil
Salt and Pepper to Taste


In a food processor, add all the ingredients.


Blend until desired texture. You can serve with pita chips, vegetable, or on a veggie wrap.


If you like this post and would like to read more about all things domestic with a touch of humor, become a Home Everyday follower! For blog updates or to see other places I write such as ChicagoNow or Chicago Parent follow Home Everyday on FacebookTwitter, and Pinterest.

Follow on Bloglovin

Thirsty Thursday: Green (New) Machine Smoothie

Here we are, the beginning of another year. I am sure we are all trying to make eating healthy a resolution (or routine check out this post I did over at Chicago Parent). I know I am. I have started to get a little more active, and I am trying to make small changes to my eating habits.

I can tell you that this year I really am trying to make more sensible choices I can live with. Little changes, one at a time that I can do every day. Let’s face it, I’m never going to stop baking treats, it is part of what I do, however, I can eat healthy the rest of the day so that I can enjoy those treats in moderation.

So this week for #ThirstyThursday I decided to show off the Ninja Mr. Home Everyday bought me for Christmas this year (no not a real Ninja). Now my morning routine consists of a healthy smoothie!

I call this smoothie the Green New Machine smoothie because it is green and I used my new machine.

Green New Machine Smoothie
1/2 a ripe avocado
2 cups raw baby spinach
1- 1 1/2 cups pineapple (chopped)
1 cup filtered water or coconut water
Ice to create desired consistency (optional)

In a blender add ingredients, put on lid, and pulse until ice is chopped. Then blend on medium for about 1 minute or until desired consistency.

Turns out, I’m not the only one who likes it. Mr. Home Everyday took one with him to work today, and this little guy snuck a few sips before he walked out the door!

If you are looking to get healthy, try this small simple change for breakfast everyday. For another smoothie recipe check out this awesome Peachberry one I made this summer.

Also, if you are looking for a little more inspiration, check out my friend Samantha over at The Peanuts Gang is working hard doing Treadmill Tuesday updates, and today is talking about the progress she has made in just one month. I’m out the door to the gym today because of her!

For more #ThirstyThursday recipes CLICK HEREFor more about DIY, gardening, cooking, baking, #ThirstyThursdays or all other things domestic, become a Home Everyday follower! For blog updates or to see other places I write follow Home Everyday on FacebookTwitter, or Pinterest.


Quaker Oats Keep Us Going All Summer Long


I am thrilled to be writing a sponsored post on behalf of Quaker and their amazing line of breakfast foods.While I was
compensated for this post by Quaker, the opinions are my own.
This summer has been pretty active. Between soccer, ballet,
swimming, baseball, and all of the other fun activities that summer entails, I
am always trying to think of new and creative breakfasts that will keep us full
until lunch. 


I have
been eating Quaker oatmeal for a long time, so I was thrilled to be a part of
their ongoing commitment to fueling active and healthy families. Also, because
I have three little soccer fans in my house, I was excited to learn about
Quaker’s ongoing partnership with Major League Soccer (MLS) club, The Chicago
Fire.  As part of the partnership, Quaker serves as the title sponsor of
the Chicago Fire Juniors, the club’s youth player development program that
supports more than 10,000 soccer kids and families in Chicago and nationally.

On
August 9 through August 11, Quaker and The Chicago Fire will team up to host
The Quaker Invitational, which brings together hundreds of Chicago Fire Juniors
teams from around the country for a weekend of soccer, community and fun.
The two winning youth teams will earn a chance to play on The
Chicago Fire’s home field, Toyota Park in Bridgeview, IL on Sunday, August 11,
and each player in the tournament will receive a free game ticket to attend the
Chicago Fire vs. Montreal Impact MLS game at Toyota Park on Saturday, August
10.
Luckily, I only have to feed my family of five, and I cannot
even imagine fueling all of those active little bodies that will be at Toyota
Park. However, I think I have come up with the perfect summer breakfast using Quaker
Oatmeal that does not involve hot cereal. Let’s face it, in the summer, cold is
where it’s at.
Brian and I will often eat a Quaker Chewy Granola bar for
breakfast as we chase the kids out the door to an activity. The kids on the
other hand, enjoy smoothies and love anything with yogurt. I like making them
parfaits, but, often times I have to leave out the granola because of their
food allergies. This is when I came up with the awesome idea to make my own nut
free granola with my favorite Quaker Old Fashioned Oatmeal. 


Erin’s Nut Free Granola with Quaker Oats

3 Cups Quaker Old Fashioned Oats
1 ½ Cups Rice Cereal (I used Rice Chex)
1 Cup dried berries
2 Tbs milled flax seeds
¼ cup brown sugar
¼ cup pure maple syrup
¼ cup honey
2 Tbs vegetable oil
1 tsp pure vanilla extract
½ tsp salt
Preheat oven to 350 degrees
In a large bowl, mix together oats, cereal, and berries and
until well combined. Add brown sugar, syrup, honey, oil, vanilla, and salt and
fold together gently. 


Put on a greased baking sheet, and bake for 20-24 minutes
stirring occasionally (about every 6 minutes). Remove from oven, and let cool
before serving. 


This recipe is great, and it would be great with a little milk poured over it as a cereal or as an afternoon snack in the car. So far though, we have already made yogurt and
berry parfaits. 

There almost as many things to do with Quaker Oats as there
are activities to do in the summer. Almost!


Check out my other recipes using oatmeal HERE and
HERE.
For more information about Quaker and their partnership with
Chicago Fire, click HERE.
If you would like to read more recipes or enjoy gardening, DIY, Cooking, Baking or all other things domestic you can check me out on Facebook or become a follower of Home Everyday here


Follow my blog with Bloglovin

Another Make Up: Greek Pasta Salad

It is the dead of winter, my mind is on planning another vegetable garden, walking to the park, and ballet flats instead of boots. Typically winter doesn’t bother me, as I love the change of seasons, but this is the time of year I start getting a bit of spring fever.

Last week, I dug through my refrigerator and pantry. This is what I came up with. I love when I am able to mix some fresh ingredients and come up with something easy.


This is a perfect take on a classic pasta salad, but with some Mediteranean flavors like olives and feta cheese. It is easy to make, it is the perfect lunch, and best of all with all the fresh veggies, it is a reminder that spring is on its way.

Greek Pasta Salad
1 lb tiny cut pasta like Orzo or Stelline cooked, drained and cooled
1 large bell pepper (I used yellow) chopped
1 pint grape tomatoes cut in half
1 large seedless cucumber chopped
1/2 red onion chopped
1/2 cup green olives pitted and coursely chopped
1/2 cup black olives pitted and coursely copped
5 oz Feta cheese crumbles
1/2 cup of your favorite balsalmic vinaigrette (I used Panera Bread brand)


Mix all the ingredients together until well combined. Serve room temperature or cold.
(NOTE: To keep pasta from becoming one big mass when cooling stir in a couple of teaspoons of olive oil and mix.)


What kinds of dishes get you thinking about springtime? Anyone else have plans for their garden this year?

CLICK HERE FOR FREE RECIPE CARD


For a printable recipe card, click on the caption below, click Greek Pasta Salad, and then click download.


Breakfast for One: Banana, Berry, and Almond Oatmeal

Out of the five of us, only two of us like oatmeal. Russell and I sometimes enjoy it together in the morning, but when given the option of yogurt or oatmeal, Russell usually picks yogurt. This means I am often enjoying oatmeal alone, and because of this, I am experimenting with very healthy and tasty variations.

As I have mentioned before, when I cook I kind of throw things together. Then, I often have to make the dish again to factor in measurements so that I can share it with you. This is one of those recipes that was so easy and so delicious, I didn’t mind making it over again. In fact, I have eaten it for breakfast the past few mornings after workouts. It is so healthy, but you won’t even know it. It is that delicious!


Banana Berry and Almond Oatmeal

1/2 cup Quaker Old Fashioned Oatmeal
1 cup water
1 Tbs almond butter
1 small banana mashed
1/2 cup various berries (I used strawberries, raspberries, and blueberries)
Pinch of salt


In a microwave safe bowl, combine oats, water, and salt.


Microwave on high for 2 minutes. Carefully remove oatmeal from microwave and stir in almond butter and banana. Finally, top with berries.


What is your favorite quick cooking breakfast?

Linking up at Serenity Now for Weekend Bloggy Reading.

Healthy Breakfast: Raspberry Smoothie

It is no secret that I have been trying to make some healthier foods for us in this new year. I must admit however, old habits die hard. When I wake up in the morning, I still wanted a bowl of cereal and a cup of coffee, and was wondering what would give me give me a little perk up in the morning.

I got on the internet and started researching super smoothies. I found the Dr. Oz 3-day detox. While, I don’t think I am wanting to do a full three day detox, the breakfast drink looked delicious and chock full of energy producing ingredients.

I made a few changes to the original recipe which is here, but below I made a few suggestions.


Dr. Oz Breakfast Smoothie
1 cup raspberries (or any other berry you have available)
1 whole banana cut into chunks
1/3 cup baby spinach leaves
1/2 cup water
1/2 cup almond milk
1 Tbs flax seed (I used ground flax seed)
1 Tbs almond butter
2 Tbs lemon juice

In a blender, add raspberries and blend until pureed. To avoid seeds, you can strain raspberry puree (hey, that sounds like Prince’s Raspberry Beret). Add the rest of the ingredients to the blender and blend until smooth. Garnish with a few berries

Does anyone else have any energy boosting smoothie recipes they want to share?

P.S. If you need a laugh to get this weekend started, I guarantee my latest post on South of I-80 will give you one.

Super Easy Dinner: Deconstructed Greek Salad with Roasted Salmon and Yogurt Sauce

Yesterday, I shared my goals for 2013. Like most people, eating healthier is at the top of the list. I think it is hard to not want to eat healthier after a season of indulging in home made treats and butter laden food.

When I think healthy food, two things that always come to mind are fish and salads. With both of these things I am kind of a novice, but I was able to adapt a recipe I saw on Ten Dollar Dinners with Melissa D’Arabian. She made a Greek Salad with roasted salmon. While I was watching her I couldn’t help but think that she just paired my two favorite healthy things.


My version turned into a Deconstructed Greek Salad with Roasted Salmon and some Yogurt Sauce, and here’s why. Everyone in my family is so picky when it comes to their salads. My husband doesn’t like tomatoes, the boys don’t like peppers, Coco doesn’t like olives, and none of the kids like are that crazy about a lot of lettuce. So I cut everything up that I normally would, but displayed it in a way that everyone could just take what they wanted for their salad. I have decided that this is how we are going to do salads from now on. The kids loved all the veggies and feta cheese, and spent a lot of time dipping pita chips in the yogurt sauce.
The best part of this dish is it is a “throw together meal” as it doesn’t require a lot of actual cooking and it takes about 15 minutes to prepare. By the time you put the salmon in the oven, you can mix up the sauce and cut the veggies. Then dinner is served. No more excuses for an unhealthy meal due to lack of time around here.
Deconstructed Greek Salad, Roasted Salmon and Yogurt Sauce
12 oz of fresh Salmon sliced into 3 oz pieces
1 lemon zested and cut into wedges
1 head romaine lettuce washed and cut into bite sized pieces
1 package of grape tomatoes cut in half
1 cucumber seeded and chopped
2 bell peppers cut into strips
1 14 oz can black or Kalmata olives
1 very small red onion cut into thin slices
1 6 oz package of feta cheese crumbles
1 bag of plain pita chips
Salt and Pepper to taste.
Yogurt Sauce
1 1/2 cups plain Greek yogurt
1 lemon zested and juiced
1 clove of garlic finely minced
1 tsp dried oregano
Salt and Pepper to taste.
Preheat oven to 400 degrees.
In small baking dish sprayed with cooking spray place salmon. On top of each salmon filet put a pinch of salt, black pepper, and some lemon zest. Put in the oven and roast for 15 minutes.
While the salmon cooks, place vegetables and feta cheese on a large platter. Then, make the yogurt sauce by mixing together the yogurt, lemon zest, lemon juice, garlic, oregano, salt and pepper. Put in a small serving bowl.
Remove the salmon from oven and squeeze a little lemon juice on top. Then serve with vegetable platter, yogurt sauce and pita chips and let everyone construct their own salads.
*Side note. I also had some balsamic vingegrette on the table in case no one likes the yogurt sauce.
I hope you enjoy this dinner as much as we did. Brian is still talking about it.
Linking up at Serenity Now for Weekend Bloggy Reading.