Tag

guest post

Thirsty Thursday: Windy Whiskey Mac

Today’s Thirsty Thursday is is a guest post by the creative mastermind behind No Bags to Check, Alisa Jordan. Alisa’s blog is full of about her adventures both near and far, and her travel tips put The Travel Channel to shame. Alisa has lived all over the country and abroad, but now makes Chicago her home. It is apparent that when Alisa is not traveling and sharing her tips with readers, she can make a mean cocktail. If you would like to read more about Alisa Jordan, check out her blog No Bags to Check or follow her on Facebook or Twitter.


This is my third winter in Chicago, and by far the coldest
and snowiest since I moved here. It’s been pretty brutal even by my previous
home of Boston’s standards. For these cold winter nights, sometimes it’s nice
to have a hot cocktail after braving the elements or spending an arduous day
staying indoors and catching up on your Netflix queue.
One of my favorite hot cocktails is the Whiskey Mac, which I
first had when I lived in London and my family came to visit for Christmas.
While London winters are nothing compared to the sub-zero and snow here, they
do tend to be pretty grey and gloomy. If I remember correctly, it was my mother
who discovered the drink after talking to the bartender about the Hot Toddy,
the Whiskey Mac’s more well known relative.
The story (at least the Wikipedia version) is the Whiskey
Mac was invented by a Colonel Macdonald in the British forces back in the day
(late 1800s or so). The traditional version consists of combining equal parts
Scotch and ginger wine and adding hot water. If you want to go this route, you
will probably need to order ginger wine on-line; I’ve found it difficult to
locate on this side of the Atlantic.
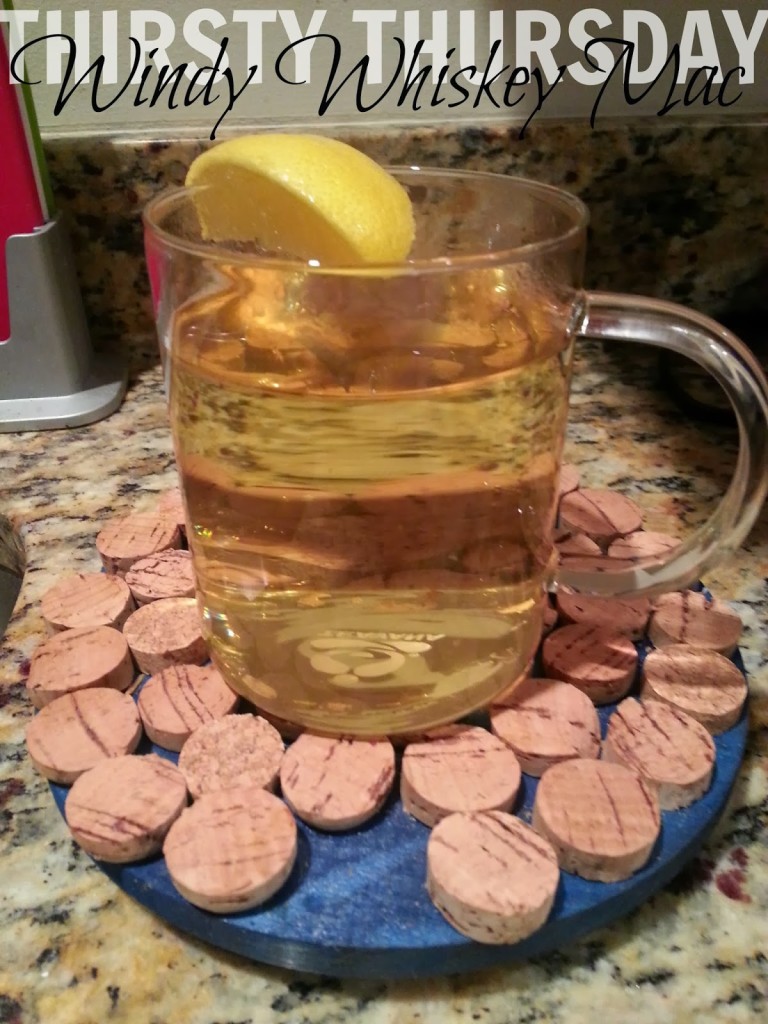
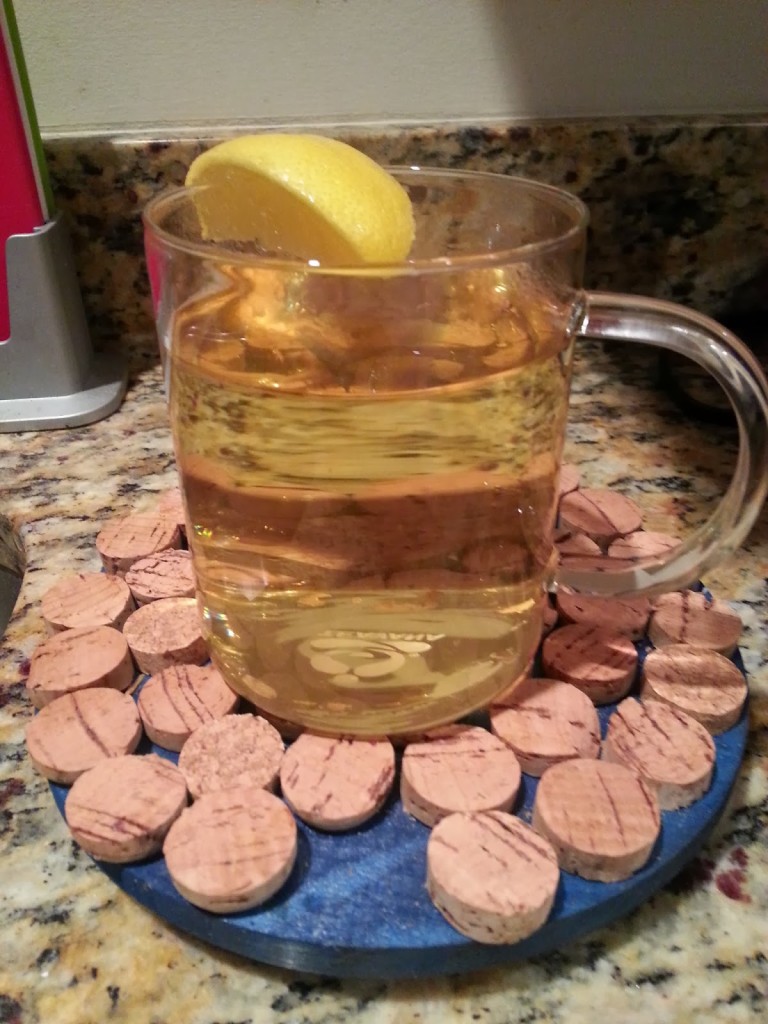
Here’s my Chicago adaptation.
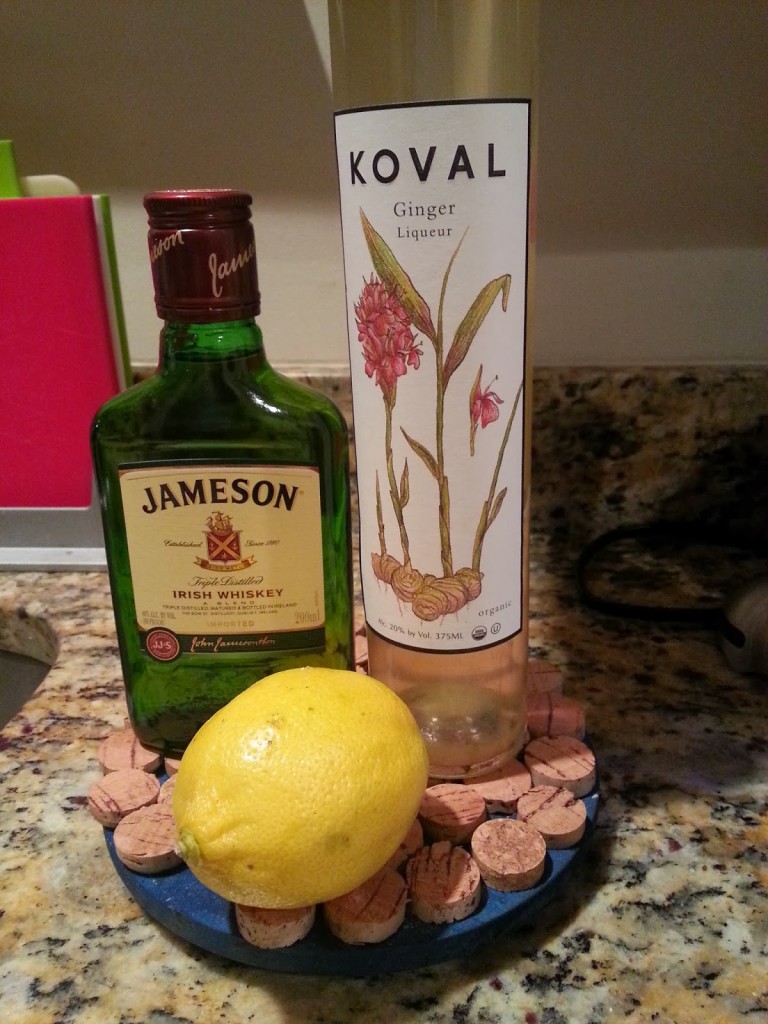
The Windy Whiskey Mac:
1.5 oz. (1 shot) of Irish Whiskey (I used Jameson)
1.5 oz. (1 shot) of Ginger Liqueur (I used locally distilled
Koval)
Hot water
Lemon slices (optional)


Combine the whiskey and ginger liqueur in a mug and fill
with as much hot water as you’d like depending on how strong you like your
drink. Garnish with a lemon slice if you like and enjoy!


For more #ThirstyThursday recipes CLICK HEREFor more about DIY, gardening, cooking, baking, #ThirstyThursdays or all other things domestic, become a Home Everyday follower! For blog updates or to see other places I write follow Home Everyday on FacebookTwitter, or Pinterest.


Upsy Daisy Cupcake Crazy: S’more Cupcake


Meg Broderick, baker extraordinaire, and founder of Upsy Daisy Cupcake Crazy is a friend from way back. We went to elementary school together as well as were in the same Girl Scout Troop for many years. She is another amazing woman, and I am so happy that she is here today so share this amazing recipe for S’mores Cupcakes. I cannot wait to make these! For more information, you can contact Meg via her Facebook fan page.


I’m so excited to share this fabulous
fall recipe with you, but first I want to tell you a little bit about me (and my
‘cakes).  I’m not one of those girls who
has been baking her entire life.  I
didn’t learn to bake from my mom or even my grandmother.  I learned to bake by being bored and having
nothing better to do.  I really first
started baking about 4 years ago.  I
found myself hanging out at home on a Friday night and wanted something to bide
my time.
I started testing out my skills on my
family who soon told me I needed to stop bringing cupcakes over! (they were
cupcaked-out!).  It soon evolved into
baking for my niece’s   1st birthday to
baking for a friend’s bridal shower and the rest is history!  It truly brings me joy to be that sweet part
of a baby’s 1st birthday or the added touch to the bridal shower.  That being said, I’ve done everything from
baby showers, kids birthdays, bridal showers, bachelorette parties and even
weddings! (though weddings are not my target market, I’ve done one!)
So when I got the call from my good
friend, Amy Waligora (nee Bogatto), about doing some ‘cakes for her wedding, I
was ECSTATIC at the opportunity!  Amy and
Eric’s wedding was on September 23, 2012 and Amy really wanted to incorporate
fall flavors for their rustic themed wedding.
We sat on the phone for about an hour and came up with 6 different
‘cakes: Pumpkin cupcake with whipped cream frosting, white cupcake with Nutella
frosting, carrot cake with cream cheese frosting, apple cider cupcake with
salted caramel frosting, pound cake with brown butter glaze (YUM!), and finally
(my personal favorite) the S’More cupcake!
I wish I had the time to tell you all
about every single cupcake I did for Amy however, I chose to share my favorite
cupcake of them all….the S’More cupcake.
Amy had pinned a S’More recipe that
she liked and so I first studied that recipe before modifying it to my
own.  See the original recipe here.
If you read the recipe, it says you
should melt chocolate in a double boiler to put atop your chocolate
cupcake.  And if you know me, you know
that me + melting chocolate = disaster.
So I opted to switch up the recipe.
This recipe also does chocolate cake from scratch but I highly recommend
using store bought chocolate cake to make your life easier if you’re not an
avid baker (saves you money too!).  I’d
recommend Betty Crocker’s Supreme Moist with a cup of pudding.  Ok so here we go….
Start with making the graham cracker
bottom to your cupcake.  Melt some butter
in the microwave (I used about a stick of unsalted butter, I always bake with
unsalted butter).  Take your graham
crackers and smash them up into very small pieces.  I used about 8 “bars” of graham
crackers.  Combine the graham cracker
crumbs, butter and 2 tbsps of sugar in a bowl.
Using a teaspoon, scoop the mixture into the bottom of your cupcake
liners.
You can see I didn’t smash my graham
crackers too small….do whatever you prefer!
The recipe says you should bake your graham cracker crust for about 5
mins before adding your chocolate cake but I didn’t and I think mine turned out
fabulous. Again, whatever you prefer.
So I then scooped my chocolate cake mix
over the crust.  Evenly scoop your batter
over the crust so each ‘cake has about the same amount of batter (I use a
little less than 1/4 cup of batter per ‘cake).
Bake for approximately 15-18 minutes.
It really depends on your oven; I use the “Rule of Nose”…when you can
smell the cupcakes, they are just about ready.
Pop those suckers out of the oven when
your toothpick comes out of the ‘cake clean as a whistle.  While your ‘cakes are cooling, it’s time to
make the marshmallow frosting.
Start with 1 & 1/2 sticks of
unsalted butter at room temperature.  Add
12 oz of marshmallow fluff.  The
container I found was 13 oz so I just used the entire container.  A little extra fluff never hurt, right?!
Cream the butter and fluff together in
your mixer until evenly combined.  This
is the point in the wedding ‘cakes process where my mixer was not too happy
with me so I had to call in the troops: A.K.A a glass of red wine.
Stay patient….the fluff/butter
mixture eventually will look like this:
The recipe calls for 3 cups of “icing
sugar” which translates to powdered sugar.
I’ve always found that no matter how much the recipe calls for, I always
have to use more; I can tell based on the consistency in the mixture.  Too soft? Add more powdered sugar.  Too dry? add a little milk.  If you can see the butter separating from the
mixture, add more powdered sugar.
It’s an art, not a science!
Once you’ve got the perfect
consistency in the frosting, you’ve probably got some time to make the chocolate
& graham cracker toppers.  I just
broke apart leftover graham crackers into individual pieces and did the same
with a couple of large Hershey bars.
Pipe your marshmallow frosting onto
your cooled chocolate cupcakes  and add
your chocolate & graham cracker toppers almost immediately.
Like so:
I found that the marshmallow frosting
was a little soft for my liking so I popped the ‘cakes in the fridge for a
couple of minutes to set and they turned out perfect.
Before I got to the wedding (I was
also a guest at this shin-dig), I had my eye on one of these.  Thankfully, I snagged one and it was OH SO
GOOD.
These would be perfect for any fall
occasion; from a girl scout over night trip to a family bonfire in the
backyard.
I hope you enjoy this recipe as much
as we all did at Amy’s wedding!
Linking up at Serenity Now.

Grandbaby Cakes: Lazy Chai Cinnamon Rolls

Today is a VERY big day at Home Everyday. Jocelyn Delk Adams of Grandbaby Cakes has come to share an awesome Autumn recipe with us. I met Jocelyn in 1995 (OMG that is 17 years ago), when our lockers were right next door to each other in high school. We have since reconnected over blogs and baking. She is a woman of flawless taste with a keen eye for design and combining unique flavors when baking.

Ina Garten, also know as the Barefoot Contessa, is my absolute favorite television chef.  I have whimsical dreams of being invited to visit her and Jeffrey at their amazing home in the Hamptons for a dinner party with all her fabulous friends.  I even imagine we are friends some days.  Yep, my husband pretty much thinks I’m crazy.

Ina is just the quintessential home chef.  I recently watched an episode (for the 15th time I think) during my weekly Food Network DVR marathon where she used puff pastry to create sticky buns.  I thought it was such a genius idea.  Cutting down on the cumbersome yeast dough step sounded so promising considering how busy I am.  As soon as Erin, a high school friend of mine, invited me to write a feature, I figured I would experiment with a concept for quick and easy cinnamon rolls with a twist since sticky buns and cinnamon rolls are first cousins.

These cinnamon rolls are not just ordinary cinnamon rolls.  Oh no!  These are chai spiced cinnamon rolls which literally made me say “yum” out loud.  The best part was my taste testers thinking I spent the whole weekend slaving in the kitchen over these while I knew I was just a lazy bum who whipped these up in 30 minutes.  Enjoy!  I certainly did.


Lazy Chai Cinnamon Rolls
1 pack of frozen puff pastry with two sheets that has thawed out in the refrigerator for at least two hours.  Trader Joe’s has an amazing and reasonable option that is made with all butter.

2/3 cup light brown sugar
3 teaspoons of the chai spice mix (NOTE: I used my favorite chai spice from The Spice House to save time but if you would like, you can make your own! Recipe below)
1 teaspoon cinnamon

3 tablespoons melted butter

For the chai spice mix
1 1/2 tsp. ground cardamom
1 1/2 tsp. ground cinnamon
1/2 tsp. ground ginger
1/4 tsp. ground cloves
1/4 tsp. ground nutmeg

For the icing:1/2 stick of butter at room temperature
1 cup powdered sugar, sifted
1/2 tsp vanilla
1/2 teaspoon chai spice
small sprinkle which ends up being 1/8 teaspoon cinnamon
1-2 tablespoons of milk or chai black tea if you want to amp up the chai flavor

Preheat oven to 400 degrees.  Lightly flour your surface and roll out one sheet of puff pastry until about 1/4 inch thick (leave the other sheet in the refrigerator).  Brush puff pastry with melted butter, leaving 1 inch of space around the edges. Evenly sprinkle puff pastry with half of brown sugar, chai spice mix and cinnamon just over buttered area.


Tightly but gently roll the dough up. Use a little melted butter on the open edge of the roll to seal the seam.  Using a sharp knife, slice the roll into six pieces. Place each roll inside a parchment paper lined baking dish. Place the dish in the refrigerator as you repeat the above steps with the last sheet of puff pastry.  Bake the cinnamon rolls in preheated oven for 25-30 minutes or until golden (watch carefully!).


While rolls are baking, make the icing.  Beat butter until fluffy. Gradually add powdered sugar, then add milk or tea and flavorings. Increase amount of spice, or sugar until desired consistency and flavor are reached.  Then place in the microwave for 10-20 seconds until it melts down and is pourable.  Drizzle over cinnamon rolls when they are fresh out of the oven and enjoy.  Happy Baking!