Tag

food

Favorite South Chicagoland Eats


If I ever moved away from this area, I think I would have a hard time figuring out where to eat. As much as I like to try new things, there are restaurants in my neck of the woods (errr… suburbs) that we visit over and over again.

Food kind of has a way of becoming a part of tradition and memories that not a lot of things in your life can. This list was not only created as a reference for anyone interested in the South Suburbs of Chicago, but also as a trip down memory lane for me.

Aurelio’s Homewood

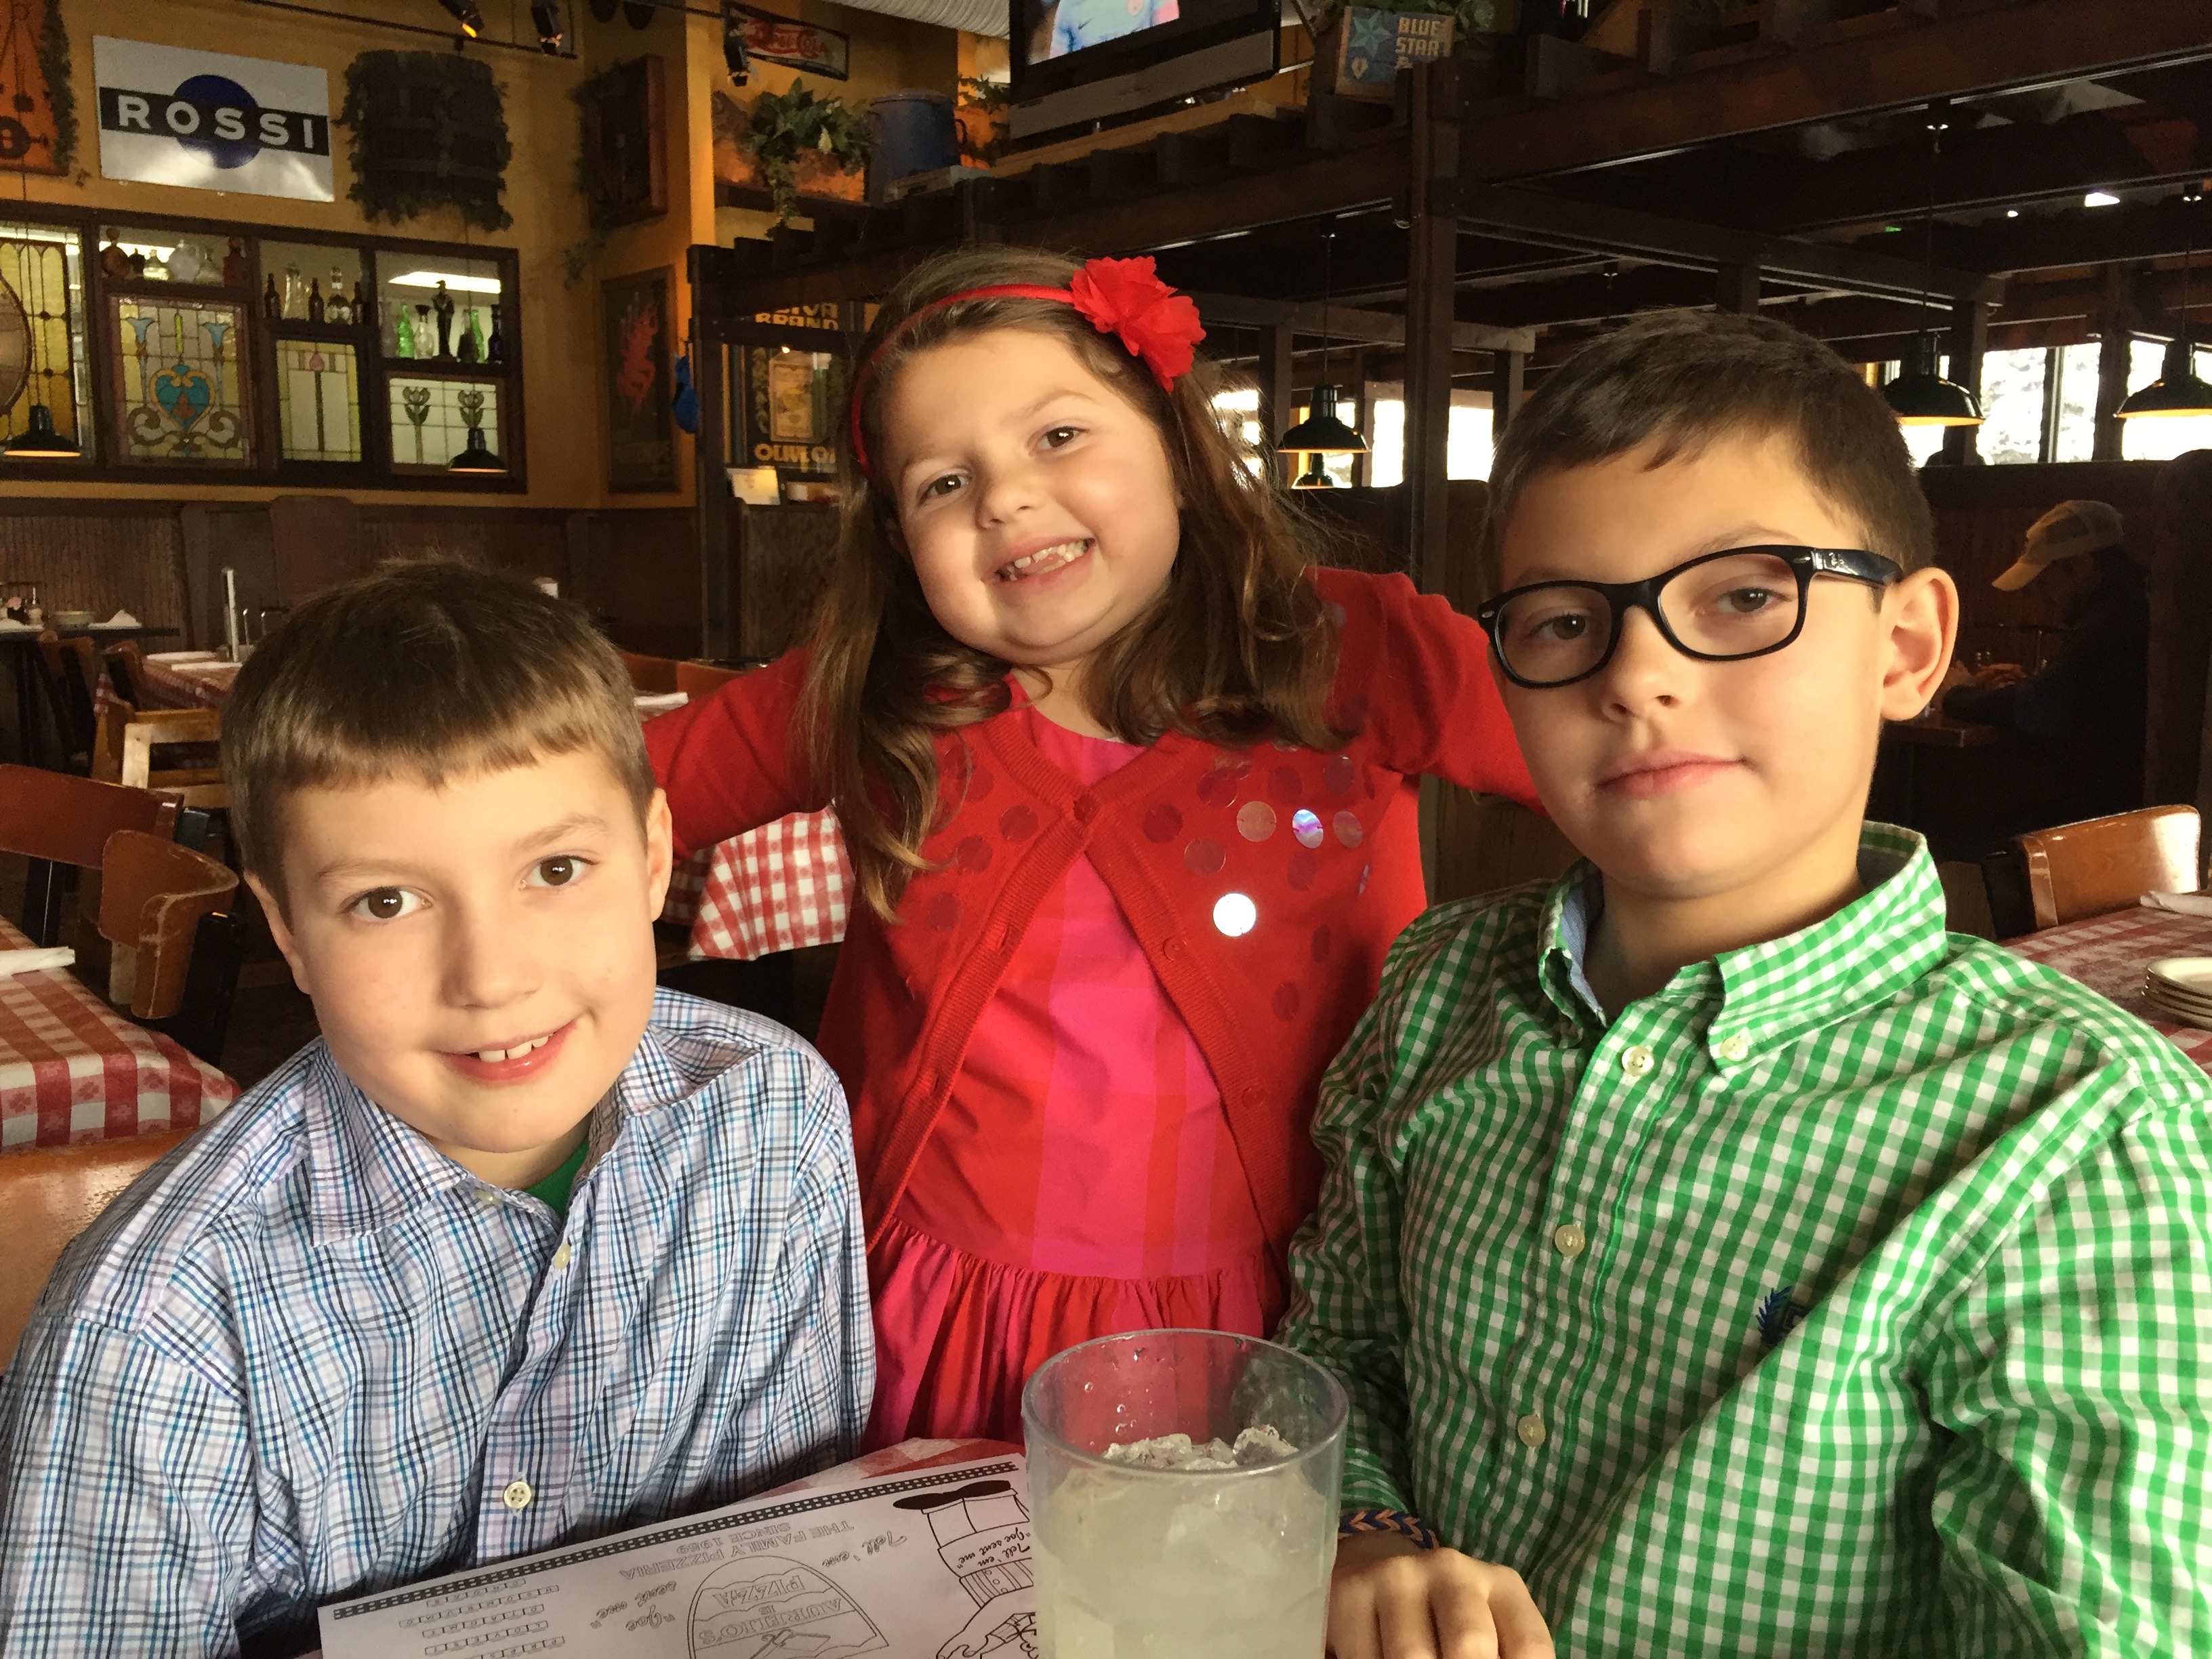
Aurelio’s is a Pizza Chain that now even has locations in Minnesota and Arizona, but when I was growing up, the Aurelio’s in Homewood was THE place to get pizza. Many a night after basketball games were spent here. Let’s not forget all the pizzas ordered for movie nights. My favorite is a thin crust with veggies! If you’re a true Aurelio’s fan, you’ll know to ask for your pizza made in the Old Oven. Thank goodness there is a location right near my home to keep the tradition alive with our own kids.


Francesca’s

I know you’re noticing the theme here, but I cannot help it. When I think Italian food, I think comfort. With several locations all over Chicagoland, Francesca’s is a place I started going to when I was in college for special events and dinners. My sister even hosted my bridal shower here. The menu changes with the seasons, so while it has become a tradition in my family, there is always a new fresh feeling every time we go.

Dancing Marlin

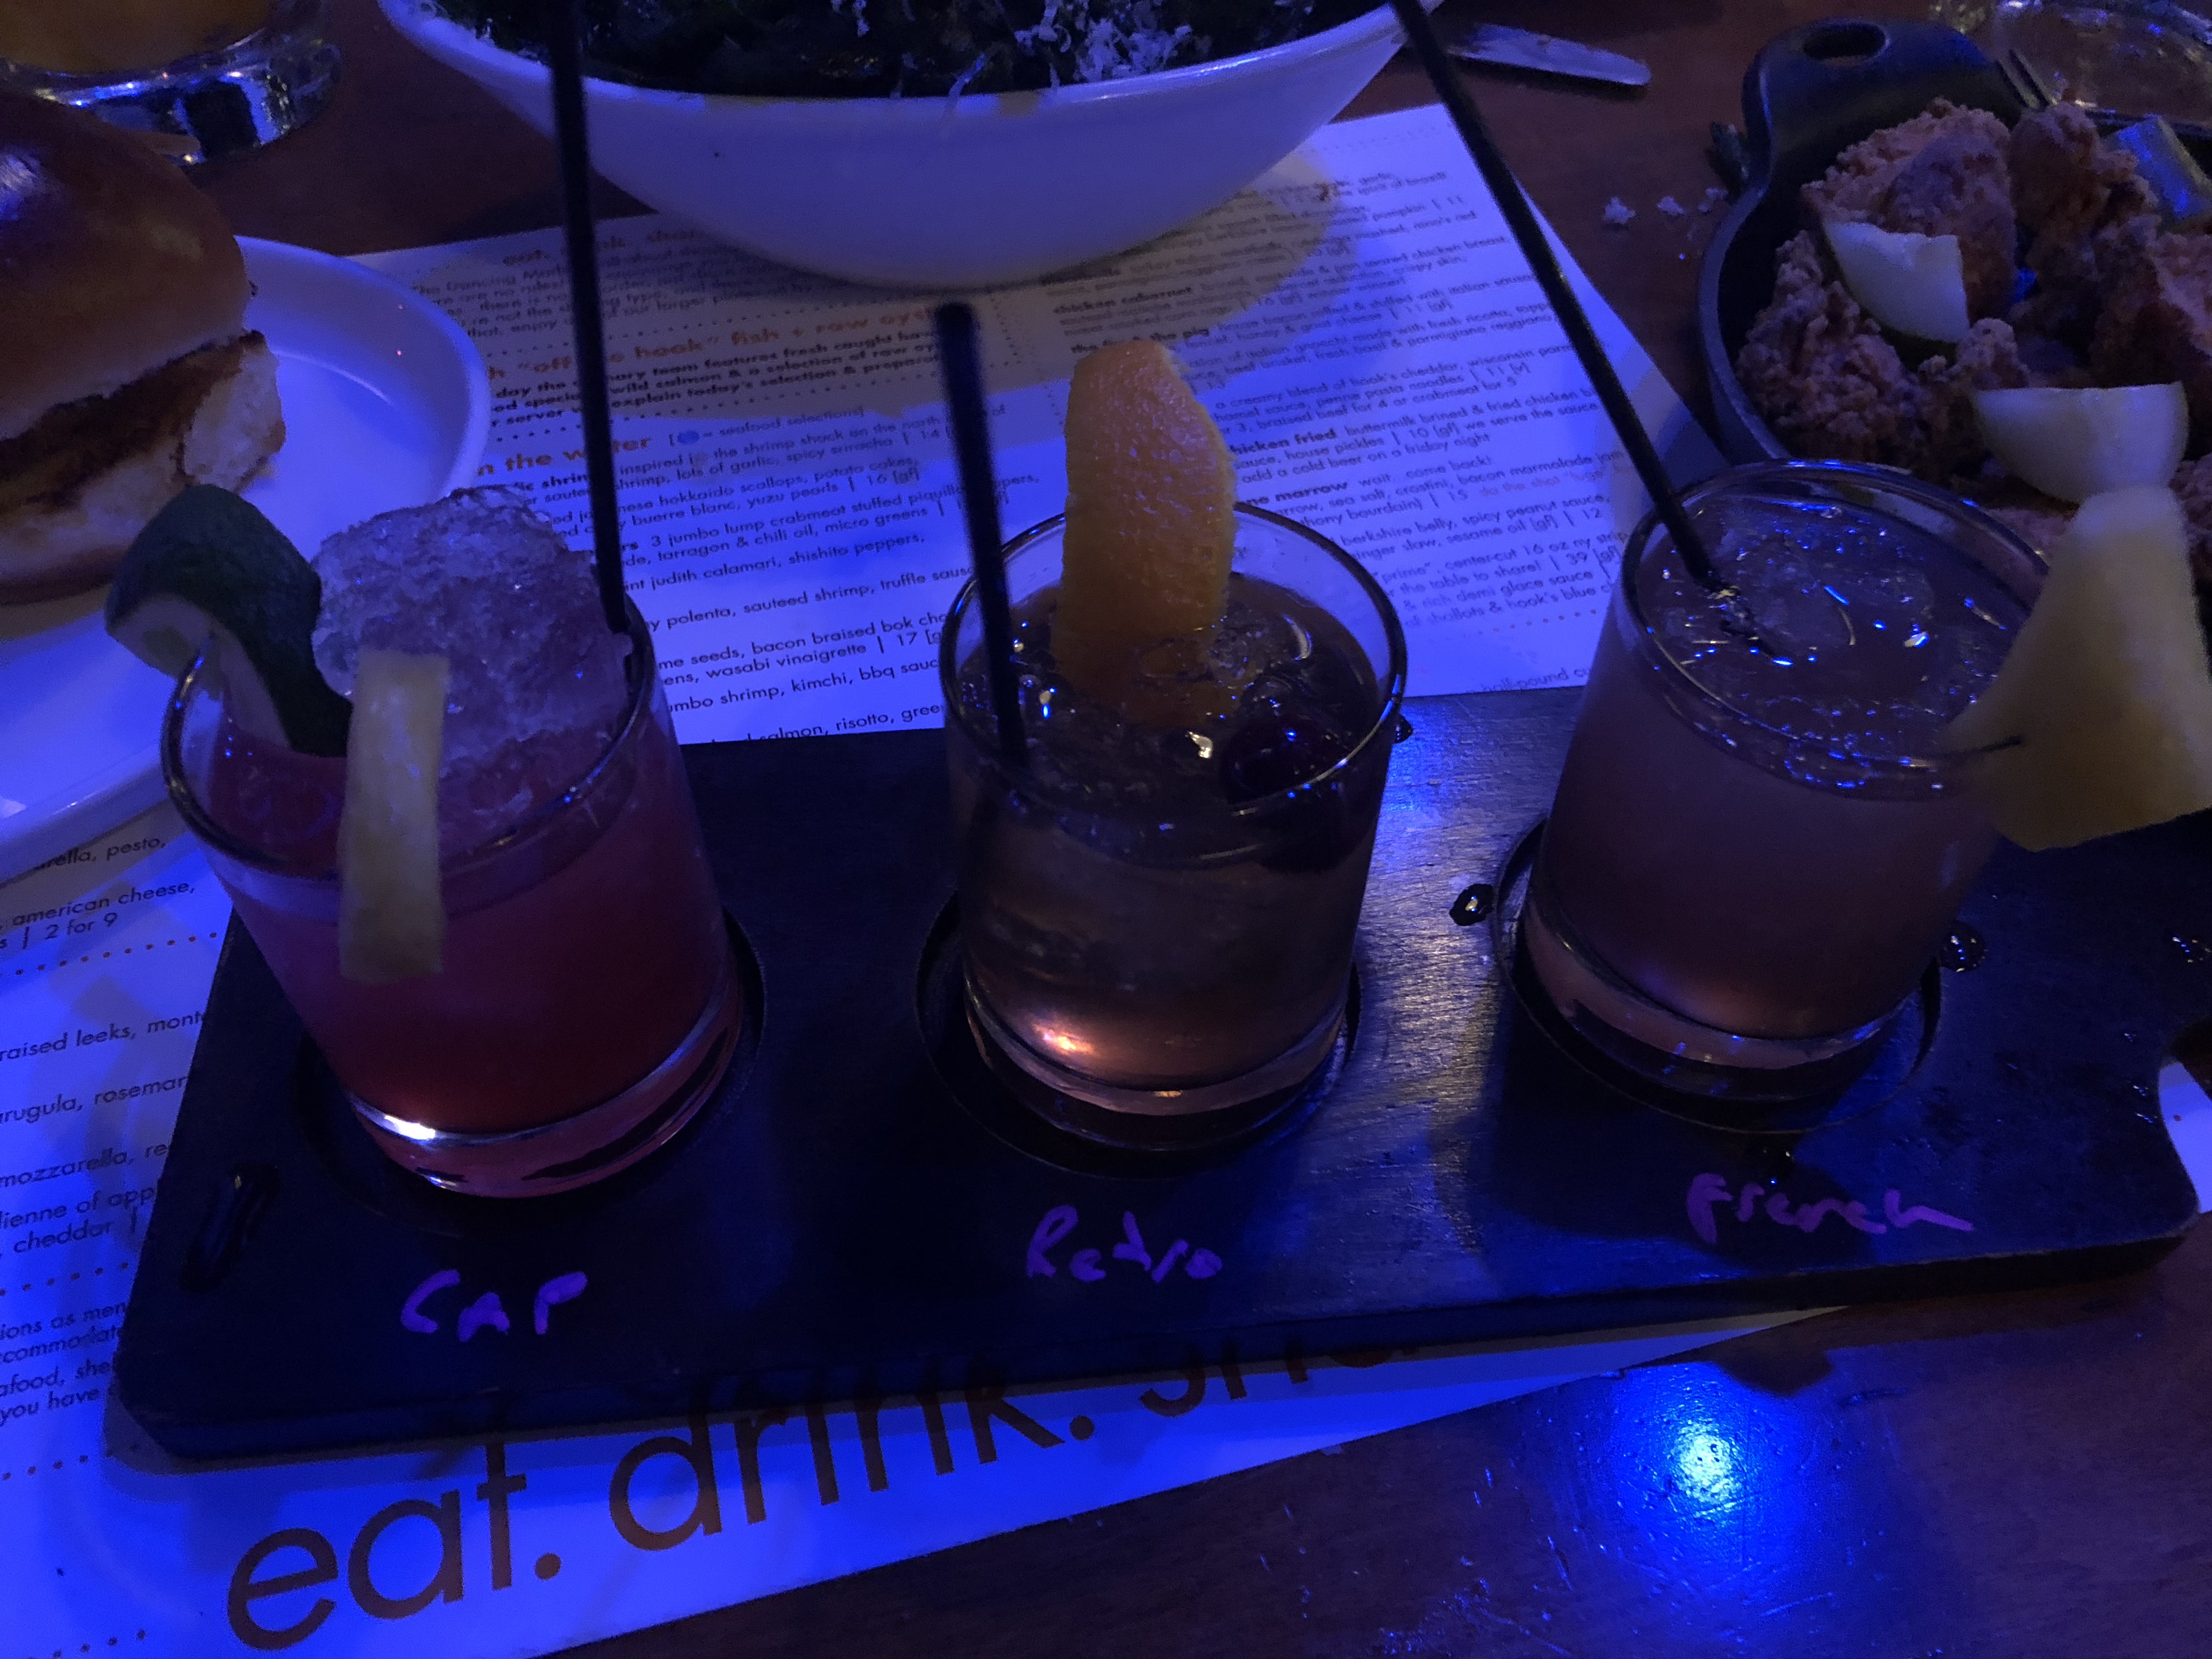
This is one of the newer restaurants on my list, and somewhere I don’t take the kids. It is my absolute favorite place to eat with my gal pals. The menu consists of small plates, and the cocktails are divine. You can even try a few in a cocktail flight. I’ve laughed til I cried here with some of my absolute favorite women while dining on some of my favorite dishes. The beet salad is awesome, but my absolute favorite is the pear crostini with blue cheese foam. 


Harvest Room

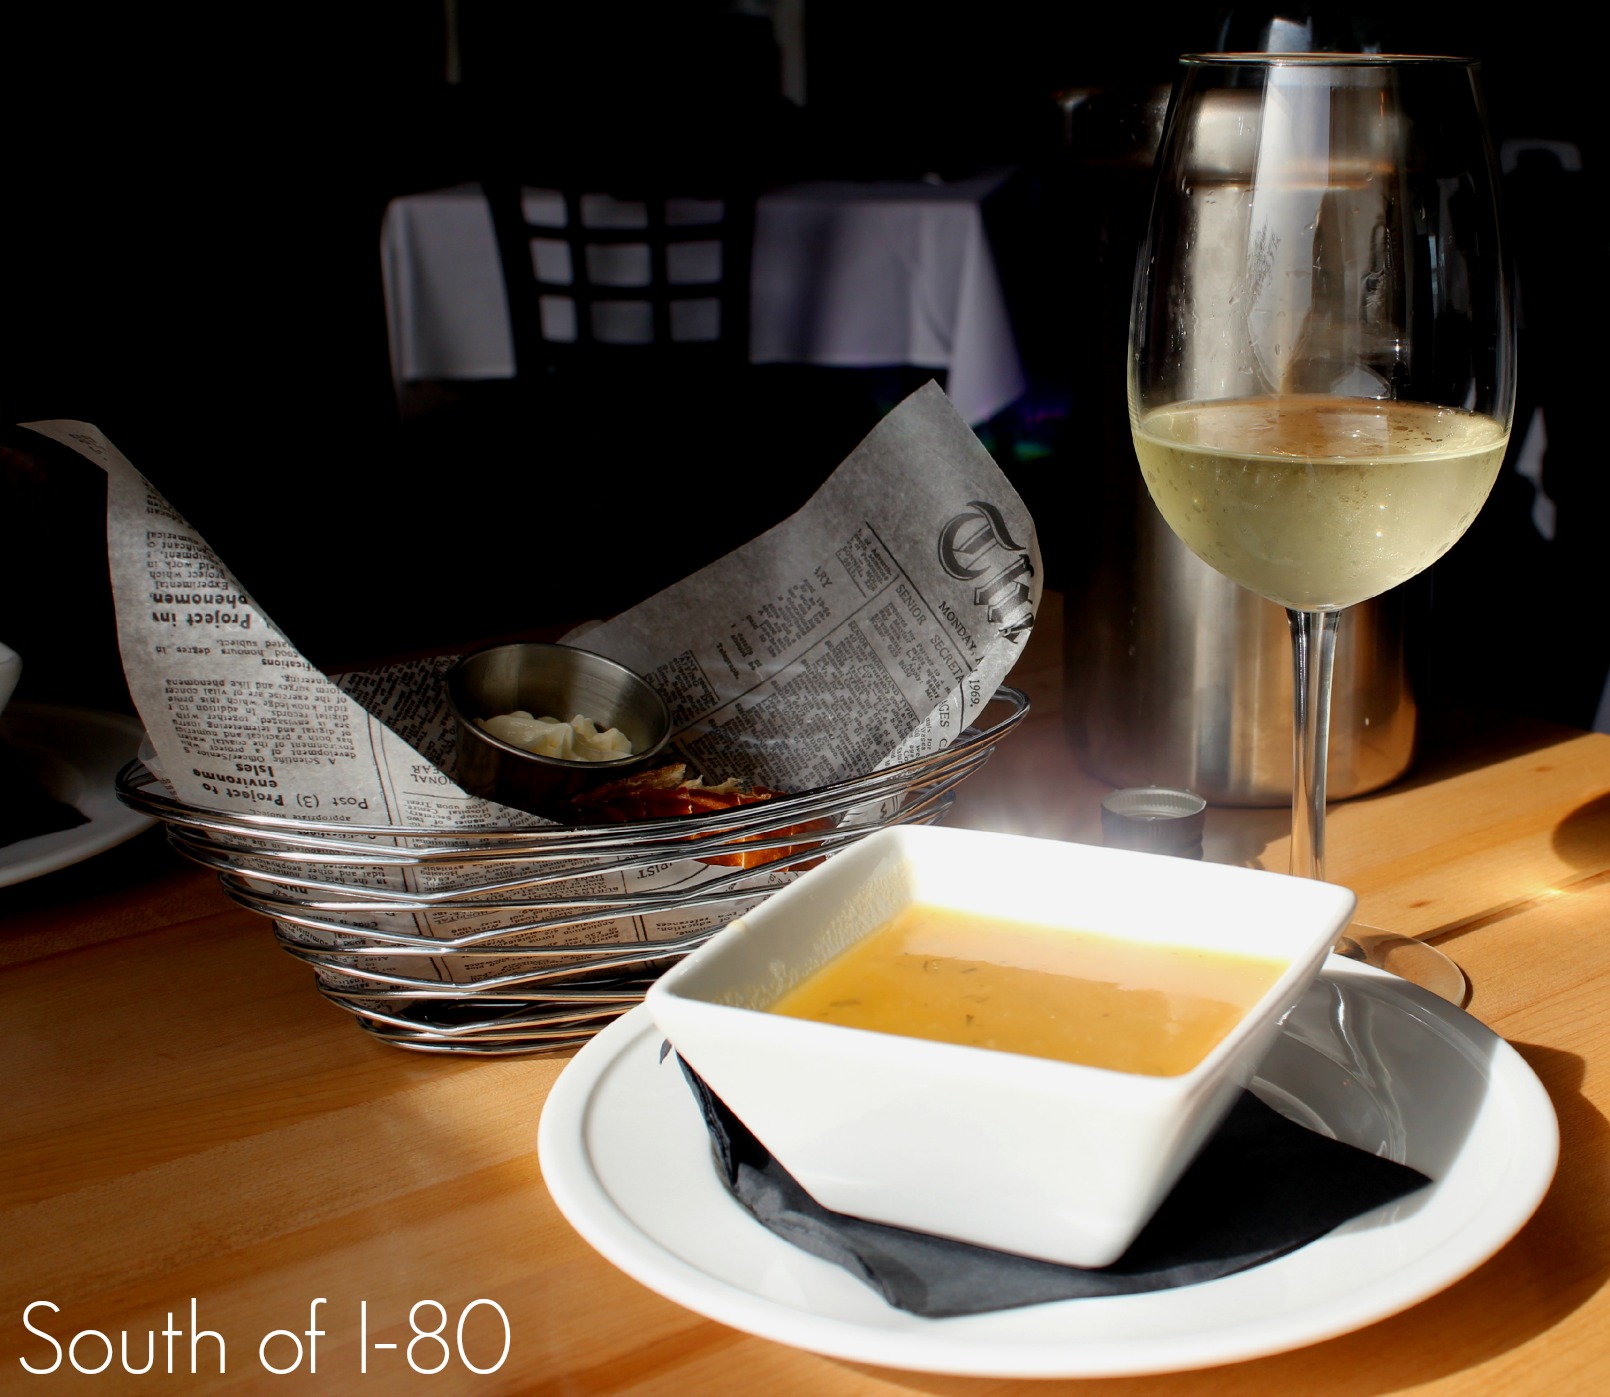
My most favorite conversations have happened in this restaurant! It is typically a meeting up place for me and my friend Samantha, but it has also served as the perfect place to enjoy farm to table cuisine in the south suburbs. There are often new things to try on the menu, and often I cannot resist a cocktail, but my absolute favorite meal is a starter of the Med Dips, the Roasted Beet and Goat Fritter Salad, and I always finish with a hot tea (A Walk in Earl’s Garden) and a sweet treat from the dessert menu!

Mama Maria’s

If Brian and I had a place, this would be it! Usually a date night with us starts or finishes at Mama Maria’s. The atmosphere I would describe is upscale casual, and the menu has a lot of updated favorites.We always order Mojitos and start with Empanadas! 

If you’re looking for a great place to celebrate or enjoy a nice meal with people you love any one of these is a perfect choice. Remember, part of dining out is the people you’re with so make sure you grab your favorite people and head out!

Lunch Hacks for Lazy People Like Me

In order to achieve some balance in my life, I want eat a little better. I mean who doesn’t right. It is a new year after all. However, this doesn’t only apply to the kinds of food I’m eating, but also eating at regular intervals. 

Since I started working from home, I have to admit, I got into a really bad habit of eating lunch 2 out of 5 working days a week. This means that after a breakfast of coffee and maybe a bagel or a banana, I am waiting until dinner to eat and by then I’m famished from all the things that I accomplished that day.On the days that I was eating lunch, I was grabbing anything that was within my reach (ie donuts). This is not healthy, balanced, or a good example to set for my kids. 

Part of my struggle with lunch, is I am the only one home all day and I’m working through lunch, taking my lunch break to go for a walk, or take care of another responsibility. I am trying to maximize the time I have while the kids are at school, so that when they are home, we can enjoy each other and not spend it doing other things. 

Also, truth be told, I’m super lazy. To me it seems like a lot of effort to break out a bunch of stuff, dirty some dishes, heat something up, and put it all back again for one person. I know that is like the epitome of laziness, but I know I cannot be the only one who feels this way. Right? I hope. I mean, if that were the case, fast food restaurants and convenience foods would not be in business.

So, I made a list of Lunchtime Food Hacks for Lazy People Like Me that I think will help me get out of this skipping lunch rut.

1.) Make lunch when you make the kids lunches in the morning. Pack up a lunch for yourself too. Even though you may not be leaving the house, it is nice to just be able to grab pre-washed fruits and veggies and some cut up cheese right out of the fridge. 


2.) Make lunches a week at a time. If you go on Pinterest, this is a hot trend right now. Take a few minutes on Sunday night to wash and cut up veggies, fruits, make a pasta salad, or pre-measure things in a container to grab and go.

3.) Pack up dinner leftovers in smaller containers. When you’re putting away leftovers after dinner, put lunch sized portions in smaller containers or even mason jars to reheat the next day.

4.) When prepping dinner, prep lunch too. Sometimes when I’m making fajitas or stir fry, I cut up additional veggies and then put them in a container to grab and go the next day. I already have the cutting board and knife and all the food out, I might as well chop away to save time later.

5.) Keep foods on hand that don’t need any prep. Clementines, apples, bananas, and greek yogurt are some of my favorite whole foods that take no time prep. They are already grab and go!

6.) Keep small sized containers, snack size resealable bags, mason jars, and other food storage solutions on hand.

7.) Double up recipes. This is one of my favorite tricks to do for meals like chilis or soups. I serve some for dinner, and then freeze the rest in smaller containers to thaw and eat for lunch.

This hacks have already helped me keep some balance in my life. I’m eating lunch again!

What are some of your favorite lunchtime hacks?

More Vanilla Please: Traditional Vanilla Ice Cream Recipe

This shop has been compensated by Collective Bias, Inc. and its advertiser. All opinions are mine alone.  #NestleHolidayBaking  #CollectiveBias

Sometimes, I think it is fun to add some new holiday recipes into my repertoire. Let’s face it, I am a pinning, FacebookingInstagramming and did I mention pinning junkie this time of year. Which is why, with the help of NESTLÉ® and Pinterest I have added a few recipes to my arsenal this year.

All of these wonderful resources are really inspiring me to create some awesome things in the kitchen. These are recipes that I will be nice to have in the house for when friends stop by, or even keep on hand to give to a neighbor when I see them out and about. The only problem with recipes like this, is sometimes they are so delicious it will be hard for the kids me to sneak these awesome treats while staying up late to watch my favorite Christmas movies. Especially, this awesome treat I recently made.

Traditional Vanilla Ice Cream Recipe 13

One of our favorite treats is home made vanilla ice cream. It is a home made staple in our house because we like our vanilla ice cream, very vanilla-y (is that a word?). I have made several different versions. Our two favorites are a Philadelphia style version requiring no eggs, and this more complicated version using NESTLÉ® CARNATION® Evaporated Milk, eggs, and a little cooking. This version has a creamier texture and is perfect for the Holiday season.

Traditional Vanilla Ice Cream Recipe 15

When I was at Walmart to pick up the supplies to make this ice cream, I saw these NESTLÉ® TOLL HOUSE® Red and Green Morsels next to a whole host of awesome NESTLÉ® baking products.

Nestle 1

Nestle 2

I went a little crazy and bought a bunch of things I needed to get ready for the season. Won’t these Red and Green Morsels be a cute and festive treat for Brian who likes to stir in all kinds of toppings into this classic flavor?

Nestle 3

Traditional Vanilla Ice Cream (makes about 4 cups)

Pro Tip: Before you begin please note this version of ice cream does require an ice cream maker. Please prep your bowl ahead of time in your freezer according your your manufacturer’s instructions. Also, please make sure you have a freezer safe container in which to store ice cream. I used wide mouth freezer safe Mason jars with plastic lids.

1 12 oz can NESTLÉ® CARNATION® Evaporated Milk

2/3 cup sugar

5 egg yolks

1/8 tsp salt

2 cups heavy cream

1 vanilla bean split and seeds removed

3 tsp pure vanilla extract

Traditional Vanilla Ice Cream Recipe 1 Traditional Vanilla Ice Cream Recipe 2

In a large mixing bowl, add ice water. Set a smaller bowl inside this bowl with whipping cream. Set aside.

Traditional Vanilla Ice Cream Recipe 7

In a sauce pan over medium heat and stirring occasionally, add evaporated milk and vanilla seeds.

Traditional Vanilla Ice Cream Recipe 4

Heat for about 3-5 minutes or until the milk is about 160 degrees with a candy thermometer. You will notice a slight skin form on the top of a the milk.

Traditional Vanilla Ice Cream Recipe 5

While the milk is heating, in a large bowl whisk together the egg yolks, sugar, and salt for a few minutes until completely combined.

Traditional Vanilla Ice Cream Recipe 3

When the evaporated milk has reached the optimal temperature, lower the heat to low. Then, ladle one spoonful into the egg mixture and whisk vigorously and continuously for about 30 seconds. Repeat this step until about 2/3 of the milk mixture has been added to the egg mixture. Pro Tip: This is called tempering the eggs. If you do not ladle the hot milk mixture into the egg mixture slowly and continue to stir the egg mixture will scramble. 

Next, add the tempered egg mixture to remaining milk mixture on the stove on low heat. Stir this mixture continuously for 3-5 minutes over low heat. This mixture will get frothy. You will want this mixture to reach a temperature of 175 degrees in order to cook the eggs.

Traditional Vanilla Ice Cream Recipe 6

Once the egg mixture has reached optimal temperature, add this mixture to the chilled heavy cream mixture sitting in the ice water bath. Stir with a spatula slowly and continuously for about 5 minutes until the mixture has completely cooled. Pro Tip: If you want, you can pour the egg mixture through a fine sieve into the heavy cream to remove any lumps for an extra smooth texture. 

Traditional Vanilla Ice Cream Recipe 8

Next, add the vanilla extract.

Finally, turn on your ice cream maker, and pour in the final mixture.

Traditional Vanilla Ice Cream Recipe 9

Once, you have churned the ice cream. Put the ice cream into a freezer safe container (I used wide mouth Mason jars with plastic lids).

Traditional Vanilla Ice Cream Recipe 11

Freeze for at least two hours. This will keep in your freezer for about 2 weeks.

Traditional Vanilla Ice Cream Recipe 12

Enjoy with your favorite toppings.

Traditional Vanilla Ice Cream Recipe 16

I was able to get enough ice cream to fill two Mason jars, which is perfect! Now, I have one for us and one to share. There is no better gift than something made in the kitchen, and NESTLÉ® has you covered in more ways than one. Not only was I able to get all my ingredients, but check out these adorable gift tags I was able to print out and attach to a jar of Vanilla Ice Cream for my neighbors.

Nestle 4I cannot wait to gift this to my next door neighbors.

Traditional Vanilla Ice Cream Recipe 15

So, after you make the most delicious and vanilla-y ice cream, with some NESTLÉ® morsels stirred in, what else will you be making? Don’t forget you can head over to the Flavorful Moment Pinterest Board for plenty of ideas!


Creating Recipes in a Hotel Room: Vacation Parfaits with Quaker

While this shop has been compensated by #CollectiveBias and its advertiser #QuakerTime  all opinions are 100% mine.

We are a Quaker family. I am sure you have seen several of my recipes using Quaker products in the past, like my several variations of oatmeal cookies, or all the different times I have used oatmeal in other recipes. Quaker oatmeal is allergen friendly, and many of their other cereals are too. Also, Brian kind of has a thing for their granola bars.

Quaker Parfaits 11

It should come as no surprise to you, that I brought a selection of Quaker products with us on our family road trip this year. From Instant Oatmeal and Life Cereal for the kids to Chewy Granola Bars for Brian, all of these things have been tasty and healthy snacks to keep us full of energy on our travels. Also, when I run out of any of these things, we have always been able to stop at a Wal-Mart and pick up more along the way.

Quaker Parfaits 3

After being in a hotel for a few days, I started to get a bit creative with snacks. After a particularly long day of sightseeing, Brian and I were exhausted. The kids in true kid fashion, were not. We were planning on a evening swim before dinner to perhaps wear them out a bit, but I needed a snack with a little more oomph. So, with some Quaker Chewy Granola Bars, and some other ingredients I had in the hotel room, I made an healthy treat to help Brian and I keep up with our energetic kids.

Quaker Parfaits 6

I made the perfect Vacation Parfaits, and you can make them too.

Quaker Parfaits 10


I just layered up some yogurt, berries, and then crumbled my favorite flavor of Quaker Chewy Granola Bars (Chocolate Chunk) on top. And voila, we were able to conquer the pool with three little ones.

Quaker Parfaits 8

I was so happy that I was able to enjoy this awesome snack. Even though I am still in vacation mode, there is a little part of my brain that is thinking ahead to school starting and all the great things I can whip up with Quaker for my hungry kids. CLICK HERE and use this link to as a fabulous resource for some awesome back to school treats. For more information about Quaker and to stay up to date on all things delicious check out Quaker on TWITTER of FACEBOOK.

Have you ever had to do any cooking or assembling in a hotel on vacation? What creative idea did you come up with?


Newlywed Dinner: Quick Chicken and Dumplings

When Brian and I were first married, I so enjoyed having my own kitchen to cook and bake and make messes in (Brian can attest I used to be a very messy cook). I had lived with my Mom prior to getting married, and while I did plenty of cooking, it still wasn’t MY kitchen. I also did a lot of experimenting in those early days, and they weren’t all winners.

One of Brian’s absolute favorite meals when we were first married was Rachael Ray’s Chicken and Dumplings. It is something that remains in our dinner rotation, and it is usually the first thing he asks for as the weather turns colder. Since fall is on the way, I thought I would share with you the recipe. It is simple, everything cooks in one pot (easy clean up), only takes about 30 minutes, is great leftover,  and is a true comfort food


The only difference between cooking then and now is all the helpers I have in the kitchen now.


Big Kids Now: Cherry Cola (Pop) Brownies

I know this week has been a little “kid heavy” in the way of posting, but here’s why:


My boys started school this week. They were SO excited. I don’t know if you can tell
However, for bearing with my crazy pictures of my knuckelheads, I will reward you with a recipe.
To celebrate heading back to school, and the boys having a great first day, Coco and I decided to make the boys a treat. 


I dug through my baking cabinet and found a box of brownie mix. I wanted something a little doctored up (after all this is a special occasion), and I found this recipe on the Betty Crocker website. I LOVE CHERRY POP (yes, I just said pop. I’m from Chicago, deal with it people). We always have cherry pop of some kind in our house as it is my favorite.
Anyway, what grabbed my attention about this recipe (other than containing cherry pop) is it only contains one egg. My boys have a slight egg white sensitivity, so I like to find recipes that have one or no eggs or can easily have substitutions for eggs. Also, the picture totally captured my eye. The kids like anything with a cherry on top.
So we baked. 


The kids loved, mom and dad loved. It doesn’t get much better than this people. 

Linking up with Adorned from Above.

Best Pals, Cars 2, and Pancakes: It doesn’t get much better.

Last week, my best friend from college, Sara, came to visit. She has lived on the east coast, the midwest, and currently lives on the west coast. She is finishing her doctorate, but she makes time once a year to come to visit me and my family.


Sara and I actually went to do different schools in Cleveland (C-Town WOOT!), but met through mutual friends. We became friends during tumultuous time for both of us. We have managed to stay friends all these years despite graduate schools, moves, marriage, children, and the pressures of every day life.

Here is my favorite picture of us from our college days. We got dolled up for a Valentine’s Day party hosted by my sorority.


Amazingly, we have both grown into pretty successful, mature, and if I do say so myself awesome young ladies (you’d never guess, but the picture below was taken by a four year old).


She usually comes bearing gifts for the kids. However, little did she know the gifts she brought this time would be awesome for me as well. Sara knows how much I love to cook and bake, and how I also love to do those activities with my kids. She gave us some cool new tools to do this together.

Sara knows how much my kids LOVE Cars and Cars 2. So, she found Cars 2 cookie cutters and pancake molds at Williams and Sonoma. So, as you can imagine we started cooking and baking almost immediately.


With the pancake molds, the Williams and Sonoma recipe for buttermilk pancakes was included. The next morning we (me and a few helpers) whipped them up.
One VERY important tip, when, using pancake molds, make sure you definitely use a squirt bottle for pouring the batter into the molds. I used a ladle and I ended up with some messy looking pancakes (hence, no pictures of the finished product). Next time, I will make sure I have a squirt bottle.
The kids (and Sara), however, had no complaints. Even if the pancakes didn’t come out perfectly.

Root Beer With Me: Easy BBQ Pulled Pork

Before we talk about BBQ, I just wanted you to know I linked up with Hi Sugarplum today to share my ticket stub art project. All of the projects there today only take about an hour to complete. I’ve already browsed around, and after only a few minutes, I have some great projects I want to do. 


Just a little background about me, I often don’t follow recipes exactly, unless of course it is baking. Even then, I sometimes play around with ingredients. This blog has forced me to be better about measurements and cooking times, but overall in my kitchen there is a lot of guesstimation going on. I pretty much eyeball everything. This is how my grandma cooked, and this is how my Mom and sister cook. This is how I learned. So when I’m blogging about a recipe, and I say bear with me on times, measurements, or ingredients, that is what I mean. I’m trying to go on a few pictures, or maybe a few notes I’ve taken on my iPhone or on the back of a napkin, and my memory (which I must say is failing me lately).

Which brings me to this next recipe. I saw this recipe online a few weeks back. It was all over Pinterest, and I saw on several cooking web-sites like allrecipes. I must say this is the easiest recipe I’ve ever “thrown together,” and it is delicious. My youngest devoured it, which means if an almost two year old liked it, I’m pretty sure anyone will like it.


BBQ Pulled Pork

1 Pork Roast (I used a 3 lb pork loin)
Root Beer (I used two 16 oz bottles)
BBQ Sauce to taste (I used Sweet Baby Ray’s)
8 sandwich or hamburger rolls

In slow cooker, place pork roast and pour root beer over. Cook on high for 4-6 hours depending on size of roast.


When cooked, transfer roast to a bowl and shred by pulling apart gently with two forks. Add bbq sauce to taste and serve on rolls.

See? Isn’t that easy?

Six Week Round Up: Busy Busy

Monday marked the start of my 6th week blogging, and I have to say I am enjoying it way more than I ever thought. It is definitely a way for me to “talk” to adults as well as showcase some of the things we do with the kids, our home, and in the kitchen.

Thank you so much to those of you that read. I have only received positive feedback, and I totally appreciate it. It makes me want to share more with you. So stay tuned for more kids crazy antics, home projects, and cooking adventures. Please keep reading because my to do list is forever long, and your reading gives me the motivation to keep going.

Blogging also has the added bonus of being a scrapbook for us to look back. So, here is a round up of our last six weeks. Crazy huh?
We have definitely been enjoying summer with the kids and getting to try some new things in our neighborhood like the fishing derby, soccer camp, and the new gelato place.
We’ve also been enjoying some relaxing time at home enjoying some impromptu play time or the fake Olympics.
Let’s not forget time spent with family.
And the projects Brian and I have been working on around here like our vegetable garden that I talked about here and here.
Not to mention the painting projects that I’m constantly doing in Brian’s parking spot of the garage. So far, I’ve fixed up our mailboxrefinished some chairs, painted an old bookshelf, and painted some nightstands. By the looks of things around here, maybe I should open a furniture refinishing shop.
There have been some smaller projects we’ve tackled like the kids’ art display, my ticket stub art, or replacing the kitchen light fixture as well as the HUGE project of hosting a garage sale.
But let us not forget la piece de resistance, the gorgeous plank table Brian built and I stained.
So far this summer too, I’ve been cooking and baking up a storm (too bad it isn’t storming for real around here; the drought has wrecked havoc on my garden). Here are links to all the amazing recipes that I’ve tried. Luckily, they all have been winners, but trust me I’m sure there are several mishaps to come, and I can share those too.
As you can see we are busy around here. Thank you again for reading and the positive feedback! It really does brighten a gal’s day.

Making Up Cookie Recipes: White Chocolate, Oatmeal, and Blueberry Cookies

Sometimes I get bored. I bet you are wondering how on earth that could happen with three kids, but it happens. There are only so many re-runs of Big Bang Theory a gal can watch before I decide to get off the couch and do something fun.

I know I’m a nerd. For two reasons A.) I admitted that I watch Big Bang Theory and B.) Doing something fun means baking cookies. I’m sure there are even more reasons than that, but those two are what I’m going with for today.

Anyway, I wanted to make some Smart Cookies, but I was lacking some of the ingredients, so this is what I made with what I had. I have since made them a few more times, and my friends like them so I think it is safe to post the recipe.

Here is my recipe for White Chocolate, Oatmeal, and Blueberry Cookies. (My next project should be to think of a better name for these).

1-1/2 cups all purpose flour
1 tsp baking soda
1 tsp ground cinnamon
1/2 tsp salt
2 sticks of unsalted butter softened at room temperature
1 cup white granulated sugar
1/4 cup packed light brown sugar
2 large eggs
2 tsp vanilla
the zest of one large lemon
3 cups old fashioned oatmeal
1 – 12 oz bag of white chocolate chips
1 – 4 oz bag of dried blueberries

Preheat oven to 350 degrees.

Line baking sheets with parchment paper and set aside.

In large bowl sift together flour, baking soda, cinnamon, and salt. Then set aside.

Using a mixer or beaters, cream together butter, white sugar, and brown sugar until well incorporated. Add eggs, vanilla, and lemon zest and mix until combined. Then slowly add the flour mixture until its incorporated. Stop the mixer or beaters and add oatmeal, white chocolate chips, and blueberries. Then slowly mix the ingredients for a few seconds until everything is well combined.


Next, scoop about 1 tablespoon of cookie dough onto the parchment lined cookie sheets about 2 inches apart. Bake for 10 – 11 minutes. Remove from oven and transfer carefully to a cooling rack. Makes about 4 1/2 dozen cookies.

Now, I will watch Big Bang Theory while I eat some cookies.

This post has been linked up at Serenity Now as a part of the Weekend Bloggy Link Up over there.