Tag

easy

Lunch Hacks for Lazy People Like Me

In order to achieve some balance in my life, I want eat a little better. I mean who doesn’t right. It is a new year after all. However, this doesn’t only apply to the kinds of food I’m eating, but also eating at regular intervals. 

Since I started working from home, I have to admit, I got into a really bad habit of eating lunch 2 out of 5 working days a week. This means that after a breakfast of coffee and maybe a bagel or a banana, I am waiting until dinner to eat and by then I’m famished from all the things that I accomplished that day.On the days that I was eating lunch, I was grabbing anything that was within my reach (ie donuts). This is not healthy, balanced, or a good example to set for my kids. 

Part of my struggle with lunch, is I am the only one home all day and I’m working through lunch, taking my lunch break to go for a walk, or take care of another responsibility. I am trying to maximize the time I have while the kids are at school, so that when they are home, we can enjoy each other and not spend it doing other things. 

Also, truth be told, I’m super lazy. To me it seems like a lot of effort to break out a bunch of stuff, dirty some dishes, heat something up, and put it all back again for one person. I know that is like the epitome of laziness, but I know I cannot be the only one who feels this way. Right? I hope. I mean, if that were the case, fast food restaurants and convenience foods would not be in business.

So, I made a list of Lunchtime Food Hacks for Lazy People Like Me that I think will help me get out of this skipping lunch rut.

1.) Make lunch when you make the kids lunches in the morning. Pack up a lunch for yourself too. Even though you may not be leaving the house, it is nice to just be able to grab pre-washed fruits and veggies and some cut up cheese right out of the fridge. 


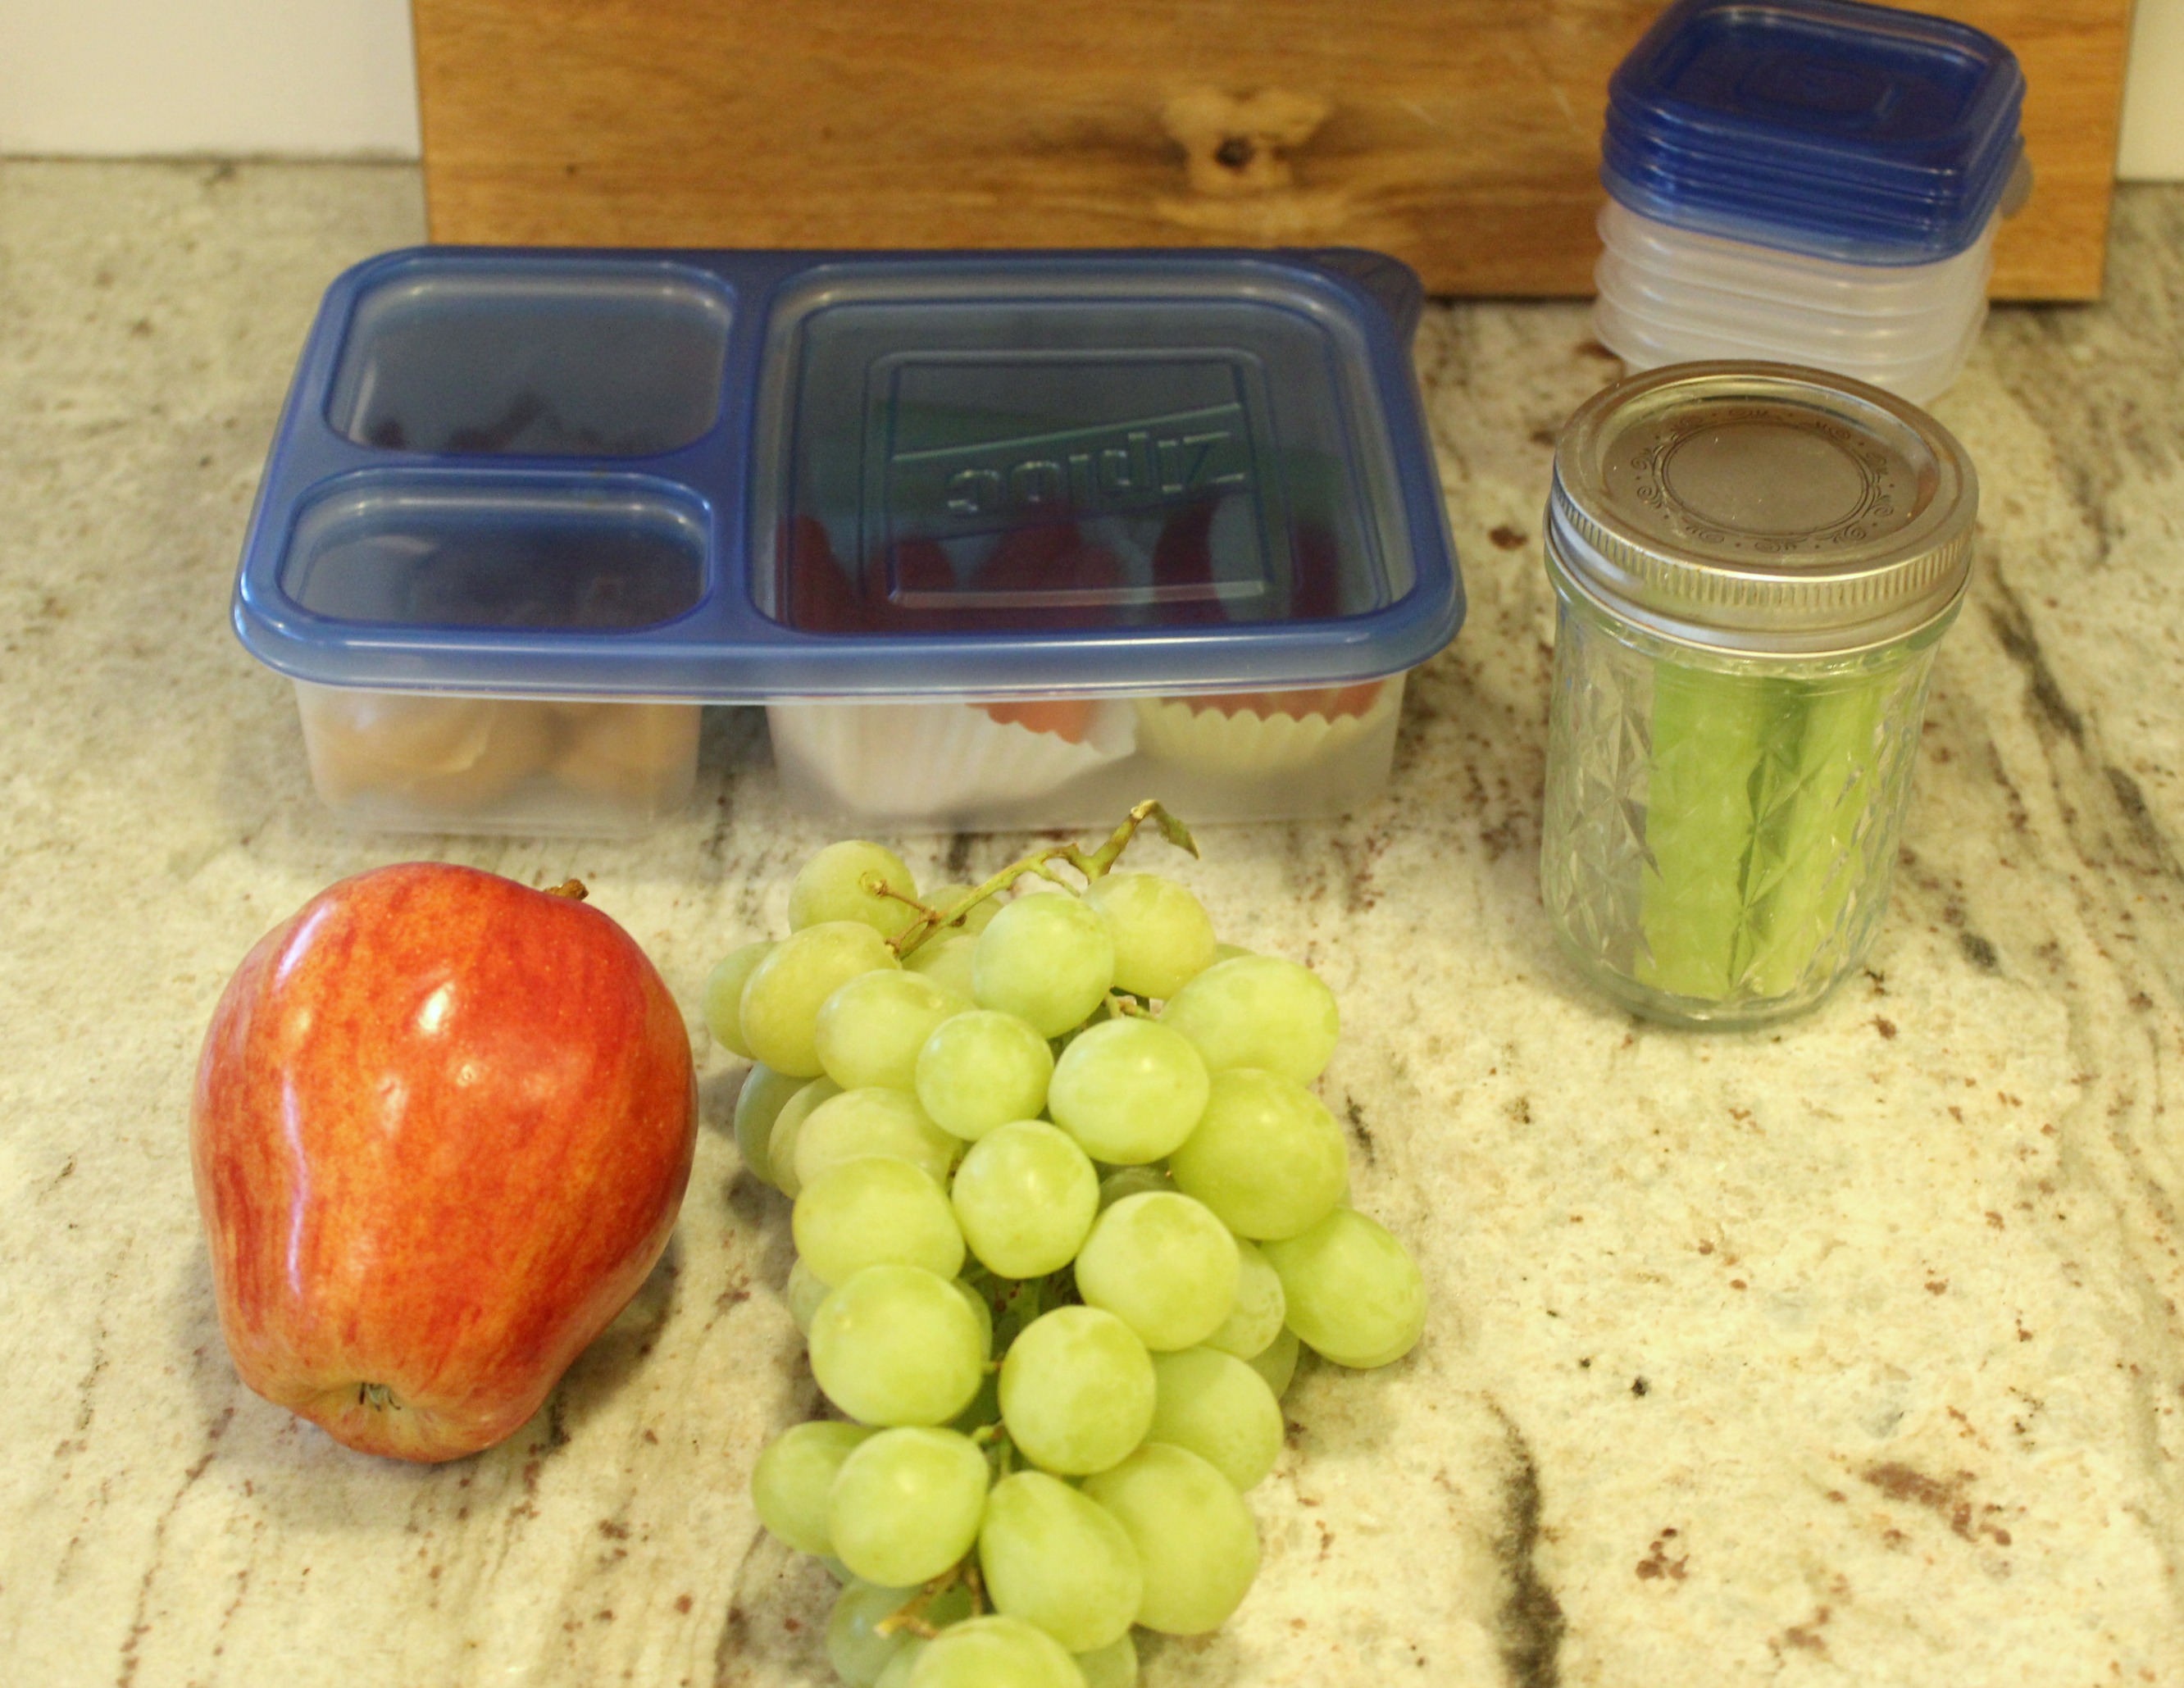
2.) Make lunches a week at a time. If you go on Pinterest, this is a hot trend right now. Take a few minutes on Sunday night to wash and cut up veggies, fruits, make a pasta salad, or pre-measure things in a container to grab and go.

3.) Pack up dinner leftovers in smaller containers. When you’re putting away leftovers after dinner, put lunch sized portions in smaller containers or even mason jars to reheat the next day.

4.) When prepping dinner, prep lunch too. Sometimes when I’m making fajitas or stir fry, I cut up additional veggies and then put them in a container to grab and go the next day. I already have the cutting board and knife and all the food out, I might as well chop away to save time later.

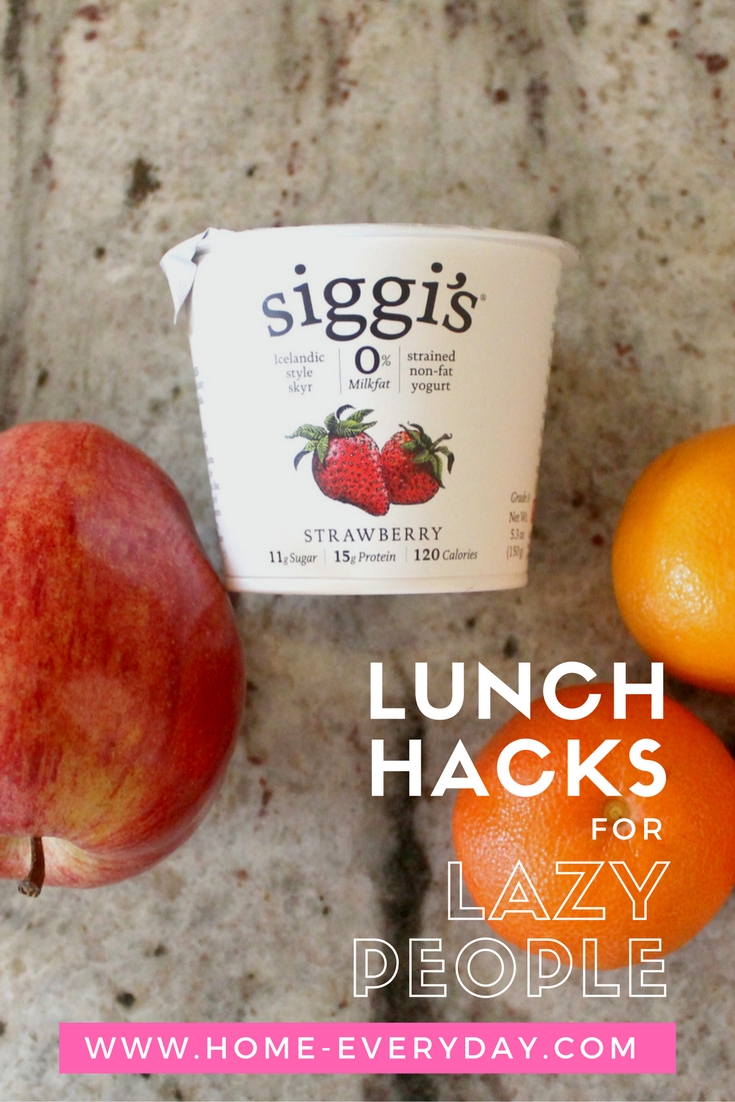
5.) Keep foods on hand that don’t need any prep. Clementines, apples, bananas, and greek yogurt are some of my favorite whole foods that take no time prep. They are already grab and go!

6.) Keep small sized containers, snack size resealable bags, mason jars, and other food storage solutions on hand.

7.) Double up recipes. This is one of my favorite tricks to do for meals like chilis or soups. I serve some for dinner, and then freeze the rest in smaller containers to thaw and eat for lunch.

This hacks have already helped me keep some balance in my life. I’m eating lunch again!

What are some of your favorite lunchtime hacks?

Any Night Can Be Fancy: Green Beans (Haricoverts) with Lemon and Garlic

This shop has been compensated by Collective Bias, Inc. and its advertiser. All opinions are mine alone.  #StouffersHoliday  #CollectiveBias

Does anyone else feel it coming? The avalanche of planning, working, after school projects and activities, the preparation, the shopping? The Holidays. Don’t get me wrong, I love the holiday season, and I really enjoy snuggling by the tree to read a good book with a cup of hot chocolate in my hands, but I also know that we still have a long way to go before I am watching a holiday classic on TV in my jammies. There is just so much going on. So, in an effort to keep things simple, and to focus on what is really important: time together, this is the time of year that I work on planning my simplest of dinners.

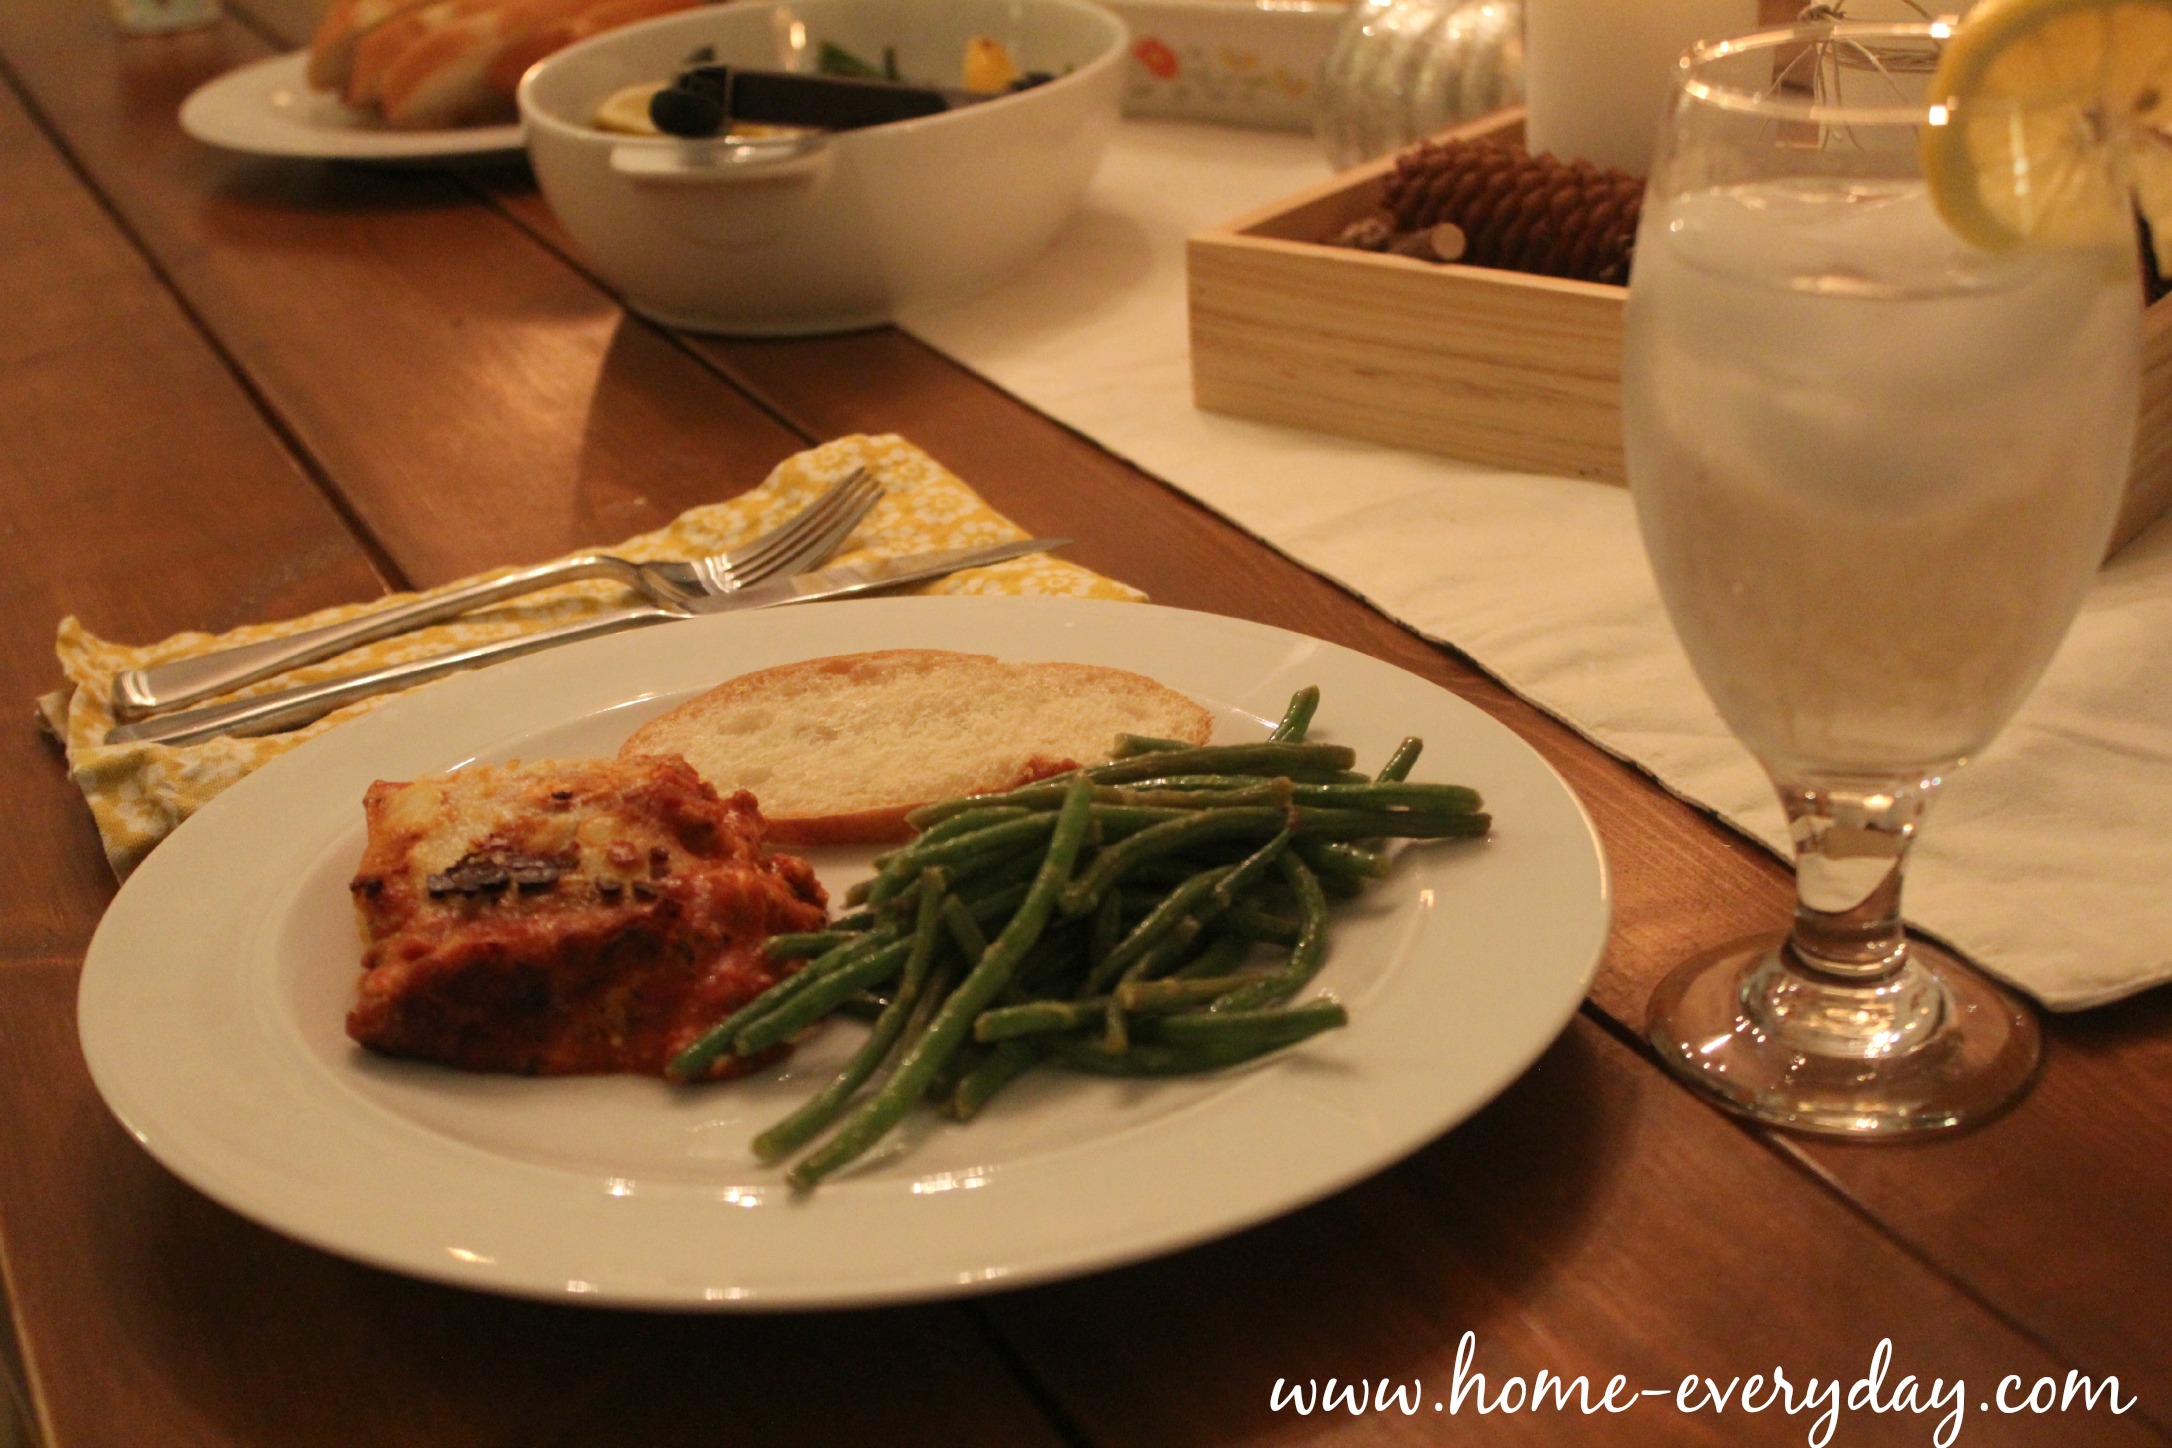
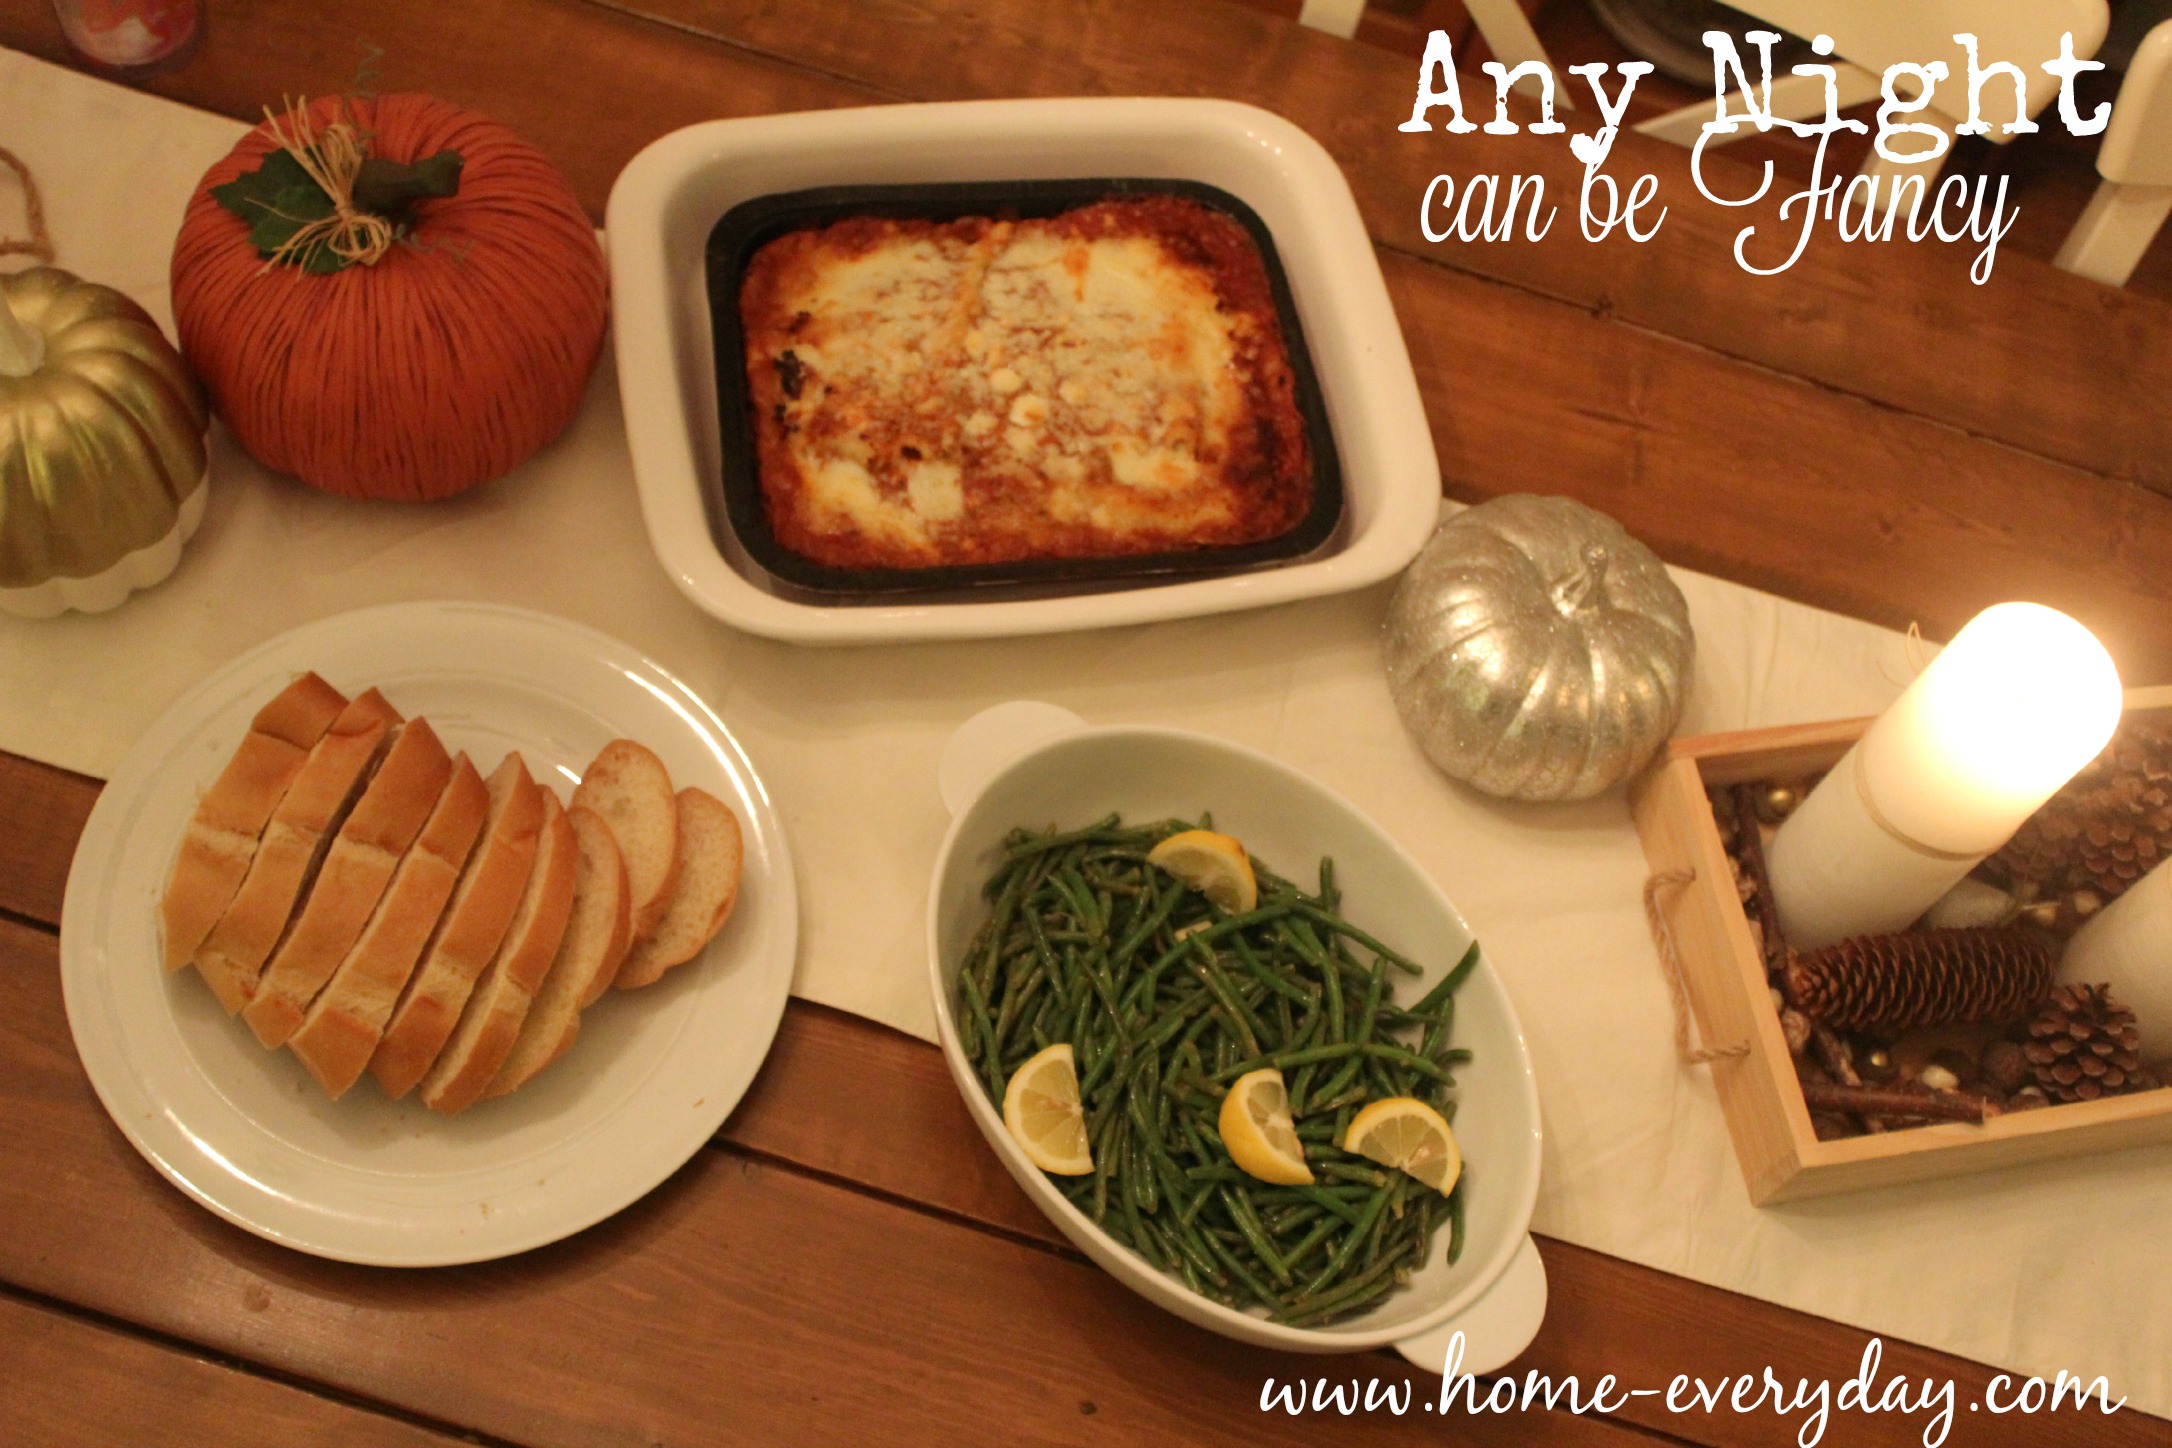
Like a Lasagna with Meat Sauce served with Green Beans with Lemon and Garlic.

Stouffers 16

I know that doesn’t sound simple, but…

I did something I haven’t done in forever. I bought a STOUFFER’S® Family Size Entree. When I saw they had a Family Sized Lasagna with Meat Sauce at Walmart on Rollback, I thought it would be a time saver and a money saver. I could just pop it in the oven while I help the kids with homework or work on some holiday cards. So, with STOUFFER’S® in the freezer section at my local Walmart, I decided to grab one and make a simple plan for a quick but fancy weeknight dinner.

Stouffers 2

You heard me correctly, even a weeknight dinner can be fancy. While in the store I grabbed all the ingredients to make one of my favorite side dishes to Lasagna with Meat Sauce. Green Beans (Haricoverts: that French for thin green beans) with Garlic and Lemon. They are a cinch to make and dress up any meal.

Stouffers 14

You can light a few candles too, and trick anyone into thinking that it’s the weekend.

Green Beans (Haricoverts) with Lemon and Garlic

1 pound green beans trimmed and cleaned

2 small lemons

2-4 cloves of garlic (peel the garlic cloves but keep whole)

4 tablespoons butter

salt and pepper to taste

Stouffers 5

Steam the green beans in the microwave or in simmering water for 3-4 minutes. Cold shock them in ice water and set aside.

Stouffers 8

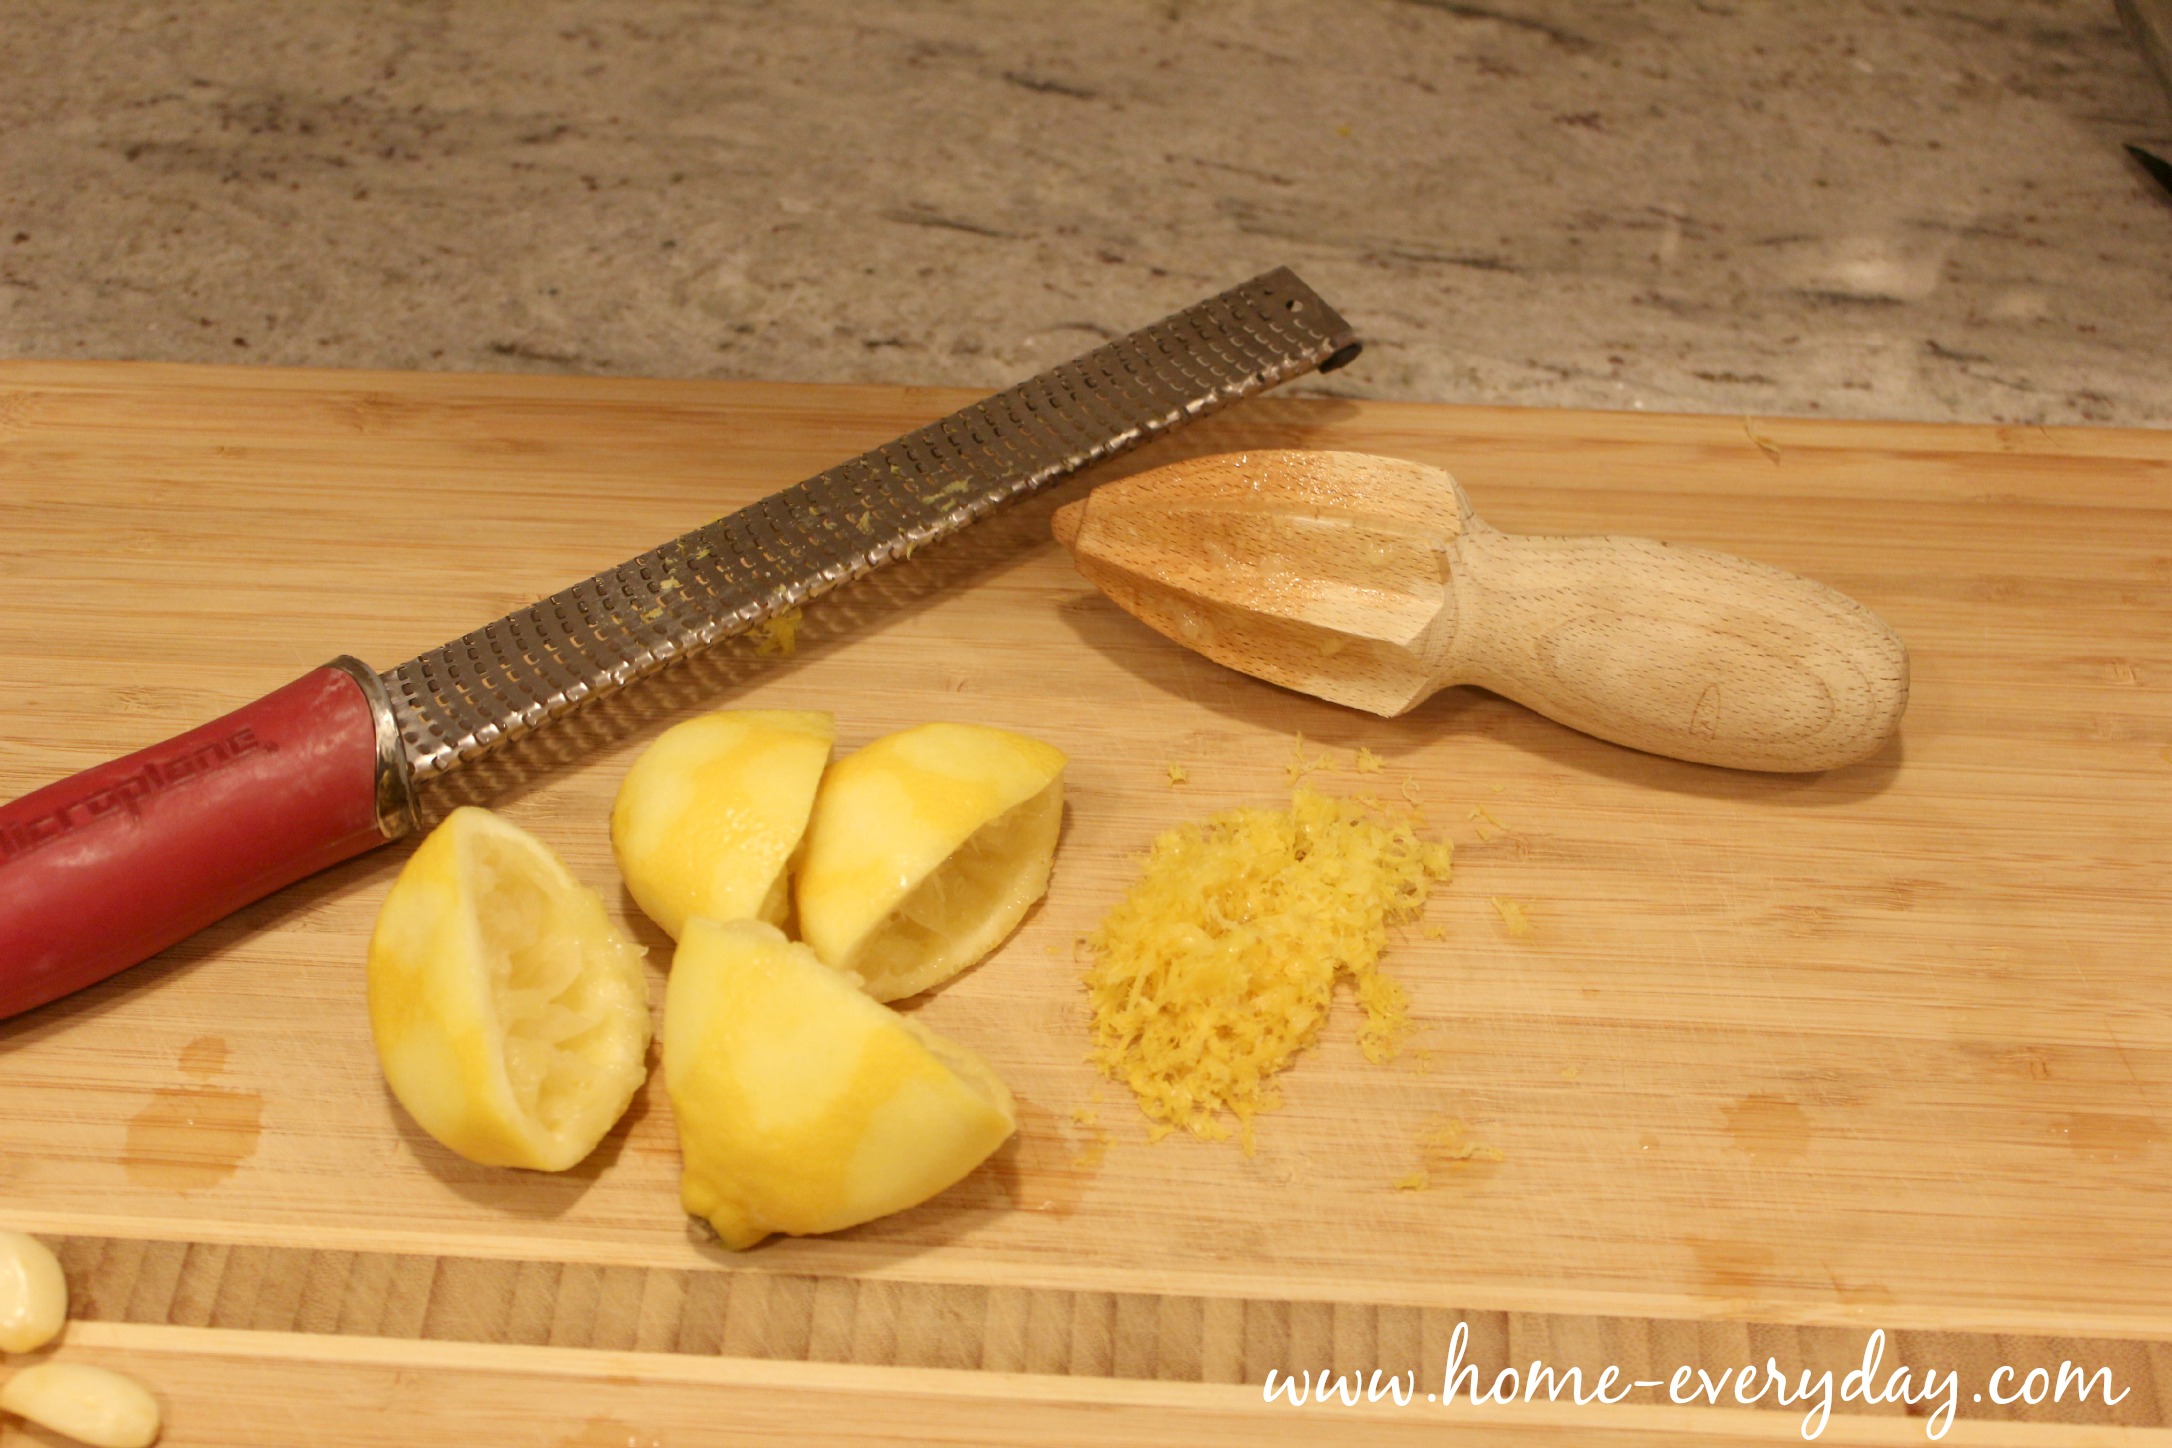
Zest and juice the two lemons.

Stouffers 6

In a large saute pan over medium low heat, add the butter. When the butter has melted add the garlic cloves and let them cook a few minutes until fragrant.

Stouffers 7

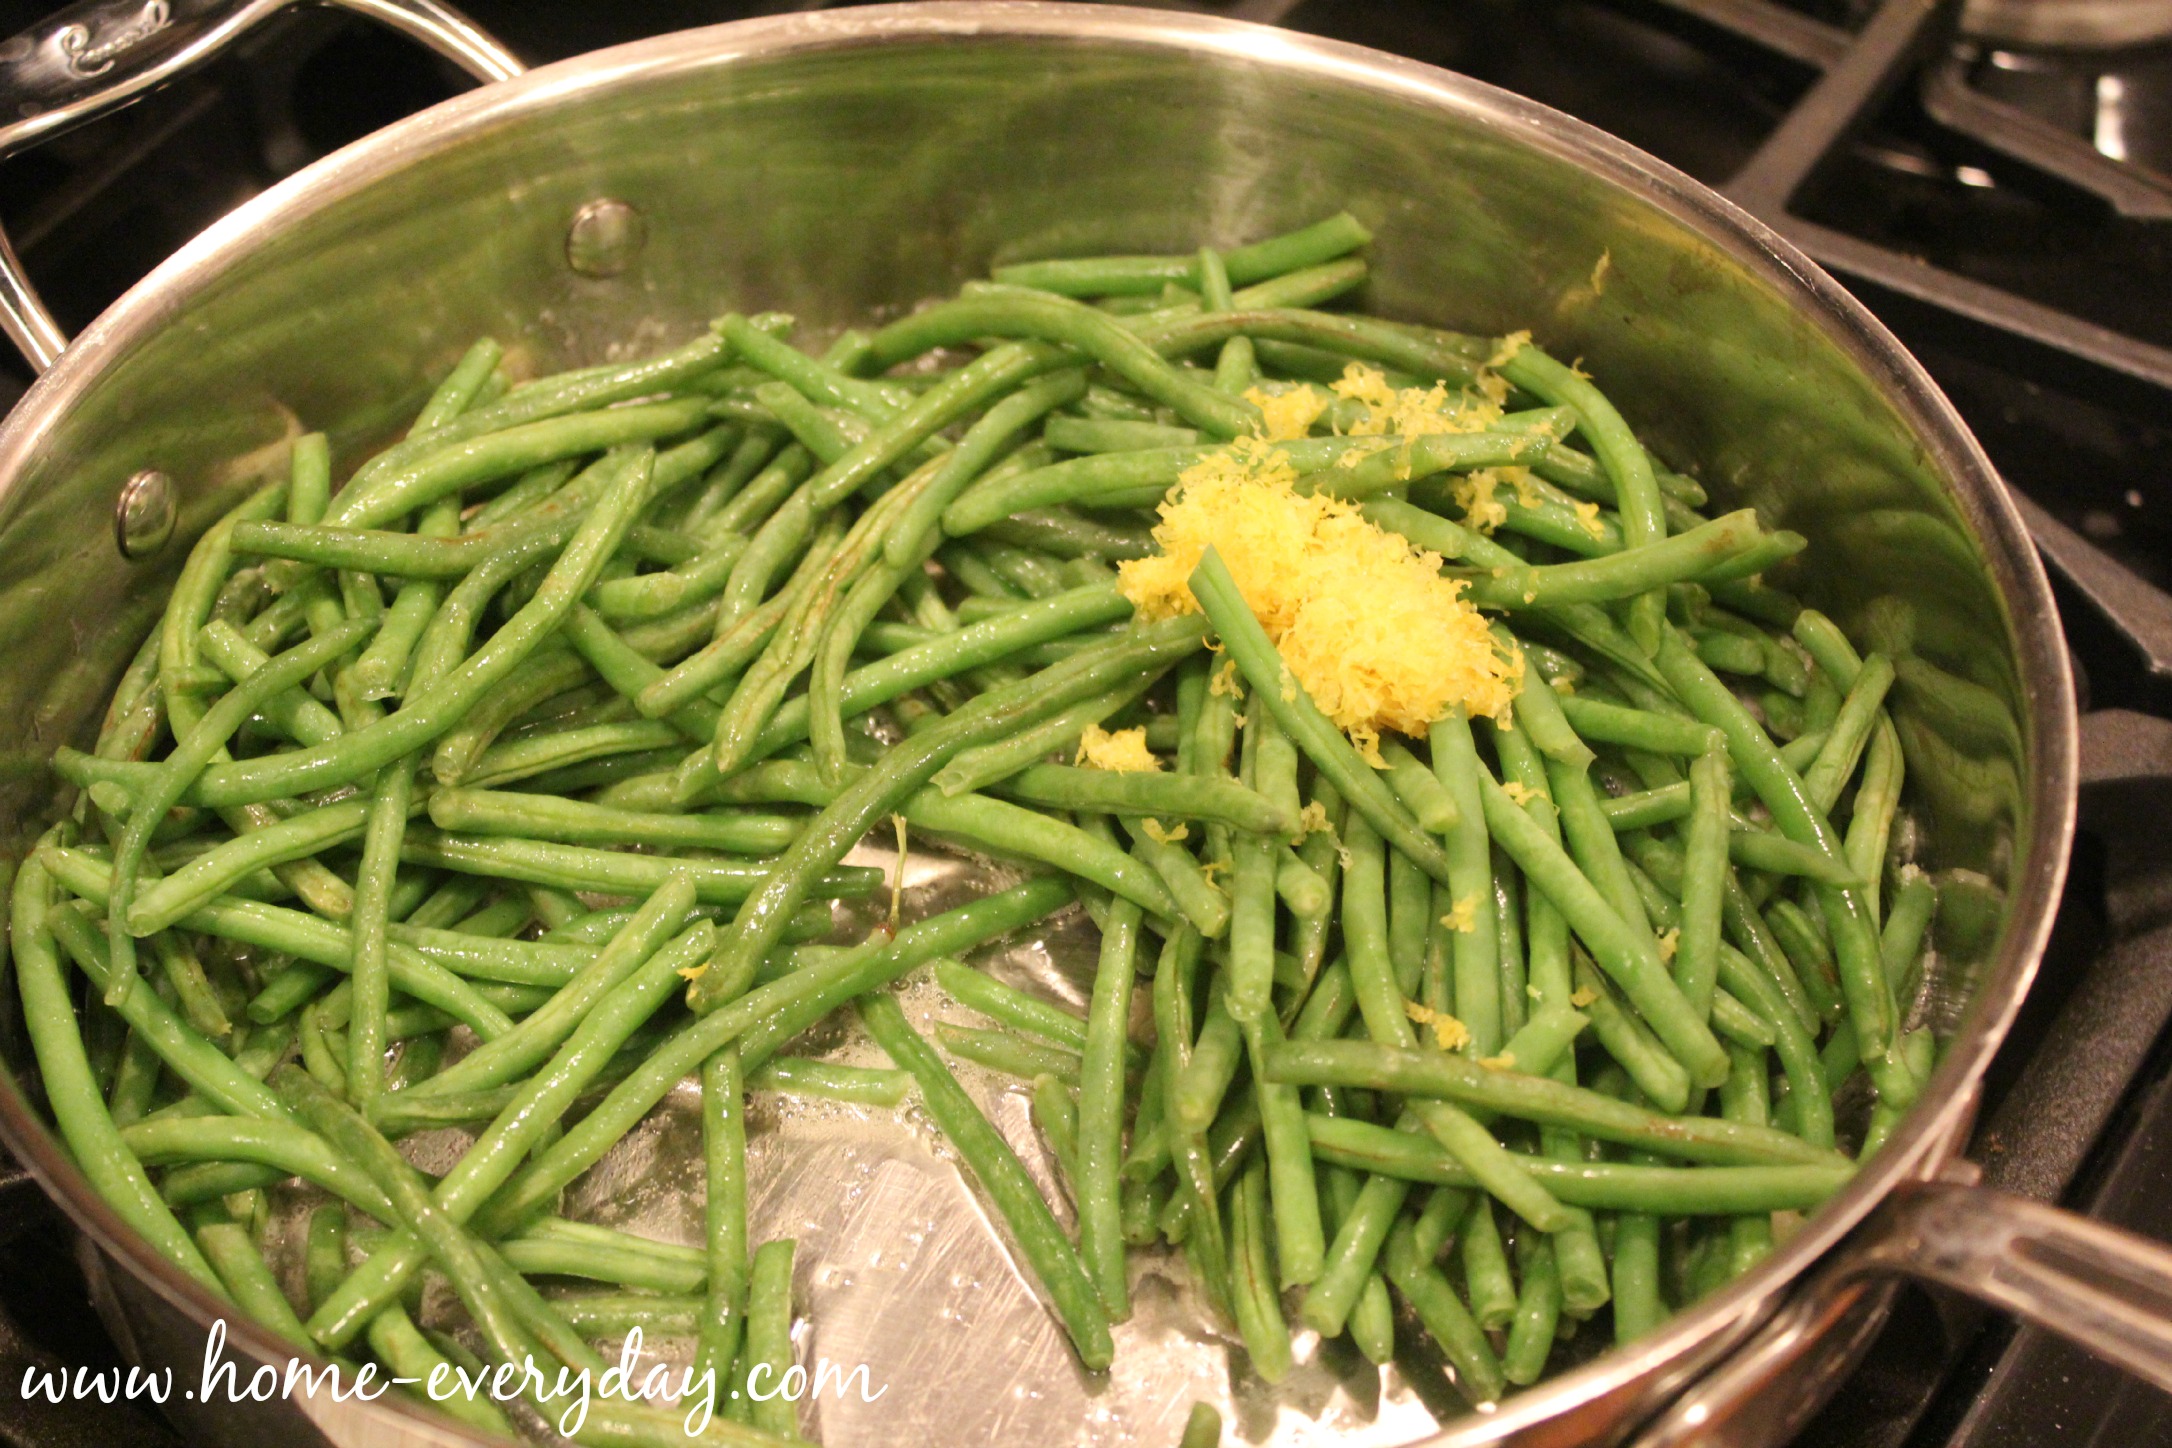
Next, add the green beans and lemon zest, tossing until well coated with butter and zest.

Stouffers 9

Finally, finish with the lemon juice, salt, and pepper. Remove garlic cloves. Toss again.

Serve immediately with lemon wedges as a garnish.

Stouffers 12

What fancy pairing will you whip up with a STOUFFER’S® Family Size Entree? If you want more inspiration for a great pairing, visit the Flavorful Moments Pinterest Board. You will be able to find this great recipe and so many more to dress up this busy holiday season for your family!


Overnight Oats: How I Was Finally Convinced Chia Seeds are Ok

This post was compensated with products from NOW Foods, however what I whip up and opinions regarding the products are 100% my own.

I am always willing to try new things. I try not to be picky. Since having children, I am especially conscience of this. I want the kids to know that trying new foods should not be that scary, and they might find something they actually like if they just try.

However, I have always had a problem trying Chia Seeds. For some reason they freak me out. I have a mental block. What is ridiculous, is that they are so tiny and they are so incredibly healthy.


I know what it is, though. When I was a little kid, I got horribly sick one time. I was prescribed a medicine that could only be given to me in a capsule form. I was way too little to be taking capsules as I was used to taking liquid medicines. So, the pediatrician told my parents to break open the capsules and put the medicine in applesauce. Then, I would easily be able to swallow the medicine. I would be fine.

I was not fine.

The texture of the little seed like medicine in the applesauce made me gag. It was terrible. AWFUL! Since then, I have not had applesauce or anything seed like. I know. It was like 30 years ago, and I am still harboring this not even that traumatizing experience.

When I saw we had Chia seeds in our NOW Foods gift bag, I told myself, this was it! The research began, and here we are. I started slowly. At the NOW Foods event we used them as a binding ingredient for the quinoa burgers, and I didn’t even know they were there. Perfect! Next, I started adding them to smoothies. HOORAY!

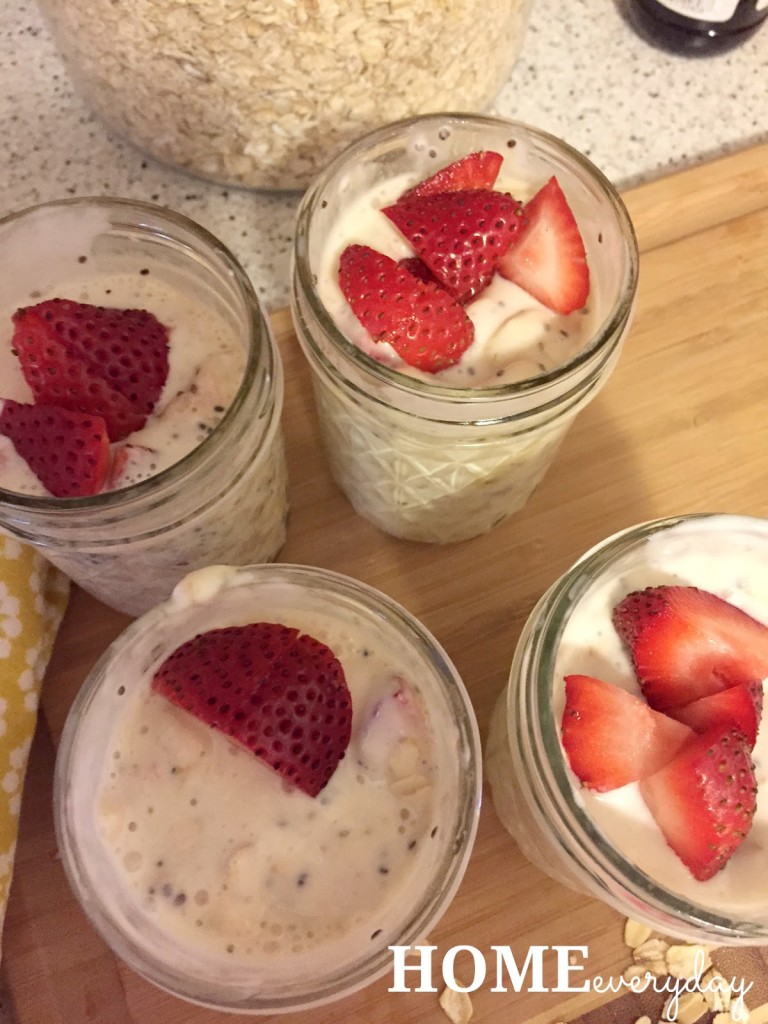
Then, I made overnight oats combining a few of my favorite flavors, vanilla, strawberry, and banana. This has helped tremendously with my fear of Chia Seeds, and now I think I am over it.


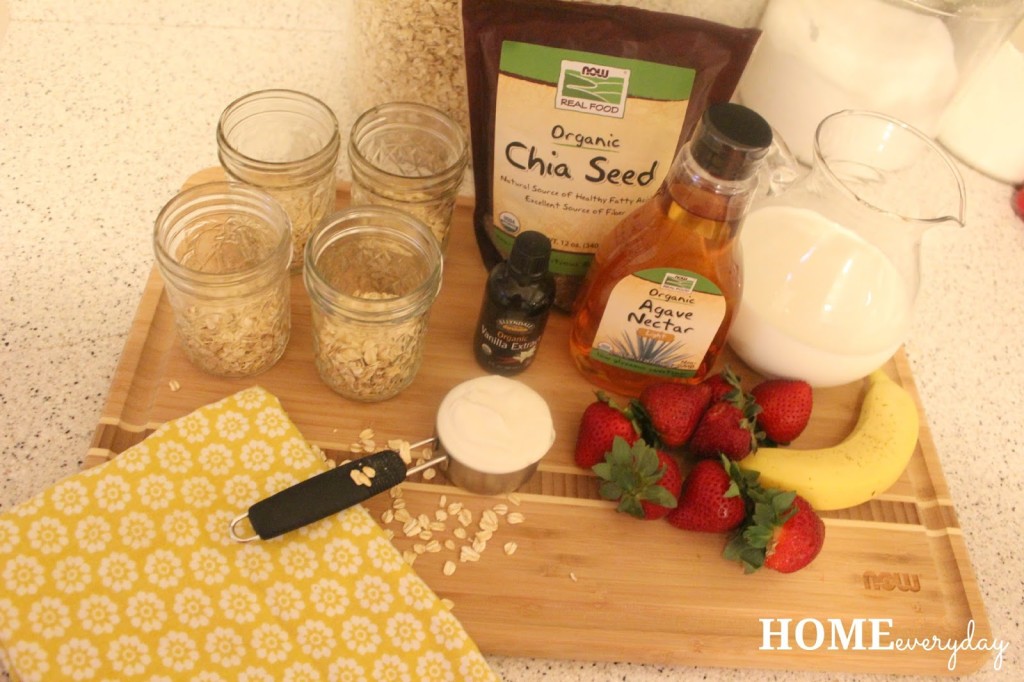
Strawberry Banana Overnight Oats (makes 4 servings)
1 1/3 cup oatmeal
1 1/3 cup milk (you can use almond or dairy)
1 1/3 cup Greek yogurt
2 tsp Ellyndale Organic Vanilla Extract
4 tsp NOW Real Foods Organic Agave Nectar
2 tsp Organic Chia Seeds
1 large banana chopped into small pieces
8 or 10 strawberries cut into small pieces


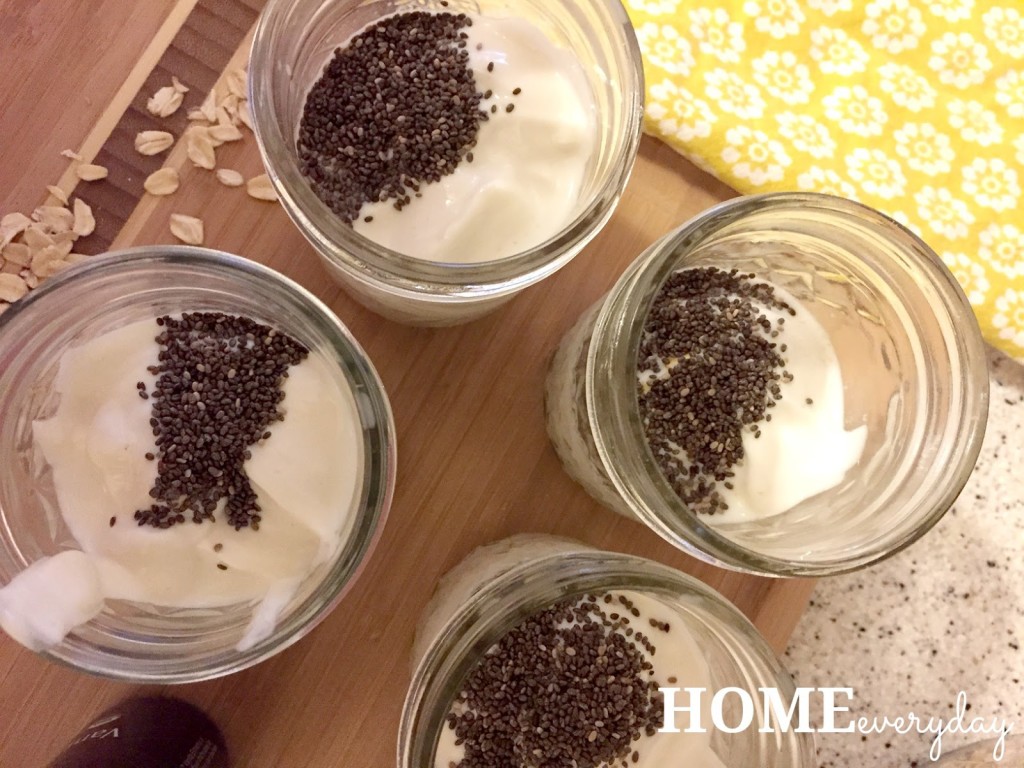
Get four small glass or plastic containers with tight fitting lids. In each container add: 1/3 cup oats, 1/3 cup milk, 1/3 cup yogurt, 1/2 tsp vanilla, 1 tsp agave, 1/2 tsp chia seeds, 1/4 of the sliced banana, and 1/4 of the sliced strawberries.


Put the lids on the containers and refrigerate for at least 3 hours, but overnight is best.


This is the perfect breakfast or snack on the go, while working, or to combat a weird fear of a Chia Seeds.


If you like this post and would like to read more about all things domestic with a touch of humor, become a Home Everyday follower! For blog updates or to see other places I write such as ChicagoNow or Chicago Parent follow Home Everyday on FacebookTwitter, and Pinterest.


Pendant Shade Update: Getting Rid of the Gruesome Threesome

When we moved in this house, one of the best features was the family room. We were happy that not EVERY room needed serious updating. This level of our 1970’s quad level house had just been renovated (thank goodness). All we had to do to this was give it was make it our own, so we painted. So far, sitting area and the bathroom. It has served us well, but there has always been something that has bothered me.

The pendant shades above the bar.


The three different colors of red, brown, and yellow had me wondering if the previous owners of our house has a thing for bodily fluids or if they were just trying to be whimsical.

So, for the past four years I have been searching. Unfortunately, while I liked the idea of something cute and trendy, I knew that it was very possible in about a year I wouldn’t like them. So I wanted to stick with something a bit more neutral, and could stand up when I changed the accent wall behind the bar for the fourth time (yes, I have painted it three times, and this is why I don’t have a tattoo).

I finally found these:


They are clear which helps give off considerably more light than the previous three, they match, and they fit the pendants.

These particular pendant lights are part of a kit whose shades can be changed out by turning off the lights and removing the bulb.


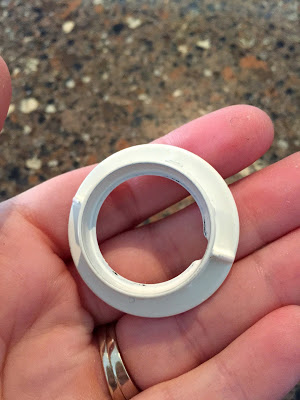
Then, unscrewing a small threaded flange.


This is so much more cost effective and timely than replacing the entire pendant. Pendant sets like this can be found at Home Depot and Loews, and are awesome for situations when you know you might be switching the shades later when tastes or decor change.

The new shades came with their own flanges, so I simply screwed the new flanges with the shades back into the fixture, put the bulbs back in and voila.


Isn’t that so much better that the gruesome threesome?

This DIY project cost me about $11 (each pendant shade was about $12 and I had a $25 Loews gift card and about 30 minutes of time). If only all projects could be this easy.

If you like this post and would like to read more about all things domestic with a touch of humor, become a Home Everyday follower! For blog updates or to see other places I write such as ChicagoNow or Chicago Parent follow Home Everyday on FacebookTwitter, and Pinterest.


Homemade Caramel Sauce

Autumn is my absolute favorite time to cook, bake, and just be in the kitchen. However, this time of year is also one of our busiest times. I often find myself putting meals in the slow cooker before we head out the door for the day, or I am whipping up a 30 minute chili after soccer practice.

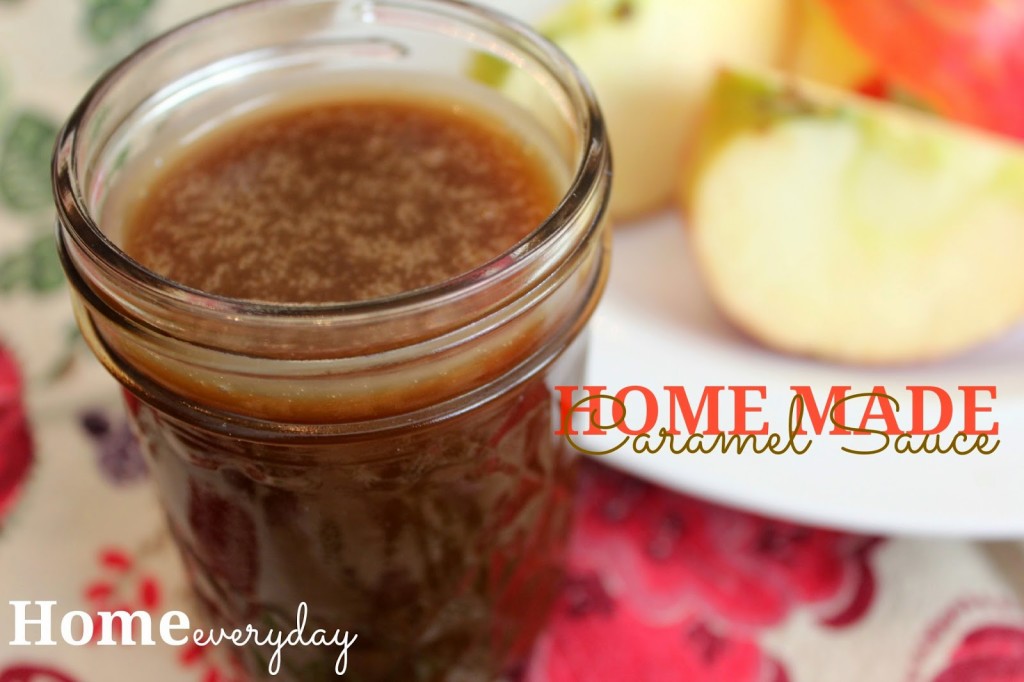
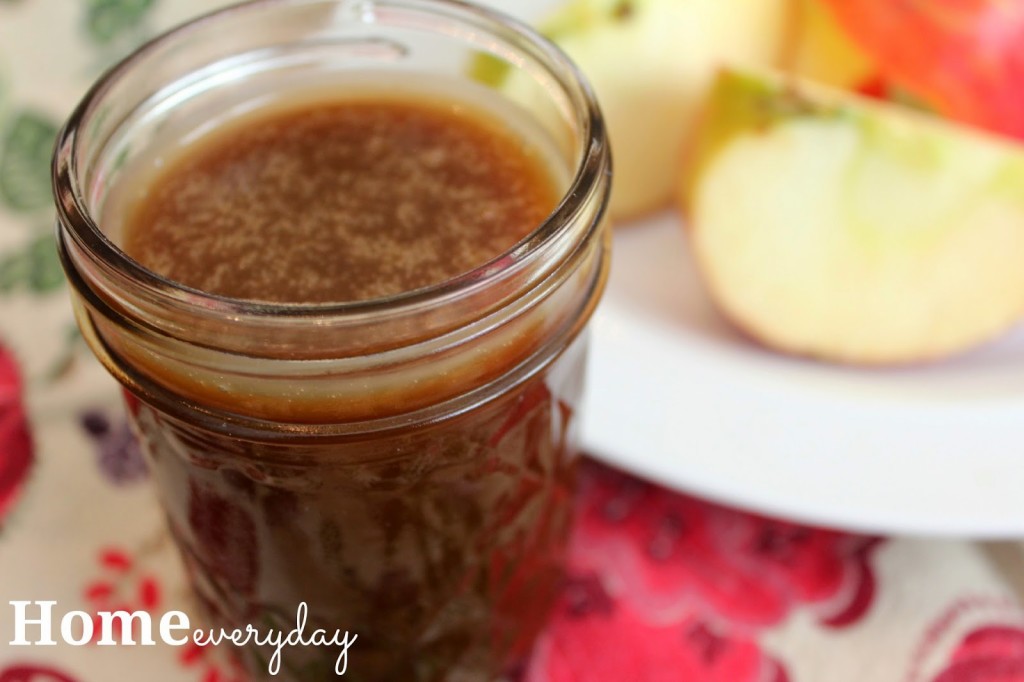
Because of this, I was looking for a dessert that was quick to whip up, but could be versatile. That is when I thought of Caramel Sauce. It really is a cinch to make, takes no time at all, and like dessert sauces, can be used to top all kinds of things (cakes, brownies, ice cream, a spoon).


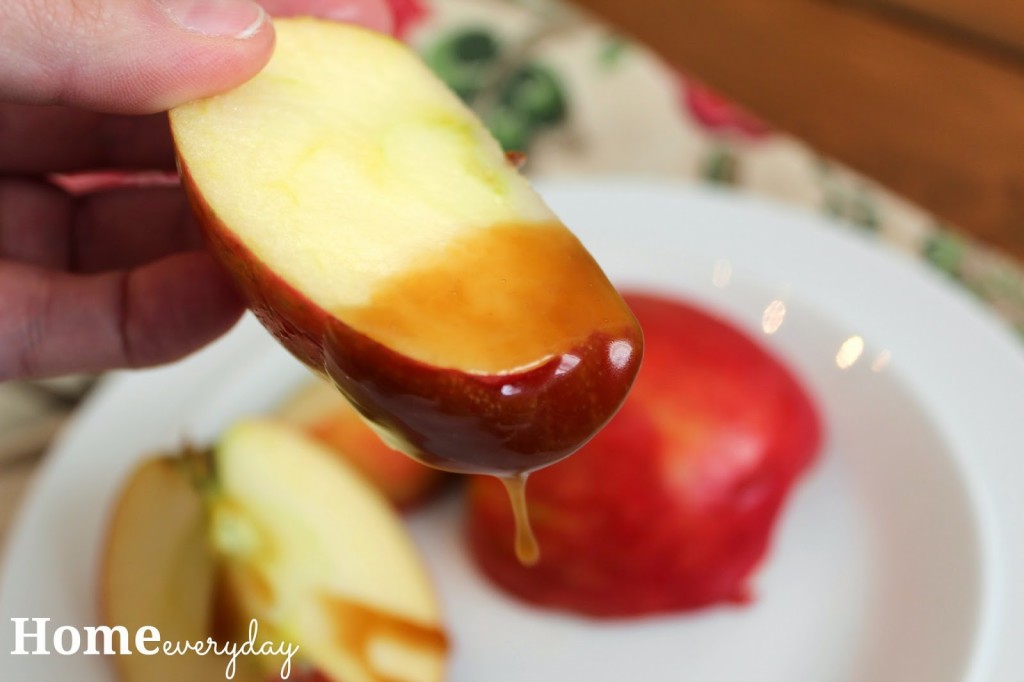
Plus, what is more Fall like that a caramel dipped apple?


Home Made Caramel Sauce
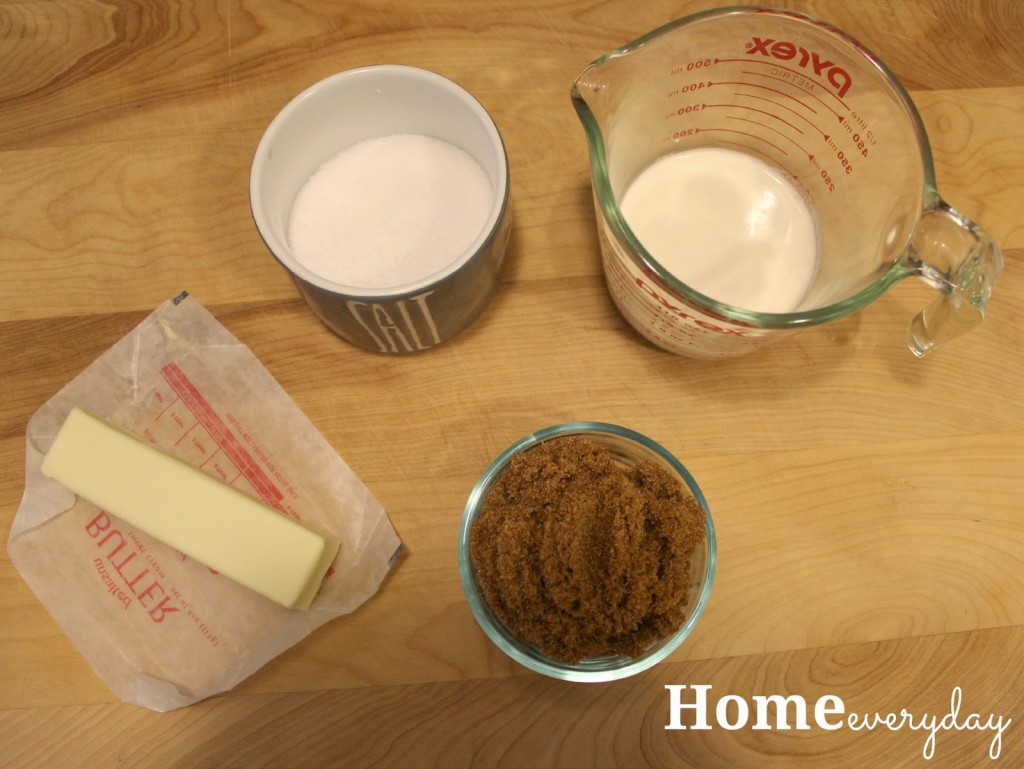
1 stick of unsalted butter (you don’t even have to bring it to room temperature)
3/4 cup packed brown sugar
1/2 cup heavy whipping cream or half and half
1/2 tsp sea salt
1 tsp pure vanilla extract (optional)


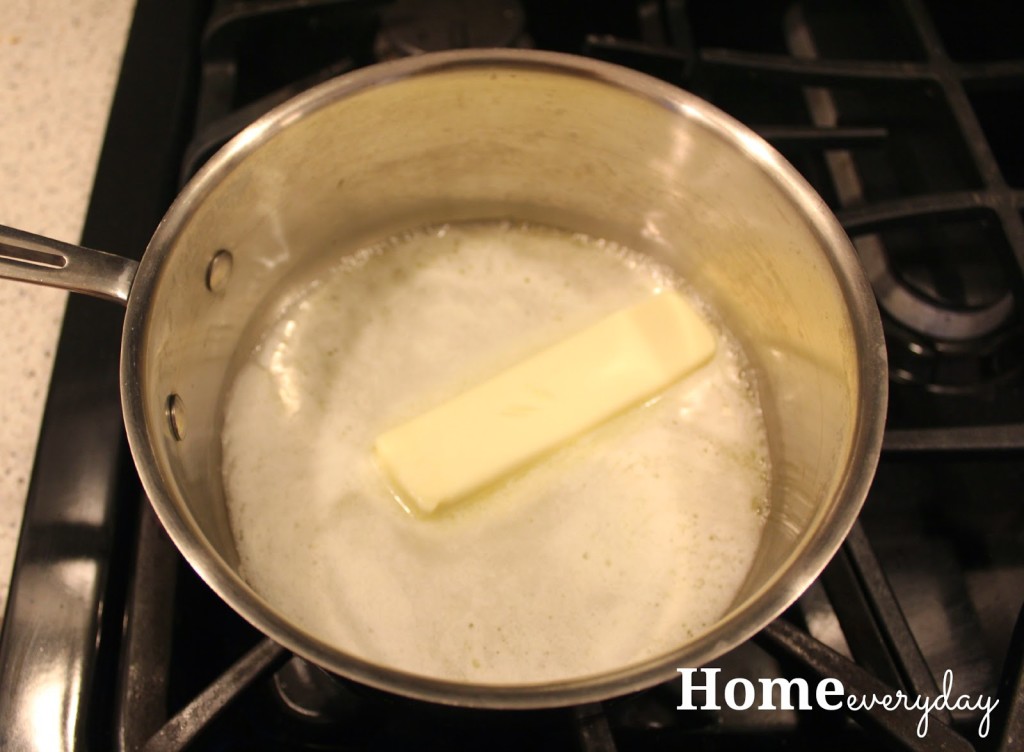
In a medium sauce pan over medium heat, melt butter.


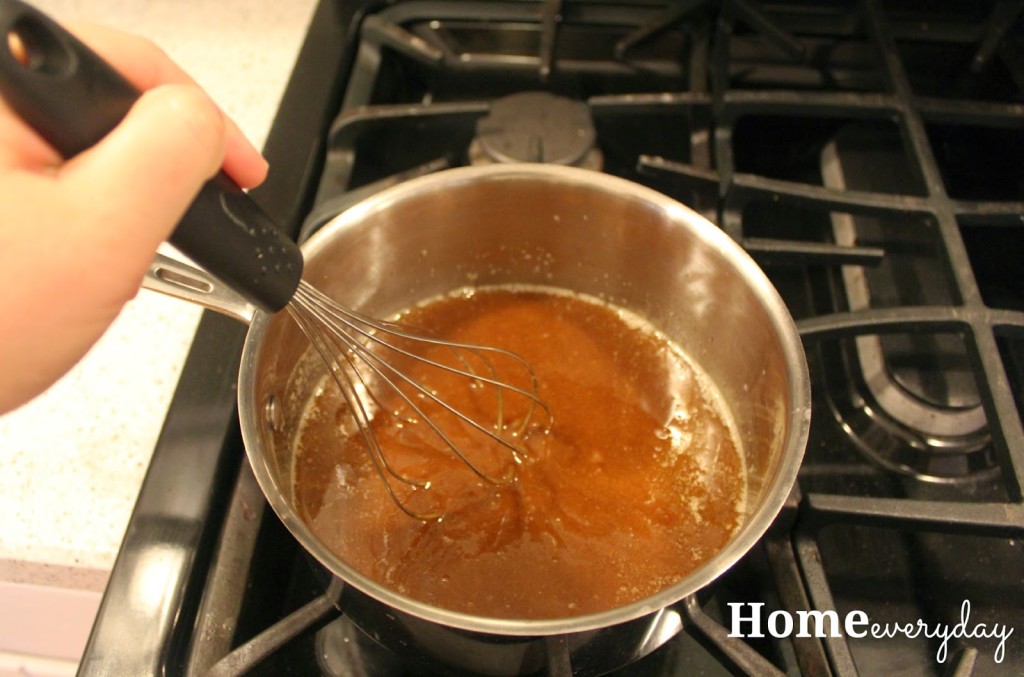
Next, whisk in brown sugar until completely dissolved.


Add cream, salt, and vanilla.


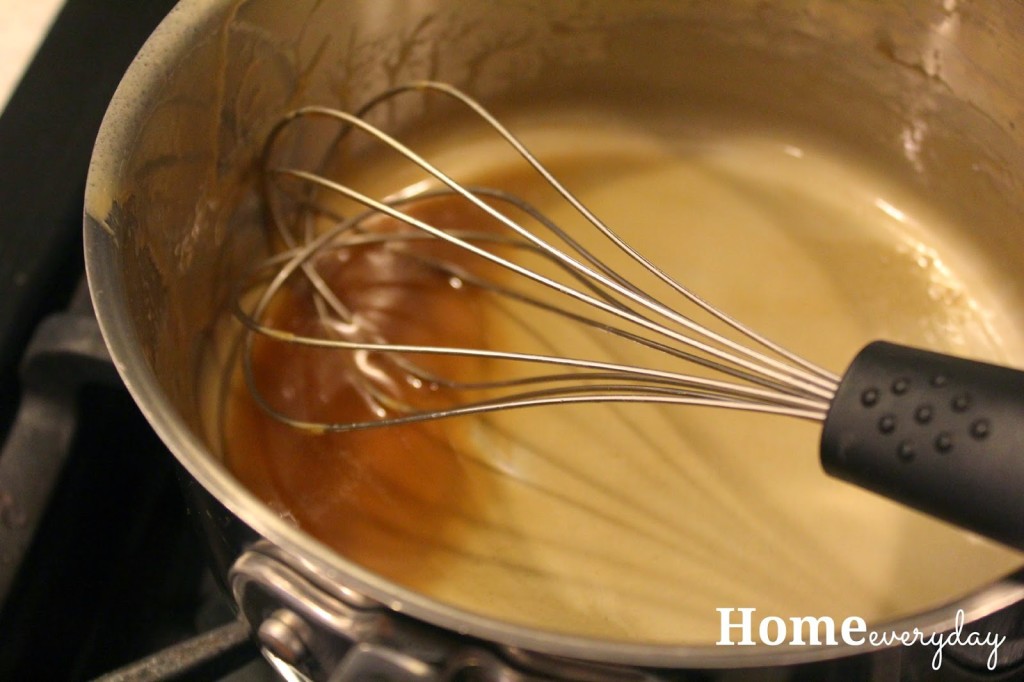
Then, stirring continuously for 5-7 minutes stir mixture. It will simmer and bubble gently. You may want to lower heat slightly as to not hurt yourself while you stir.


Remove from heat, and continue to stir for about 3 or 4 minutes to let the mixture cool gently.

Pour into a heat safe container.


You can use sauce now, or let cool to room temperature, cover, and store in the fridge.


To reheat place in microwave without lid or put in a water bath of gentle simmering water.

Stay tuned for a fun Thirsty Thursday recipe with this awesome Caramel Sauce later in the week.


If you liked this dessert sauce, check out my recipe for Red Berry Sauce.

If you like this post and would like to read more about all things domestic with a touch of humor, become a Home Everyday follower! For blog updates or to see other places I write such as ChicagoNow or Chicago Parent follow Home Everyday on FacebookTwitter, and Pinterest.

Your Choice Herb and Lemon Hummus

Tired of the same old bland store bought hummus? I was too!

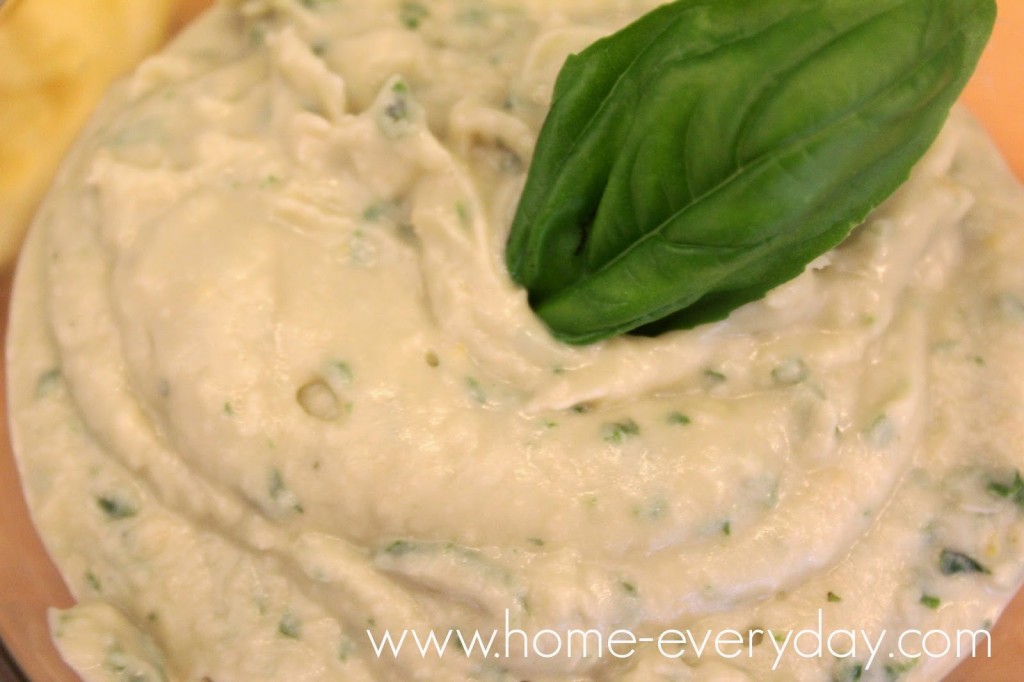
Hummus is one of the easiest things you can make, and it can be customized so many ways to appease anyone’s palate. I wasn’t always a hummus fan, and then I started making it myself. Once I did that, I was addicted to this healthy and delicious snack (so was everyone else in my house). There is now always some in the fridge.


I have found, the keys to a good hummus, are flavor and texture.

Hummus is made with chick peas. However, I realized that one of the main reasons I didn’t like hummus in the past was because I prefer a smoother texture so I wondered if I could use something else. Also, while there are some excellent brands of hummus that can be bought in the store, I found that many of the flavors were much too strong for me. So, after doing a bit of research, I have come up with the perfect formula to creating my own hummus recipes.

I made a small graph below: basically first you choose your beans (choose 1), then your acid (choose 1), then your flavorings (any combo you like), add olive oil, salt and pepper, and zip in in a food processor and you will have the perfect hummus that is customized to your taste.


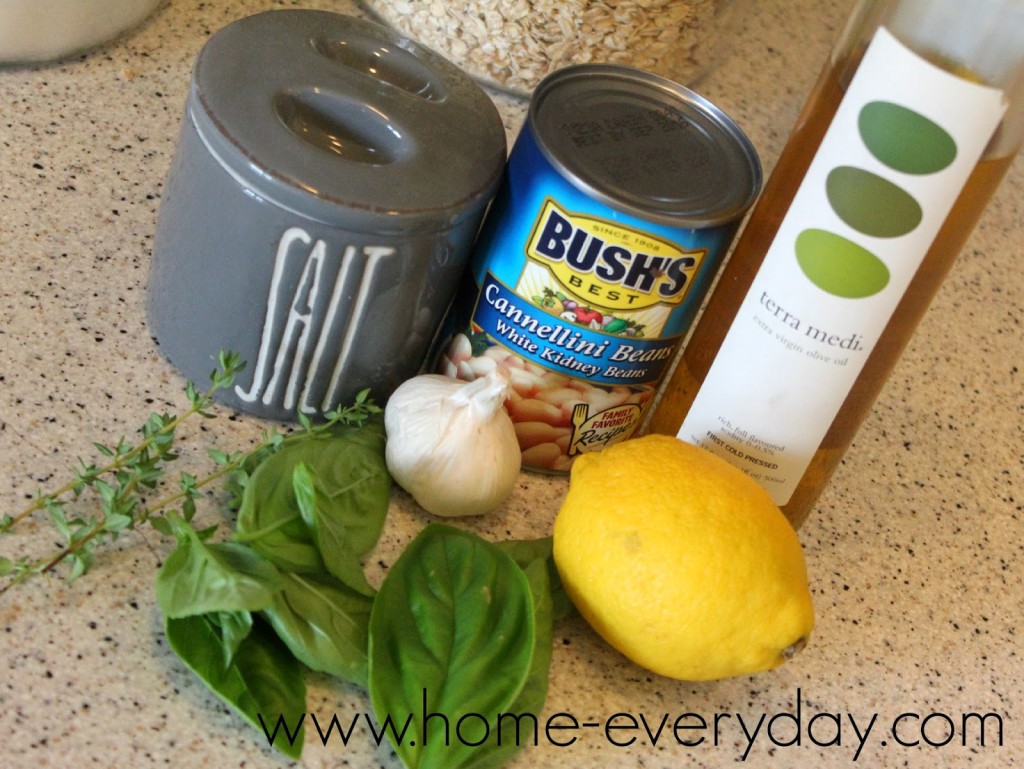
With summertime here and my garden flourishing, I have been using all the herbs growing. My favorite combination right now is either Thyme or Basil and Lemon with Cannellini Beans.


Herb and Lemon Hummus
1 15.5 ounce can of Cannellini beans, drained and rinsed
1 lemon zested and juiced
1 clove of garlic
1 large handful of basil leaves OR 2 sprigs of thyme
1 TBS extra virgin olive oil
Salt and Pepper to Taste


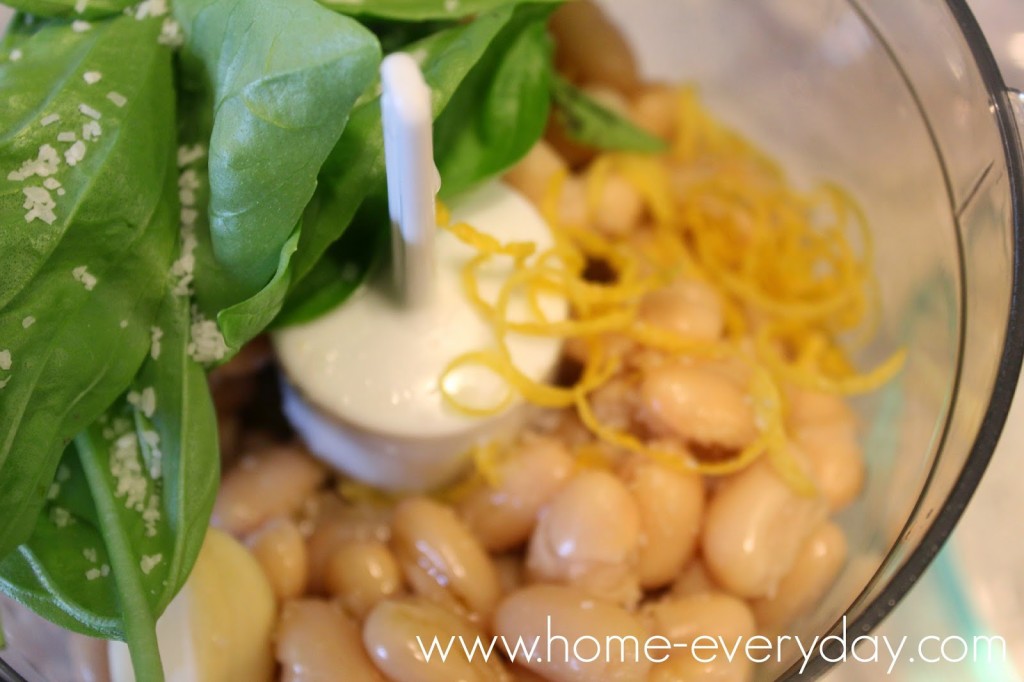
In a food processor, add all the ingredients.


Blend until desired texture. You can serve with pita chips, vegetable, or on a veggie wrap.


If you like this post and would like to read more about all things domestic with a touch of humor, become a Home Everyday follower! For blog updates or to see other places I write such as ChicagoNow or Chicago Parent follow Home Everyday on FacebookTwitter, and Pinterest.

Follow on Bloglovin

Still Stranded: Turkey, Corn and Three Bean Chili

When it is as cold as it had been around here lately, I make chili. It is one pot meal, you can change it up with toppings, it is great leftover, and it warm up even an -14 degree day (You read that right. I told you it was cold).

Here is a recipe for a very hearty chili, but is healthy as it is made with ground turkey. Perfect for those who are looking to eat a little more healthy in the New Year.


Turkey, Corn, and Three Bean Chili
1 lb ground turkey
1 Tbs extra virgin olive oil
1 medium onion chopped
2 or 3 ribs celery chopped
3 cloves garlic minced
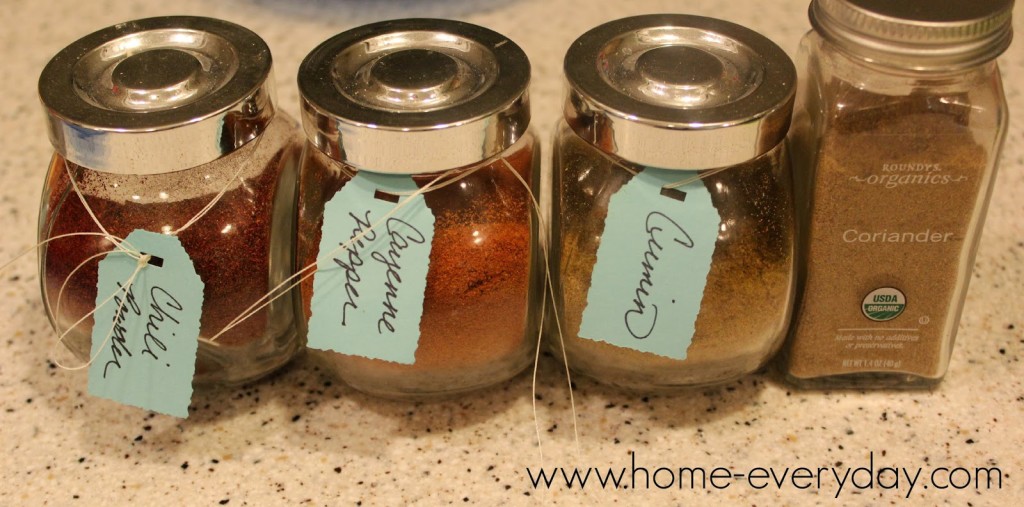
2 Tbs ground chili powder
1 Tbs ground cumin
2 tsp ground coriander
1/4 tsp ground cayenne pepper
1 tsp dried Thyme
1/2 bottle of your favorite beer
1 14 oz can white cannellini beans drained and rinsed
1 14 oz can black beans drained and rinsed
1 14 oz can red kidney beans drained and rinsed
1 cup frozen whole kernel corn
1 28 oz can crushed tomatoes
Salt and Pepper to taste
Avocado for garnish


In a large pot over medium heat add olive oil. When the oil is glistening, add ground turkey, breaking with a spoon. Add onion, celery, garlic, salt, and pepper and cook for about 5 – 7 minutes until onions are soft and turkey is cooked through. Stir occasionally. Next stir in chili powder, cumin, coriander, cayenne pepper, and thyme. Stir until well incorporated and then add beer. Bring this to a simmer (about 3 minutes) and then add all the beans, the corn, and the crushed tomatoes. Stir, lower heat, and cover with a tight fitting lid for about 10 minutes or until chili is just bubbling. Serve with sliced avocado.


This was the perfect dinner for being snowed in the past few days. Also, the leftover held us over until I could get to the grocery store.


For another great chili recipe, check out THIS ONE I made awhile ago.

For more about organization, DIY, gardening, cooking, baking or all other things domestic, become a Home Everyday follower! For blog updates or to see other places I write follow Home Everyday on FacebookTwitter, or Pinterest.


Warm Up: Roasted Red Pepper Soup

This time of year things are quite busy. Every night there is something to do in the way of holiday preparation. Add in the regular busy schedule with school, activities, and meetings, and it doesn’t leave much time for dinner prep.

With my meal planning for the next few weeks, I have put together a few freezer meals, pulled out some 30 minute meal recipes from the arsenal, and got the ingredients for a one pot meals so that we can spend more time enjoying holiday fun and less time cooking and cleaning up.
A few nights ago, the weather was pretty chilly and very cloudy, and I thought it would be the perfect night for soup and paninis. So I whipped up some creamy roasted red pepper soup with ham and swiss paninis.
This recipe is simple, and is so much better than soup from a box or can.
Roasted Red Pepper Soup
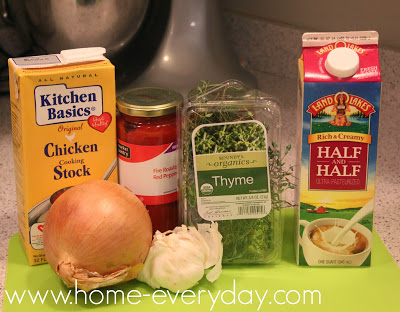
1 Tbs butter
1 Tbs extra virgin olive oil
1 large sweet onion chopped
2 cloves of garlic minced
2 – 15 oz jars of roasted red peppers drained and chopped
2 Cups chicken stock or vegetable stock
1 cup half and half or cream
2 tsp dried thyme
Salt and Pepper to taste
In a large pot over medium heat at butter and olive oil. Then, add onions and garlic and cook until soft, about 2 or 3 minutes stirring occasionally. Next, add red peppers, salt, and pepper, and continue to sauté for another 2 or 3 minutes. Add chicken stock. Bring to a simmer and cook for 10 – 15 minutes.
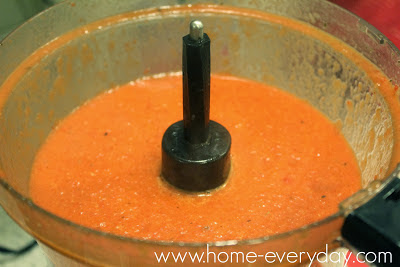
Turn off heat, and let the mixture cool slightly. Using an immersion blender, food processor, or blender, blend the soup until desired consistency.
Finally, stir in cream, and serve.
For more about DIY, gardening, cooking, baking or all other things domestic, become a Home Everyday follower! For blog updates or to see other places I write follow Home Everyday on FacebookTwitter, or Pinterest.

Follow on Bloglovin

Delayed Steak Fajitas

This is the infamous recipe that I was working on the day I cut my finger. Now, that I am over the trauma (it wan’t the bad, unless you’re a baby, which I am), I think it is ok for me to share the recipe finally.

Fajitas are a family favorite here because I always have guacamole with them. While the kids aren’t that crazy about the actual fajitas, they do love guacamole. If they really aren’t having the fajitas, I will grill up some quesadillas (cheese between two tortillas thrown on a low grill for less then a minute on each side) for them to dip in the guacamole too.

I personally like this recipe because it is quick, and Brian likes it because well, he likes steak and Mexican food, so for him it is the best of both worlds.

Steak Fajitas
1 lb flank or skirt steak
3 limes zested and juiced
1 Tbs extra virgin olive oil plus 1 tsp for cooking.
1 pinch of Cayenne pepper
1 large sweet onion thinly sliced
2 mediums sized bell peppers thinly sliced (I used yellow)
I bunch of Cilantro
Flour Tortillas shells
Salt and Pepper to taste

In refrigerator safe dish add lime zest, lime juice, 1 Tbs of olive oil, cayenne pepper, and salt and pepper and whisk together. Add steak, cover and refrigerate to marinate for about 4 to 6 hours.

Preheat grill (around 400 to 425 degrees).

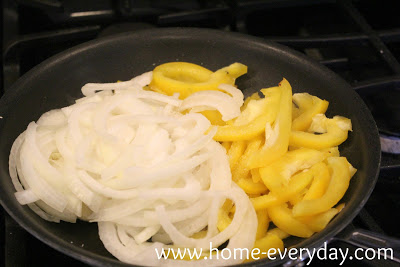
In a large skillet over medium high heat, add 1 tsp olive oil, sliced onions and peppers. Stir occasionally and cook until tender by still crispy, about 7 minutes. Keep warm.

Put the marinated steak on the grill, and cook for about 12-15 minutes flipping about halfway through. When the steak is finished, tent with aluminum foil, and let rest for about 10 minutes.

While the steak rests warm tortillas shells (I usually heat them in a dry skillet on medium low heat).

Slice the steak against the grain and at an angle in VERY thin slices. Assemble fajitas with pepper and onion mixture, steak, and a few sprigs on cilantro.

Enjoy, just please don’t cut your finger!

In Transit: Portable Caprese Salad

Caprese salad is something that I discovered much too late in my life.

I have always loved Italian food. In fact, pasta was always requested for my birthday dinner, and most big events or dinners have included an Italian restaurant. It still seems almost silly that I did not try my first Caprese Salad until I was in my mid twenties.

I remember the first bite of Caprese salad I had at my favorite Italian restaurant, and I was so amazed by the combination of flavor and texture. It was love at first bite.

Since that first taste, I have been creating different ways to enjoy this awesome flavor combination.

A few days ago, I was at my favorite grocery store Mariano’s (here is my post dedicated to this store’s wonderfulness), and they had an awesome selection of cherry and grape tomatoes, and I had an amazing idea.

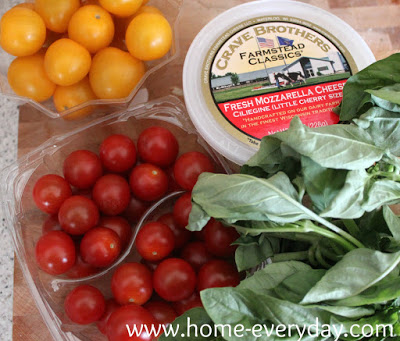
I got some wooden skewers, tomatoes, bocconcini (small mozzarella), and a ton of fresh basil.


I skewered a tomato, wrapped the bocconcini in a basil leaf and put that on next, and then added another tomato.

I loved that I was able to use different color tomatoes.

Finally, I poured my favorite store bought Balsalmic viniegrette into a small dish for dipping.

Ta da! Portable and delicious and oh so easy! If only I could make every salad like this.