Tag

chocolate

Splitting the Difference: Chocolate Chip Pumpkin Bread

There is a trend among bloggers to celebrate weird National holidays. I’m not sure these days are even holidays, but more of an excuse to just celebrate or be aware of a given thing. These days include National Granola Bar Day, National Tempura Day, and even a National Greasy Food Day. For a complete list of days that bloggers try and get trending here is a complete list from Serendipity and Spice.

I like the idea of celebrations, and having these days can be fun (or as an excuse to eat as many doughnuts or fried foods seems legit). Also, as a writer it is sometimes nice to have a jumping off point for an idea or a recipe. However, I also feel that it can sometimes be a bit much to keep up with all of the different holidays and celebrations. I mean I don’t even have all of our costumes ready yet (Amazon guaranteed delivery tomorrow for the football shoulder pads).

This week happened to be a big week. Yesterday was National Pumpkin Day. Tomorrow is National Chocolate Day. So, today, I’m splitting the difference.

Chocolate Chip Pumpkin Bread 2

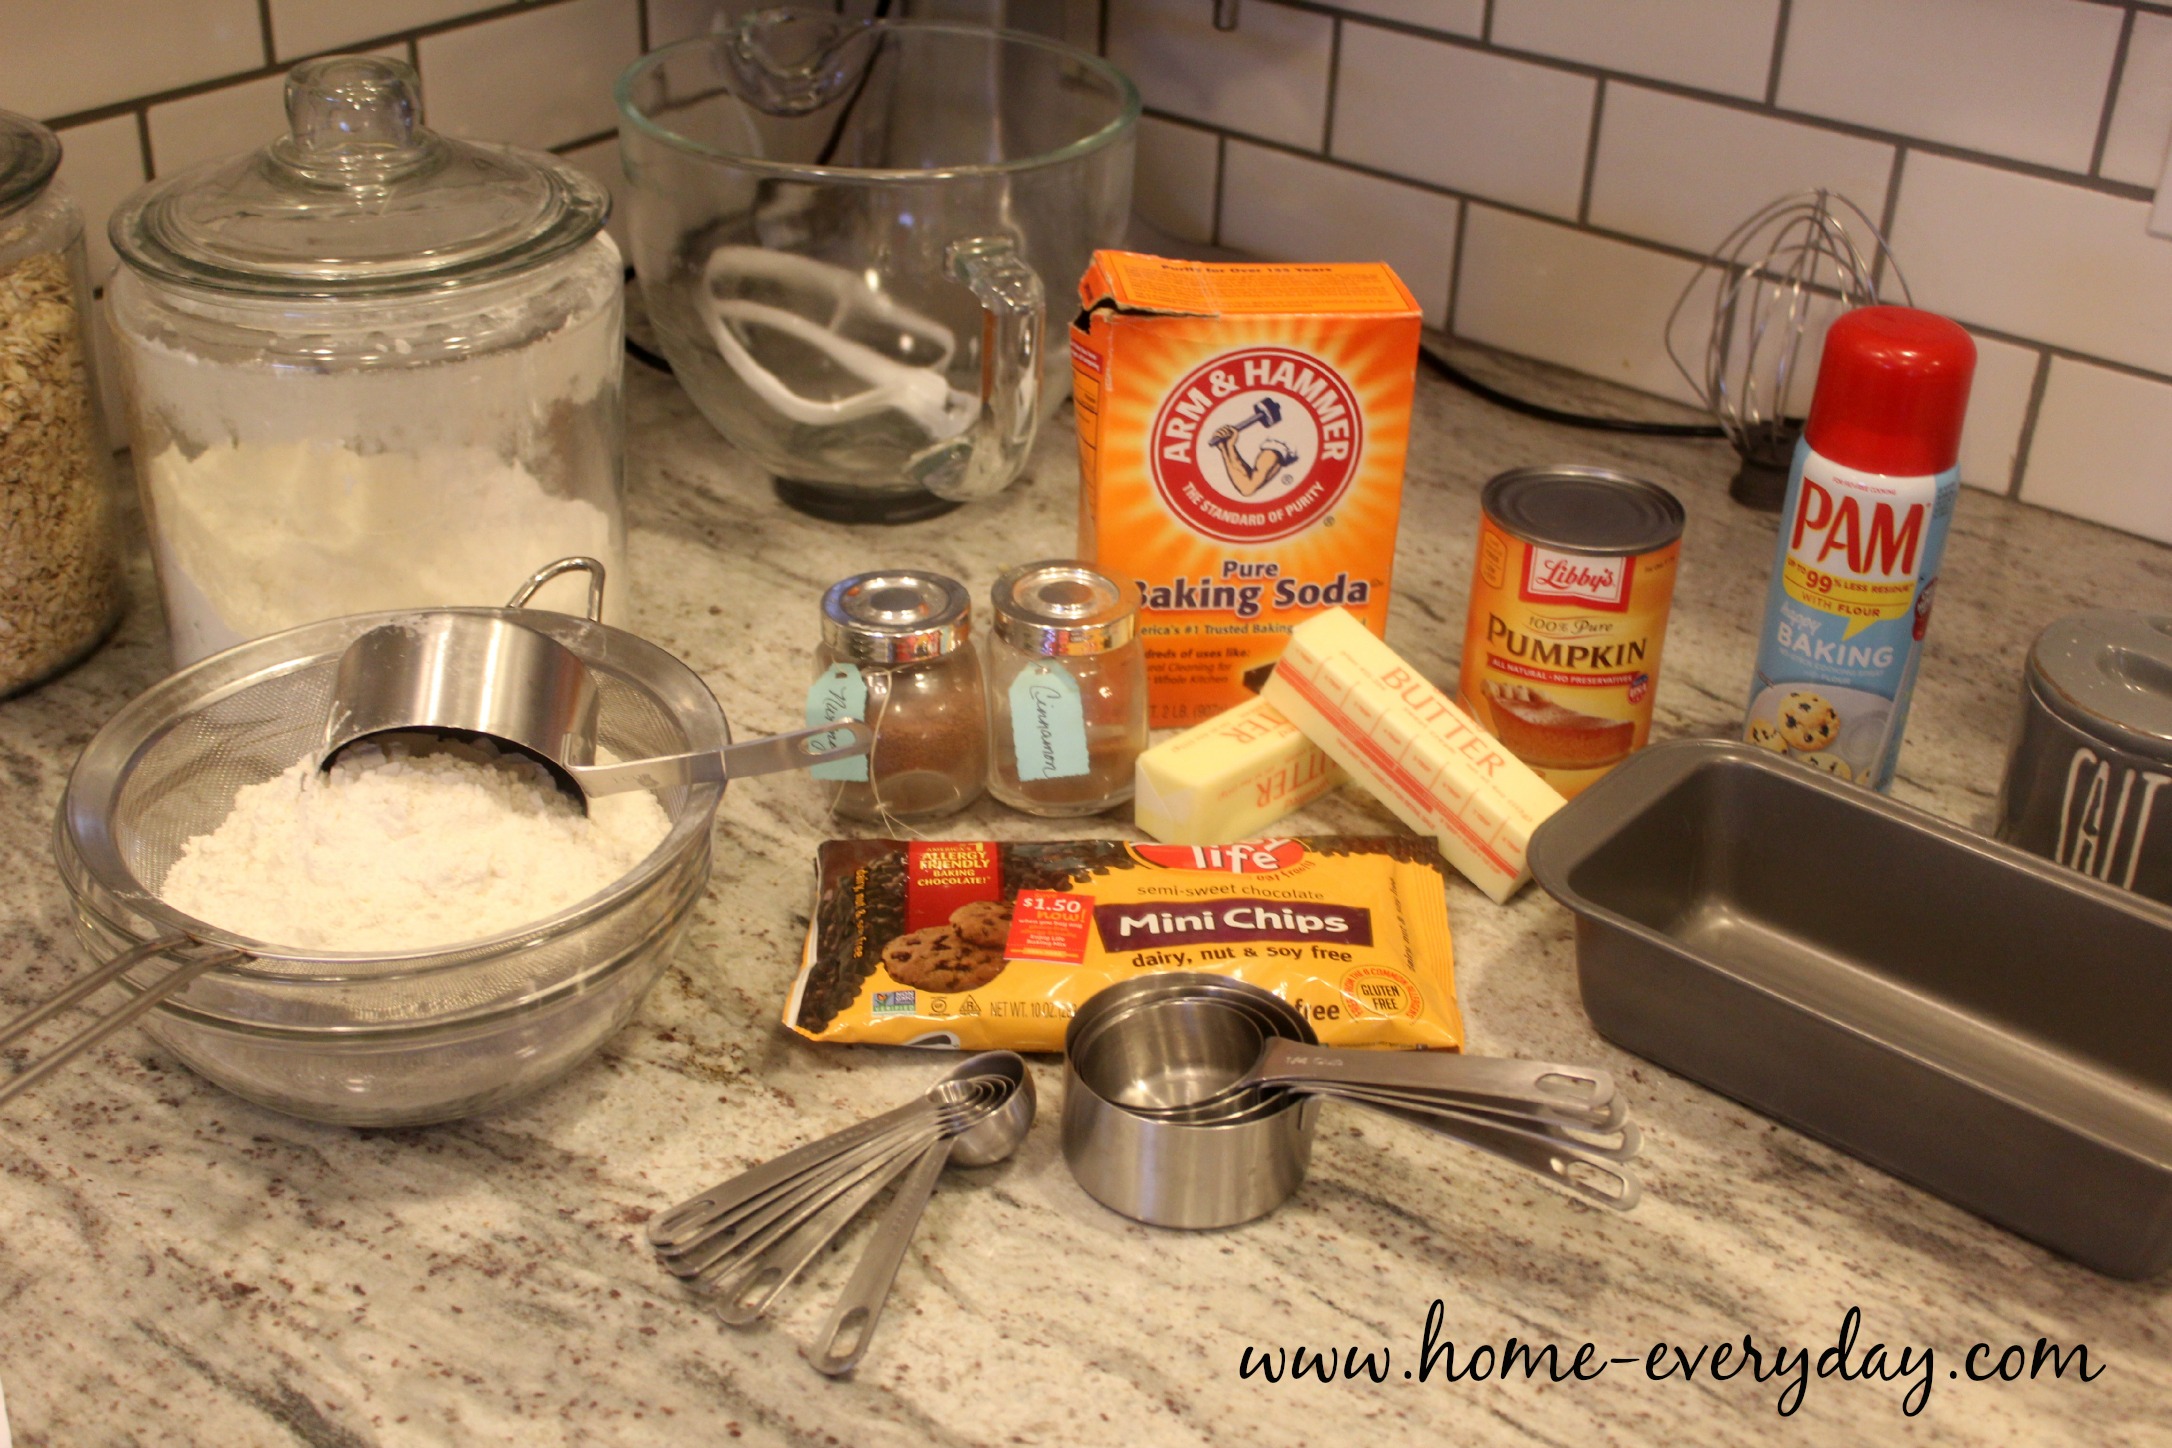
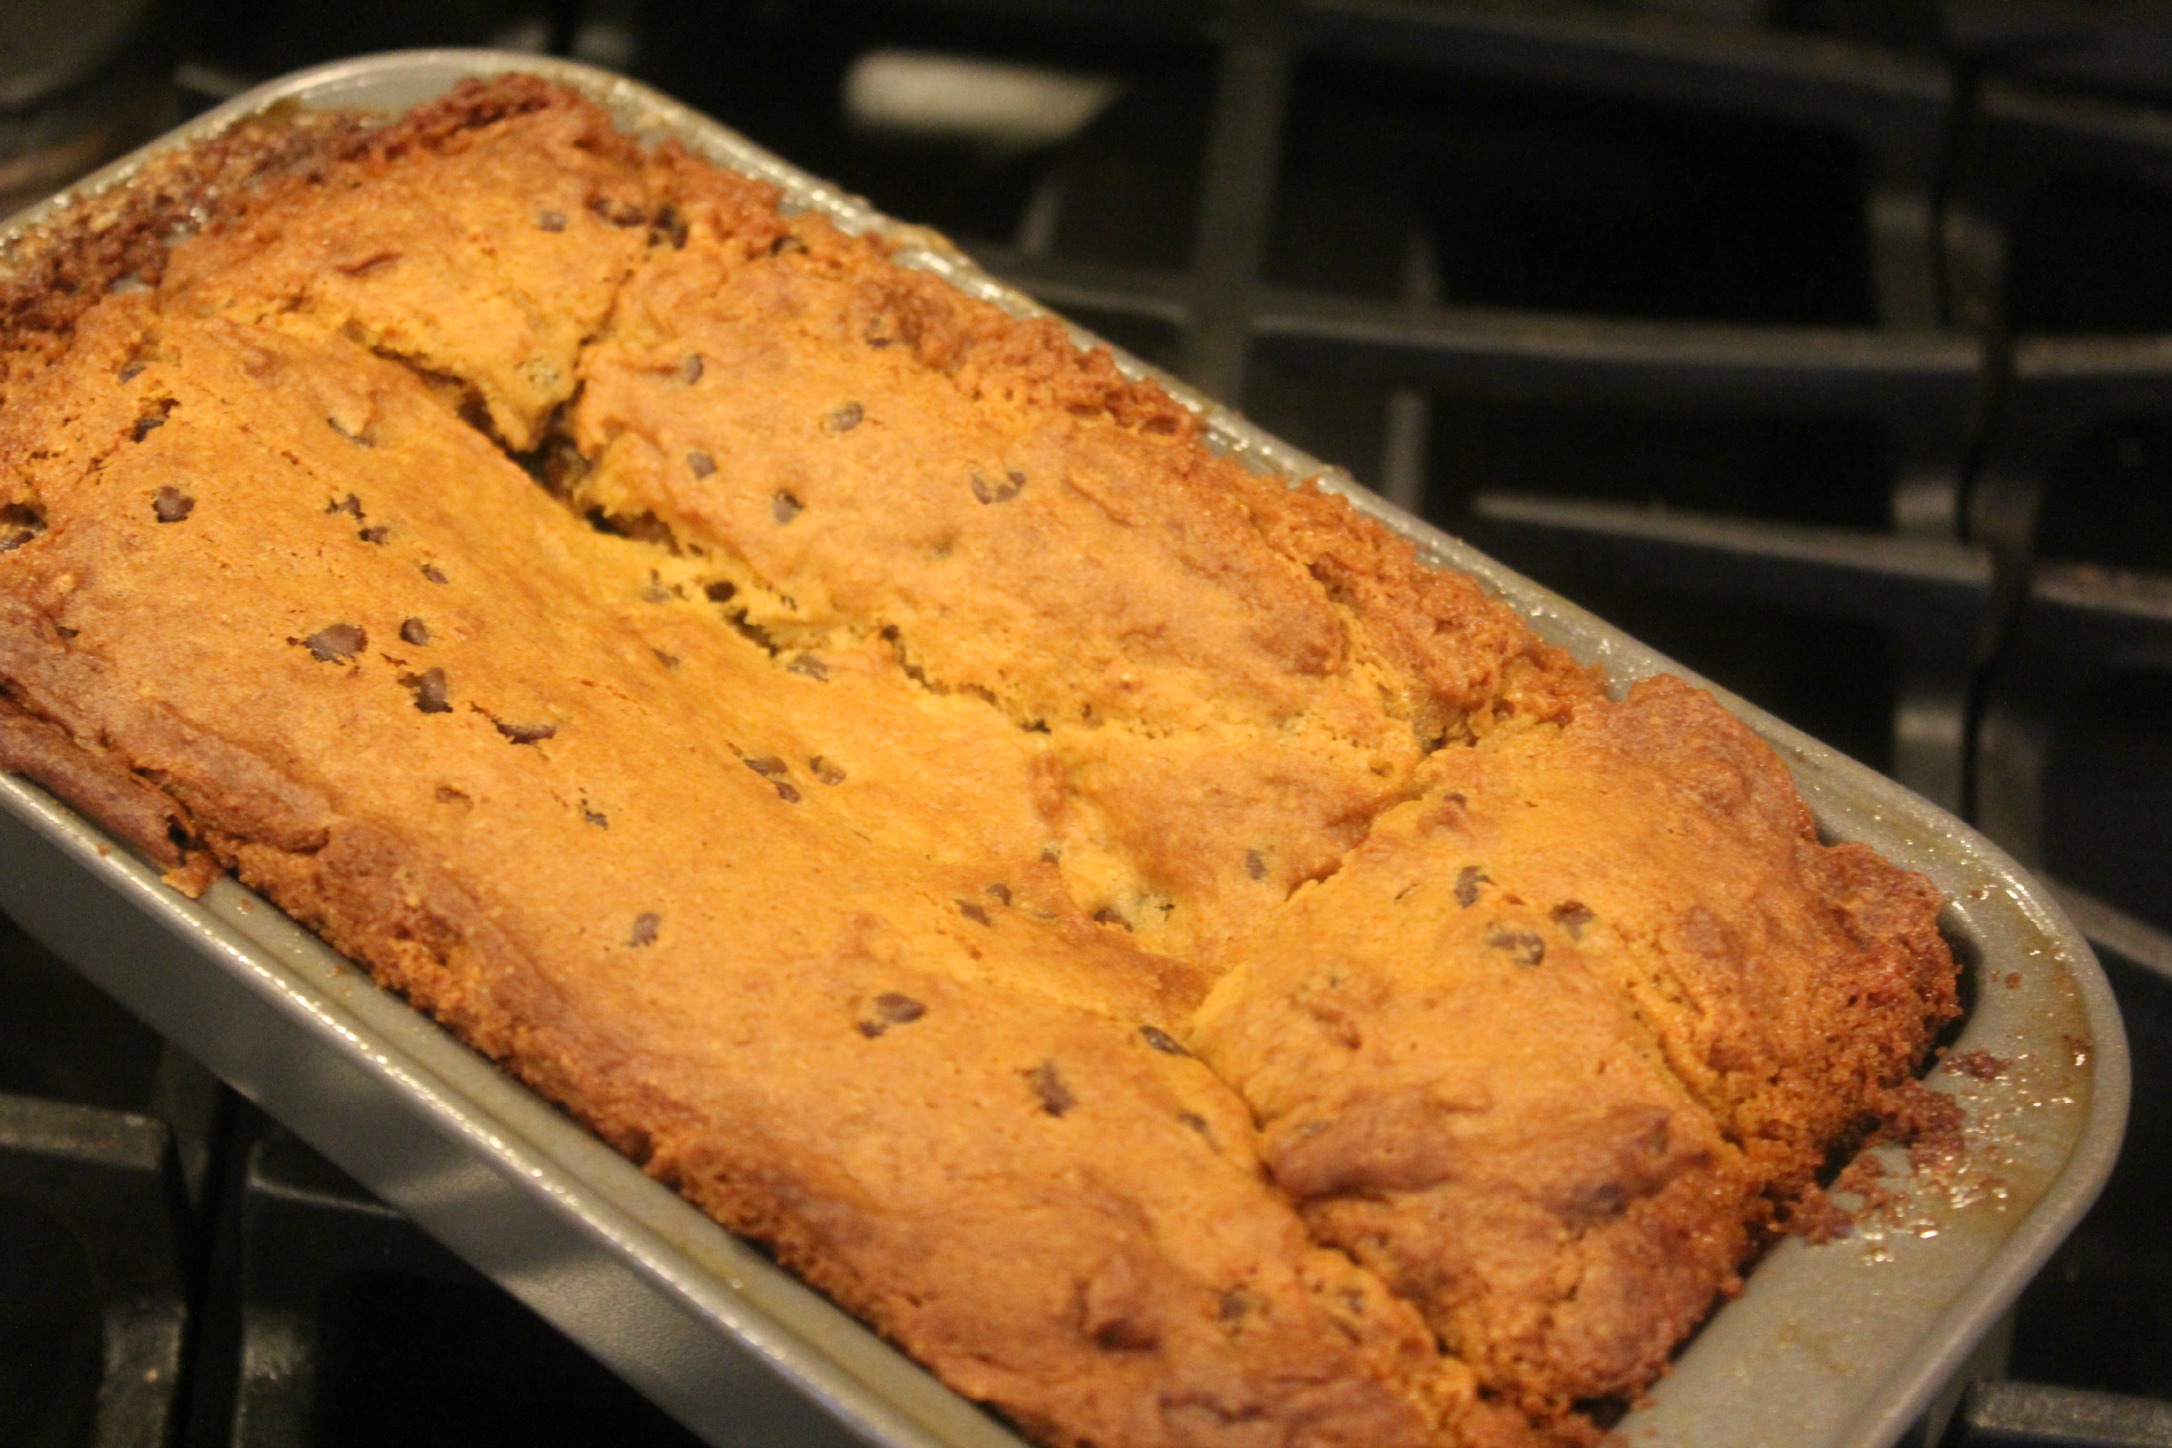
I made Chocolate Chip Pumpkin Bread to satisfy both days. This recipe is so cake like and delicious it is one of those foods that you can have for dessert, but can convince yourself to have for breakfast because I decided to call it a bread and bake it in a loaf pan.

Chocolate Chip Pumpkin Bread (yields two loaves)

3 cups all purpose flour

3 teaspoons baking soda

1 teaspoon ground cinnamon

1/2 teaspoon ground nutmeg

1 teaspoon salt

2 sticks unsalted butter softened

1 1/2 cups brown sugar

1 1/2 cups granulated sugar

3 eggs

3 teaspoons pure vanilla extract

1 15oz can of pumpkin puree

1 10 oz bag of mini chocolate chips (I use the Enjoy Life brand as they are allergy safe)

Chocolate Chip Pumpkin Bread 3

Preheat oven to 350 degrees.

Prepare two loaf pans with cooking spray and set aside.

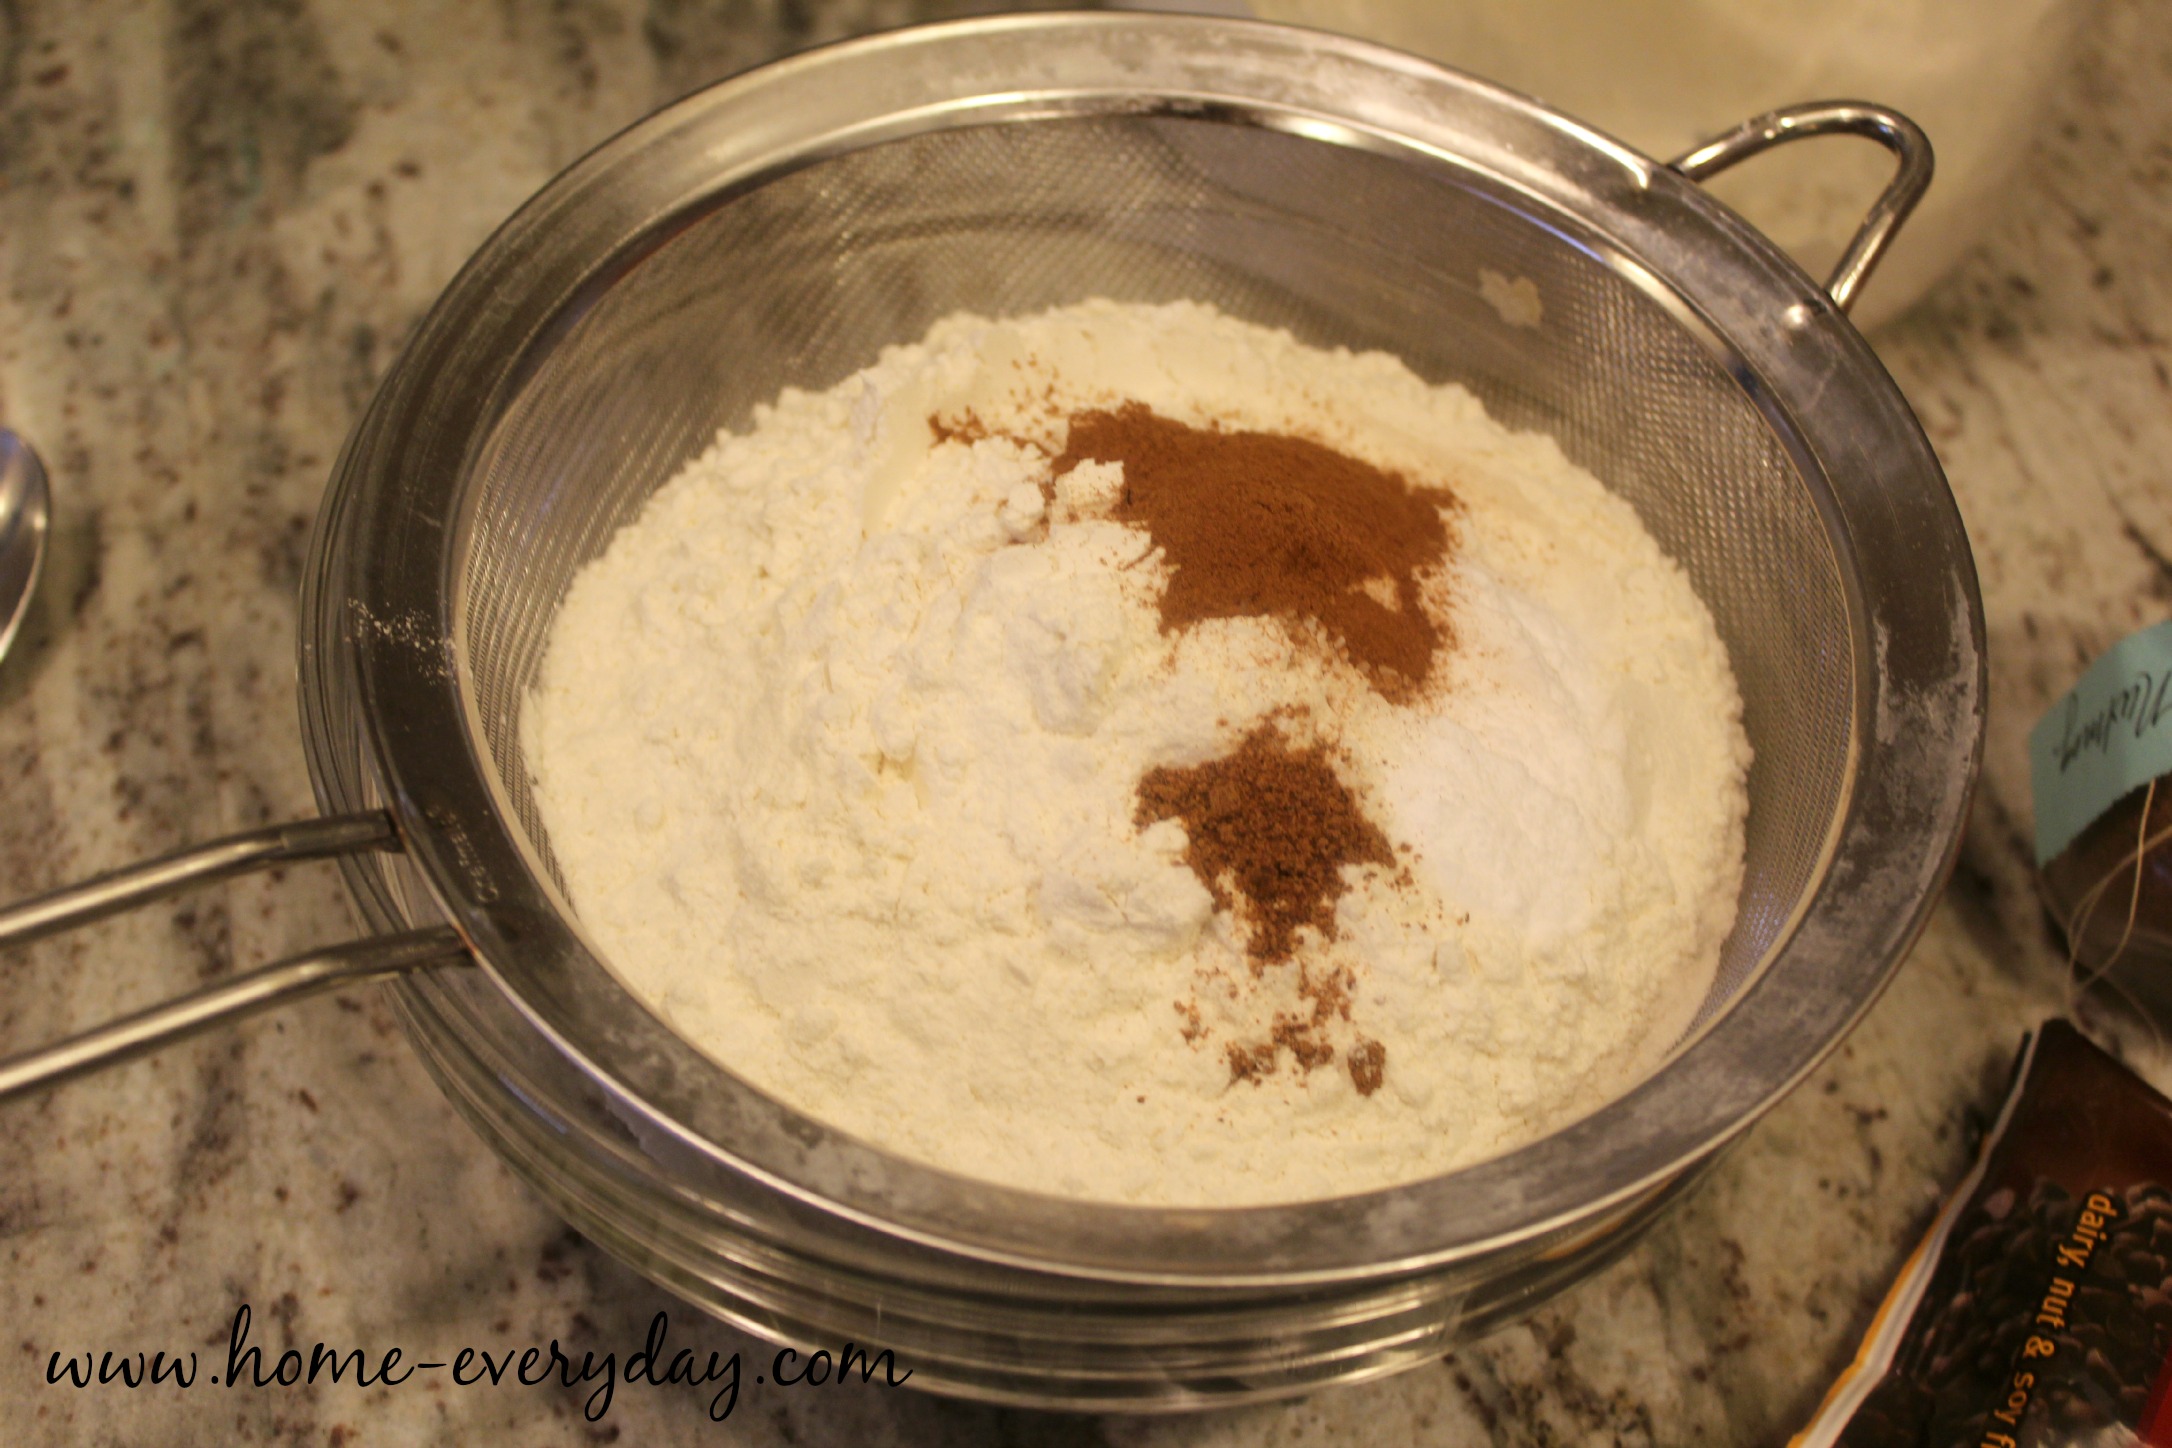
In a large bowl, sift together flour, baking soda, cinnamon, nutmeg, and salt. Set aside.

Chocolate Chip Pumpkin Bread 4

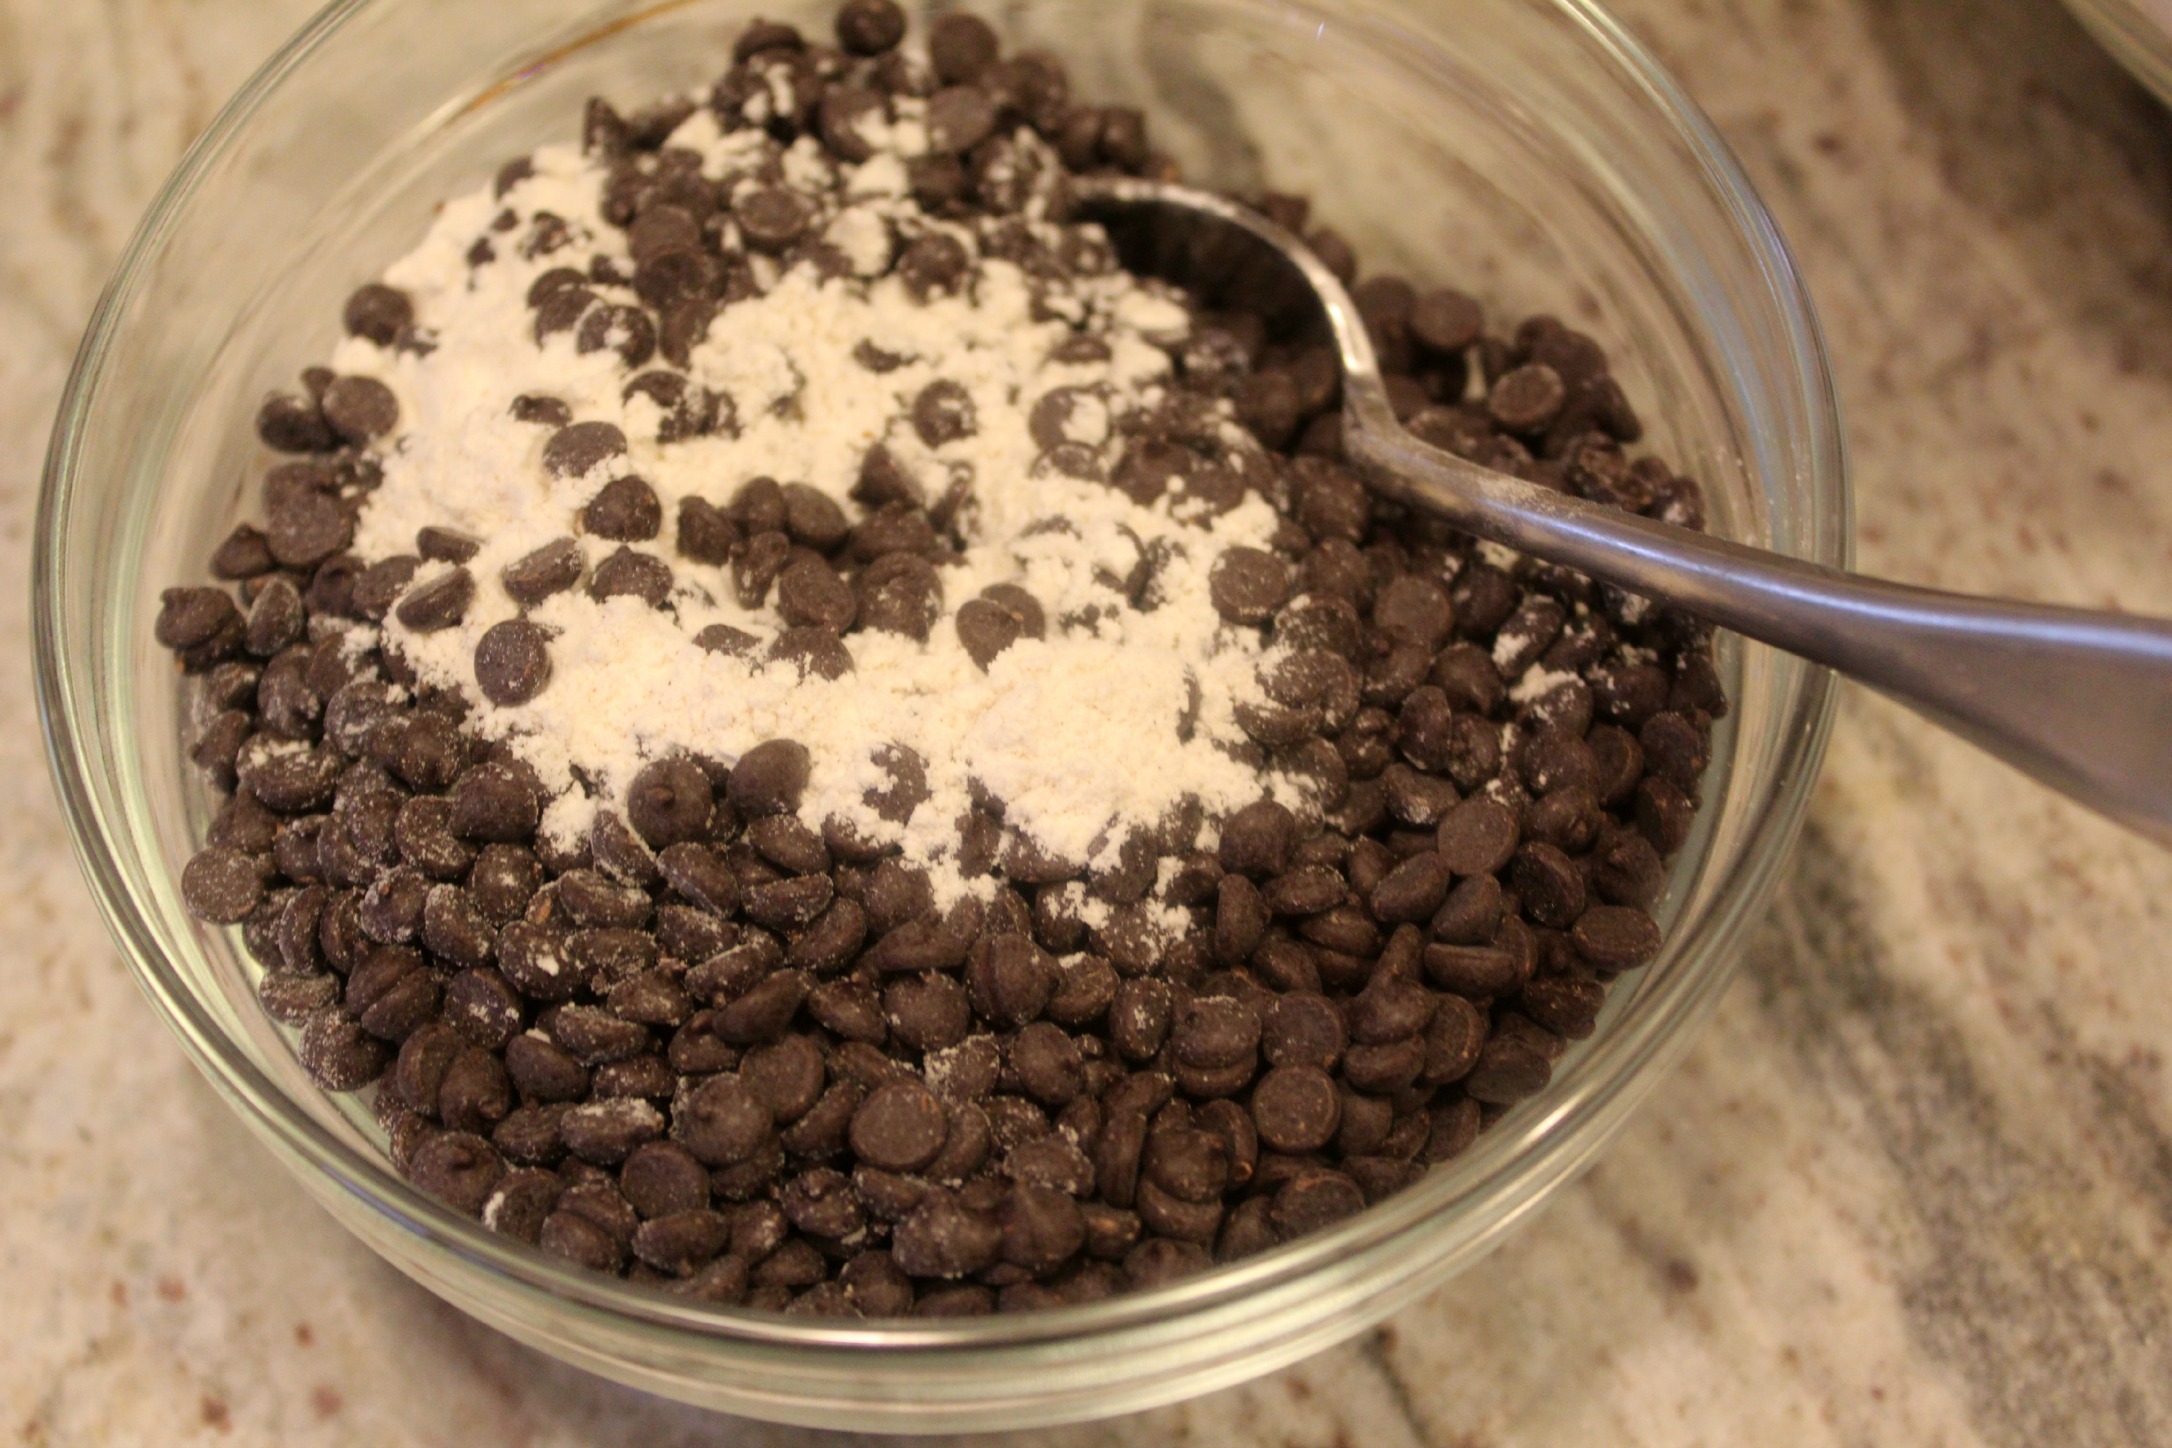
In another bowl toss together a spoonful of the flour mixture and the chocolate chips and set aside.

Chocolate Chip Pumpkin Bread 5

In a mixer with a paddle attachment, cream together butter, brown sugar, and sugar until creamy.

Chocolate Chip Pumpkin Bread 7

Add eggs and vanilla and mix until completely incorporated. This should take about 1 or 2 minutes.

Next, add pumpkin.

Chocolate Chip Pumpkin Bread 8

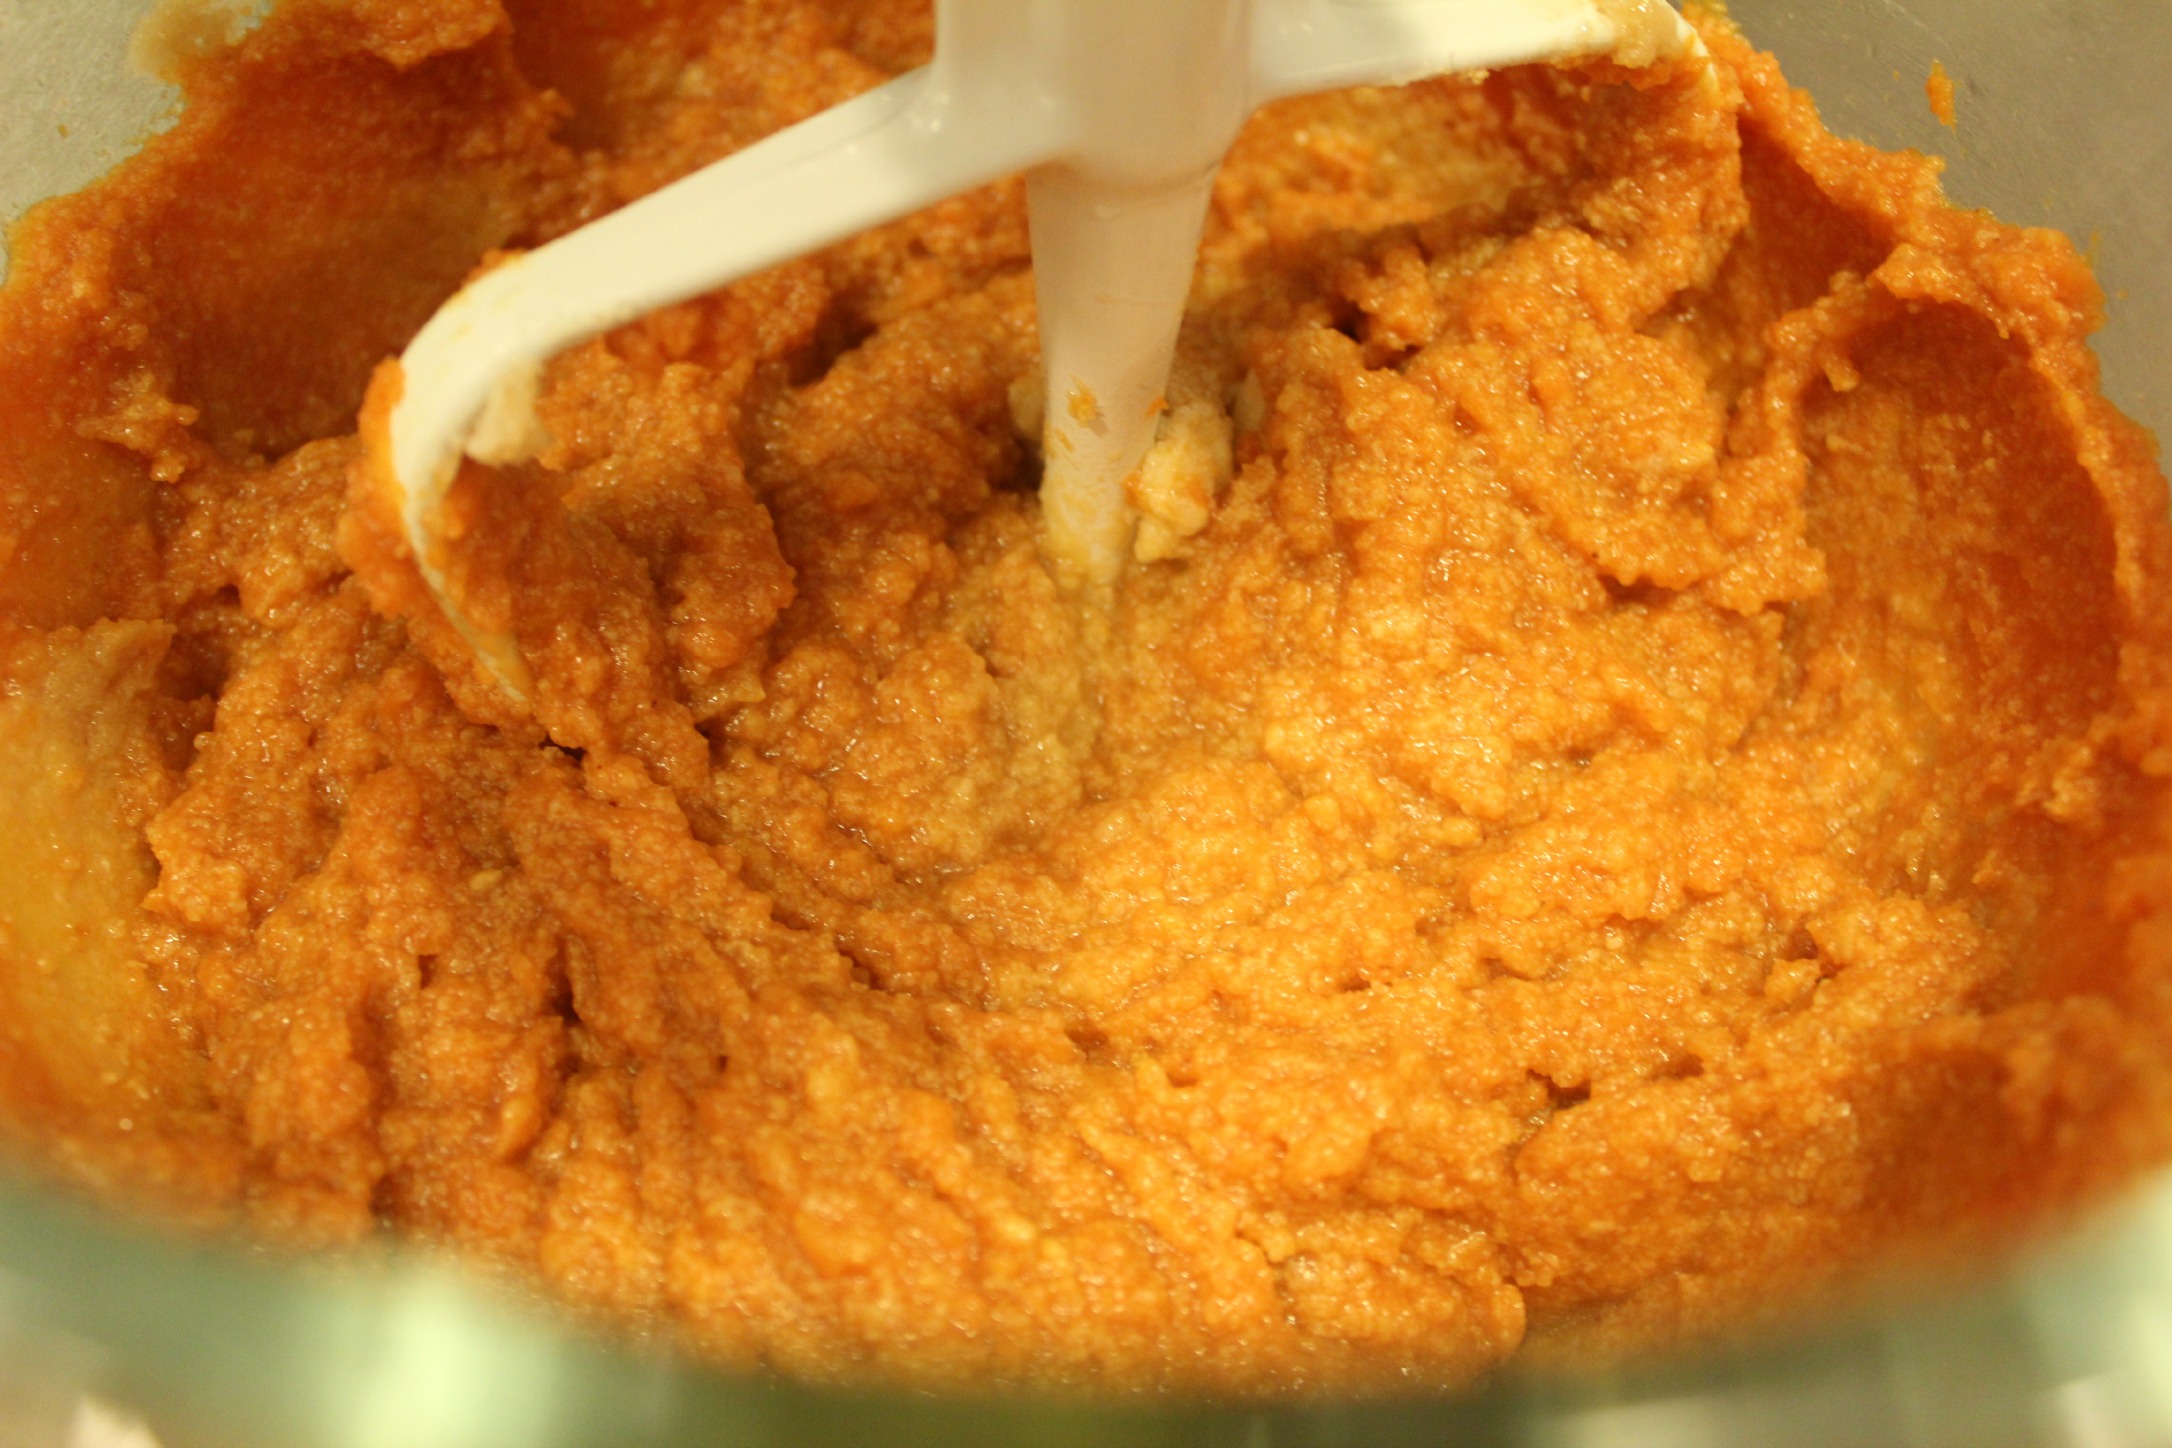
Then, with the mixer on low, slowly add flour until barely mixed.

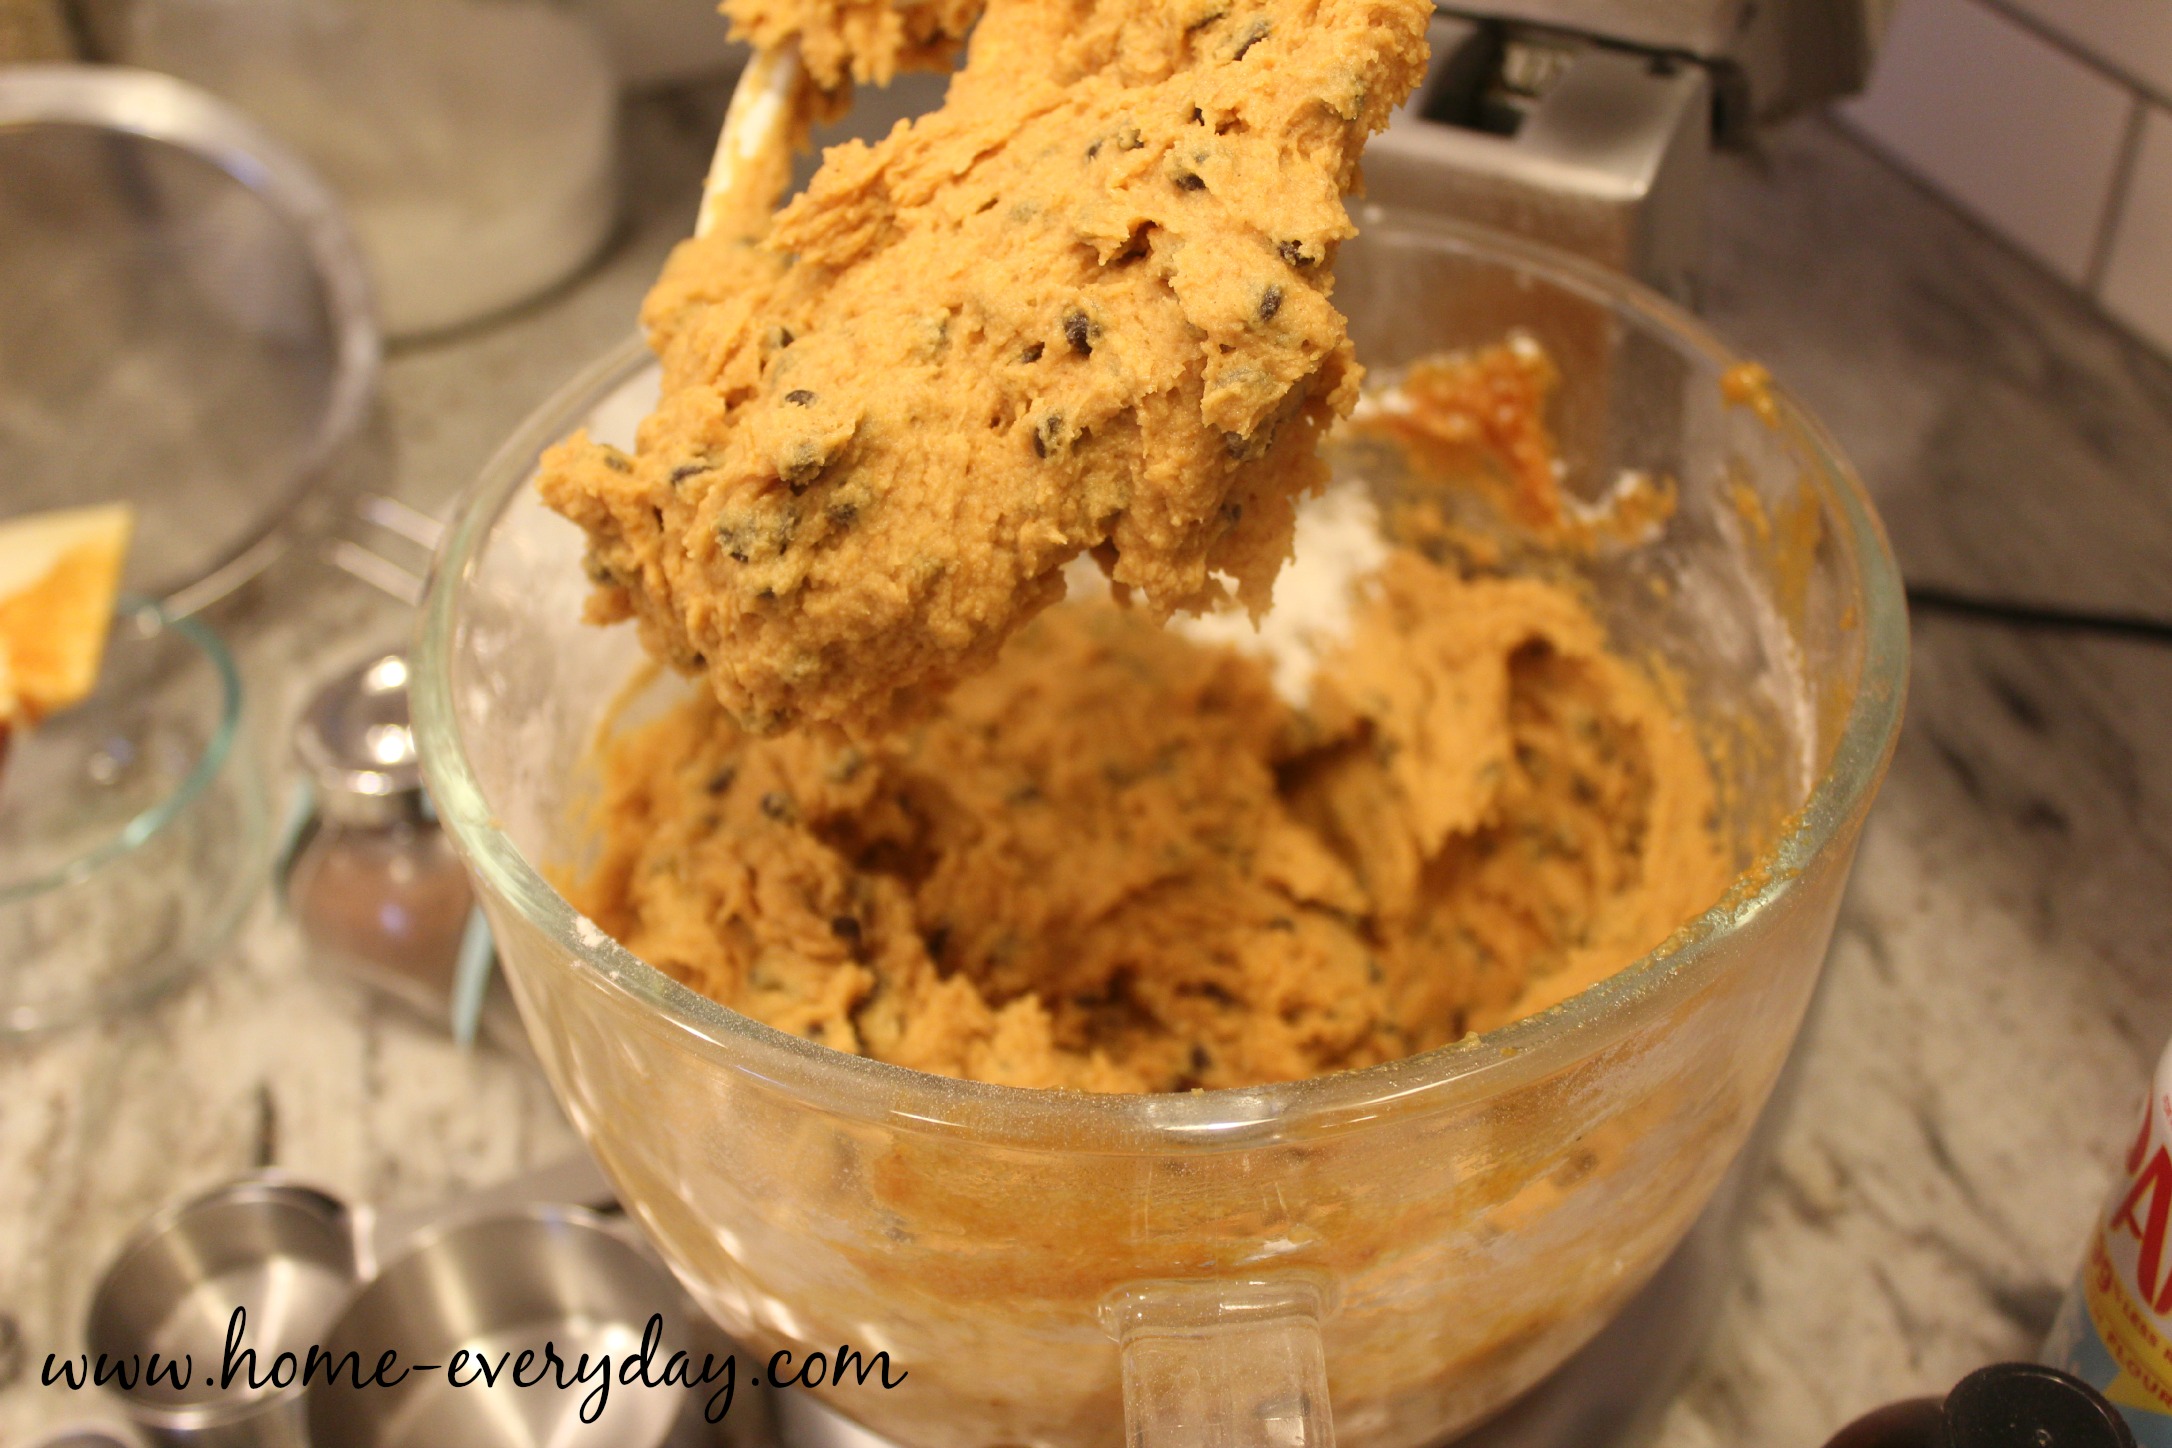
Turn off mixer, add chocolate chips and turn mixer on for a few seconds until incorporated.

Chocolate Chip Pumpkin Bread 9

Divide batter evenly into prepared loaf pans.

Bake for 50-60 minutes or until a knife inserted comes out clean.

Chocolate Chip Pumpkin Bread 12

Cool for 20 -30 minutes.

Chocolate Chip Pumpkin Bread 1

Enjoy!

Heaven in a Jar: Homemade (Nut Free) Chocolate Spread

Ahhh Nutella. Everyone who can have it loves it. However, there is a huge portion of the population that cannot have this delicious treat because of the hazelnuts in it. I was feeling bad that my littles were being denied such a wonderful and versatile treat and was trying to find something that would be similar. Unfortunately, many of these spreads have nuts or are processed in the same facilities as nuts or other allergens.

I had to take matters into my own hands. I scoured the internet, and to my delight I found ONE recipe sans nuts.

Thank you so much, SugarHero! My kids now know the joys of spreading chocolate on toast. They know how glorious pretzels and chocolate taste together. And they will never look at graham crackers the same way again.

The only change I made to the original recipe was I did add a bit more sugar and vanilla, but it is truly Heaven in a Jar.

Heaven in a Jar
1/2 cup of water
3/4 cup granulated sugar
1 Tbs unsweetened cocoa powder
2 tsp pure vanilla extract
4 squares of Baker’s unsweetened chocolate finely chopped
1 stick of unsalted butter cold and cut into small chunks
pinch of salt

In a small sauce pan, over medium heat add water, sugar and cocoa powder. Stirring constantly, cook until sugar is completely dissolved. Then, bring to a slight simmer. This should take about 2 – 3 minutes.

Remove from heat, and stir in the vanilla, chocolate, butter, and salt until a smooth texture is formed and all the ingredients are melted and incorporated.

Pour the mixture into a jar or airtight container. Cover with plastic wrap so the wrap is touching the top of the chocolate (so a skin doesn’t form), and then cover with lid.

Refrigerate overnight, and enjoy. (According to SugarHero! the spread will last for 2 weeks in the refrigerator.)

There’s only one thing I can say about this recipe. You’re welcome!

For a Printable Version of this recipe CLICK HERE!

If you like this recipe and would like to read more about DIY, gardening, cooking, baking or all other things domestic, become a Home Everyday follower! For blog updates or to see other places I write follow Home Everyday on Facebook here.

Follow on Bloglovin


Thirsty Thursday: Oreo Shake

Whether it be hot vanilla, salted caramel hot cocoa, or even a windy whiskey mac, it is still frigid here in the midwest. So, this week I kind of took on a “if you can’t beat ’em, join ’em” mentality. I am never going to be able to beat this cold no matter how many pairs of cuddle duds I wear to the bus stop.

This week’s Thirsty Thursday is one of my favorite milkshakes, and they are so easy to make. The first time I had an Oreo Milkshake was about 15 years ago. My niece and I were trying to make Oreo Blizzards just like Dairy Queen. Our attempt at a blizzard was a fail, but we added a little milk and made the most delicious milkshakes we had ever had. Since then, they have become a favorite treat.
Oreo Milkshakes (makes 2 small milkshakes)
4 oreo cookies
4 scoops vanilla ice cream
1/2 cup of milk
In a blender, add ingredients and blend until smooth. (NOTE: If milkshake is too thick add another splash of milk). Pour into a glass and enjoy!
You can even add a crumbled Oreo cookie to the top for a bit of garnish.
What are your coping mechanisms for this cold?


For more #ThirstyThursday recipes CLICK HERE! For more about DIY, gardening, cooking, baking, #ThirstyThursdays or all other things domestic, become a Home Everyday follower! For blog updates or to see other places I write follow Home Everyday on FacebookTwitter, or Pinterest.

Smart Cookies: Scratch Brownies

This month’s Smart Cookies recipe was inspired by a craving for some good old fashioned brownies. Usually, I will buy a store bought mix for brownies, and dress them up a bit like these Salted Caramel Brownies of yore. However, with last week’s deep freeze, I was out of brownie mix, and really not wanting to leave the comfort of my house for brownie mix, when I am pretty sure I had everything I needed in the house to make them from scratch.

Also, I really really couldn’t wait to use the new glass spout bowl for my KitchenAid mixer.

After a bit of research, I found a few recipes that I thought were doable, and created  my own version. So, for this  recipe, I used dark chocolate chips instead of baker’s chocolate as the base. Because of this, I didn’t need as much sugar as the chocolate chips have a bit of sweetness added. Also, I added some white chocolate chips to the batter, and they were twice as chocolatey.

Scratch Brownies
1 1/4 cups all purpose flour plus 1 TBS
1/2 tsp baking soda
1/2 tsp salt
1 cup dark chocolate chips (semi sweet chocolate chips would be fine too)
1 stick of butter
3 large eggs
1 cup granulated sugar
2 tsp vanilla extract
1 cup white chocolate chips

Preheat oven to 350 degrees.

Grease a 9 x 13 baking dish and set aside.

In a small bowl, toss the 1TBS of flour with the white chocolate chips and set aside (this prevents chocolate chips from sinking to bottom of the brownies).

In a large bowl, sift together  the 1 1/4 cups flour, baking soda and salt, and set aside.

In a double boiler (I use a heat safe glass bowl over slightly simmer water), melt butter and dark chocolate chips together, stirring occasionally. Once completely melted together, remove from heat and allow the mixture to cool slightly.

In a large mixing bowl, beat together sugar, eggs, and vanilla until well incorporated. Next, set the mixer to low, and carefully and slowly add the chocolate and butter mixture. Then, add half the flour mixture until just incorporated, and then the other half of the flour mixture. Be sure to not over mix.

Carefully, fold in the white chocolate chips. Pour the batter into the baking dish, and bake for 20-22 minutes.

These brownies would be great served warm with some vanilla ice cream, but we dug right in after dinner with tall glasses of milk.

To get a printable version of this recipe CLICK HERE!

For more information about Smart Cookies, click here. You can also try these other Smart Cookie Recipes.

For past Smart Cookie recipes, check out the links below:
Oatmeal Dark Chocolate and Dried Cherry CookiesLucy CookiesWhite Chocolate and Cranberry BlondiesChocolate Dipped Vanilla Biscotti Italian Butter Cookies with Lemon Glaze, and Salted Carmel and Dark Chocolate TrufflesIrish Creme DelightsErin’s Light Lemon SquaresSalted Caramel BrowniesCran Apple Cookies, Pumpkin Cookies with Cinnamon Glaze

If you like this recipe and would like to read more about DIY, gardening, cooking, baking or all other things domestic, become a Home Everyday follower! For blog updates or to see other places I write follow Home Everyday on Facebook here.

Follow on Bloglovin

Decadent Chocolate Chip and Doughnut Bread Pudding

In the past few weeks my sister, her husband and kids have been extremely helpful with a few babysitting needs that we have had. Also, my sister is starting her third year as principal and as you can imagine the beginning of the school year can be quite stressful.
As a thank you for the help, and a special treat for the beginning of the year, I made this awesome bread pudding.

Let’s face it nothing says comfort like a warm bread pudding.


I have seen recipes for bread pudding with cake, brioche and all other sorts of things. However, when I saw plain Entenmann’s doughnuts at the store, I thought, hmmm…


Entenmann’s doughnuts have been a favorite since childhood. The chocolate ones were a favorite of my Dad, and I kind of handed the tradition down to my kids. In fact, my kids love them so much you may remember this post of yore. Can you believe how little they were then?

I looked up a few recipes for bread pudding, and then put together this recipe. It is completely decadent and if you are dieting you might want to save this for a special day. I have decided that I am making this for Christmas!

Chocolate Chip and Doughnut Bread Pudding

12 Entenmann’s plain cake doughnuts
6 Tbs. softened unsalted butter
3/4 cup granulated sugar
4 eggs
1 1/2 cups heavy cream
1 tsp. ground cinnamon
1 1/2 tsp. pur vanilla extract
pinch of salt
1 cup mini chocolate chips

Glaze
6 Tbs. melted butter
2 cups powdered sugar
2-3 Tbs milk
1 tsp. pure vanilla extract

Preheat oven to 350 degrees.

Grease at 9 x 13 baking sheet. Cut doughnuts into bite sized chunks and put in the pan and set aside.

In a mixer with a whisk attachment,  blend together butter and sugar until creamed together. Add eggs, cream cinnamon, vanilla, and salt and mix on medium speed for a few minutes until well incorporated.


Pour the mixture over the doughnuts and let the doughnuts soak up the mixture for 5 to 10 minutes. Finally, evenly sprinkle the chocolate chips over the doughnuts.


Cover with foil and bake for 30-35 minutes until set. Remove the foil and bake for another 10 minutes.


While the pudding is baking for the last 10 minutes, make the glaze. Mix together the melted butter, powdered sugar, milk, and vanilla until a glaze like texture is formed.


Pour over the finished bread pudding and let the dish set for about 15 minutes to cool down and let the glaze soak in before serving.


Everyone loved it, but I have to say because I knew what was in it, I felt like I should run a few miles after eating it.

If you like this recipe and would like to read more about DIY, gardening, cooking, baking or all other things domestic, become a Home Everyday follower! For blog updates or to see other places I write follow Home Everyday on Facebook here.

Follow on Bloglovin

Thirsty Thursday: Old Fashioned Chocolate Malt

Happy THIRSTY THURSDAY, Readers! Today, I made something a little more old school. When I was a kid, there was nothing better than going out for burgers and my parents giving us the go ahead to order a shake.

My Dad would ALWAYS order a chocolate malt. He said it was his favorite when he was a kid and always made him think of childhood.
So, when I saw the container of Malted Milk at the store, I thought blending up some Chocolate Malts for Thirsty Thursday would be a great summertime drink. Some people don’t like the added calories of added malt to a shake, but it really does make the shake taste more chocolatey, and in moderation, it is a great treat!
Old Fashioned Chocolate Malt
2 – 3 scoops vanilla ice cream
2 Tbs Malted Milk
2 Tbs Chocolate Syrup
1 tsp pure vanilla extract
1/2 – 3/4 cup of milk
Put all the ingredients in the blender, and blend until smooth. Pour into a glass, and garnish with whipped cream.


If you liked this installment of Thirsty Thursday and would like to read more about, Gardening, DIY, Cooking, Baking and all other things domestic you can check me out on Facebook or become a follower of Home Everyday here

Follow on Bloglovin

A Little Treat: Brownie Pops

Cake Pops seem to be all the rage right now. In fact, all portable or teeny tiny desserts seem to be quite popular. My friend Jocelyn over at Grandbaby Cakes recently made two different kinds of pie pops (here and here).

I get the appeal. They are cute and usually decorated adorably. Also, miniature desserts also play into what I like to call “the fun size logic.” This is the logic that because something is smaller, you can eat more of them without any guilt. Kind of like fun size candy bars.
Don’t act like you don’t know what I’m talking about.
Anyway, I thought I would try my hand at these teeny tiny desserts, and I made brownie pops.
For this recipe, I used my favorite Betty Crocker box brownie mix and baked them according to the directions. Typically, I like scratch brownies best (like these), but I was afraid they would fall apart too easily. You can bake any kind of brownies you like.
Once the brownies were baked and cooled completely. I put them in the refrigerator for about two hours just to harden them a little more. The last thing I wanted was for them to be falling apart.
While the brownies were in the fridge I gathered up the rest of what I would need.
1 package lollipop sticks
1 package Wilton Candy Melts in white.
and rainbow sprinkles.
I cut the brownies into 1/2 inch by 1 1/2 inch rectangles. I found that this size worked well.
I then inserted a lollipop stick into each brownie like so.
Next, I melted the candy melts in my double boiler. Once they were a smooth consistency I tipped the brownies in the mixture and then immediately in the sprinkles.
Ta Da!
A pretty and portable sweet treat. Maybe I will let the kids have two, you know because they are fun size.

Smart Cookies: Salted Caramel Brownies

If you follow Home Everyday on Facebook, you’ll know I mentioned last night that I am on the salted caramel bandwagon. After making salted caramel dark chocolate truffles in February, I thought it was time to do something with this flavor combination again.

Leave to to Ina Garten, one of my favorite Food Network chefs, to give me the idea for this month’s Smart Cookie recipe.

The first time I make anything, I typically follow the recipe exactly and then I doctor it up or change what I don’t think my family will like. I do NOT think I will have to do that with this recipe. Everything is perfect. The only suggestion I might make is if you don’t want to make the brownies from scratch, I would say it is ok to use your favorite box mix and then add 3/4 of a cup of chocolate chips. Then, follow the rest of the directions.

Without further ado, here is the recipe or you can click here.

Salted Caramel Brownies

1/2 pound (2 sticks) unsalted butter
8 ounces plus 6 ounces Hershey’s semisweet chocolate chips
3 ounces unsweetened chocolate
3 extra-large eggs
1 1/2 tablespoons instant coffee granules, such as Nescafe
1 tablespoon pure vanilla extract
1 cup plus 2 tablespoons sugar
1/2 cup plus 2 tablespoons all-purpose flour, divided
1 1/2 teaspoons baking powder
1/2 teaspoon kosher salt
5 to 6 ounces good caramel sauce
2 to 3 teaspoons flaked sea salt

Preheat the oven to 350 degrees F. Butter and flour a 9 x 12 x 1 1/2-inch baking pan.

Melt the butter, 8 ounces of the chocolate chips, and the unsweetened chocolate together in a medium bowl set over simmering water. Allow to cool for 15 minutes.


In a large bowl, stir (do not beat) together the eggs, coffee, vanilla, and sugar. Stir the chocolate mixture into the egg mixture and allow to cool to room temperature.

In a medium bowl, sift together 1/2 cup of the flour, the baking powder, and salt and add to the chocolate mixture. Toss the remaining 6 ounces of chocolate chips and the remaining 2 tablespoons of flour in a medium bowl and add them to the chocolate mixture.

Spread evenly in the prepared pan.


Bake for 35 minutes, until a toothpick comes out clean. Don’t overbake!


As soon as the brownies are out of the oven, place the jar of caramel sauce without the lid in a microwave and heat just until it’s pourable. Stir until smooth. Drizzle the caramel evenly over the hot brownies and sprinkle with the sea salt.


Cool completely and cut into bars.

WARNING! MUST HAVE MILK ON HAND! These brownies are tasty and very rich.

For past Smart Cookie recipes, check out the links below:
Oatmeal Dark Chocolate and Dried Cherry CookiesLucy CookiesWhite Chocolate and Cranberry BlondiesChocolate Dipped Vanilla Biscotti Italian Butter Cookies with Lemon Glaze, and Salted Carmel and Dark Chocolate TrufflesIrish Creme Delights, Erin’s Light Lemon Squares.

Out of my Comfort Zone: Chocolate Zabaglione

This past weekend, our friends invited us over for dinner. It was wonderful. There is nothing better than good conversation, great food, and happy kids playing for hours.

I asked if I could bring something, and thought maybe this would be a good time to try something new. I wanted to go beyond a traditional baked dessert of pie, cake, brownies, or cookies. Also, since I only had to bring dessert, I thought it might be fun to try something that was a little bit more labor intensive.


I stared digging through my cookbooks, and in Giada De Laurentiis ‘s Everyday Italian I saw this recipe for Chocolate Zabaglione.

Zabaglione is traditionally an Italian vanilla cream custard that is served with fruit. To Brian, it isn’t dessert unless it is chocolate, so I thought this would be perfect. Also, it gave me a chance to use my new double boiler.

I did make a few changes to the recipe based on what I had on hand. For example, I used a very dry white wine that I had on hand instead of a Marsala wine. Also, I did not have the large eggs that the recipe calls for, so I used 9 egg yolks instead of 8. Finally, the kids love all kinds of berries, so instead of using just strawberries, I used a mixture of strawberries, raspberries, and blackberries. Everyone LOVED it!

Chocolate Zabaglione adapted from Giada De Laurentiis

1/4 cup heavy whipping cream
1/2 cup semi sweet chocolate chips
8 large or 9 medium egg yolks
1 cup granulated sugar
2/3 cup dry white wine
pinch of salt
1 pint strawberries hulled and sliced
1 6 oz container of raspberries
1 6 oz container of blackberries

In a small sauce pan, gently heat cream and chocolate chips stirring constantly until smooth. Set aside, but keep warm stirring occasionally.

In the top part of a double boiler, whisk together egg yolks, sugar, wine, and salt. Then carefully set over the bottom part of the double boiler with simmering water (NOTE: Don’t let the water touch the bottom of your double boiler). Whisk the mixture constantly while over the heat for 4 to 5 minutes or until it reaches 160 degrees.

Remove from heat, and then carefully fold in the chocolate mixture.

You can serve warm over berries, or let cool for 6-8 hours in the fridge before serving. It is important to note you cannot reheat this recipe.

We enjoyed it cold.

Salted Carmel and Dark Chocolate Truffles

It is Smart Cookie time! When Valentine’s Day is on its way, I of course think of chocolates so I thought instead of a cookies, it might be fun to make a chocolate candy treat. A few weekends ago, I had a salted carmel chocolate cake for dessert at a restaurant, and the combination of salted carmel and rich dark chocolate was so awesome that it inspired this recipe. Also, as my friend, Mary, pointed out dark chocolate is heart healthy. This is perfect for American Heart Association’s Heart Health Month.


This recipe seemed a little intimidating at first, but I found this great recipe as a base, and made a few small changes. They are a hit, as in they are gone.

Salted Carmel and Dark Chocolate Truffles

12 oz semisweet or dark baking chocolate chopped
1/2 cup heavy cream
12 carmel candies cut in half
1-2 Tbs Fine Sea Salt


Place chopped chocolate in a large heat safe bowl, and place on top of a sauce pan filled with and inch or two of water to act as a double boiler. Turn on the heat to medium low. Next, in a second sauce pan over low heat add the cream. When the cream is heated through or when there are small bubbles around the edge of the pan, add the cream to the melting chocolate and gently whisk together. When the chocolate is thoroughly melted and incorporated with cream, add the mixture to a shallow baking dish. Cover with plastic wrap and put in the refrigerator for one hour.

While the chocolate is cooling, dredge carmel pieces in sea salt.


Remove chocolate from refrigerator.


Using a small cookie scoop (1 Tbs size) and scoop chocolate and insert salted carmel piece into the center of chocolate. Then gently roll into a ball and place on a refrigerator safe dish.

When all the truffles are made, sprinkle with the tiniest bit of sea salt. Refrigerate until ready to serve.


I have to make more to mail out. I think these are my new favorite chocolate treat.

For more information about Smart Cookies click here. You can also see past Smart Cookie recipes below: Oatmeal Dark Chocolate and Dried Cherry Cookies, Lucy Cookies, White Chocolate and Cranberry Blondies, Chocolate Dipped Vanilla Biscotti, and Italian Butter Cookies with Lemon Glaze.