Category

Halloween

What is With the #TealPumpkin?

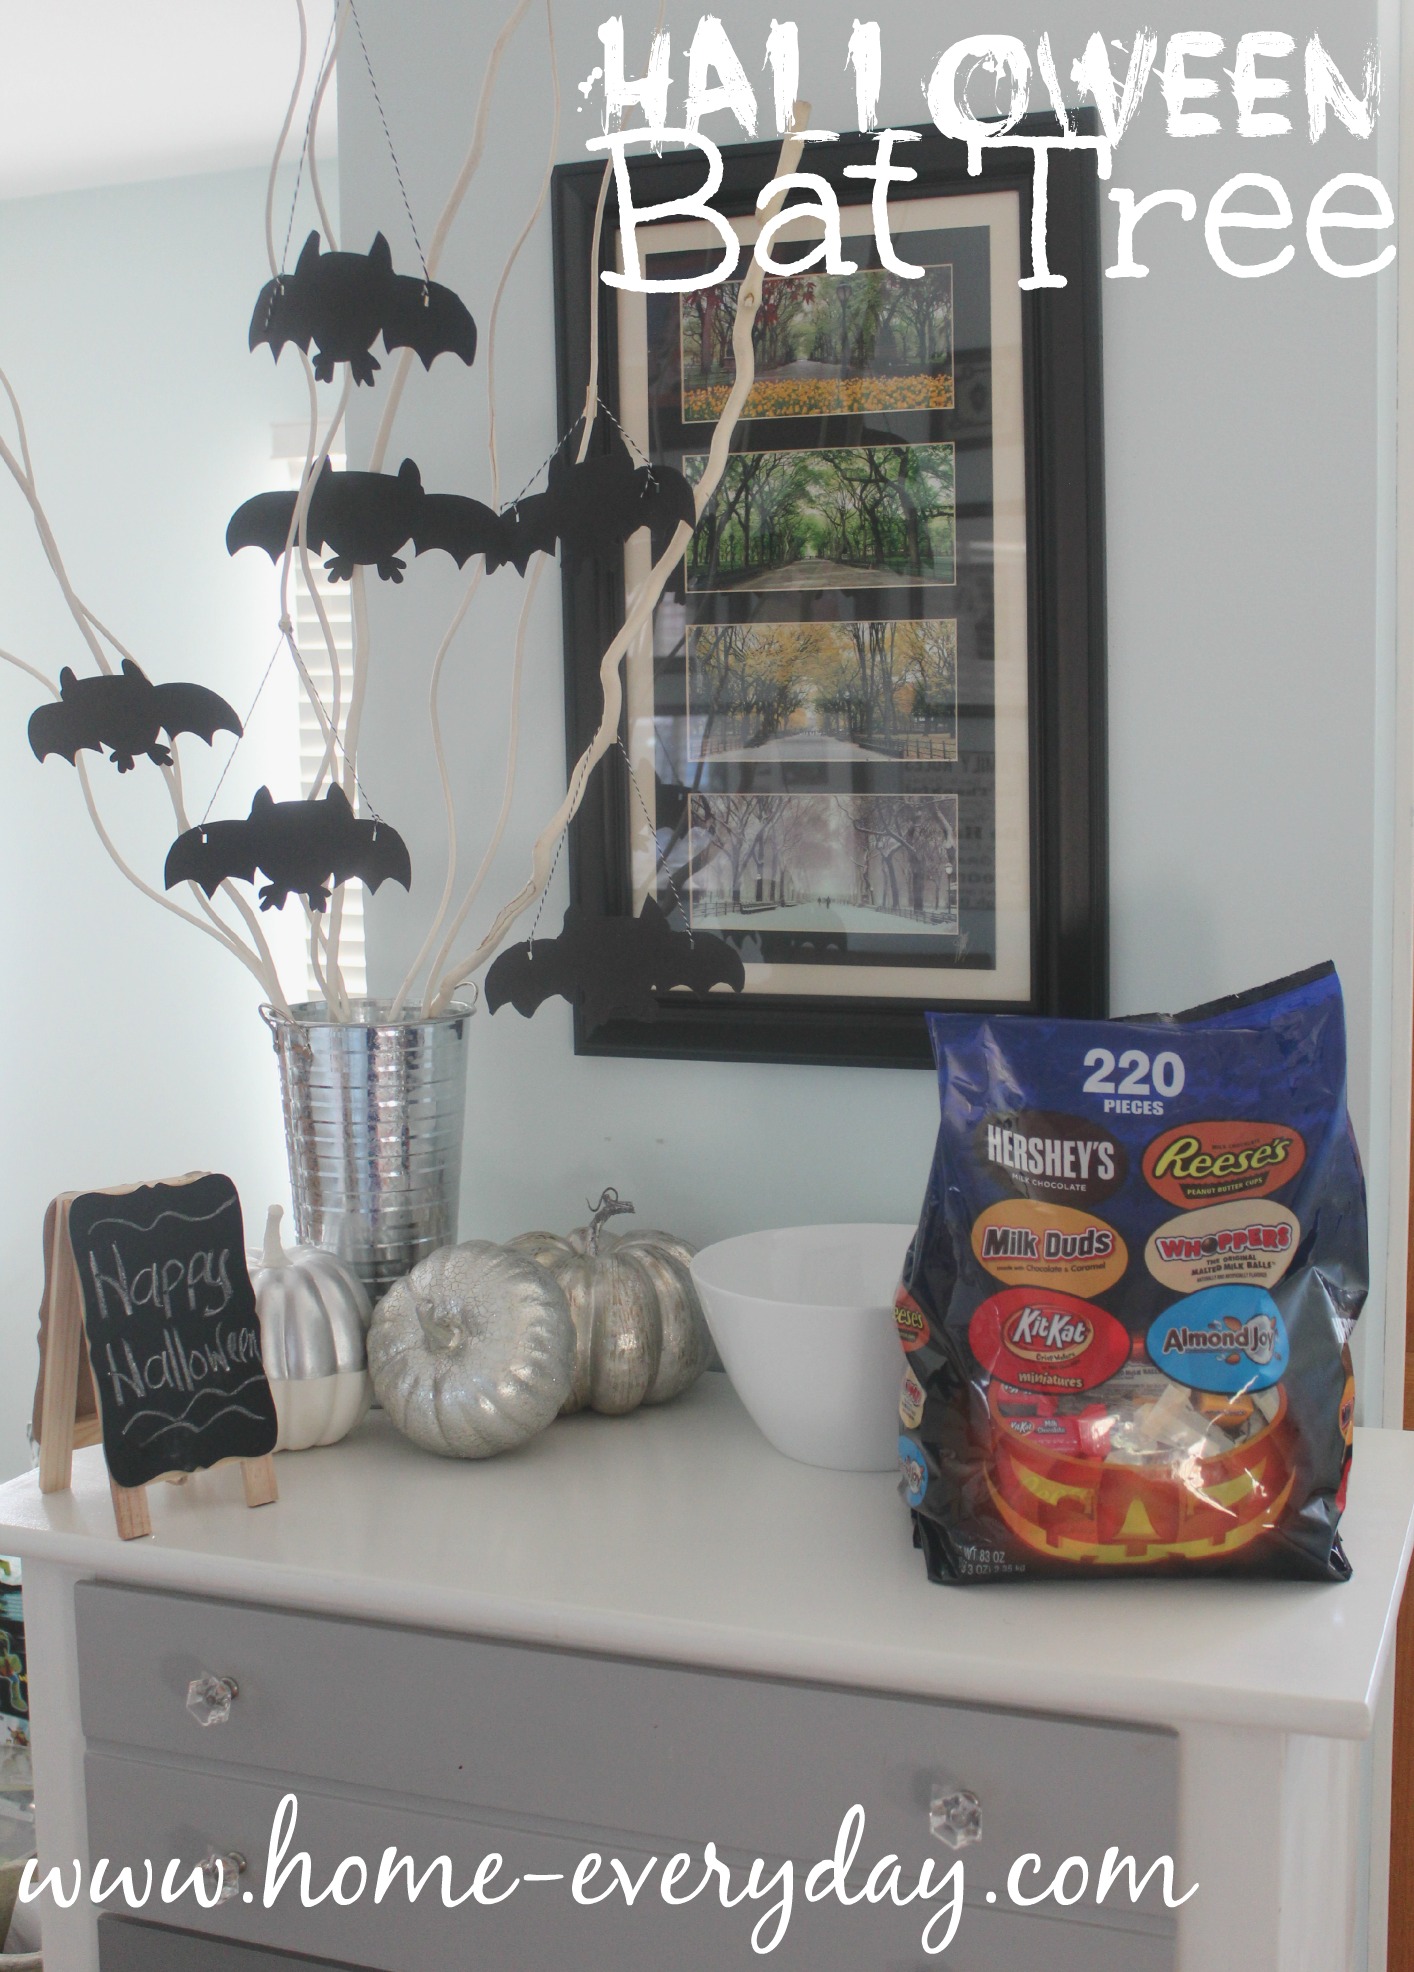
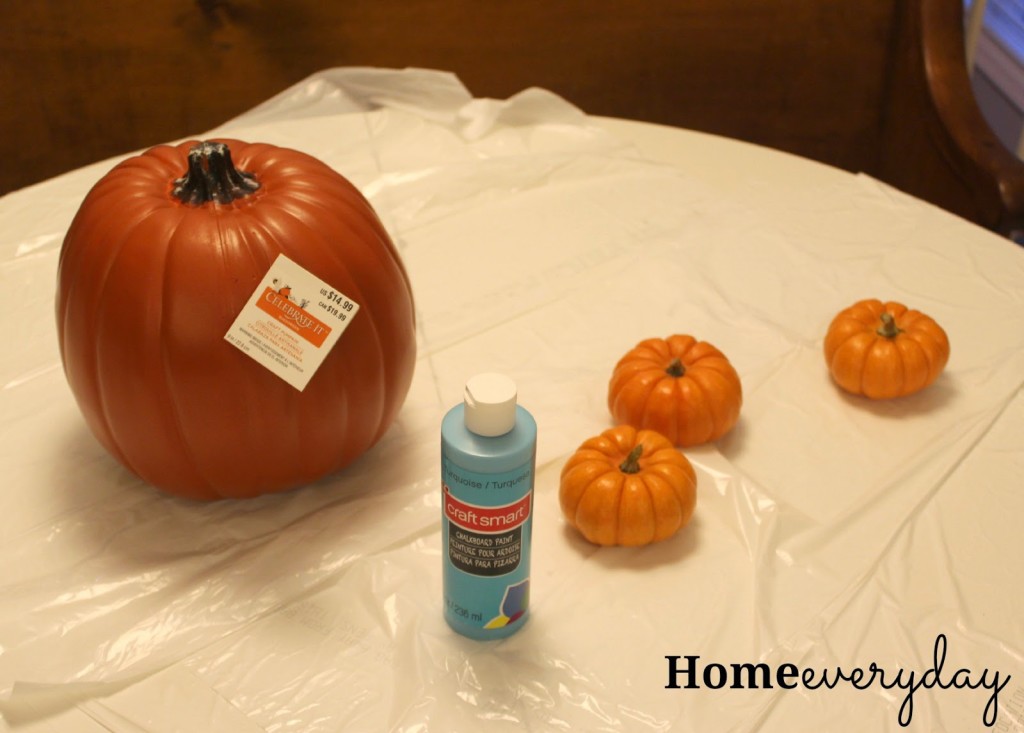
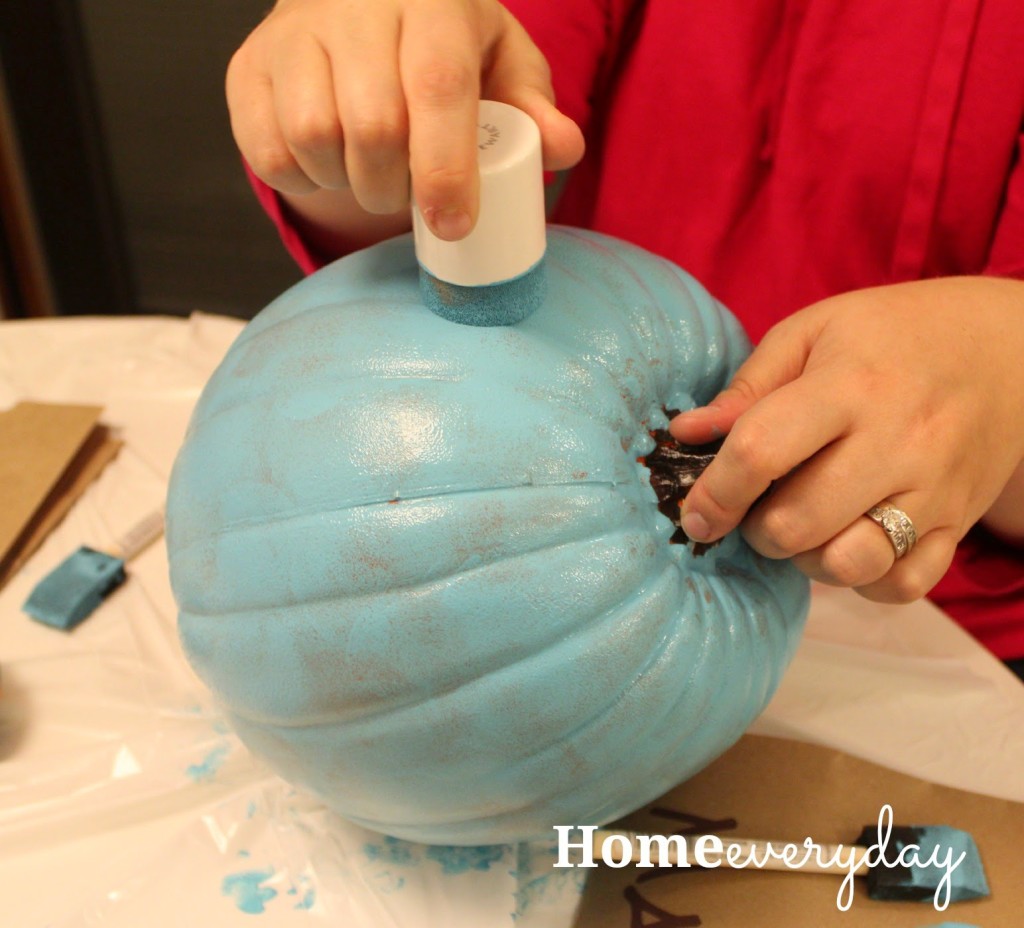
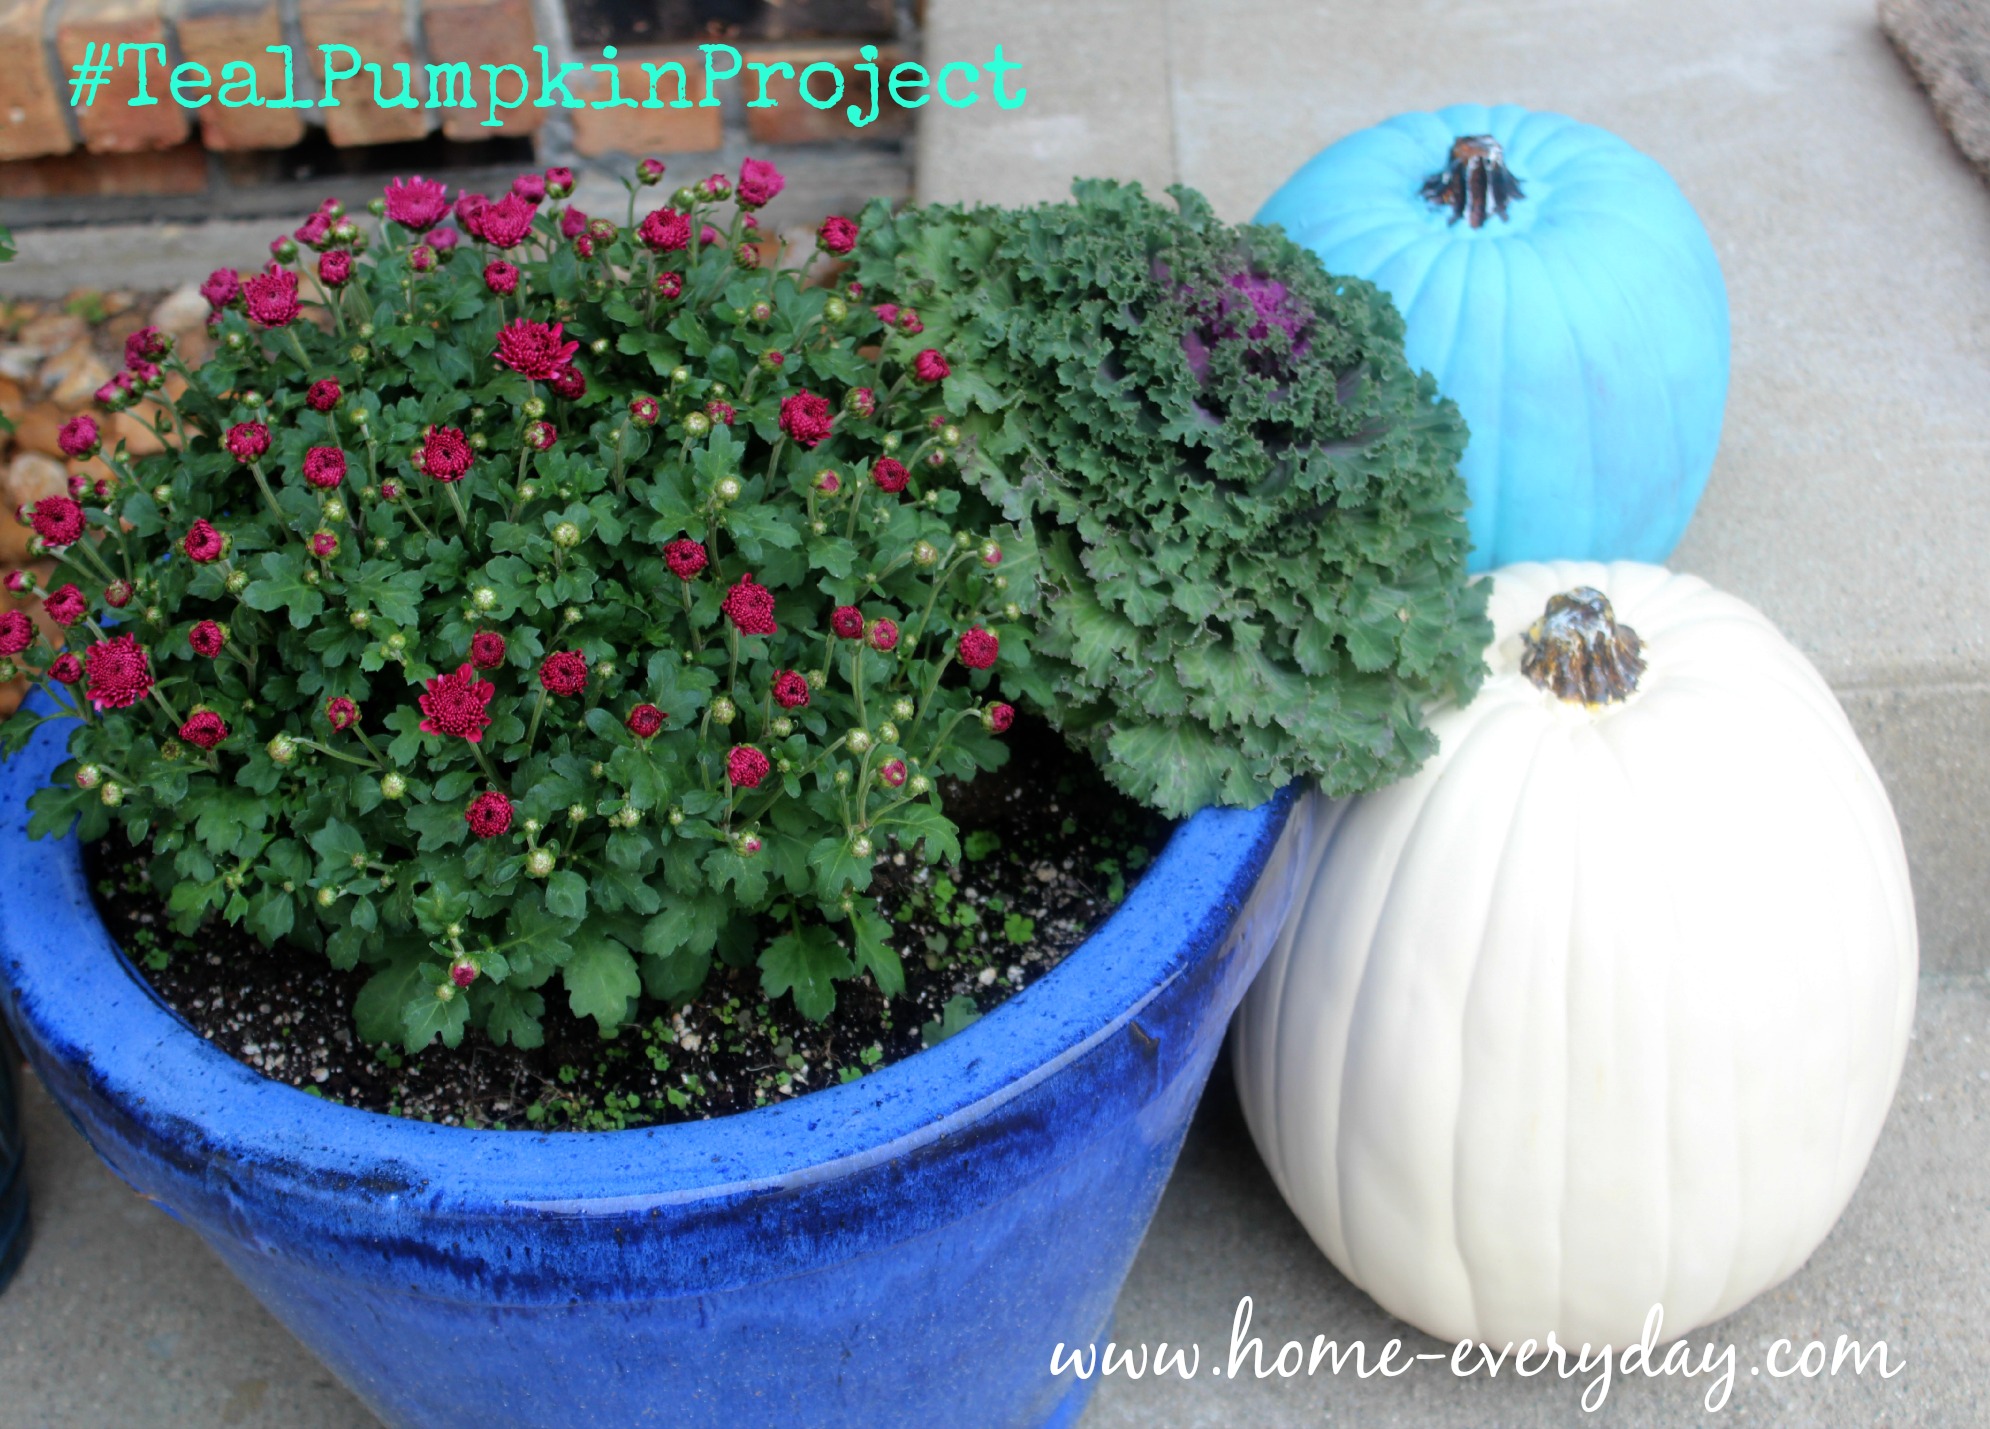
In addition to potting some mums that were on sale at Home Depot and hanging the last of my fall decor, it was time for us to put out our Teal Pumpkin. This is a tradition my family and I began last year (you can read about it here), with some inspiration from the awesome people at FARE (Food Allergy Research & Education).

Teal Pumpkin Project 15-3

For those that regularly follow, Home Everyday, you know all about my kids food allergies. But did you know (according to FARE).

  • About 15 million people in the United States have food allergies.
  • About 1 in 13 kids in the United States as a moderate to severe food allergy. (that’s about 2 per classroom)
  • Every 3 minutes a person is sent to the Emergency Room due to an allergic reaction.
  • A reaction can be mild or extremely severe and even fatal. This life threatening reaction is known as anaphylaxis.
  • Many allergies are not outgrown over time, peanuts, tree nuts, finned fish, and shellfish allergies often tend to be life long allergies causing severe reactions.
  • A food allergy can develop at any time.
  • According to the CDC, between the years of 1997 and 2011 food allergies in children increased by 50%

While my kids have food allergies, they are just like any other kids. They go to school, play sports, go to events, and restaurants. All of these activities just require a little extra care and planning. For the most part, the people we associate with are extremely helpful and accommodating. Also, while my kids have been educated from very early on to read packages to look for possible allergens, ask a trusted adult what is in a dish before eating it, come find me at a party, or when in doubt refrain from eating a treat, they are also still children who are learning how to deal with their allergies.

In The Moment 1

This is why Halloween, for a Mom of allergy kids, is extremely stressful. While my kids are planning out the final details of their costumes, I am wondering how to navigate a through a day that is so centered on candy. Who will we donate our candy to after Halloween? Can I call every candy manufacturer between now and Halloween and find out what candies ARE safe? Should we go trick or treating or a just have a Halloween party instead?

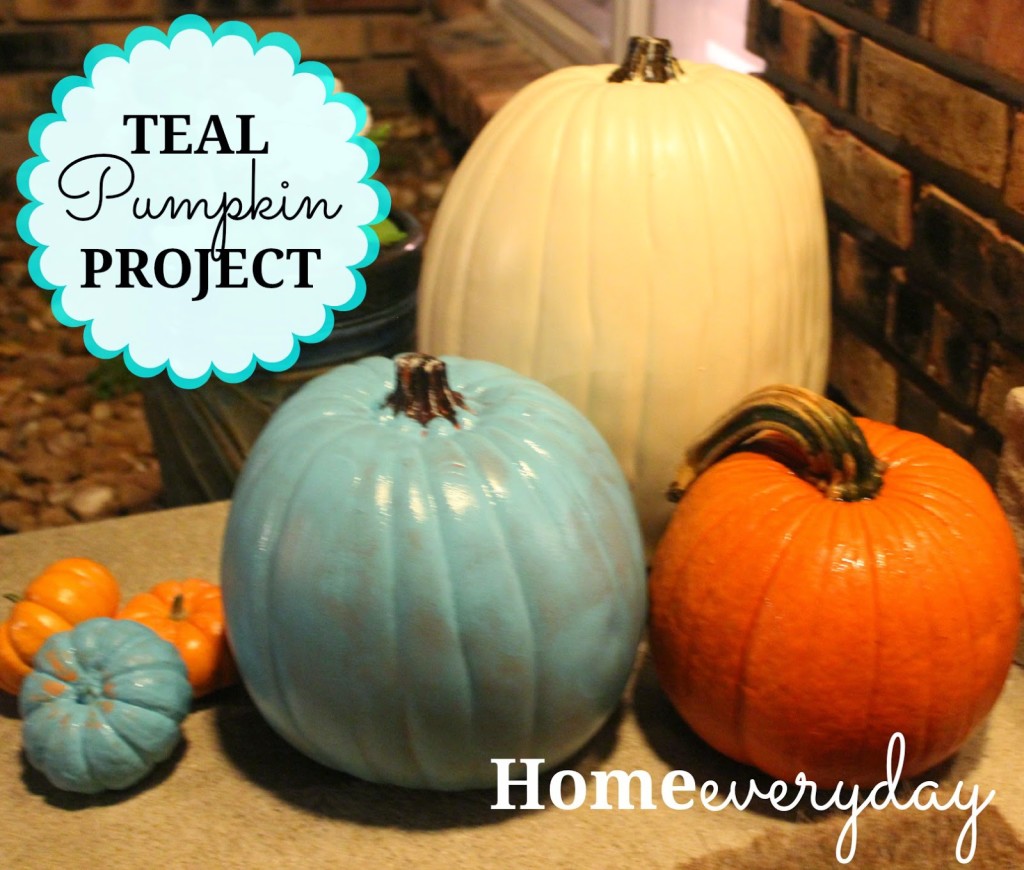
When I found out about the #TealPumpkinProject through FARE, I was so excited to participate. This campaign was designed not only to bring awareness to food allergies, but also allow children who have food allergies to participate a little more fully in the Halloween traditions that we are so used to.

When you knock on the door or ring the doorbell of a house with a Teal Pumpkin (teal is the color of FARE) this tells the trick or treater that this house is offering glow sticks, stickers, pencils, bubbles, or some other Halloween trinket other than food. For the kids with food allergies, this is so exciting! My kids have always trick or treated in the past, and we would often donate our candy or share with family and friends after the holiday was over. Now, the kids have a small memento or trinket they can play with from their night of trick or treating with friends.

Teal Pumpkin Project 15-1

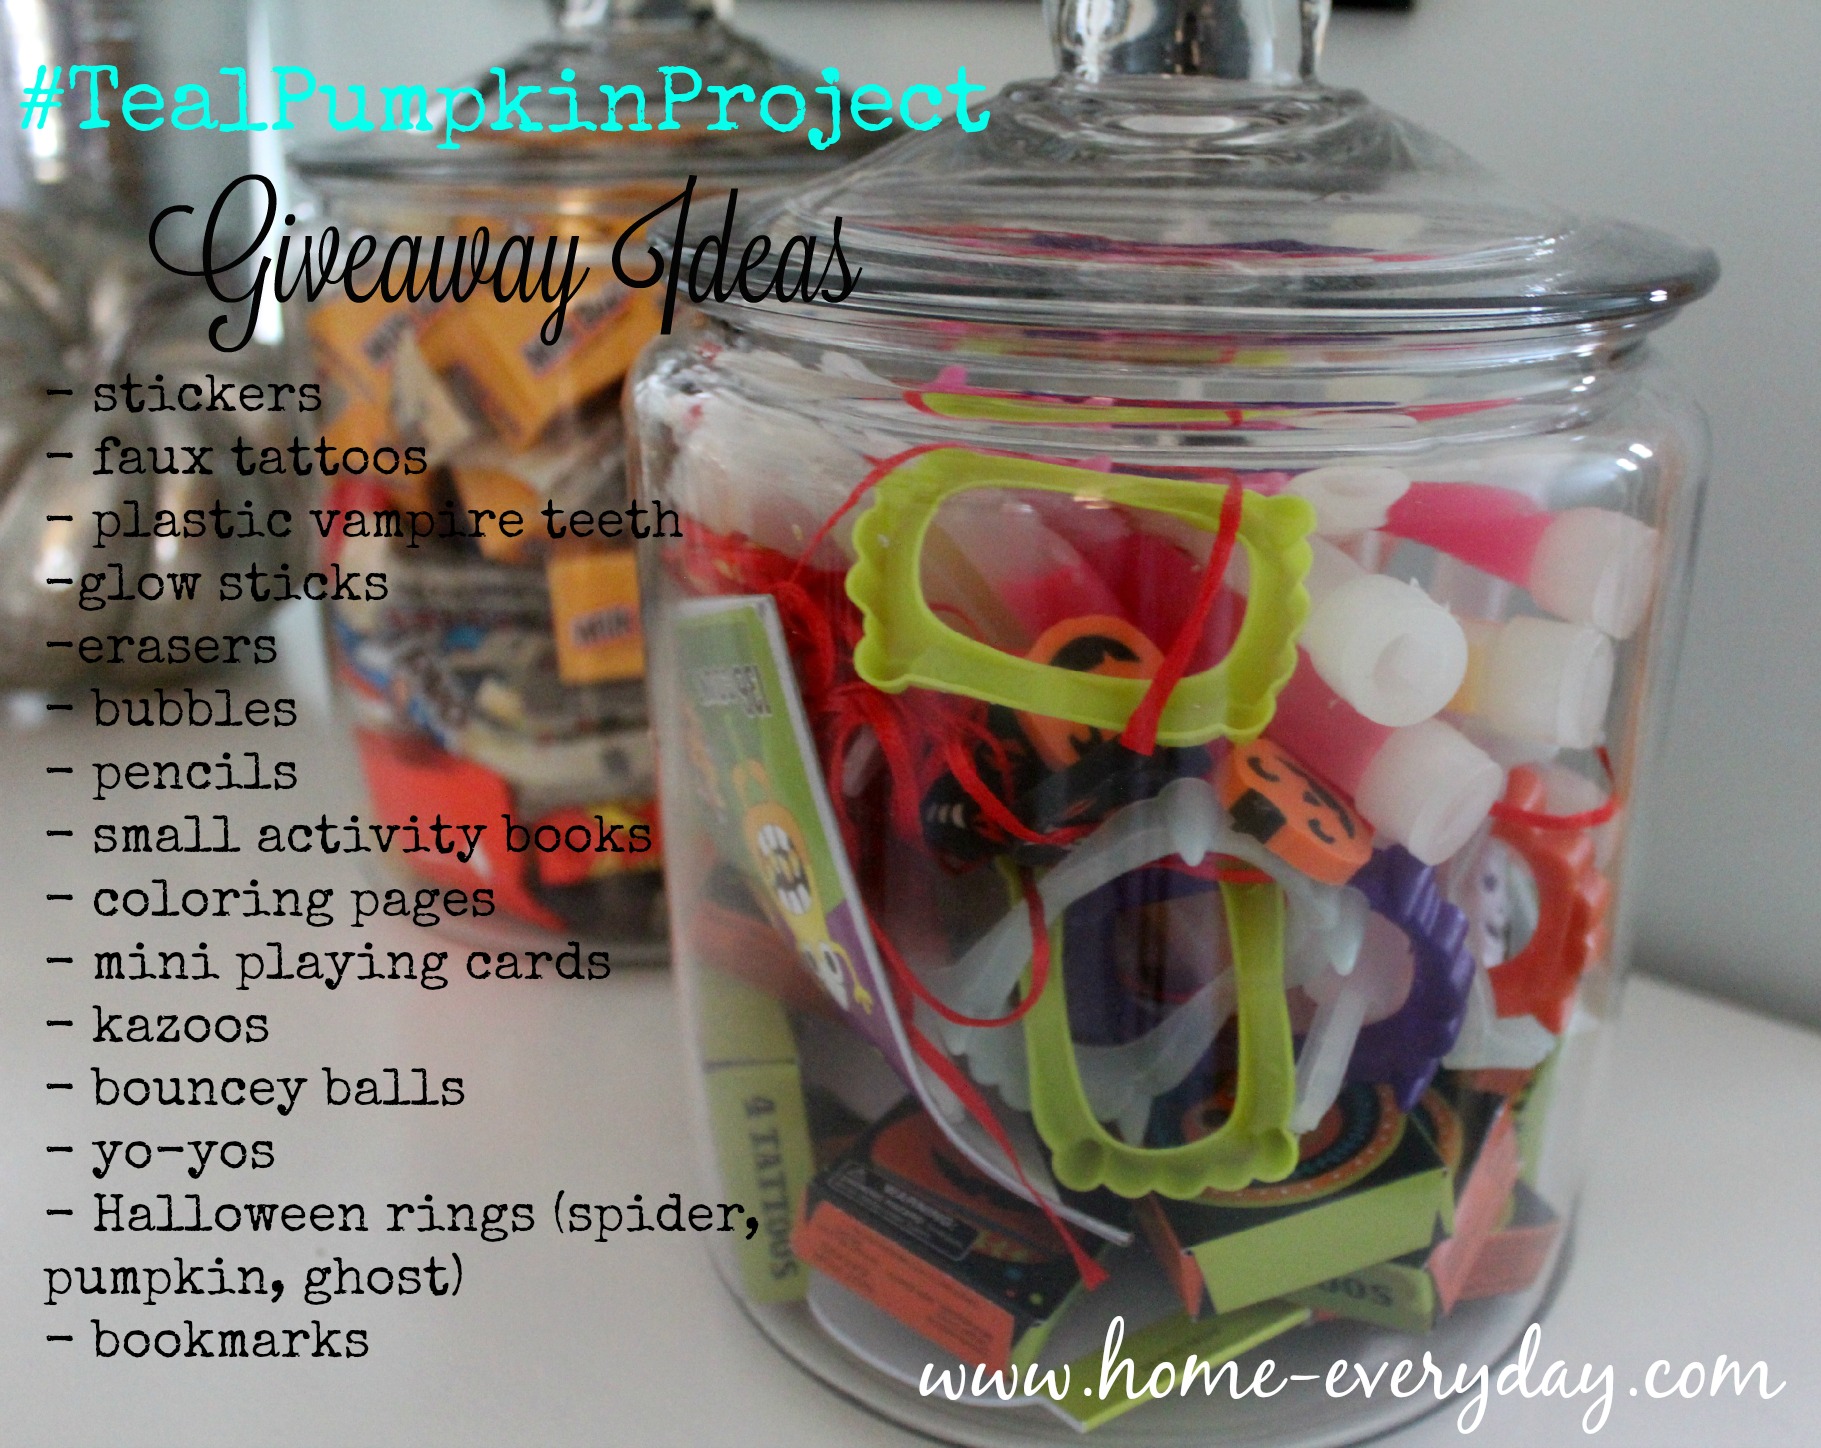
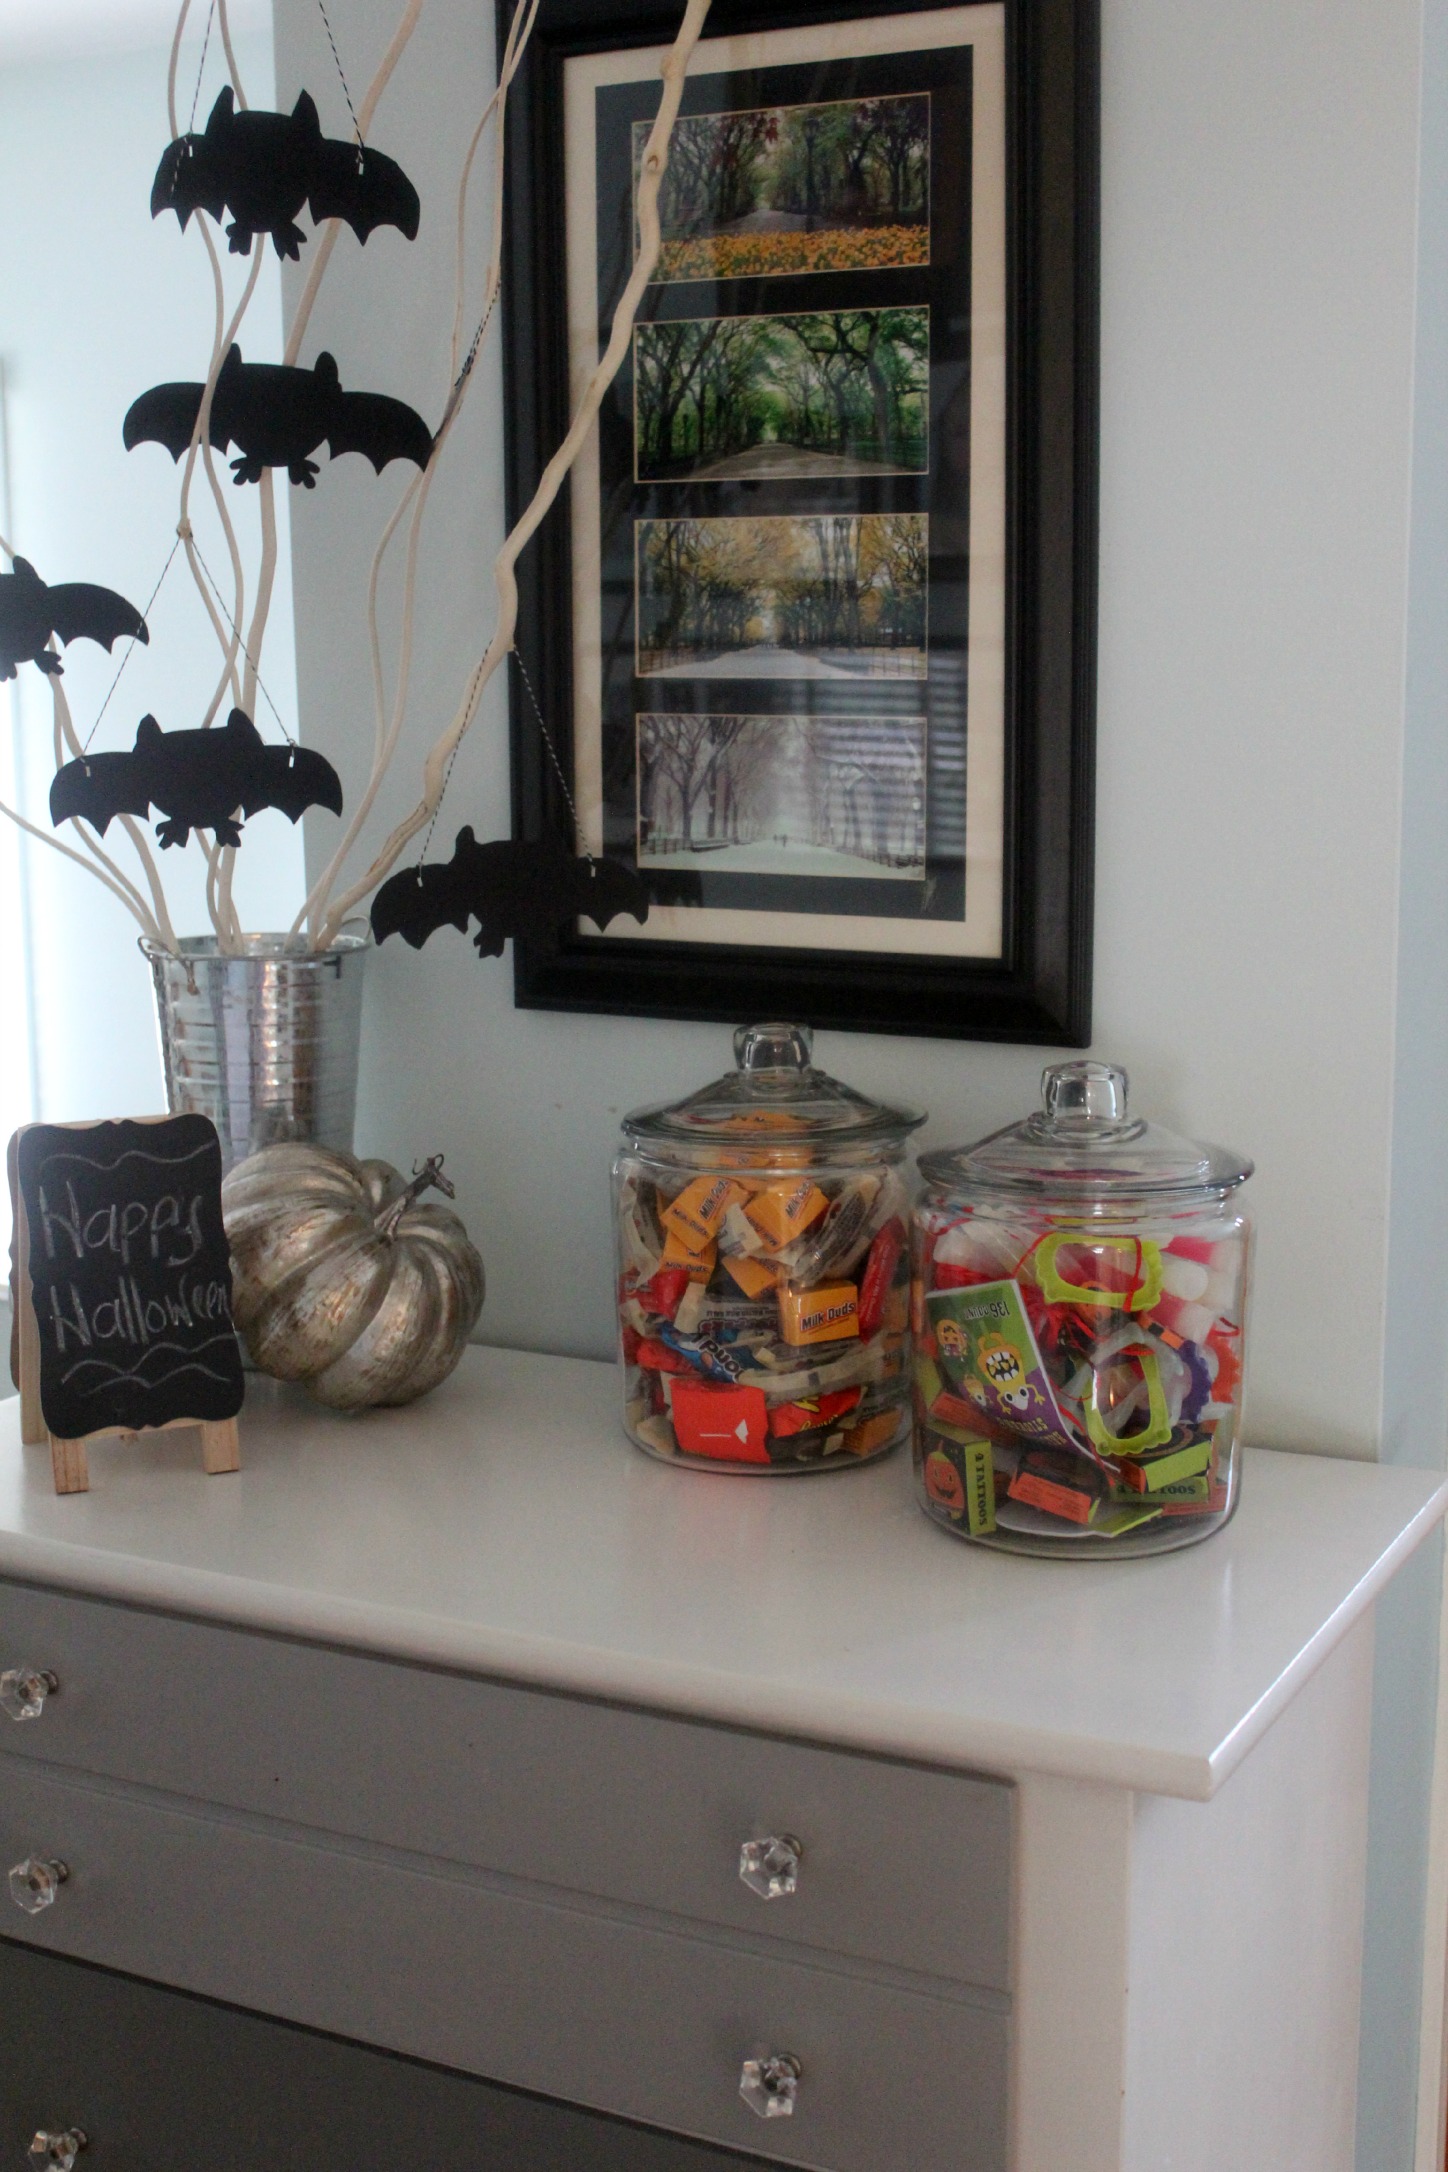
This year, I have a jar of candy for those that can have candy, and a jar filled with Halloween stickers and glow sticks.

Teal Pumpkin Project 15-4

And of course, I have my Teal Pumpkin in front of my door, again, this year. For not only my kids, but for all kids to have a happier healthier Halloween.

Teal Pumpkin Project 15-3

For more information about the #TealPumpkinProject, visit the FARE website. You can find ideas for non food treats, free printables, and all kinds of awesome information!

DIY Halloween Bat Tree

This shop has been compensated by Collective Bias and its advertiser. All opinions are mine alone. #TrickOrSweet #CollectiveBias

As soon as the first day of Autumn strikes, I make the kids finalize Halloween costume decisions, I start to hang a few spooky decorations, and I buy some candy. I try and rationalize it by telling myself that it is because I want to make sure I have enough for all of the Trick or Treaters on Halloween and as my kids cannot partake in the candy part because of their allergies, I am always afraid I will run out. However, we all know it is for me.

Also, there is nothing like a giant bowl of Hershey’s Candy by the front door to let everyone know Halloween is on the way. The kids and I adore sharing treats with anyone who stops by before the big day to get everyone in the mood for Halloween. With Hershey’s giant bags there is enough candy to get our  friends and family in the Halloween spirit before the big day, and plenty left for Halloween too. Just take a look at all the kinds you can buy HERE.

Hershey 10

This year, I decided to decorate the dresser that sits near our front entryway with a giant bowl of candy filled with the Hershey’s Trunk or Treat Variety Bag found at Walmart. These awesome variety bags can be found right in the seasonal holiday section, where all the Halloween accouterment resides.

Hershey STORE SHOT

While at Walmart, I found some awesome white sticks in the floral department, and that gave me the perfect idea for a great entryway decoration. With some supplies I had on hand, I created some flying bats to greet us and our guests every time we enter the house. They are cute, simple, and festive and look adorable next to our giant bowl of Hershey’s Candy that we are sharing with our friends and family.

To make these Flying Bats you will need:

black paper

string

hole punch

scissors

pencil

bat silhouette (you can print one from the internet and cut out)

floral sticks

a vase or bucket

tape

Hershey 3

Trace the bat silhouette onto the black paper.

Hershey 4

Following the pattern, you traced cut the bat out.

Hershey 5

Using the hole punch punch two holes in the wings of the bat.

Hershey 6

Tie string through the holes.

Hershey 7

Put the floral sticks in bucket.

Hershey Sticks

Hang bats from sticks like ornaments (tape sometimes helps keep them in place).

Hershey 8

For a quicker version of my directions, here is a video.

Head out and buy your giant bag of Hershey’s Candy and Walmart (you can check decide right here), then decorate your entryway to greet your Trick or Treaters (or yourself)!


Free Friday: Teal Pumpkin Project

If you love someone with food allergies as I do, you might also experience the same anxiety with holidays, birthdays, occasions, and other special events. I have a confession to make. When my little ones were old enough to start reaching the tops of tables, we took a hiatus from such occasions for awhile (hangs head in shame). I hosted a lot of things, but was afraid to attend functions at other people’s houses (except family) because I was so afraid of what my kids might accidentally consume.

We have talked with our kids about how knowledge is power, and in their case knowledge means safety, but there is only so much a 2 year old can absorb. The point being: the village surrounding my kids had to be on board with helping to keep them safe, because at one point my kids were just too little to help themselves.


Now, that they are older, I am a little better about letting them out into the big wide world because they are starting to become more knowledgable about protecting themselves when it comes to what they can eat. My oldest can read labels, my middle know which adults to ask, and everyone knows to refrain from having a snack unless they are absolutely sure it is safe for them to eat when they are out and about.

However, we are coming on the scariest time of year, and it has nothing to do with terrifying costumes or spooky decorations. Halloween for people with food allergies and those that love them, can be more frightening than The Ring (seriously that movie is THE WORST).

Halloween for allergy kids often meant Trick or Treating and giving all your candy away. Attending parties and not being able to eat anything there. Bringing your own special treats to functions. It even meant being a social outcast at some schools because of certain allergy policies.

That is why when I found out about the Teal Pumpkin Project being sponsored by Food Allergy Research and Education, I was so excited! This is a chance for every single kid to enjoy Halloween. FARE is being fair. (Plus, anytime we get to do a craft project, I’m a happy camper).


The Teal Pumpkin Project operates as follows. You can download a sign here OR paint a pumpkin teal. Place the sign or pumpkin in a visible place on Halloween night. This will indicate that not only do you have traditional Halloween treats for Trick or Treaters, but you have a NON FOOD treat to hand out for allergy kids too. Some sample treats include: stickers, faux tattoos, mini bottles of bubbles, wrist bands, pencils, erasers, tiny yo-yos, super balls, or any other kind of small toy or treat you might put in a treat bag for a birthday party.

When I told the kids about this, they were so excited, and we got to painting right away.


We decided to paint one big pumpkin (this is a faux pumpkin because I thought it would be nice to have from year to year) and the kids each painted their own small one (these are real).


I found acrylic teal paint at Michael’s, and we used sponge brushes to paint. Keep in mind because of the pumpkins sheen, it is actually easier to dab the paint on rather than brush it on.


While painting we thought of good ideas for treats to hand out on Halloween night.


So, what say you? Instead of buying 5 bags of candy, will you buy 4 bags of candy and one bag of non food treats? Will you put out a sign or a teal pumpkin? Will you make Halloween a fun for everyone?

If you want to know more about the Teal Pumpkin Project you can read my post about it on Chicago ParentThis article in the where I was interviewed for Chicago Tribune. Or here, here, or here.

If you like this post and would like to read more about all things domestic with a touch of humor, become a Home Everyday follower! For blog updates or to see other places I write such as ChicagoNow or Chicago Parent follow Home Everyday on FacebookTwitter, and Pinterest.


Spooky Silhouette Curtains Tutorial: A JoAnn Fabric Celebrate the Season Craft

I have been compensated for this project by JoAnn Fabrics, but all thoughts and opinions are my own.


When JoAnn Fabrics asked if I would like to participate in their Celebrate the Season Campaign, I jumped on this opportunity in a heart beat. I have always been a JoAnn shopper when it comes to crafts and DIY projects around the house.

For Halloween, the theme is Spooky Spaces. Nothing says spooky to me more than some creepy night time forest creatures. With all the windows we have in the front of our house I thought it would be spooky to have some creepy creature silhouettes hiding in the windows.


While I could have cut some shapes or painted some silhouettes onto some plain white paper, I really wanted these decorations to last from year to year. I decided to make them out of fabric and then I can hang them every year for Halloween as well as give them a quick wash in the washing machine if they happen to get a little dusty. We all know, that I don’t sew, so I had to think of another solution. When I was walking around JoAnn, I found sheets of iron on fabric adhesive. PERFECT!

Supplies:
White Muslin Fabric
Black Muslin Fabric
EZ Steam Fusible Web Adhesive Sheets
Stencils or Silhouette Pictures


Measure, then Measure Again (and then Maybe one more time for luck): I carefully measured each of the windows. In my case, I wanted to make sure that the white fabric completely covered the glass portion of the window. I, then, cut all my white fabric to size.

Create Some Stencils: While I can do some things free hand, I thought it would be better to trace out the creatures. I searched via Google Images and found a bat, a crow, an owl and a spider. I enlarged the photos and printed them on card stock, and then carefully cut them out. (The tree was too large to print, so I did draw that myself).


Stencil printed and cut out on card stock

Trace and Cut: Using my stencil, I traced my spooky creatures onto the paper side of the EZ Steam sheets in PENCIL. I did not want there to be any chance of marker on the fabric or blending through onto anything, so I thought that pencil was the safest way to go. (Note: Since I was doing silhouettes I did not really worry to much about which way they were facing, but keep in mind you want to trace your stencils right side down so that when you iron them on your fabric they are facing the correct way.) Next, I peeled the wax like backing off the EZ Steam sheets, and carefully pressed them onto my black fabric. Using the tracings as a guide, I carefully cut out the shapes.


Adhesive webbing with traced creatures affixed black fabric.

Heat it Up: Once all the shapes were cut out of the black fabric with webbing still affixed, I carefully arranged the shapes onto the white fabric. Once I was happy with their placement, I began ironing. I laid a cloth napkin over the black fabric cut out, and using a medium setting on my iron, I pressed the creature onto the white fabric for a few seconds. (Note: Different brands adhesive webbing have different instructions, please make sure to read carefully.)


Hang Them Up: There are several ways to hang these curtains in the window, but because the fabric is so light, I just used a bit of duct tape in the corners of the windows to hold the fabric in place.


Here are my creepy creatures hanging in the window. I think they are pretty spooky, and I am thrilled that I can use the decorations from year to year.

To see this craft again or more spooky spaces from other awesome bloggers, check out the JoAnn Fabric Creativity Made Simple site HERE!

If you like this post and would like to read more about DIY, gardening, cooking, baking or all other things domestic, become a Home Everyday follower! For blog updates or to see other places I write follow Home Everyday on Facebook here.

Follow on Bloglovin

Linking up at Hope Studios for Tutorial Tuesday.


Don’t forget, you can check out more creative inspiration here:  http://bit.ly/creativitymadesimple

Happy Halloween: Pumpkin Carving

Pumpkin carving is one of my favorite Halloween traditions. This year was especially fun for four reasons.

First of all, I found this awesome trick to carving a pumpkin on Pinterest.


Now, no one will burn their hands lighting the jack o lantern this year.

Secondly, the kids were actually more help than they had been in years past. They had so much fun scooping.


Next, it was my favorite part. After all that scooping, it was time for break… a Kit Kat break to be exact.
Lastly, this year I roasted pumpkin seeds. The recipe is pretty simple.
Preheat oven to 300 degrees. Take about 1 to 1 1/2 cups of pumpkin seeds rinsed and patted dry. Then coat with a few tablespoons of melted butter and few pinches of salt. Roast in the oven for about 45 minutes. They are a perfect snack.
There were quite a few opinions on carving style. George said, “I want the jack o lantern to say, ‘grrrrrrrr!'” I think Brian did a pretty good job.


I’m not sure it says “Grrrrr!” But I think it is pretty spooky! Happy Halloween!!


Passing the Torch: Halloween Props

Back in July, the boys were adamant that they be Olympians for Halloween. To be honest, I thought it might be something they would forget about, but when the discussion came up again about a month ago, they remembered that they wanted to be just like the Olympians they saw on TV. I’m also glad they didn’t necessarily mean Michael Phelps, as the weather here is too cold for speedos.

I was thrilled that they still wanted to be Olympians because I knew that it wouldn’t be a hard costume to put together. Also, I was happy that the costume would include sweats to keep them warm.

My brother and sister in law, sent some official team USA shirts and got them gold medals for their costume. They only thing they needed were some olympic torches. I looked on Pinterest for some inspiration here, here and here. Then, I came up with my own version for my little Olympians.

I found the perfect pack of tissue paper at Target that had some red and metallic gold tissue. My original plan was to use paper towel tubes, but realized those my not be sturdy enough for a night of gripping. So I found these pretend microphones that were only $1. I brought everything home and got to work.


I first very carefully wrapped the microphones with the gold tissue by rolling the microphone and then taping with scotch tape. I left the top open to make room for the flame.

Then, I used two shades of red tissue to make the flame. I carefully taped the tissue to the top of the microphone using some stronger masking tape (sorry for the blurry picture).


This project took about 5 minutes for each one, and cost me a total of $5. The kids have the perfect prop for their Olympian costumes, and are ready for trick or treating!

Here’s one more shot the boys. I don’t know what’s cuter the boys or the torches… ok the boys.


Linking up with the Pinterest Challenge on Young House Love and Serenity Now.

Spoooooooky: Halloween Mantel

Sometimes, more is more. I usually do not subscribe to this methodology as I like clean lines, simple decor, and practicality, but when it comes to Halloween candy… er I mean decor, I cannot get enough.


This year, again, with the help of my niece Allison, I have put together a Halloween Mantel with all of my Halloween candles. These candles have been collected slowly over time. I can usually find them after Halloween at places like Party City and Target for deep discounts. Together with some ceramic decor made by my mother in law, some faux cobwebs, and glittery spiders, I think we came up with a pretty spooky mantel.


When the candles are lit, it creates the perfect spooky atmosphere for watching a spooky movie (which at our house is Monsters Inc.) with some cozy throws and popcorn.

Linking up at Centsational Girl as part of It’s Fall Ya’ll Link Up Series. Come and see everyone’s Autumn Mantels.