Category

DIY

When It’s Gone, It’s Gone: Scott Naturals Tube Free Toilet Paper

This post has been compensated by Collective Bias, Inc. and its advertiser the opinions, information, and stories, are my own.   #CollectiveBias #ScottTubeFree

I used to think the most used room in the house was the kitchen. Now, I would say it is the bathroom. As the kids get older want more independence regarding their own self care and maintenance, the morning routines are getting longer. Teeth brushed, faces washed, and combing hair is taking up more of the morning.

With school starting soon, and all of us needing to get out of the house in a jiffy, we don’t have time for extra steps. Scott 4

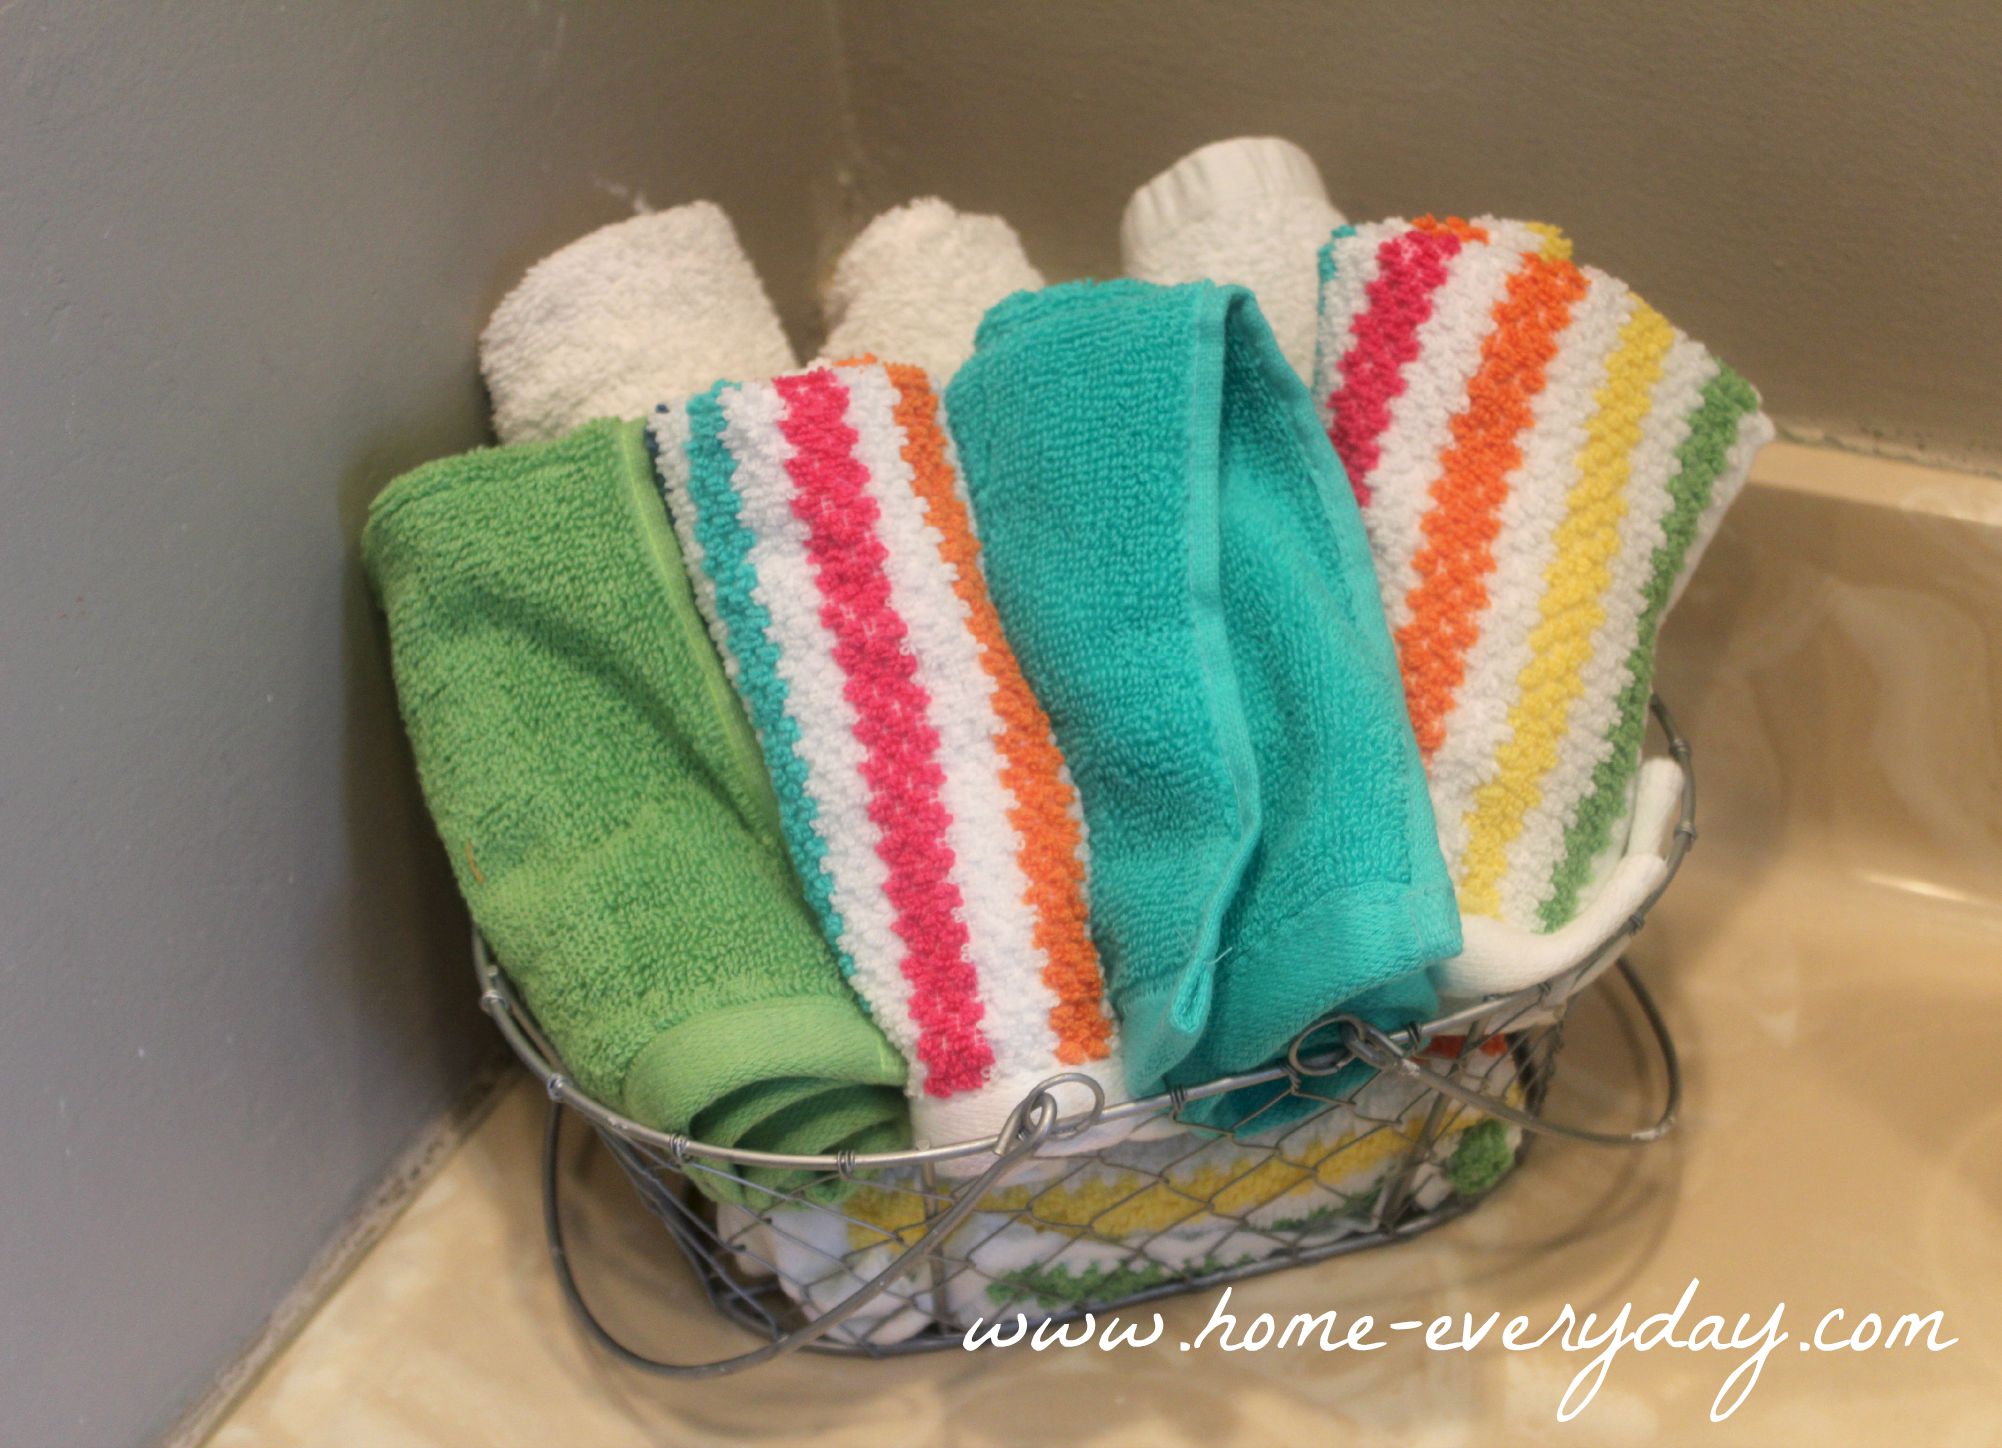
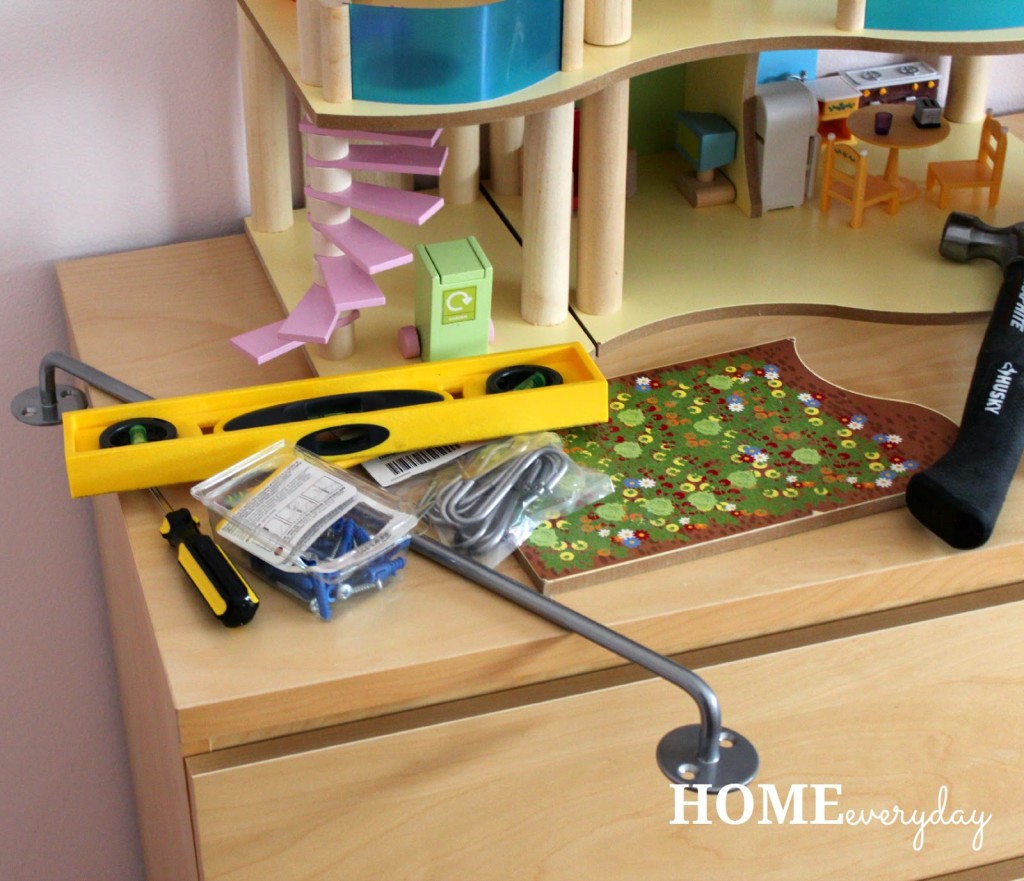
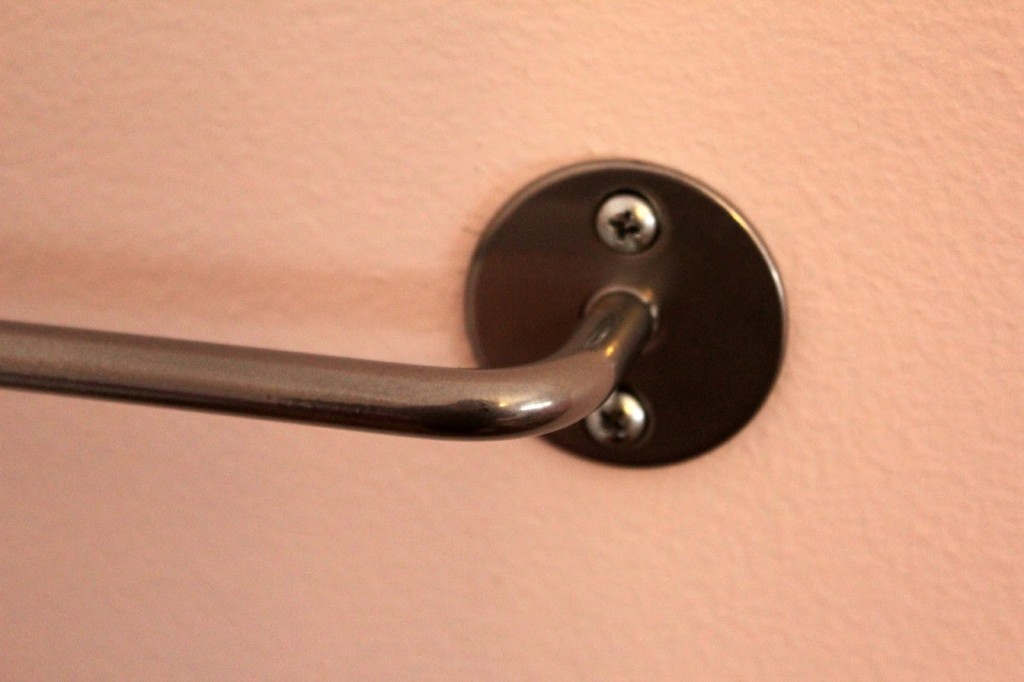
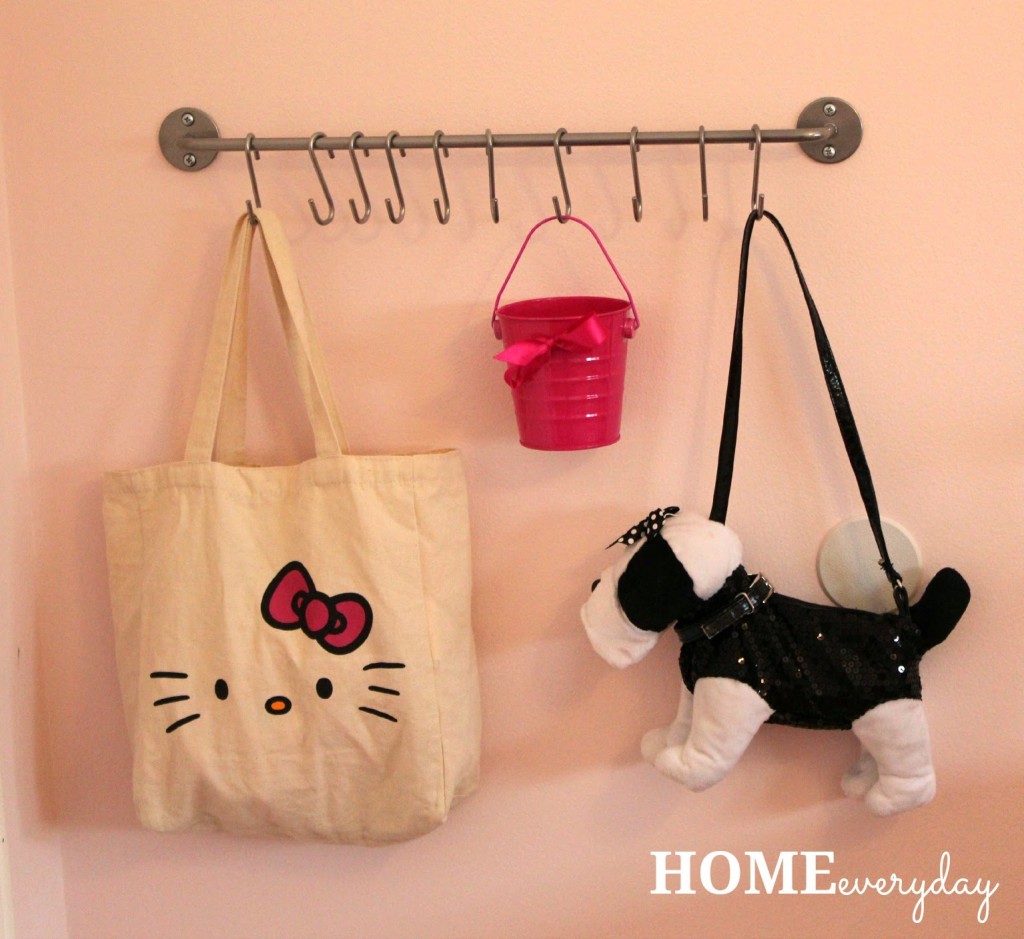
I know with all of us trying to get into the bathroom at the same, it might be a good idea to help make some basic bathroom tasks a bit simpler, quicker, and more user friendly for small people.  Which is why I organized with some items I snagged at Target. I organized their tooth care items in a small drawer using a desk organizer, added this handy under cabinet drawer set for hair care items and extra hand soaps, and moved the washcloths and towels to a place that was easier for them to reach.

Scott 9

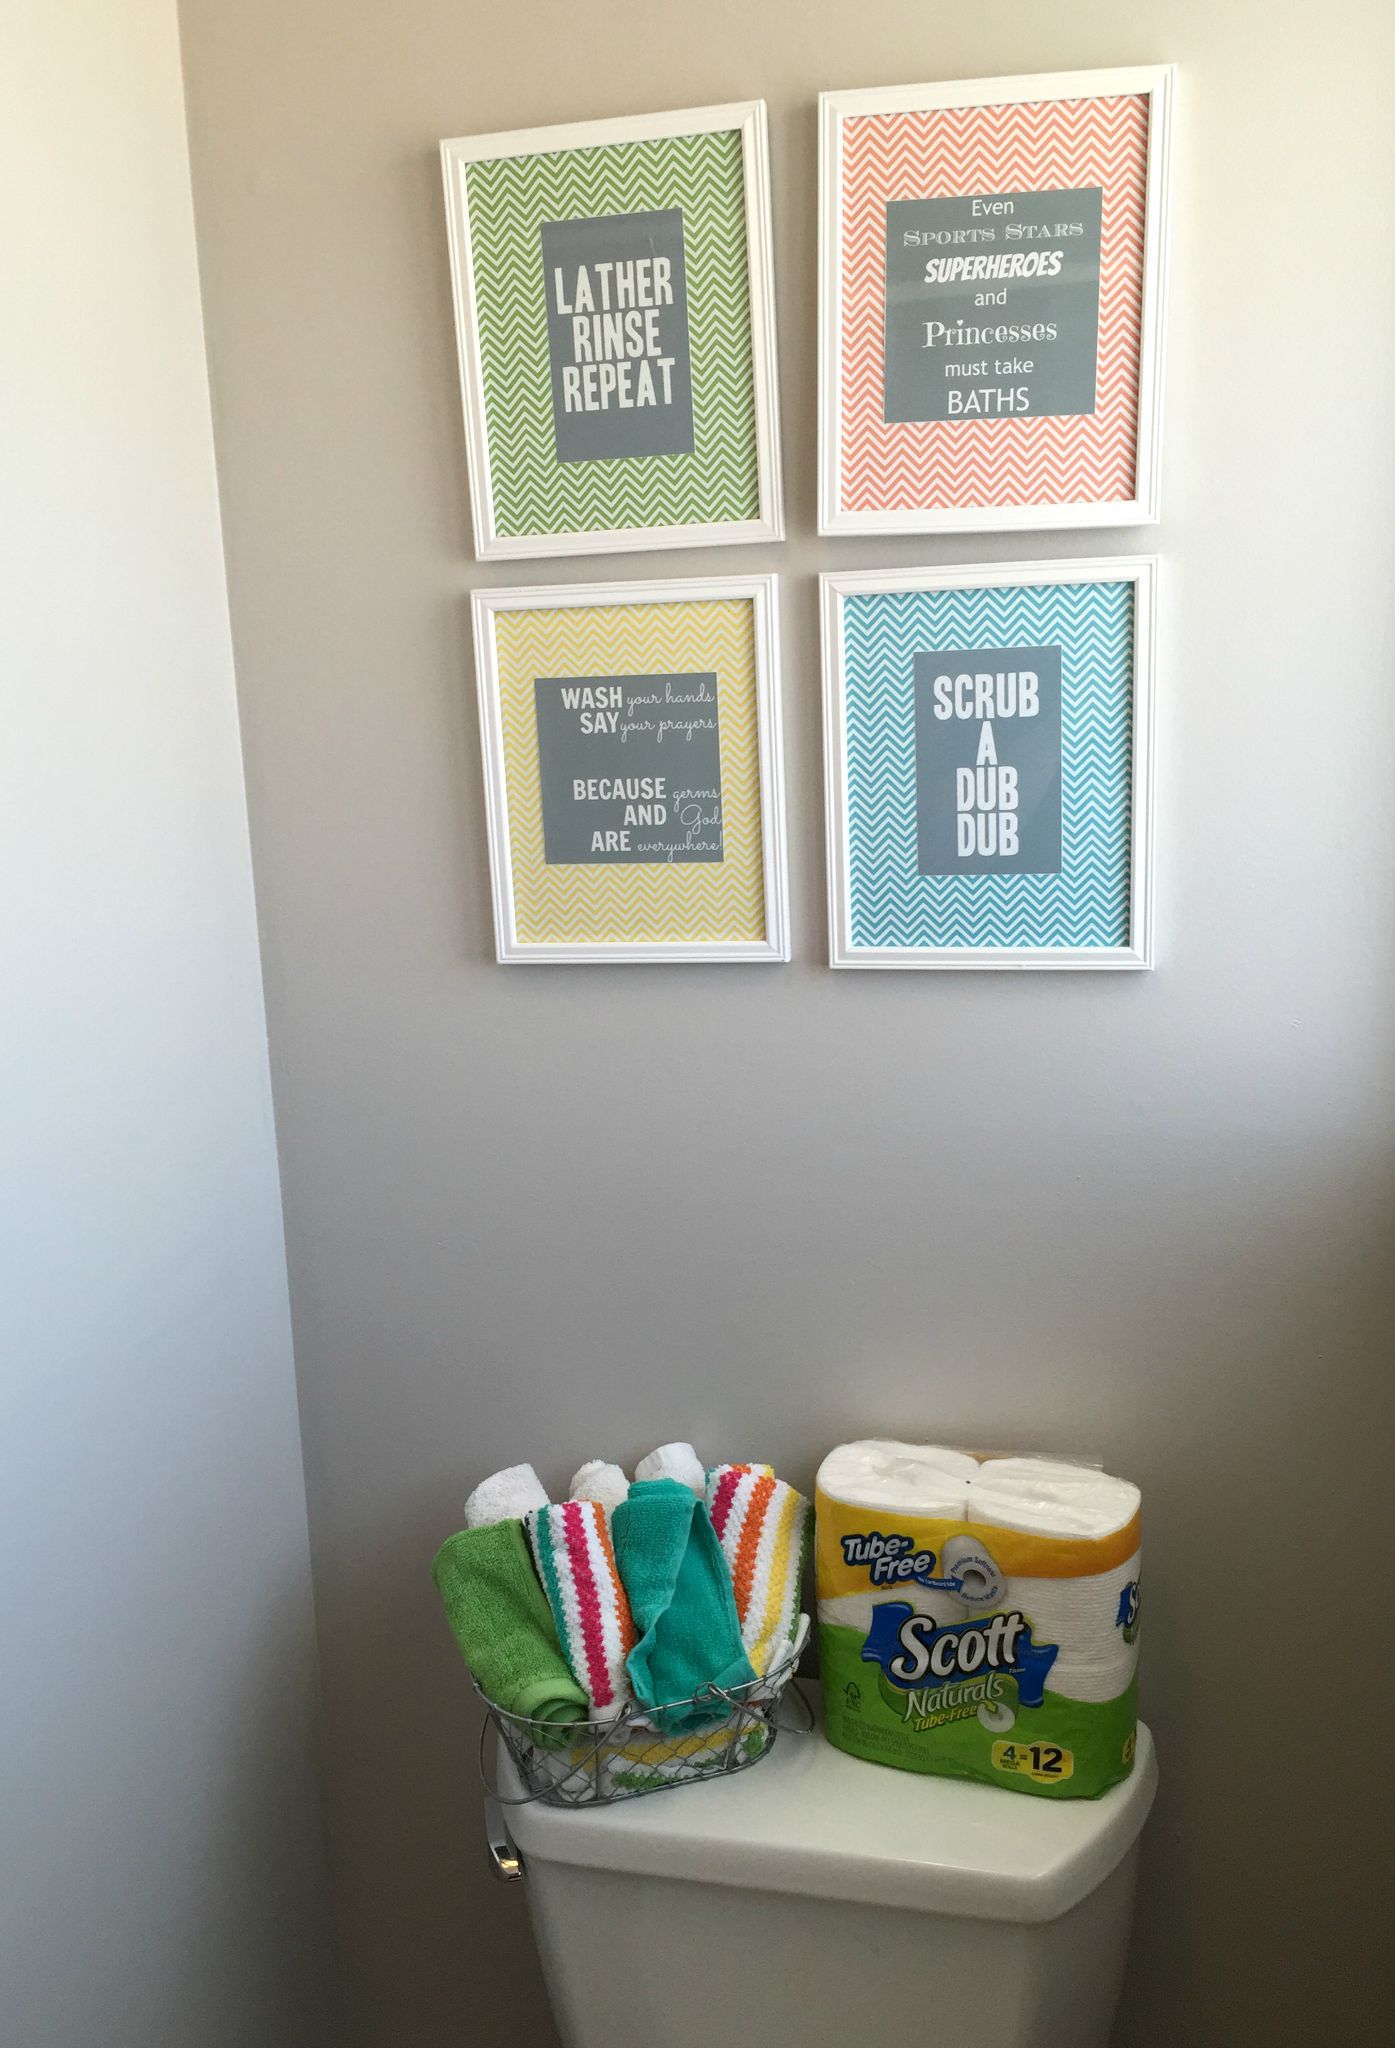
Finally, I have decided to use Scott Naturals Tube Free Toilet Paper.

Scott 8

I was able to find it at Target with everything else on my list.

Scott 7

Not only has Scott created the perfect roll of toilet tissue that eliminates the need for extra waste (who doesn’t want to be kinder to our planet?), but Scott has also eliminated an entire step of having to get rid of the cardboard tube on the roll after each use, which makes my little ones lives a little easier. You can see how there is nothing left in the video below!

When it’s gone, it’s gone! #ScottTubeFree #ad @Target

A video posted by Erin Skibinski (@eskibs) on

No paper tube, no extra waste, and no extra steps. When it’s gone, it’s gone. And let me tell you with three little ones, it is often gone.

Scott 10

Want to try Scott Naturals Tube Free Toilet Paper for yourself? There THIS GREAT OFFER for $2 off a 4 Pack or Larger at your local Target stores. This is almost 50% savings on the 4 pack size! Also, you can look RIGHT HERE to see all of the Scott line of products offered at Target.

What are some quick bathroom organization tricks you have for getting ready for the school year? What ways will you streamline your morning routine? If you’re looking for ways to make things easier and save some money too, don’t forget about THIS GREAT OFFER from Scott Naturals Tube Free Toilet Paper.


Creating Recipes in a Hotel Room: Vacation Parfaits with Quaker

While this shop has been compensated by #CollectiveBias and its advertiser #QuakerTime  all opinions are 100% mine.

We are a Quaker family. I am sure you have seen several of my recipes using Quaker products in the past, like my several variations of oatmeal cookies, or all the different times I have used oatmeal in other recipes. Quaker oatmeal is allergen friendly, and many of their other cereals are too. Also, Brian kind of has a thing for their granola bars.

Quaker Parfaits 11

It should come as no surprise to you, that I brought a selection of Quaker products with us on our family road trip this year. From Instant Oatmeal and Life Cereal for the kids to Chewy Granola Bars for Brian, all of these things have been tasty and healthy snacks to keep us full of energy on our travels. Also, when I run out of any of these things, we have always been able to stop at a Wal-Mart and pick up more along the way.

Quaker Parfaits 3

After being in a hotel for a few days, I started to get a bit creative with snacks. After a particularly long day of sightseeing, Brian and I were exhausted. The kids in true kid fashion, were not. We were planning on a evening swim before dinner to perhaps wear them out a bit, but I needed a snack with a little more oomph. So, with some Quaker Chewy Granola Bars, and some other ingredients I had in the hotel room, I made an healthy treat to help Brian and I keep up with our energetic kids.

Quaker Parfaits 6

I made the perfect Vacation Parfaits, and you can make them too.

Quaker Parfaits 10


I just layered up some yogurt, berries, and then crumbled my favorite flavor of Quaker Chewy Granola Bars (Chocolate Chunk) on top. And voila, we were able to conquer the pool with three little ones.

Quaker Parfaits 8

I was so happy that I was able to enjoy this awesome snack. Even though I am still in vacation mode, there is a little part of my brain that is thinking ahead to school starting and all the great things I can whip up with Quaker for my hungry kids. CLICK HERE and use this link to as a fabulous resource for some awesome back to school treats. For more information about Quaker and to stay up to date on all things delicious check out Quaker on TWITTER of FACEBOOK.

Have you ever had to do any cooking or assembling in a hotel on vacation? What creative idea did you come up with?


DIY Glitter Converse All Stars or There’s No Place Like Home

When it comes to my wardrobe there are a few staples for which I always rely. A-line dresses, statement necklaces, a good pair of jeans, brightly colored pants, a few nice blouses, cardigans, and Converse All Stars. I know it seems weird that with my preppy style, I love these shoes so much, but I will find any excuse to wear them. Even a fancy occasion. Like performing in front of hundreds of people.


Photo courtesy of Elizabeth Rago

About a month ago, I had the pleasure of participating in Listen to Your Mother Chicago for the second time (Squeee! Videos will be released soon). This year a portion of the show’s proceeds were given to the Red Pump Project, and while the cast wasn’t required to wear red shoes, I love a theme.

Also, I love crafts.


And glitter.


And I wanted to make a pair for my stage partner, Samantha Schultz.


Photo courtesy of Balee Images

Also, fellow cast mate (and comedian) David Slattery loves All Stars as much as me.


Photo courtesy of Balee Images

However, when you have some butterflies about a performance I find it best to do what makes you comfortable or at home. And nothing says home to me like a good pair of Chuck Taylors on my feet and friends and family by my side.

I have since worn my glittery shoes out and about, and people have asked how they can make their own. Luckily, I took a few pictures on my iPhone of the process.

Supplies:
Converse All Stars
fabric glue
glitter
paint brush
spray clear glaze (I used Dresden gloss I found at JoAnn Fabric)
trash bags


First, protect the area in which you will be working. I used trash bags. Also, remove the shoe laces from the shoes.


Using a small paint brush and working in small areas of the shoe, paint glue on the shoe. Then carefully sprinkle glitter on the shoe where you applied paint.


NOTE: I used a paint brush to spread the glue evenly onto the fabric and to also keep the glue exactly where I wanted it avoiding rubber sides and souls, and metal lace holes. I only did the sides of the shoes, and avoided the tongue as I thought the rubbing of laces would eventually rub the glitter off.


Once I covered the areas I wanted with glitter, making sure to fill any areas that were missing. I let the shoes dry for about 12 hours.

Next, I put plastic bags in the shoes, and took them outside. I also put the All Stars on a brown paper bag. This made them ready for spraying the glaze. This helps to minimize the amount of glitter falls of the shoes.


I sprayed three coats of glaze on the shoes waiting about 30 minutes between coats, and letting the shoes dry outside.

NOTE: It is extremely important to do this step outdoors as the glaze is extremely toxic.


I re-laced the shoes and they were ready for show day.


Here are some photos from the big day, so you can see how they turned out.


Photo courtesy of Elizabeth Rago

So, I am pretty sure that this is what I am going to do to all my Converse now.


If you like this post and would like to read more about all things domestic with a touch of humor, become a Home Everyday follower! For blog updates or to see other places I write such as ChicagoNow or Chicago Parent follow Home Everyday on FacebookTwitter, and Pinterest.

Penny Hockey: A DIY Birthday Surprise

Sometimes creating, or building, or making a gift for a friend is the best way to show how much to care. The kids’ friend, and fellow hockey lover, recently turned 7 and we decided to build him his own Penny Hockey Game Board.


Now, I bet you’re wondering: What is Penny Hockey? (Because I didn’t know either). It is a table top game board similar to a hockey rink with holes (or goals) at either end which you can slide pennies (or pucks). Brian built one when he was in his first junior high shop class. The kids still play with it, and decided to build a larger version for their friend.
This post is long, but by the end you will be able to have an idea of how to build your own Penny Hockey game board. We think we are going to build another soon, but paint it green, with white lines and make it a soccer field.
The first thing we did, we of course go online and look at some photos. We used a few different ideas as a kind of example for how to make it like this one here.
Materials
1/2″ to 3/4″ plywood cut into a 24″ x 16″ rectangle
1″ x 2″ cut into 2 – 24″ chunks and 2 – 16″ chances for rails
Wooden pegs (found at Michael’s, but you could easily cut a thin dowel)
1″ x 1″ cut into 4- 1 1/2″ chunks for feet
Nails
Nail gun (optional)
Screws
White craft paint
Red and blue paint pens
Paint brushes
Stain (optional)
 
The kids helped us do a bit of measuring.
Then, Brian cut the lumber into the desired sizes. This allowed us to begin sanding, painting and staining. Since this is a toy for kids, we wanted to make sure that everything was super smooth to the touch, so we sanded every piece of wood very carefully.
Once that was completed, we started painting the board. I taped the edges to avoid dripping as I had some helpers.
We painted the board with three coats of white craft paint.
Then, carefully measuring and using a photo of a hockey rink, I drew out the regulation lines using red and blue paint pens.
 
NOTE: I did this BEFORE drilling the holes for the pegs (players) and the goals. I thought it would better determine where the pegs and goals would be placed, and would it was easier to paint over a smooth surface rather than over digits created by a drill.
 
Next, we stained the rails and the feet. This step is optional, but we thought it added a nice look to the overall product. We really didn’t let our kids stain, but here is a picture of my middle guy wiping off some dust.
Now, it was time to put everything together. First, using some screws, Brian attached the feet in through the top of the game board. Then, with the help of some clamps and the use of a nail gun, he attached rails through the bottom. This way you didn’t actually see any screws or nails.
Next, Brian drilled the holes for the pegs and the goals. He used a 1″ spade drill bit for the goals and a standard drill bit for the pegs.
The kids decided where they wanted the pegs to be.
Once we vacuumed up the mess…
Brian gently hammered in the pegs (gently is a relative term).
Then it was time to find some pennies and give our gift to our buddy.

If you like this post and would like to read more about all things domestic with a touch of humor, become a Home Everyday follower! For blog updates or to see other places I write such as ChicagoNow or Chicago Parent follow Home Everyday on FacebookTwitter, and Pinterest.

Pendant Shade Update: Getting Rid of the Gruesome Threesome

When we moved in this house, one of the best features was the family room. We were happy that not EVERY room needed serious updating. This level of our 1970’s quad level house had just been renovated (thank goodness). All we had to do to this was give it was make it our own, so we painted. So far, sitting area and the bathroom. It has served us well, but there has always been something that has bothered me.

The pendant shades above the bar.


The three different colors of red, brown, and yellow had me wondering if the previous owners of our house has a thing for bodily fluids or if they were just trying to be whimsical.

So, for the past four years I have been searching. Unfortunately, while I liked the idea of something cute and trendy, I knew that it was very possible in about a year I wouldn’t like them. So I wanted to stick with something a bit more neutral, and could stand up when I changed the accent wall behind the bar for the fourth time (yes, I have painted it three times, and this is why I don’t have a tattoo).

I finally found these:


They are clear which helps give off considerably more light than the previous three, they match, and they fit the pendants.

These particular pendant lights are part of a kit whose shades can be changed out by turning off the lights and removing the bulb.


Then, unscrewing a small threaded flange.


This is so much more cost effective and timely than replacing the entire pendant. Pendant sets like this can be found at Home Depot and Loews, and are awesome for situations when you know you might be switching the shades later when tastes or decor change.

The new shades came with their own flanges, so I simply screwed the new flanges with the shades back into the fixture, put the bulbs back in and voila.


Isn’t that so much better that the gruesome threesome?

This DIY project cost me about $11 (each pendant shade was about $12 and I had a $25 Loews gift card and about 30 minutes of time). If only all projects could be this easy.

If you like this post and would like to read more about all things domestic with a touch of humor, become a Home Everyday follower! For blog updates or to see other places I write such as ChicagoNow or Chicago Parent follow Home Everyday on FacebookTwitter, and Pinterest.


DIY Felt Bloom Wreath

My Mom always used to say that with little kids, “the days can drag, but the years fly.” I am starting to know what she means because lately, I cannot believe how quickly time is passing us by. In fact, I am flabbergasted that it is nearly May.

With that being said, I am finding it harder and harder to decorate my house for every single holiday that comes our way, so I have decided to kind of go with the seasons to save my sanity on time (and money.)
We are now in the midst of Spring and looking forward to Summer and this time of year, I think flowers. So, with a little help from Pinterest. I made my own felt blooms and created a wreath that should last me throughout the summer.
Using Pinterest for some tutorials, I decided to create a few different blooms in some various colors.
 
Materials
Grapevine Wreath (From the $1/$3 Spot at Target)
Various colors of felt (Hand Made Modern Multi Color Pack from Target)
Hot Glue Gun
Fabric Scissors


Making the Blooms: Most of the blooms can be made using a simple rolling technique. As you can see from my wreath, I have several “roses”, but because of the way I cut the felt, and the variation in color, they seem different.
     Simple Rose: Cut a circle of fabric. For smaller buds I traced around a CD, for larger buds I traced the lid of a Pyrex container. Then, cut the circle into a spiral (see below)
Starting on the outside of the circle, roll inwards toward the center of the circle.

Using your hot glue gun, carefully glue the middle to the bottom of your bloom.

Wavy Rose: You can find templates online, but I drew a wavy pattern like I would have for a plain rose. Then I cut it out.
I followed the same rolling style as I did above.
Pom Pom Flower: Cut a 3″ x 10″ strip of felt. Fold the strip in half length wise.


Fold the strip in half lengthwise. Then, very carefully, cutting from the folded edge to the open edge of the fold being sure not to cut all the way through, cut every 1/4″ or so.
Then roll this flower carefully, gluing along the way.
Petal Flowers: Trace and cut a flower shape.
Next, using hot glue in the center, pinch the center of the flower together.
I put a small piece of yellow felt in the center to help make it look more flower like.
 
Wreath Time: Once I had all the blooms I wanted, I decided how I wanted to place them on the wreath without glue. Then, using hot glue I carefully placed each flower on the wreath.
I cannot wait to hang this in my dining room for a little Spring/Summer color.
If you like this post and would like to read more about all things domestic with a touch of humor, become a Home Everyday follower! For blog updates or to see other places I write such as ChicagoNow or Chicago Parent follow Home Everyday on FacebookTwitter, and Pinterest.

On Point Care Package Tips

Since I have lived in the Midwest my whole life, I have noticed that this is about the time I am over Winter. I like the hot beverages, and snuggling, and snow days. However, I start longing for some outdoor time. I am aching to put away the boots, get my garden going, go for a walk that doesn’t require me to put on a dozen layers of clothing, or just sit outside and soak in some rays.

I want to take a deep breath of fresh air and not feel my lungs freeze and my eyes sting.
Then, I thought if I am sick of Winter, I cannot imagine how my niece (god-daughter) away at college feels. Walking to class is just the worst in weather like this.
So, I decided to send her a care package.
Here are some tips for sending an on point care package.
Food: Send a little treat or something you know will last a few days. Perhaps some cookies, a favorite nut butter, or even some candy. You can even try and send something homemade. However, keep in mind the weather. If it the weather is extremely cold, or very warm it might not hold up, so make sure to keep that in mind.
Thoughtful: Try and send something that you know the person will especially like or need. Perhaps a favorite movie on DVD to watch for a study break, a good book, a few photos, some fancy pens for school work, or their favorite brand of coffee.
Small but Sturdy: Whatever you send make sure it is small, light, and sturdy. Remember you had to send these things through the mail so make sure it can hold up through the mail, isn’t too fragile, and  make sure it is light enough so that if it has to be carried to a class or two before headed back to the dorms it isn’t a burden. Items like snuggly socks, a favorite lip balm, new gloves would do nicely.
Note: A note is always a perfect way to tell someone you’re thinking of them and hope things are going well. Also, a few kid drawings to brighten someone’s day are nice too.
Packaging: A small box packed tightly and stuffed with tissue is perfect. Make sure to slip a piece of paper with the recipients address inside the box too. Seal it up with packing tape, label it and ship it off.
What would be in your ideal care package?If you like this post and would like to read more about all things domestic with a touch of humor, become a Home Everyday follower! For blog updates or to see other places I write such as ChicagoNow or Chicago Parent follow Home Everyday on FacebookTwitter, and Pinterest.

7 Awesome Food Free Valentines {FREE PRINTABLES}

Valentine’s Day is almost here! This typically means flowers and candy, but for those who suffer from allergies, it can mean trouble.  With schools becoming more supportive of kids with allergies and other food related illnesses such as diabetes by keep parties FOOD FREE, it can be hard to know what to bring to a class Valentine’s Day Party.

As a Mom of kids who have several food allergies, I thought I would share some ideas (7 of them) for some cute and clever Valentines that are FOOD FREE, but not free of fun.

With the help of Canva (for the printable cards) and my favorite store Target (for the little goodies), I came up with a few ideas to share some FOOD FREE FUN this Valentine’s Day. I hope you enjoy it as much as my little ones have.

1.) Pencil Valentines are adorable (and handy for when you need an extra one for homework.)


Print out this card HERE and attach a cute pencil.

2.) When you’ve got it you’ve got it, and with these little notebooks


you can tell your friend they have the “write stuff.”

Print out this card HERE and add a small notebook.

3.) Erasers are always easily found in bulk for big class parties, and are nice to have on hand for mistakes. My kids have started an “eraser collection” from all the cool ones they have collected over the years. These cute erasers


and a card make a great Valentine.


Print out this card HERE, then add a cute eraser.

4.) Bubbles will never go out of style for kids. They are easily found this time of year, but can also be found around Easter time and in the wedding sections.


Tell your friends how you feel with a card.


Print out this card HERE, then attach bubbles.

And voila.


5.) Small action figures or toys are always a fun gift, and when you’re telling your friends they are DINO-MITE they can’t be beat.


Print out this card HERE, then add a dinosaur figure or eraser.

6.) These small heart shaped slinkies I found at Target (but regular ones would work just fine too), are an adorable way to tell your pal how you feel.


You can find the spring card HERE!

7.) Small mazes are awesome for traveling or on the go. It is fun to remember your friend when you play it too.


The maze card can be found HERE!

For a complete list of the printable cards you can CLICK HERE!


Happy Valentine’s Day, Readers!

If you like this post and would like to read more about all things domestic with a touch of humor, become a Home Everyday follower! For blog updates or to see other places I write such as ChicagoNow or Chicago Parent follow Home Everyday on FacebookTwitter, and Pinterest.

A Cozy Little Hideaway: A Master Bedroom Refresh

I have been blogging for a few years now, and there are some things that I have noticed. One of them is, you don’t need to see me hang every picture in my home. So, for those moments when I do a little tweak here, a nip there, a picture hung on a wall, I don’t write about it. However, a bunch of nips and tucks, and pictures hung can completely transform a room.

I was looking through the home tour page of this here blog, and I noticed that my Master Bedroom went from this:


To this:


And none of you knew anything about it. I was feeling terrible that I hadn’t updated any of you on the inner workings or smaller updates  as they were happening after I saw how different everything looked!

Over the course of a year, I have made so many nips and tucks I thought I should share, because apparently NOW there is a WOW factor.

Last Christmas, Brian and I decided it was time to upgrade from a Queen to a King Sized bed. With that came new sheets and bedding and some toss pillows.


Then, because I couldn’t handle the curtains not going anymore, I found some cute ones on way way clearance at Target.


Brian when on a business trip to San Francisco he bought a gorgeous print of the Golden Gate Bridge. So, for our anniversary I had it framed, and then had a few other things printed and framed from all of the places we’ve been together to switch up the artwork in our room and give a little more color to our room.


We are currently in the process of playing musical furniture in the house. The boys needed some more clothing storage so we gave one of our dressers, we took the white one from the living room after I was able to get a writing desk and some new bookshelves in there (reveals to come).


I also added Caroline’s bookshelf to serve as my night stand because she now had more storage in her room with one of the boys’ dressers (and round and round we go).


Brian’s night stand stayed the same… well except for one little addition from his adoring fans.


Finally, I added some other small touches to make it seem relaxing in there like some candles, the books I’m currently reading, and my crochet basket to work on my blanket while I watch TV during naptime (yes, I’m working on a blanket).


So, I’ve learned my lesson. I will not show every picture I hang, but I will try to perhaps show more stages of the process of changes that happen around here.


Now, to take a snooze in my cozy little hideaway.

If you like this post and would like to read more about all things domestic with a touch of humor, become a Home Everyday follower! For blog updates or to see other places I write such as ChicagoNow or Chicago Parent follow Home Everyday on FacebookTwitter, and Pinterest.


Installing a Rail with Hooks Saves Space (and Tears)

There was a day not that long ago where Brian called to see how things were going at home. I am lucky to have a husband that texts and calls to see how we are throughout the day. However, on this particular day, I am sure he was sorry he asked because I was close to tears about how messy the kids rooms were. (I know, first world problems.)

Hear me out, though.

I am not going to follow my kids into their rooms and pick up after them every day, nor do we have a cleaning lady. The kids used to have a place for everything, but it seemed just like their growing bodies their stuff was taking up more space.  They just seemed to need more room. Clothes were overflowing dresser drawers, books were scattered everywhere, socks were strewn about, Legos and other crap that didn’t belong in certain places was just everywhere!

It was like they were TRYING to put stuff away, but they just didn’t have anywhere else to put it all.

I wasn’t going to run out and buy a ton of furniture. As you know, I am kind of a make due with what I have kind of gal. Plus, I would so much rather refinish a bunch of furniture for the kids before buying them anything new and fancy. But something had to be done ASAP!

So, after sorting the drawers, and picking up, and trying to find a place for everything, I had a brilliant idea of using the wall space as storage.

Awhile back, I saw the Bygel Rail and hooks at Ikea. So I purchased one, and decided to hang one in Caroline’s room to see how it goes for awhile. Well, now I can buy out the store and start hanging them all over the kids’ rooms. I have decided they are AWESOME!

Paired with those little buckets from the dollar spot at Target, these this rail has been a lifesaver. The buckets hold her hair ties, clips, and little things, the hooks can hold anything from bags, to towels, to pjs, to ballet clothes, to everything! I also like the idea of some of the accessories they sell at Ikea to go with the Rail to sort and store other things.

Installation was easy.


Dollhouse not needed for installation.

I measured about on the wall where I wanted the rail to go. I asked one of the kids to hold the rail against the wall while I made sure it was level. Then using a pencil, I marked where the holes should go.

For extra security, rather than securing the rail right to the wall with screw, I decided to use mollies. I figured if the kids hung backpacks or anything with a little weight to them, I’d rather be safe than sorry. So, I drilled holes where I marked the the wall, tapped the mollies in (GENTLY!)


Then, I affixed the rail to the wall drilling screws into the mollies.


The rail was ready for hooks and stuff.


Now, to install these all over the kids rooms, then perhaps Brian will avoid tearful phone calls.

What is and organizational item that makes your life easier?

If you like this post and would like to read more about all things domestic with a touch of humor, become a Home Everyday follower! For blog updates or to see other places I write such as ChicagoNow or Chicago Parent follow Home Everyday on FacebookTwitter, and Pinterest.