Category

Cooking

Lunch Hacks for Lazy People Like Me

In order to achieve some balance in my life, I want eat a little better. I mean who doesn’t right. It is a new year after all. However, this doesn’t only apply to the kinds of food I’m eating, but also eating at regular intervals. 

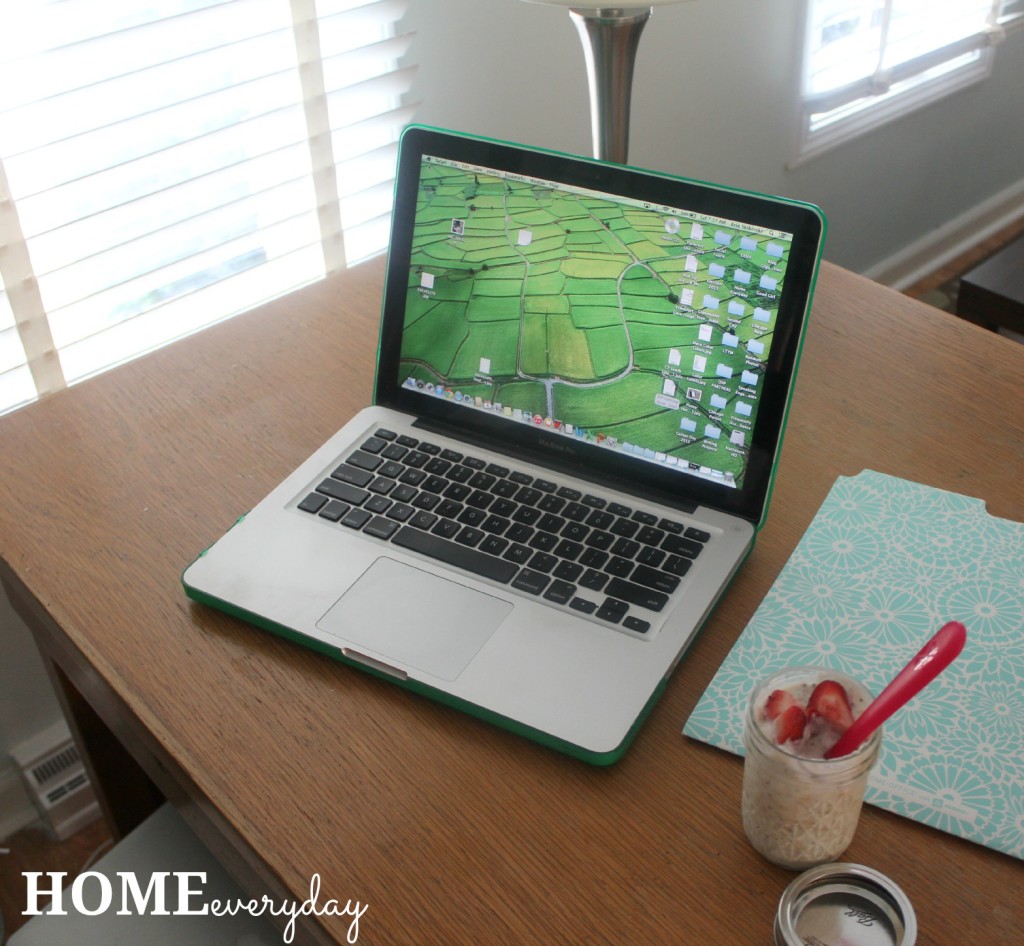
Since I started working from home, I have to admit, I got into a really bad habit of eating lunch 2 out of 5 working days a week. This means that after a breakfast of coffee and maybe a bagel or a banana, I am waiting until dinner to eat and by then I’m famished from all the things that I accomplished that day.On the days that I was eating lunch, I was grabbing anything that was within my reach (ie donuts). This is not healthy, balanced, or a good example to set for my kids. 

Part of my struggle with lunch, is I am the only one home all day and I’m working through lunch, taking my lunch break to go for a walk, or take care of another responsibility. I am trying to maximize the time I have while the kids are at school, so that when they are home, we can enjoy each other and not spend it doing other things. 

Also, truth be told, I’m super lazy. To me it seems like a lot of effort to break out a bunch of stuff, dirty some dishes, heat something up, and put it all back again for one person. I know that is like the epitome of laziness, but I know I cannot be the only one who feels this way. Right? I hope. I mean, if that were the case, fast food restaurants and convenience foods would not be in business.

So, I made a list of Lunchtime Food Hacks for Lazy People Like Me that I think will help me get out of this skipping lunch rut.

1.) Make lunch when you make the kids lunches in the morning. Pack up a lunch for yourself too. Even though you may not be leaving the house, it is nice to just be able to grab pre-washed fruits and veggies and some cut up cheese right out of the fridge. 


2.) Make lunches a week at a time. If you go on Pinterest, this is a hot trend right now. Take a few minutes on Sunday night to wash and cut up veggies, fruits, make a pasta salad, or pre-measure things in a container to grab and go.

3.) Pack up dinner leftovers in smaller containers. When you’re putting away leftovers after dinner, put lunch sized portions in smaller containers or even mason jars to reheat the next day.

4.) When prepping dinner, prep lunch too. Sometimes when I’m making fajitas or stir fry, I cut up additional veggies and then put them in a container to grab and go the next day. I already have the cutting board and knife and all the food out, I might as well chop away to save time later.

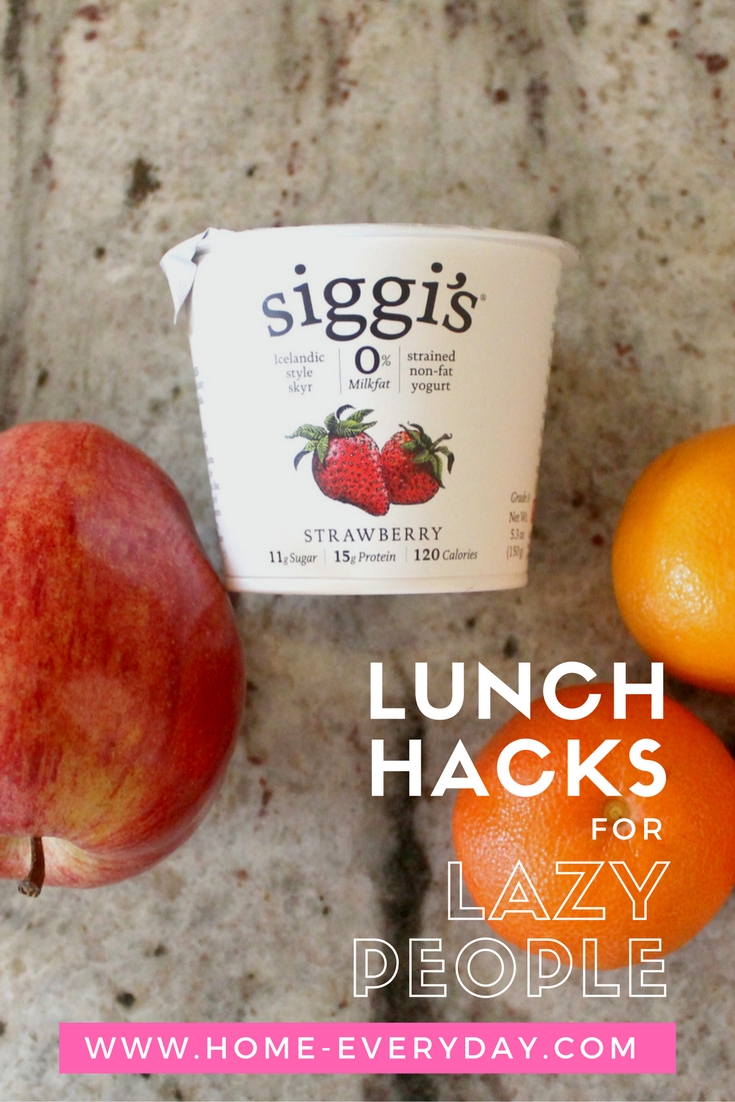
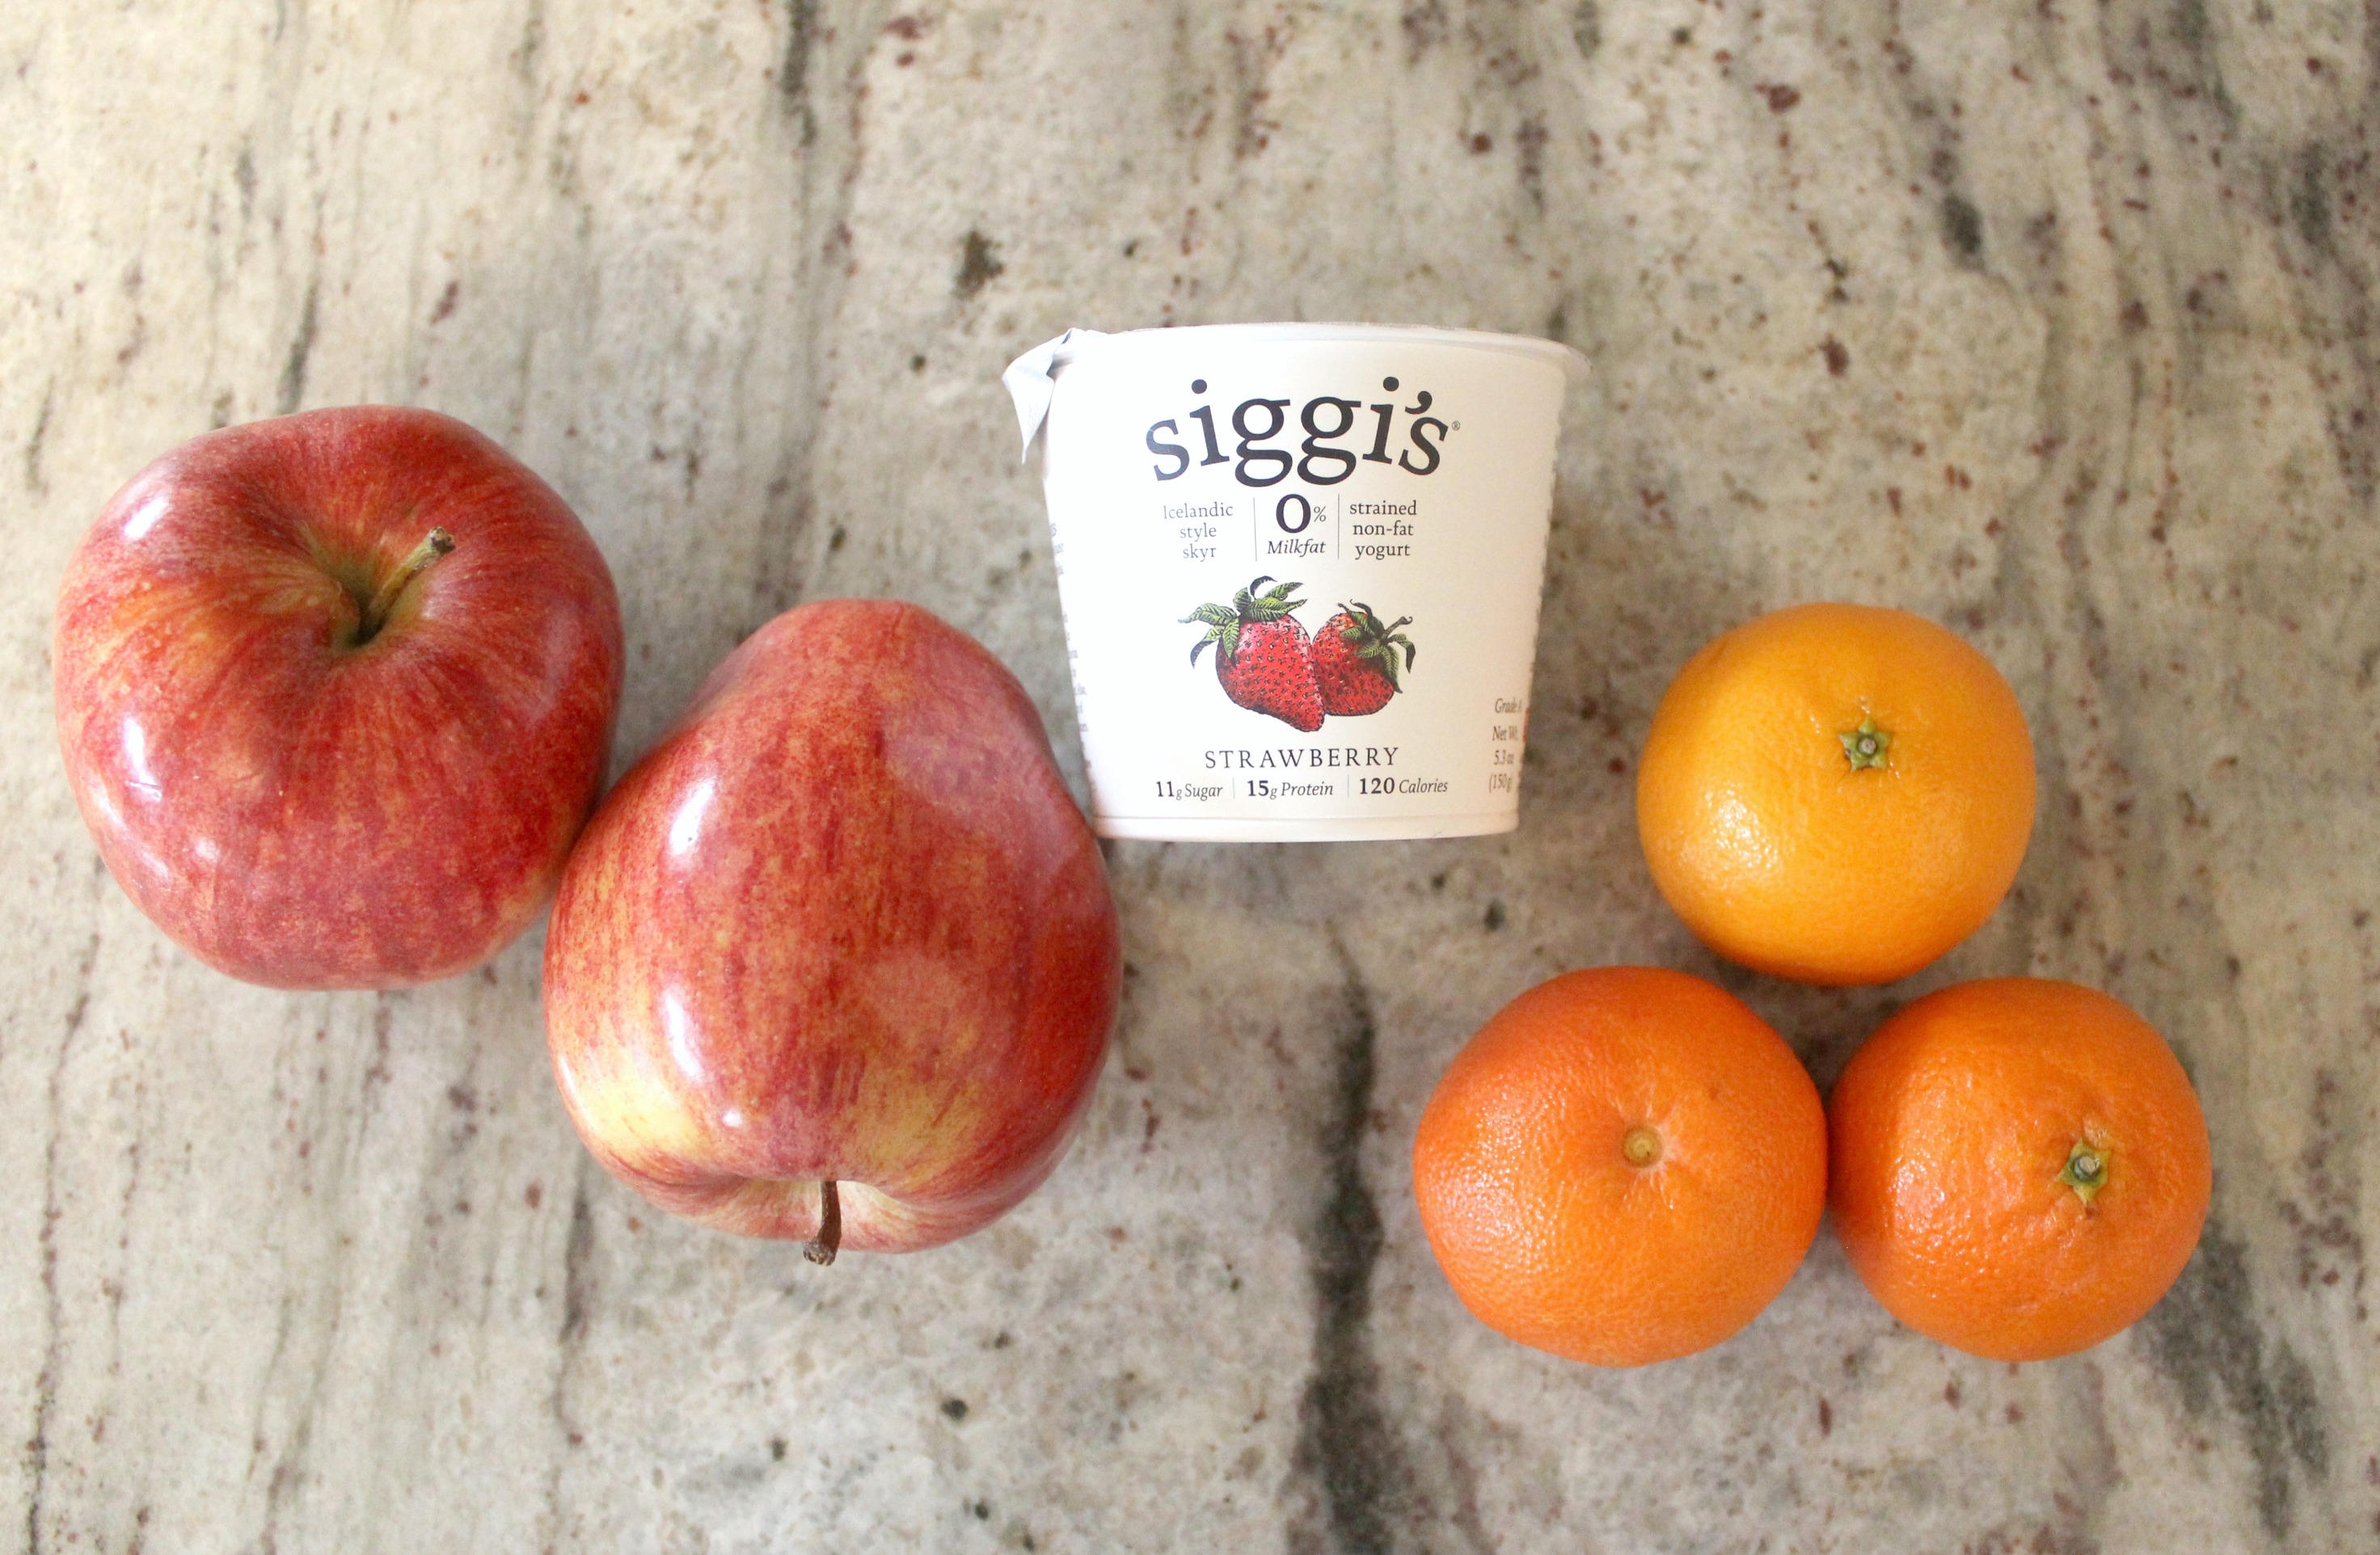
5.) Keep foods on hand that don’t need any prep. Clementines, apples, bananas, and greek yogurt are some of my favorite whole foods that take no time prep. They are already grab and go!

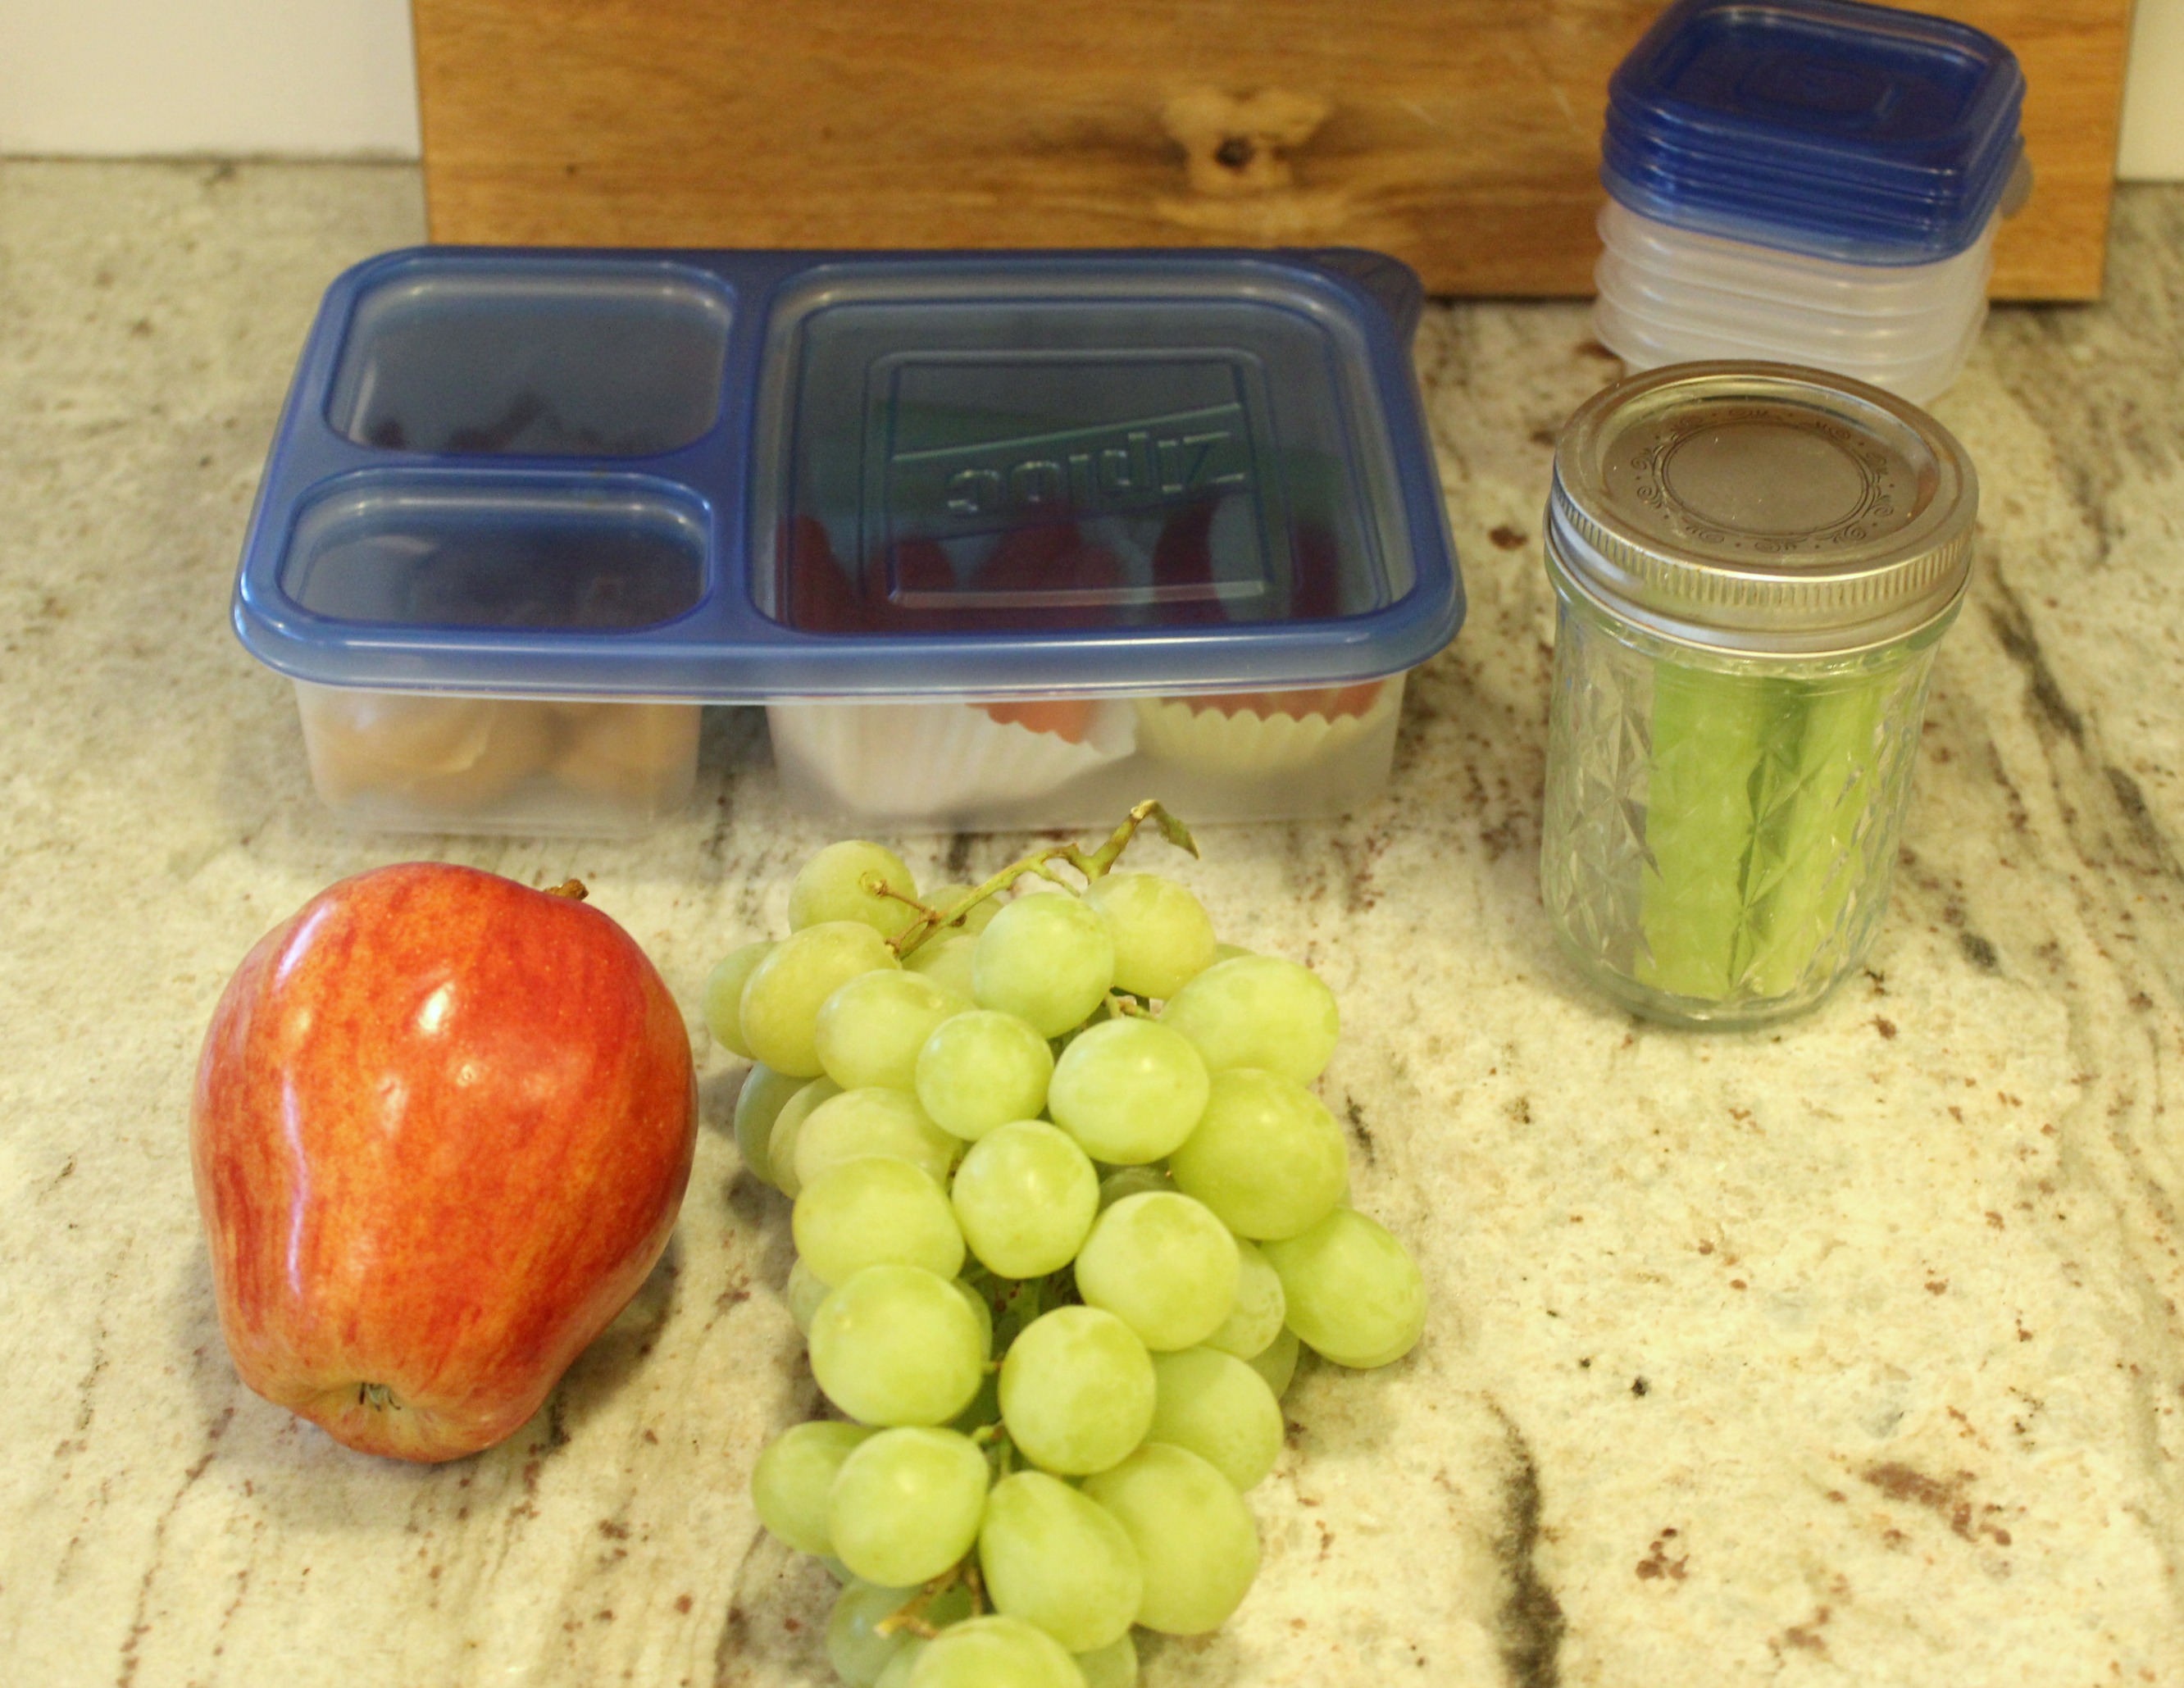
6.) Keep small sized containers, snack size resealable bags, mason jars, and other food storage solutions on hand.

7.) Double up recipes. This is one of my favorite tricks to do for meals like chilis or soups. I serve some for dinner, and then freeze the rest in smaller containers to thaw and eat for lunch.

This hacks have already helped me keep some balance in my life. I’m eating lunch again!

What are some of your favorite lunchtime hacks?

Movie Inspired: An Uncle Buck Giant Fluffy Pancake

Growing up in a family of movie buffs meant we were watching a lot of movies. I can remember staying up late to watch James Bond marathons, Cary Grant marathons, Bill Murray marathons, or trying to pack in the whole Star Wars trilogy in one night.

Kevin-1
One of my older siblings, Kevin, & I ready to watch movies.

Some things have changed since I was a kid. These were the days before Streaming and OnDemand, so if there was a good movie on TV you’d stop whatever you were doing pop in a tape in the Betamax and record. Also, we didn’t have a microwave, so I can remember my mom air popping popcorn and smelling butter melting in a pan on the stove while gathering cold drinks.

One thing has remained pretty constant is sometimes I would be watching an old movie like Sabrina (the original with Audrey Hepburn) or Moonstruck or Singing in the Rain or The Quiet Man and the actors would be eating something and I would think, “that looks pretty good.” (pauses TV and makes something similar).

Giant Pancake 15

Which brings us to this GIANT PANCAKE. A few weeks ago, I started a John Hughes movie escapade that started with Planes, Trains, and Automobiles and when Maureen O’Hara (one of my favorites) passed away ended with Only the Lonely. Somewhere in the middle, I watched Uncle Buck, and saw this scene. 


So, of course, after watching this, I wanted Brinner (breakfast for dinner) and I thought some sort of Giant Pancake would be in order. The thing is, I don’t have a big griddle, and I wasn’t sure how to do this.

Giant Pancake 13

I found a recipe on my Kitchen Stories app (if you don’t have it GET IT it is FREE), for something called a Kaiserschmarrn. This is a traditional fluffy, Austrian pancake usually made with raisins. I adapted a version that pleased everyone, and I think would have made John Hughes, John Candy, and even a young McCauley Culkin proud.

Giant Uncle Buck Pancake (adapted from Kitchen Stories Kaiserschmarrn)

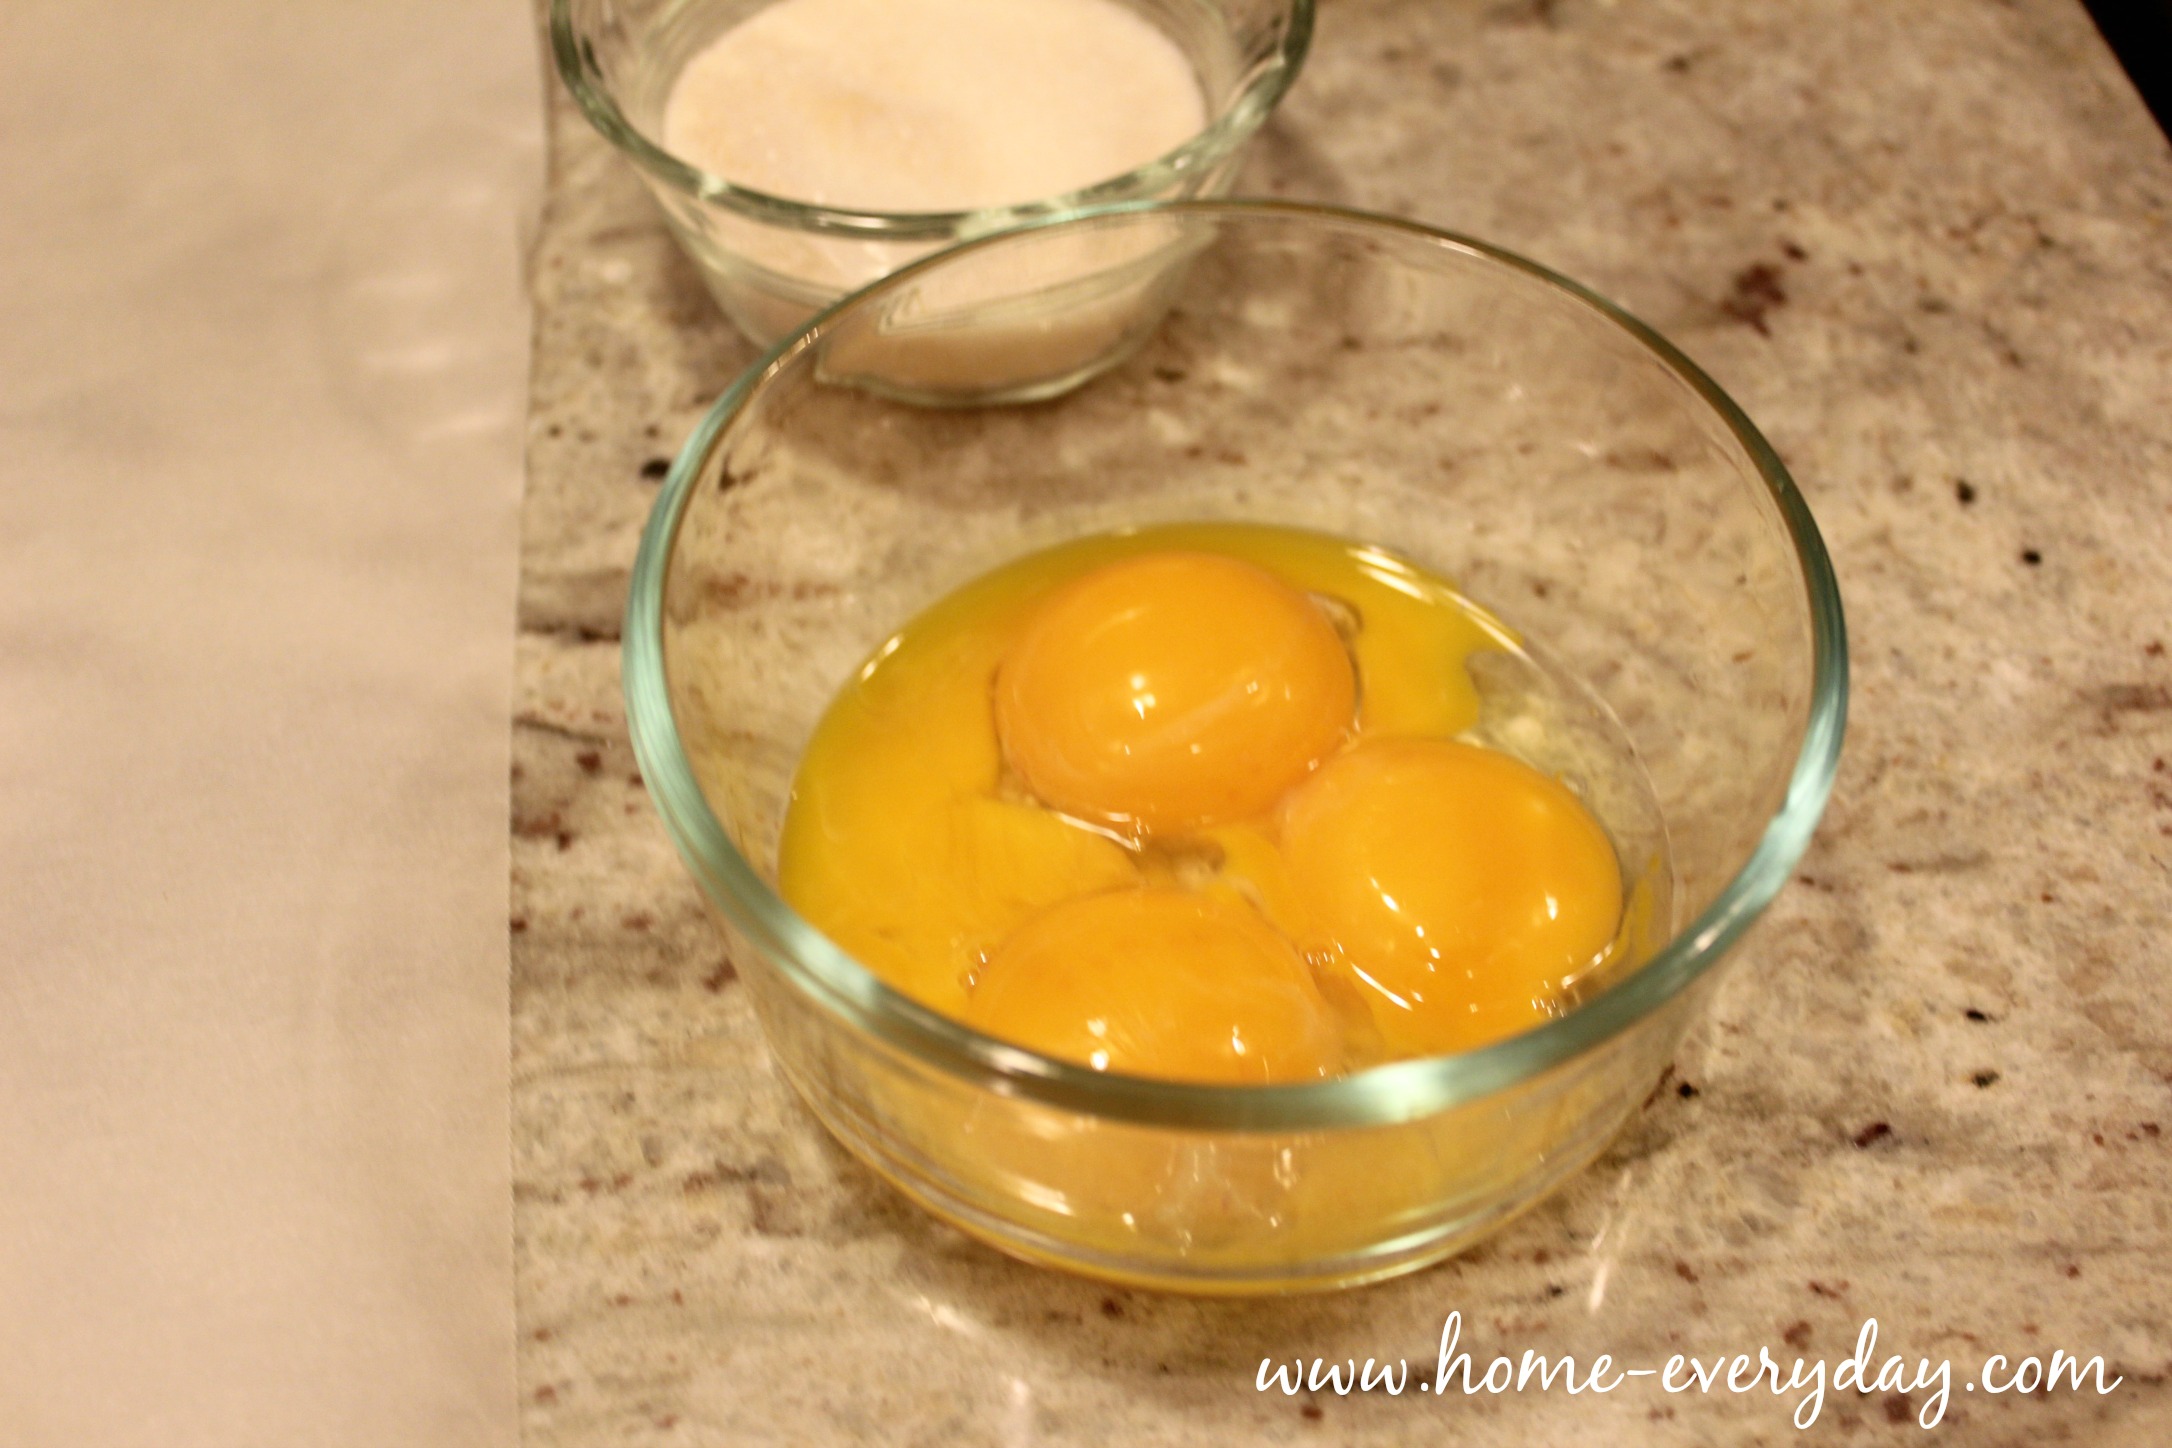
4 eggs separated saving both the whites and the yolks

1/2 cup of sugar

2 tsp pure vanilla extract

2 cups all purpose flour

1/4 tsp salt

2 cups milk (I used whole milk)

1 tbsp butter

1/4 cup chocolate chips

1 cup fresh berries

Maple syrup optional

Giant Pancake 2


Preheat oven to 425 degrees.

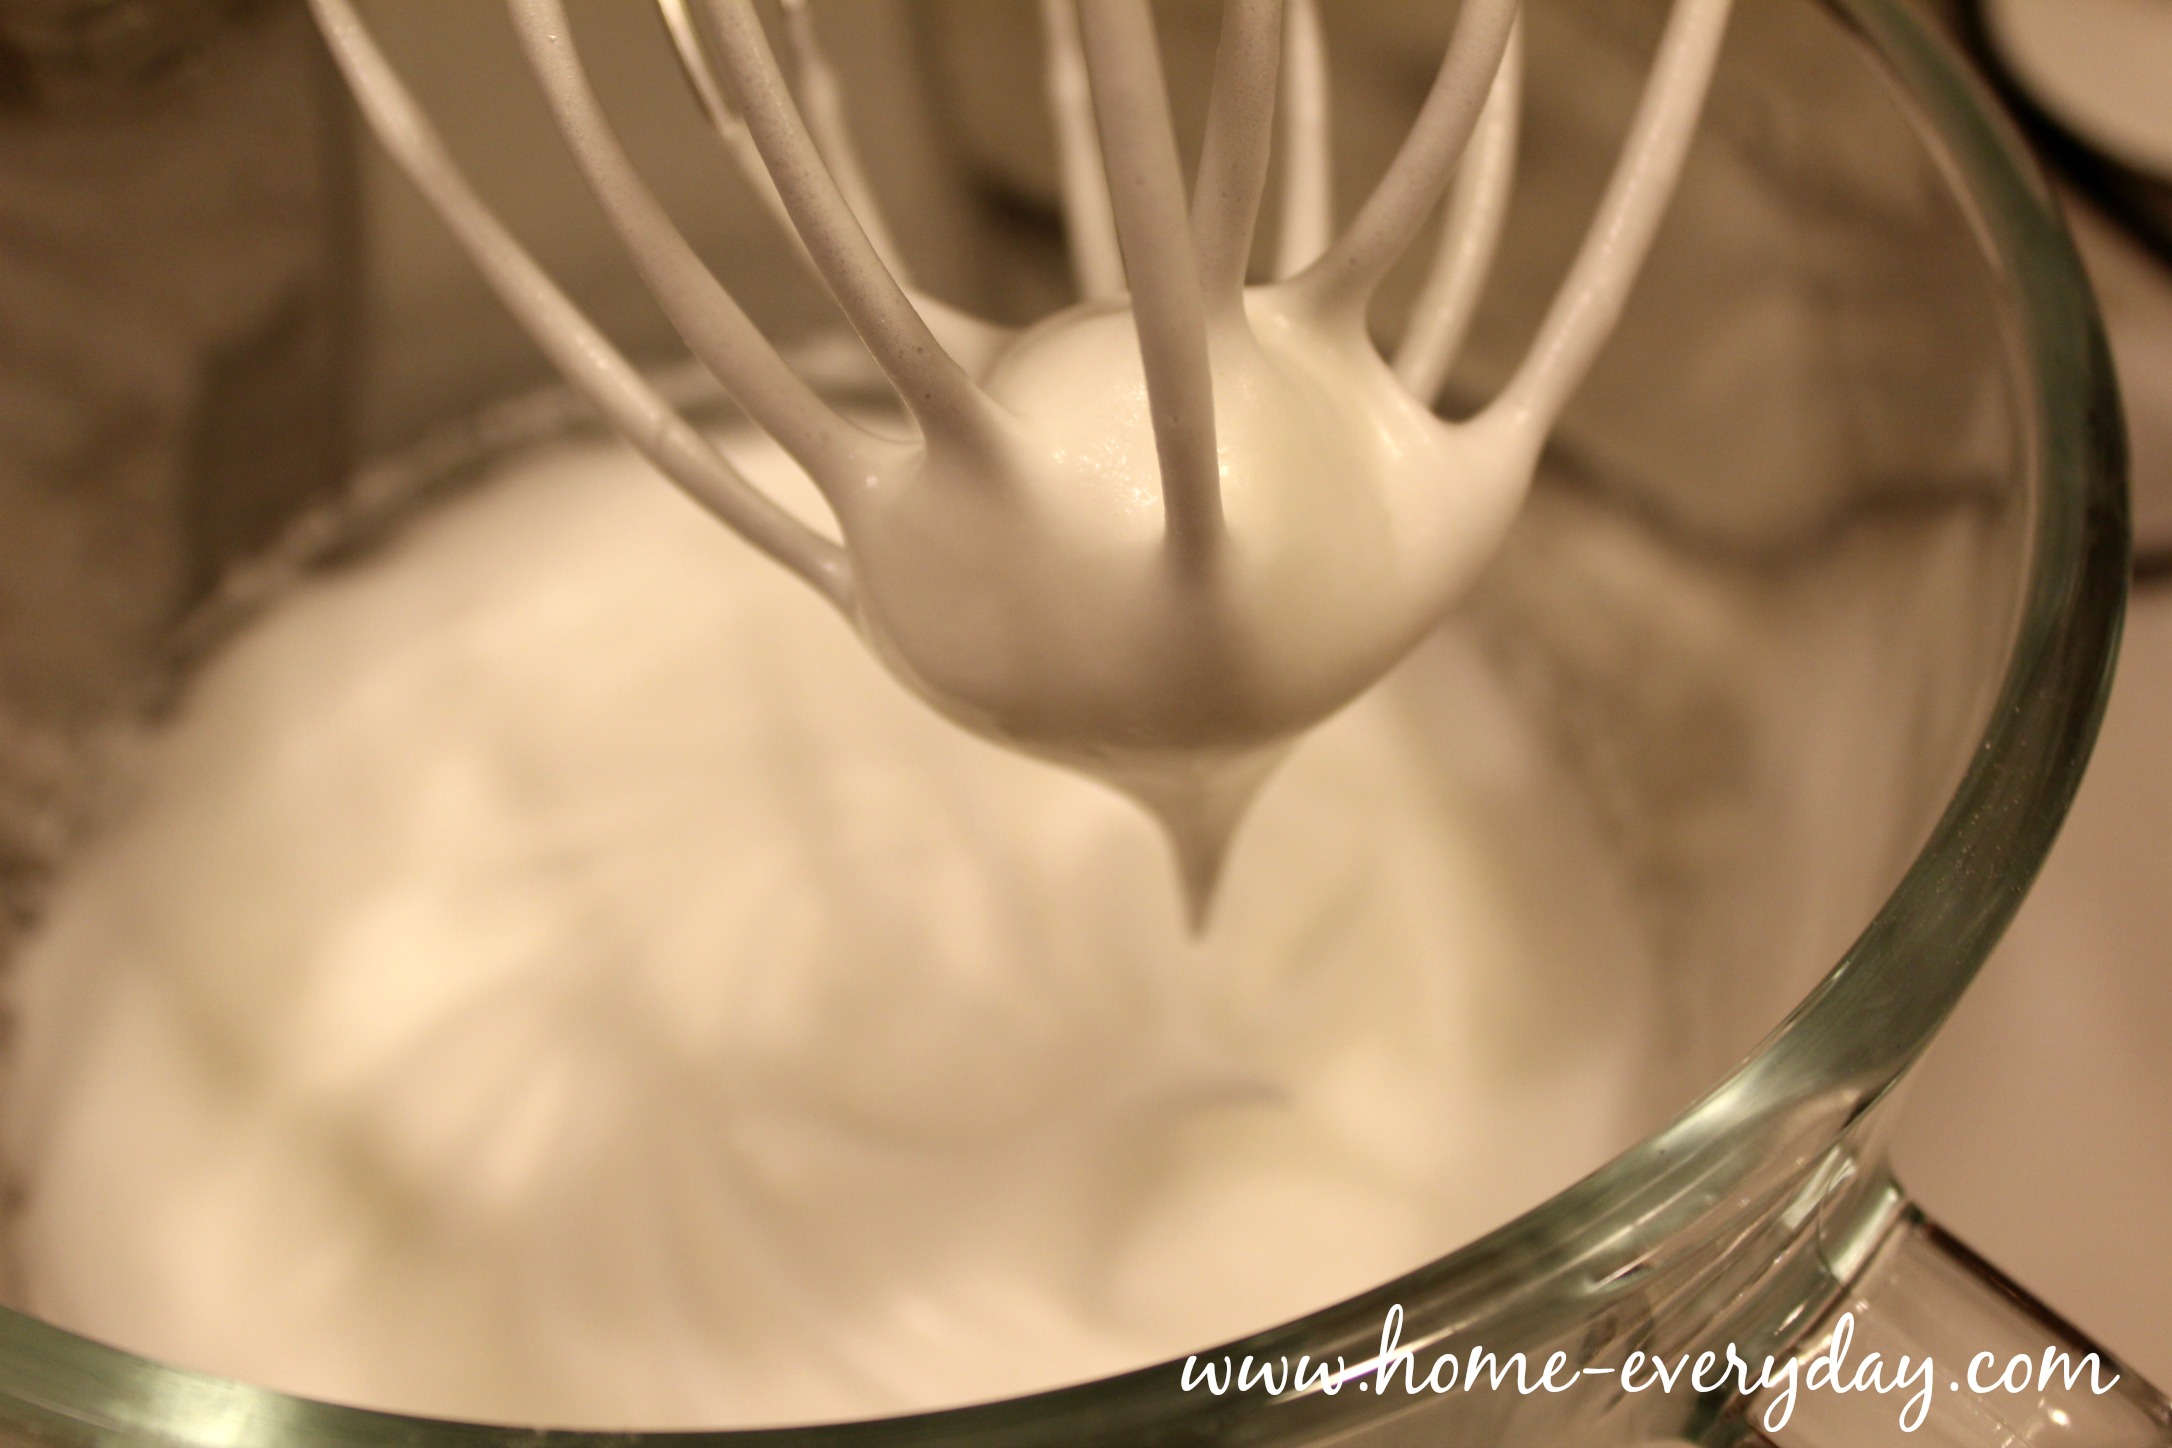
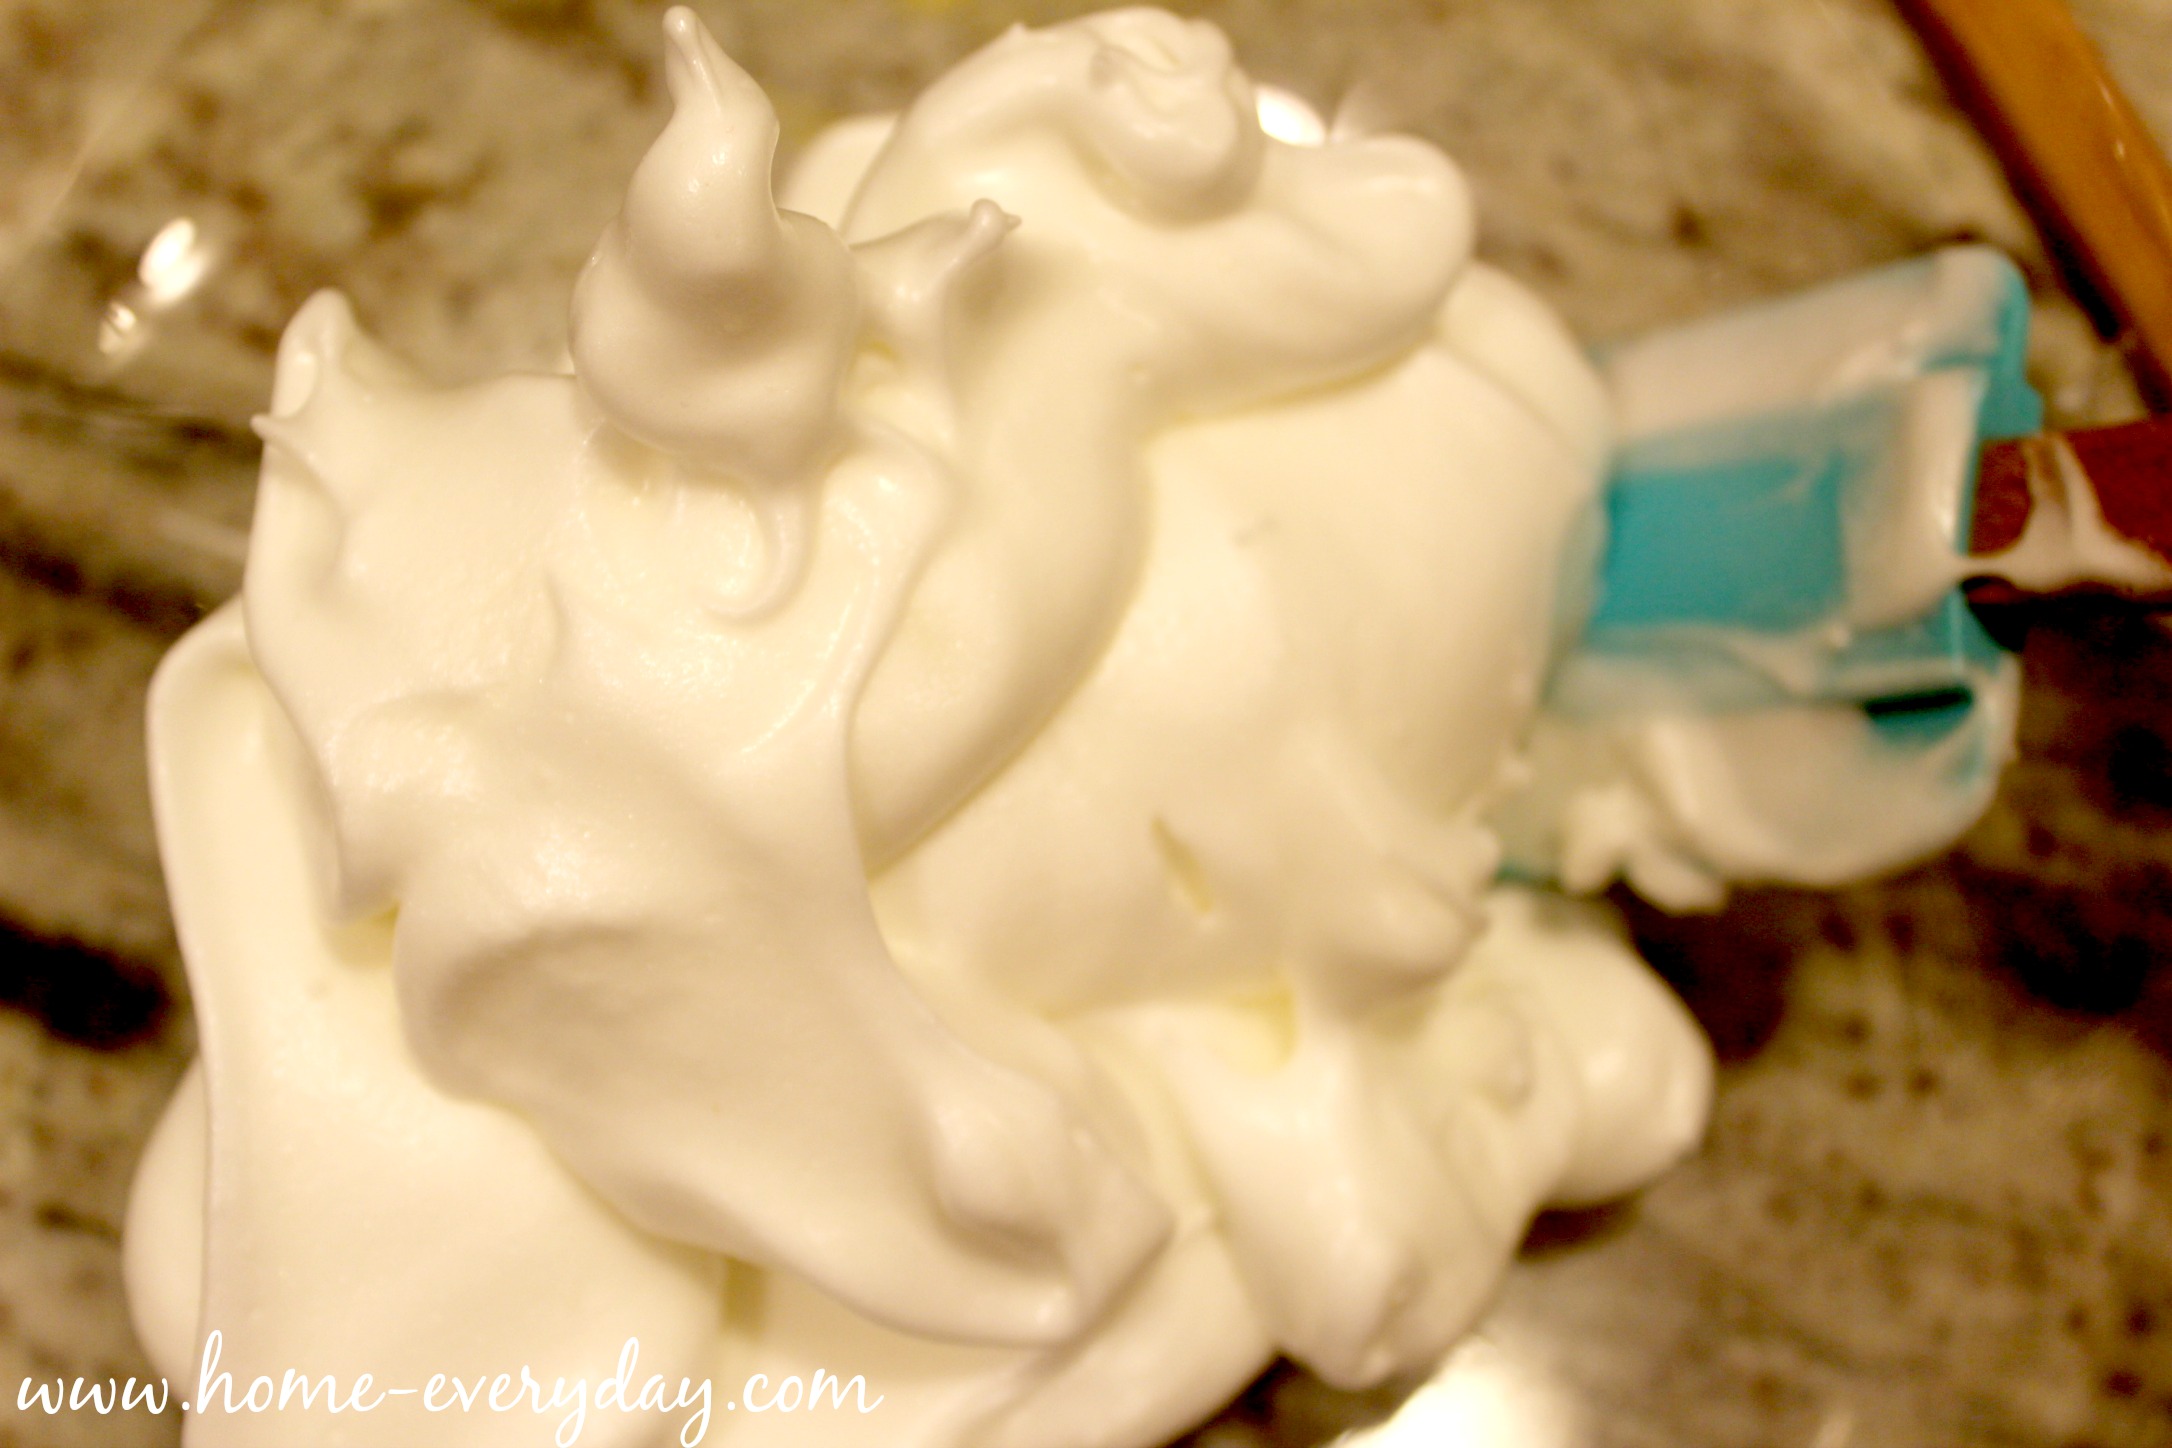
Using a chilled bowl, and a hand mixer or a stand mixer with a whisk attachment. Beat egg whites and 1/4 of a cup of the granulated sugar until stiff peaks white, glossy, and stiff peaks are formed. 

Giant Pancake 4

Transfer this mixture to a separate bowl and set aside.

Giant Pancake 10

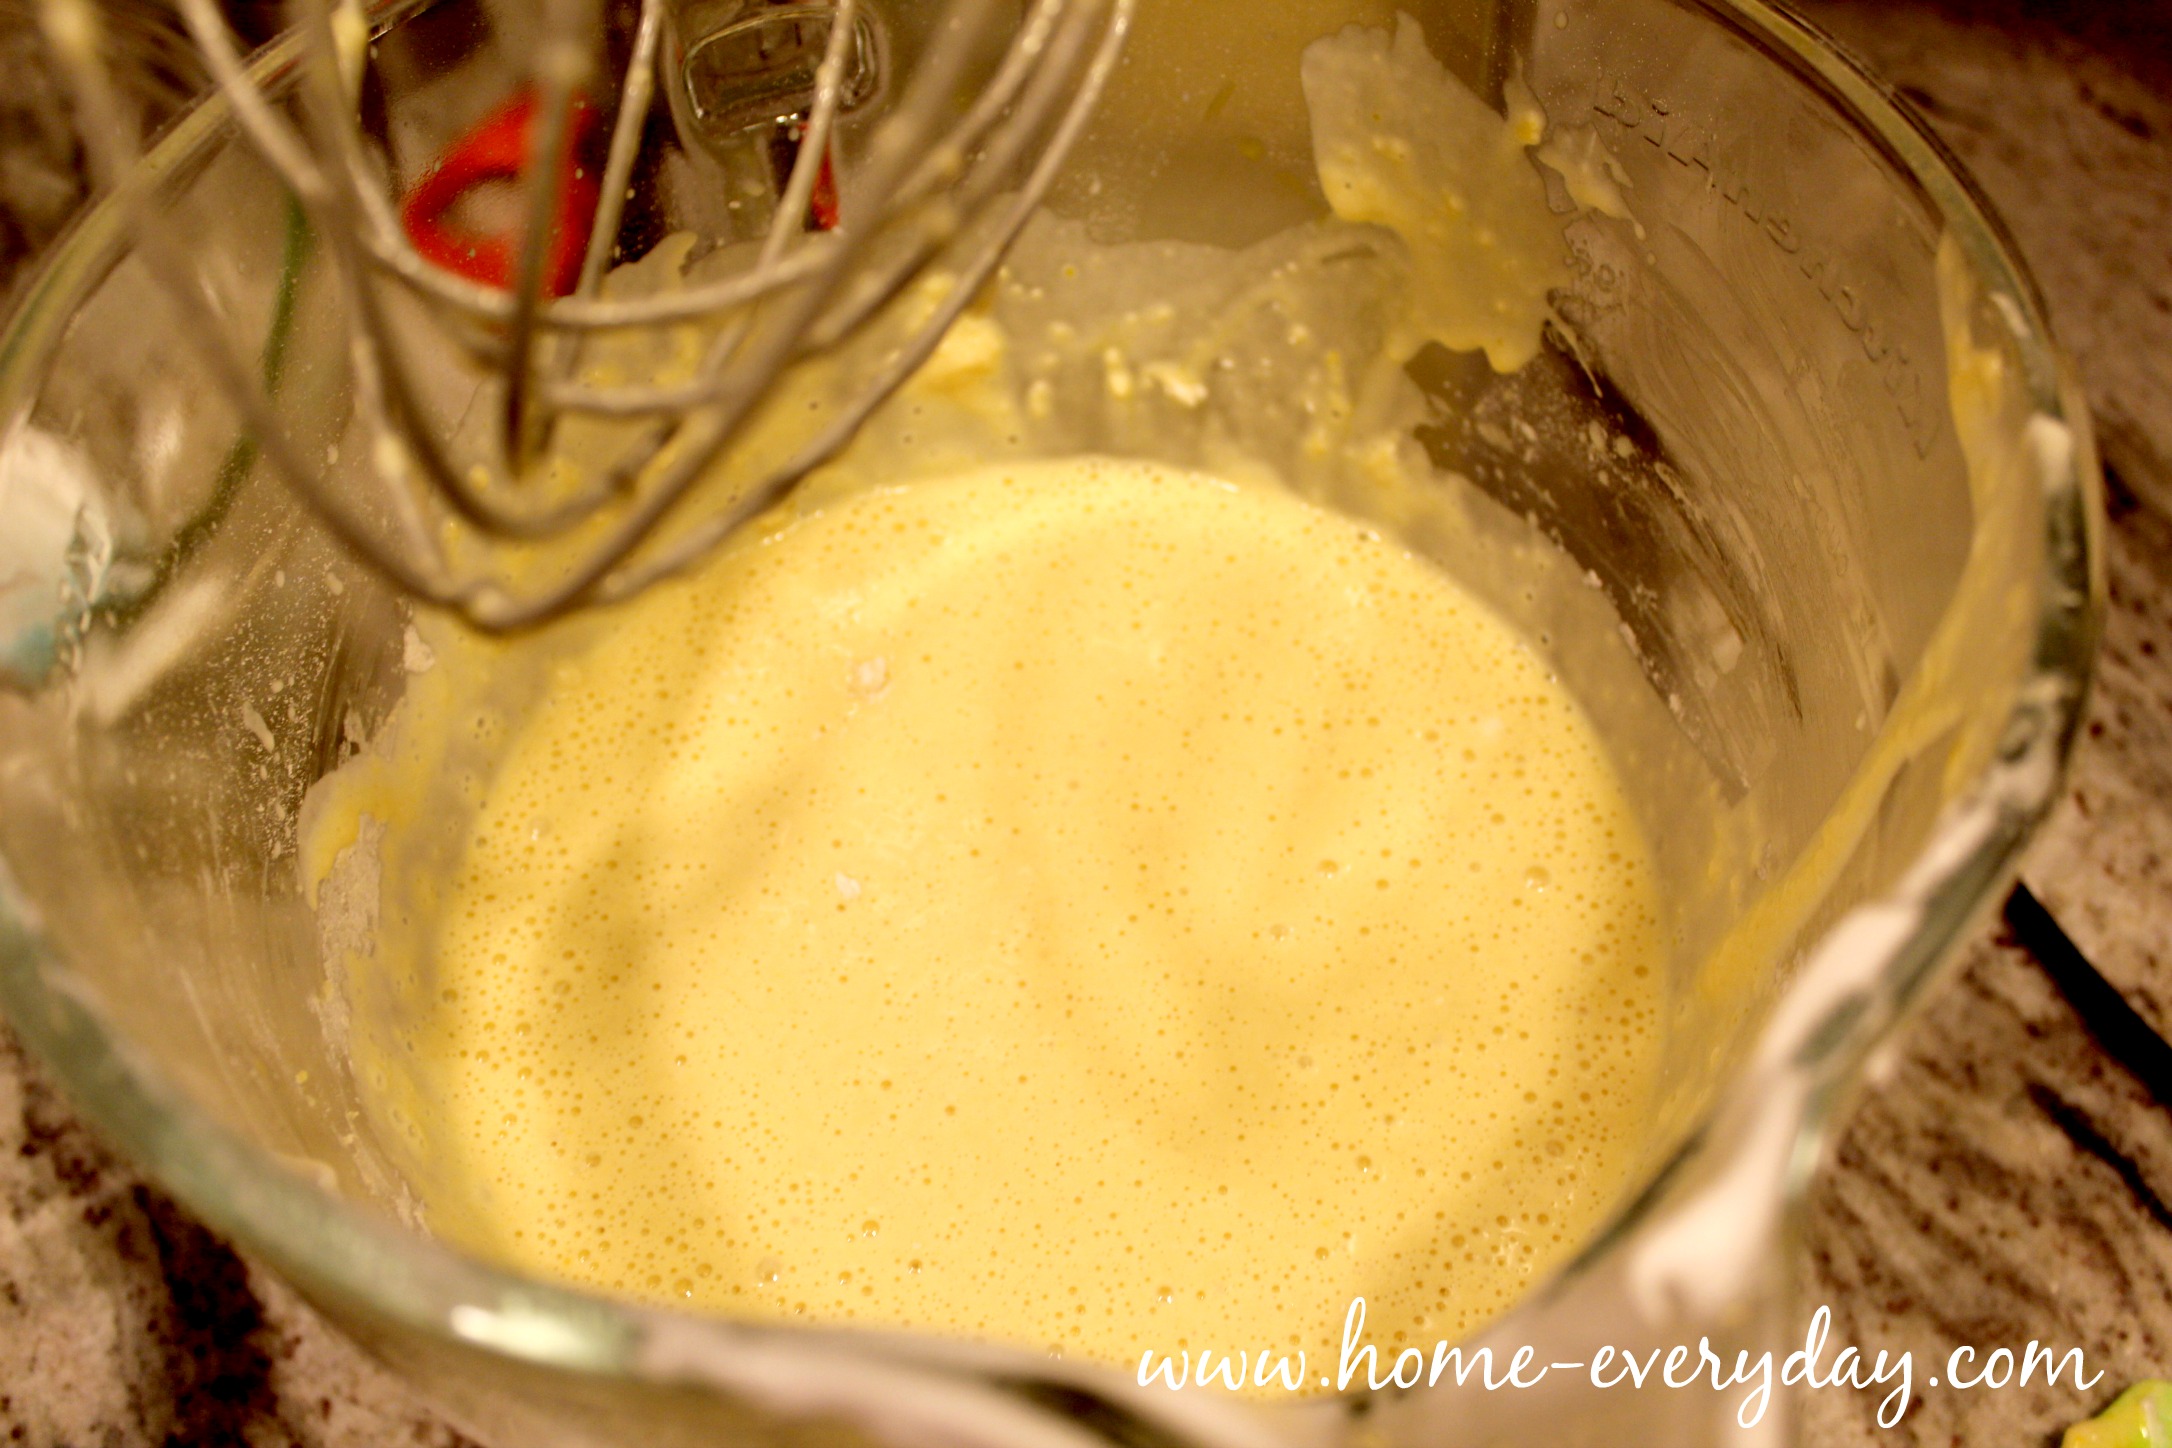
Then, using a hand mixer or stand mixer, mix together egg yolks and remaining sugar until light in color and well combined. Next, add vanilla and milk. Finally, slowly add flour and salt until just combined. Do not over mix this portion of the batter.

Giant Pancake 6

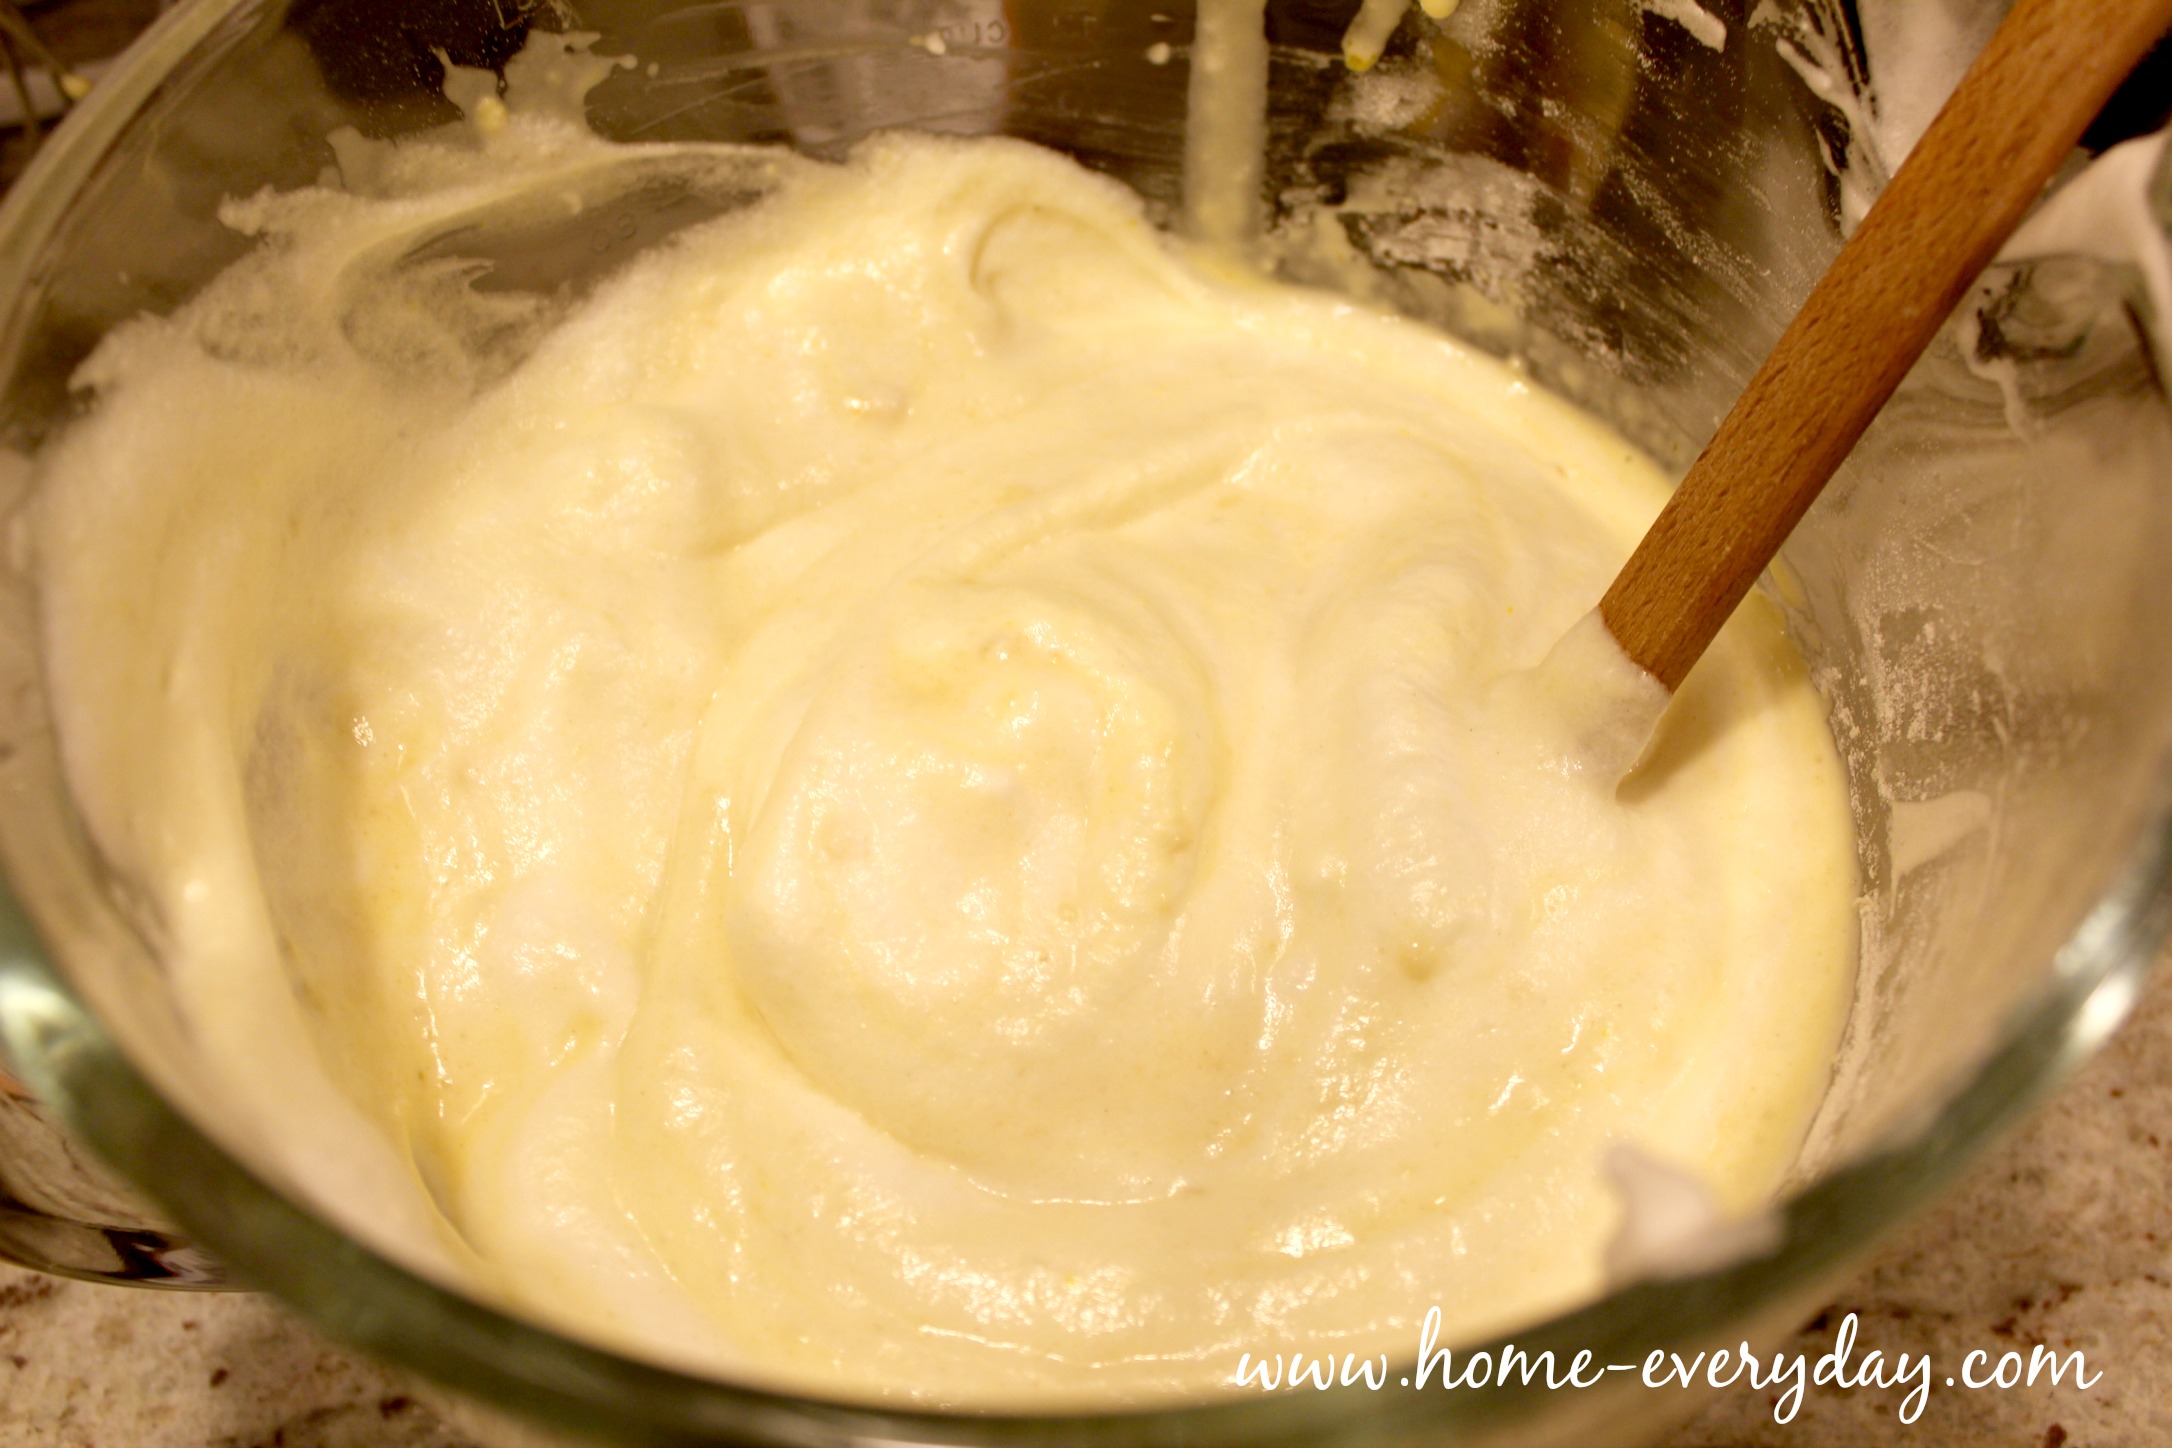
Next, using a spatula very carefully fold in egg whites being extremely careful not to deflate the fluffy consistency you created. Fold until combined. Pro Tip: When folding, it is ok if you can still see some white egg whites streaked through the batter.

Giant Pancake 7

Next, in a large oven safe skillet with deep sides spray throughly with cooking spray. Then, put over medium high heat and melt butter. When the butter is melted add the batter. Sprinkle the chocolate chips over top. Let the batter cook on the stove for about 3 -4 minutes or until the sides begin to set up.

Giant Pancake 11

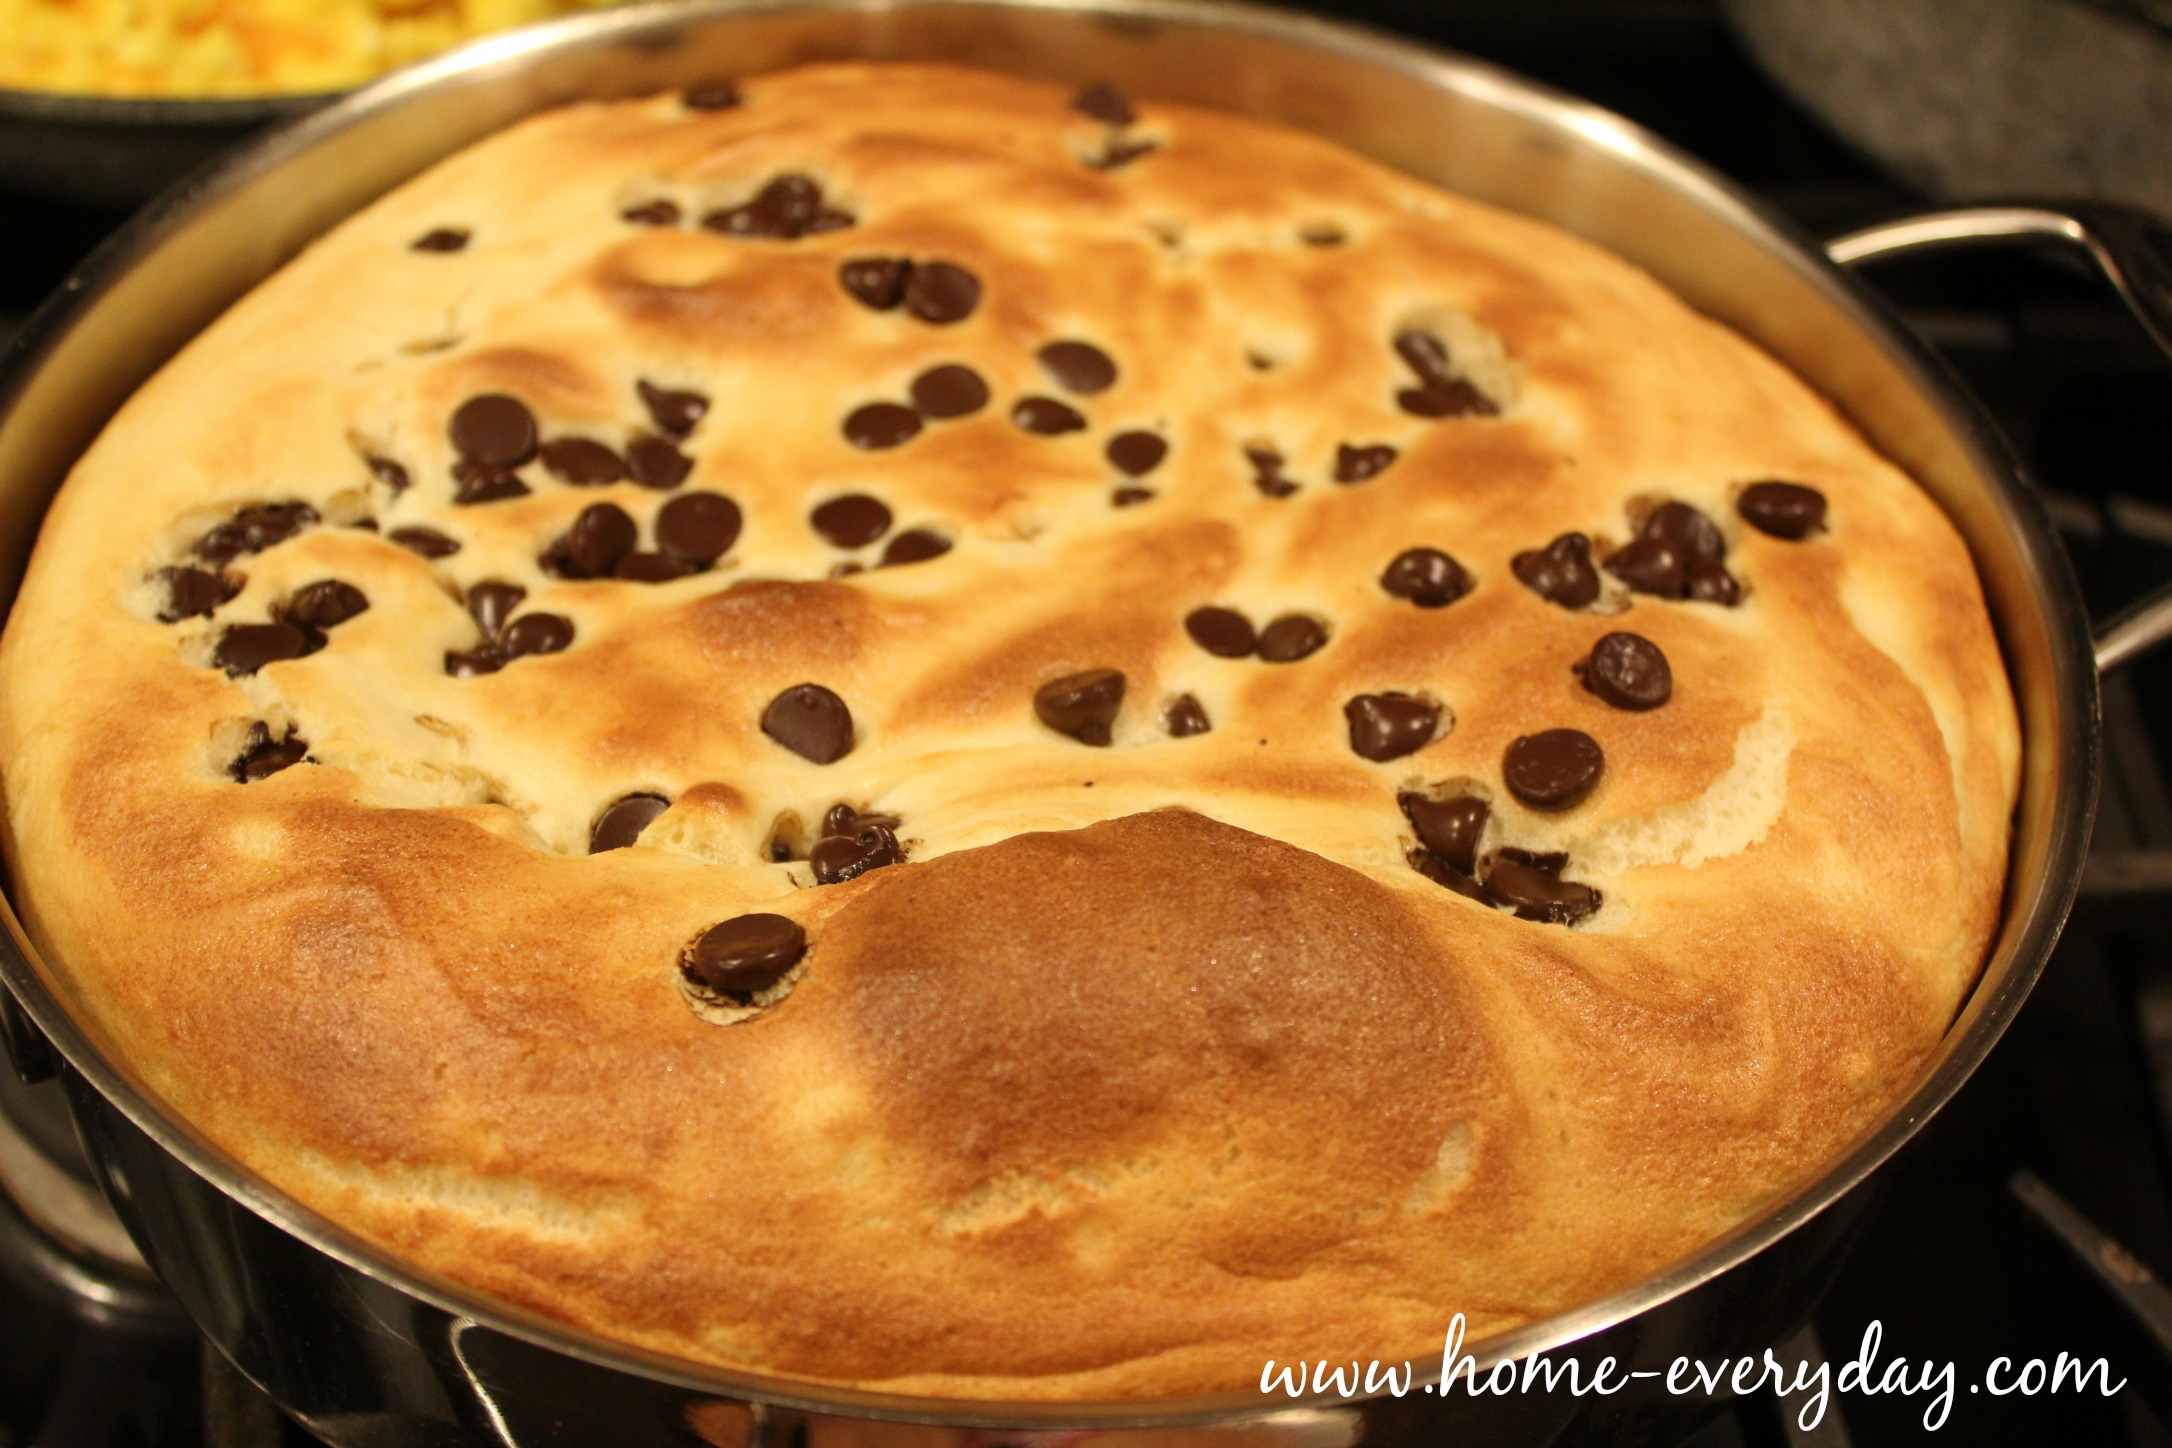
Transfer the pancake to the oven to finish cooking through. Bake for 13-15 minutes or until the top is golden brown and the pancake is fluffy.

Giant Pancake 13

Cut into servings and serve immediately with berries and maple syrup.

Giant Pancake 14

What have you been inspired to cook from a movie?


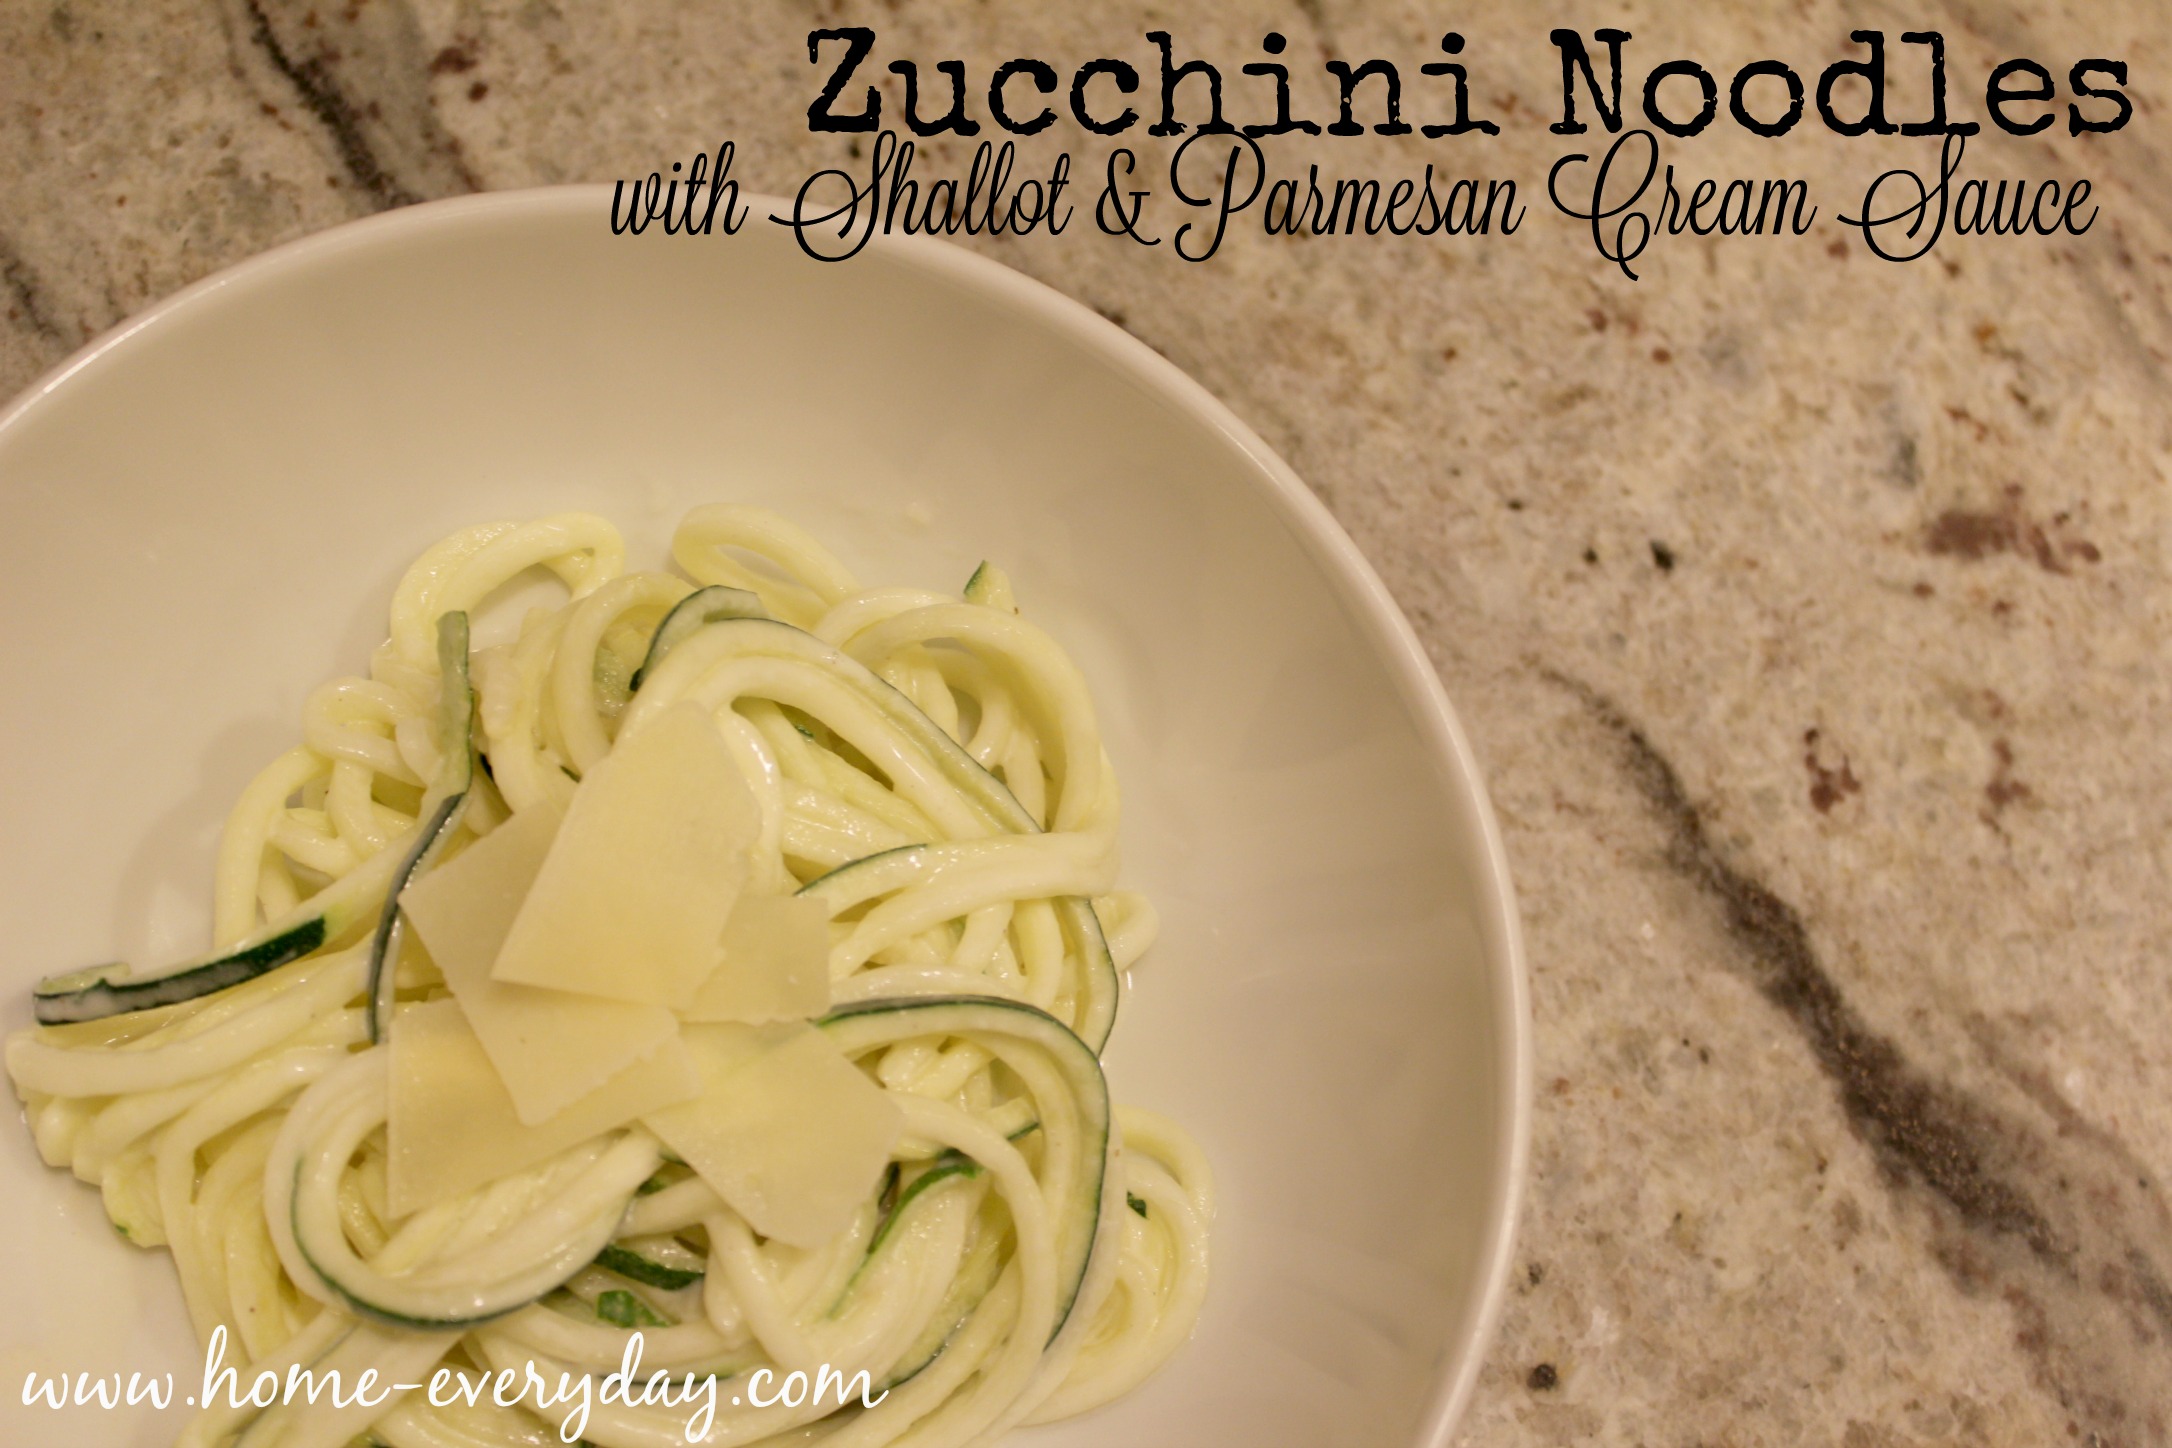
Faux Noodles and Kitchen Gadgets: Zucchini Noodles with Shallot and Parmesan Cream Sauce

A few months ago, sister from another mister, Samantha Schultz of The Peanuts Gang got in a pretty heated exchange. I am a pretty passive person, and even as the presidential primaries edge closer, I still remain pretty even tempered. However, there are two topics on which I will debate fiercely: Food and Television. That’s right. Topics that matter. Samantha and I got into it about kale “chips.” Not whether they tasted ok or not, but whether or not if they were, in fact, chips or not. I was trying to explain to her that while by definition they weren’t “chips” in the American sense of the word, that in the U.K. chips are fries and sometimes fries are baked in the oven. She argued by definition chips are only potatoes deep fried and are delicious. After much heated discussion, eating of various foods, and a discussion about cutesy made up words like “staycation” (which bother me) she swayed me.

Which brings me to vegetable noodles, zucchini noodles, or zoodles (baahhhh!). For those that aren’t on top of their food trends, zucchini noodles by definition is zucchini (or even other veggies like, yellow squash, carrots, eggplant, etc) cut to look like noodles and then covered or cooked in some sort of sauce that might also be used to cover a tradition pasta. As I am a newly converted food purist, I have decided these aren’t “real noodles” they are fancy cut vegetables, but it doesn’t change that they are delicious. So I made my own recipe using one of the many gadgets I received this holiday season. 

Zucchini Noodles Not Really 16

For my birthday and Christmas, I received all things cooking and kitchen. George got me The Pioneer Woman: Dinnertime and my mother-in-law bought me a KitchenAid hand mixer so I can finally make my Grandma Nano’s 7 minute frosting recipe. Brian who loves to be my taste tester, went overboard this year. He decided to purchase for me some new Williams and Sonoma Oven Mitts, a KitchenAid Pasta Press Attachment, and a KitchenAid Spiralizer Attachment.

I have made tons of pasta, peeled lots of potatoes and apples, and have pretty much lived in the kitchen since my birthday. I’m ok with it.

There is one problem, however, someone has to eat all this food I’m cooking and baking. It is the New Year after all, so if I am going to make a cream sauce, perhaps I should give these fake noodles a try. Which is why instead of making another pasta in my pasta maker to go with this Shallot and Parmesan Cream Sauce I made up, I thought I would use my spiralizer to make zucchini “noodles” for something a little lighter (as if you can lighten up a cream sauce containing butter and cream, but I can try dammit).

Zucchini Noodles Not Really 15

Zucchini Noodles (or vegatables) with Shallot and Parmesan Cream Sauce

3 or 4 very large zucchini

1 small shallot minced

1 TBS olive oil

2 TBS unsalted butter

2 TBS all purpose flour

2 cups cream or whole milk

4 oz grated Parmesan cheese 

pinch of nutmeg (1/8 tsp)

Salt and Pepper to taste

Zucchini Noodles Not Really 1

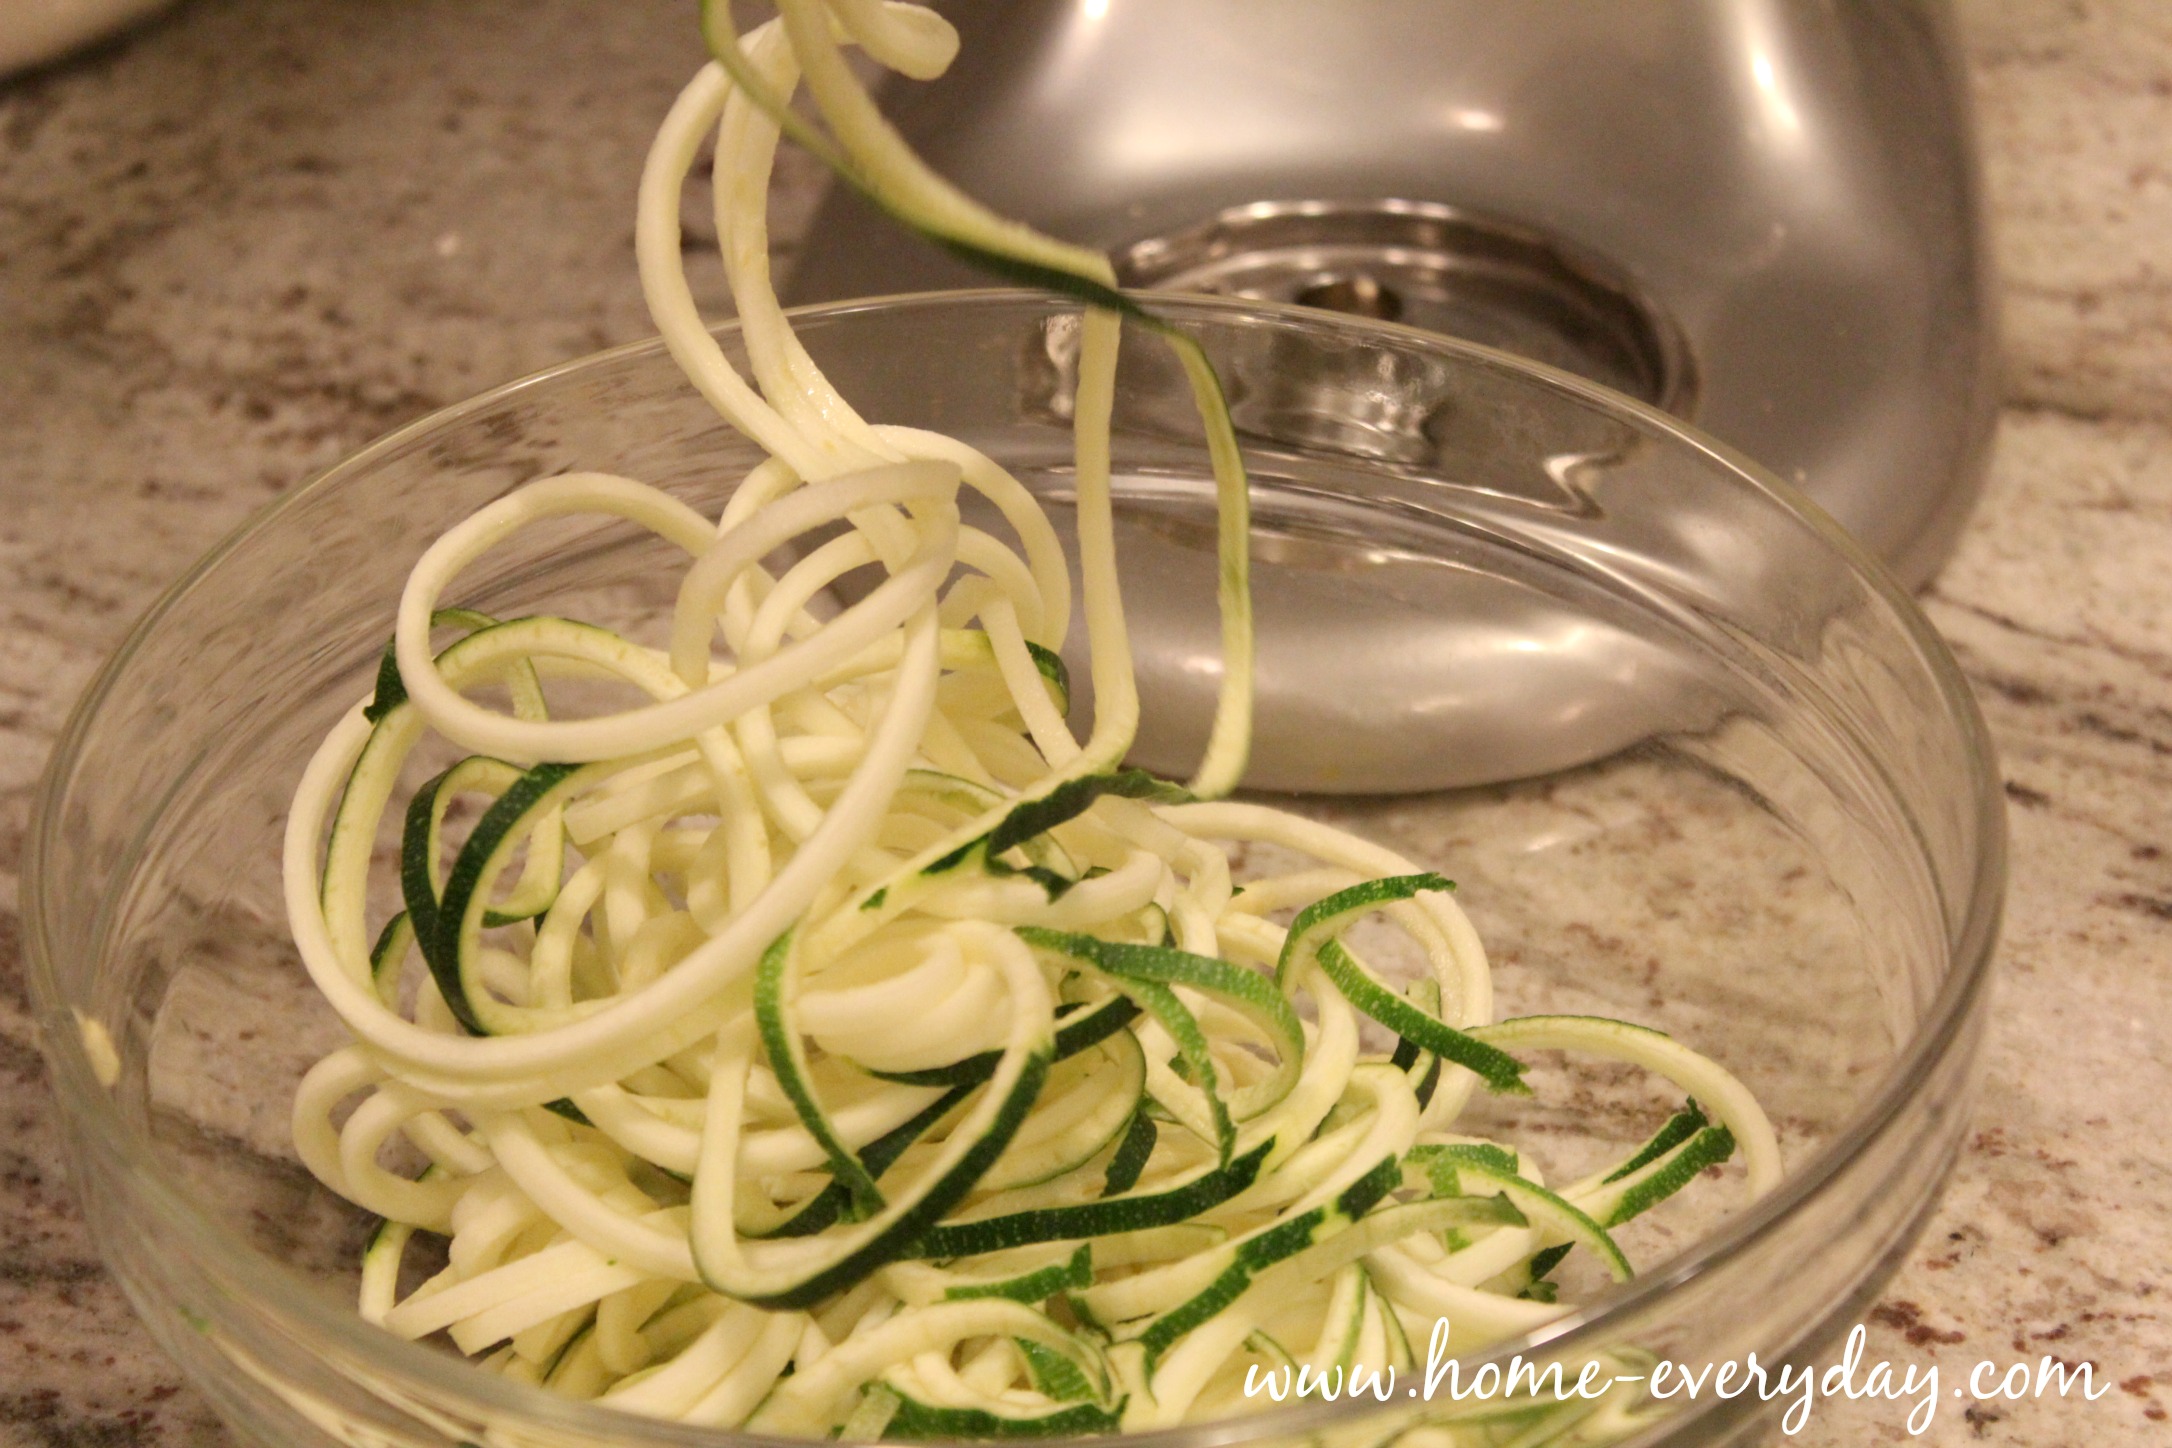
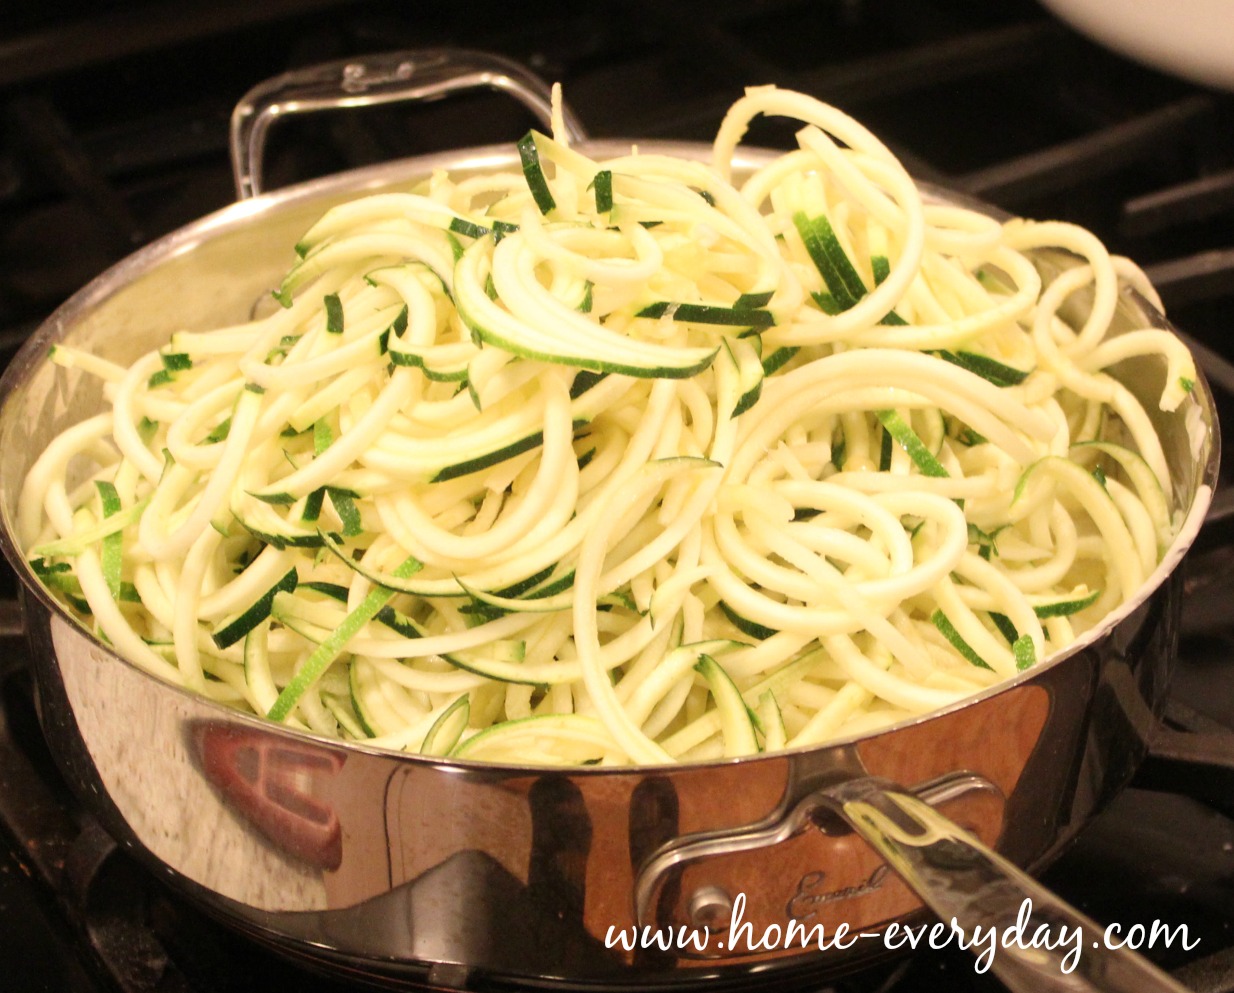
Using your machine of choice (a spiralizer or even a vegetable peeler) cut zucchini into “noodles” and set aside.

Zucchini Noodles Not Really 2

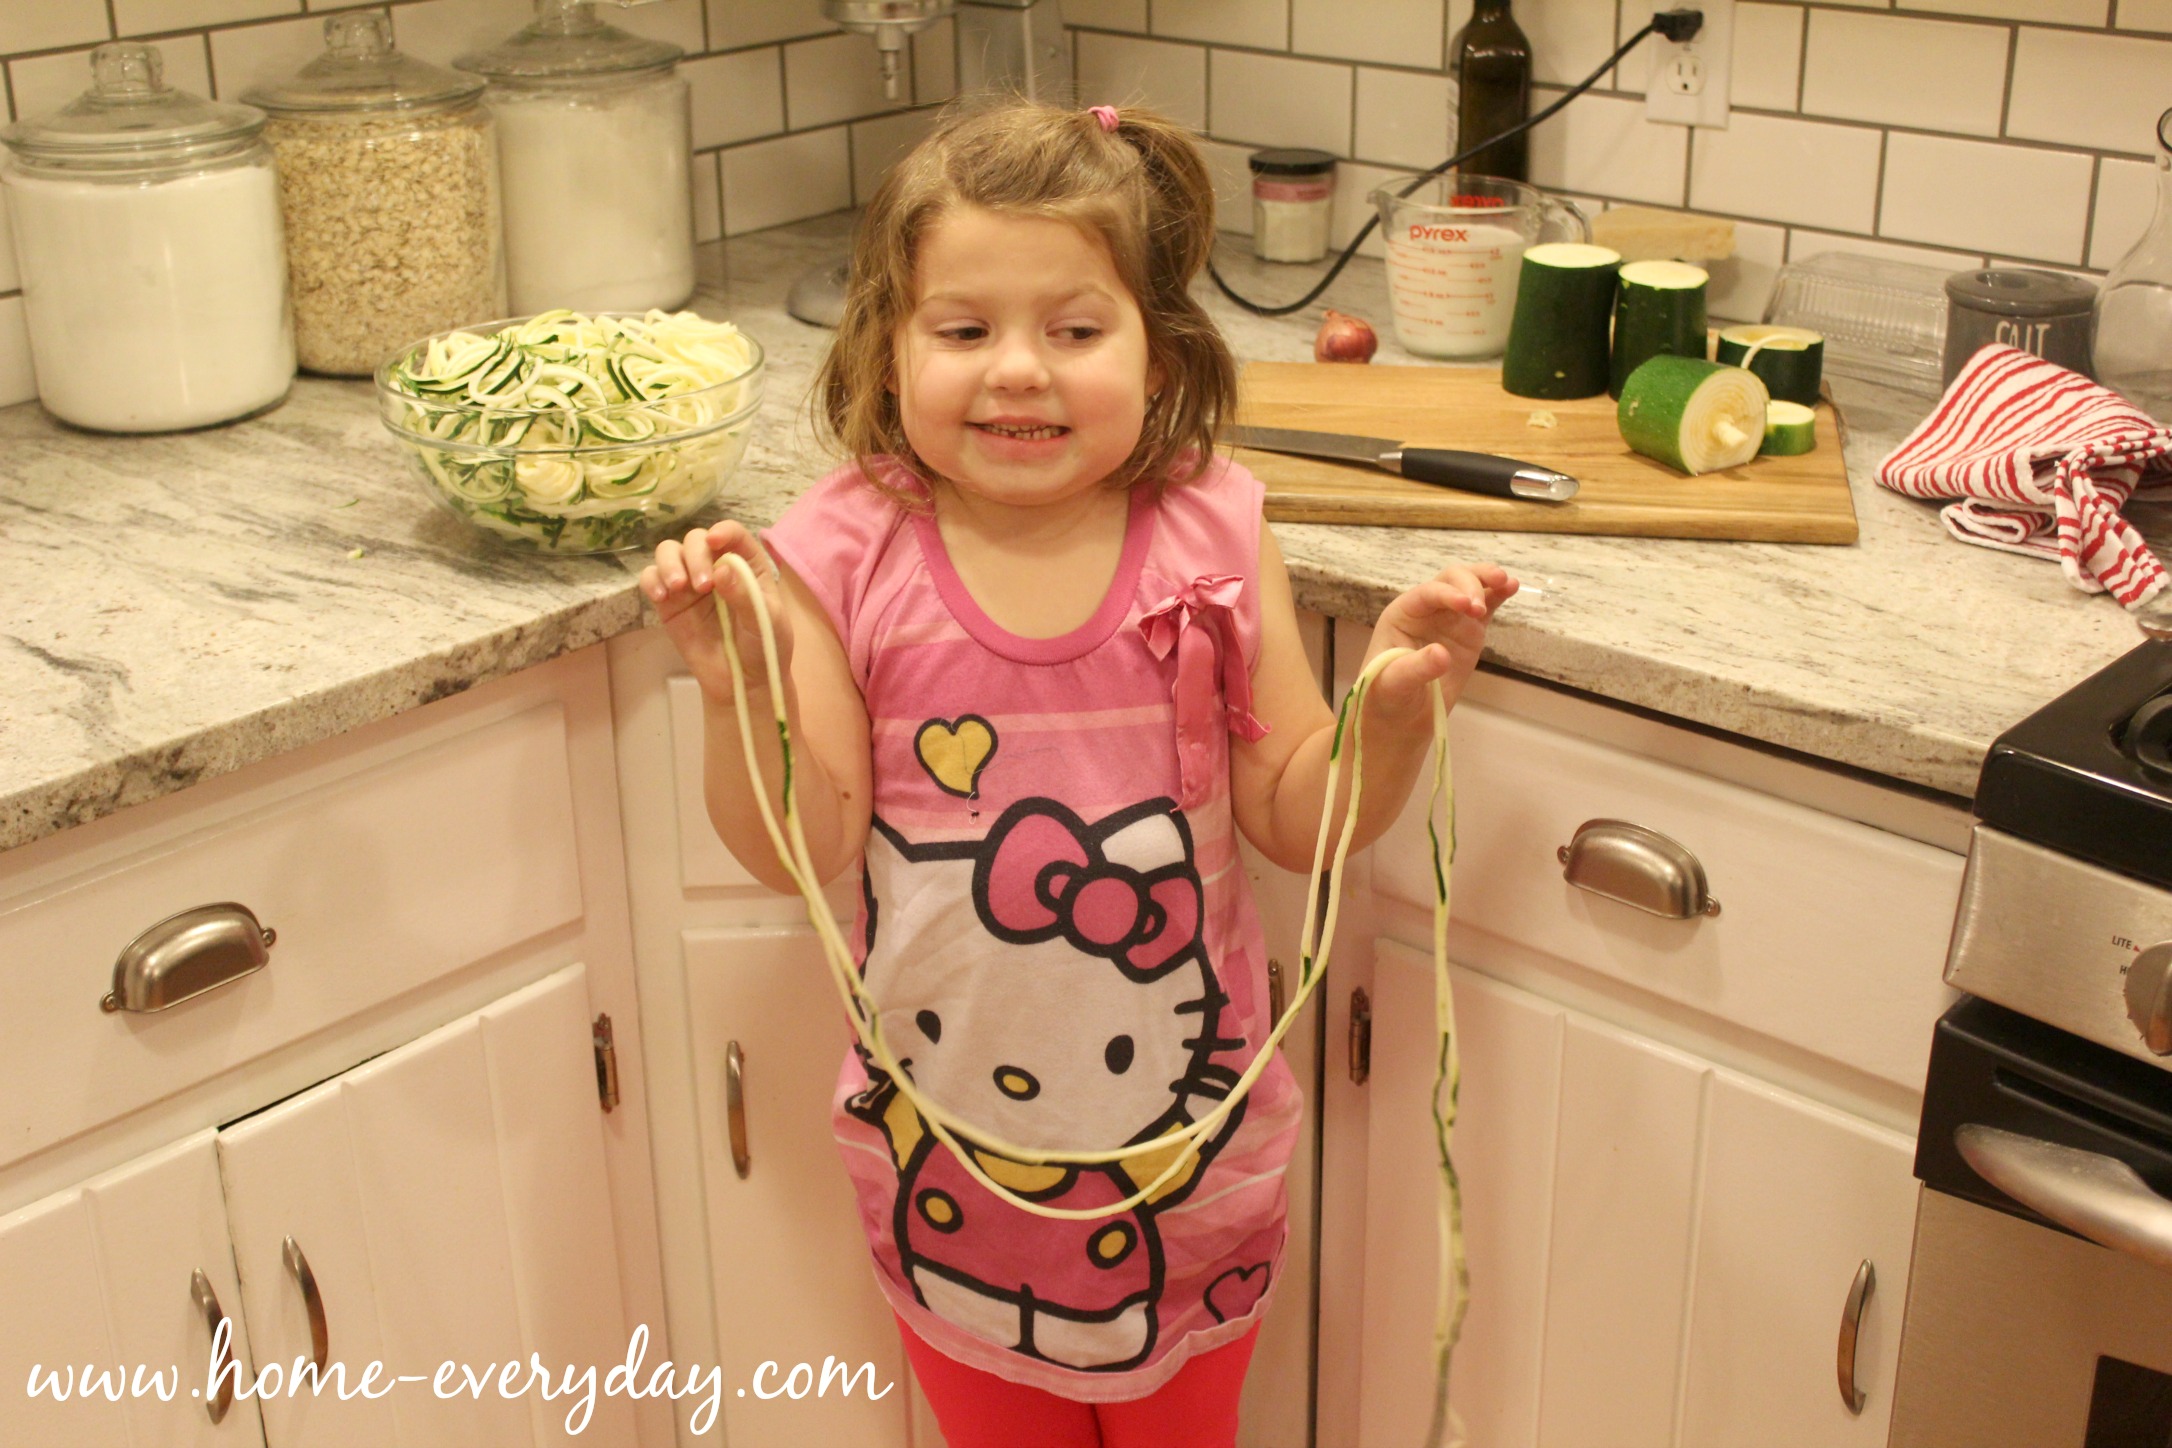
(My sous chef measuring how long the spiralizer can make the zucchini)

Zucchini Noodles Not Really 4

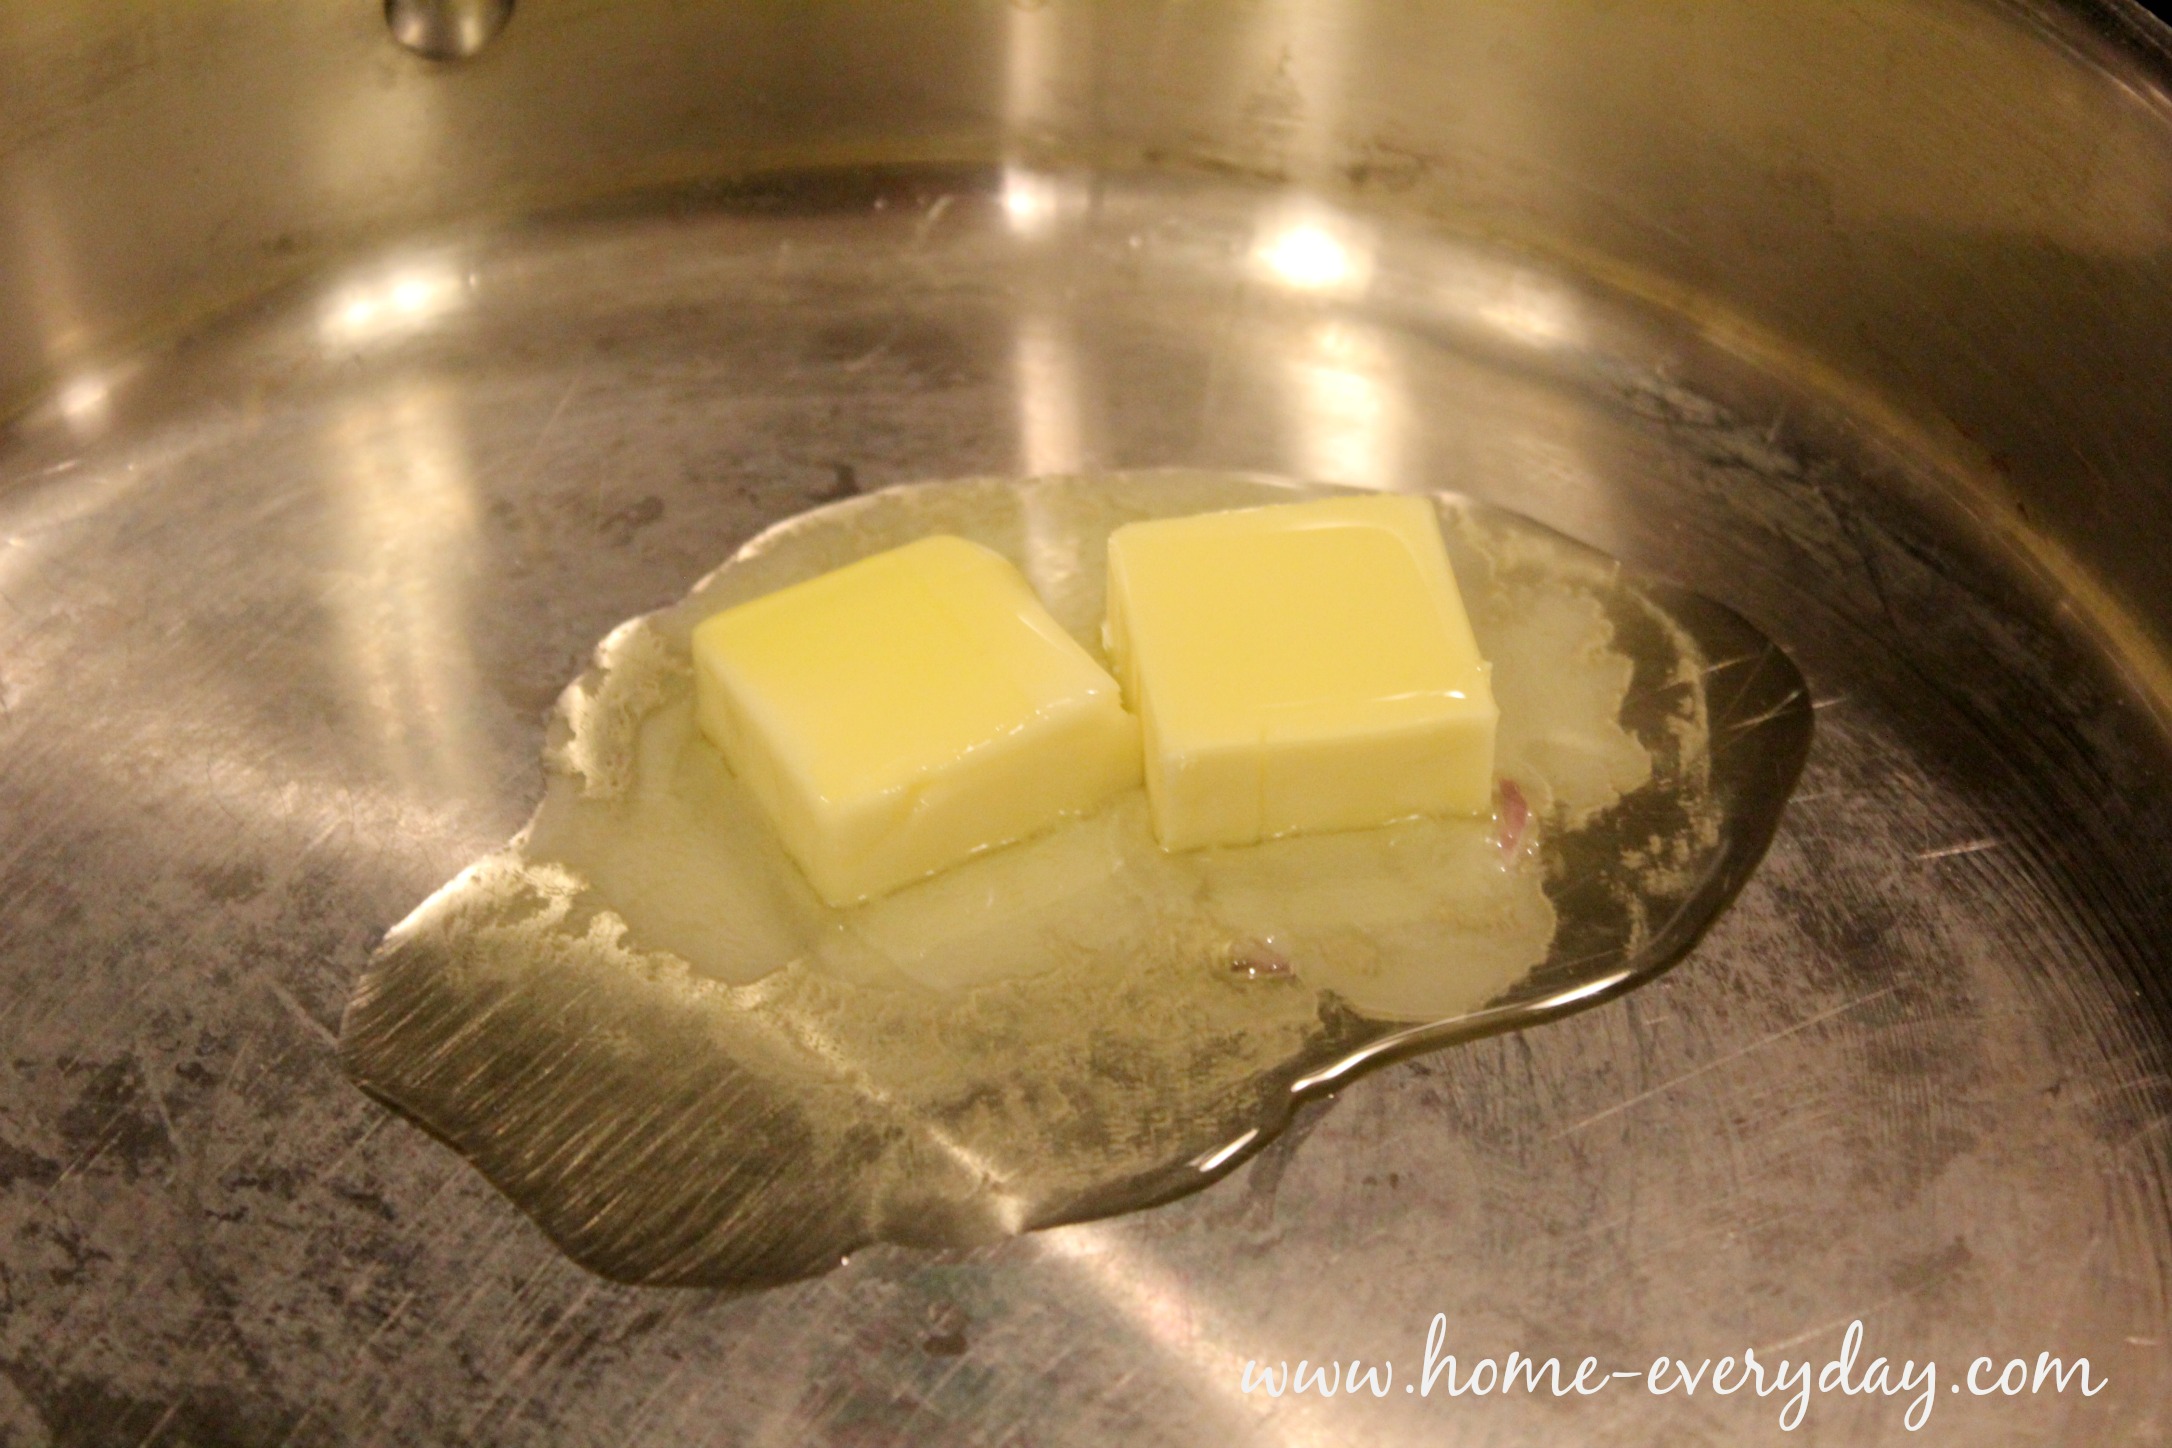
In a large pan over medium low heat, add butter and olive oil.

Zucchini Noodles Not Really 6

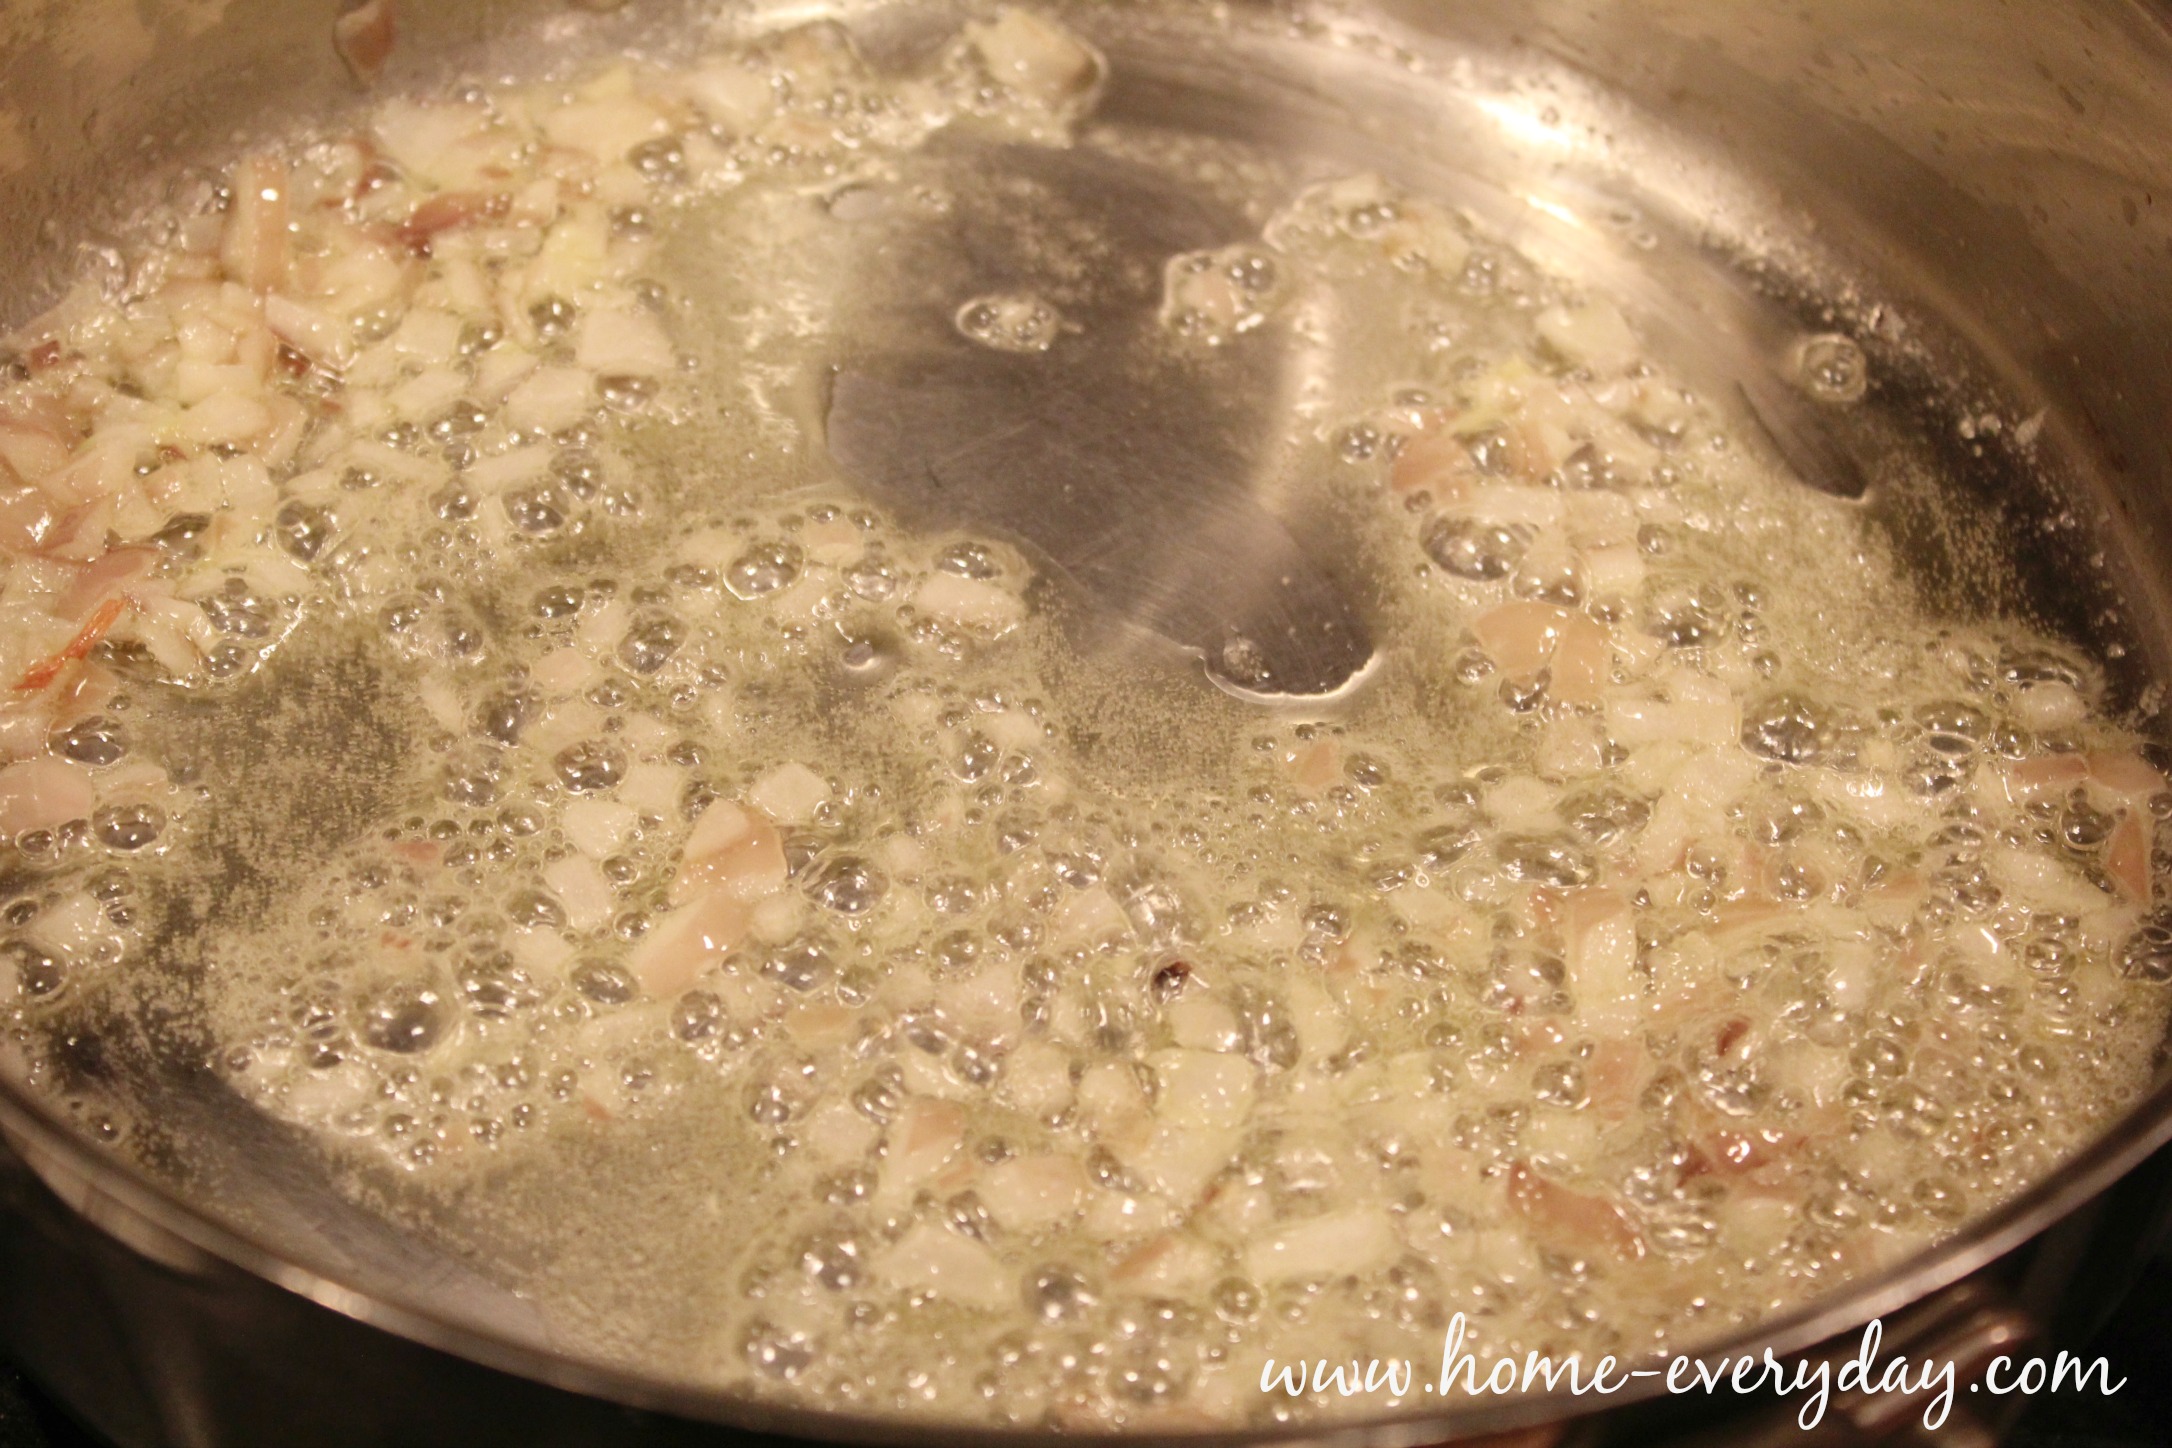
When the butter has melted, add the minced shallot and sauté stirring consistently until the shallot is soft. This should take about 2 or 3 minutes.

Zucchini Noodles Not Really 7

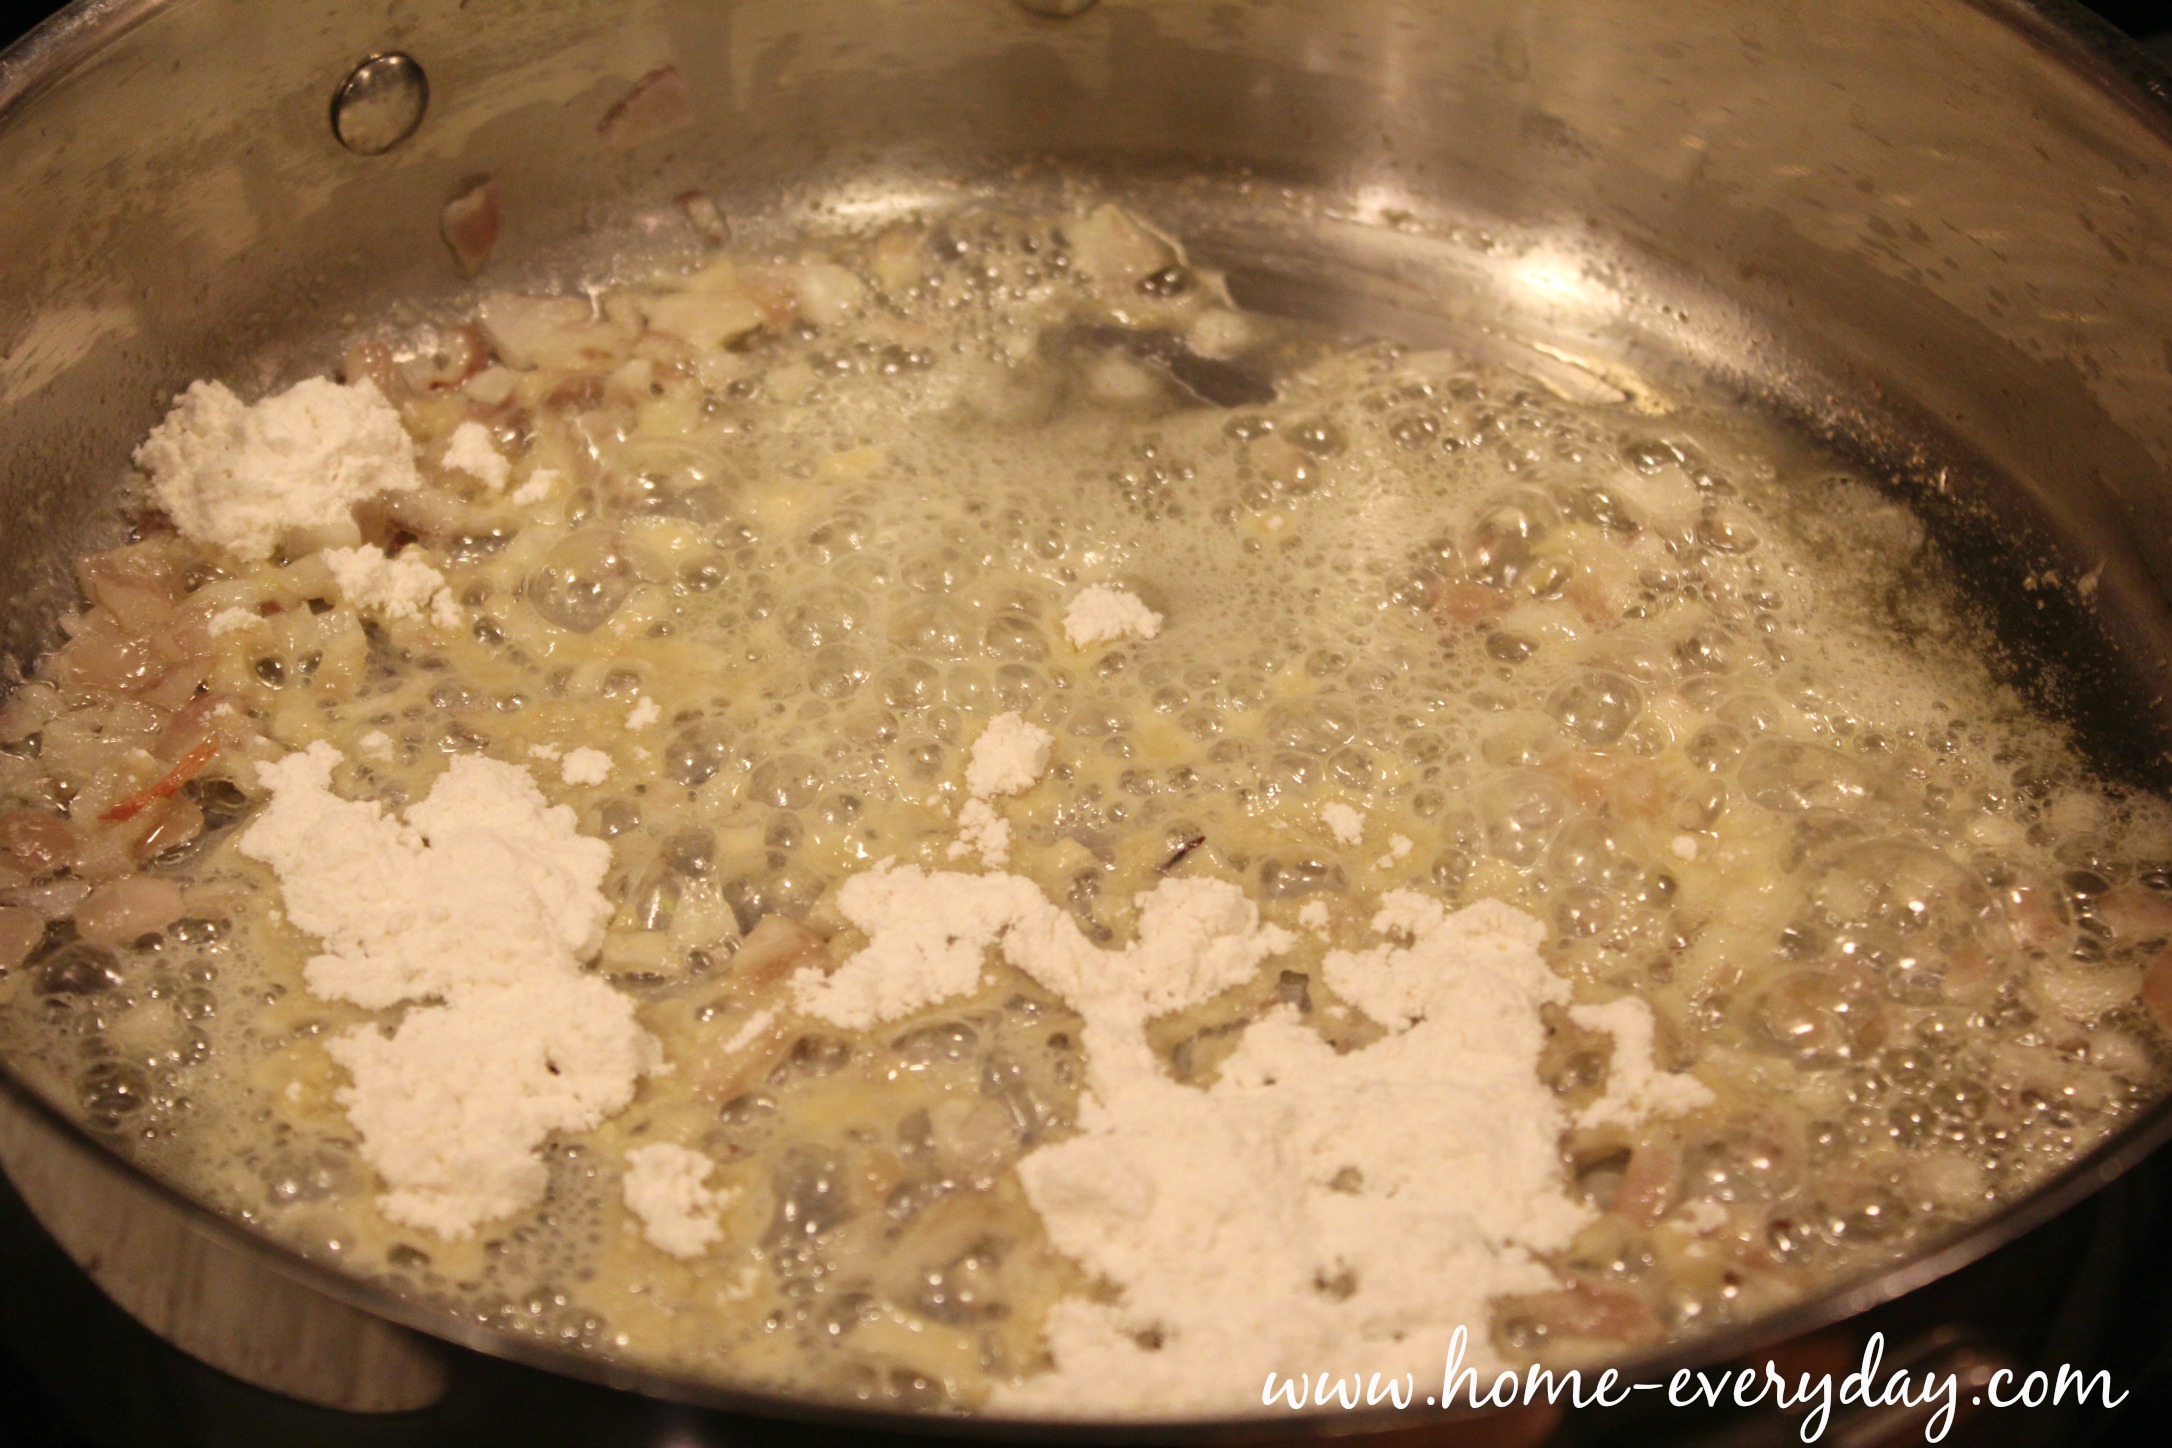
Next, sprinkle the flour into the pan. Stir the mixture for about 1 minute. This helps to create a roux, but also helps to remove the raw flour taste from the flour. 

Zucchini Noodles Not Really 8

Then, slowly stir in the cream. Cook this mixture stirring often until you have a warm sauce that can coat the back of a spoon. This should take about 2 or 3 minutes. 

Zucchini Noodles Not Really 9

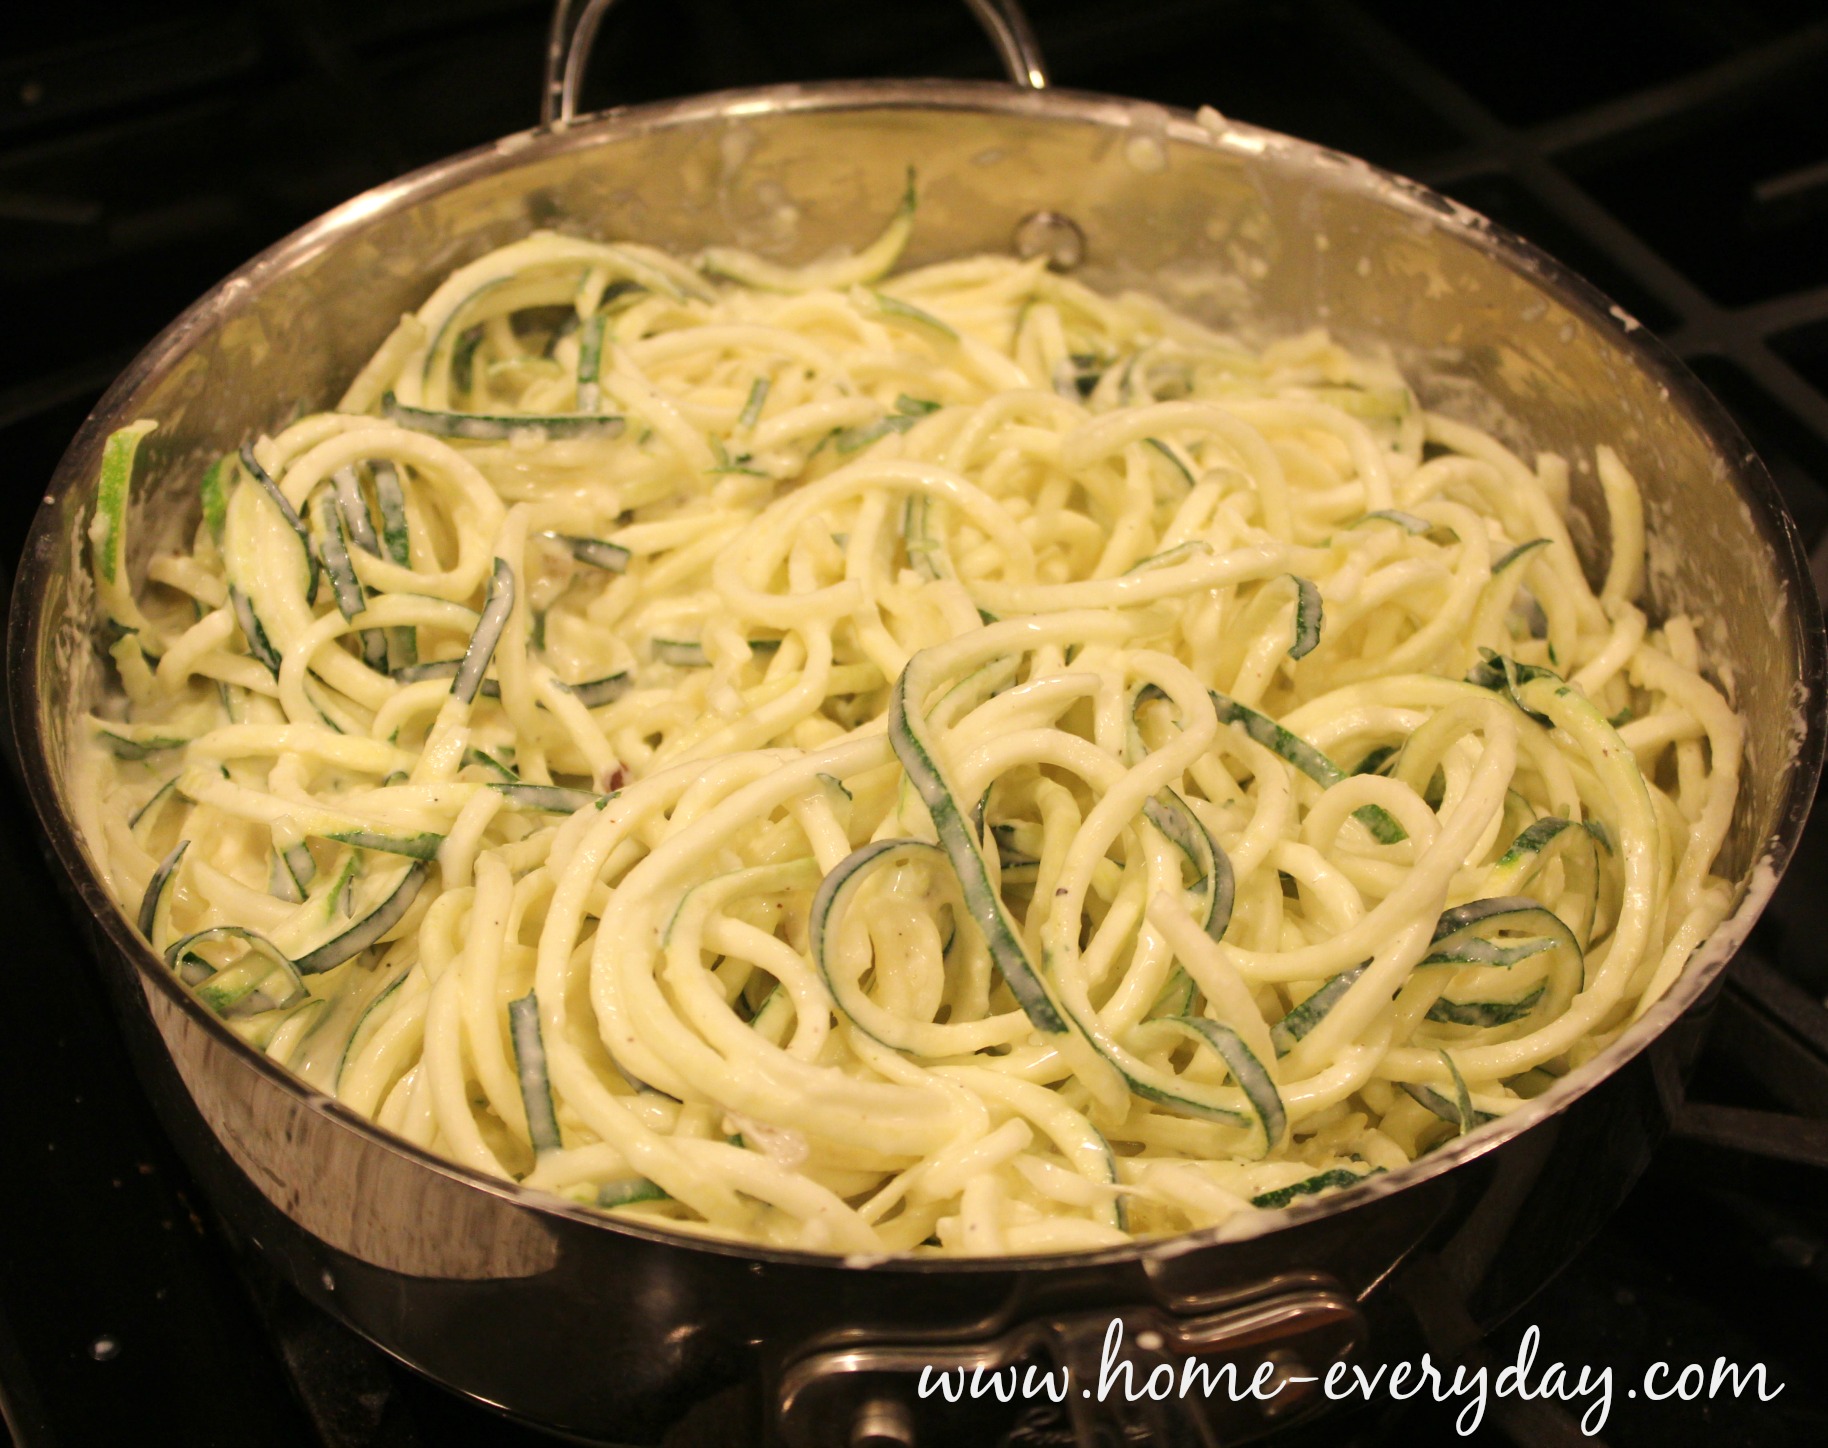
Finally, stir in the Parmesan cheese and toss in the zucchini “noodles”

Zucchini Noodles Not Really 11

Pro Tip: Zucchini is mostly water, so when you toss it in the sauce, don’t leave it in there too long. Just enough to heat through and get coated, otherwise the sauce gets watered down.

Zucchini Noodles Not Really 13

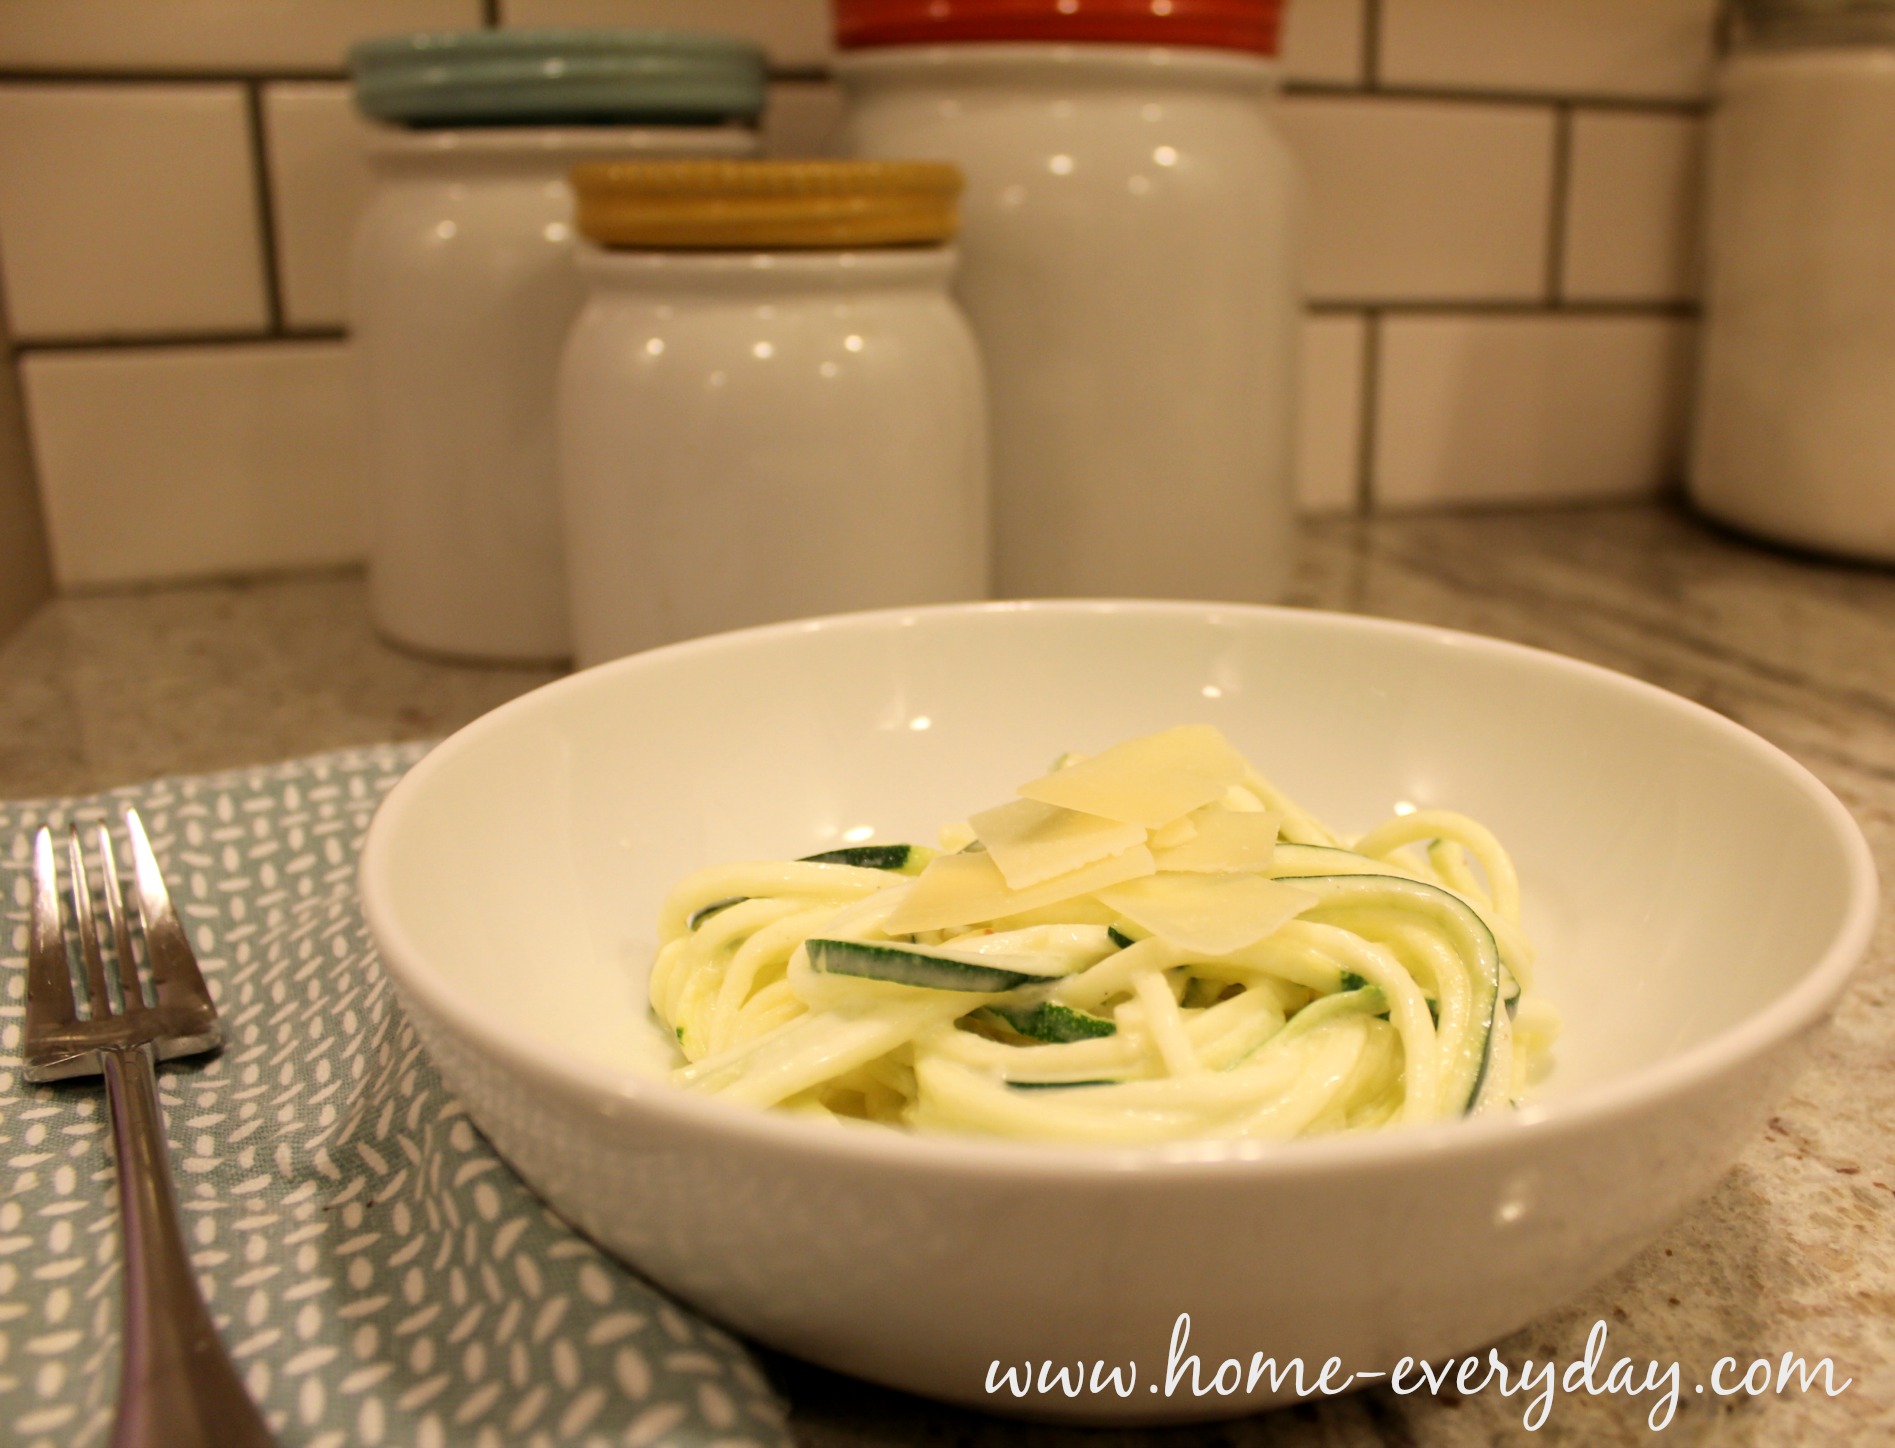
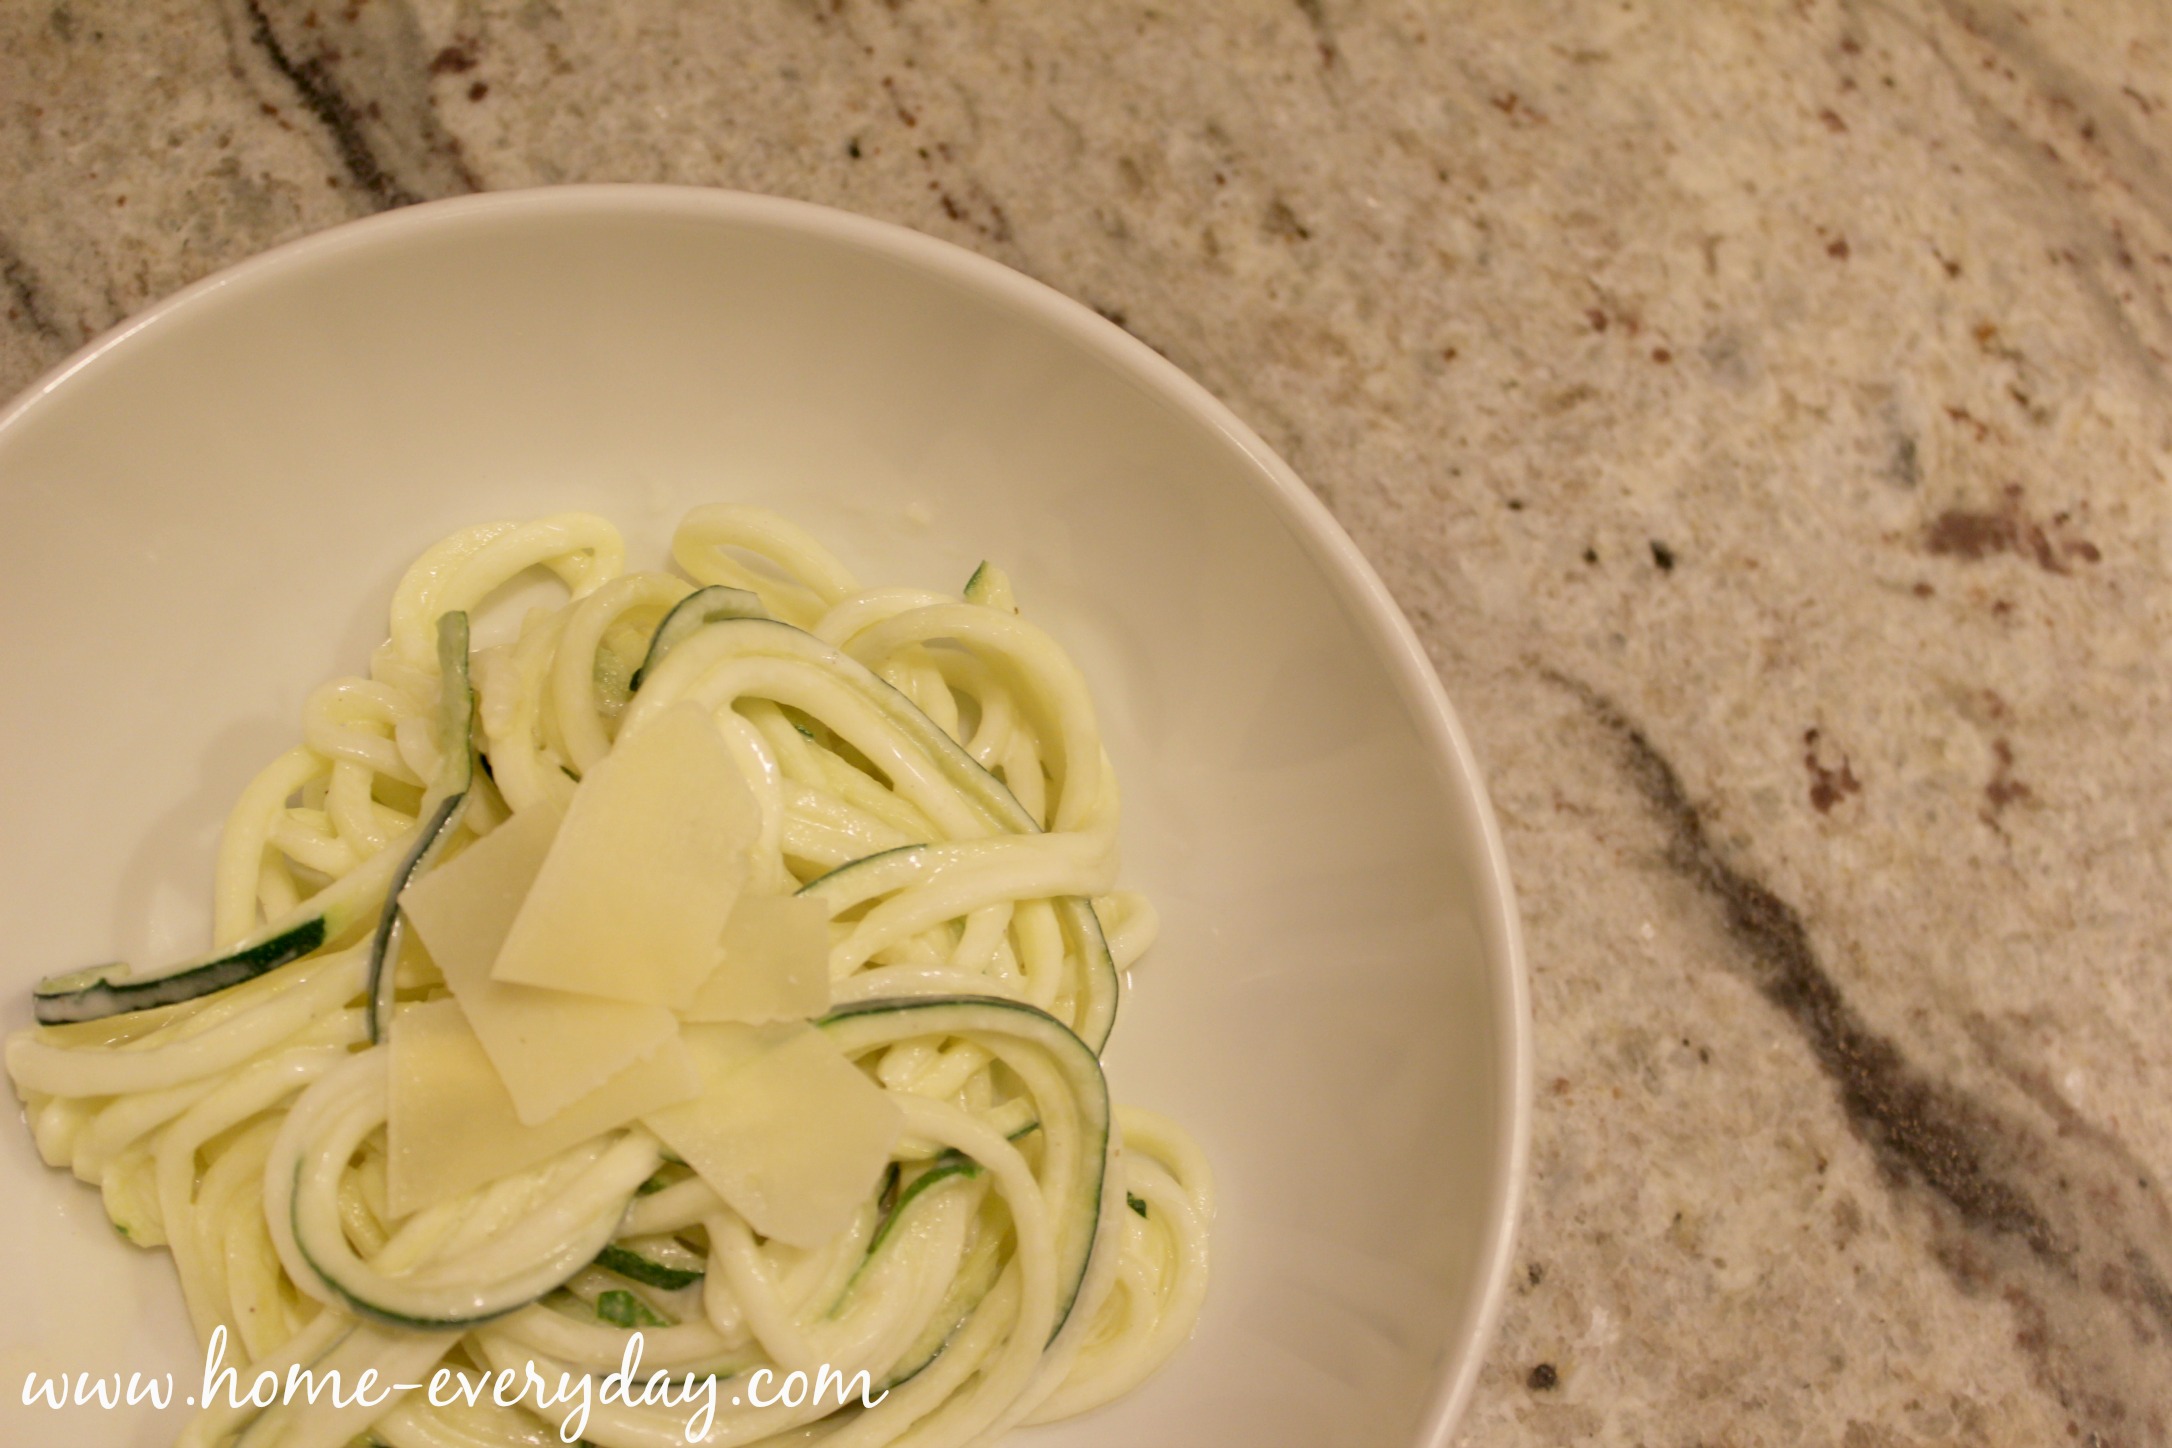
Serve immediately with a few Parmesan shavings for garnish.

Zucchini Noodles Not Really 14

My taste tester, Brian said it was delicious, but he wished it was a bit heartier and suggested next time I add some chicken. I was thinking maybe even a chicken or turkey sausage? What say you? Would you try faux noodles? 


Why Cooking Oil Matters

This post was compensated with products from NOW Foods, however what I whip up and opinions regarding the products are 100% my own.


When I first began cooking, I never really thought of cooking oil that much. I would use what was listed in the recipe, often substituting an oil I already had on hand. Then, when my kids were born and were diagnosed with food allergies, I started to become much more mindful of nut oils and oils containing soy, and avoiding them at all costs.

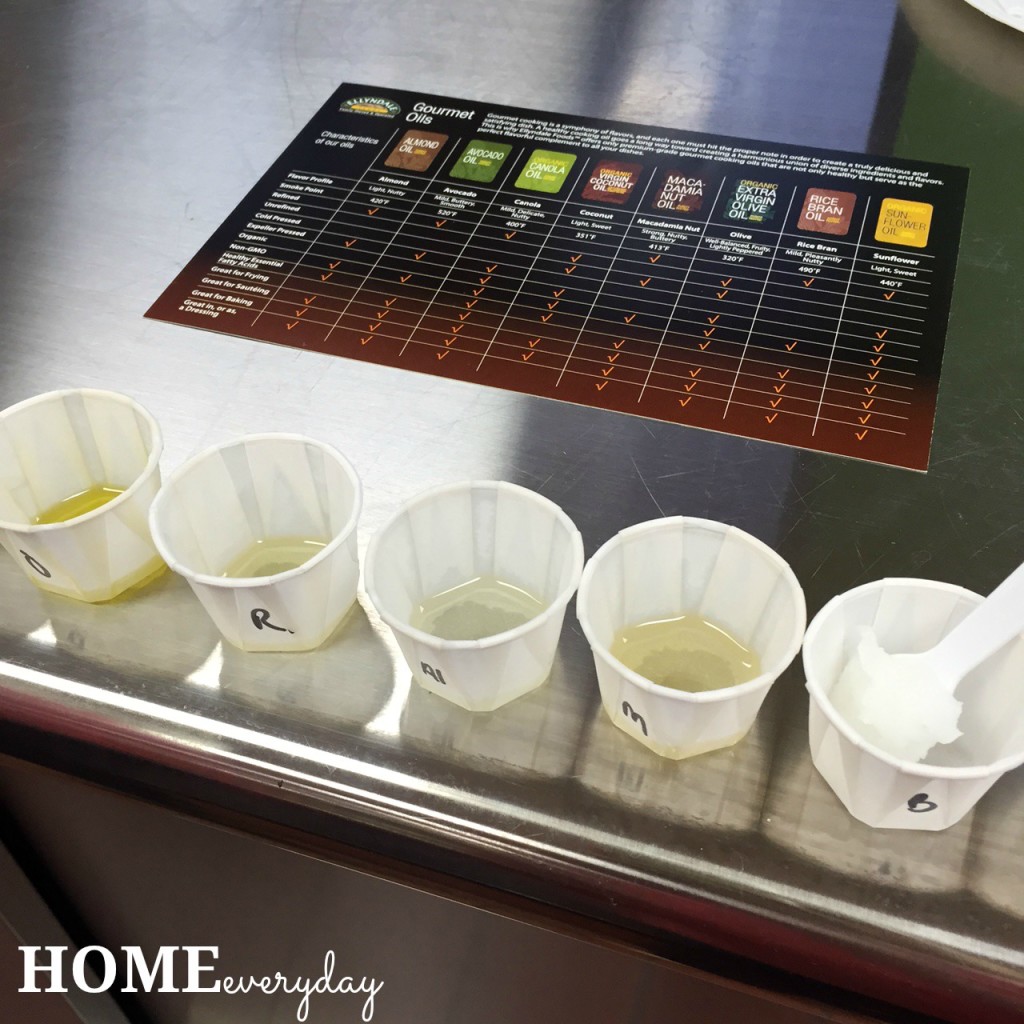
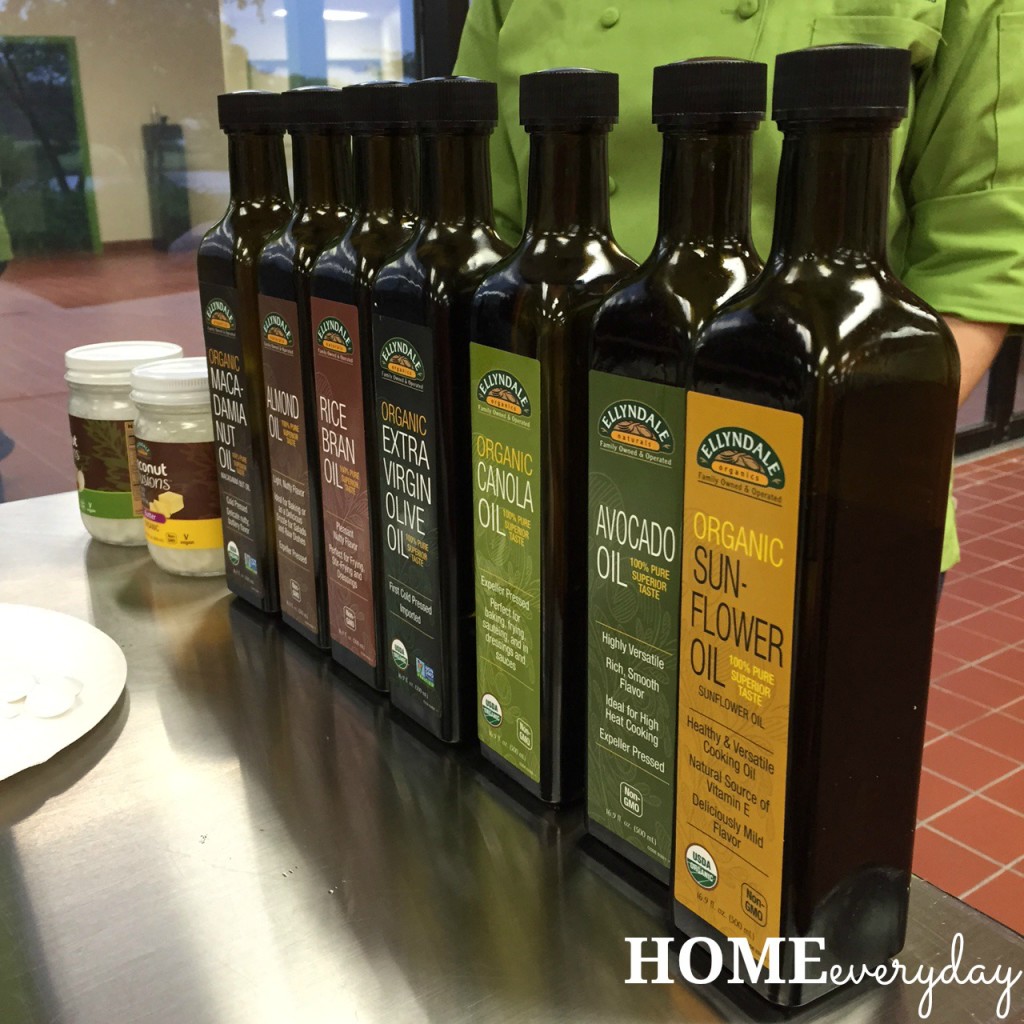
Then, as I became more of an intermediate at-home chef, I stuck with my three main cooking oils for baking, sautéing, and roasting. I used extra virgin olive oil (usually a middle of the road brand that seemed good), a canola oil for when I needed to cook at higher temperatures, and butter for when I wanted to add a bit of flavor to things like eggs. I gave very little thought to the quality, flavor, or health benefits to any of the oils I was using, until I visited the NOW Foods kitchen and had my first oil tasting.

I couldn’t believe the different tastes of each oil. I also learned about smoking points and health benefits.


Now, after cooking for a couple weeks with different kinds of oils, I cannot believe the change in taste in some of my favorite every day recipes. Also, I now know that some of these recipes will have added health benefits, and will offer some benefits to my friends and family who have dietary restrictions too!


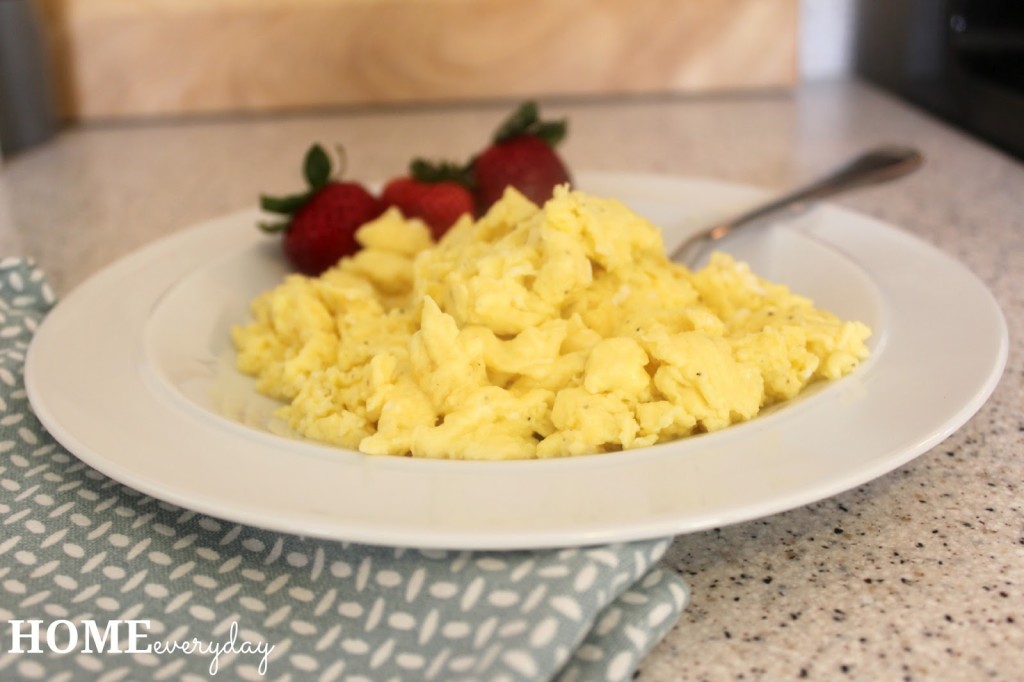
For example, one of my favorite go to breakfasts is scrambled eggs. I make them probably four mornings a week.


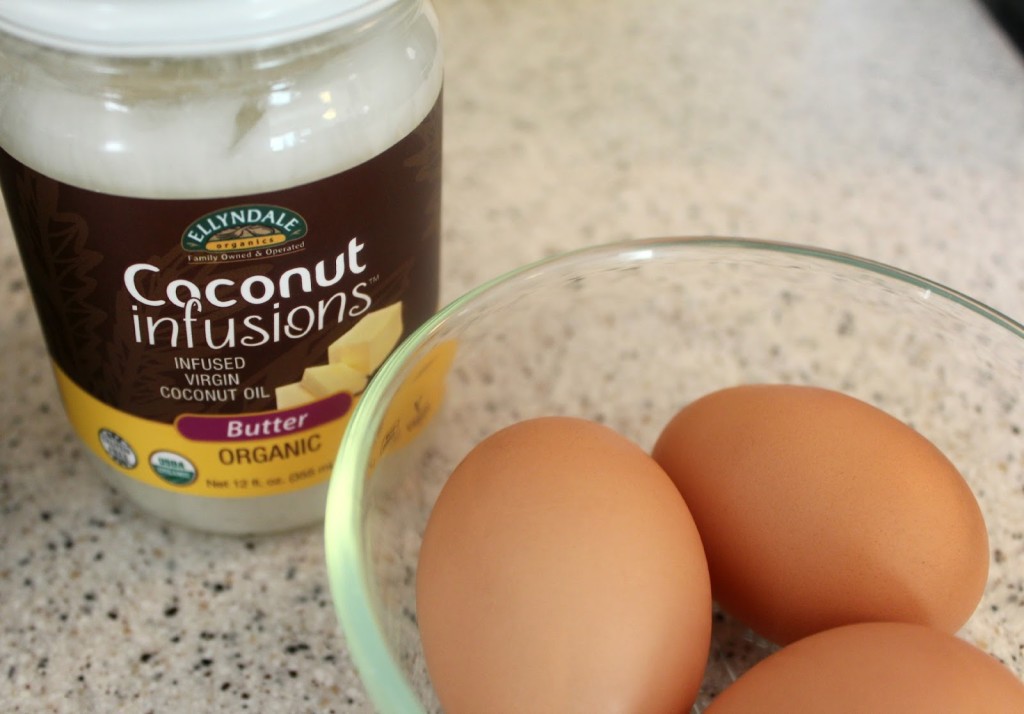
In the past, I would use a pat of butter in the pan, which while it adds flavor, it can burn easily, adds unnecessary fat and empty calories and isn’t helpful for those with dairy allergies. Ellyndale Organics has created Coconut Infusions virgin coconut oil that tastes like butter.


It is  also a one to one substitution for butter which means it can be used in all of your favorite recipes where butter is used, and is completely dairy free (vegan). Also, coconut oil has so many healthy
components, I don’t think I will ever use butter to make eggs again.

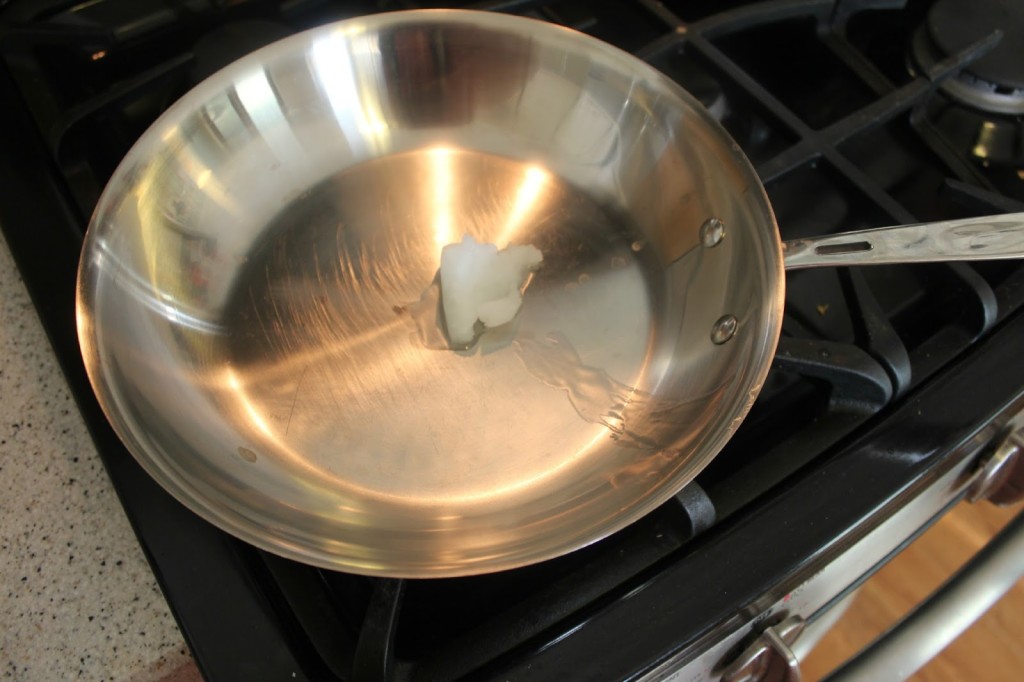
I just put about 1 or 2 tsp in a pan over low heat.


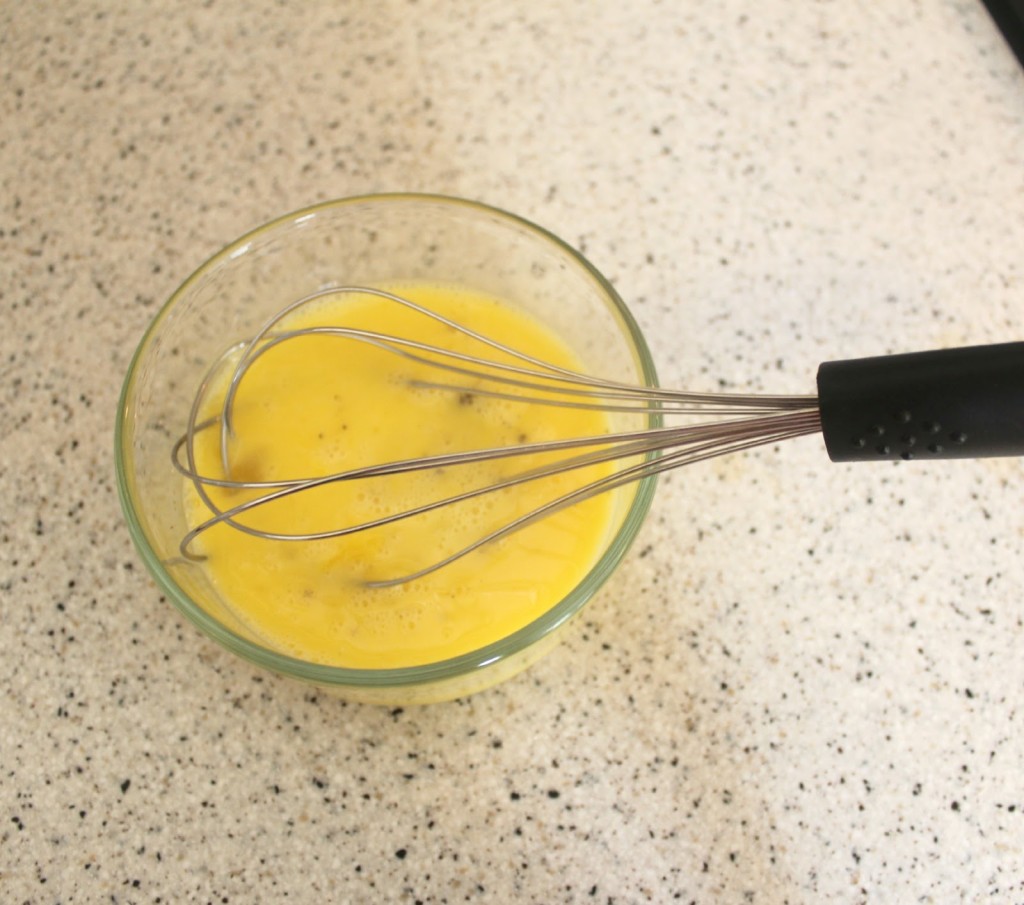
Add the eggs which I have whipped up with a splash of water, a pinch of salt and pepper (I don’t even add milk anymore that’s how good this oil is!)


Cook low and slow stirring constantly until perfect.


These eggs are my new favorite breakfast, packed with protein and perfect for when I want something hot in a hurry.

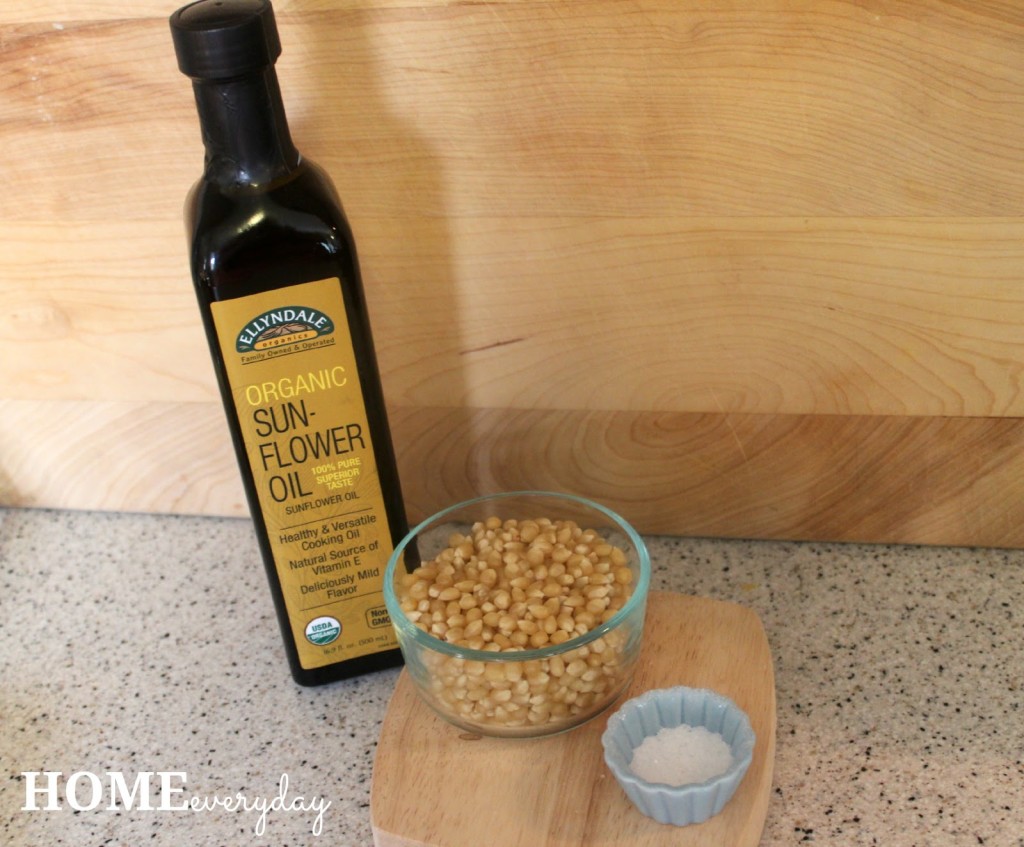
Another favorite regular thing in our house is popcorn. It is a snack eaten almost every day. I like to make stove top popcorn because it is healthy, easy, and doesn’t have a bunch of other artificial things like preservatives, flavorings, and possible allergens that store bought and microwave popcorn have in it.

For this, I used the Ellyndale Organics Sunflower Oil which is mild in flavor and perfect for delicate popcorn. It also won’t complicate any toppings you would want to add to it yourself.


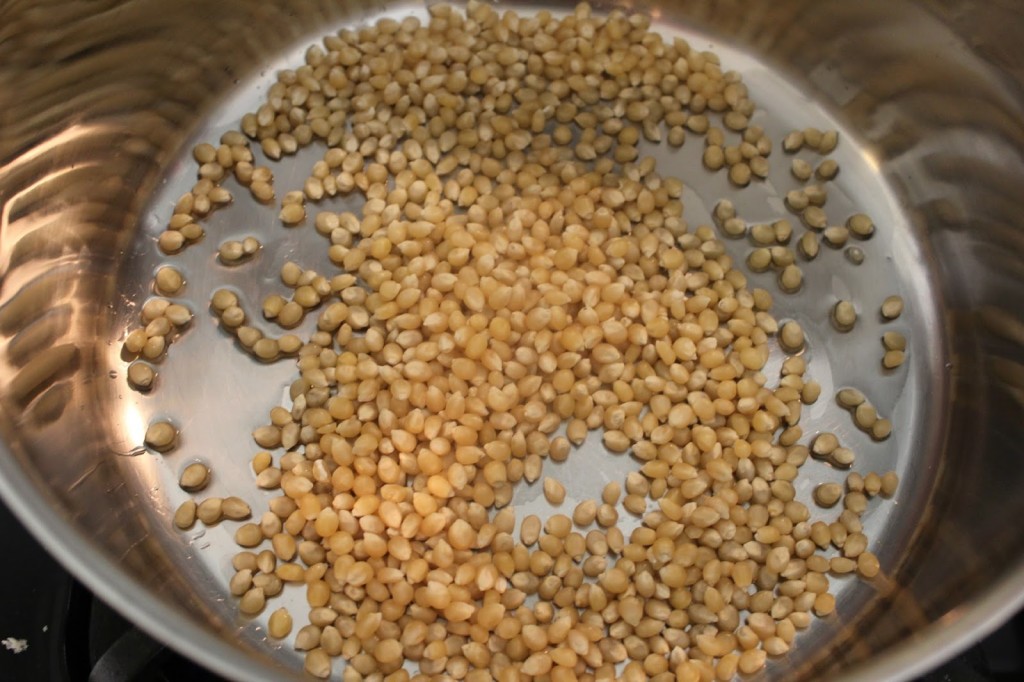
I first put a tbsp of oil in the bottom of a large heavy bottom pot with a tight fitting lid over medium heat. Then, I add about 1 cup of pop corn kernels.


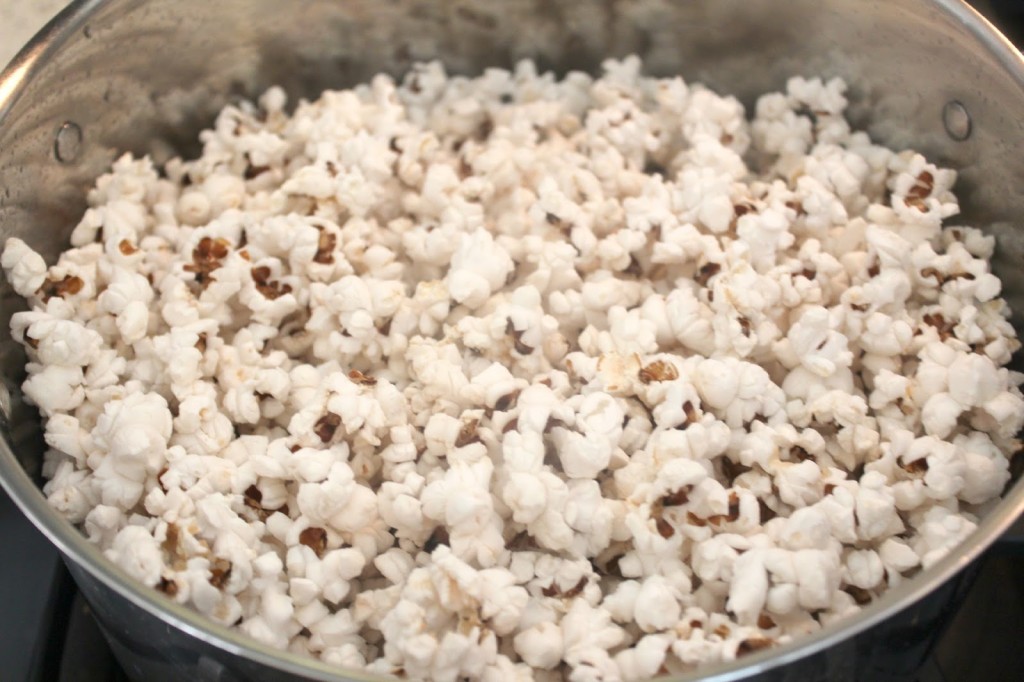
I put the top on the pot and shake the pot occasionally so as to not burn the kernels. After about 10 to 15 minutes the kernels start to pop. Keep shaking the pop with the lid still on, and when the popping slows down, remove from the heat.


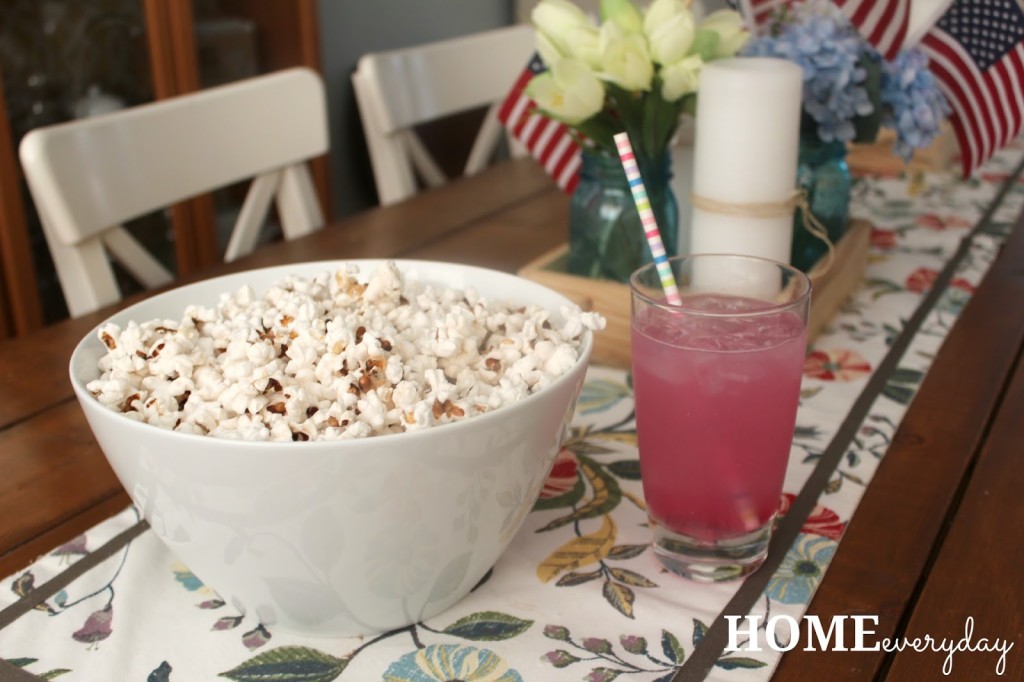
Pour the popcorn into to a bowl, add salt or pepper or your favorite topping, and serve with your favorite beverage (I did a NOW Food Tropical Punch Slender Stick with some cold water).


After cooking some of my favorite everyday favorites as well as some dinners with these different oils, I don’t think that I will be so careless with my oil choices again.

If you like this post and would like to read more about all things domestic with a touch of humor, become a Home Everyday follower! For blog updates or to see other places I write such as ChicagoNow or Chicago Parent follow Home Everyday on FacebookTwitter, and Pinterest.

Overnight Oats: How I Was Finally Convinced Chia Seeds are Ok

This post was compensated with products from NOW Foods, however what I whip up and opinions regarding the products are 100% my own.

I am always willing to try new things. I try not to be picky. Since having children, I am especially conscience of this. I want the kids to know that trying new foods should not be that scary, and they might find something they actually like if they just try.

However, I have always had a problem trying Chia Seeds. For some reason they freak me out. I have a mental block. What is ridiculous, is that they are so tiny and they are so incredibly healthy.


I know what it is, though. When I was a little kid, I got horribly sick one time. I was prescribed a medicine that could only be given to me in a capsule form. I was way too little to be taking capsules as I was used to taking liquid medicines. So, the pediatrician told my parents to break open the capsules and put the medicine in applesauce. Then, I would easily be able to swallow the medicine. I would be fine.

I was not fine.

The texture of the little seed like medicine in the applesauce made me gag. It was terrible. AWFUL! Since then, I have not had applesauce or anything seed like. I know. It was like 30 years ago, and I am still harboring this not even that traumatizing experience.

When I saw we had Chia seeds in our NOW Foods gift bag, I told myself, this was it! The research began, and here we are. I started slowly. At the NOW Foods event we used them as a binding ingredient for the quinoa burgers, and I didn’t even know they were there. Perfect! Next, I started adding them to smoothies. HOORAY!

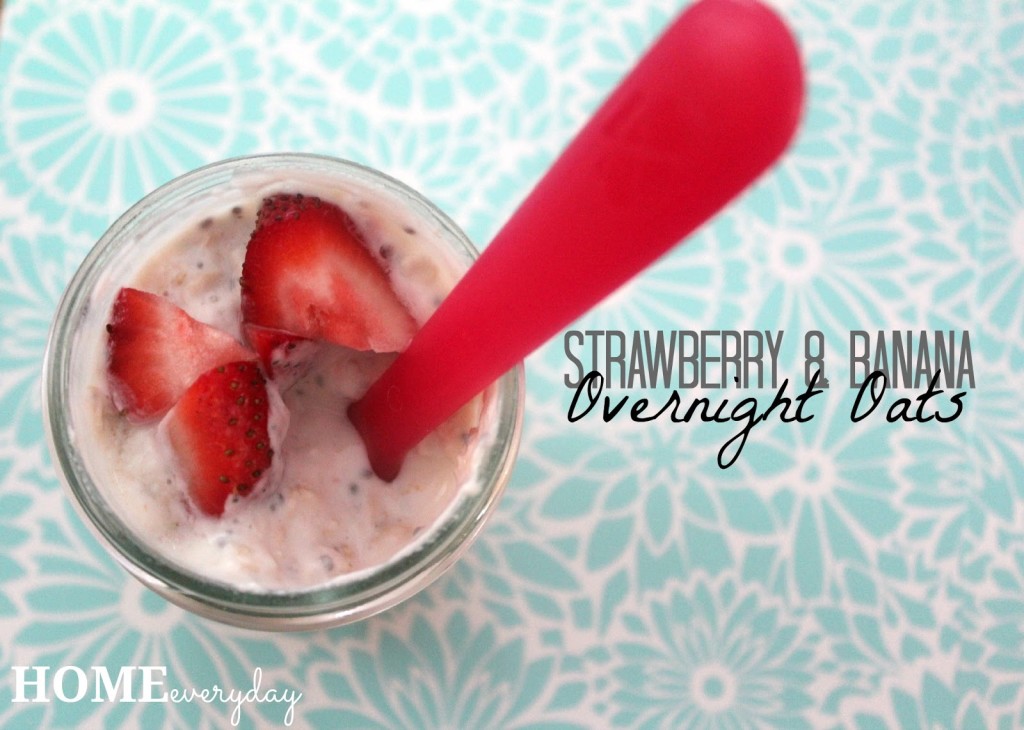
Then, I made overnight oats combining a few of my favorite flavors, vanilla, strawberry, and banana. This has helped tremendously with my fear of Chia Seeds, and now I think I am over it.


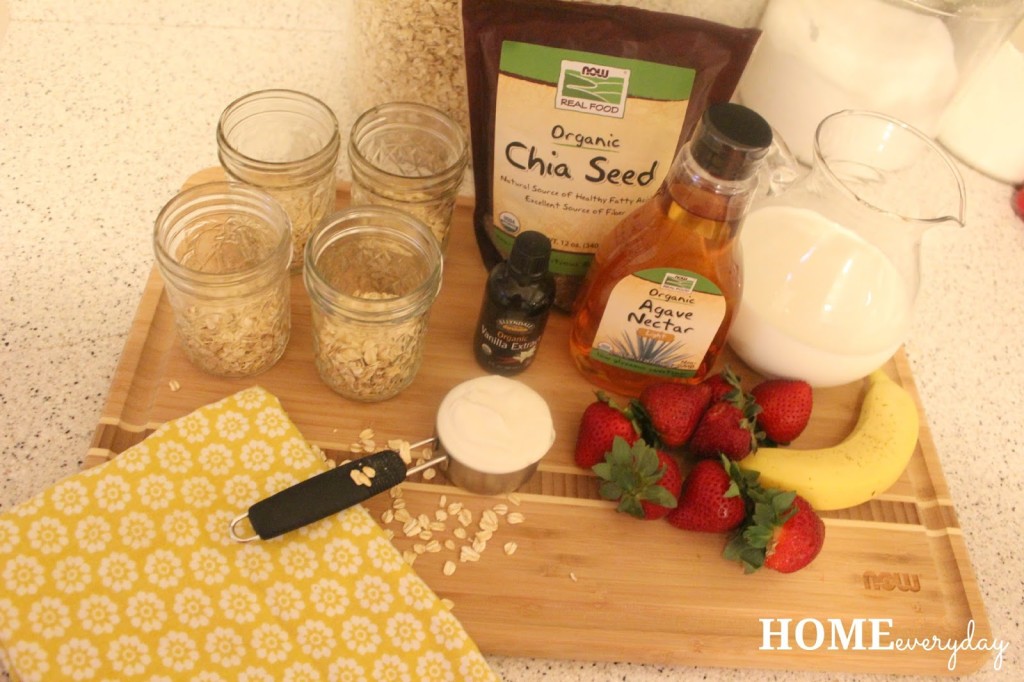
Strawberry Banana Overnight Oats (makes 4 servings)
1 1/3 cup oatmeal
1 1/3 cup milk (you can use almond or dairy)
1 1/3 cup Greek yogurt
2 tsp Ellyndale Organic Vanilla Extract
4 tsp NOW Real Foods Organic Agave Nectar
2 tsp Organic Chia Seeds
1 large banana chopped into small pieces
8 or 10 strawberries cut into small pieces


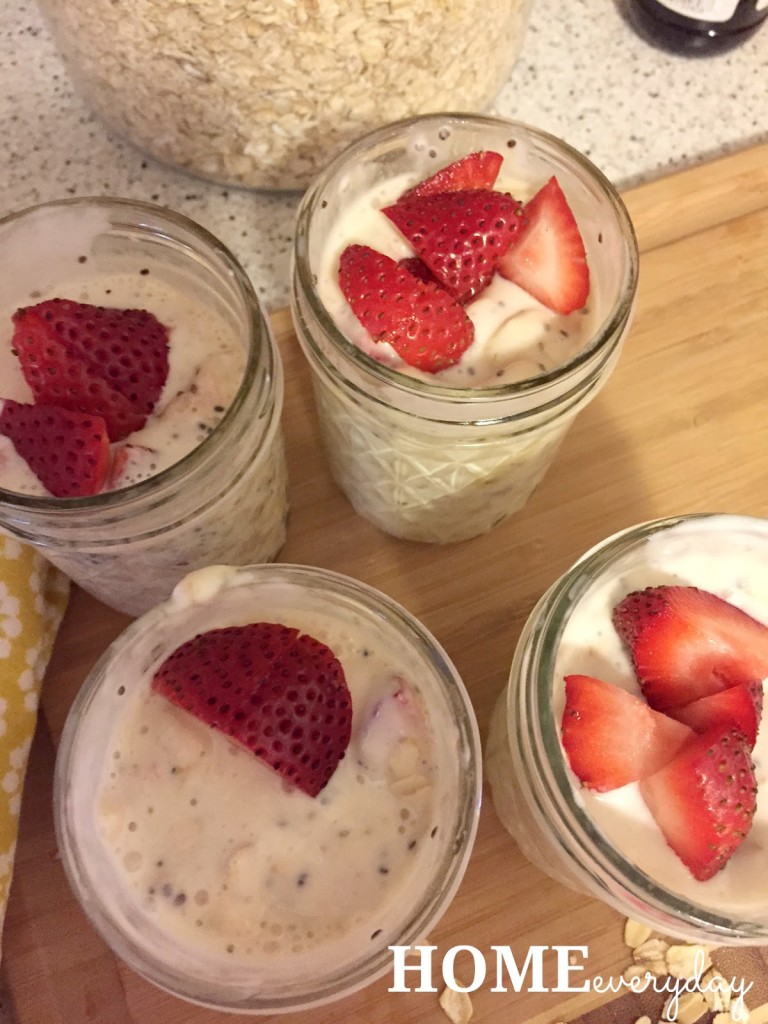
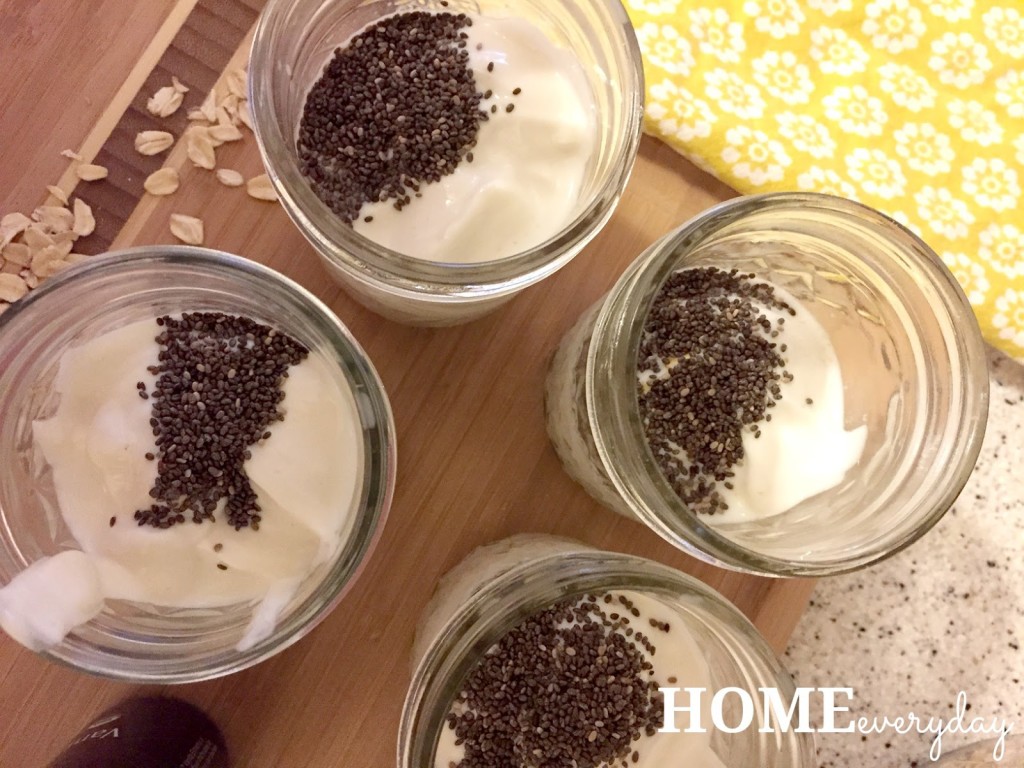
Get four small glass or plastic containers with tight fitting lids. In each container add: 1/3 cup oats, 1/3 cup milk, 1/3 cup yogurt, 1/2 tsp vanilla, 1 tsp agave, 1/2 tsp chia seeds, 1/4 of the sliced banana, and 1/4 of the sliced strawberries.


Put the lids on the containers and refrigerate for at least 3 hours, but overnight is best.


This is the perfect breakfast or snack on the go, while working, or to combat a weird fear of a Chia Seeds.


If you like this post and would like to read more about all things domestic with a touch of humor, become a Home Everyday follower! For blog updates or to see other places I write such as ChicagoNow or Chicago Parent follow Home Everyday on FacebookTwitter, and Pinterest.


Pina Colada S’mores: A Nostalgic Summer Get-Together

I have been compensated by #LetsMakeSmores and #CollectiveBias for this post, but the opinions expressed are 100% my own.


There are two things that can immediately transport me back to childhood. Food and music. #LetsMakeSmores agrees. Not long ago, I heard The Pina Colada song by Rupert Holmes in the movie Grown Ups. This is one of those movies that I am ashamed that I actually like so much because I know so many people who hate it. However, I think what draws me to it, is the idea of reminiscing with old friends. Sometimes, there’s nothing better than sitting around a fire, listening to tunes and talking.

And what better way to get an immediate transport back to yesteryear this summer with my friends by combining this song with another childhood classic: S’mores.


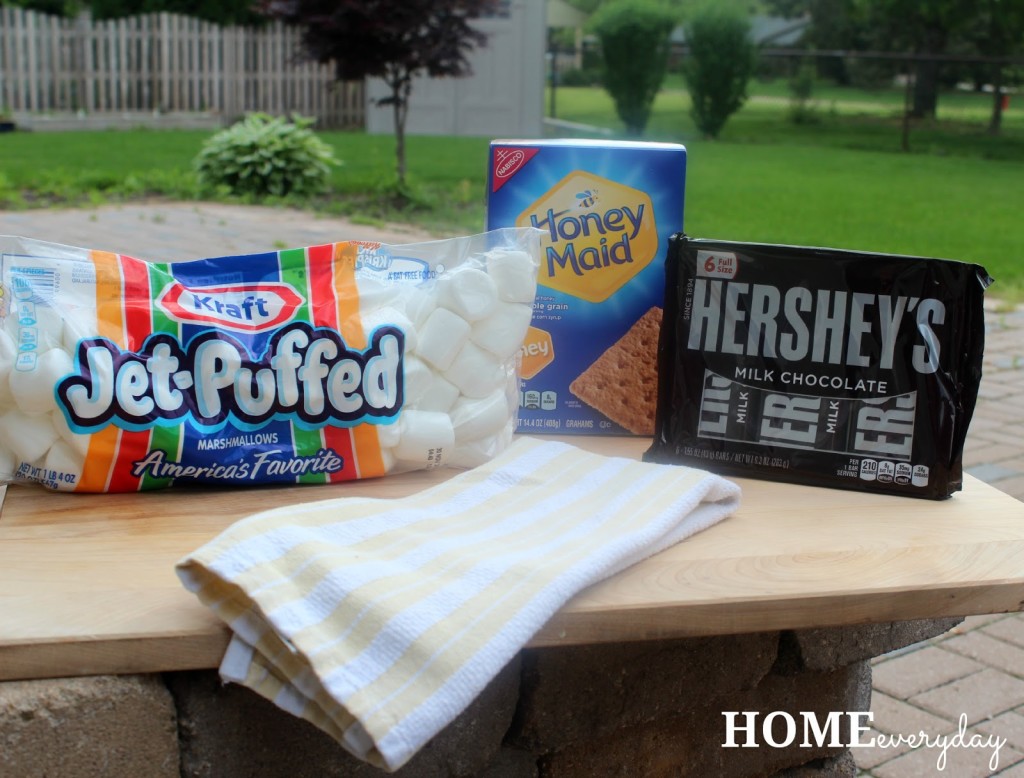
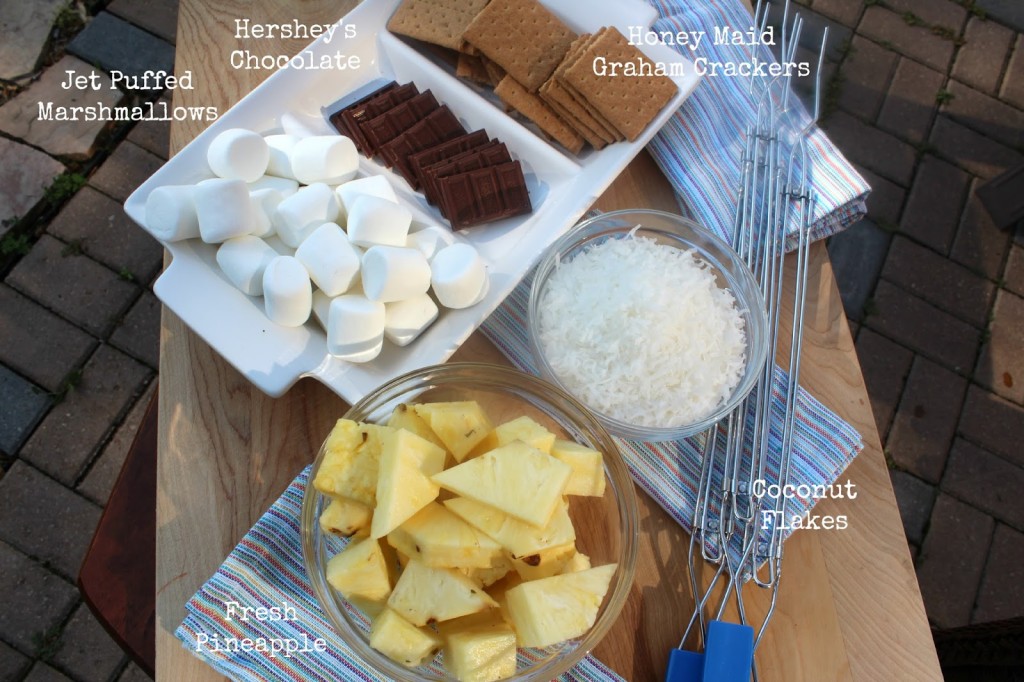
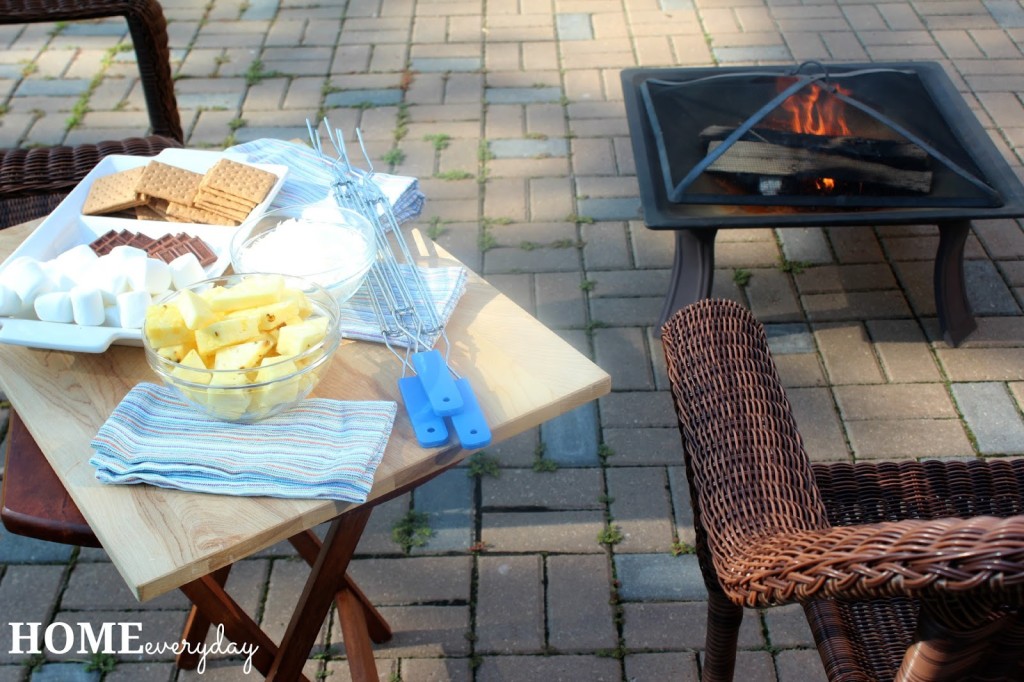
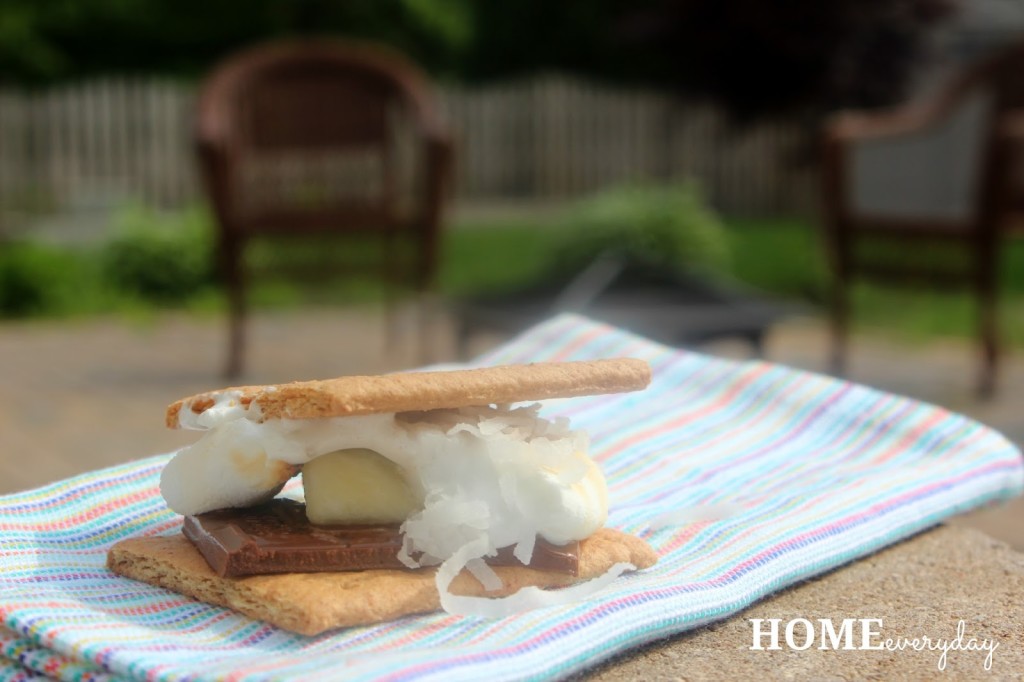
This recipe takes less than 10 minutes, all of the S’mores classic ingredients Honey Maid Graham Crackers, Jet Puffed Marshmallows, Hershey’s Chocolate bars, and is perfect for those nights you’re already reminiscing with friends around a bon fire. If a bon fire is not your thing, these can easily be made indoors too.


The first trick is to making these awesome S’mores whenever you want for a quick treat is to always have S’mores ingredients on hand. Walmart already has them together for you in store for easy shopping.


So, get the old tunes cranked up, and invite your old pals over. It is time for some of the best S’mores you’ve ever had.

Pina Colada S’mores
Honey Maid Graham Crackers
Jet Puffed Marshmallows
Hershey’s Milk Chocolate
fresh pineapple cut into chunks
coconut flakes


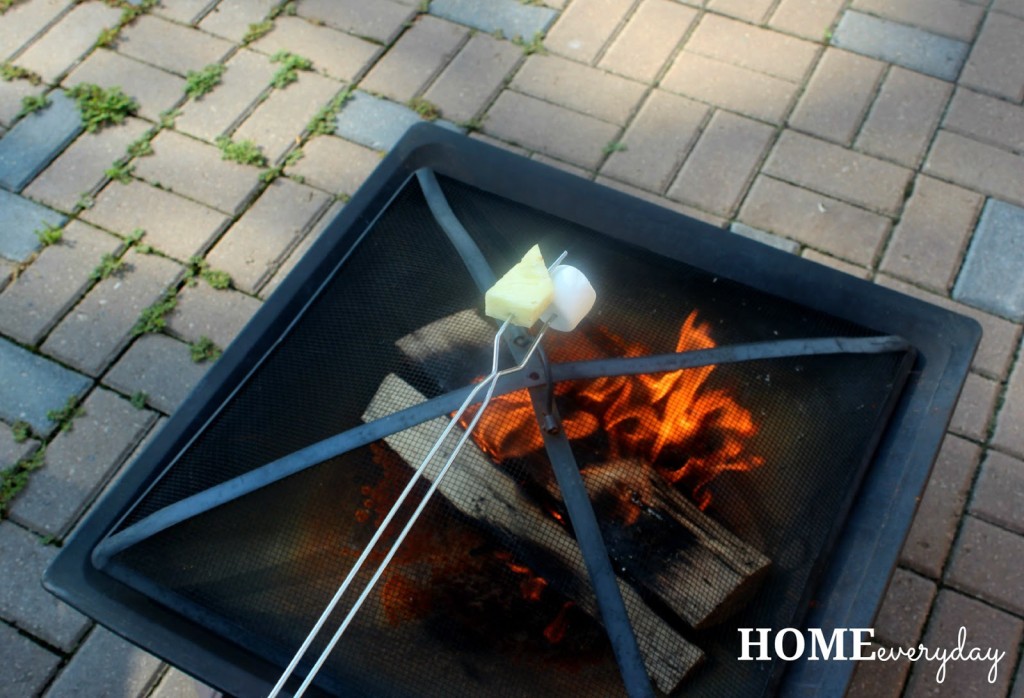
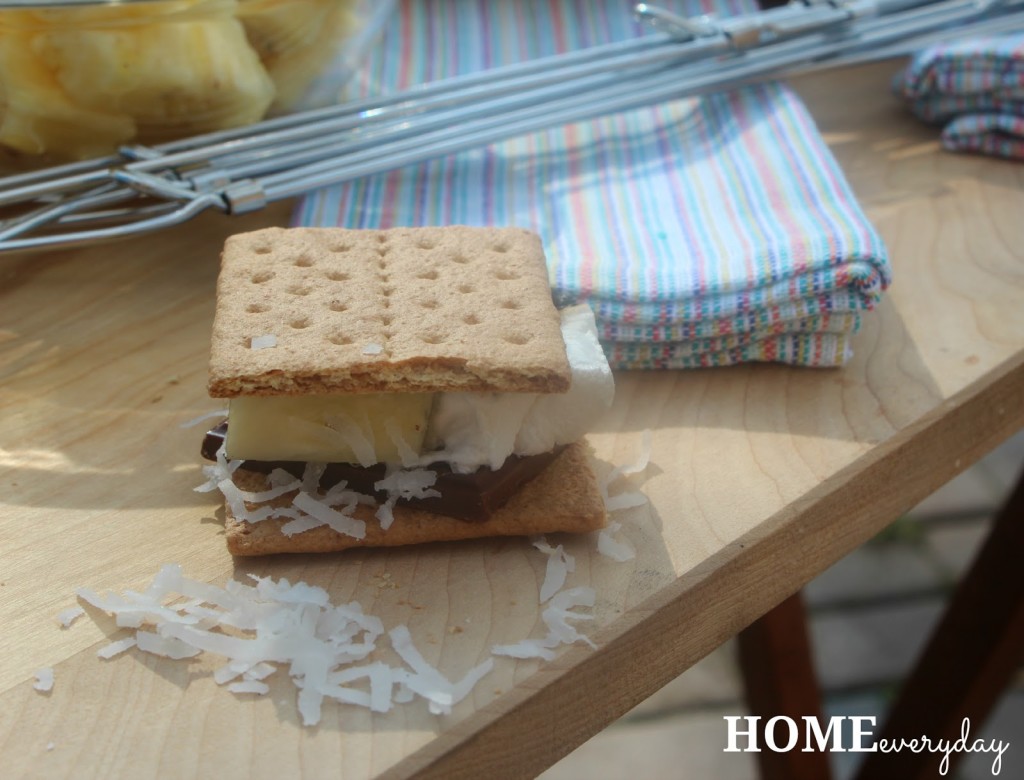
When you’re outside with your friends, and you have a nice hot bon fire and always using fire safety, roast both one Jet Puffed marshmallow AND one pineapple slice. This helps to not only get your marshmallow perfectly gooey on the inside, but also gets the pineapple nice and caramelized on the outside.


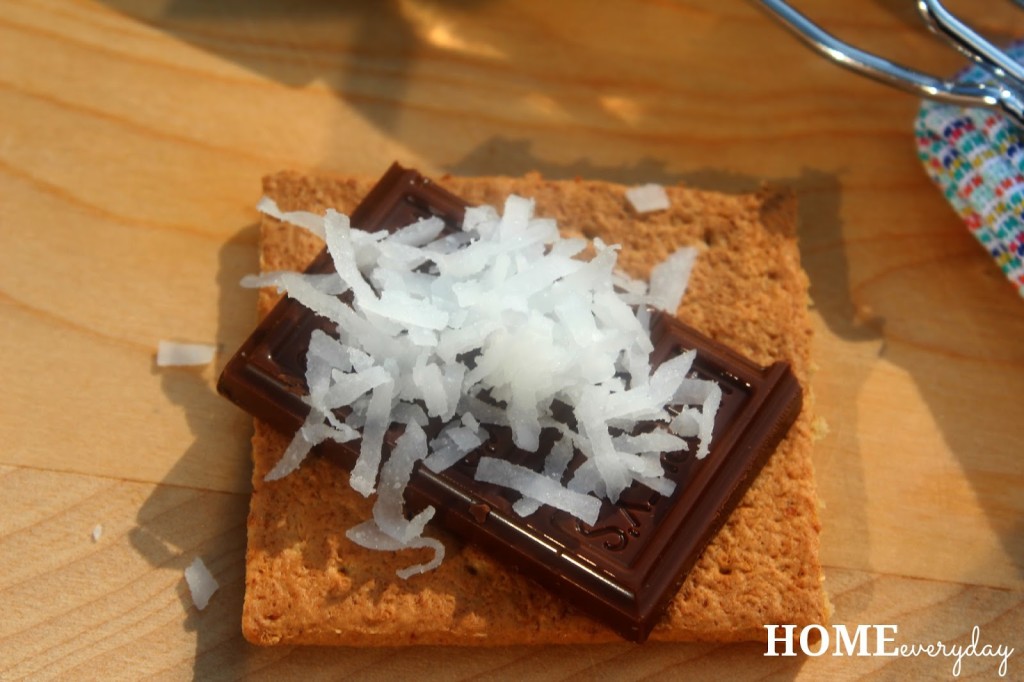
While you are roasting the Jet Puffed marshmallow and pineapple, have a friend prep your Honey Maid Graham Cracker square with two or three rectangles of Hershey’s Milk Chocolate and some coconut flakes.


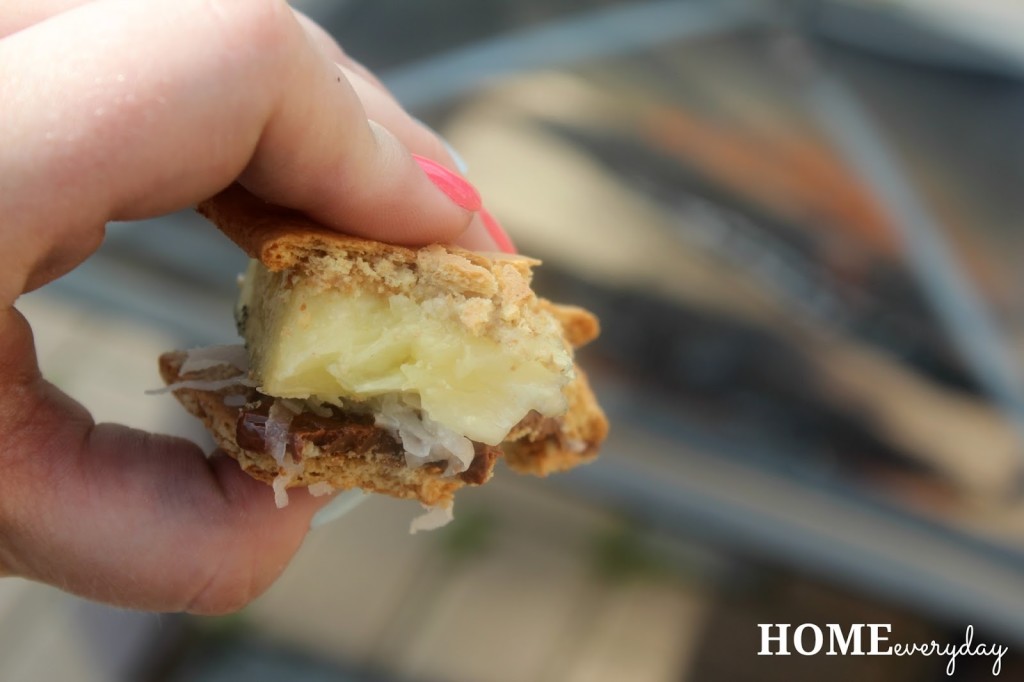
Whether your marshmallow is flaming or just golden, you be the judge of perfection, put your roasted goodies on your prepared graham and top it with one more Honey Maid Graham cracker square.


Then, in between bites talk about your fun summer adventures, or the time you waited in line all night for the midnight showing of Star Wars: Episode I and you were the only one not dressed up thus proving you were the nerd of the dorks.


In under 10 minutes you’ll feel like a kid again, but with a little grown up fanciness for good measure.


When you get together with your old pals this summer, how will you dress up your s’mores? What tunes will be playing? What memories will you be sharing?
 

If you like this post and would like to read more about all things domestic with a touch of humor, become a Home Everyday follower! For blog updates or to see other places I write such as ChicagoNow or Chicago Parent follow Home Everyday on FacebookTwitter, and Pinterest.


All American Big Game Layer Dip

This shop has been compensated by Collective Bias, Inc. and its advertiser. All opinions are mine alone. #BigGameSnacks #CollectiveBias

Spring is not quite here, but this time of year typically brings about some of my favorite things: warm weather, St. Patrick’s Day, planning my garden, thinking about summer, and college basketball. This past weekend we watched a lot of basketball, and there is only more in our near future. A lot more. Even my little ones are in on the action. My oldest was checking out scores of his favorite teams on the computer.

With the weather warming up, and basketball on TV we haven’t been eating a lot at the dining room table. It is a lot of snack like food as we have been running in and out to enjoy both the nice weather and basketball games.


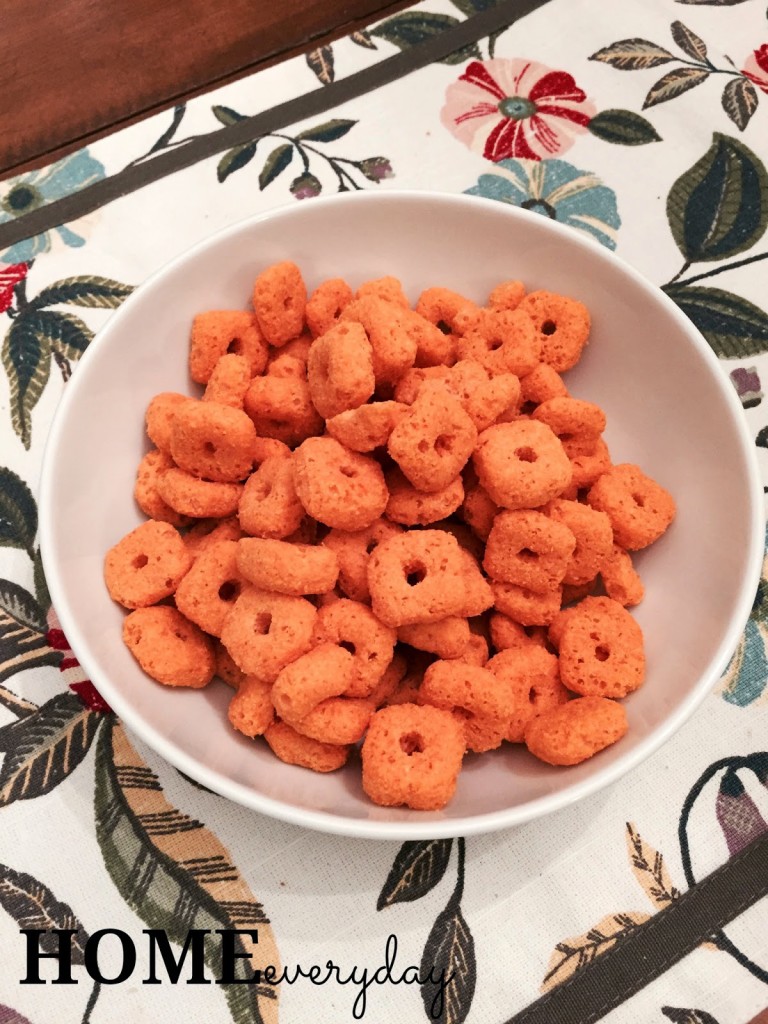
One of our favorite family snacks is Cheez-Its! My kids especially love Cheez-Its. They have been eating them since they were wee ones as they are one of the few snacks that were allergen safe, and were often a nice portable treat. Trying the NEW Cheez-It Grooves and NEW Cheez-It Crunch’d was a no brainer!


We found Cheez-It Grooves right next to all our old favorites!

When I was asked by #CollectiveBias to create a recipe with for Cheez-Its Crunch’d and the NEW Cheez-Its Grooves, I was thrilled. I ran to Walmart with my little helpers and came up with the perfect idea for a #BigGameSnack.


The Cheez-It Crunch’d easy to grab right by some the things I needed for the dip.
We couldn’t stop snacking while I made the dip!


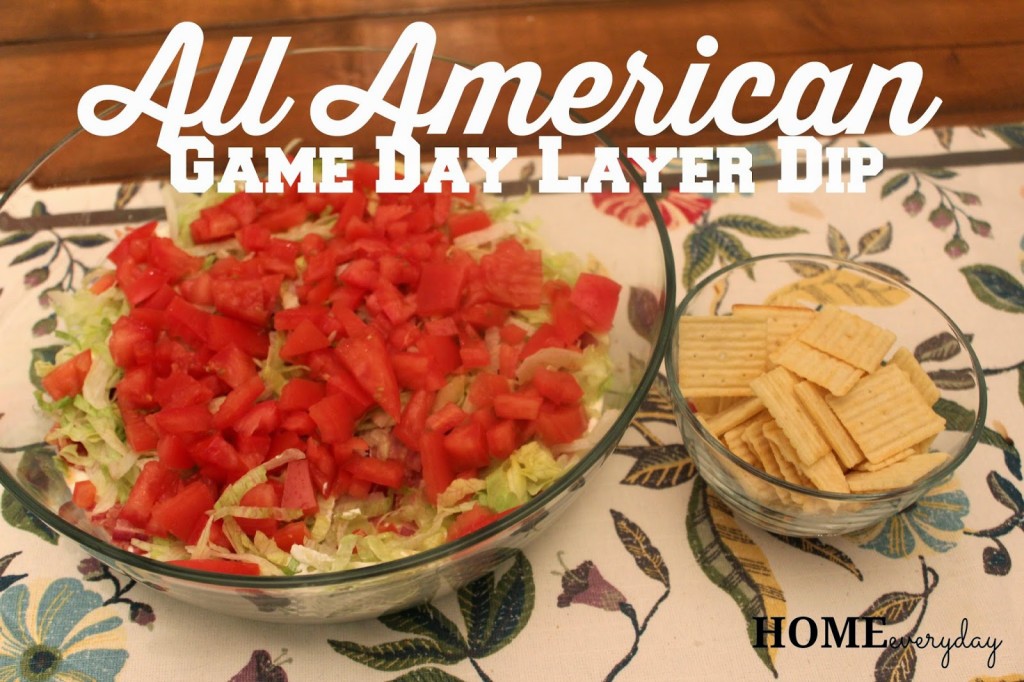
Most #BigGameSnacks include a veggie tray, a few hot hors d’oeuvres, a few cold things, and of course layered Mexican dip. However, I thought it might be fun to switch things up, and I created an All American Layer Dip to serve with Cheez-It Crunch’d or Cheez-It Grooves. 

This dip is simple to make and hits some different flavor notes and pairs nicely with the cheese flavor of Cheez-Its. What is more American than bacon, lettuce, tomato, and ranch?

All American Layer Dip

1 8 oz package of cream cheese softened to room temperature
2 cups of sour cream (or 1 16 oz container)
1 ranch seasoning packet
1/2 pound of bacon cooked, cooled and crumbled.
2 cups shredded lettuce
2 cups plum tomatoes seeded and diced


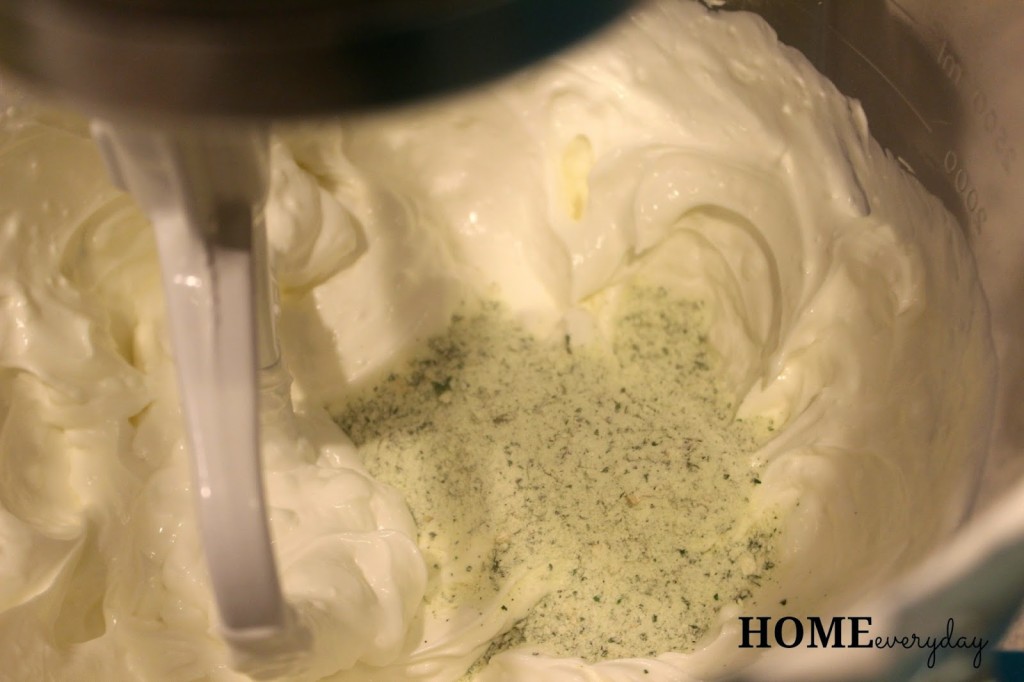
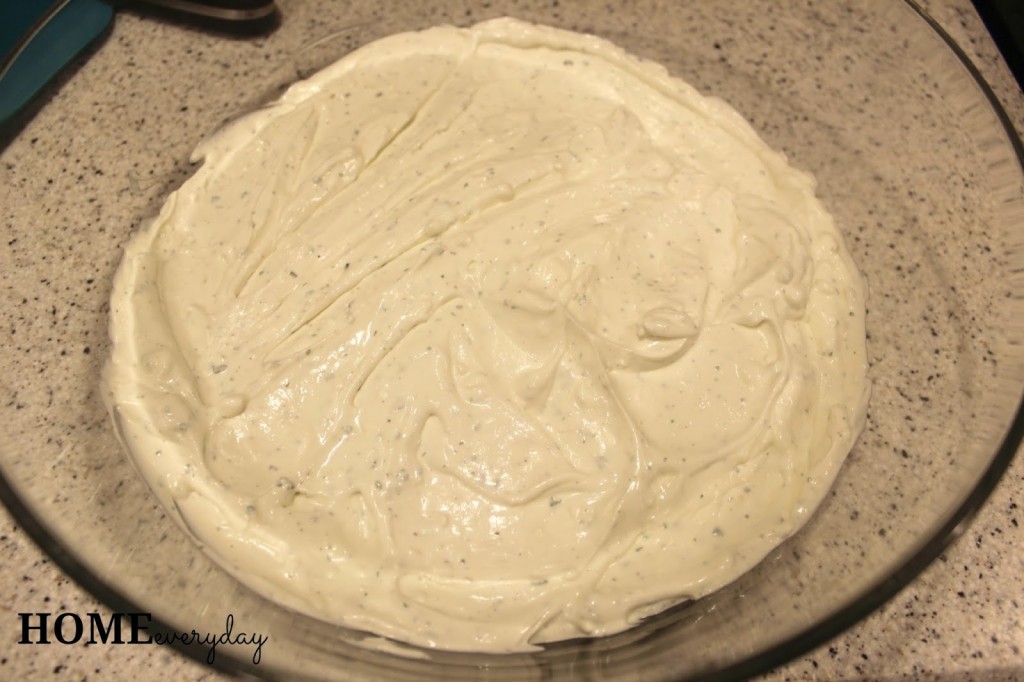
In a mixer with a paddle attachment add sour cream and cream cheese and blend until combined. Then, add ranch packed and mix for about 1 minuted until incorporated.


Next, spread the ranch mixture into the bottom of a large shallow dish.


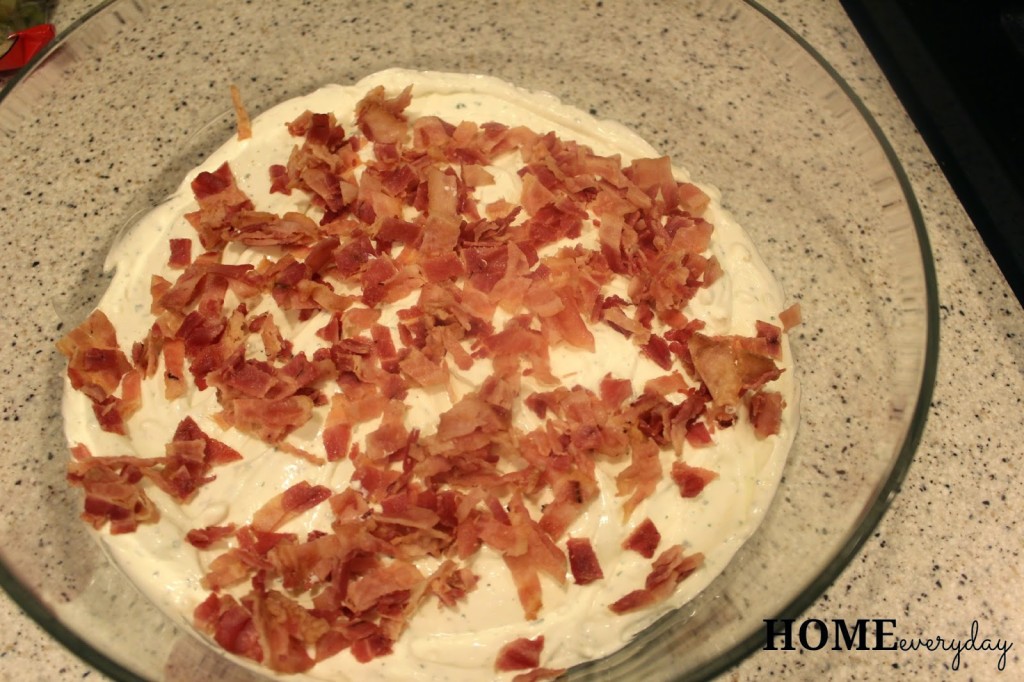
Put and even layer of bacon on top of the ranch mixture.


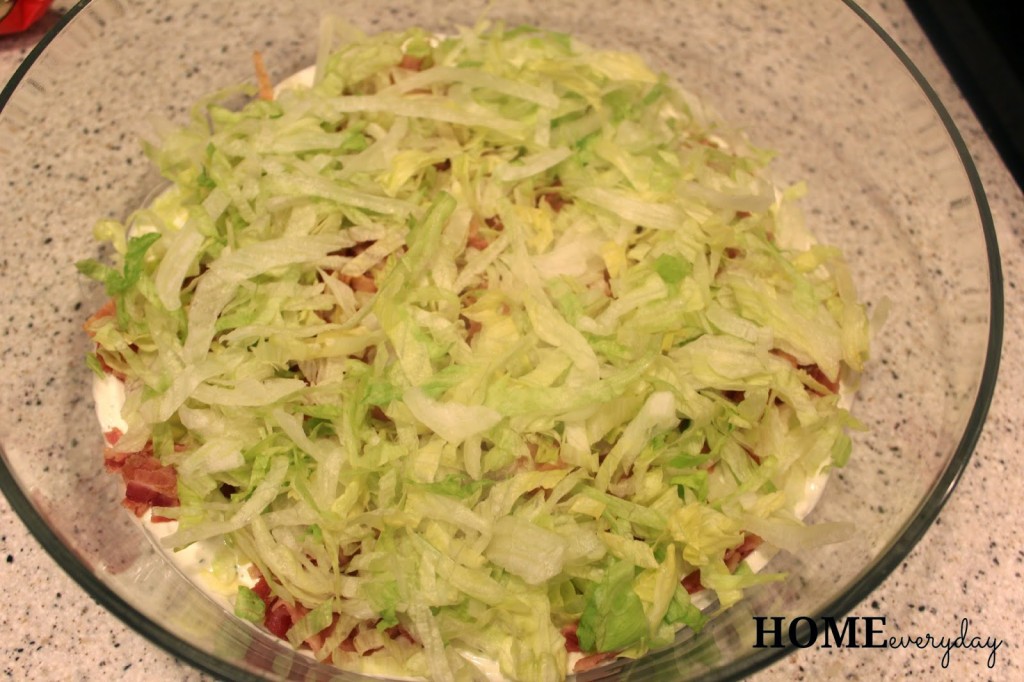
Then, add an even layer of lettuce.


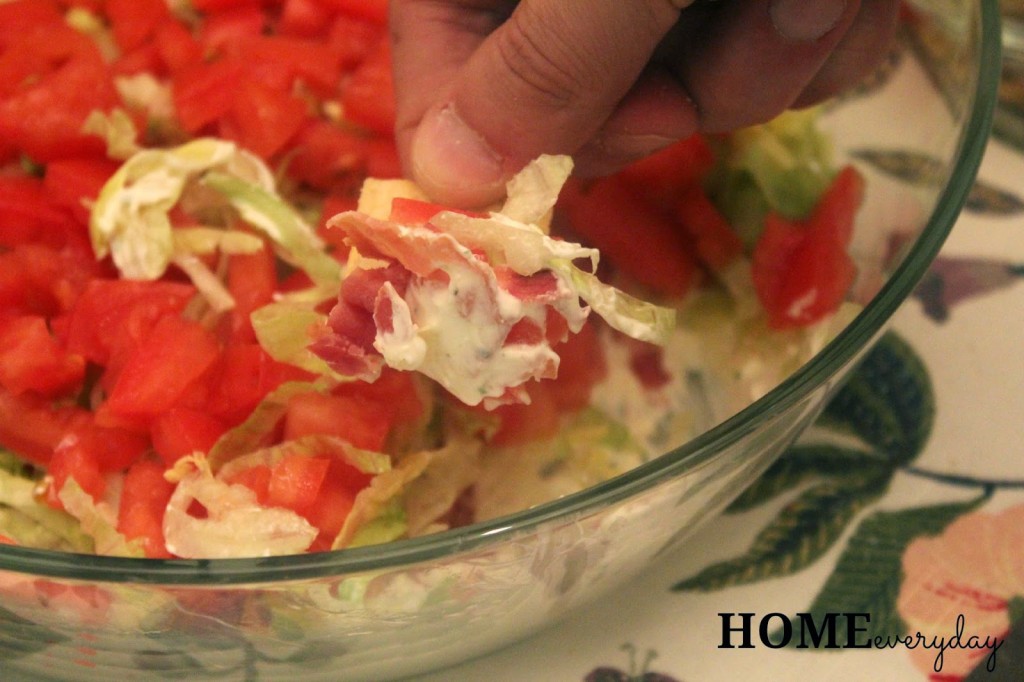
Finally, add the layer of tomatoes.

Enjoy with your favorite Cheez-Its.


I personally, liked it with the Cheez-It Cruch’d Cheddar and my hubby enjoyed them with the Cheez-It White Cheddar Grooves.

We all know we have a favorite Cheez-It, with or without dip!
In fact, you can vote for your favorite and a chance to win $10,000 dollars at the here http://cbi.as/3ckv or you can check out the Snackable Moments here http://cbi.as/3cxh.

Which one is your favorite?

If you like this post and would like to read more about all things domestic with a touch of humor, become a Home Everyday follower! For blog updates or to see other places I write such as ChicagoNow or Chicago Parent follow Home Everyday on FacebookTwitter, and Pinterest.

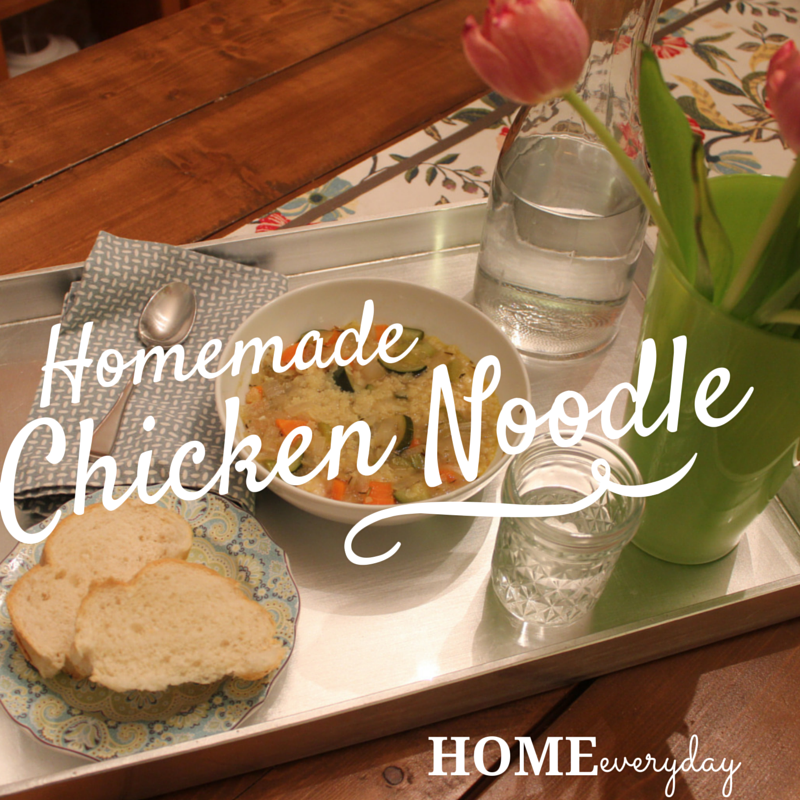
The Easiest Recipe for Homemade Chicken Noodle Soup

The kids were sick.

That’s all I have to say for you to understand that soup was needed around here. I like to make it homemade because when the kids are already sick, I want them eating healthy whole foods. Also, when their drink of choice when they are sick is Gatarade, I feel like I want to control what I can.


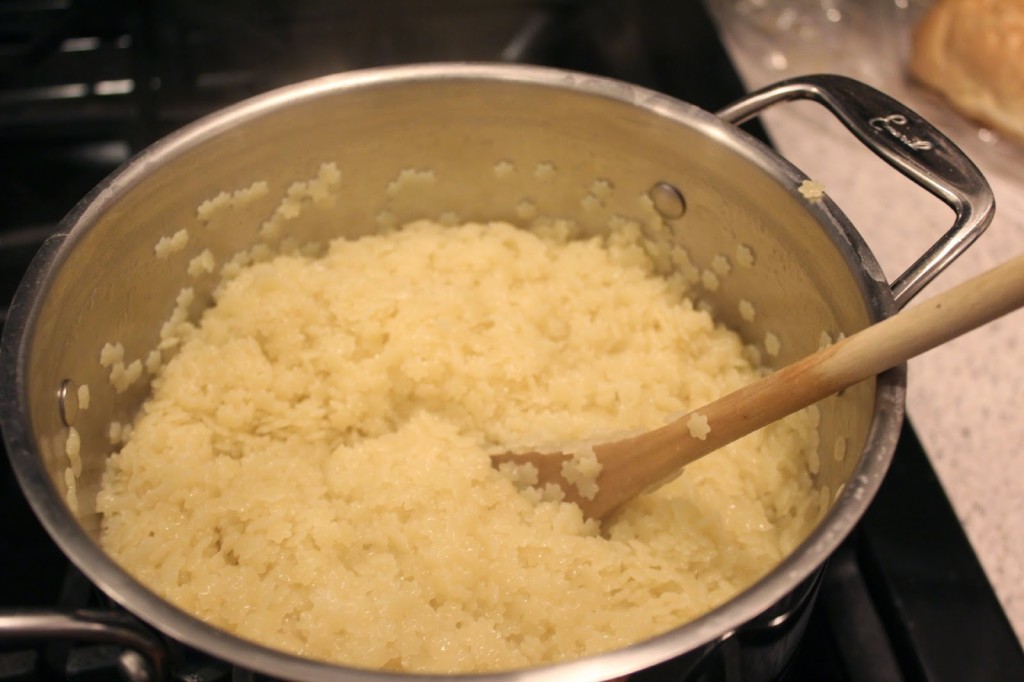
This recipe for this Chicken Noodle Soup is the easiest, and honestly doesn’t take as long as you’d think. The main trick is to boil the noodles separately and store separately from the soup.

The Easiest Chicken Noodle Soup

2 tsp extra virgin olive oil
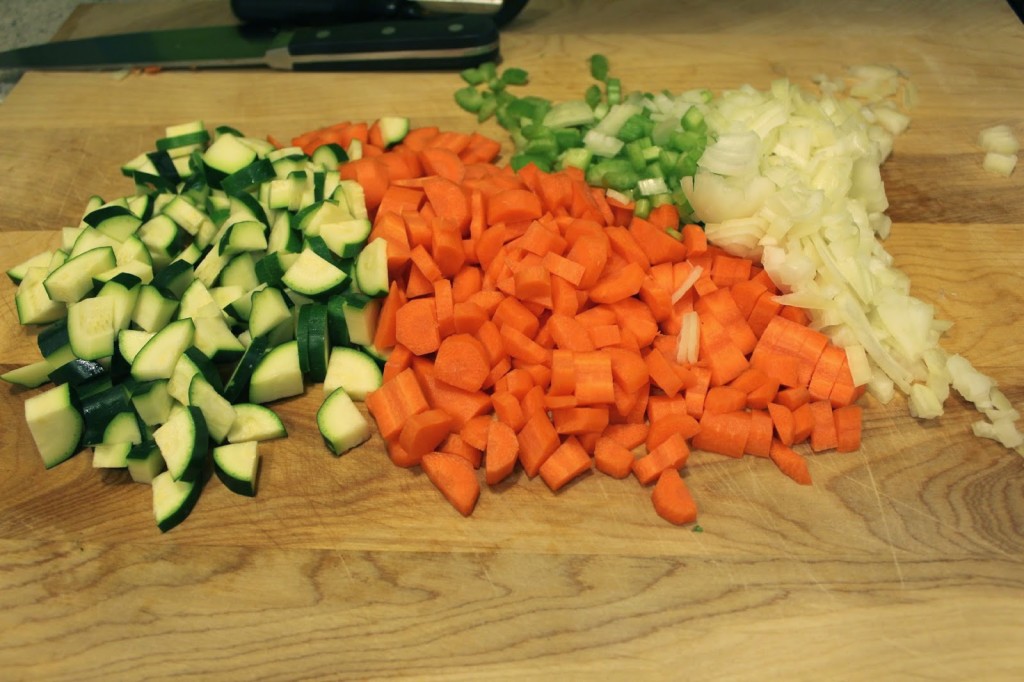
1 Large onion diced
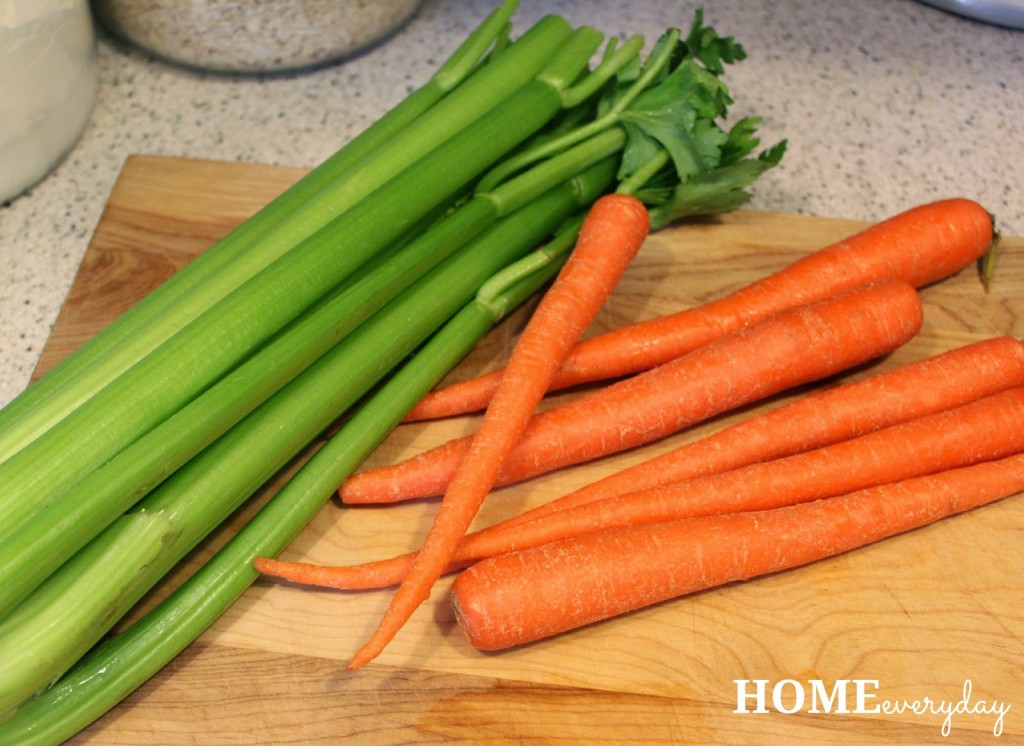
2 or 3 stalks celery diced
4 carrots peeled and diced
2 zucchini diced
1 clove garlic minced
1 dried bay leaf
2 tsp dried thyme
2 tsp dried rosemary
1 lb package chicken breast tenders cut into small chunks
1 1/2 (32 oz) boxes low sodium chicken broth
Salt and pepper to taste
1 package of tiny cut pasta cooked according to package instructions  and set aside.
(NOTE: I used star pasta, but orzo or another kind would be fine.)


In a large stock pot over medium heat add olive oil. When oil is shimmering, add onion, celery, carrots, zucchini, carrots, salt and pepper. Stir occasionally until the onions are translucent and the carrots start to get tender. This should take about 3 to 5 minutes.

Next, add garlic, bay leaf, thyme, and rosemary, and stir for another minute. Add the chicken broth.

Bring the chicken broth to a rolling simmer.

Add the chicken, and let the chicken cook in the simmering broth for about 5 minutes until the chicken is cooked through.

To serve, add a scoop of noodles to a bowl. Then ladle the soup over the noodles.

This soup is sure to make your loved ones feel better.

If you like this post and would like to read more about all things domestic with a touch of humor, become a Home Everyday follower! For blog updates or to see other places I write such as ChicagoNow or Chicago Parent follow Home Everyday on FacebookTwitter, and Pinterest.


Winter Pot Roast over Mashed Potatoes

This is the time of year when we kind of get into a “Winter Dish Rut” around here. I keep rotating the same things for dinner, and with the weather being cold I feel like they are all typically comfort food things like pasta, meatloaf, and chili.

I was flipping through cookbooks in the library recently though, and I saw a picture for Pot Roast, and realized that my kids had never had it before. They had kind of always had a disdain for beef until recently, so I thought it was about time I try something new in my Winter dinner repertoire. I made a Winter Pot Roast and served it over Mashed Potatoes.


I took all the things I love about pot roast, and made a recipe I thought my family and I would like. And I left out all the things I hate about old fashioned pot roast like soggy potatoes, and overcooked veggies.

The recipe seems long, but I promise the results are so delicious that the subtle changes and additions to the recipe won’t bother you after your first bite!

So, here is my version of Pot Roast.


Winter Pot Roast over Mashed Potatoes (makes 6-8 large servings)

For Pot Roast
1 2 1/2 to 3 pound beef roast
4 or 5 large carrots peeled and cut into half
3 stalks celery cut into chunks
1 large onion chopped
1 clove garlic minced
2 tsp dried thyme
2 tsp dried rosemary
1 or 2 dried bay leaves
1 32 oz box beef stock (I used low sodium)
Salt and Pepper to taste
2 Tbs flour
1 tsp olive oil
1 TBS of butter
1 10 oz package frozen peas (2 bags if you like a lot of peas like my kids)


For Mashed Potatoes
1 5 pound bag of yukon gold potatoes peeled
4 TBS unsalted butter melted
1/2 cup of milk
Salt and pepper to taste

For Sauce (Optional Last Minute Addition)
2 TBS Butter
2 TBS Flour
A few ladles of beef stock drippings from slow cooker

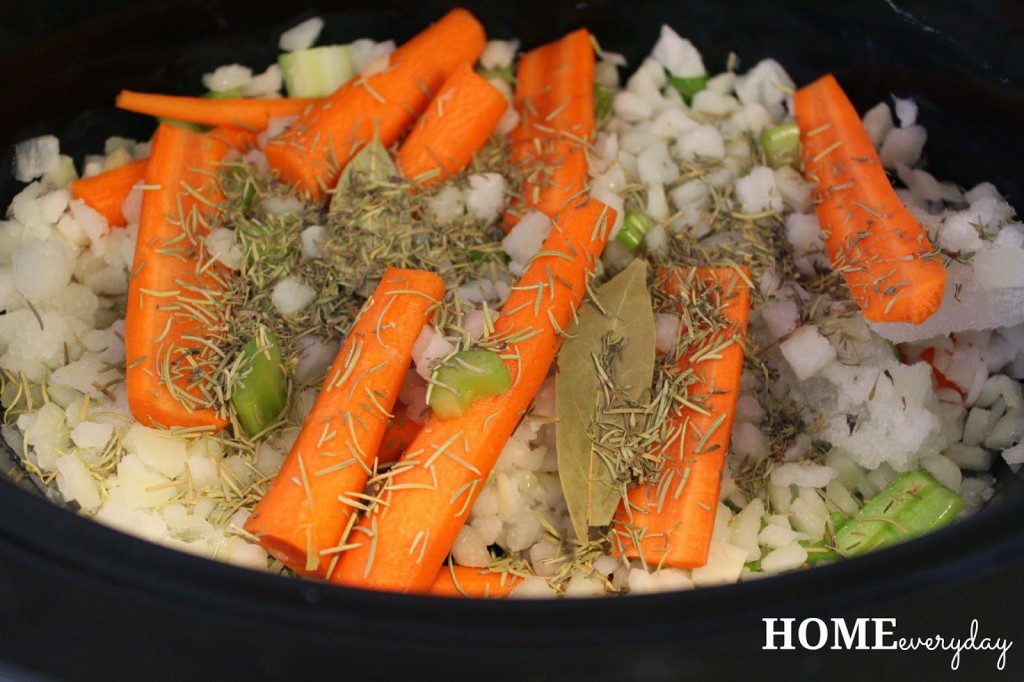
Roast: In a slow cooker, make a bed of carrots, celery, and onion. Add the thyme, rosemary, garlic, salt and pepper. Set aside.


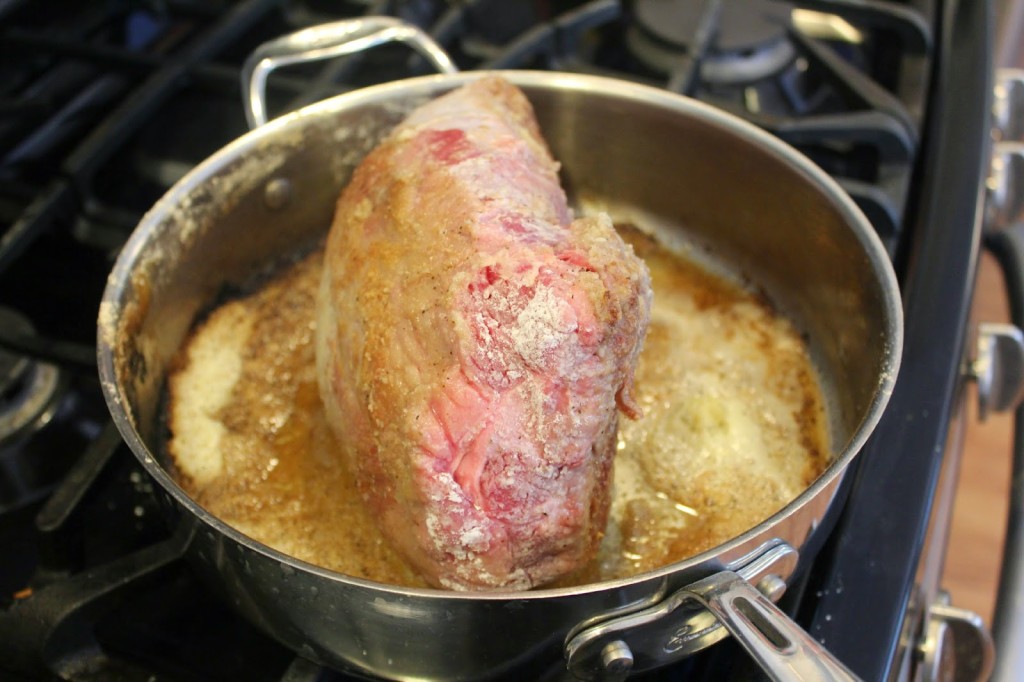
In a large heavy bottomed skillet over medium high heat add olive oil and butter. Coat roast in flour, salt and pepper.


Sear the roast on all sides (about 3-5 minutes on each side) until a crust is formed.


When roast is done searing, remove from pan and put in slow cooker. With pan on medium heat add a bit of the beef broth and scrape the bottom of the pan to get drippings. Pour this mixture into the slow cooker. Add the rest of the beef broth from the box. Turn on the slow cooker on high, cover. Cook for 6 hours or until beef is fork tender.

When beef is done, remove it from slow cooker and put it into a large dish. Shred with a fork and cover.

Prepare frozen peas to package directions and add to shredded roast.

Potatoes: In a large pot add potatoes and cover with water. Put on medium heat and bring to a rolling boil. Cook for about 15 minutes or until just tender.

Drain the potatoes and add back into the pot. Add milk, butter, salt and pepper. Mash with potato masher.

Optional Sauce: In a small sauce pan over medium heat. Add butter. When the butter is melted whisk in flour. After about 1 or 2 minutes, flour will be dissolved, ladle in remaining beef juices from slow cooker. You may add as much as you want until desired consistency is formed making sure to stir consistently.


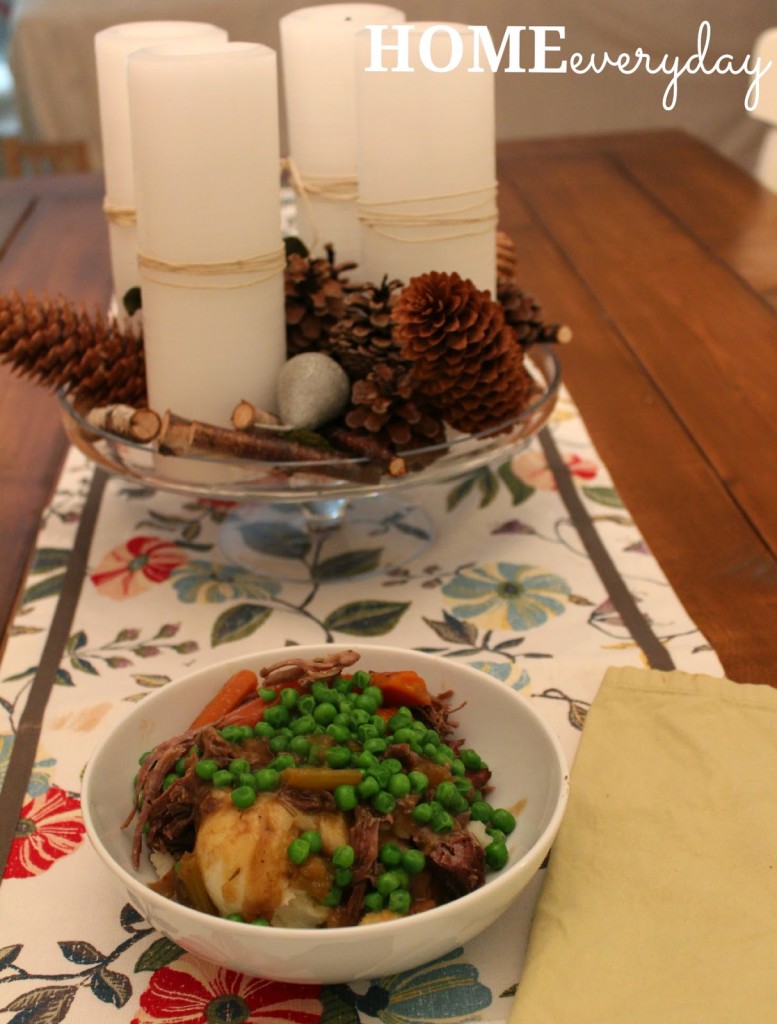
For a serving, in a bowl, make a bed of potatoes, add beef & peas, cover with sauce or just ladle some of the beef stock from the slow cooker. (My little ones preferred everything served separately on their plate, but they ate every bite just the same.)


I am already looking forward to making this again, hopefully next time for guests.

I hope your family loves this as much as we did.

If you like this post and would like to read more about all things domestic with a touch of humor, become a Home Everyday follower! For blog updates or to see other places I write such as ChicagoNow or Chicago Parent follow Home Everyday on FacebookTwitter, and Pinterest.

Homemade Caramel Sauce

Autumn is my absolute favorite time to cook, bake, and just be in the kitchen. However, this time of year is also one of our busiest times. I often find myself putting meals in the slow cooker before we head out the door for the day, or I am whipping up a 30 minute chili after soccer practice.

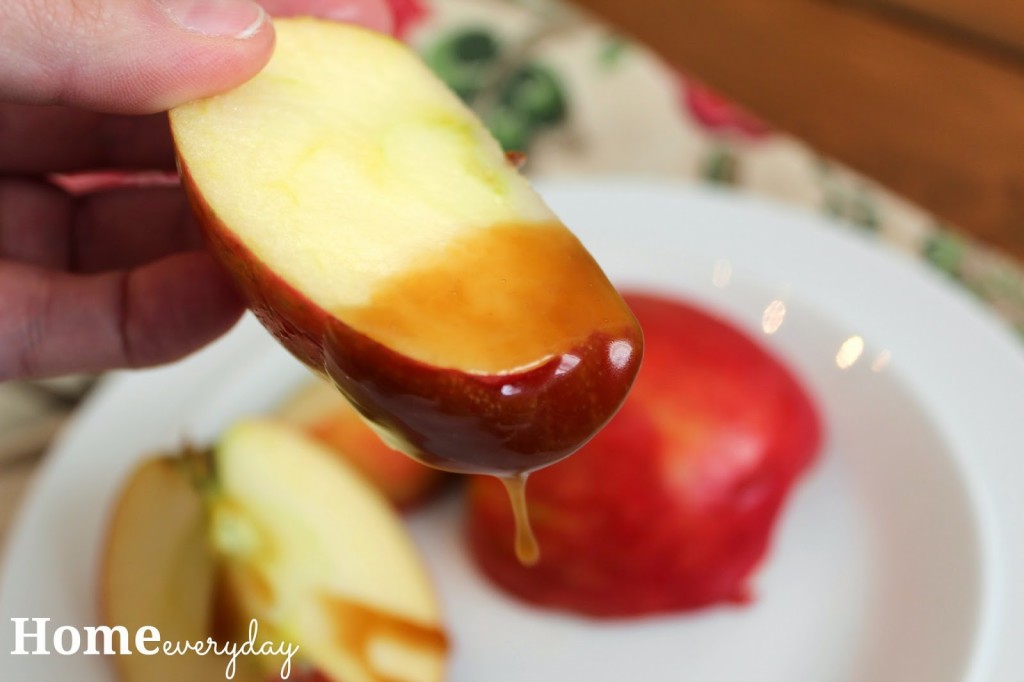
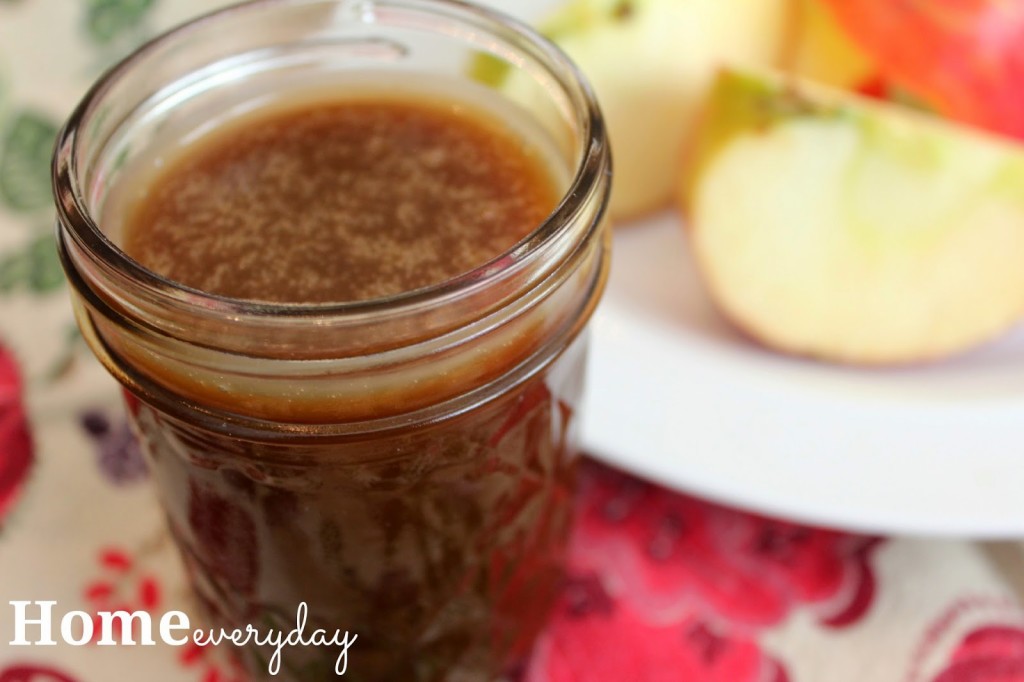
Because of this, I was looking for a dessert that was quick to whip up, but could be versatile. That is when I thought of Caramel Sauce. It really is a cinch to make, takes no time at all, and like dessert sauces, can be used to top all kinds of things (cakes, brownies, ice cream, a spoon).


Plus, what is more Fall like that a caramel dipped apple?


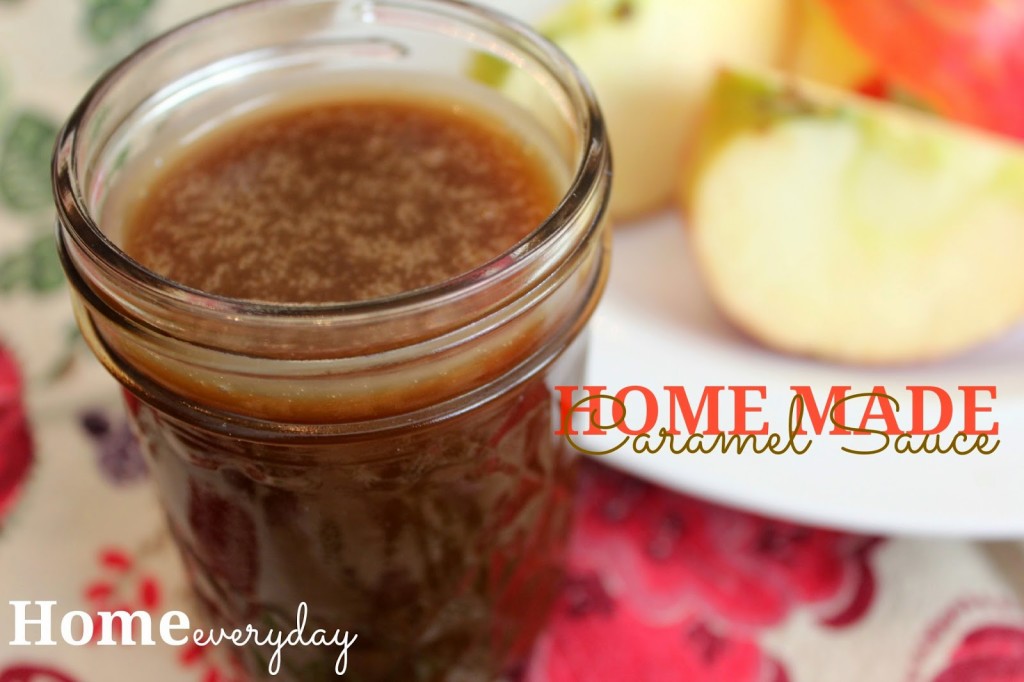
Home Made Caramel Sauce
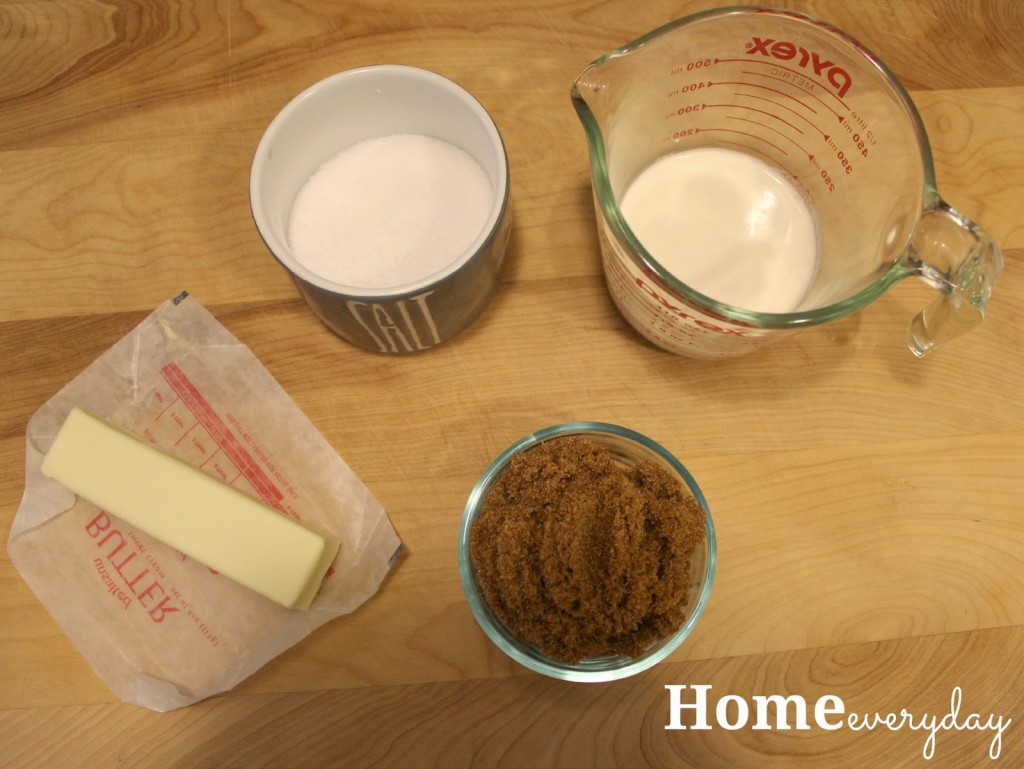
1 stick of unsalted butter (you don’t even have to bring it to room temperature)
3/4 cup packed brown sugar
1/2 cup heavy whipping cream or half and half
1/2 tsp sea salt
1 tsp pure vanilla extract (optional)


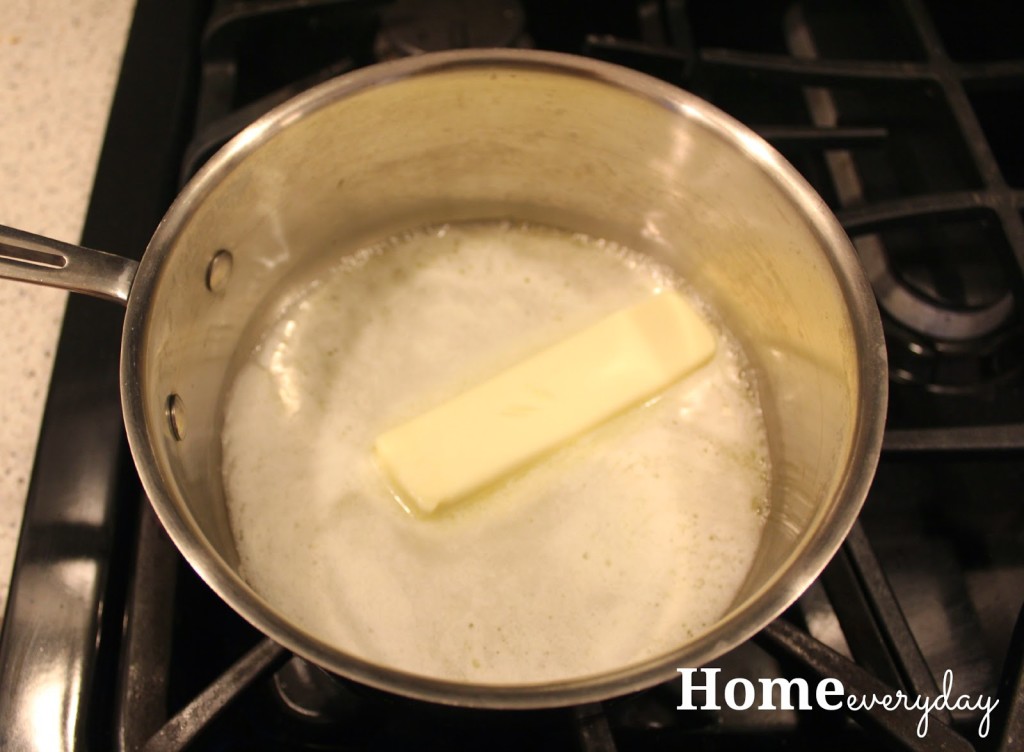
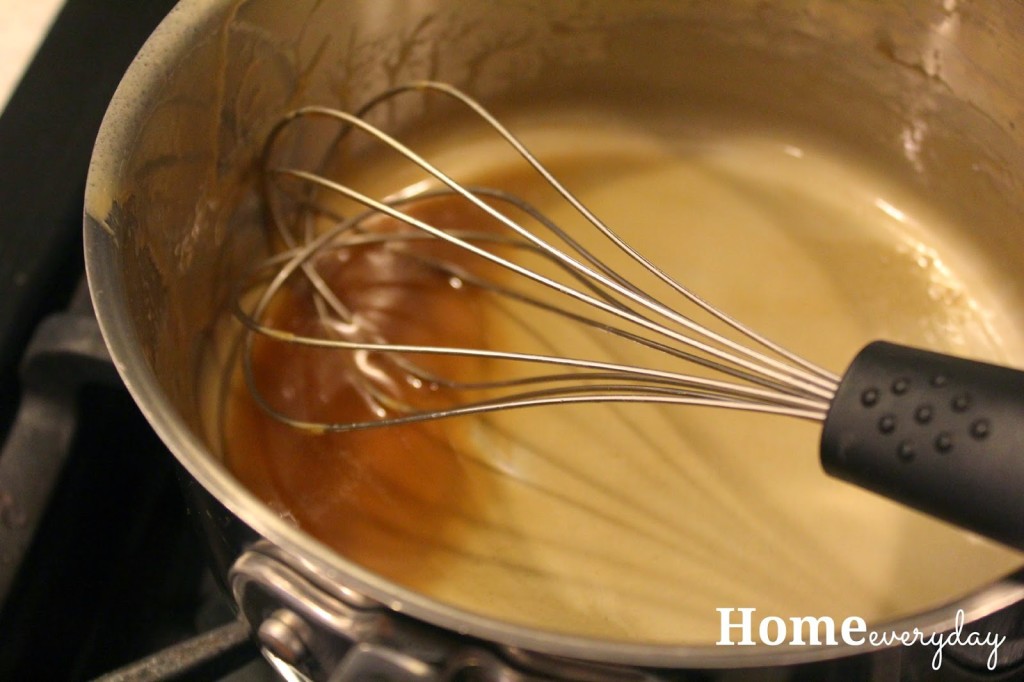
In a medium sauce pan over medium heat, melt butter.


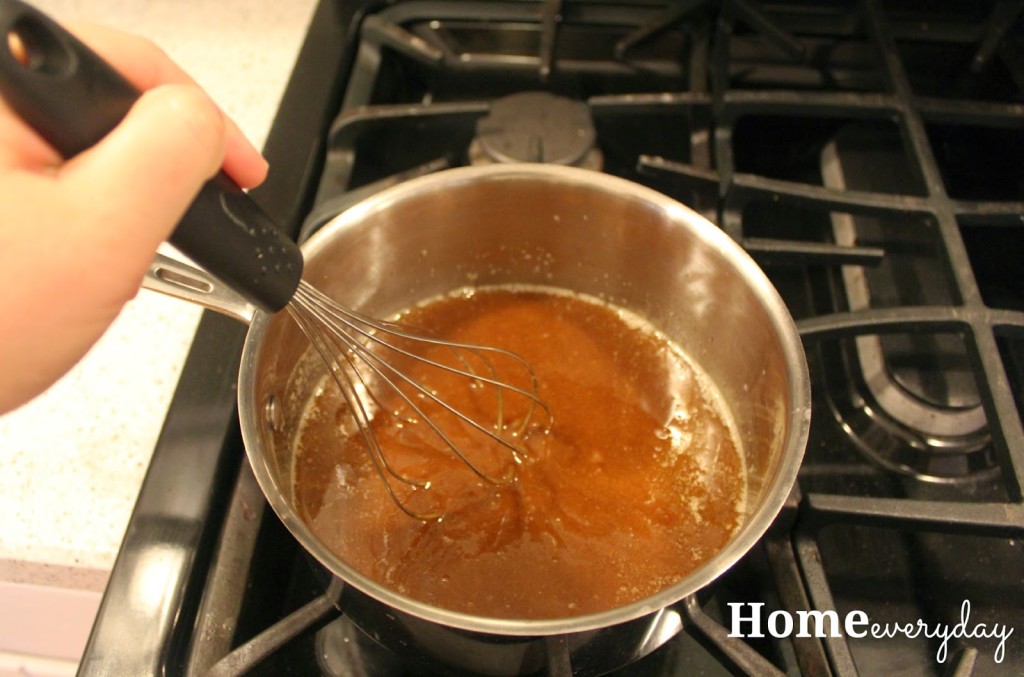
Next, whisk in brown sugar until completely dissolved.


Add cream, salt, and vanilla.


Then, stirring continuously for 5-7 minutes stir mixture. It will simmer and bubble gently. You may want to lower heat slightly as to not hurt yourself while you stir.


Remove from heat, and continue to stir for about 3 or 4 minutes to let the mixture cool gently.

Pour into a heat safe container.


You can use sauce now, or let cool to room temperature, cover, and store in the fridge.


To reheat place in microwave without lid or put in a water bath of gentle simmering water.

Stay tuned for a fun Thirsty Thursday recipe with this awesome Caramel Sauce later in the week.


If you liked this dessert sauce, check out my recipe for Red Berry Sauce.

If you like this post and would like to read more about all things domestic with a touch of humor, become a Home Everyday follower! For blog updates or to see other places I write such as ChicagoNow or Chicago Parent follow Home Everyday on FacebookTwitter, and Pinterest.