Category

Baking

Smart Cookies: Pumpkin Cookies with Cinnamon Glaze

It is Smart Cookie time again. When you think of October, of course we all think Pumpkin. In fact my friend, Shannan over at Tween Us just wrote an amazing post on all facts regarding pumpkins.

Since it is the month of pumpkins, jack o lanterns and pumpkin spiced lattes, I thought it was only fitting to include a recipe with those same flavors. These Pumpkin Cookies with Cinnamon Glaze are a unique twist and far more portable than pumpkin pie.


Pumpkin Cookies with Cinnamon Glaze (for printable version of recipe click here)

2 cups all purpose flour

1 1/2 cups real Quaker oatmeal
1 1/4 tsp baking powder
1 tsp salt
1 1/2 tsp ground cinnamon
1 tsp ground ginger
1/2 tsp ground nutmeg
2 sticks unsalted butter softened
1 cup packed brown sugar
1 cup granulated sugar
1 egg
1 tsp vanilla pure vanilla extract
1 15 oz can of pumpkin puree

Glaze
2 cups powdered sugar
3 or 4 Tbs milk
1/2 tsp pur vanilla extract
1/2 tsp cinnamon


Preheat oven to 350 degrees.

Line baking sheets with parchment paper and set aside.

In a large bowl whisk together flour, oats, baking powder, salt, cinnamon, ginger, and nutmeg and set aside.


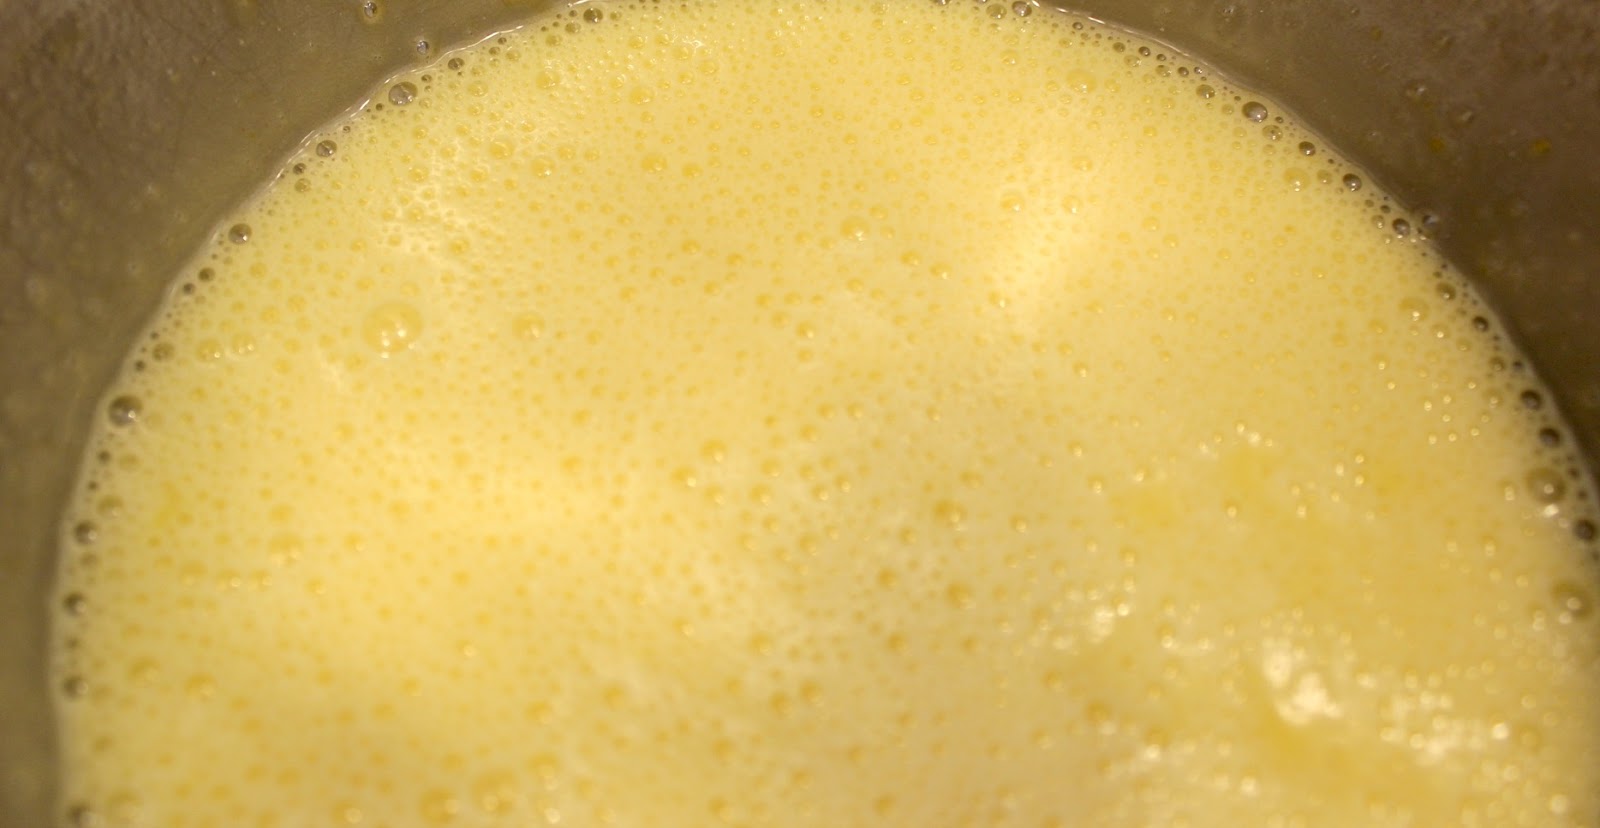
In a stand mixer with paddle attachment or large bowl using beaters, cream together butter and sugars until well combined. Add egg, vanilla, and pumpkin and mix until well incorporated. Next, add flour mixture in thirds until just incorporated (do NOT over mix).


Drop dough in about 1 Tbs. portions onto lined cookie sheets and bake for 17 – 20 minutes or until set. Let cool on wire racks.


While cookies cool, mix together glaze ingredients. Then, dip each cookie into glaze and set aside for glaze to dry.


Enjoy with tea or hot apple cider!


YUM!


For Printable Version of this Recipe Click Here

For past Smart Cookie recipes, check out the links below:
Oatmeal Dark Chocolate and Dried Cherry CookiesLucy CookiesWhite Chocolate and Cranberry BlondiesChocolate Dipped Vanilla Biscotti Italian Butter Cookies with Lemon Glaze, and Salted Carmel and Dark Chocolate TrufflesIrish Creme DelightsErin’s Light Lemon Squares, Salted Caramel Brownies, Cran Apple Cookies

If you like this recipe and would like to read more about DIY, gardening, cooking, baking or all other things domestic, become a Home Everyday follower! For blog updates or to see other places I write follow Home Everyday on Facebook here.

Follow on Bloglovin

Smart Cookies: Cran Apple Oatmeal Cookies

It’s that time again! SMART COOKIE TIME!

September means the start of school and apples. I cannot help it, but when I think the start of school, I always think of students putting apples on their teachers desks as a symbol of appreciation.

This tradition stems back to the 1600’s when parents often fed and housed teachers in order to have education for their children in America’s early frontier. Apples were plentiful and did not cause financial hardship for families to provide them for teachers. Over time, it has become a symbol of thanks and appreciation for educators.


If you are looking to thank a teacher in your life or be a part of the Smart Cookies organization, these Cran Apple Oatemal Cookie recipe is a PERFECT way to give someone a pat on the back for a job well done. I think any teacher or student would be happy to receive them especially as we head into Autumn.


Cran Apple Oatmeal Cookies
(for a printable version of this recipe click here)

2 sticks unsalted butter softened
1 cup granulated sugar
1/2 cup packed brown sugar
2 eggs
1 large apple grated (about one cup of grated apple)
2 tsp pure vanilla extract
1 1/2 cup white flour
1 tsp baking soda
1 1/2 tsp ground cinnamon
1/4 tsp nutmeg
1/2 tsp salt
2 1/2 cups oatmeal
1 cup white chocolate chips
1 cup dried cranberries

Preheat oven to 375 degrees.

Line a cookie sheet with parchment paper.

In a large bowl, sift together flour, baking soda, cinnamon, nutmeg, and salt.

In a mixer with a paddle attachment, cream together butter, sugar, and brown sugar on medium speed. Then, add eggs, vanilla, and apple until well incorporated.

On low speed add the flour mixture until incorporated. Finally, add oats, chocolate chips, and cranberries.

Drop dough in about one inch rounded tablespoons on parchment lined cookie sheet and bake for 10-11 minutes or until edges are just golden brown.


Remove from oven, and let cool for about 15 minutes.


Pour some milk and have this waiting for your favorite student or teacher after school.


For more information about Smart Cookies click HERE.

PRINTABLE VERSION

For past Smart Cookie recipes, check out the links below:
Oatmeal Dark Chocolate and Dried Cherry CookiesLucy CookiesWhite Chocolate and Cranberry BlondiesChocolate Dipped Vanilla Biscotti Italian Butter Cookies with Lemon Glaze, and Salted Carmel and Dark Chocolate TrufflesIrish Creme DelightsErin’s Light Lemon Squares, Salted Caramel Brownies

If you like this recipe and would like to read more about DIY, gardening, cooking, baking or all other things domestic, become a Home Everyday follower! For blog updates or to see other places I write follow Home Everyday on Facebook here.

Follow on Bloglovin

Decadent Chocolate Chip and Doughnut Bread Pudding

In the past few weeks my sister, her husband and kids have been extremely helpful with a few babysitting needs that we have had. Also, my sister is starting her third year as principal and as you can imagine the beginning of the school year can be quite stressful.
As a thank you for the help, and a special treat for the beginning of the year, I made this awesome bread pudding.

Let’s face it nothing says comfort like a warm bread pudding.


I have seen recipes for bread pudding with cake, brioche and all other sorts of things. However, when I saw plain Entenmann’s doughnuts at the store, I thought, hmmm…


Entenmann’s doughnuts have been a favorite since childhood. The chocolate ones were a favorite of my Dad, and I kind of handed the tradition down to my kids. In fact, my kids love them so much you may remember this post of yore. Can you believe how little they were then?

I looked up a few recipes for bread pudding, and then put together this recipe. It is completely decadent and if you are dieting you might want to save this for a special day. I have decided that I am making this for Christmas!

Chocolate Chip and Doughnut Bread Pudding

12 Entenmann’s plain cake doughnuts
6 Tbs. softened unsalted butter
3/4 cup granulated sugar
4 eggs
1 1/2 cups heavy cream
1 tsp. ground cinnamon
1 1/2 tsp. pur vanilla extract
pinch of salt
1 cup mini chocolate chips

Glaze
6 Tbs. melted butter
2 cups powdered sugar
2-3 Tbs milk
1 tsp. pure vanilla extract

Preheat oven to 350 degrees.

Grease at 9 x 13 baking sheet. Cut doughnuts into bite sized chunks and put in the pan and set aside.

In a mixer with a whisk attachment,  blend together butter and sugar until creamed together. Add eggs, cream cinnamon, vanilla, and salt and mix on medium speed for a few minutes until well incorporated.


Pour the mixture over the doughnuts and let the doughnuts soak up the mixture for 5 to 10 minutes. Finally, evenly sprinkle the chocolate chips over the doughnuts.


Cover with foil and bake for 30-35 minutes until set. Remove the foil and bake for another 10 minutes.


While the pudding is baking for the last 10 minutes, make the glaze. Mix together the melted butter, powdered sugar, milk, and vanilla until a glaze like texture is formed.


Pour over the finished bread pudding and let the dish set for about 15 minutes to cool down and let the glaze soak in before serving.


Everyone loved it, but I have to say because I knew what was in it, I felt like I should run a few miles after eating it.

If you like this recipe and would like to read more about DIY, gardening, cooking, baking or all other things domestic, become a Home Everyday follower! For blog updates or to see other places I write follow Home Everyday on Facebook here.

Follow on Bloglovin

A Little Treat: Brownie Pops

Cake Pops seem to be all the rage right now. In fact, all portable or teeny tiny desserts seem to be quite popular. My friend Jocelyn over at Grandbaby Cakes recently made two different kinds of pie pops (here and here).

I get the appeal. They are cute and usually decorated adorably. Also, miniature desserts also play into what I like to call “the fun size logic.” This is the logic that because something is smaller, you can eat more of them without any guilt. Kind of like fun size candy bars.
Don’t act like you don’t know what I’m talking about.
Anyway, I thought I would try my hand at these teeny tiny desserts, and I made brownie pops.
For this recipe, I used my favorite Betty Crocker box brownie mix and baked them according to the directions. Typically, I like scratch brownies best (like these), but I was afraid they would fall apart too easily. You can bake any kind of brownies you like.
Once the brownies were baked and cooled completely. I put them in the refrigerator for about two hours just to harden them a little more. The last thing I wanted was for them to be falling apart.
While the brownies were in the fridge I gathered up the rest of what I would need.
1 package lollipop sticks
1 package Wilton Candy Melts in white.
and rainbow sprinkles.
I cut the brownies into 1/2 inch by 1 1/2 inch rectangles. I found that this size worked well.
I then inserted a lollipop stick into each brownie like so.
Next, I melted the candy melts in my double boiler. Once they were a smooth consistency I tipped the brownies in the mixture and then immediately in the sprinkles.
Ta Da!
A pretty and portable sweet treat. Maybe I will let the kids have two, you know because they are fun size.

Smart Cookies: Salted Caramel Brownies

If you follow Home Everyday on Facebook, you’ll know I mentioned last night that I am on the salted caramel bandwagon. After making salted caramel dark chocolate truffles in February, I thought it was time to do something with this flavor combination again.

Leave to to Ina Garten, one of my favorite Food Network chefs, to give me the idea for this month’s Smart Cookie recipe.

The first time I make anything, I typically follow the recipe exactly and then I doctor it up or change what I don’t think my family will like. I do NOT think I will have to do that with this recipe. Everything is perfect. The only suggestion I might make is if you don’t want to make the brownies from scratch, I would say it is ok to use your favorite box mix and then add 3/4 of a cup of chocolate chips. Then, follow the rest of the directions.

Without further ado, here is the recipe or you can click here.

Salted Caramel Brownies

1/2 pound (2 sticks) unsalted butter
8 ounces plus 6 ounces Hershey’s semisweet chocolate chips
3 ounces unsweetened chocolate
3 extra-large eggs
1 1/2 tablespoons instant coffee granules, such as Nescafe
1 tablespoon pure vanilla extract
1 cup plus 2 tablespoons sugar
1/2 cup plus 2 tablespoons all-purpose flour, divided
1 1/2 teaspoons baking powder
1/2 teaspoon kosher salt
5 to 6 ounces good caramel sauce
2 to 3 teaspoons flaked sea salt

Preheat the oven to 350 degrees F. Butter and flour a 9 x 12 x 1 1/2-inch baking pan.

Melt the butter, 8 ounces of the chocolate chips, and the unsweetened chocolate together in a medium bowl set over simmering water. Allow to cool for 15 minutes.


In a large bowl, stir (do not beat) together the eggs, coffee, vanilla, and sugar. Stir the chocolate mixture into the egg mixture and allow to cool to room temperature.

In a medium bowl, sift together 1/2 cup of the flour, the baking powder, and salt and add to the chocolate mixture. Toss the remaining 6 ounces of chocolate chips and the remaining 2 tablespoons of flour in a medium bowl and add them to the chocolate mixture.

Spread evenly in the prepared pan.


Bake for 35 minutes, until a toothpick comes out clean. Don’t overbake!


As soon as the brownies are out of the oven, place the jar of caramel sauce without the lid in a microwave and heat just until it’s pourable. Stir until smooth. Drizzle the caramel evenly over the hot brownies and sprinkle with the sea salt.


Cool completely and cut into bars.

WARNING! MUST HAVE MILK ON HAND! These brownies are tasty and very rich.

For past Smart Cookie recipes, check out the links below:
Oatmeal Dark Chocolate and Dried Cherry CookiesLucy CookiesWhite Chocolate and Cranberry BlondiesChocolate Dipped Vanilla Biscotti Italian Butter Cookies with Lemon Glaze, and Salted Carmel and Dark Chocolate TrufflesIrish Creme Delights, Erin’s Light Lemon Squares.

A Blast from the Past: Recipes

There seem to be few things that can take you to the past like food. While I agree, old photographs and mementos can remind of you certain moments of you life. The smells and tastes of certain foods can immediately take you back in time to experiencing a moment again.

Sometimes, I like to think of food as a time machine.

There are certain recipes that I make to remind me of certain people. There are recipes in my family that come to be known by the person’s name, simply because it reminds us of them.

We have a recipe for baked chicken that has come to be known as Nano’s Chicken. My Grandma Nano made it quite a bit. While it is a common recipe and can be found pretty easily, I make it from memory and think of eating dinner with my family at her house.

I have been trying to master zucchini frittata for years, as it reminds Brian of his own grandmother. When I first made it for him, he immediately started telling stories of sleepovers and stopping by his Grandma’s house after work.

A few weeks ago, my cousin emailed and asked if I had any old recipes. I am so glad she did. I asked my Mom and one of my Aunts if they had anything, and they had a few things for me.


After sending them to my cousin, I cannot wait to try some of them.

Perhaps, I will be transported back in time.

What are your favorite family recipes? What do they make you think of?

Home Everyday continues to send concern and thoughts to those affected by the events at yesterday’s Boston Marathon. 

Smart Cookies: Lemon Squares

When I think Spring, I think lemon. Perhaps it is because of the all the spring cleaning that happens, and my house smells like Mrs. Meyer’s Lemon Verbena.


Lemon squares are something that are light and the perfect balance of sweet and tart. I found a recipe on AllRecipes.com and I, of course doctored it up a bit.


Erin’s Light Lemon Squares

Crust
2 sticks of unsalted butter softened to room temperature
1/2 cup granulated sugar
2 cups all purpose flour
Pinch of salt

Filling
1 1/2 cups granulated sugar
1/4 cup all purpose flour
4 eggs
2 lemons juiced (just shy of 1/2 cup)
Zest of one lemon (about 1 Tbs)

Garnish
1/4 cup powdered sugar

Preheat oven to 350 degrees.

For crust, in a mixer with the paddle attachment, cream butter and 1/2 cup sugar until well combined. Then, slowly add flour until the mixture is the consistancy of course sand.


Press this mixture evenly into an ungreased 9 x 13 baking dish. Bake for 20 minutes.


While the crust is baking, wash and dry mixing bowl. Then, with the whisk attachment, combine 1 1/2 cups sugar and 1/4 cup flour until well incorporated. Next, add eggs, lemon juice, and lemon zest. Mix for a few minutes until a frothy consistency is formed and set aside.


When crust is finished baking (it should be firm) remove from oven and pour lemon mixture over top. Put back in oven and bake for another 20 to 25 minutes.

When cool, dust with powdered sugar, and cut into squares.


Enjoy!


For more information about Smart Cookies click here.

For past Smart Cookie recipes, check out the links below:
Oatmeal Dark Chocolate and Dried Cherry CookiesLucy CookiesWhite Chocolate and Cranberry BlondiesChocolate Dipped Vanilla Biscotti Italian Butter Cookies with Lemon Glaze, and Salted Carmel and Dark Chocolate Truffles, Irish Creme Delights

Linking up at Serenity Now for Weekend Blog Reading!

Chatting: Irish Soda Bread

This is a recipe that I can honestly say, I have only made once myself. It isn’t that it is difficult or time consuming. It is actually quite easy and a little different than a traditional Irish Soda Bread.


The reason I have only made it once, is my Mom makes it for everybody all the time, and therefore always has some in her house. She makes it when babies are born, when she is visiting a friend, when someone is sick, or when it is someone’s birthday. She gives it to the families of people who have suffered a loss, and people who have moved in next door. She brings it to people when she is stopping by for a chat. It is just what she does.
Last night, I stopped by to pick up the recipe to post, and of course she had a loaf that she has just made on the counter with the kettle on for tea. She grabbed my Grandma’s dishes, and we drank tea, ate soda bread, and had a chat. I’m so glad she lives only ten minutes away. It was nice to have her listen to my hellacious boot shopping trip with the kids or how we are in the middle of a project right now.
This recipe had originated with my Mom’s cousin Laura. We’ve been eating it all the time (not just on St. Patrick’s Day), and it kind of has a quick bread or cake consistency. If you slice it a little thicker and put it in the toaster it is delicious. Also, it makes two loaves, one for you, and one to share.
My favorite way to eat it is with just a little butter, a cup of tea, and a chat.
Laura’s Irish Soda Bread
5 cups all purpose flour
1 tsp salt
1 tsp baking soda
1 tsp baking powder
1 cup sugar
2-3 eggs (2 large 3 medium)
2 cups raisins
2 1/2 cups buttermilk
2 sticks butter (cold)
Preheat oven to 350 degrees.
Grease and flour two loaf pans, and set aside.
Put the raisins in a small bowl, and pour some very hot or boiling water over them and let sit for 3 to 5 minutes. Drain and set aside (this step is not necessary, but makes the raisins plump and delicious).
Sift together flour, salt, baking soda, and baking powder. Cut in butter, or mix until butter and dry ingredients are a cornmeal like consistency. Add raisins, and set aside.
In a separate bowl, mix together sugar, eggs, and buttermilk until well incorporated.
Finally, add the egg mixture to the flour and butter mixture, and mix until just combined (do not over mix). Pour the mixture evenly into the to prepared loaf pans.
Bake for one hour or until golden brown.
Get your kettle ready and call a gal pal.

Smart Cookies: Irish Creme Delights

It is Smart Cookie time again! As you have probably noticed, I try to keep up with some kind of theme or think about what college kids might be doing this time of year. Which is why this month has a very Irish theme. I am more than half Irish, so this time of year my family and I get together for some some traditional Irish fare, which I will be sharing with you all month long.

I had some trouble finding actual Irish cookies. Don’t get me wrong, there were lots of baked goods to choose from, but very little on the cookie front. Then, I found these.


First off, if a cookie has frosting I don’t think you can go wrong. Second of all, they are so soft and flavorful and unique. Thirdly, they are easy to make.

I found the original recipe here on Recipe.com. There are two variations to this cookie. With alcohol and without. I made non-alcholic for me, but planning to make some with coffee liquor for my Mom.

Irish Creme Delights

1/4 cup butter softened to room temperature
1/4 cup vegetable shortening
1 cup granulated sugar
1 Tbs coffe liqueur (or 1 tsp espresso powder)
1/4 tsp baking soda
1/4 tsp cream of tarter
1/4 tsp salt
1 large egg
1 tsp pure vanilla extract
1 3/4 cups all purpose flour

Rolling Sugar
1/4 cup granulated sugar
2 tsp ground cinnamon

Irish Creme Frosting
3 Tbs butter softened to room temperature
1 Tbs coffee liqueur (or 1 tsp pure vanilla extract)
3 cups powdered sugar
1 – 2 Tbs cream or half and half

Preheat oven to 375 degrees.

Line cookie sheets with parchment paper.

In a small bowl, mix together 1/4 cup granulated sugar and cinnamon until well combined and set aside.

In a large mixing bowl, beat together butter, shortening and sugar until creamy. While mixing add coffee liqueur (or espresso powder), baking soda, cream of tartar, and salt. Once that is well combined, slowly add flour in small batches until just combined. The dough is a dry consistency but comes together well when forming balls.


Using a cookie scoop or a tablespoon scoop dough and roll into about one inch sized balls, then roll in sugar and cinnamon mixture. Place on cookie sheet about 2 inches apart.

Bake for 8-10 minutes. Remove from oven and cool on a wire rack.


While cookies cool, make frosting by beating together butter, coffee liqueur (or vanilla) until well combined. Slowly beat in powdered sugar about one cup at a time. Finally, add cream or half and half until frosting is a good consistency.

Finally, once the cookies are cooled, frost them generously and enjoy.


NOTE: To store or mail these cookies, I would recommend putting wax paper between each layer of cookies to help from getting frosting everywhere.

To learn more about Smart Cookies, click hereYou can also see past Smart Cookie recipes below: Oatmeal Dark Chocolate and Dried Cherry CookiesLucy CookiesWhite Chocolate and Cranberry BlondiesChocolate Dipped Vanilla Biscotti,  Italian Butter Cookies with Lemon Glaze, and Salted Carmel and Dark Chocolate Truffles.

Linking up at Serenity Now for Weekend Bloggy Reading. Come check out everyone’s amazing recipes and projects!

Salted Carmel and Dark Chocolate Truffles

It is Smart Cookie time! When Valentine’s Day is on its way, I of course think of chocolates so I thought instead of a cookies, it might be fun to make a chocolate candy treat. A few weekends ago, I had a salted carmel chocolate cake for dessert at a restaurant, and the combination of salted carmel and rich dark chocolate was so awesome that it inspired this recipe. Also, as my friend, Mary, pointed out dark chocolate is heart healthy. This is perfect for American Heart Association’s Heart Health Month.


This recipe seemed a little intimidating at first, but I found this great recipe as a base, and made a few small changes. They are a hit, as in they are gone.

Salted Carmel and Dark Chocolate Truffles

12 oz semisweet or dark baking chocolate chopped
1/2 cup heavy cream
12 carmel candies cut in half
1-2 Tbs Fine Sea Salt


Place chopped chocolate in a large heat safe bowl, and place on top of a sauce pan filled with and inch or two of water to act as a double boiler. Turn on the heat to medium low. Next, in a second sauce pan over low heat add the cream. When the cream is heated through or when there are small bubbles around the edge of the pan, add the cream to the melting chocolate and gently whisk together. When the chocolate is thoroughly melted and incorporated with cream, add the mixture to a shallow baking dish. Cover with plastic wrap and put in the refrigerator for one hour.

While the chocolate is cooling, dredge carmel pieces in sea salt.


Remove chocolate from refrigerator.


Using a small cookie scoop (1 Tbs size) and scoop chocolate and insert salted carmel piece into the center of chocolate. Then gently roll into a ball and place on a refrigerator safe dish.

When all the truffles are made, sprinkle with the tiniest bit of sea salt. Refrigerate until ready to serve.


I have to make more to mail out. I think these are my new favorite chocolate treat.

For more information about Smart Cookies click here. You can also see past Smart Cookie recipes below: 
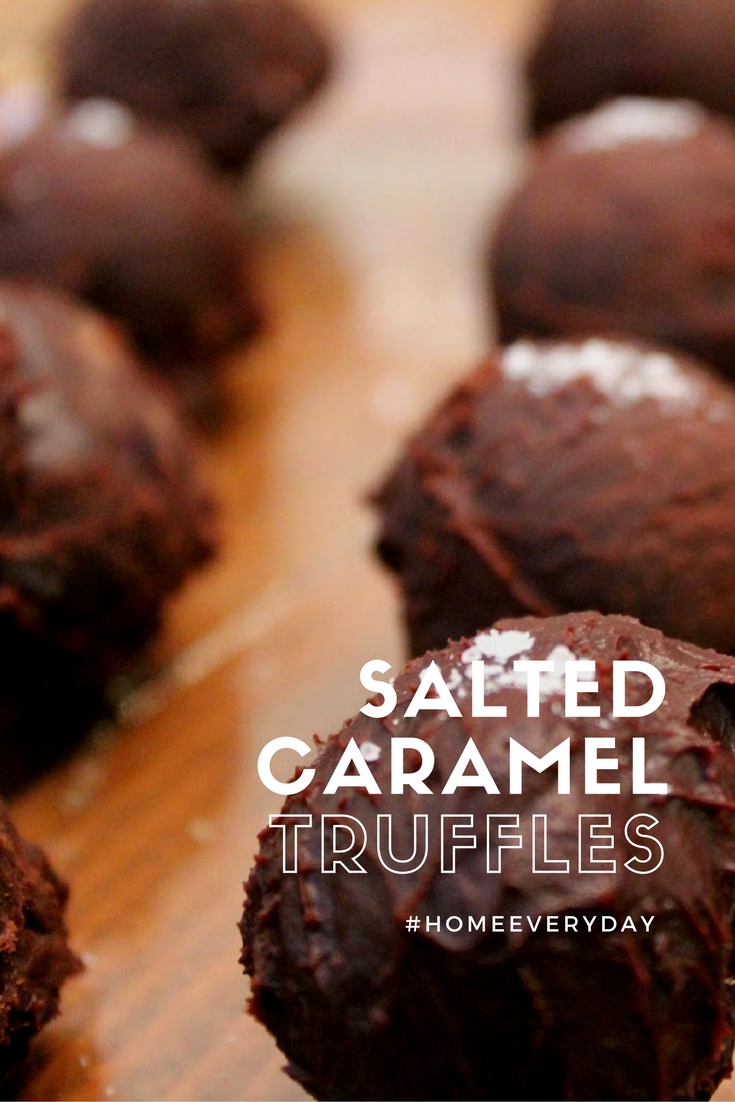
Oatmeal Dark Chocolate and Dried Cherry Cookies, Lucy Cookies, White Chocolate and Cranberry Blondies, Chocolate Dipped Vanilla Biscotti, and Italian Butter Cookies with Lemon Glaze.