Category

Baking

St. Patrick’s Day Treats and The Only Cut Out Sugar Cookie Recipe You Will Ever Need

Normally, cut out sugar cookies are the worst. If they are gorgeous they are pretty tasteless. If they are tasty they are ugly. Sometimes they can be too sweet, too crumbly, to thin, too hard.

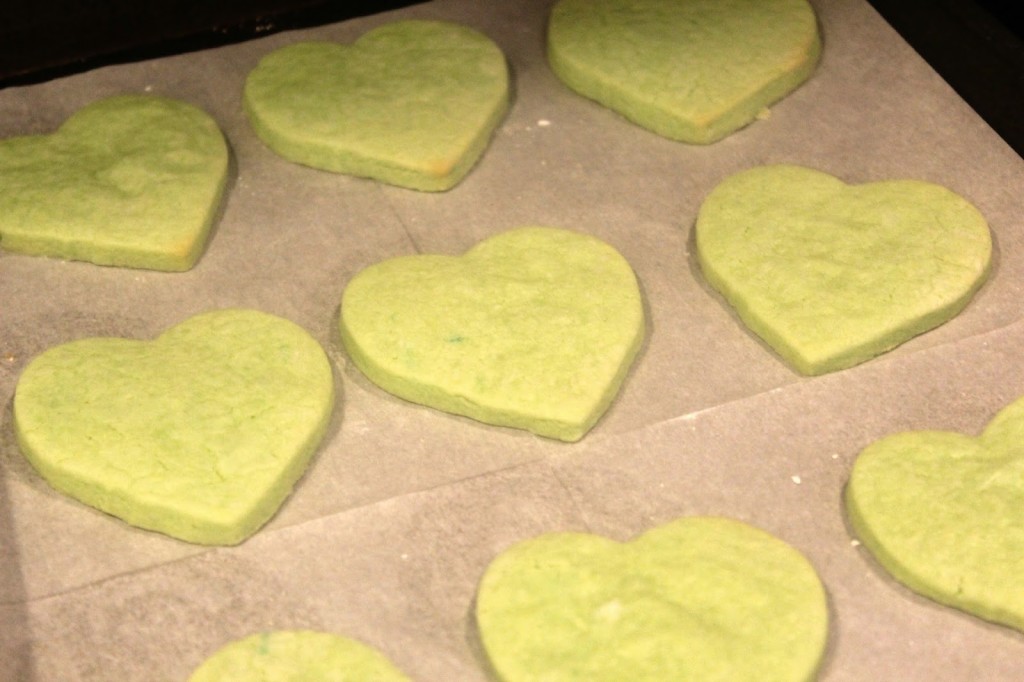
Well, I compiled a bunch of my favorite recipes and techniques, and I made some pretty cute cut out sugar cookies for St. Patrick’s Day that even my allergy kids can eat!


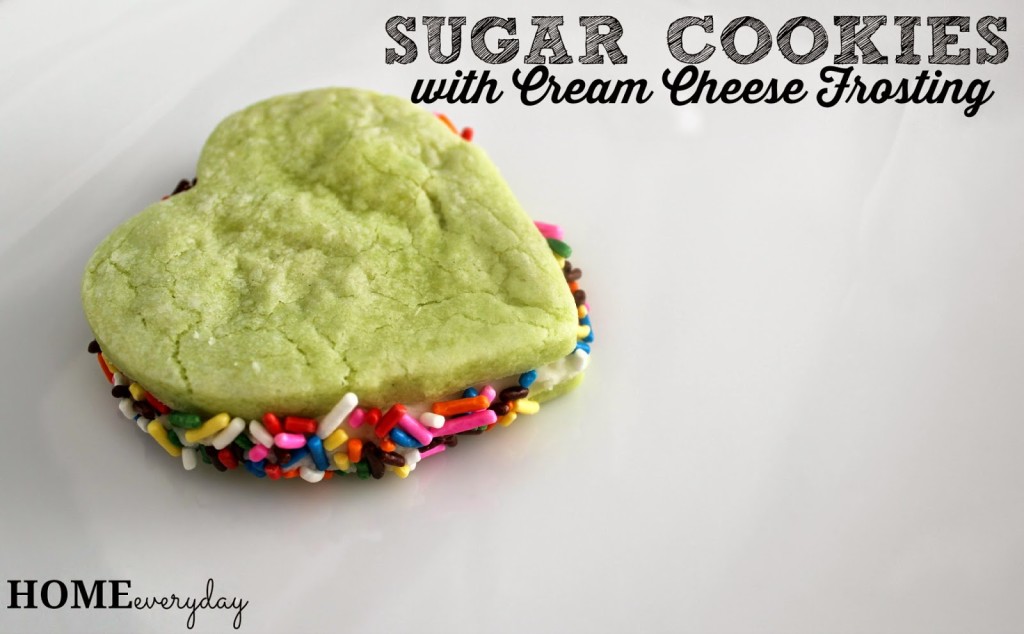
No complaints, only vanilla-y sweet sugar cookies with cream cheese frosting goodness! The secret? Well, there are a few secrets actually.
  • There is cream cheese in the dough.
  • I only used egg yolks.
  • I chilled the dough overnight.
  • I used powdered sugar when rolling out the cookies instead of flour.
  • I didn’t roll the cookie dough too thin.
  • I worked fast.
  • Parchment paper for baking rather than a silicone mat (I don’t know why this made a difference it just did).
  • I trusted my instincts (if the dough was too wet I added a little flour, if the frosting was too dry I added a little milk, etc.)
After making cut out cookies since I was a kid, I think that this will be the only recipe I use from now on! Thank goodness the search is over.
Fun Color Sugar Cookies with Cream Cheese Frosting
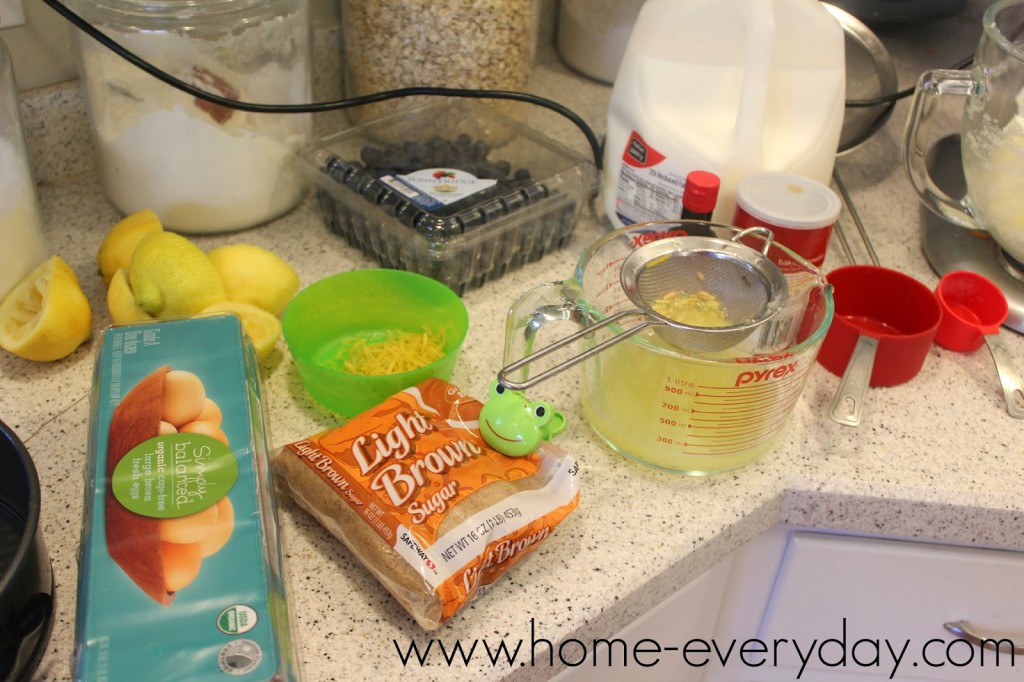
5 cups flour
1 tsp salt
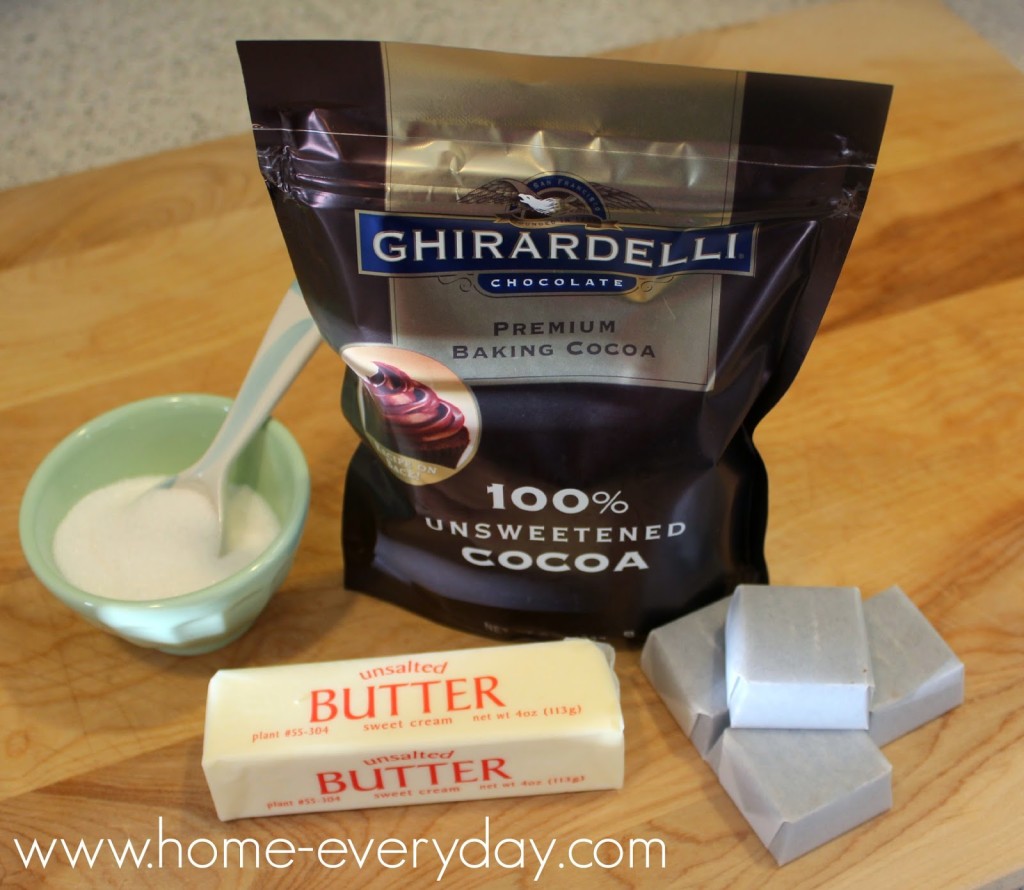
1 brick (8 oz) of cream cheese brought to room temperature
4 sticks unsalted butter brought to room temperature
2 cups granulated sugar
2 egg yolks
3 tsp pure vanilla extract
Food Coloring drops
powdered sugar for rolling out cookies
Frosting:
1/2 brick of cream cheese (4 oz) brought to room temperature
1 stick of unsalted butter brought to room temperature
3 cups powdered sugar
1 tsp vanilla


In a large bowl, sift together flour and salt and set aside.
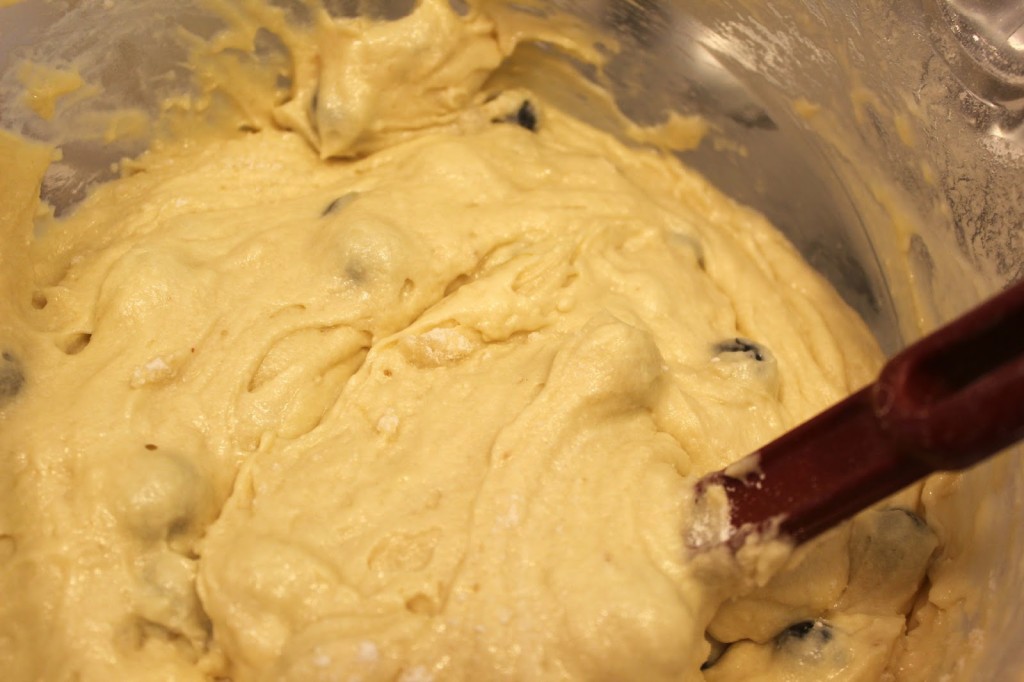
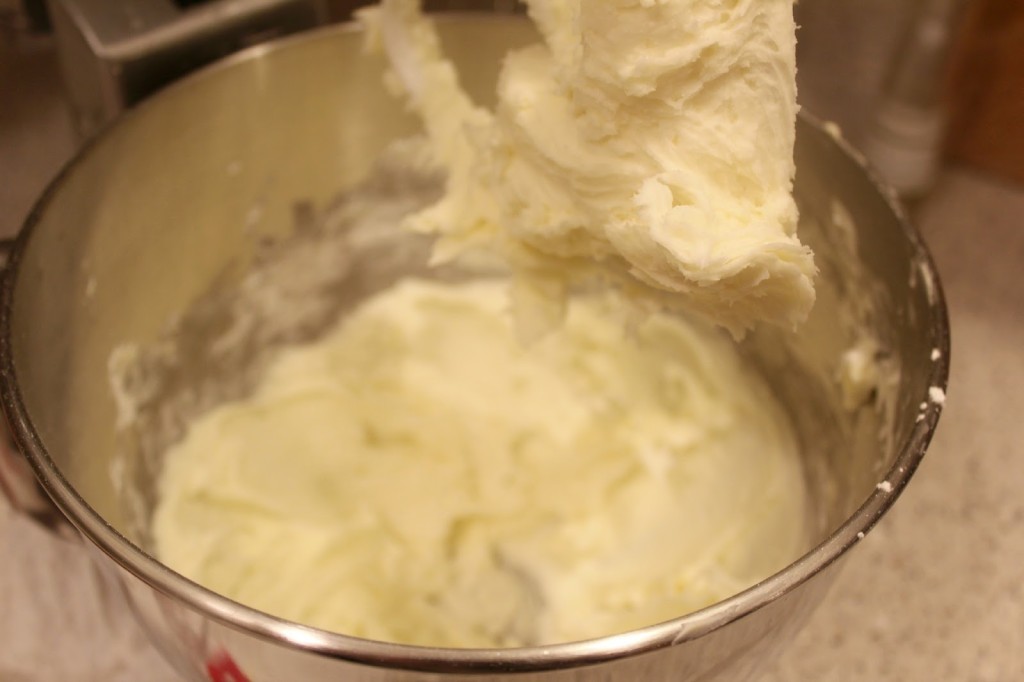
In a large bowl, beat together cream cheese and butter until completely mixed together. Add granulated sugar. Scraping down the sides of the bowl, add egg yoke and vanilla and beat this mixture until a light texture is formed.
Finally, add flour and food coloring and mix until combined, remembering not to over mix. (NOTE: follow the food coloring instructions on your package, and remember you’ll be rolling out this dough so if there are a few streaks of color they will get worked in when you’re rolling the cookies.)


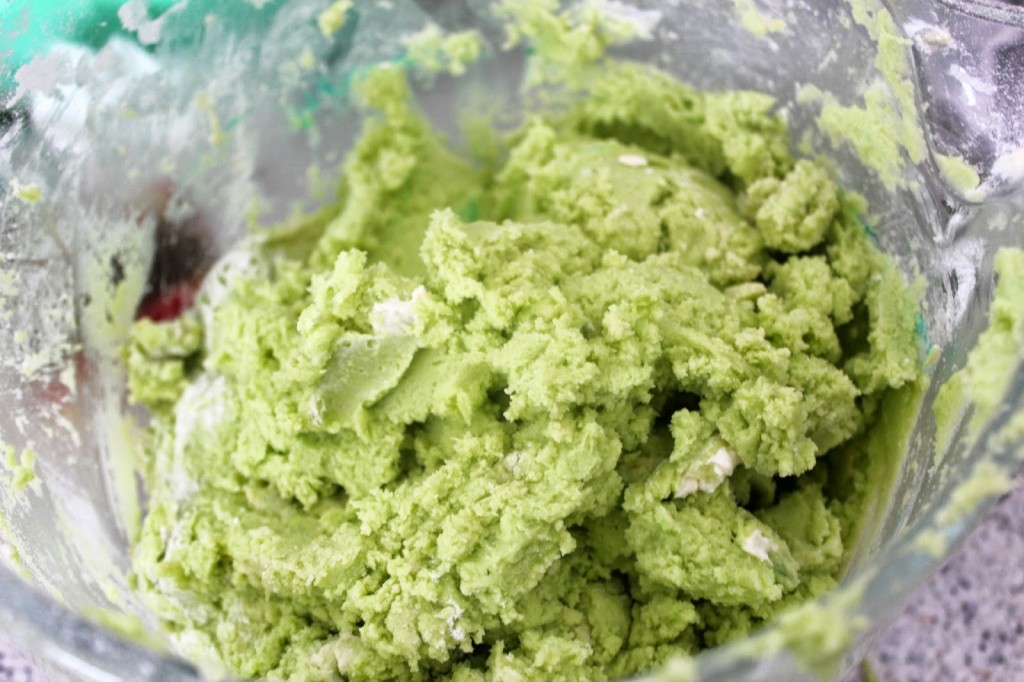
Chill this mixture in the refrigerator overnight. (NOTE: If you cannot chill overnight, chill for at least 4 hours.)
 
Preheat oven to 350 degrees.
 
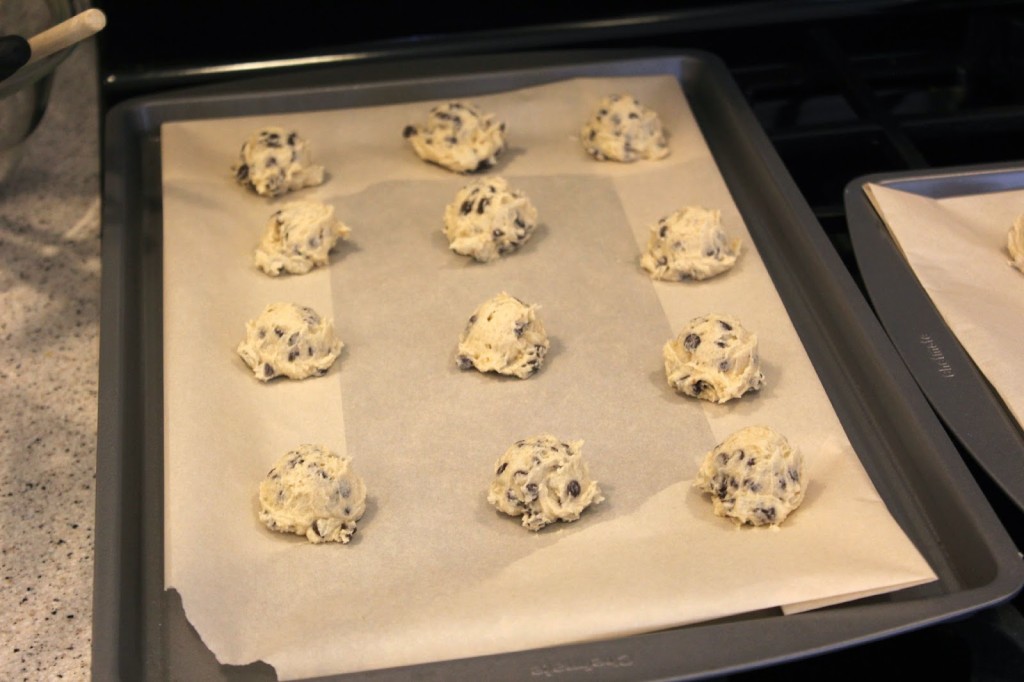
Line baking sheets with parchment paper and set aside.
To roll out the cookies, dust the rolling surface, rolling pin and cookie cutters with powdered sugar. Take a small section of dough (putting the rest in the refrigerator to stay cold), roll out the dough to about 1/3 to 1/2 of an inch thick (I used my instincts here, but roll it out thicker than you usually would). Using cookie cutters cut shapes, and place on parchment lined baking sheets.


Bake for 9-12 minutes.


Remove from oven, and place cookies on cooling rack immediately to cool before frosting.
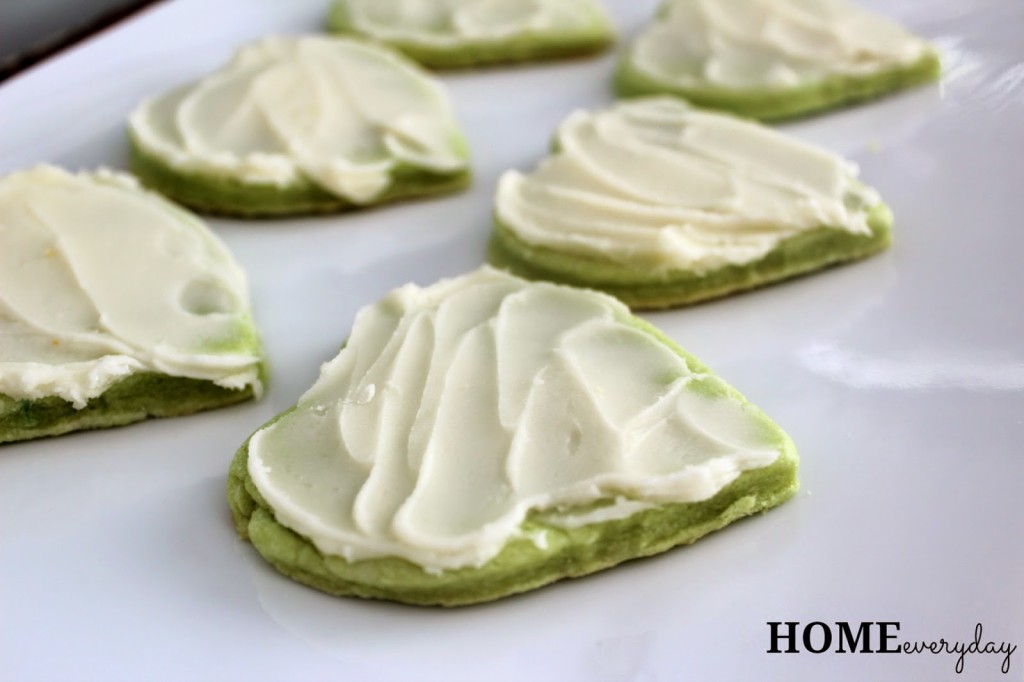
While cookies cool, make the frosting by mixing together the cream cheese, butter, powdered sugar, and vanilla.

Spread onto cookies, make cookie sandwiches, decorate with sprinkles, or eat the frosting directly from the bowl it’s up to you.


I’m telling you this will be the only cut out sugar cookie recipe you will ever need.


If you like this post and would like to read more about all things domestic with a touch of humor, become a Home Everyday follower! For blog updates or to see other places I write such as ChicagoNow or Chicago Parent follow Home Everyday on FacebookTwitter, and Pinterest.

Sour Cream Cinnamon Coffee Cake: Kindness Goes a Long Way

One of my absolute favorite things to do is cook and bake for other people who least expect it. There is nothing like some homemade sugar, carbs, or hot steamy comfort food to make someone’s day. I love it.

Brian asked me to bake some breakfast treats for the staff where he works as a thank you. Because it is a big staff, I called my Mom for reinforcements and had her make some loaves of her Irish Soda Bread. I, then, made a few batches of chocolate chip zucchini bread.

Finally, I thought it would be a great time to bring out an old recipe from my Grandma Nano. Nothing says “thank you and you are appreciated” like a recipe from your grandma. I made her famous Sour Cream Cinnamon Coffee Cake.


I made an extra batch just for us, too. I served it up on the cake plate I inherited from my Grandma Nano. The kids loved it!

Sour Cream and Cinnamon Coffee Cake

2 sticks of unsalted butter softened
1 cup sugar
2 eggs
1 cup sour cream
2 tsp pure vanilla extract
2 cups all purpose flour
1 tsp baking powder
1 tsp baking soda
1/2 tsp salt

Cinnamon Filling
1/4 cup sugar
1/2 cup brown sugar
2 tsp ground cinnamon

Glaze
1/2 stick of unsalted butter
1 cup powdered sugar
1 TBS milk
1 tsp pure vanilla extract

Preheat oven to 350 degrees.

Grease a 9 x 13 OR bundt pan and set aside.

In small bowl mix together, the cinnamon filling of sugar, brown sugar and cinnamon. Set it aside.


In a large bowl, sift together flour, baking soda, baking powder, and salt.


In a mixer bowl with paddle attachment, cream together butter and sugar until combined. Add in eggs and sour cream and mix on low until completely incorporated. Next, add vanilla extract.


With mixer on low speed, carefully add flour mixture until all the flour is added. However, DO NOT over mix. A few lumps is fine.


Pour half the batter into the greased pan. Add the cinnamon mixture in an even thin layer on top of the batter.


Then, add the rest of the batter on top.


Bake for 35-40 minutes until the cake knife inserted in the center comes out clean.


While, the cake is baking put together glaze by melting butter in a small sauce pan. Whisk in sugar, vanilla and milk.


When cake is cooled, remove from pan and drizzle with glaze.


Bring to a friend and enjoy with a steaming cup of coffee or tea!

If you like this post and would like to read more about all things domestic with a touch of humor, become a Home Everyday follower! For blog updates or to see other places I write such as ChicagoNow or Chicago Parent follow Home Everyday on FacebookTwitter, and Pinterest.


Relaxed and Ready: Cranberry Muffins with Oatmeal Streusel Topping

I know this sounds insane, but even with the craziness ensuing around me, I find myself pretty calm. Perhaps it is because of the little bit of pre-holiday-planning I took the time to do in November, but I am amazingly laid back for this time of year.

The decorations are all up (except for a few little details). The Christmas cards are started, the baking supplies are bought, I have some Christmas gifts bought, oh and I have enough tape and tissue paper to last me the next 25 Christmases.

With that said, I am able to try some new recipes in the kitchen.

This time of year, I like to make some hot vanilla for the kids when they get off the bus before they start homework. I was wondering what would be a good snack to accompany a hot beverage, and muffins came to mind. Cranberries seemed festive, and adding oatmeal seemed healthy, so I did a little experimenting and came up with these tasty little treats. They are also pretty good to grab on the way out the door for breakfast (Russell had two!)


Cranberry Muffins with Oatmeal Streusel Topping (makes 24 regular sized muffins)

3 1/2 cups all purpose flour
4 tsp baking powder
1 tsp salt
1 tsp ground cinnamon
1 cup sugar
2 eggs
1 1/2 cups milk
1/2 cup vegetable oil
2 tsp pure vanilla extract
2 cups coarsely chopped cranberries


For Streusel Topping
1 cup oats
1/2 cup brown sugar
1 tsp ground cinnamon
1/2 stick unsalted butter melted

Preheat oven to 350 degrees.

Line muffin tin with paper liners or grease with nonstick spray and set aside.

In a large bowl, sift together flour, baking powder, salt, and cinnamon and set aside.

In a mixer bowl with paddle attachment, on medium speed mix together sugar, eggs, and oil. Turn mixer to low, add milk and vanilla. Then, with the mixer on low speed add flour mixture very slowly and only mix for a few seconds. It is ok if mixture is lumpy and you can still see flour. Turn off mixer.

Using a spatula, fold in cranberries.


Next, in a medium bowl, mix together streusel topping ingredients and set aside.

Using an ice cream scoop spoon muffin batter into muffin cups about 3/4 of the way full. Then, using a teaspoon, add streusel mixture.


Bake muffins for 15-20 minutes or until a toothpick comes out clean.

Cool and enjoy.


If you like this post and would like to read more about all things domestic with a touch of humor, become a Home Everyday follower! For blog updates or to see other places I write such as ChicagoNow or Chicago Parent follow Home Everyday on FacebookTwitter, and Pinterest.


Versatile Chocolate Chip Cookies & Some Allergy Back to School Tips

When my kids were first diagnosed with allergies as babies, it was a scary diagnosis, but they were little. I figured, I was still in primary control of pretty much everything they were eating. I made a lot of their food, and when we ate out at restaurants, it was easy to just bring things a long for them.

Now, with their most recent diagnoses, and the fact that they are older. The fear is worse (so much worse). Between school, soccer, playdates, and all the other places they go where I am not there to oversee every piece of food that they come into contact with is terrifying for a parent of an allergy kid. However, I have always believed that the more everyone knows the healthier my kids will be. So with school starting, here are some things that I have learned along the way.

1. TEACH YOUR CHILD: Constantly remind your child what foods are safe for them to eat. Talk about how sharing foods with people at lunch, on the bus, on the soccer field, and anywhere else is not safe. Teach them to ask a trusted adult (parent, guardian, teacher, or anyone else who knows about their allergies), if they aren’t sure about a food before eating it. Teach them to look at labels, read them. Have them talk with their friends about their food allergies. Remind them that when in doubt, say, “NO thank you.” Talk about symptoms of an allergic reaction, calling 911, and using their Epi Pens.

2. TEACH EVERYONE: Anyone who is to come in contact with your child (family, friends, teachers, coahces, babysitters, everyone) should know what foods are safe for your children and not only how to administer the EpiPen, but when it should be administered.

3. READ: I know it seems like all allergy parents and kids is spend their time reading labels, but it is also important to also read up on allergy safe recipes, information regarding allergies, and treatments for food allergies.

4. FILL OUT FORMS: Make sure to fill out all of your child’s allergy forms completely, and thoroughly for school. If you have any questions, be sure to discuss them with the school nurse, teacher, and your physician so the proper precautions can be taken in case anything does happen. Also, make sure to make notes on all other forms of your child’s allergies, such as sports and activities forms.

5. KEEP IT UP: Sometimes things change throughout the course of the school year. For example, sometimes medications dosages change, EpiPens expire, treatments change, or a child may develop a new allergy or grow out of one. Be sure to keep everyone updated of any changes regarding your child’s health.

Now, that everyone is armed with the knowledge to have a safe and healthy school year, let’s have a fun and and allergy safe snack. I know this isn’t the healthiest after school snack, but every once in awhile a kid needs a treat, and chocolate chip cookies are just the treat. These cookies can be made a variety of ways, and taste awesome!

Versatile Gluten Free NUT SAFE Chocolate Chip Cookies
2 Sticks Unsalted Butter Room Temperature (NO DAIRY NO PROBLEM: Try a Dairy Free Butter Stick)
3/4 cup granulated sugar
3/4 cup light brown sugar
2 large eggs (NO EGGS NO PROBLEM: Try ENERG Egg Replacer)
1 1/2 tsp gluten free pure vanilla extract
2 1/4 cups gluten free, nut free all purpose flour blend (NAMASTE brand is my favorite)
1 tsp baking soda
1 tsp salt
1 bag allergy safe chocolate chips (Enjoy Life brand is my favorite)


Preheat oven to 375 degrees.

Line cookie sheets with parchment paper.

In a large bowl mix together flour, baking soda, and salt.

In an electric mixer bowl with paddle attachment, cream together butter, sugar, and brown sugar on medium speed until completely blended. Lower speed, and add eggs one at a time and mix until well incorporated. Add vanilla. Next, very slowly add flour mixture and mix until just combined. Finally, add chocolate chips.


Using a 1 Tbs cookie scoop, or two spoons, spoon 1 Tbs balls of cookie dough onto cookie sheets.


Bake for 375 degrees for 9-11 minutes. Cool.


Enjoy after school with milk!


If you like this post and would like to read more about all things domestic with a touch of humor, become a Home Everyday follower! For blog updates or to see other places I write such as ChicagoNow or Chicago Parent follow Home Everyday on FacebookTwitter, and Pinterest.

Follow on Bloglovin

Breaking Some Rules: Lemon Blueberry Layer Cake

There are two rules that I break all of the time.

1.) Don’t head to the supermarket when hungry.
2.) Don’t be pinning things and surfing for recipes when hungry.

The other day I broke rule number two, when I saw an awesome recipe from Sally’s Baking Addiction for Lemon Blueberry Layer Cake. For those that don’t know I LOVE the combination of lemon and berries you can tell by my recipes for lemon blueberry cookies and fresh pink lemonade. Looking at recipes while hungry, led to me breaking rule number one.

However, if being wrong creates this delicious cake, I don’t want to be right.

There are two other rules that I break all of the time too.

3.) Don’t adapt baking recipes as it is a delicate balance.
4.) Give a cake ample time to cool before frosting.

Ok, I’m a rebel, what can I say. I adapted the recipe and I waited as long as I could, but we just couldn’t wait anymore!!

Lemon Blueberry Layer Cake (adapted from Sally’s Baking Addiction)

CAKE
3 cups all purpose flour + 1 Tbs reserved
1 Tbs baking powder
1/2 tsp salt
1 cup unsalted butter room temperature
1 1/4 cups granulated sugar
1/2 cup light brown sugar packed
4 eggs
1 Tbs (yes a tablespoon) of pure vanilla extract
1 cup buttermilk
3 or 4 lemons zested and juiced (should yield about 1/2 – 3/4 cup of juice)
2 cups fresh blueberries

Preheat oven to 350 degrees.

Grease and flour two 9 inch round cake pans set aside.

In a large bowl, sift together 3 cups flour, baking powder and salt and set aside. In another bowl, toss together blueberries and reserved flour and set aside. (NOTE: this will keep the blueberries from sinking into the bottom of a cake, my mom taught me this trick and it can be done with raisins and chocolate chips in breads and cakes too.)

With a stand mixer or large mixing bowl with hand beaters, cream together butter and sugars until well blended. Then, add eggs, vanilla, and mix until incorporated.

Next, add slowly add the flour mixture and mix until just combine. (NOTE: don’t over mix it is ok if you can still see some flour in the mixture.)

Then, add buttermilk, zest, and lemon juice and mix until incorporated.

Next, using a spatula carefully fold in blueberries.

Finally, pour mixture dividing evenly between two cake pans and bake 26 – 30 minutes or until a toothpick inserted comes out clean.

Remove cake from oven, and cool slightly for about 7 minutes in the pan. Then remove from pan let cake cool on a cooling rack about 1 hour. (NOTE: The cake should be cool to the touch before frosting, but if it is still a little warm because you cannot wait anymore that is fine too).

FROSTING
1 16 oz can Betty Crocker Vanilla frosting
2 tsp pure vanilla extract
1 lemon zested and juiced.

In a small bowl, whisk together ingredients.

When cakes are cooled, put one cake on a plate and put half the frosting in the middle of the cake and spread out with a spatula letting it fall over sides. Top with second cake, and add the rest of the frosting to the top and spread out and fall over sides. Garnish with blueberries.

Now, go break some rules, you little rebel you!

You know you want to.

If you like this post and would like to read more about all things domestic with a touch of humor, become a Home Everyday follower! For blog updates or to see other places I write such as ChicagoNow or Chicago Parent follow Home Everyday on FacebookTwitter, and Pinterest.

Follow on Bloglovin

Versatile Valentine’s Treat: Red Berry Sauce

I love when I can make one recipe, but use it for a bunch of different things. My favorite example of this kind of recipe is a roasted chicken. You can use it for so many different things: eat it right out of the oven, put on top of a garden salad, make chicken salad, make tacos, have a sandwich, stir it into soup. The possibilities are endless. It’s a wonder we all don’t keep one in our refrigerator at all times.

I am starting to think Red Berry Sauce is going to be ranking right up there with a roast chicken as a pretty versatile recipe.


This wonderful smooth sauce could be used to top pound cake, ice cream, pancakes, french toast, or even be used to make a neat cocktail (come back for ThirstyThursday to see that recipe). So far it has been a nice alternative to chocolate, and is a gorgeous shade of red which is perfect for the upcoming Valentine’s Day.

Red Berry Sauce

1 pint fresh strawberries hulled and sliced
6 oz fresh raspberries
1/2 cup granulated sugar
1/2 cup water
1 tsp fresh lemon zest


In a sauce pan over medium heat add sugar and water and stir until sugar is completely dissolved. This should take about 1-2 minutes. Stir in berries and lemon zest. Bring to a slight simmer. Lower heat, and cover pan with a tight fitting lid. Cook on low for 3 – 5 minutes. Remove mixture from heat and let cool for 10-15 minutes.


When mixture is cooled, pour into a blender. Blend on medium speed for about 1 minute until berries until berries are completely broken down. Finally, pour mixture through a fine strainer.


You can eat right away or store in an airtight container and refrigerate for 3 or 4 days.


I poured ours with homemade pound cake with whipped cream.


Later this week I will be sharing a cocktail made with this treat!

If you like this post and would like to read more about DIY, gardening, cooking, baking or all other things domestic, become a Home Everyday follower! For blog updates or to see other places I write follow Home Everyday on Facebook here.

Follow on Bloglovin

Heaven in a Jar: Homemade (Nut Free) Chocolate Spread

Ahhh Nutella. Everyone who can have it loves it. However, there is a huge portion of the population that cannot have this delicious treat because of the hazelnuts in it. I was feeling bad that my littles were being denied such a wonderful and versatile treat and was trying to find something that would be similar. Unfortunately, many of these spreads have nuts or are processed in the same facilities as nuts or other allergens.

I had to take matters into my own hands. I scoured the internet, and to my delight I found ONE recipe sans nuts.

Thank you so much, SugarHero! My kids now know the joys of spreading chocolate on toast. They know how glorious pretzels and chocolate taste together. And they will never look at graham crackers the same way again.

The only change I made to the original recipe was I did add a bit more sugar and vanilla, but it is truly Heaven in a Jar.

Heaven in a Jar
1/2 cup of water
3/4 cup granulated sugar
1 Tbs unsweetened cocoa powder
2 tsp pure vanilla extract
4 squares of Baker’s unsweetened chocolate finely chopped
1 stick of unsalted butter cold and cut into small chunks
pinch of salt

In a small sauce pan, over medium heat add water, sugar and cocoa powder. Stirring constantly, cook until sugar is completely dissolved. Then, bring to a slight simmer. This should take about 2 – 3 minutes.

Remove from heat, and stir in the vanilla, chocolate, butter, and salt until a smooth texture is formed and all the ingredients are melted and incorporated.

Pour the mixture into a jar or airtight container. Cover with plastic wrap so the wrap is touching the top of the chocolate (so a skin doesn’t form), and then cover with lid.

Refrigerate overnight, and enjoy. (According to SugarHero! the spread will last for 2 weeks in the refrigerator.)

There’s only one thing I can say about this recipe. You’re welcome!

For a Printable Version of this recipe CLICK HERE!

If you like this recipe and would like to read more about DIY, gardening, cooking, baking or all other things domestic, become a Home Everyday follower! For blog updates or to see other places I write follow Home Everyday on Facebook here.

Follow on Bloglovin


Smart Cookies: Scratch Brownies

This month’s Smart Cookies recipe was inspired by a craving for some good old fashioned brownies. Usually, I will buy a store bought mix for brownies, and dress them up a bit like these Salted Caramel Brownies of yore. However, with last week’s deep freeze, I was out of brownie mix, and really not wanting to leave the comfort of my house for brownie mix, when I am pretty sure I had everything I needed in the house to make them from scratch.

Also, I really really couldn’t wait to use the new glass spout bowl for my KitchenAid mixer.

After a bit of research, I found a few recipes that I thought were doable, and created  my own version. So, for this  recipe, I used dark chocolate chips instead of baker’s chocolate as the base. Because of this, I didn’t need as much sugar as the chocolate chips have a bit of sweetness added. Also, I added some white chocolate chips to the batter, and they were twice as chocolatey.

Scratch Brownies
1 1/4 cups all purpose flour plus 1 TBS
1/2 tsp baking soda
1/2 tsp salt
1 cup dark chocolate chips (semi sweet chocolate chips would be fine too)
1 stick of butter
3 large eggs
1 cup granulated sugar
2 tsp vanilla extract
1 cup white chocolate chips

Preheat oven to 350 degrees.

Grease a 9 x 13 baking dish and set aside.

In a small bowl, toss the 1TBS of flour with the white chocolate chips and set aside (this prevents chocolate chips from sinking to bottom of the brownies).

In a large bowl, sift together  the 1 1/4 cups flour, baking soda and salt, and set aside.

In a double boiler (I use a heat safe glass bowl over slightly simmer water), melt butter and dark chocolate chips together, stirring occasionally. Once completely melted together, remove from heat and allow the mixture to cool slightly.

In a large mixing bowl, beat together sugar, eggs, and vanilla until well incorporated. Next, set the mixer to low, and carefully and slowly add the chocolate and butter mixture. Then, add half the flour mixture until just incorporated, and then the other half of the flour mixture. Be sure to not over mix.

Carefully, fold in the white chocolate chips. Pour the batter into the baking dish, and bake for 20-22 minutes.

These brownies would be great served warm with some vanilla ice cream, but we dug right in after dinner with tall glasses of milk.

To get a printable version of this recipe CLICK HERE!

For more information about Smart Cookies, click here. You can also try these other Smart Cookie Recipes.

For past Smart Cookie recipes, check out the links below:
Oatmeal Dark Chocolate and Dried Cherry CookiesLucy CookiesWhite Chocolate and Cranberry BlondiesChocolate Dipped Vanilla Biscotti Italian Butter Cookies with Lemon Glaze, and Salted Carmel and Dark Chocolate TrufflesIrish Creme DelightsErin’s Light Lemon SquaresSalted Caramel BrowniesCran Apple Cookies, Pumpkin Cookies with Cinnamon Glaze

If you like this recipe and would like to read more about DIY, gardening, cooking, baking or all other things domestic, become a Home Everyday follower! For blog updates or to see other places I write follow Home Everyday on Facebook here.

Follow on Bloglovin

Smart Cookies: Ok, They are Muffins… or Are They Doughnuts

To be honest, I’m not really sure what this month’s Smart Cookies recipe could be classified as. They are made like muffins, but are kind of dense like a cake doughnut. Hmmm… Doughins? Muffuts? Doesn’t matter, they are delicious!

Since we all have pumpkin on the brain with Thanksgiving on the way, I was thinking what do people eat for breakfast the morning of Thanksgiving? You don’t want to eat too much, and since the whole day is a celebration (totally justifying eating this much sugar in the morning) I thought it might be nice to have a little treat. I found a few recipes online for Pumpkin Doughnut Muffins, and I combined what I liked about all of them and made my own.

When it comes to Pumpkin flavored things, I like that pumpkin lends itself to being a little spicy. However, I am not a cloves or allspice person. For whatever reason, cloves, which is a very traditional pumpkin pie ingredient, sometimes overtake the taste of the pumpkin for me. I always say, “I’m here for the pumpkin, not for the cloves.” So, I have been substituting with ground ginger, nutmeg, and cinnamon. So far I love that it is warm and autumn like, but not too spicy.

Pumpkin Doughnut Muffins
4 cups all purpose flour
3 tsp baking powder
1 tsp baking soda
1 tsp salt
2 tsp cinnamon
1/2 tsp ground nutmeg
1/2 tsp ground ginger
2 sticks of unsalted butter softened
1 cup light brown sugar
1/2 cup buttermilk
1 15oz can of pumpkin puree
2 extra large eggs

Sugar Coating
1 cup granulated sugar
2 tsp ground cinnamon
1/2 stick of melted unsalted butter

Preheat oven to 350 degrees.

Spray 2 muffin thoroughly with cooking spray and set aside.

In a large bowl, sift together flour, baking powder, baking soda, salt, cinnamon, nutmeg, and ginger, and set aside.

In a mixer with paddle attachment or large bowl with beaters, beat butter and brown sugar until creamed together. Then, slowly add eggs one at a time. With the mixer on very low speed, then add buttermilk, and mix until well incorporated. Finally, with mixer still on low, add 1/3 of the flour mixture, and half of the pumpkin. Mix until just barely combined. Then, add 1/3 more of the flour mixture and the rest of the pumpkin, followed by the remaining flour mixture. Mix until just combined. (NOTE: Do not over mix)


Using an ice cream scoop, scoop the batter into the muffin tins, and bake for 25 – 30 minutes.

Remove from the oven and let cool for 10 minutes.

While the muffins cool, melt butter in a small bowl and set aside. Then, mix together sugar and cinnamon for sugar coating.

When muffins are cool, dip the top of each muffin into the melted butter and then into the sugar coating mix.

The perfect breakfast for Thanksgiving morning!


For past Smart Cookie recipes, check out the links below:
Oatmeal Dark Chocolate and Dried Cherry CookiesLucy CookiesWhite Chocolate and Cranberry BlondiesChocolate Dipped Vanilla Biscotti Italian Butter Cookies with Lemon Glaze, and Salted Carmel and Dark Chocolate TrufflesIrish Creme DelightsErin’s Light Lemon SquaresSalted Caramel BrowniesCran Apple Cookies, Pumpkin Cookies with Cinnamon Glaze.

If you like this recipe and would like to read more about DIY, gardening, cooking, baking or all other things domestic, become a Home Everyday follower! For blog updates or to see other places I write follow Home Everyday on Facebook here.

Follow on Bloglovin

Apple Crisp: An Impromptu Dessert

Last week the temperatures started to plummet and I could tell everyone was kind of getting a bit worn down. So, right before I started dinner I put together the apple crisp and popped it in the oven. When dinner was ready, I took the crisp out of the oven to cool. Right after dinner, I surprised everyone with warm apple crisp and it literally only took about an extra 10 minutes before dinner to put together. Because of our impromptu dessert, I don’t have any pictures (sad trombone).

I guess you’ll just have to make it yourself.


FOR PRINTABLE RECIPE CARD CLICK HERE

Apple Crisp seems like one of those desserts that tastes, looks, and feels like it takes a ton of work and preparation, but actually I bet you would be surprised to learn that you probably have everything on had already and it only takes a few minutes to put together before baking. Also, with it being autumn, there are so many wonderful kind of apples that are fresh and readily available.

Weeknight Apple Crisp
6 to 8 large apples (I used Honeycrisp) cored and sliced
3 Tbs. granulated sugar
1 tsp. ground cinnamon
1 cup packed brown sugar
1 cup old fashioned oats
2/3 cup all purpose flour
1/4 tsp. salt
1 stick of cold butter cut into small pieces
Vanilla Ice cream for serving

Preheat oven to 350 degrees.

Spray non stick cooking spray in a 9 x 13 baking dish and set aside.

In a large bowl, combine the apples, granulated sugar, and cinnamon and toss until apples are coated with sugar and cinnamon. Put the mixture in the baking dish.

In the same bowl, whisk together brown sugar, oats, flour, and salt until well combined. Then, either with your fingers or with beaters on a very low setting cut the cold butter into the flour mixture until pea size clumps are formed.

Spread the flour and oat mixture over the apples.

Bake for 50 – 60 minutes or until top is golden brown.

Let cool for 15 minutes and then serve with vanilla ice cream.

Anyone else have any impromptu dessert ideas?

If you like this post and would like to read more about DIY, gardening, cooking, baking or all other things domestic, become a Home Everyday follower! For blog updates or to see other places I write follow Home Everyday on FacebookTwitter, or Pinterest.

Follow on Bloglovin