Author

Erin

Movie Inspired: An Uncle Buck Giant Fluffy Pancake

Growing up in a family of movie buffs meant we were watching a lot of movies. I can remember staying up late to watch James Bond marathons, Cary Grant marathons, Bill Murray marathons, or trying to pack in the whole Star Wars trilogy in one night.

Kevin-1
One of my older siblings, Kevin, & I ready to watch movies.

Some things have changed since I was a kid. These were the days before Streaming and OnDemand, so if there was a good movie on TV you’d stop whatever you were doing pop in a tape in the Betamax and record. Also, we didn’t have a microwave, so I can remember my mom air popping popcorn and smelling butter melting in a pan on the stove while gathering cold drinks.

One thing has remained pretty constant is sometimes I would be watching an old movie like Sabrina (the original with Audrey Hepburn) or Moonstruck or Singing in the Rain or The Quiet Man and the actors would be eating something and I would think, “that looks pretty good.” (pauses TV and makes something similar).

Giant Pancake 15

Which brings us to this GIANT PANCAKE. A few weeks ago, I started a John Hughes movie escapade that started with Planes, Trains, and Automobiles and when Maureen O’Hara (one of my favorites) passed away ended with Only the Lonely. Somewhere in the middle, I watched Uncle Buck, and saw this scene. 


So, of course, after watching this, I wanted Brinner (breakfast for dinner) and I thought some sort of Giant Pancake would be in order. The thing is, I don’t have a big griddle, and I wasn’t sure how to do this.

Giant Pancake 13

I found a recipe on my Kitchen Stories app (if you don’t have it GET IT it is FREE), for something called a Kaiserschmarrn. This is a traditional fluffy, Austrian pancake usually made with raisins. I adapted a version that pleased everyone, and I think would have made John Hughes, John Candy, and even a young McCauley Culkin proud.

Giant Uncle Buck Pancake (adapted from Kitchen Stories Kaiserschmarrn)

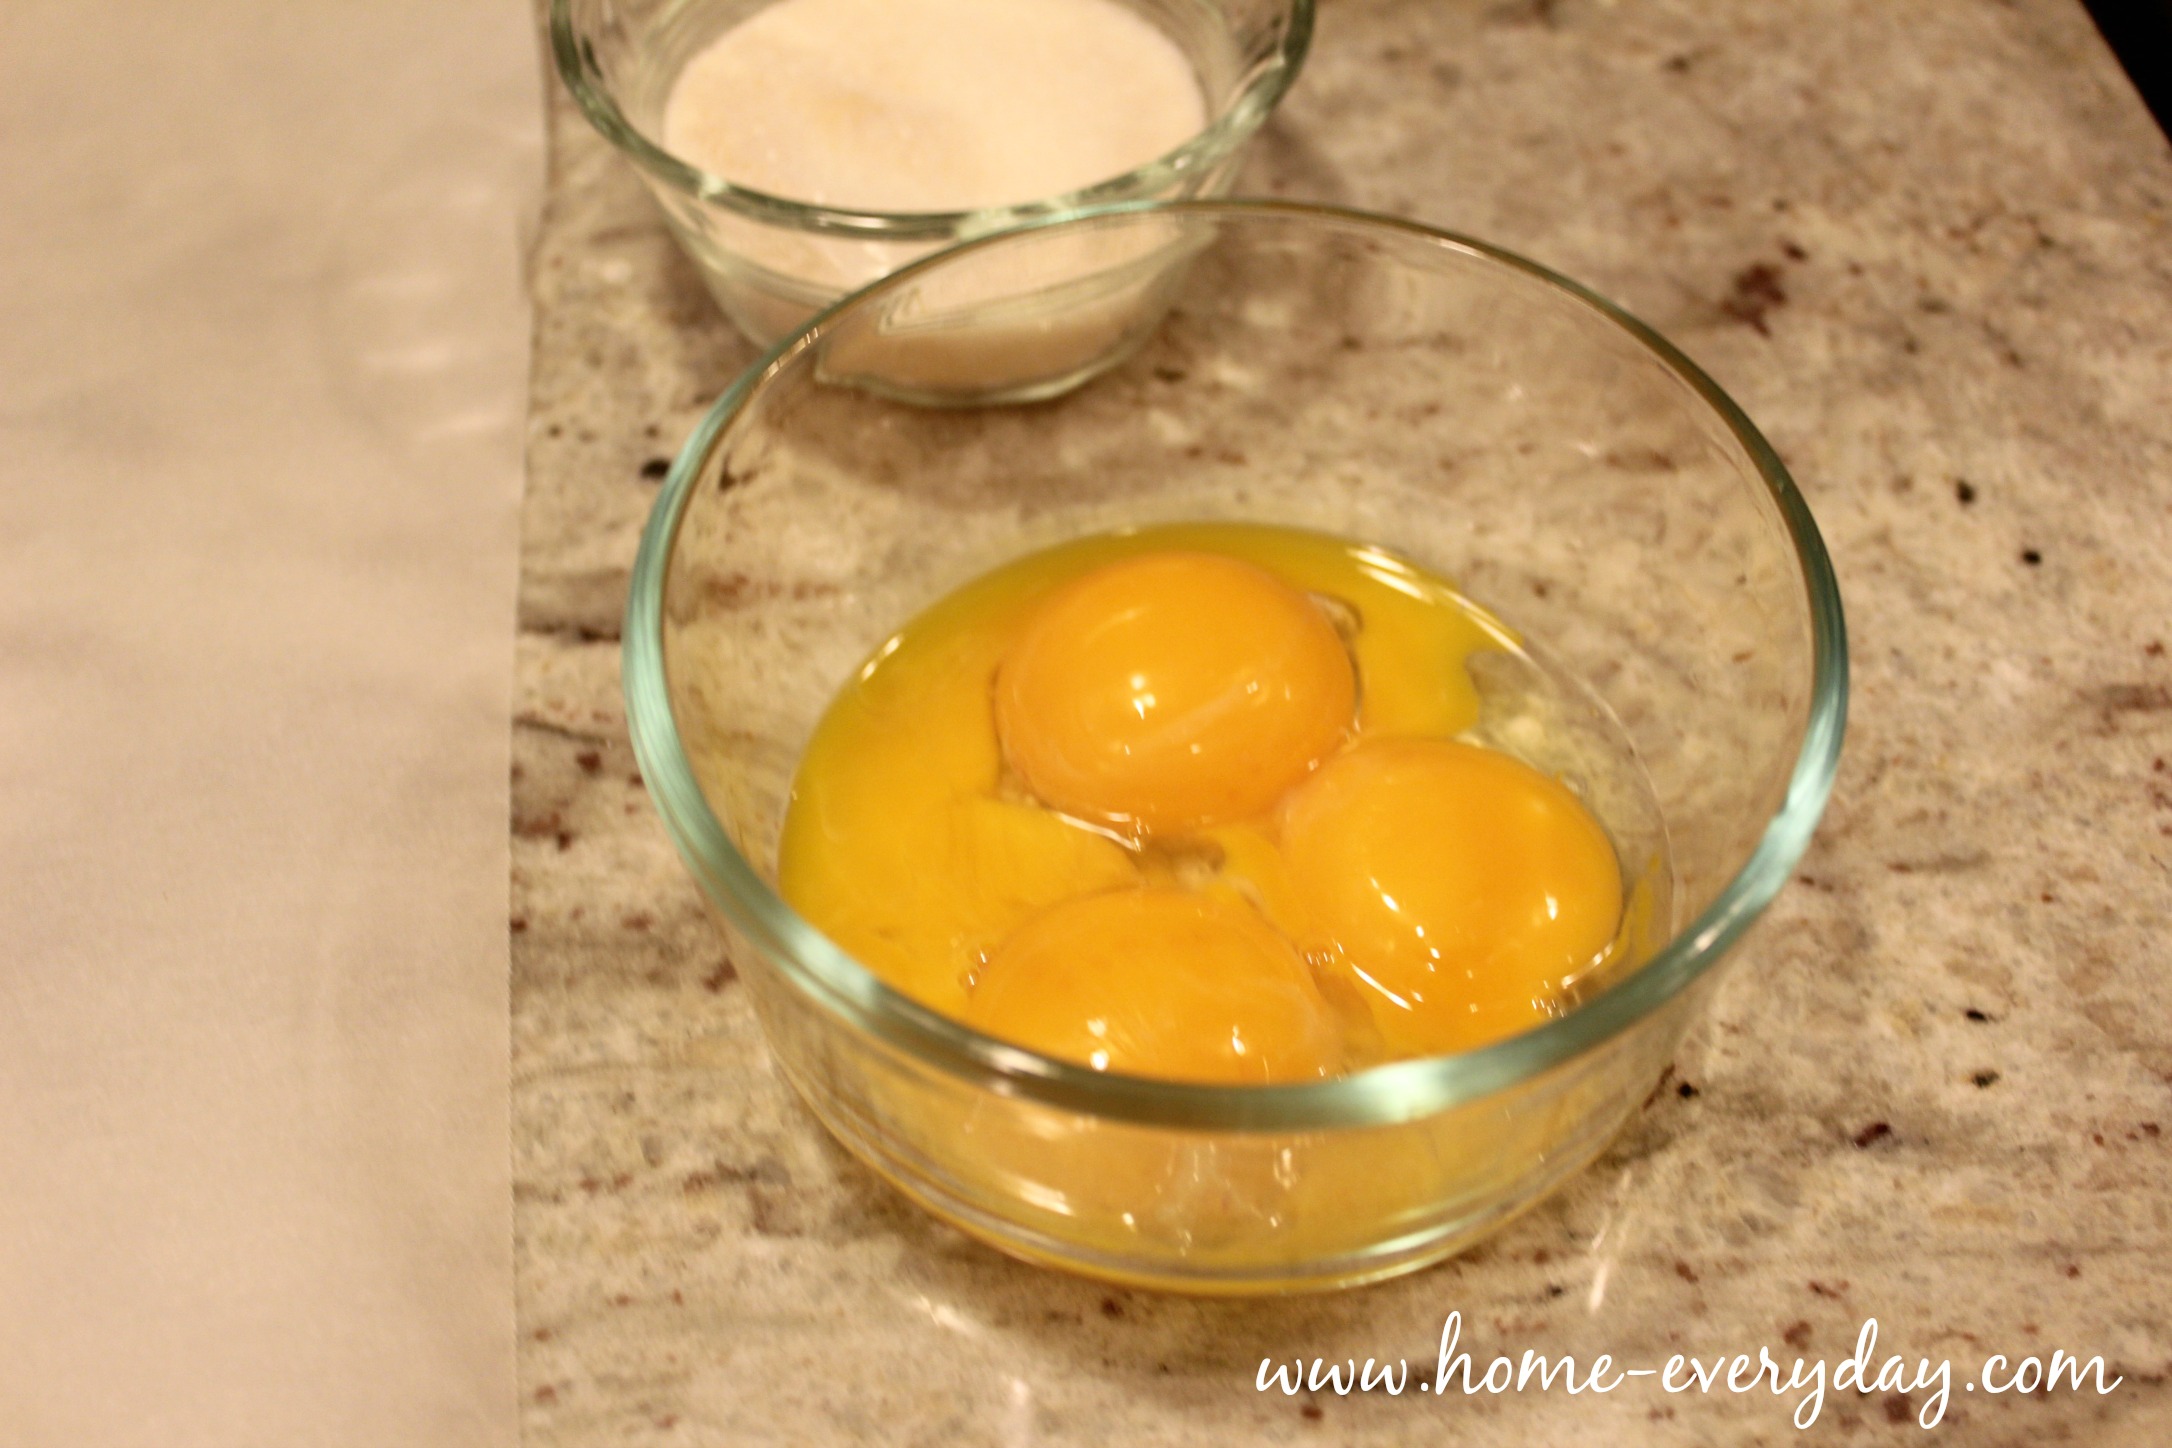
4 eggs separated saving both the whites and the yolks

1/2 cup of sugar

2 tsp pure vanilla extract

2 cups all purpose flour

1/4 tsp salt

2 cups milk (I used whole milk)

1 tbsp butter

1/4 cup chocolate chips

1 cup fresh berries

Maple syrup optional

Giant Pancake 2


Preheat oven to 425 degrees.

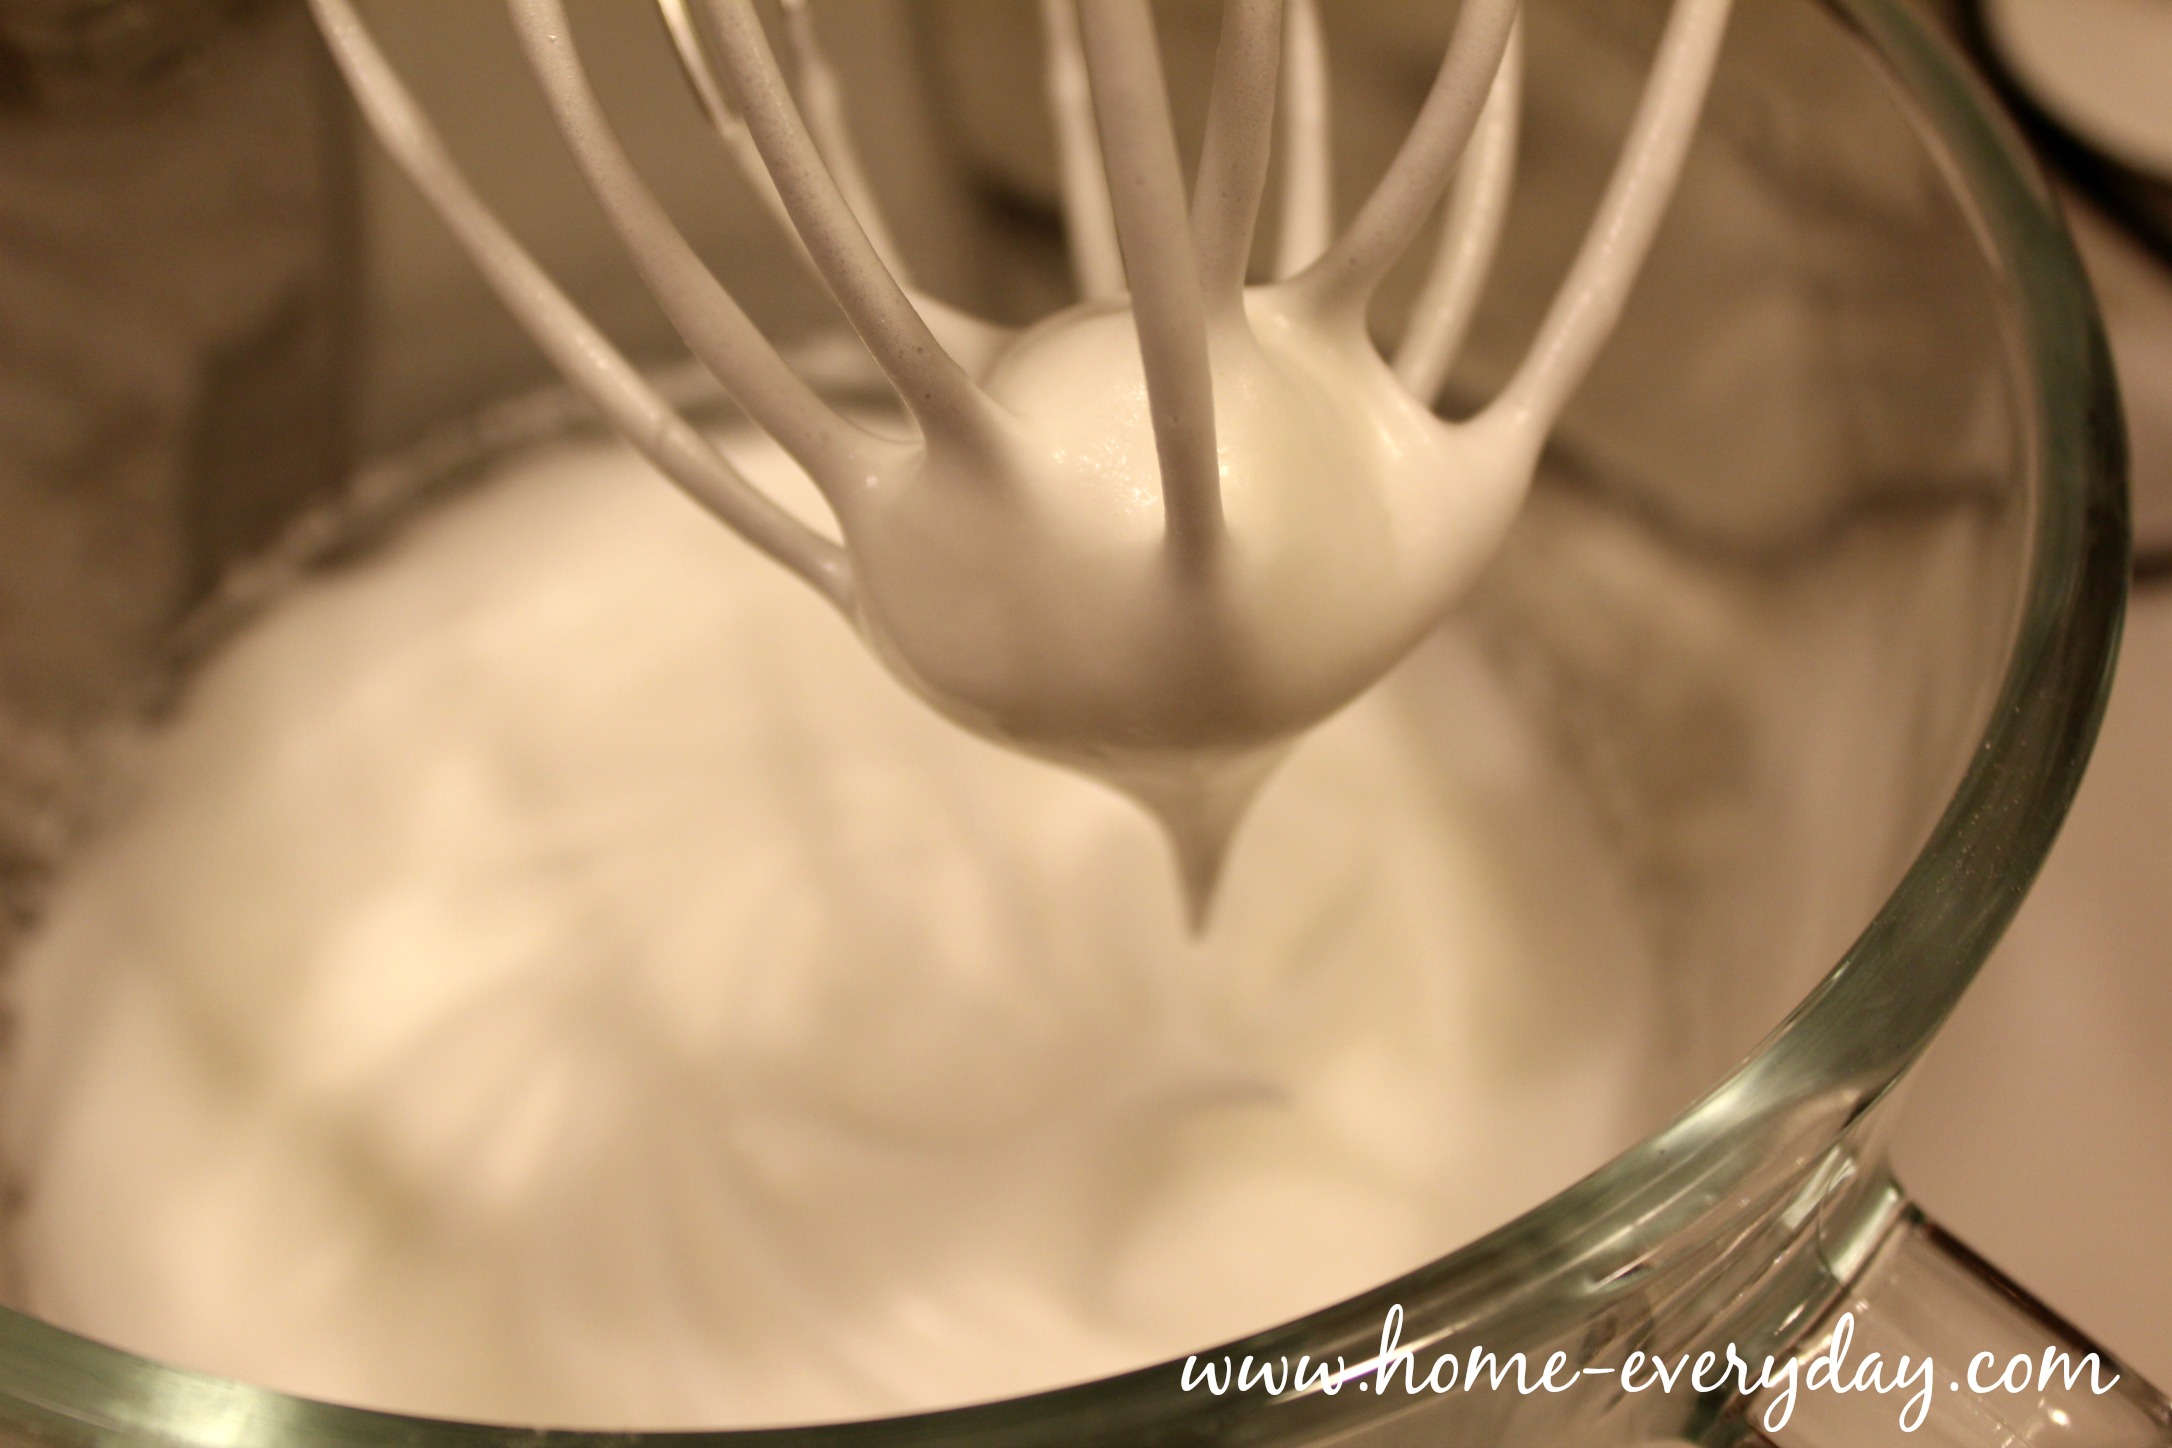
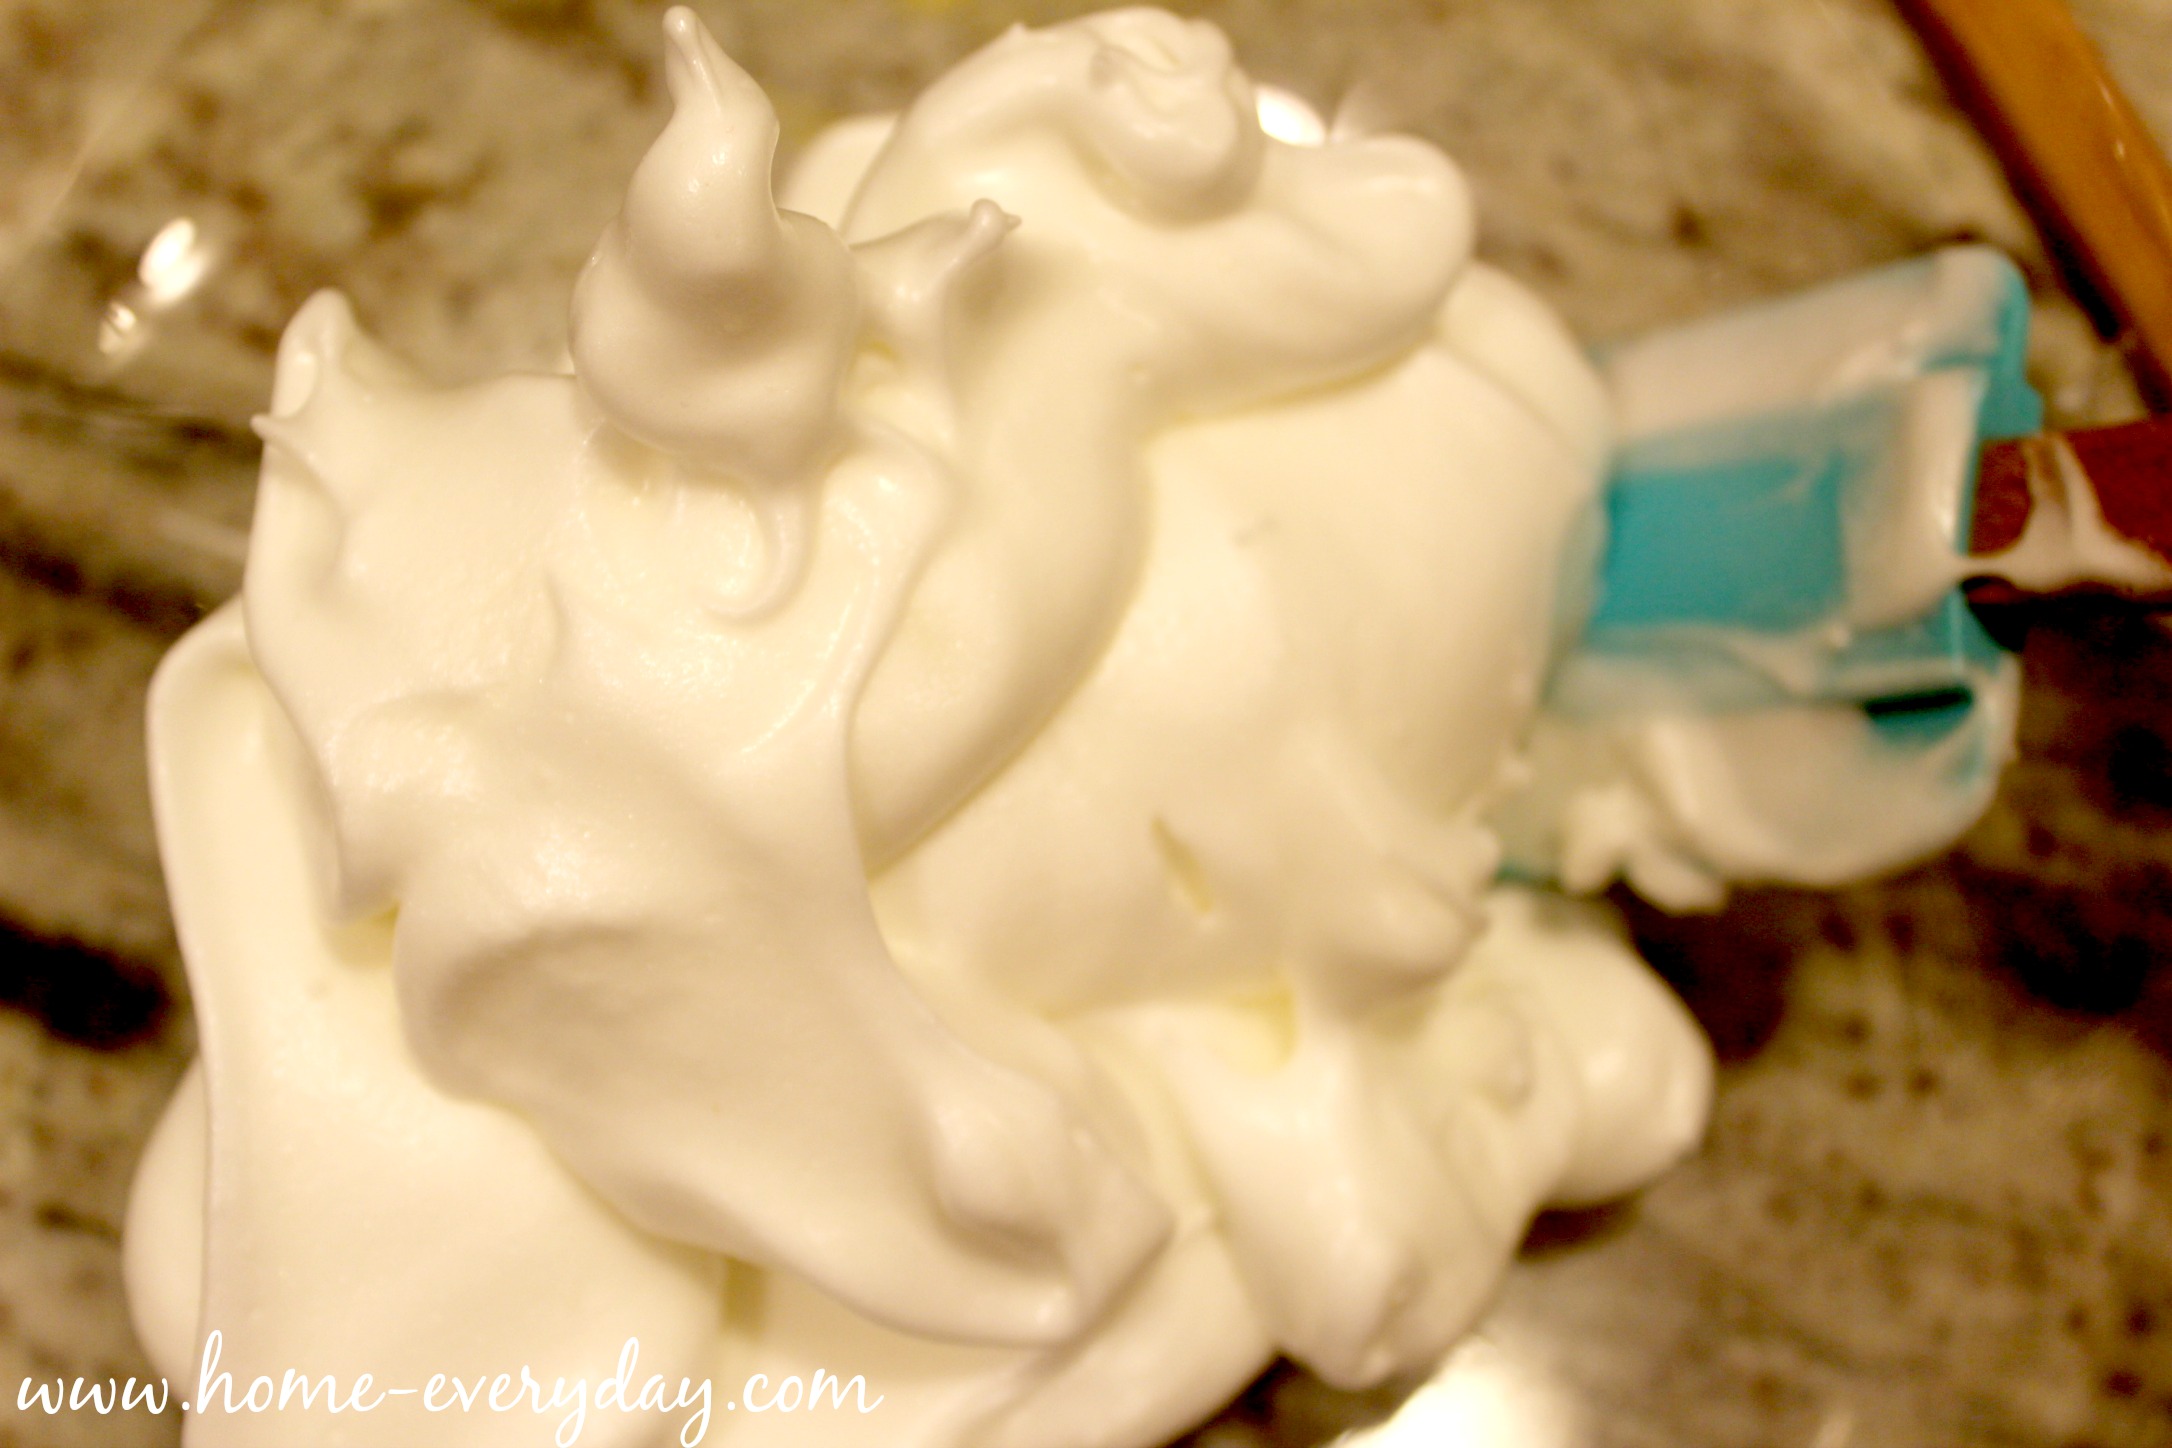
Using a chilled bowl, and a hand mixer or a stand mixer with a whisk attachment. Beat egg whites and 1/4 of a cup of the granulated sugar until stiff peaks white, glossy, and stiff peaks are formed. 

Giant Pancake 4

Transfer this mixture to a separate bowl and set aside.

Giant Pancake 10

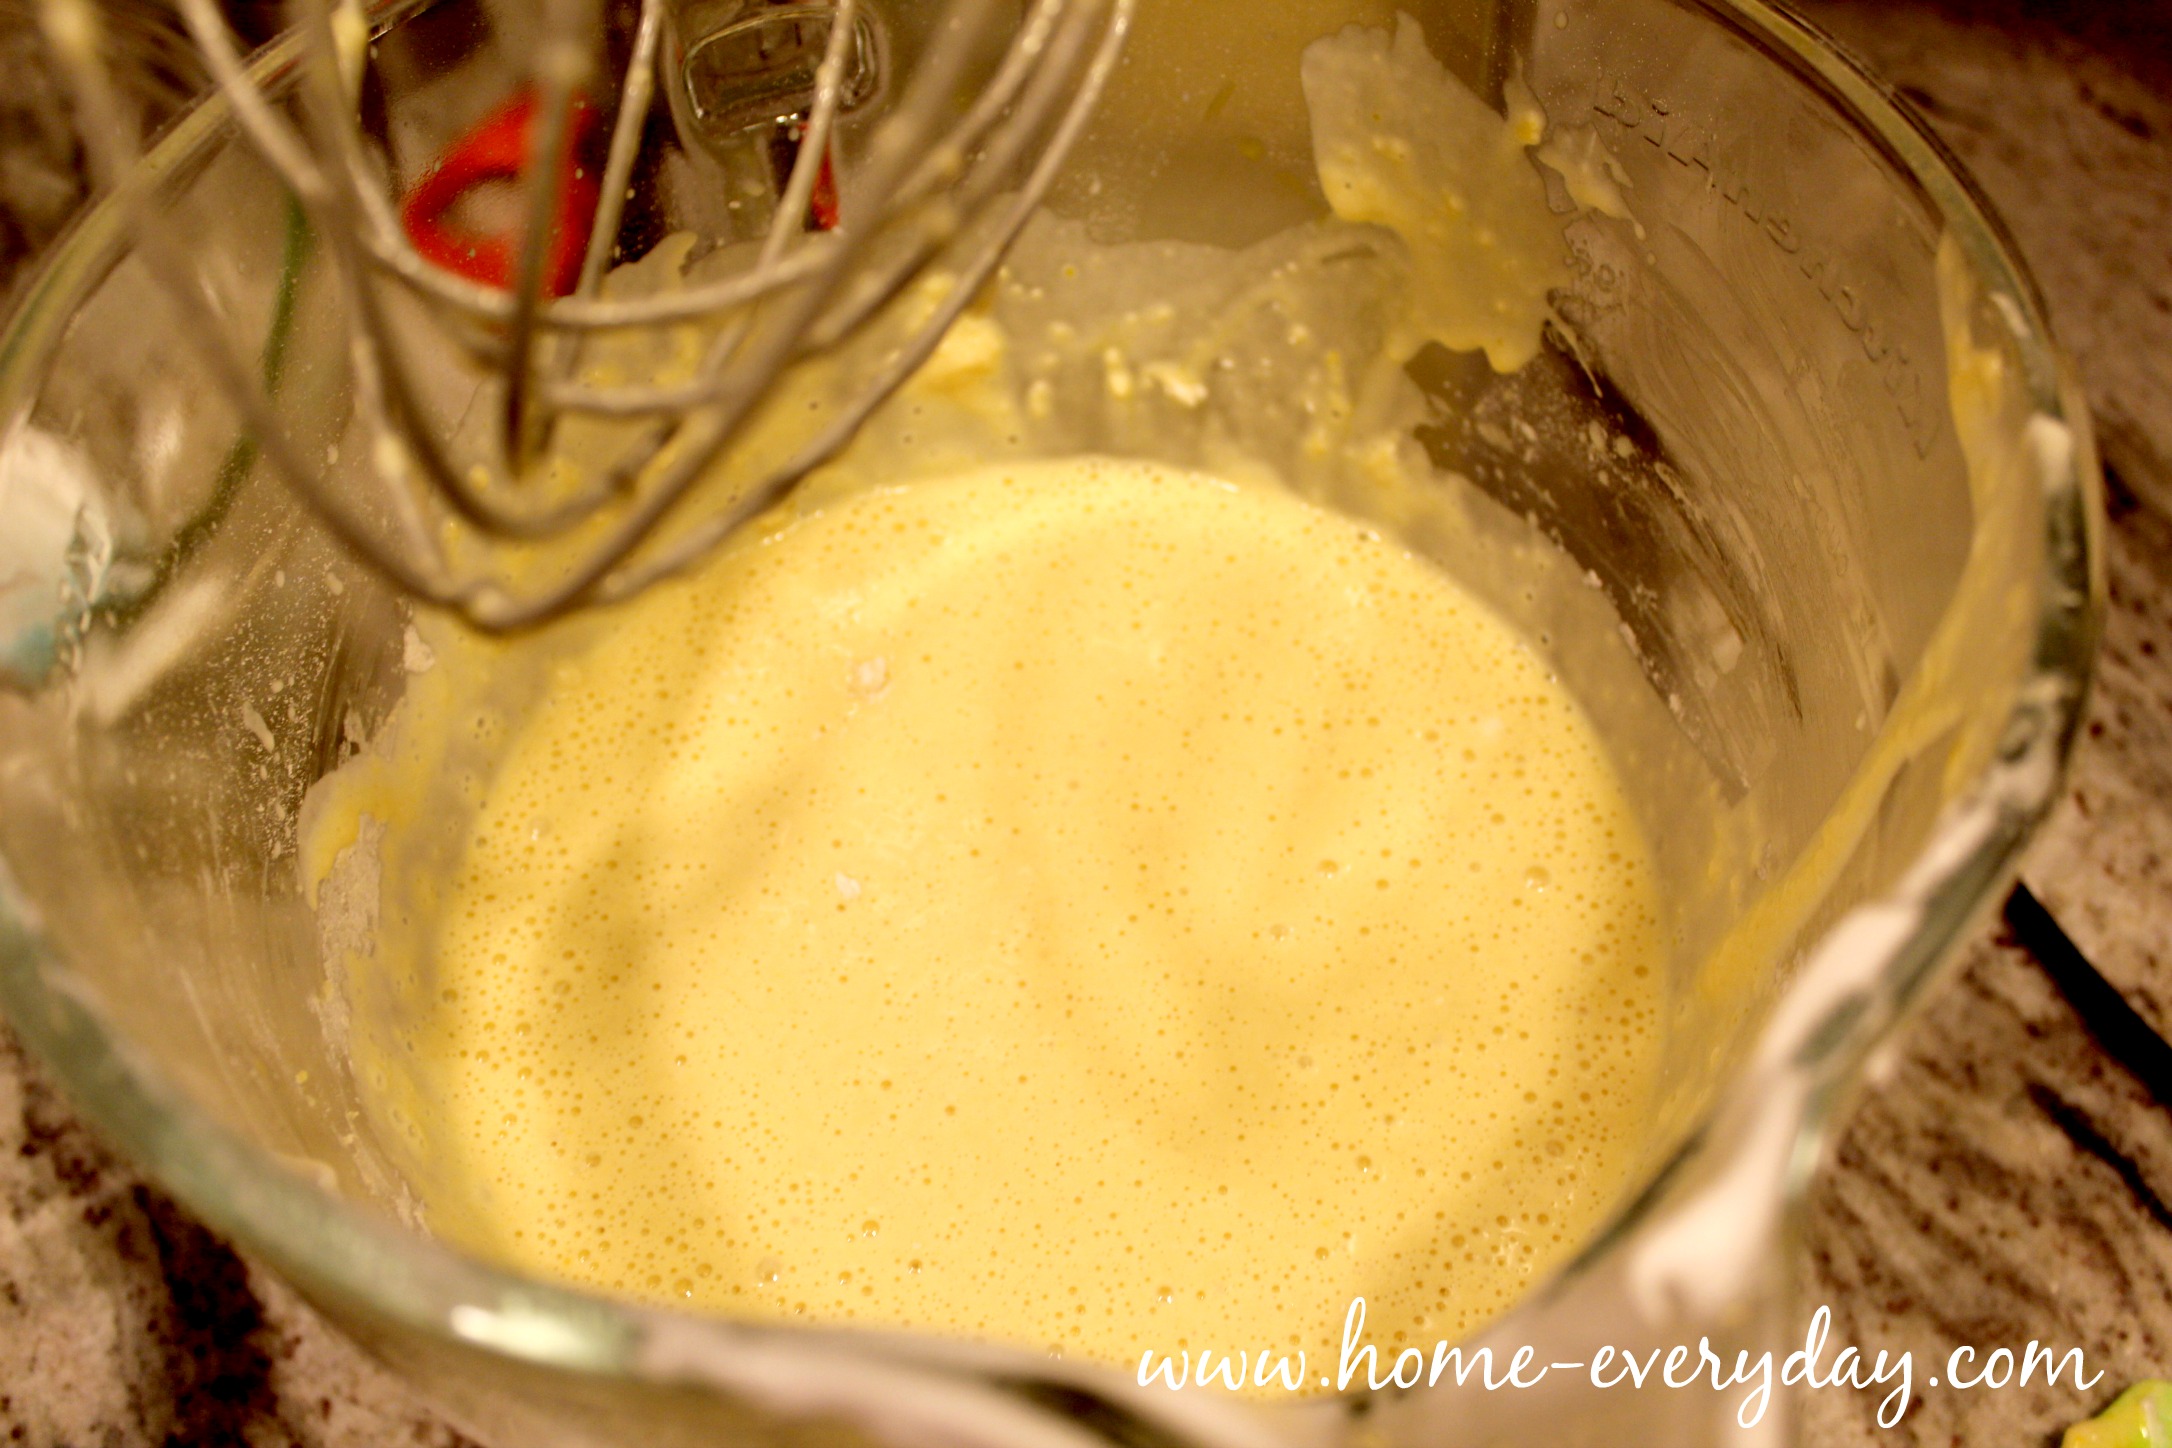
Then, using a hand mixer or stand mixer, mix together egg yolks and remaining sugar until light in color and well combined. Next, add vanilla and milk. Finally, slowly add flour and salt until just combined. Do not over mix this portion of the batter.

Giant Pancake 6

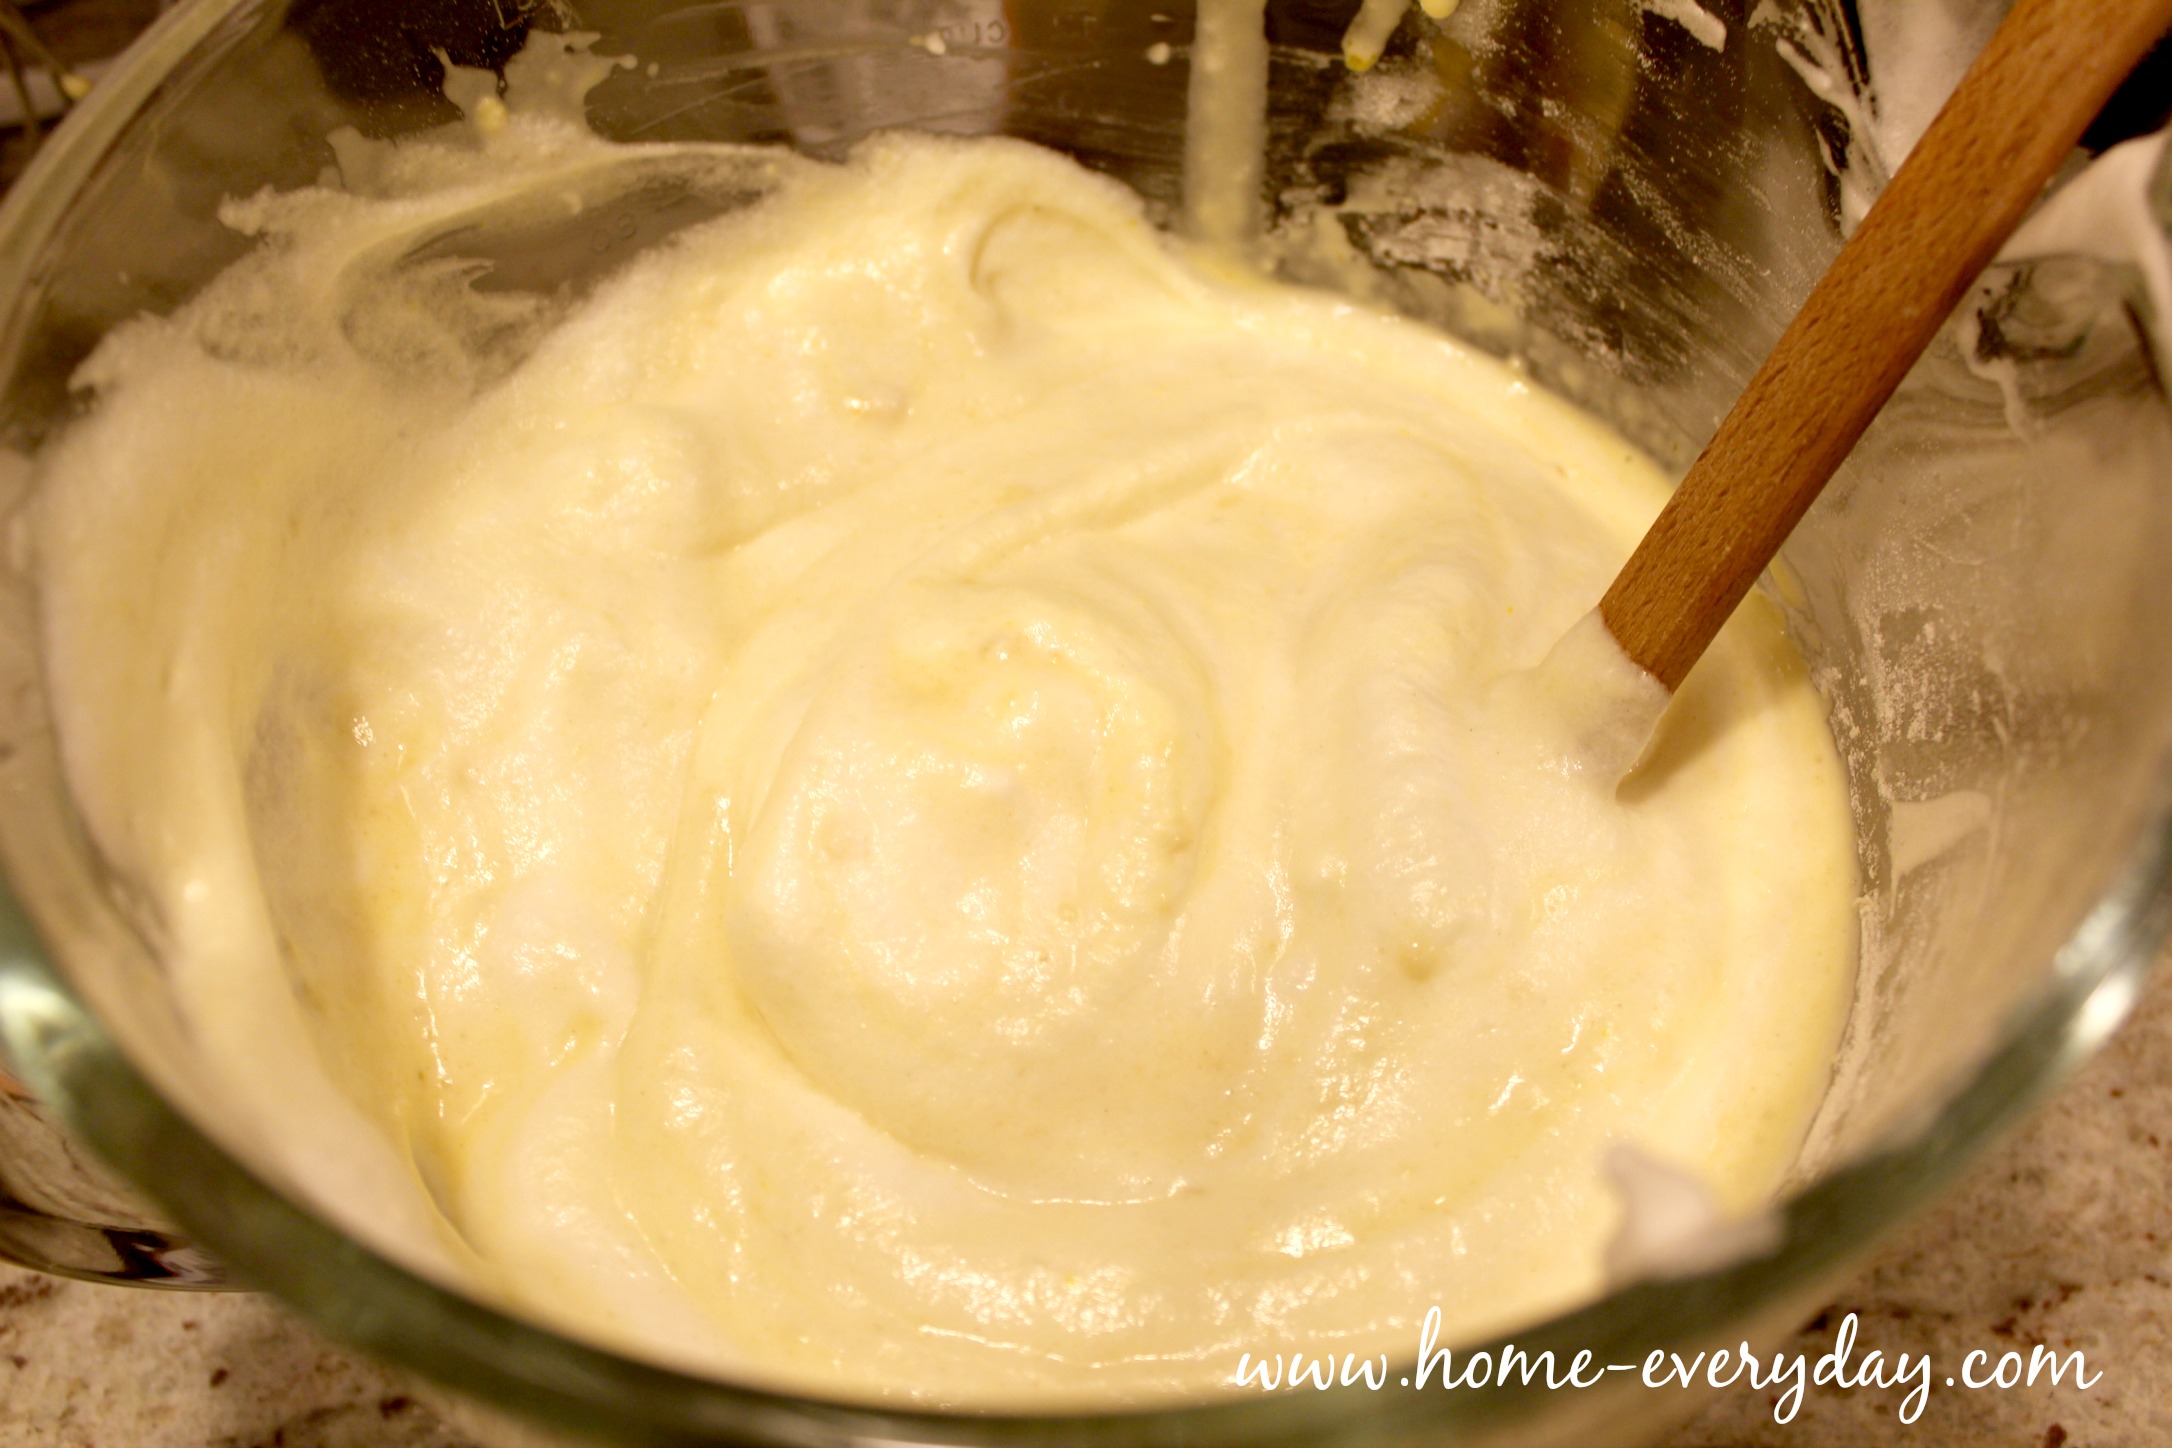
Next, using a spatula very carefully fold in egg whites being extremely careful not to deflate the fluffy consistency you created. Fold until combined. Pro Tip: When folding, it is ok if you can still see some white egg whites streaked through the batter.

Giant Pancake 7

Next, in a large oven safe skillet with deep sides spray throughly with cooking spray. Then, put over medium high heat and melt butter. When the butter is melted add the batter. Sprinkle the chocolate chips over top. Let the batter cook on the stove for about 3 -4 minutes or until the sides begin to set up.

Giant Pancake 11

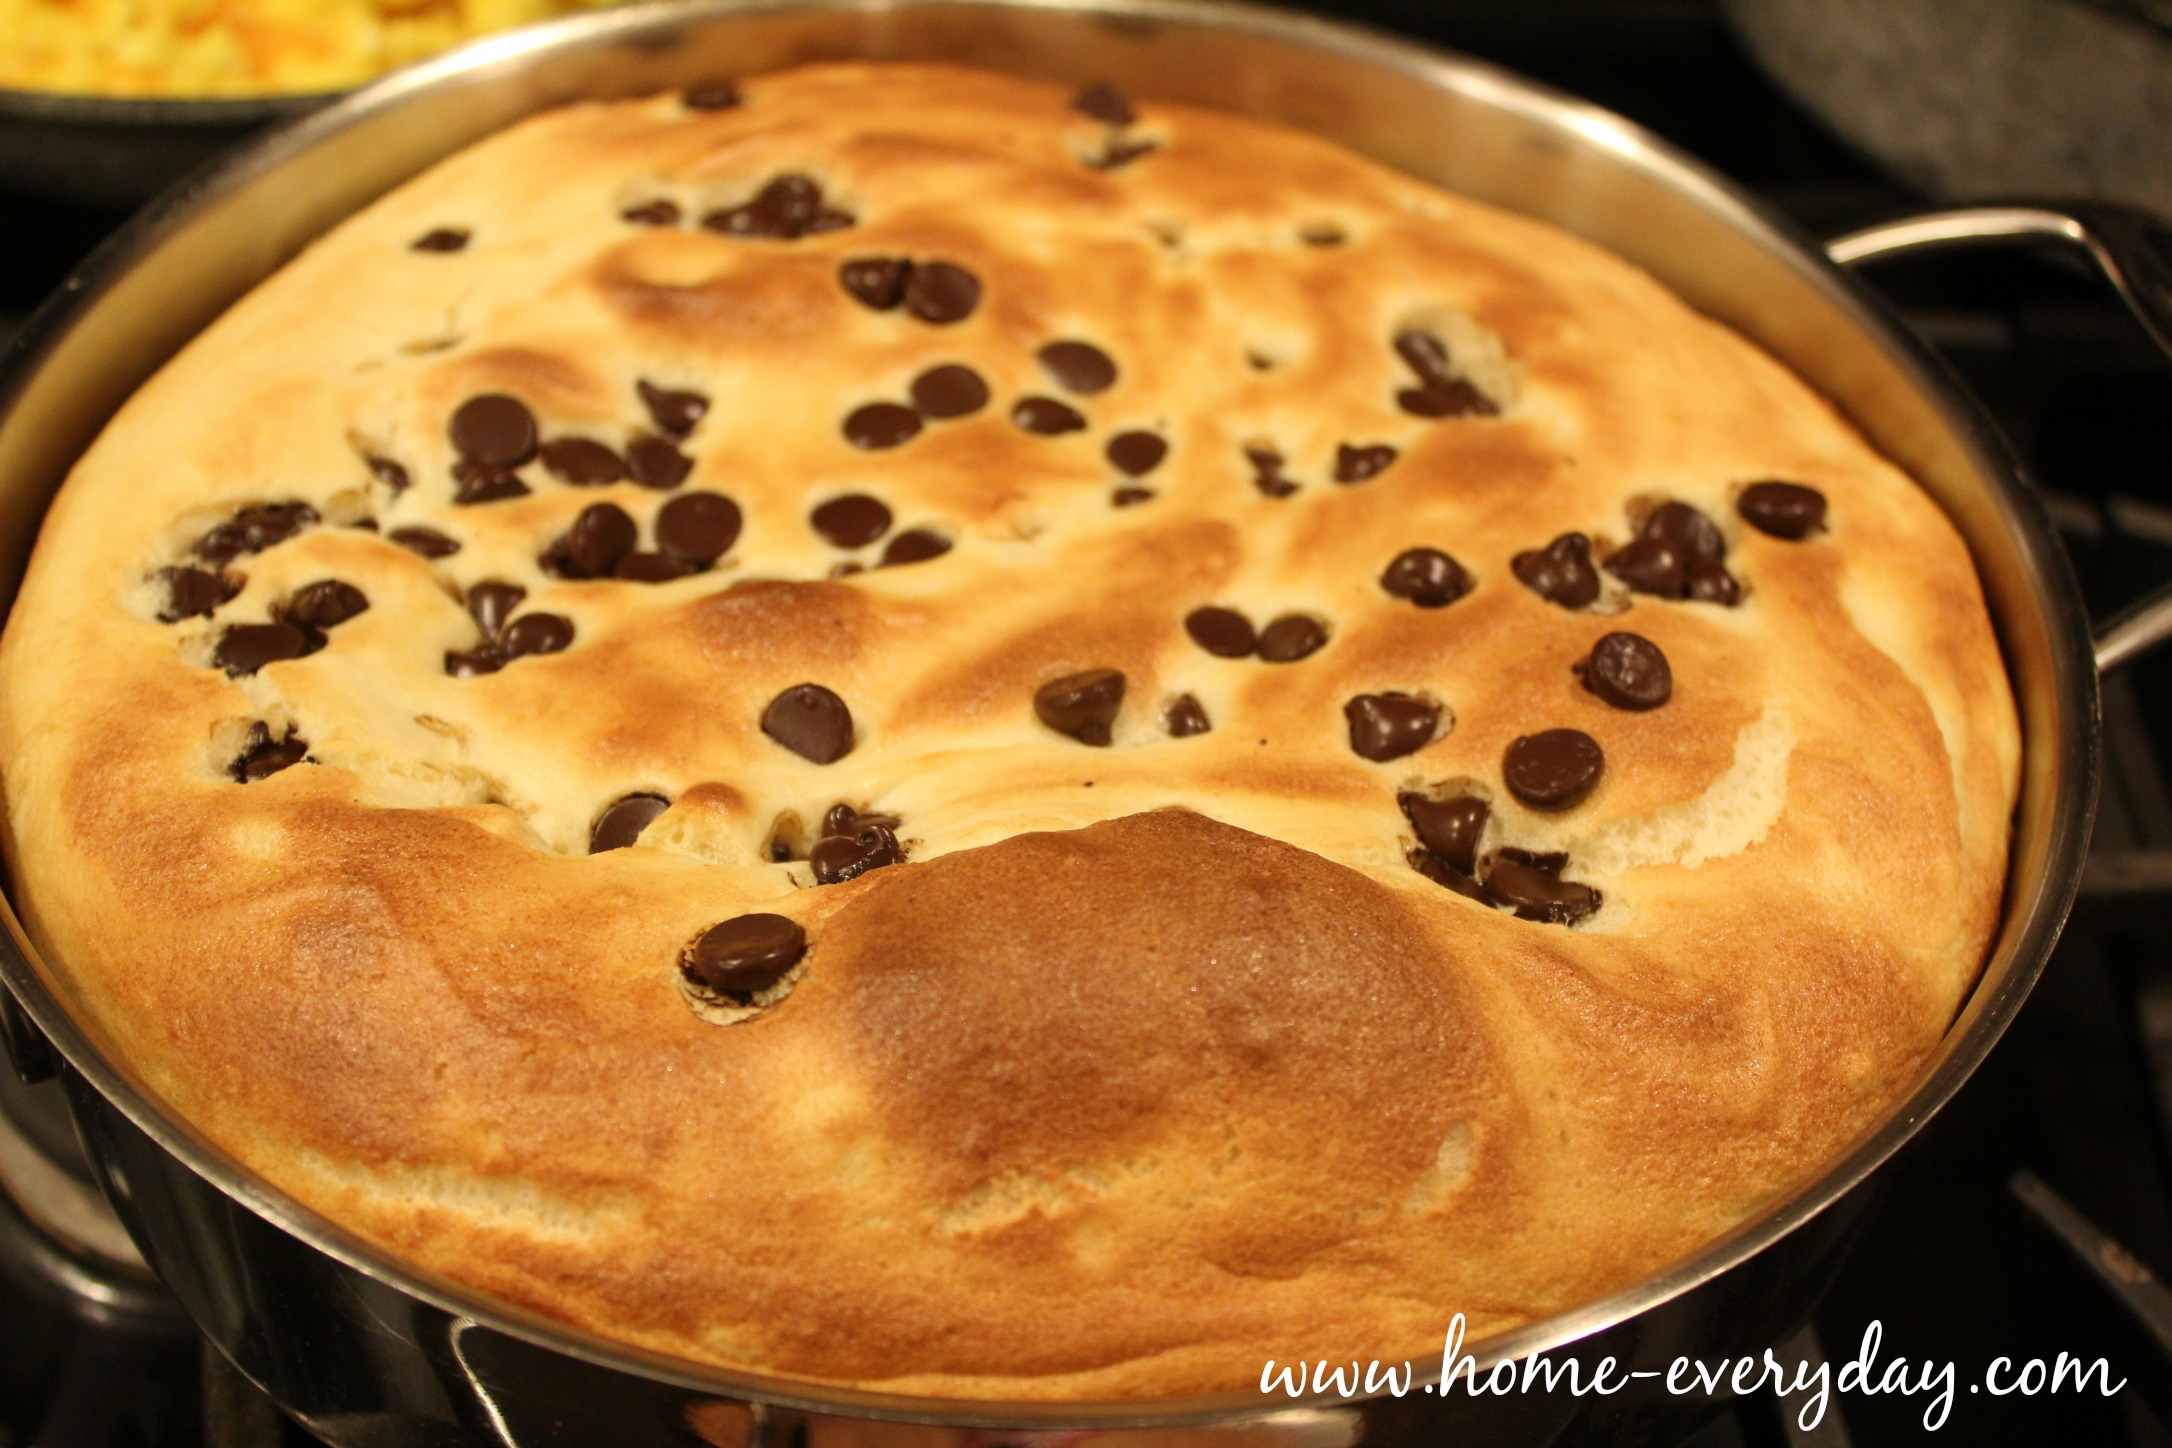
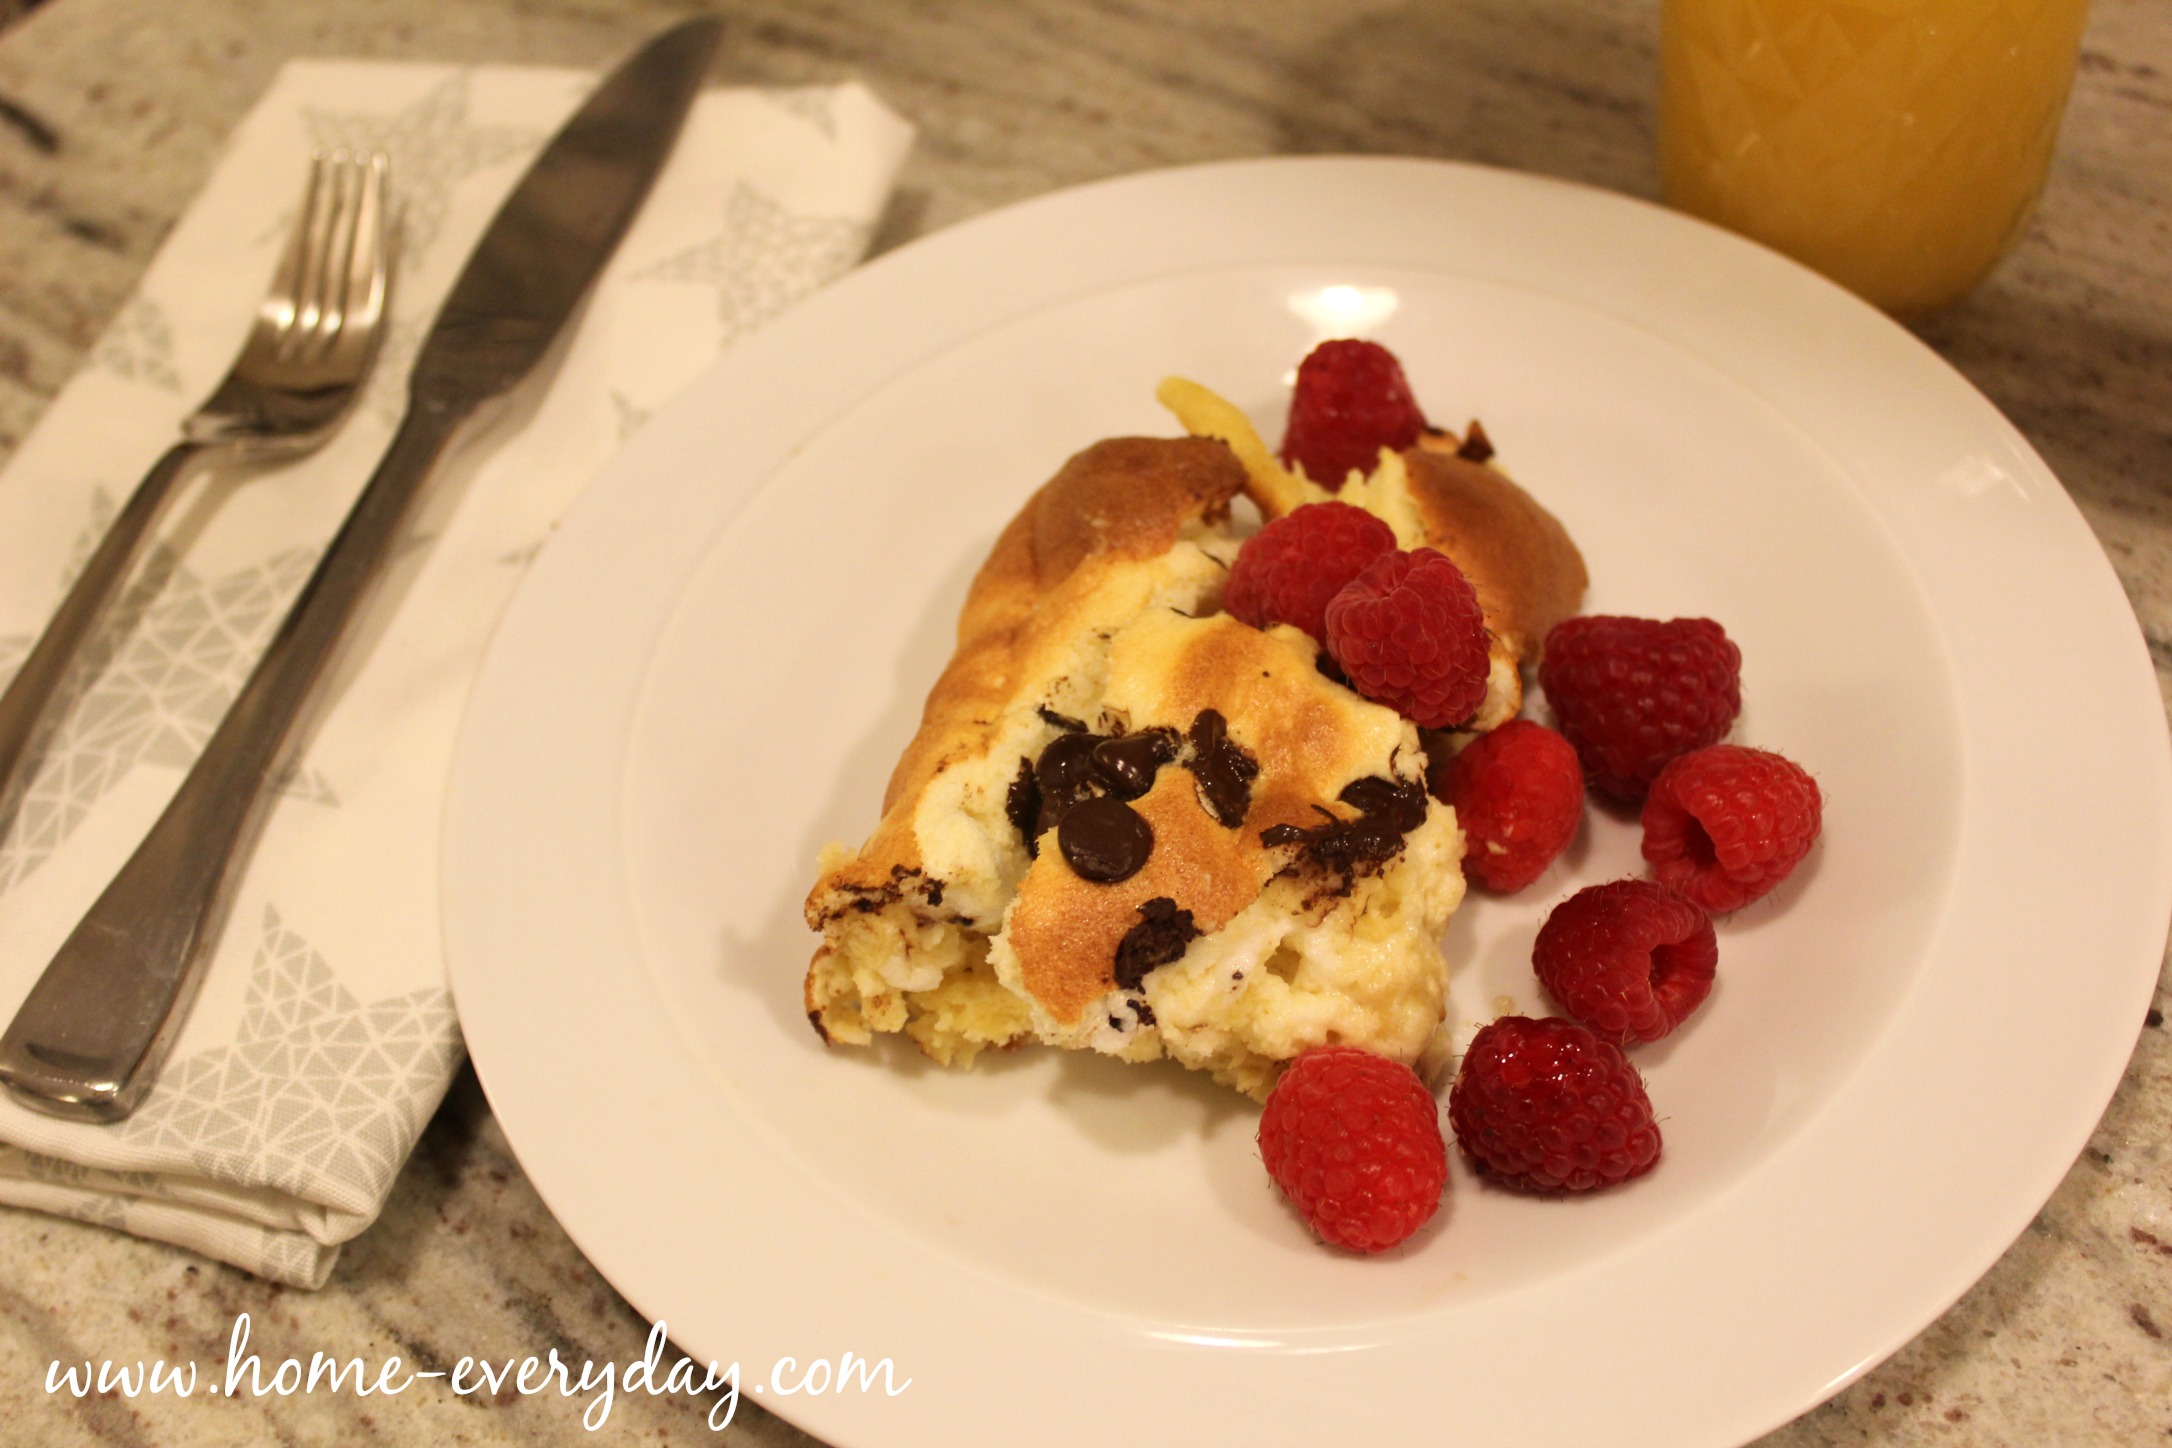
Transfer the pancake to the oven to finish cooking through. Bake for 13-15 minutes or until the top is golden brown and the pancake is fluffy.

Giant Pancake 13

Cut into servings and serve immediately with berries and maple syrup.

Giant Pancake 14

What have you been inspired to cook from a movie?


Thirsty Thursday: Build Your Own Chai Tea Lattes

I’m cold. I’m not complaining, I’m just stating a fact. I’m cold. The weather in the Midwest is chilly. There’s snow. There’s ice. I have been driving to the bus stop less than a quarter a mile away because I’d rather get my exercise indoors this time of year. While, I know January is the month of healthy smoothies and getting fit, I also know that a drink filled with unseasonably expensive fruit and ice is not going to warm me up. Also, January 2016 is known as National Hot Tea month. 

Chai Tea Latte 13

My regular readers know, I’m a regular tea drinker and I make all kinds of fun drinks with it both hot and cold (like here, here, and here). However, I have never attempted making Chai Tea. I thought it was time I start.

Chai Tea Latte 12

Anytime I have ever had a Chai Tea Latte it always tastes like it has a little too much anise or not enough cinnamon or something seems missing. To be fair, I am kind of picky with spices. So, I did some research on Chai, and found all of the possible spices that could be in a Chai Tea Latte, added one that is not typically found in Chai but I think is perfect, and made my own version of a Chai Latte that can be made easily at home.

Chai Tea Latte 3

All of these spices could be played around with adjusted or eliminated to your tastes. The old standbys for Chai Tea are cardamom, ginger, anise (or fennel), peppercorn, nutmeg, cloves, and cinnamon. I added vanilla powder. I thought this would be mild but highlight any sweetener you might add to the drink (I used powder rather than extract so I could let it steep with the rest of the spices and it is also cheaper than always having to buy vanilla beans every time I want to make this drink). Also, I tried to keep everything as coarsely ground or in its original state for steeping. This helps keep the straining process a  bit easier and makes it a lot easier to not have chunks of spice in your drink (yuck!)

Chai Tea Latte 2

Also, the best part of making something like this at home is you can use your favorite caffeinated or decaffeinated tea or your favorite kind of milk (skim, whole, 2%, soy milk, almond milk) or even your favorite sweetener (sugar, agave, stevia, brown sugar) if you wanted to get really fancy.

I used 2% cow’s milk and brown sugar.

Chai Tea Latte 8


Build Your Own Chai Tea Lattes (makes two)

2 cups water

2 inches fresh ginger room cut into circles

1 or 2 pieces star anise

1/2 tsp coarsely ground white pepper or  a few white peppercorns

1/8 tsp ground nutmeg (grate a whole nutmeg with a microplane)

2 whole cloves

1 whole cinnamon stick

1 tsp vanilla powder (or 1 tsp pure vanilla extract added to the warmed milk)

1/4 tsp whole cardamom seeds

2 black tea bags

3/4 milk of your choice (I used 2% milk)

sweetener of your choice to taste (I added 2 tbsp of brown sugar)

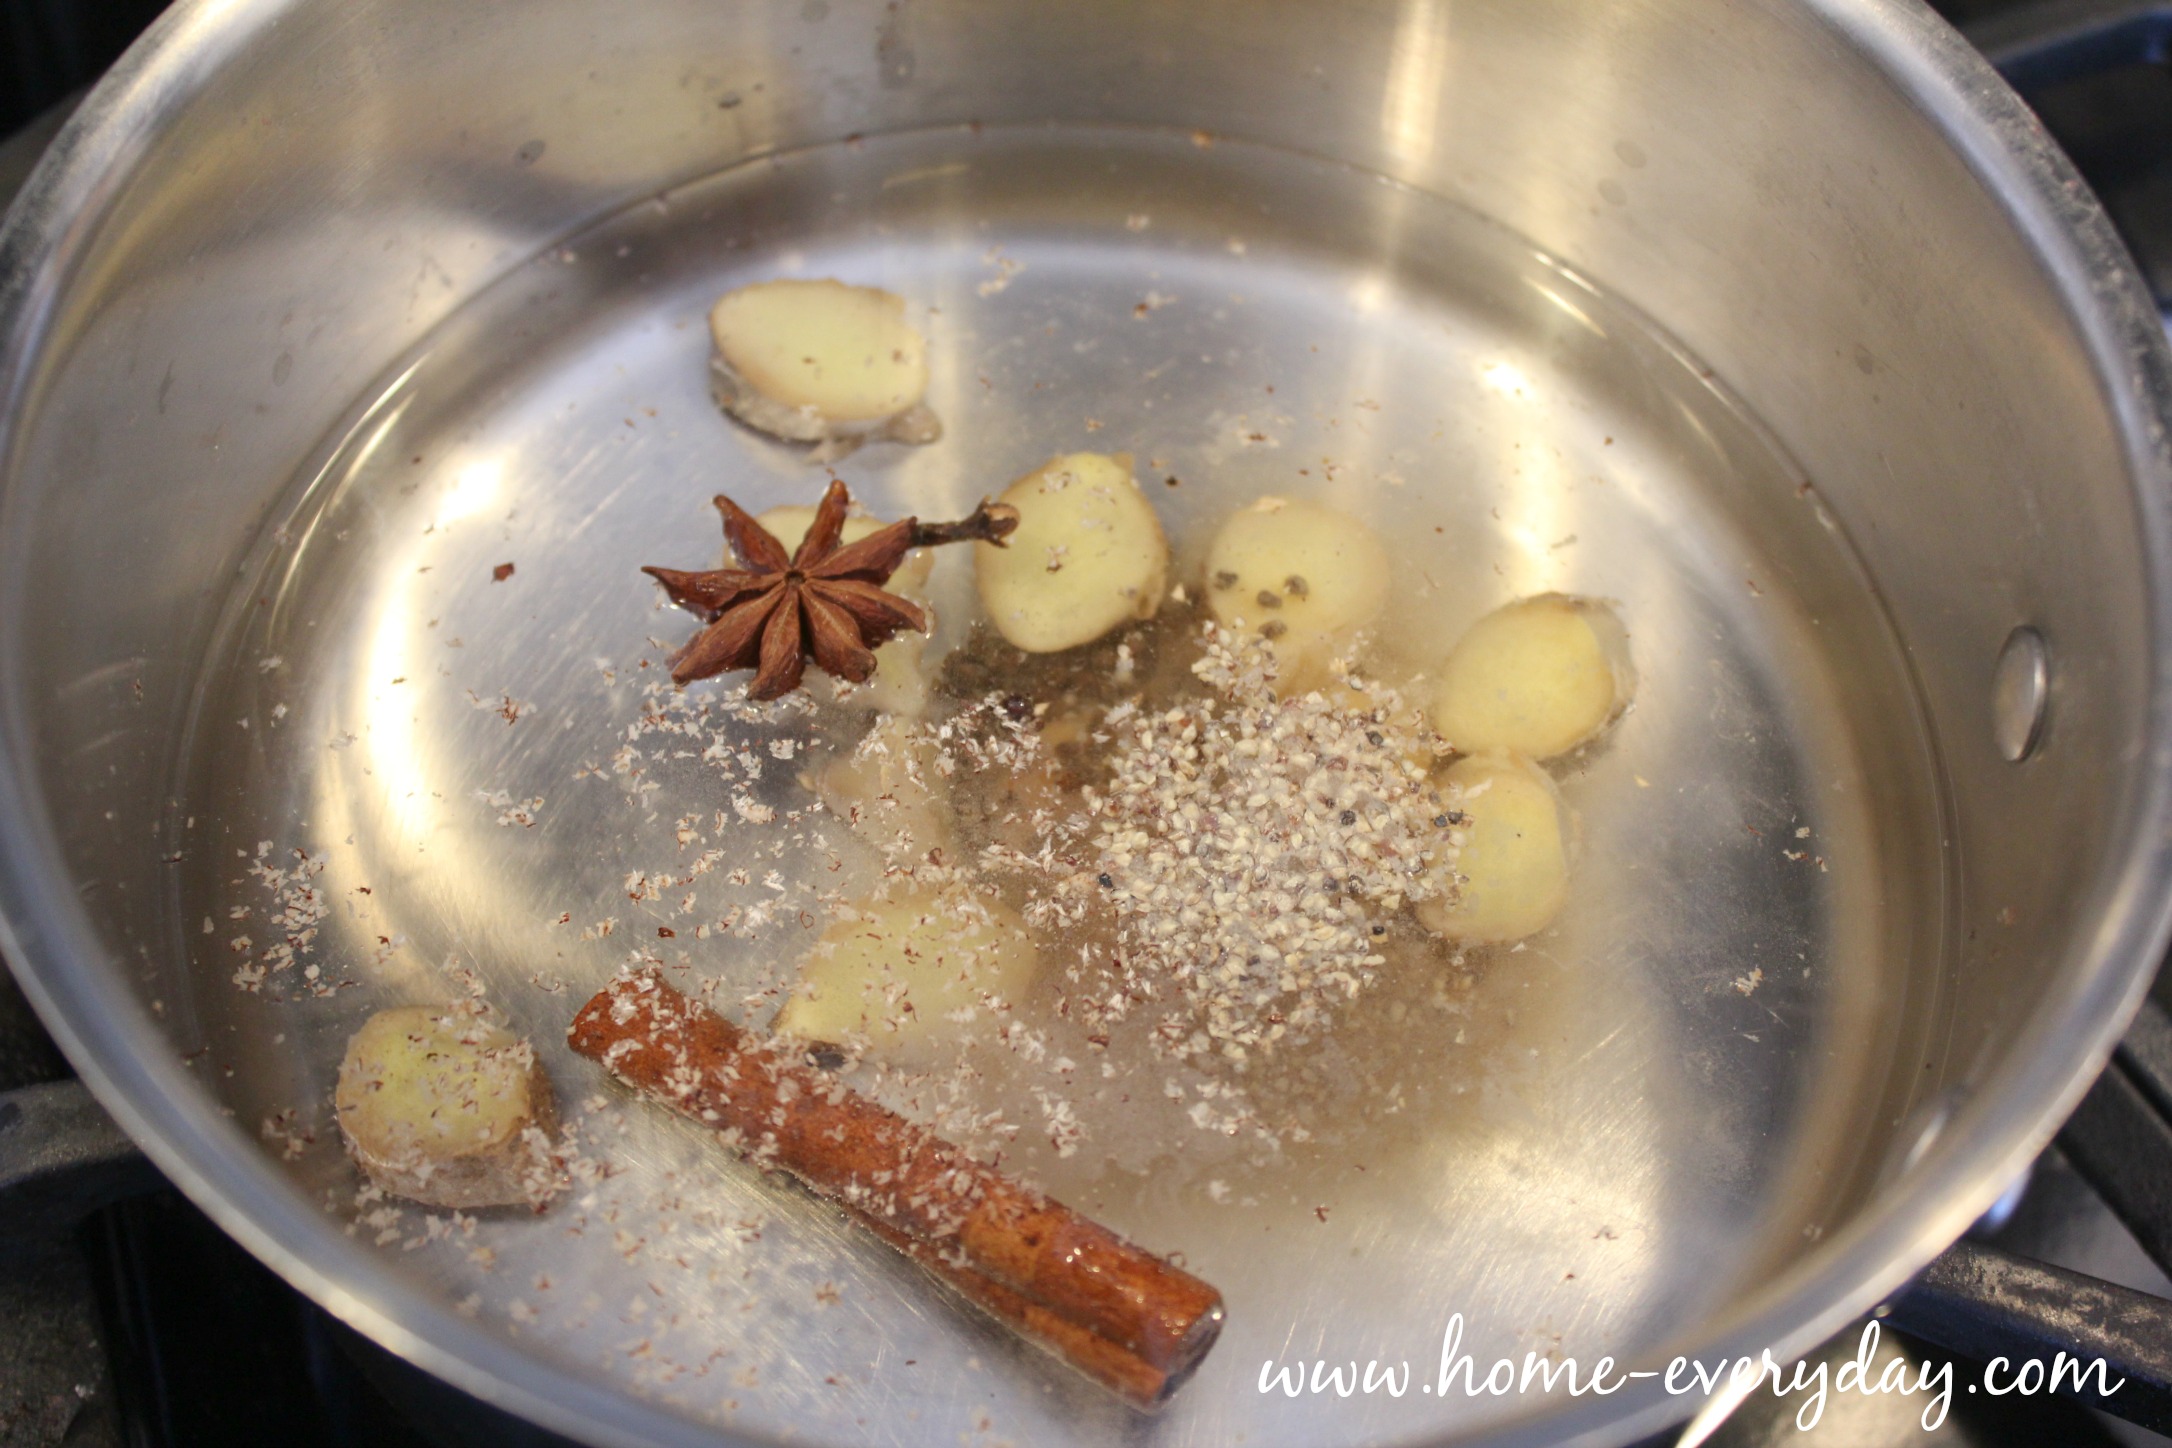
In a sauce pan over medium heat, add water and all the spices.

Chai Tea Latte 5

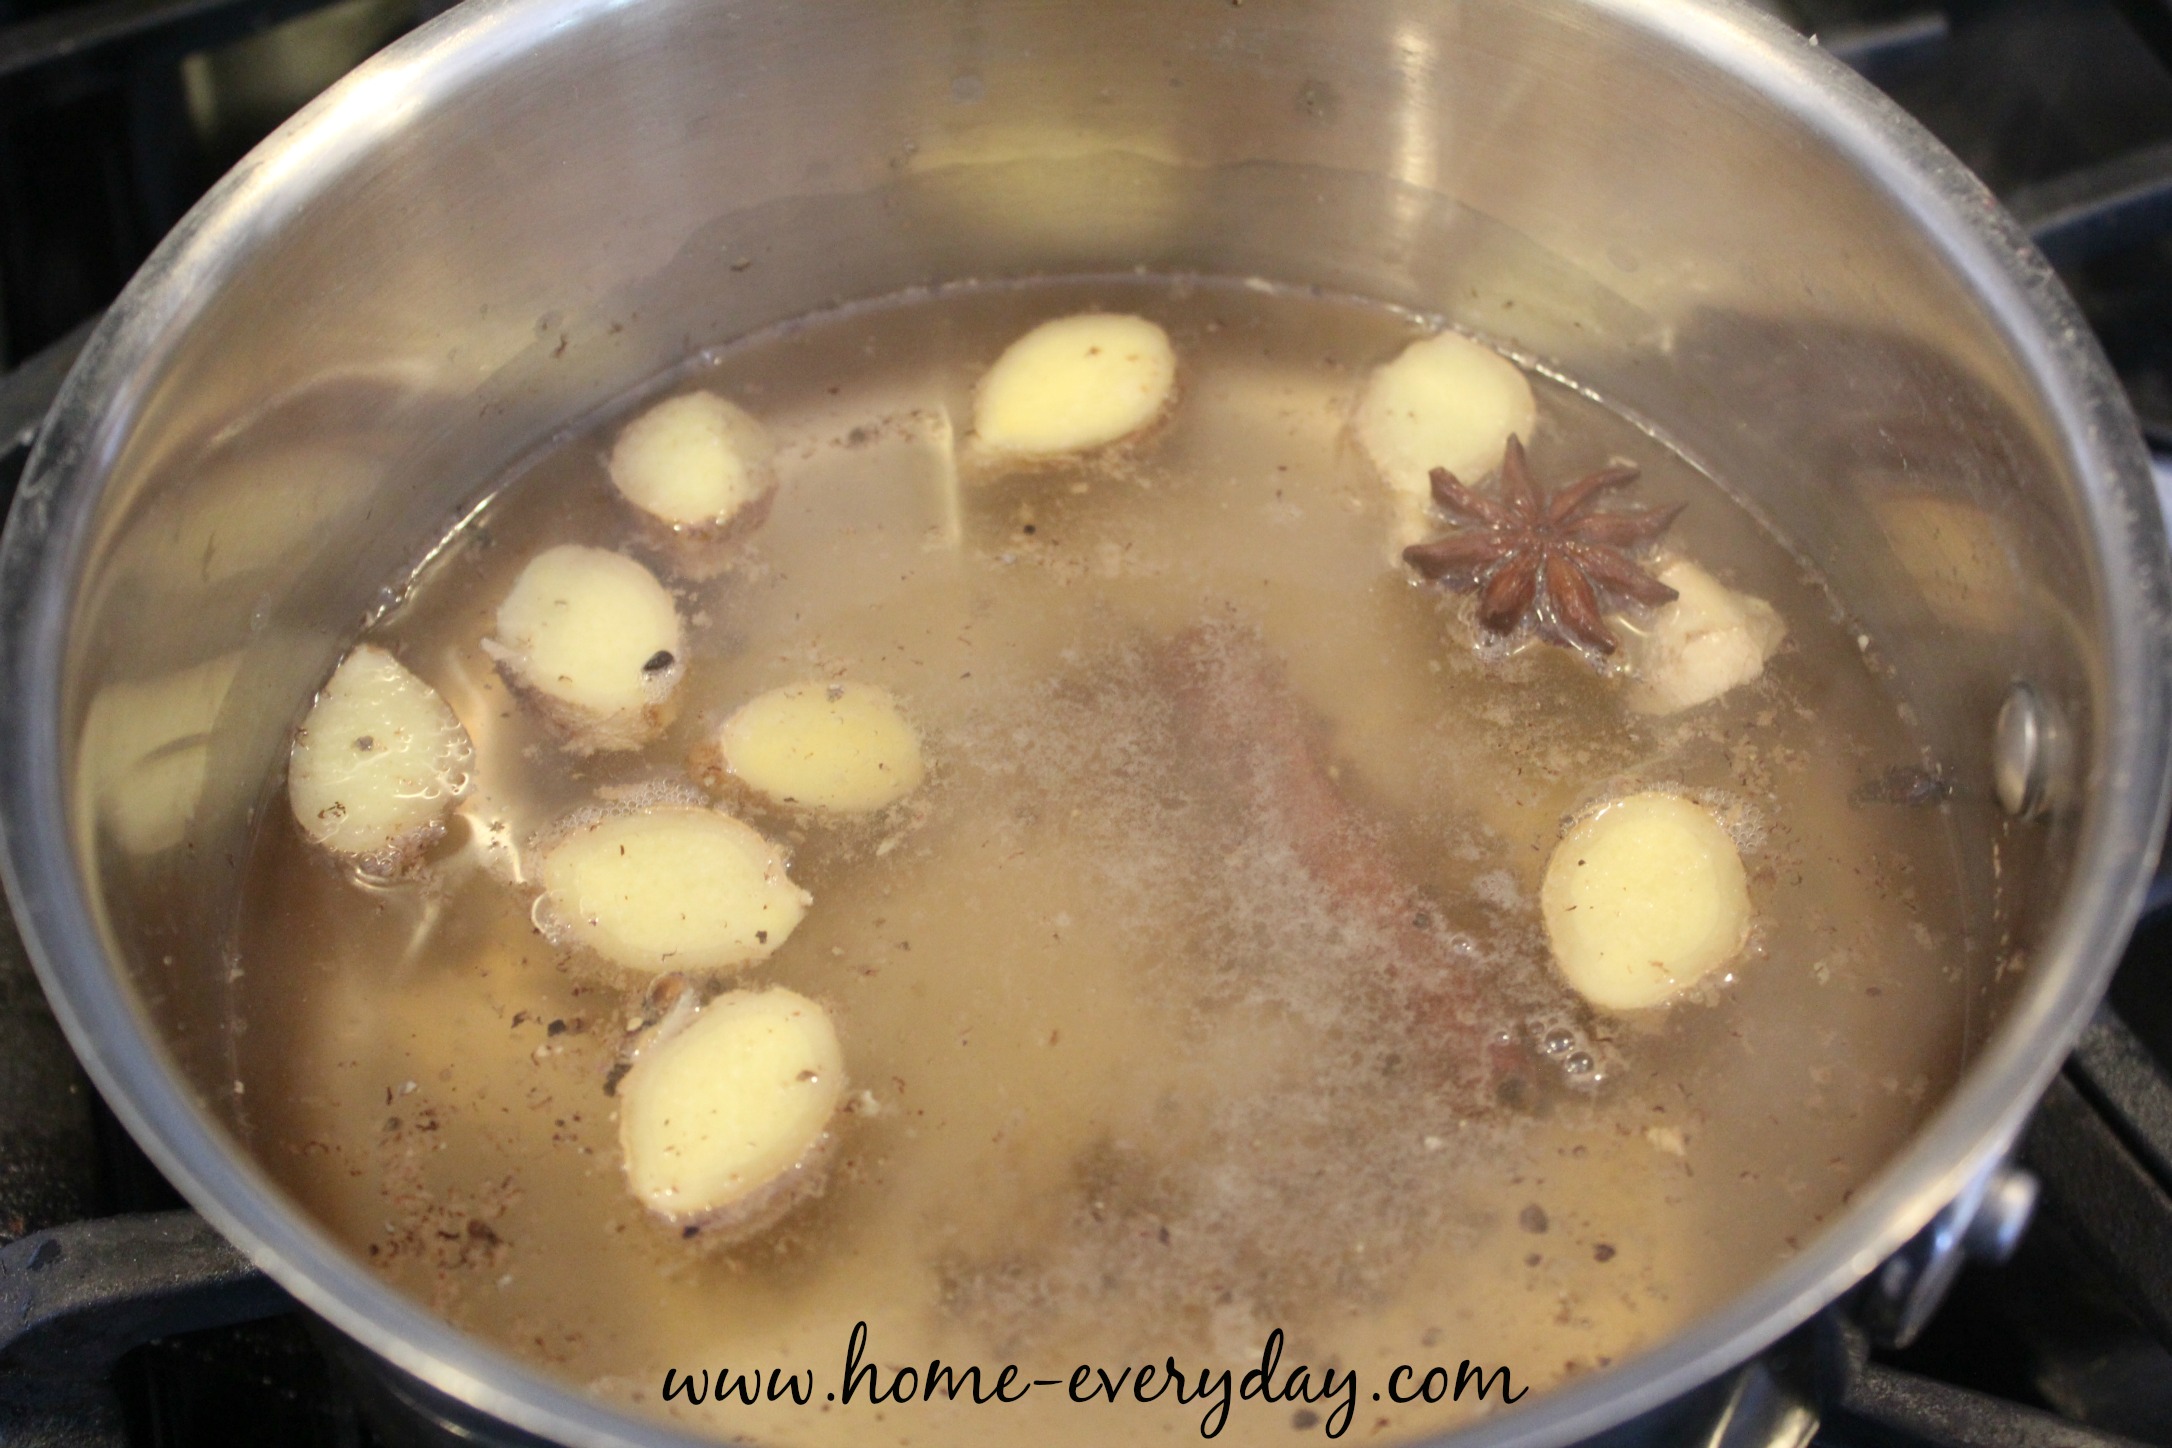
Bring to a low boil and cook for about 2 minutes. Stirring occasionally.

Chai Tea Latte 7

Strain spice mixture into a heat save container (if concerned about spices in water, strain twice).

Chai Tea Latte 9

Steep tea in spice mixture according to package instructions. I steeped tea for about 4 minutes.

Meanwhile, in a heat safe container or in another sauce pan. Heat milk until just warm. This should take anywhere from 1 to 2 minutes. Pro Tip: If using vanilla extract, add vanilla extract now.

Remove tea bags from spice mixture. 

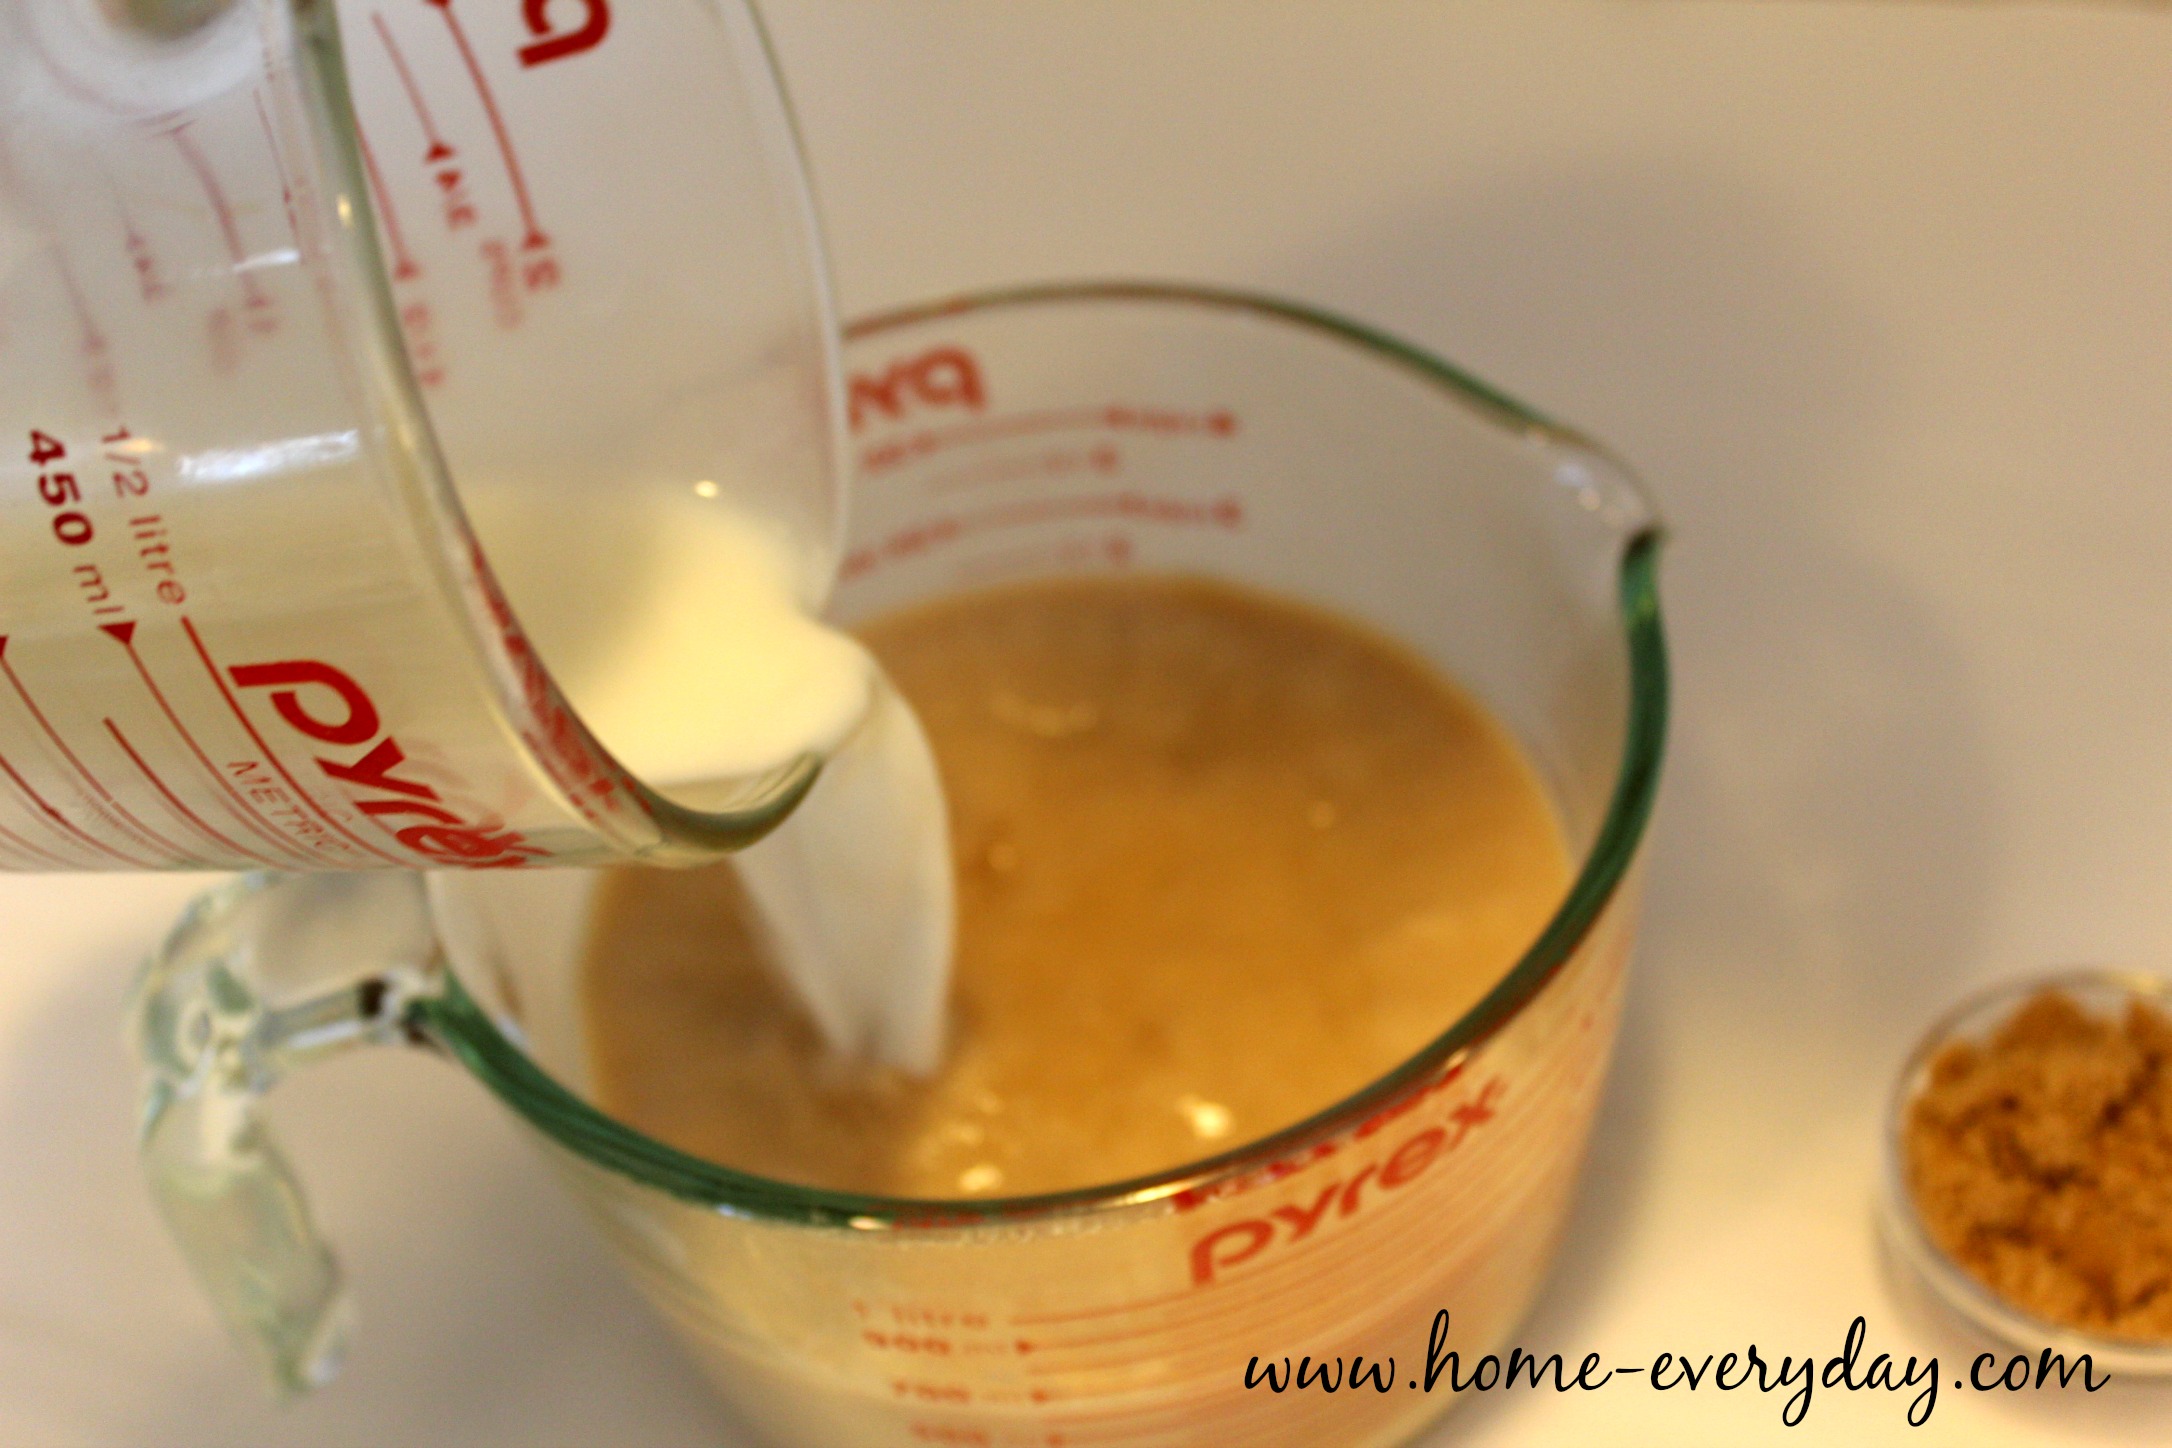
Finally, whisk together tea, milk, and sweetener.

Chai Tea Latte 10

Pour into mugs and serve immediately.

Chai Tea Latte 11

How will you make your Chai Tea Latte? Do you like more cinnamon? Will you leave out the vanilla? What kind of sweetener will you use? 

Buffalo Check is my New Obsession: Or How I Made No Sew Cafe Curtains (Again)

After adding the new kitchen countertops and installing a subway tile backsplash, I decided that I liked the neutrality of our kitchen. I liked that everything was starting to look more clean and fresh and could kind of be tweaked with some flowers or dish towels to match the seasons.

Backsplash without Thinset 1

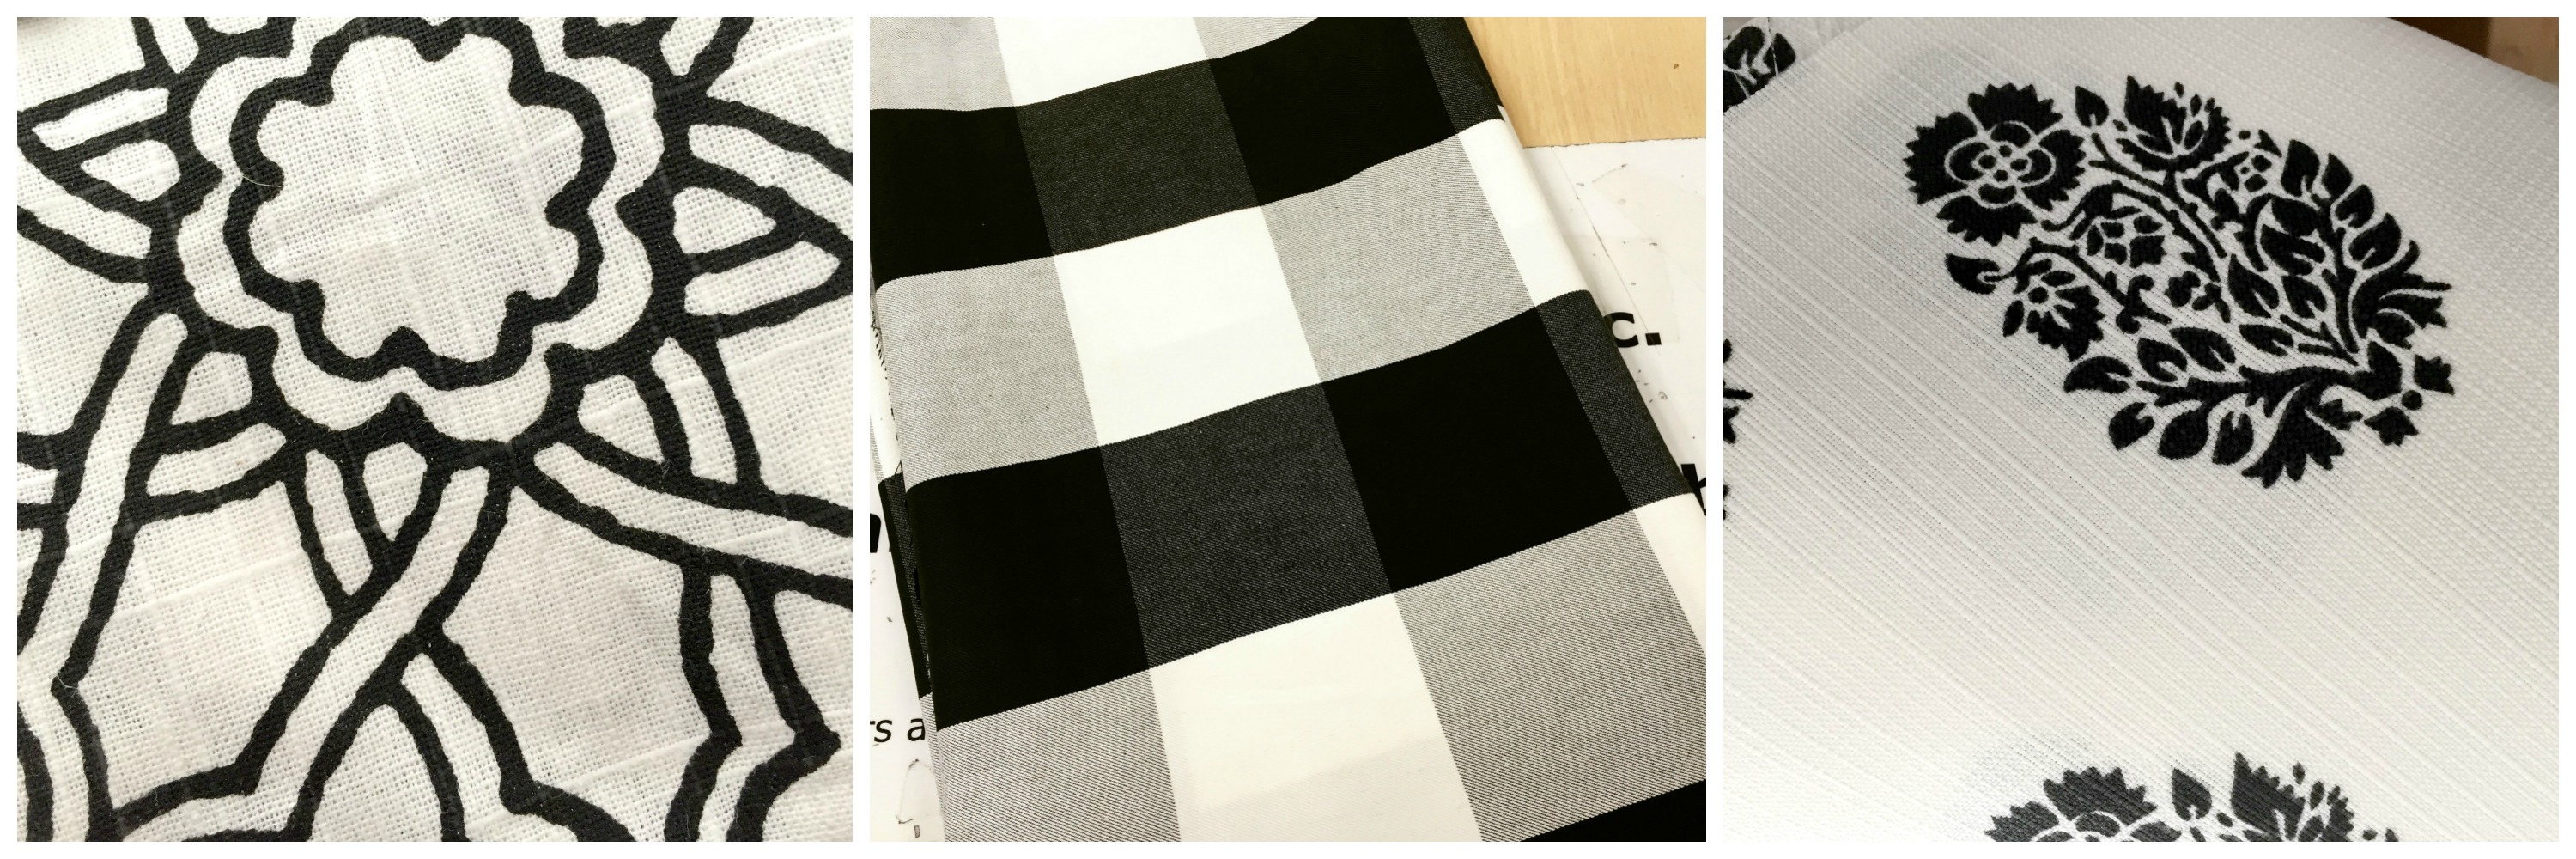
Rather than add a pop of color with a rug or curtains, I decided to go with a black/white/gray motif. So, I found a few black and white fabrics that I liked, and went with it.

Kitchen Curtains Black and White Fabrics COLLAGE

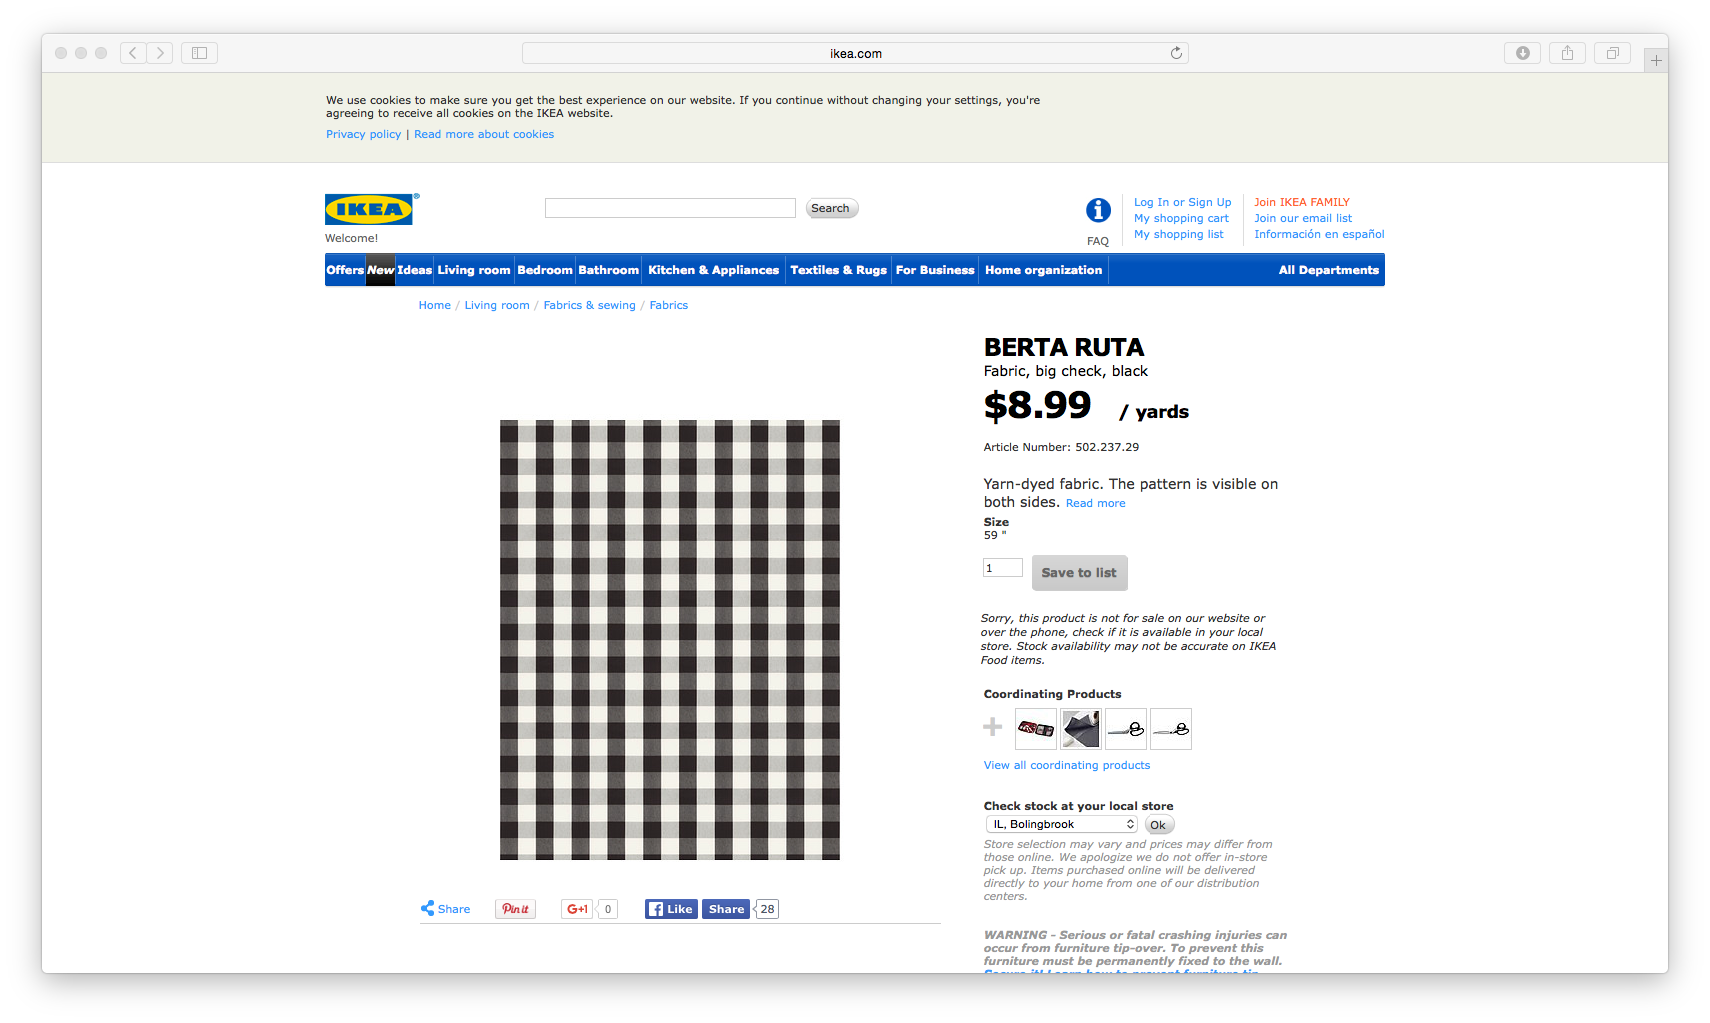
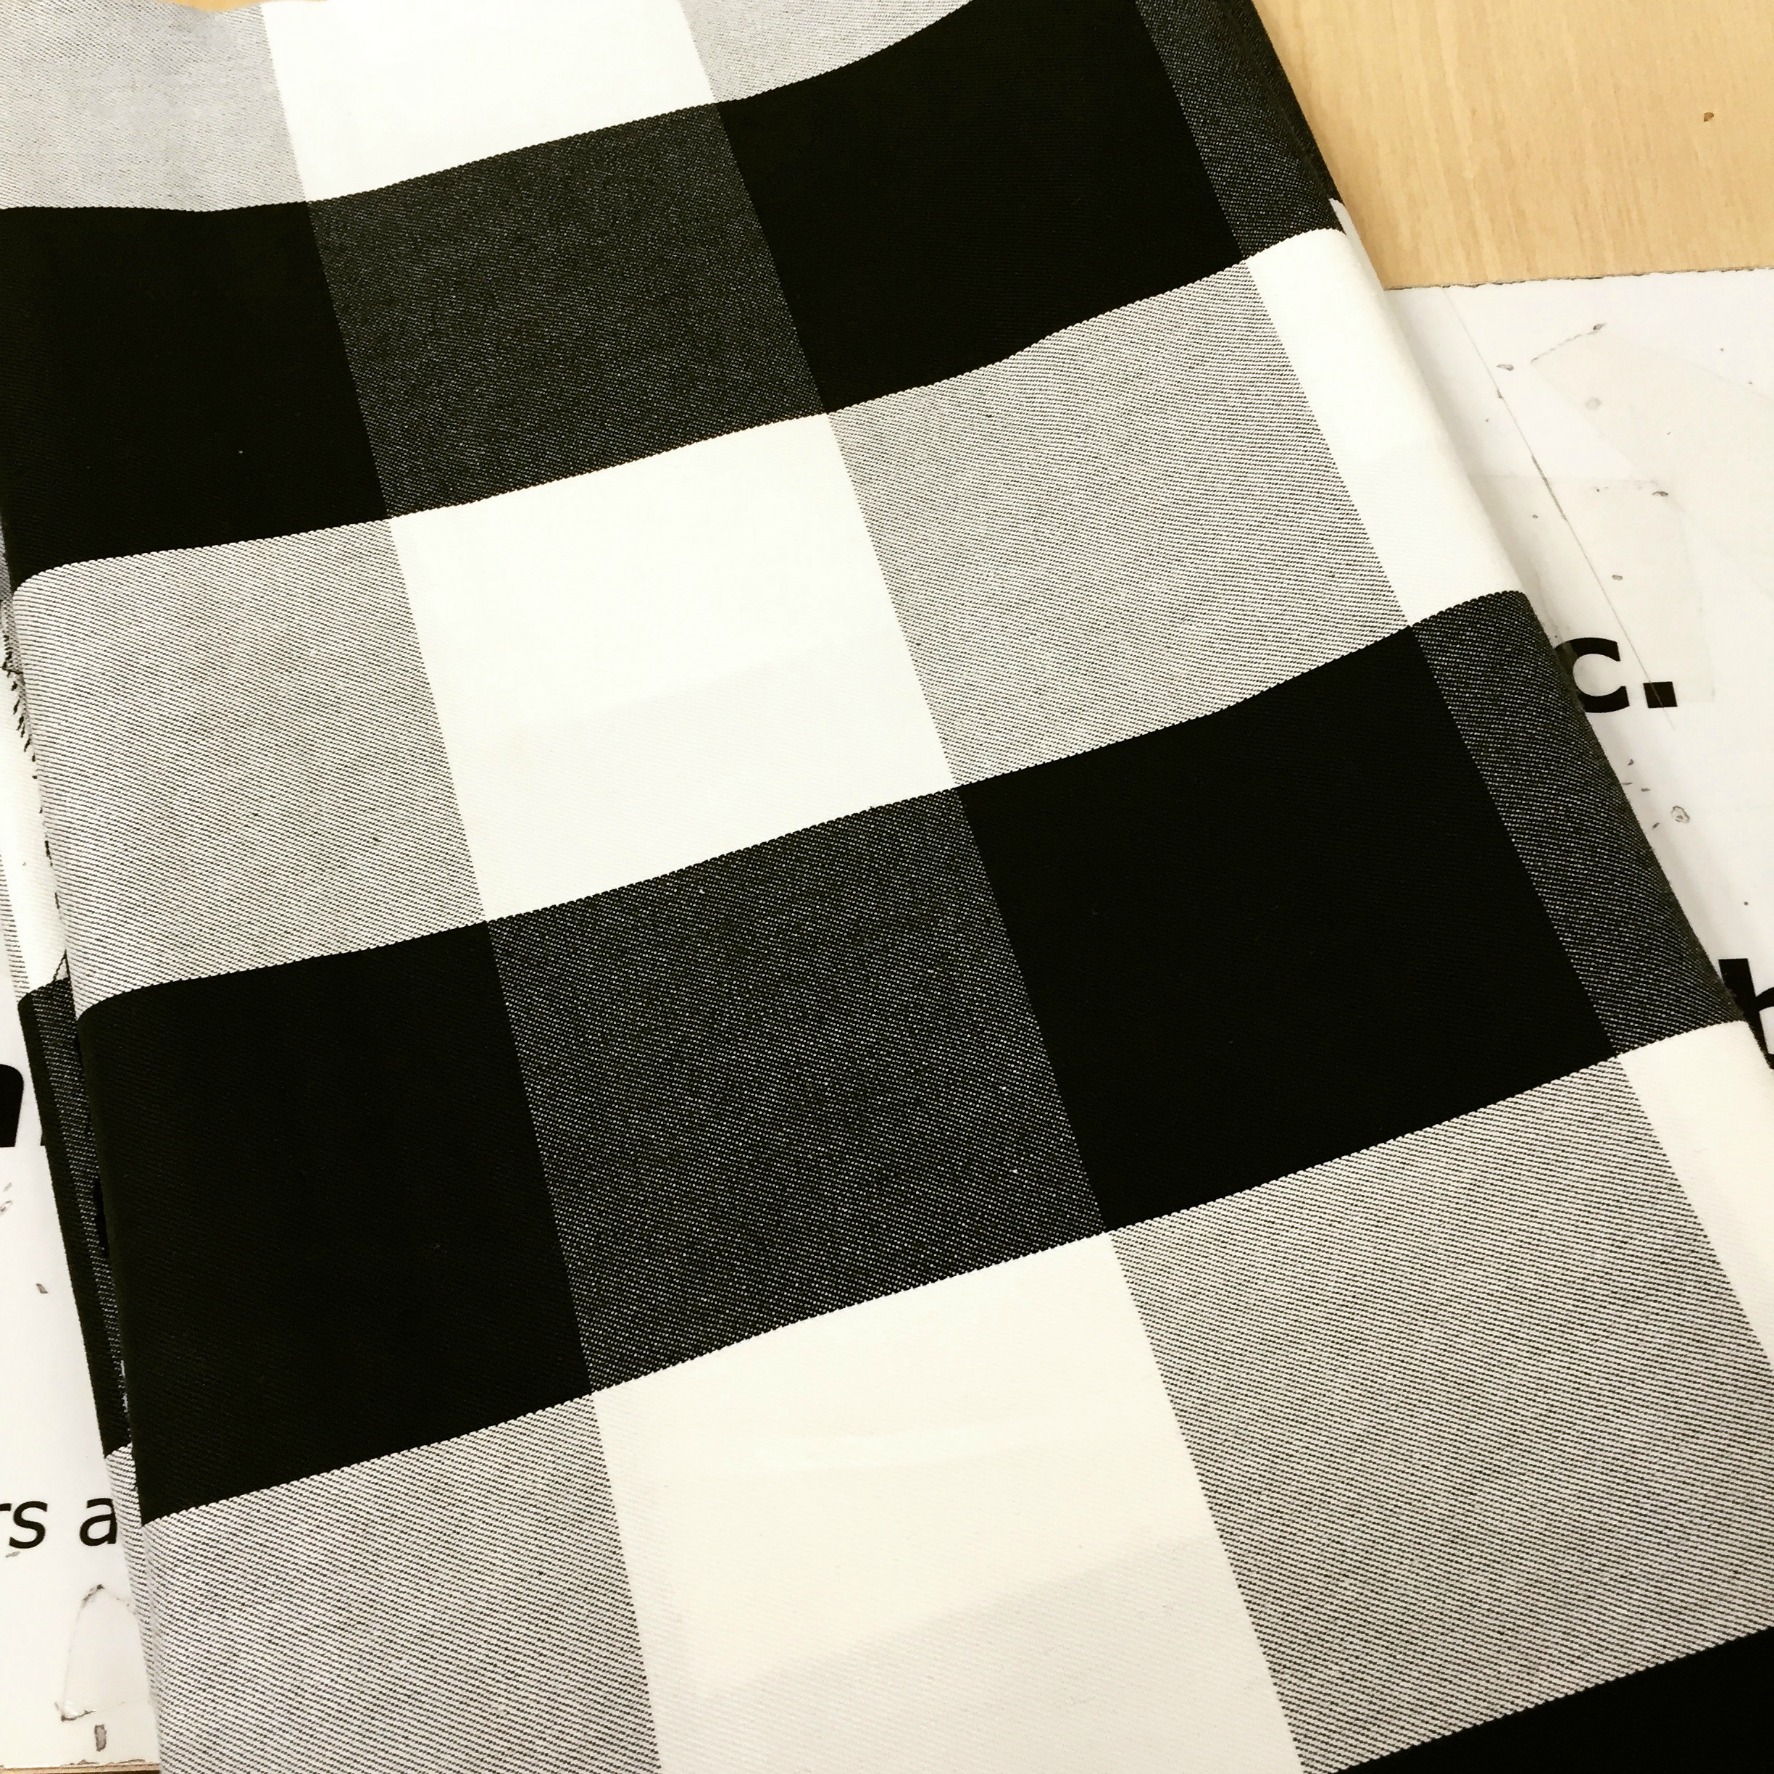
Ok, fine what really happened was that I saw this buffalo check fabric at IKEA, fell in love with it (and the price) and had to have it!

Kitchen Curtains Black and White 4

I thought of the “neutral theme” idea later when I realized that everything goes with black and white buffalo check.

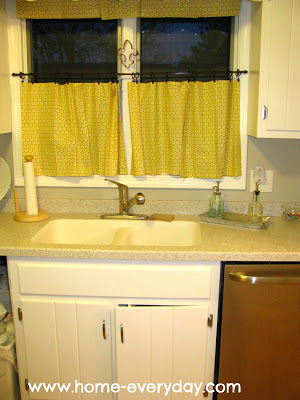
If you remember, my old cafe curtains were made from cloth napkins. Which is still an awesome idea and for a non-sewer (or someone who cannot make up her mind) and I highly recommend it to anyone wanting to have a quick, easy, and cheap window cover solution.

Kitchen-Progress-2


That buffalo check fabric though.

Kitchen Curtains Black and White 3

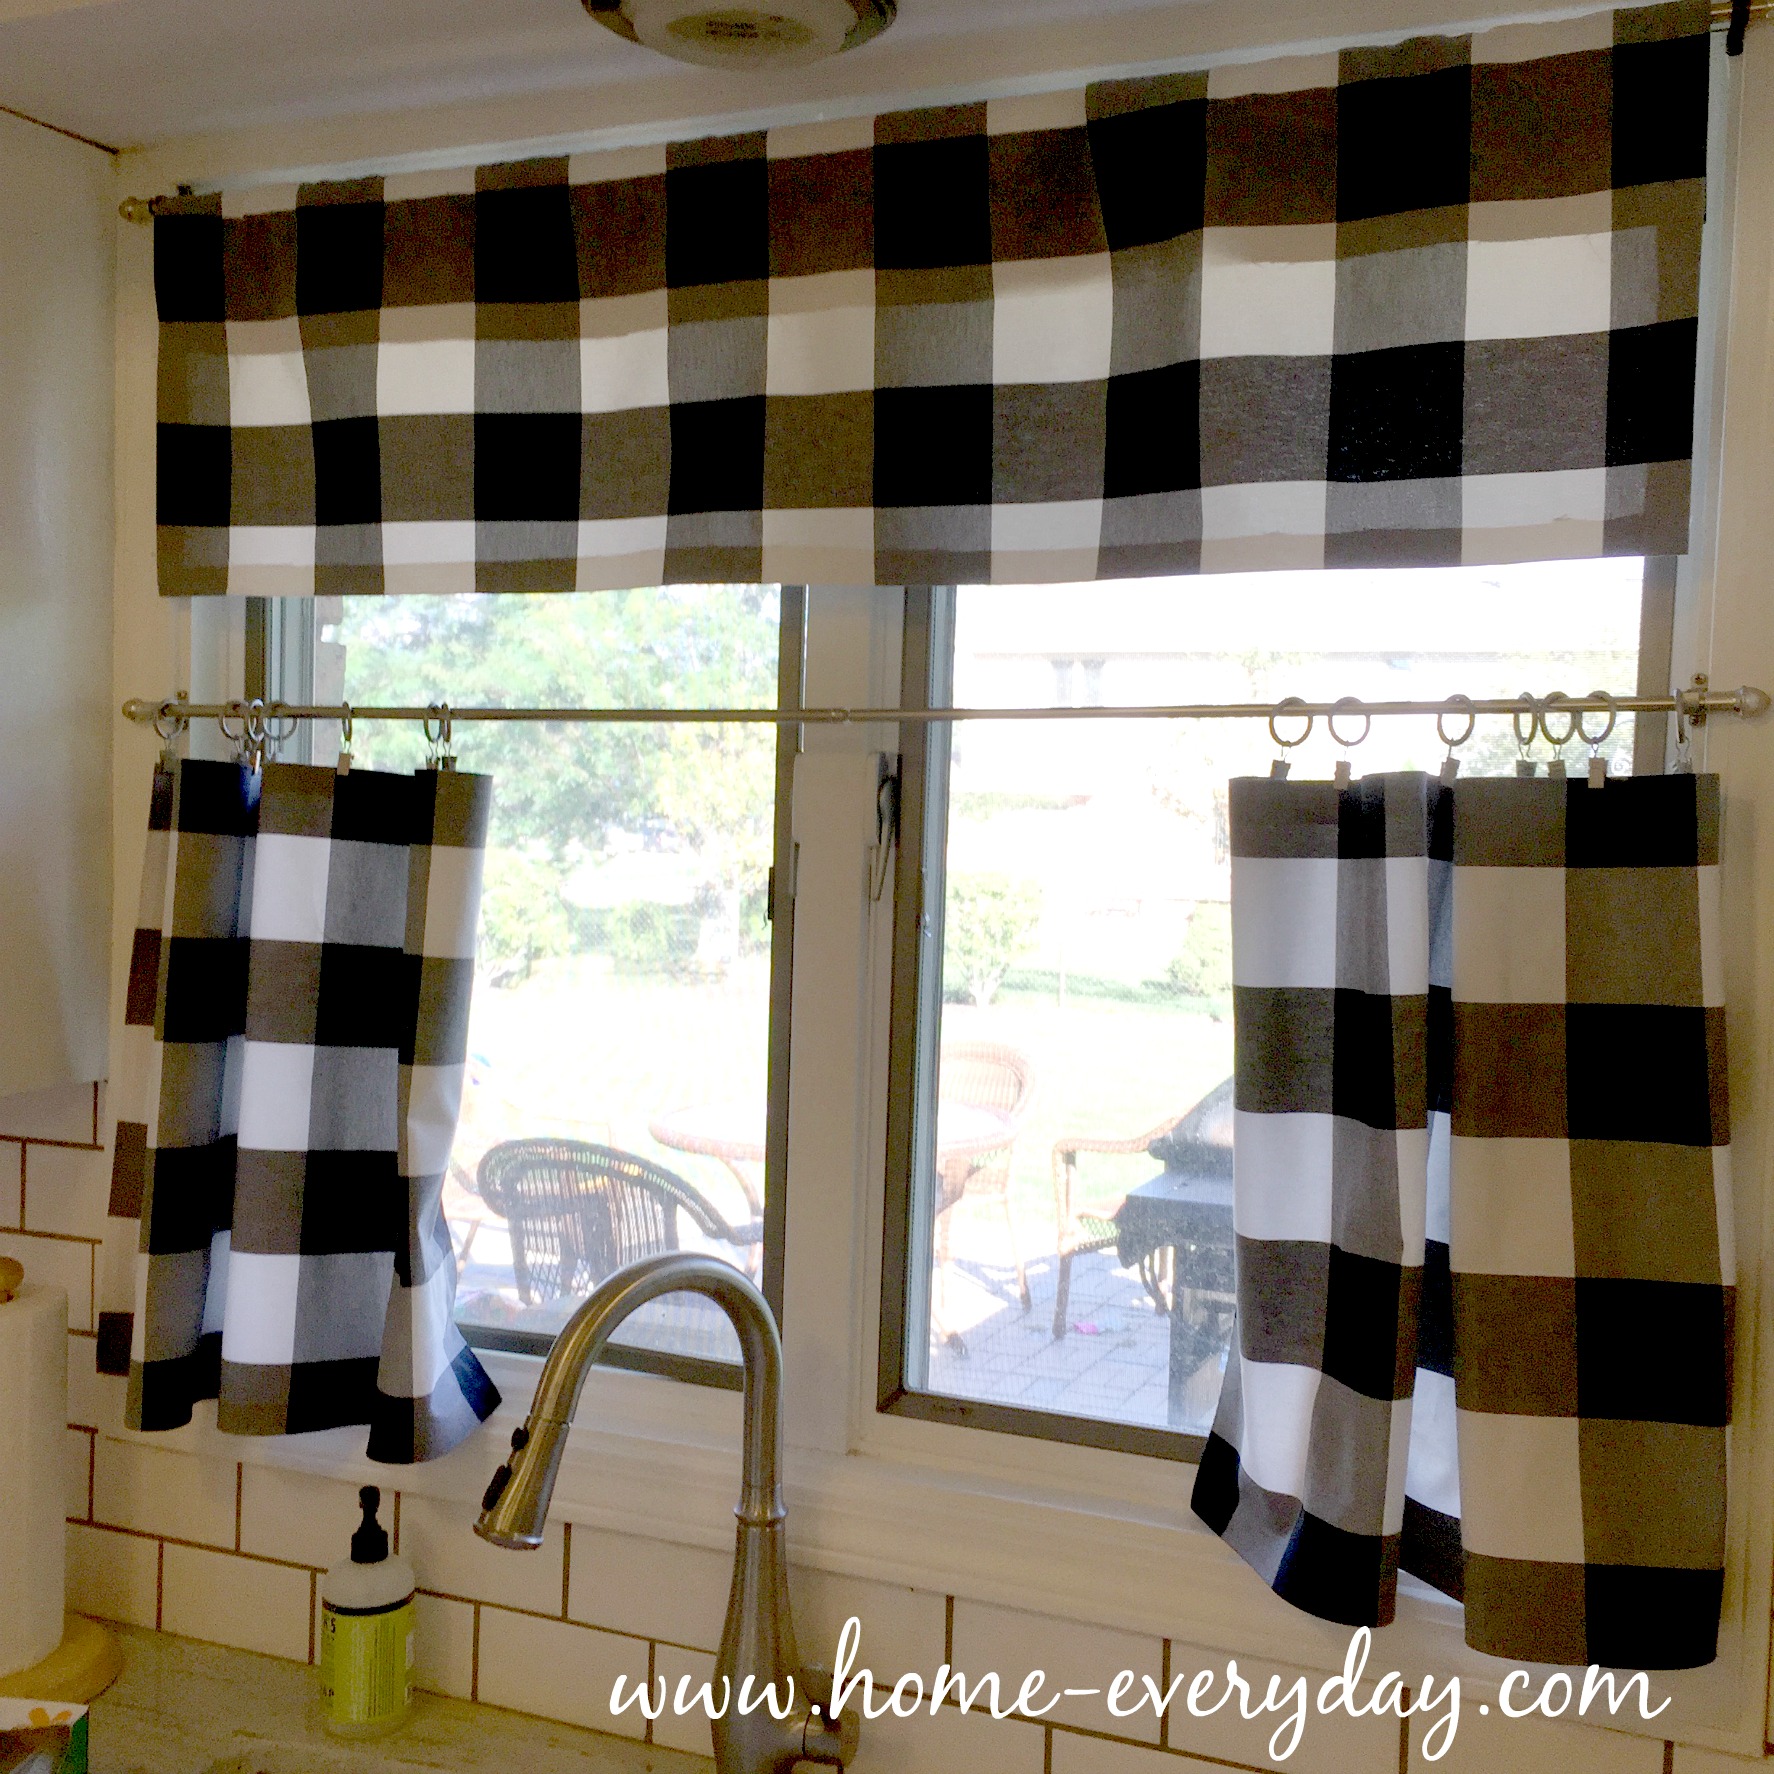
So, I pulled up my big girl pants, and got out the sewing machine iron and extra strength hem tape. I made the curtains similarly to when I made them for Coco’s room a few years back. However, I also got super fancy and made a valence too!

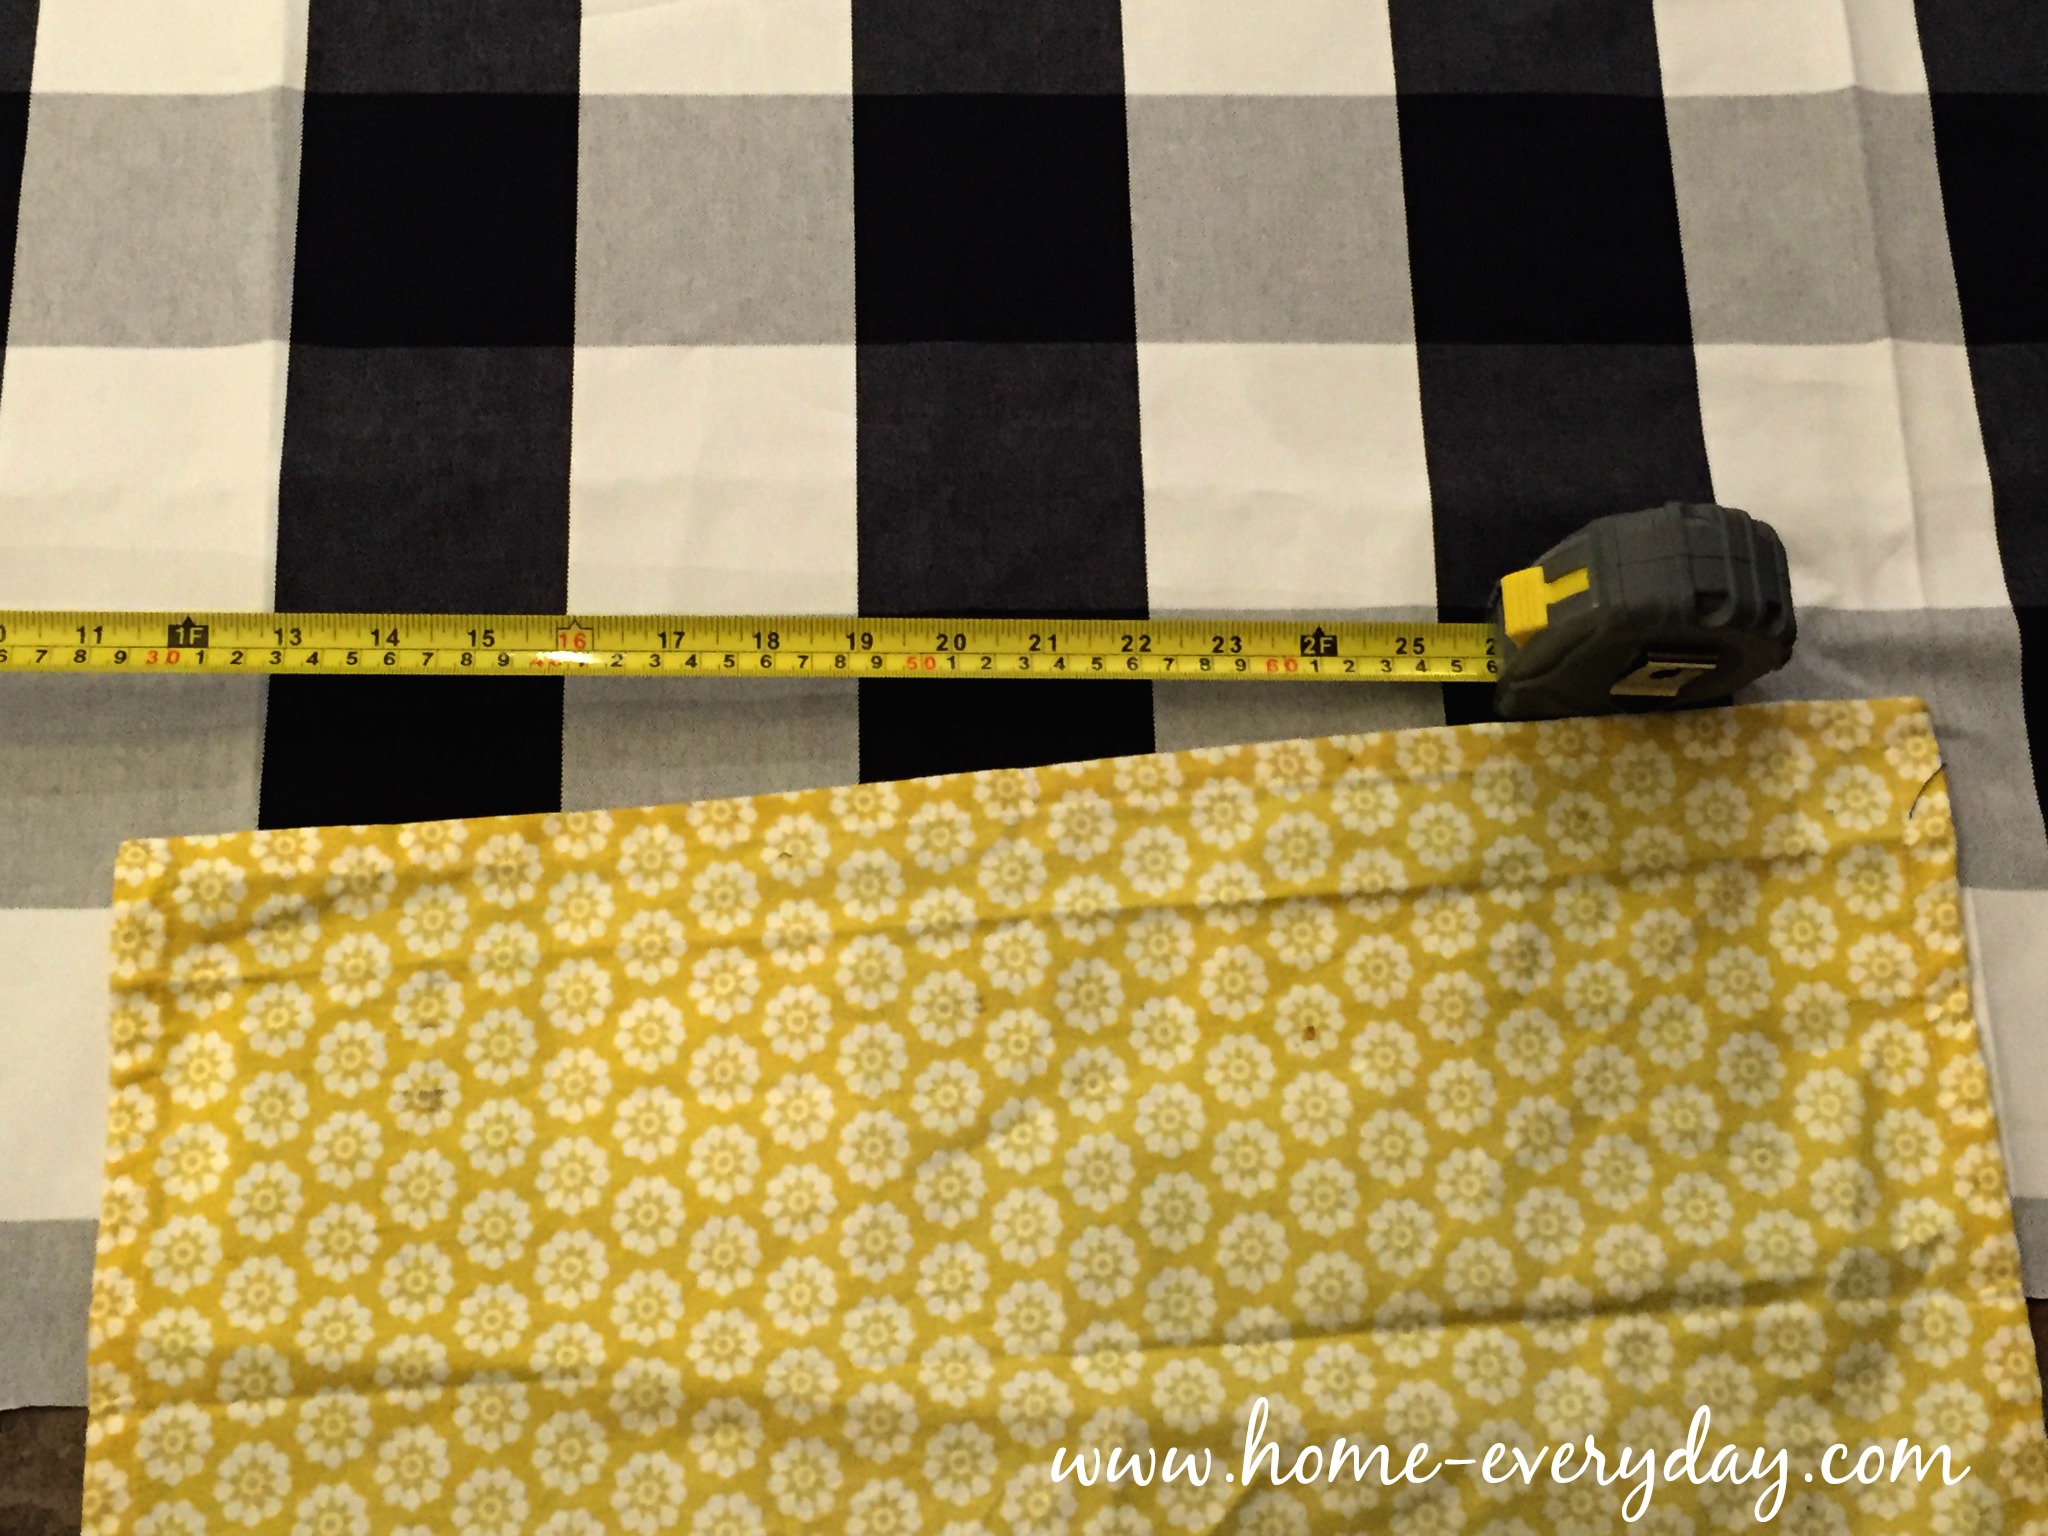
Using my previous cloth napkins curtains as a template, I measured.

Kitchen Curtains Black and White 5

I ironed while watching Brooklyn 99 (Captain Holt, am I right?)

Kitchen Curtains Black and White 6

I hung them up.

Kitchen Curtains Black and White 7

Again, this is one of those projects I waited awhile to post as kind of a “time will tell” experiment. While I have made hem tape curtains in the past, they were decorative curtains that weren’t really open and closed very often and used more as a way to frame a window. These curtains, however, are actual real utility curtains. The kitchen is a high traffic area and the window over the sink is one that is open and closed a lot, which means these curtains would be pulled open and closed a lot. Also, over the sink means water splashing, steam from pasta water being drained, and other cooking shenanigans that happen near the sink. I wanted to make sure that these curtains would hold up to a wash, water, and heat, and some traffic before I posted a tutorial. 

Here they were the first week.

Kitchen Curtains Black and White 7

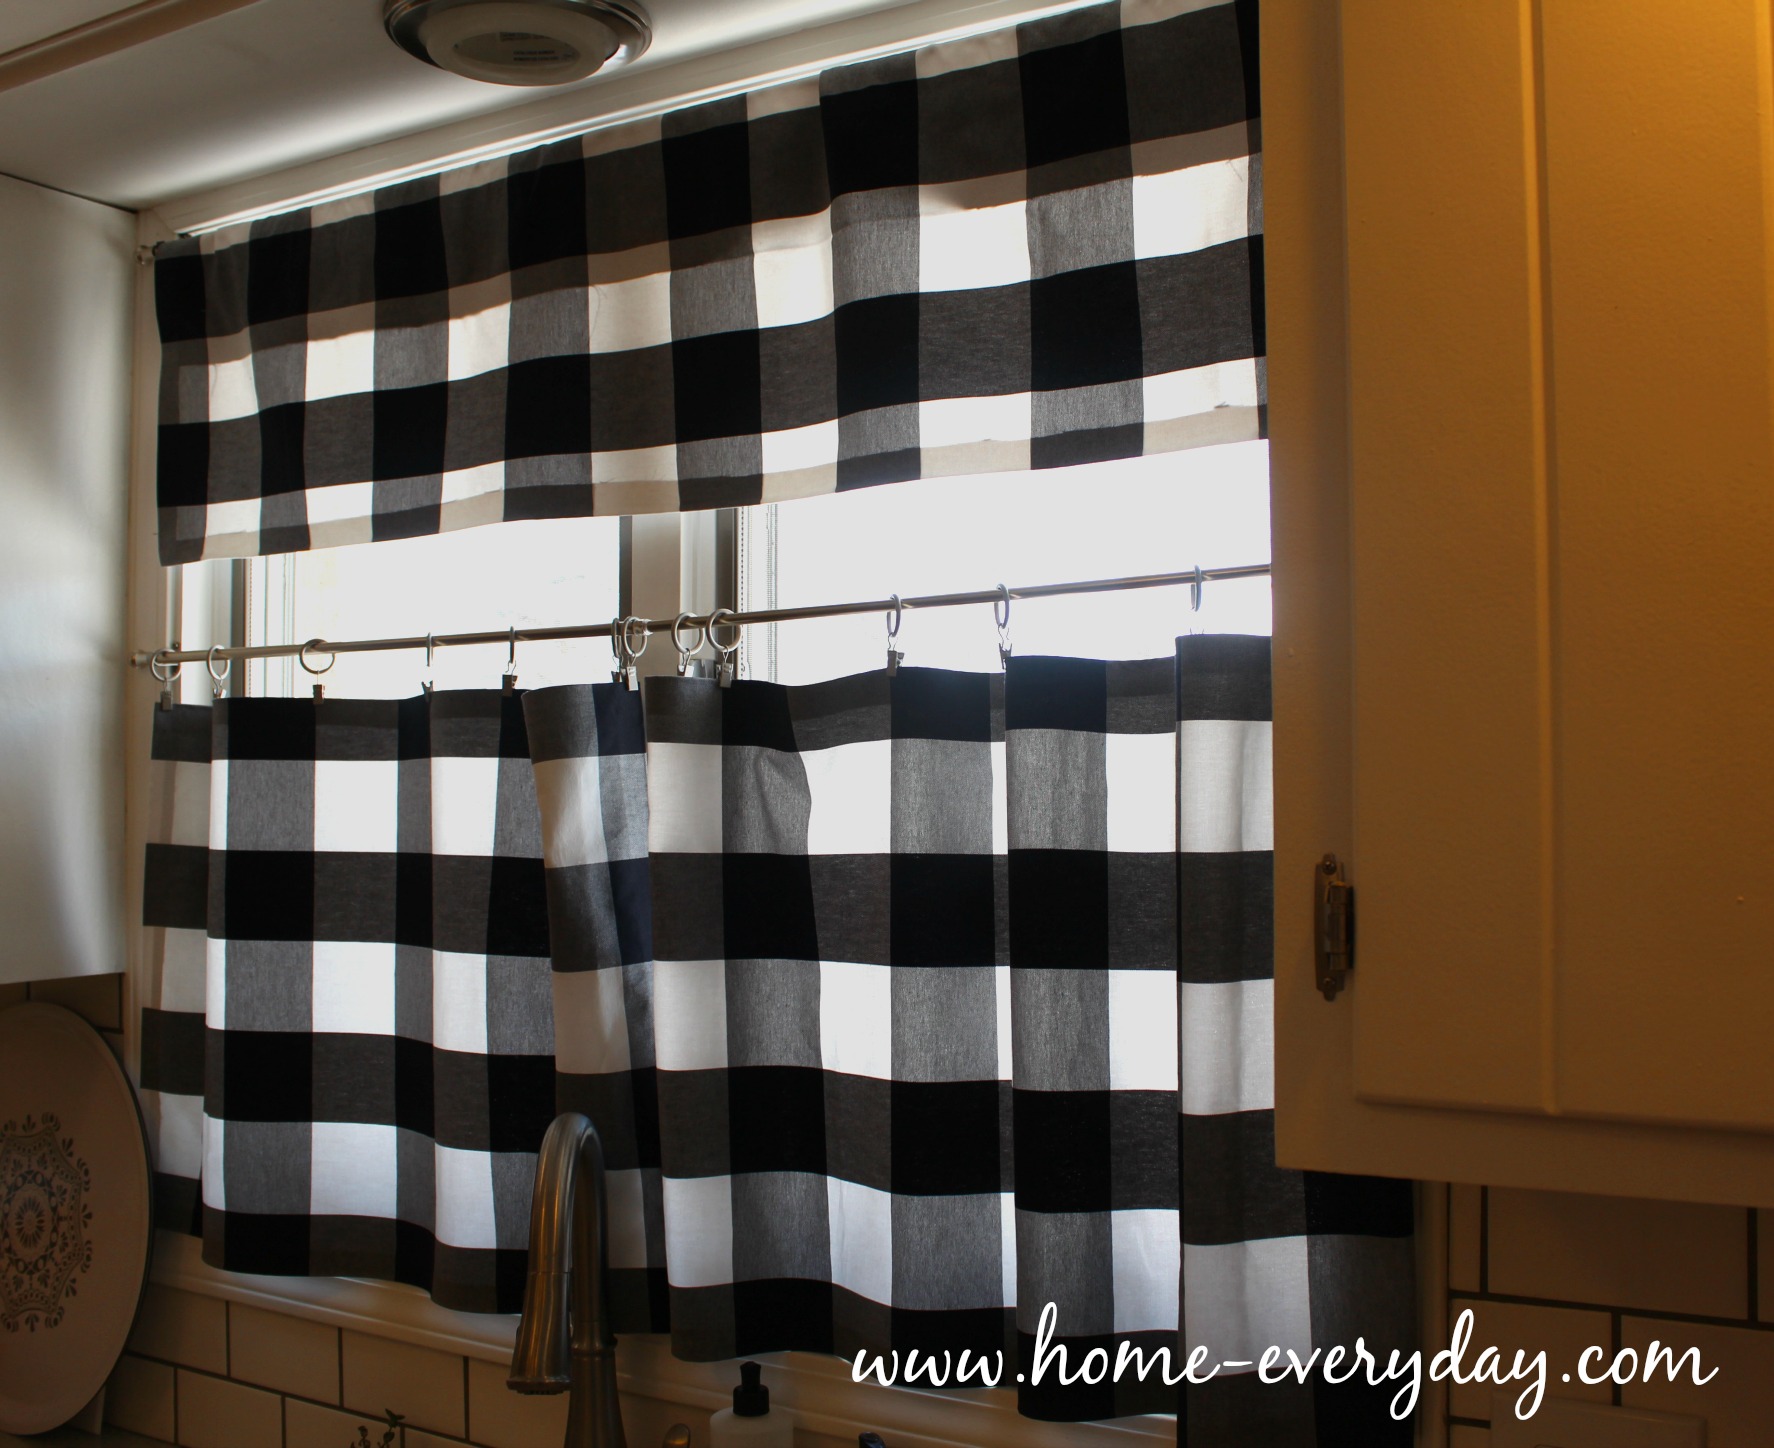
Here is picture of them yesterday (over three months of cooking, baking, washing dishes, splashing, and one run through the gentle cycle of the washing machine and hung to dry).

Kitchen Curtains Black and White 8


Also, because I don’t know if I mentioned earlier, but I really like this fabric from IKEA, I overbought, so I also had enough fabric to sew iron tie backs, and another valence for the patio door. 

Do you have any easy, quick, and foolproof DIY methods that lasted longer than you thought?


How To Install a Tile Backsplash Without Thinset or Mastic

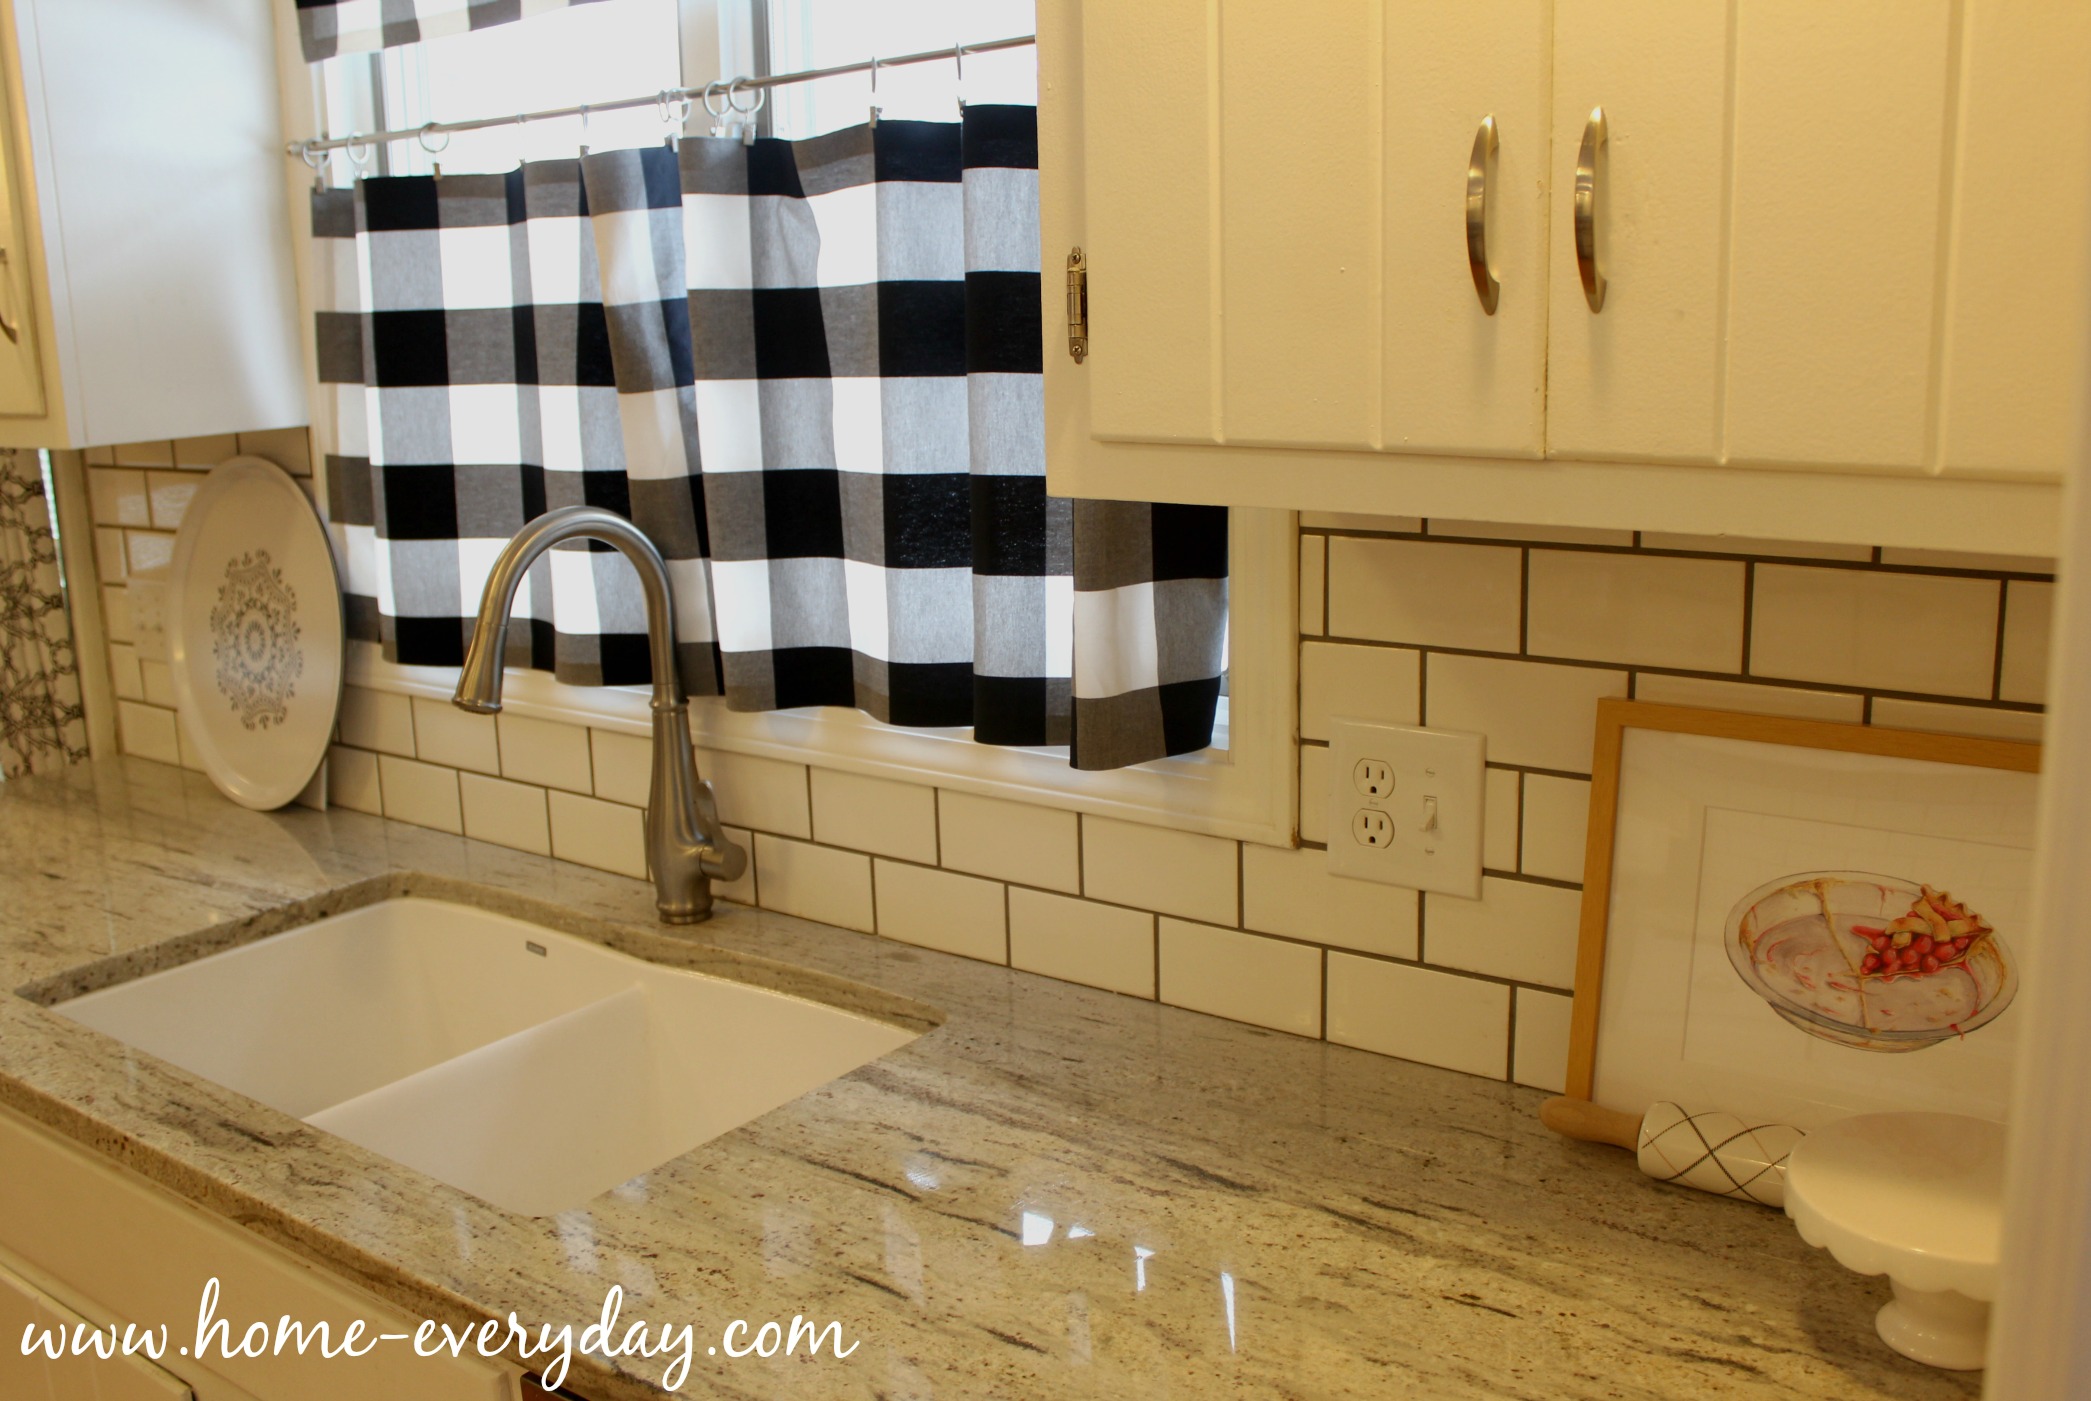
If you read Home Everyday on any regular basis, you know that the kitchen is where I can be found most of the time. I am usually cooking or baking, or crafting at the kitchen table, helping someone with homework at the kitchen table, or cleaning up a ginormous mess I just made. Since updating our kitchen with new countertops, you may have also noticed that we have updated our backsplash too. I love our kitchen even more because the space has become more practical (no more cracked countertops),  but also because of a few more useful and beautiful additions we have made to my most used room: a deeper more functional sink, an extra cabinet, a new microwave (that works correctly), some new curtains, a little paint, and a few new pieces of hardware, and most of all: a gorgeous wipeable subway tile backsplash. 

Ta Da!
Backsplash without Thinset 1

Backsplash without Thinset 2

When the old countertops were removed, with them came a small backsplash that was made of the same material. When the countertops were removed, this was left behind.

Backsplash without Thinset 9

We could have had a small granite backsplash cut and attached to the wall, but there’s a few reasons we didn’t do this. 

  1. I don’t think they are practical for cleaning. Why only cover part of a space that is going to get splashed on. Then I have to tile it anyway? No.
  2. Mo granite means mo money.
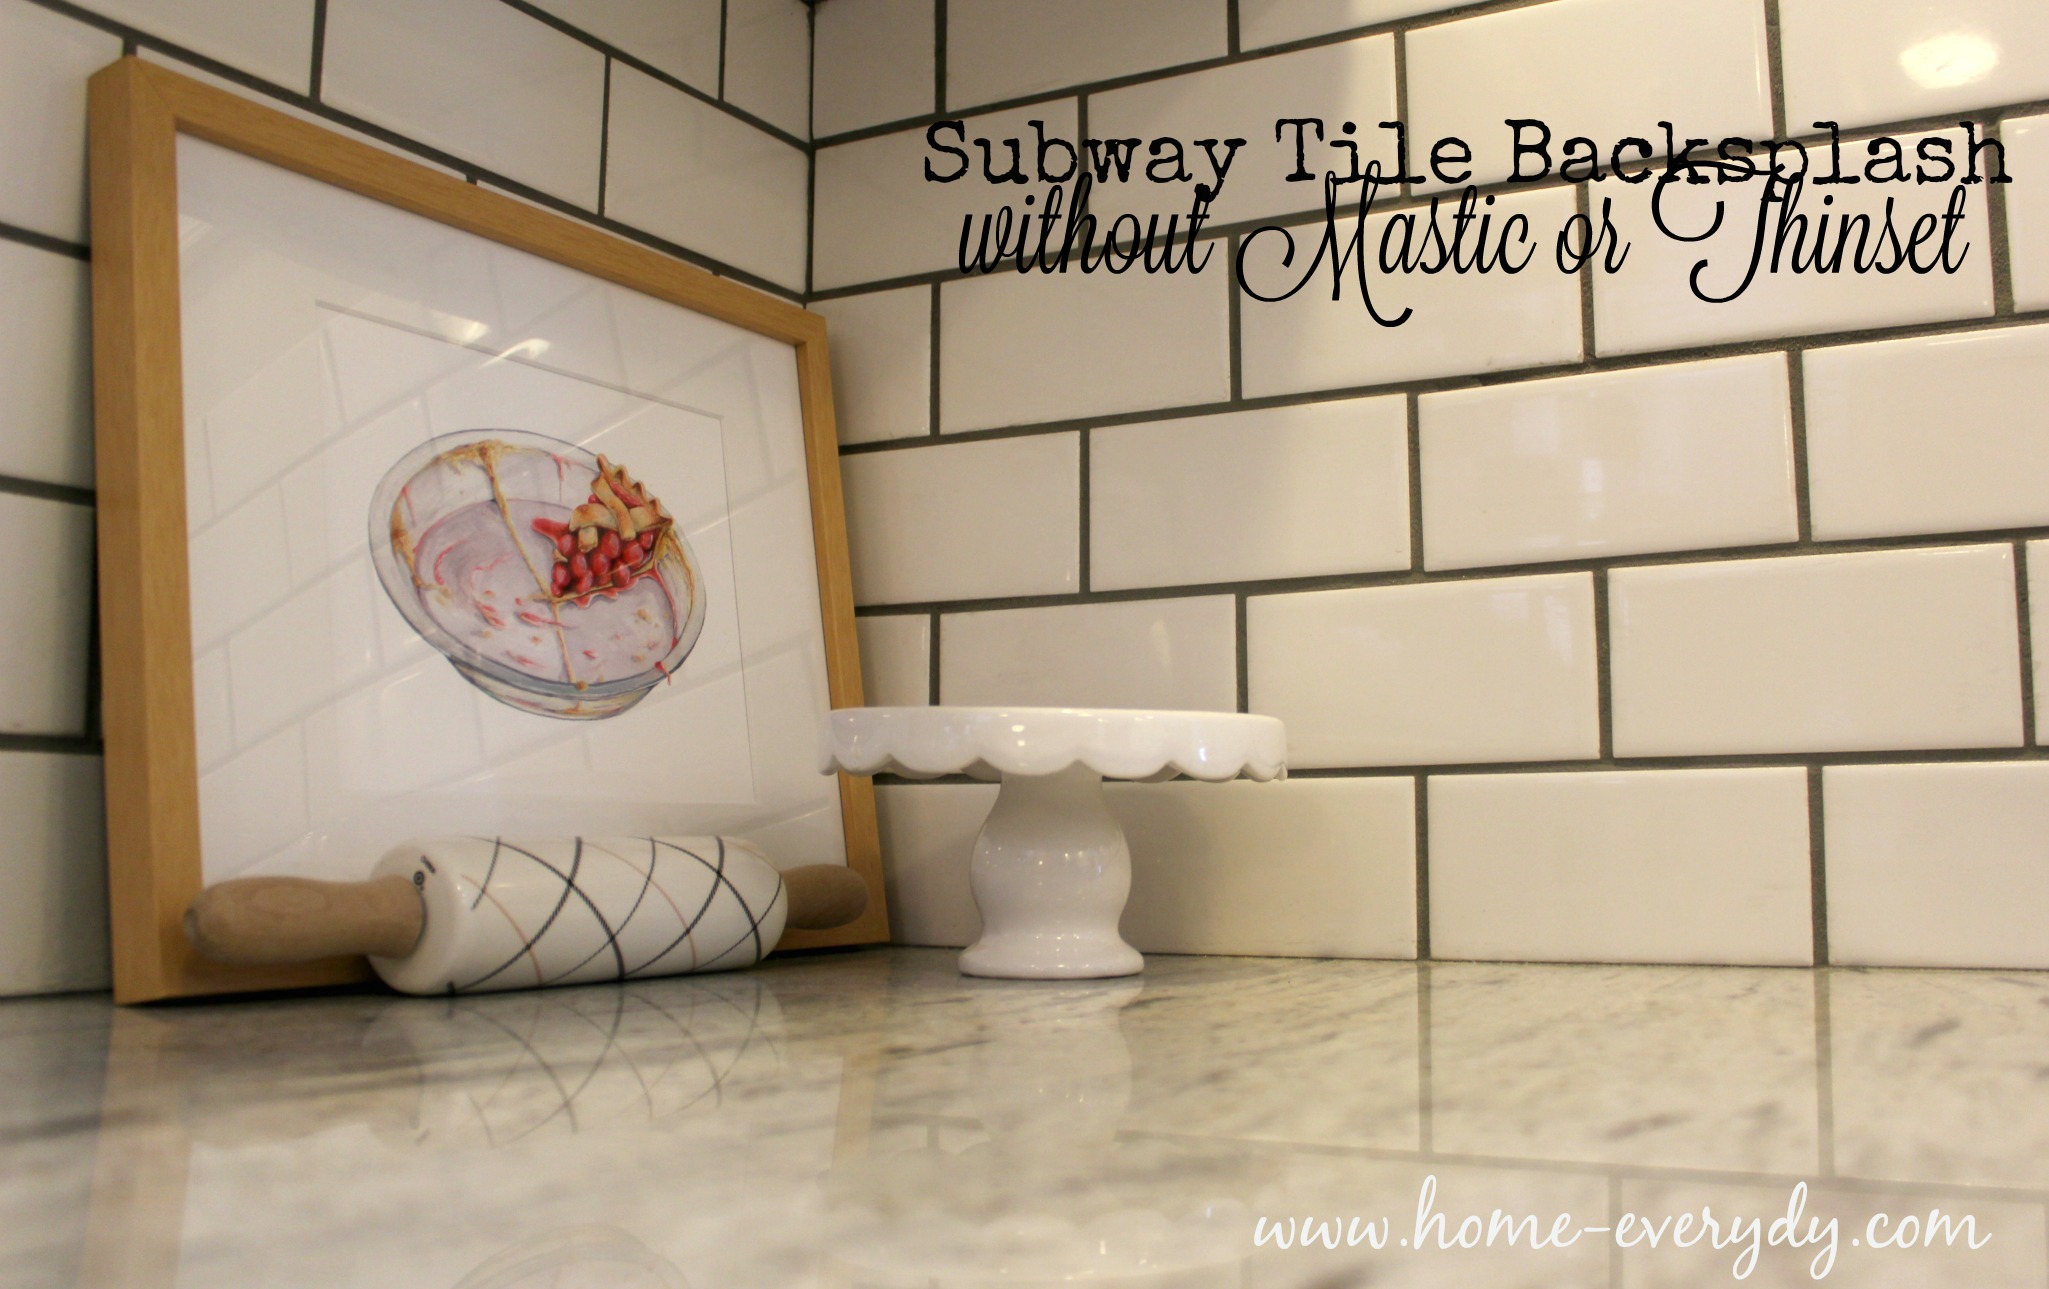
  3. I think that tiling all the way to the countertop would create a modern cleaner line.

So, we decided to tile.

Ourselves.

With a method that requires no mastic or thinset.
Backsplash without Thinset FINAL

Before this project, I had never tiled anything before. However because I like to watch HGTV, and Ask This Old House like it’s my job, lay in bed and look at Pinterest boards and Instagram accounts of DIY bloggers, take free classes for projects that might happen some day at Home Depot, and talk with anyone I can about DIY, I felt that I could handle tiling a backsplash. Ok, I also asked our awesome friend Scott who has remodeled two houses of his own from top to bottom to lend a hand. 

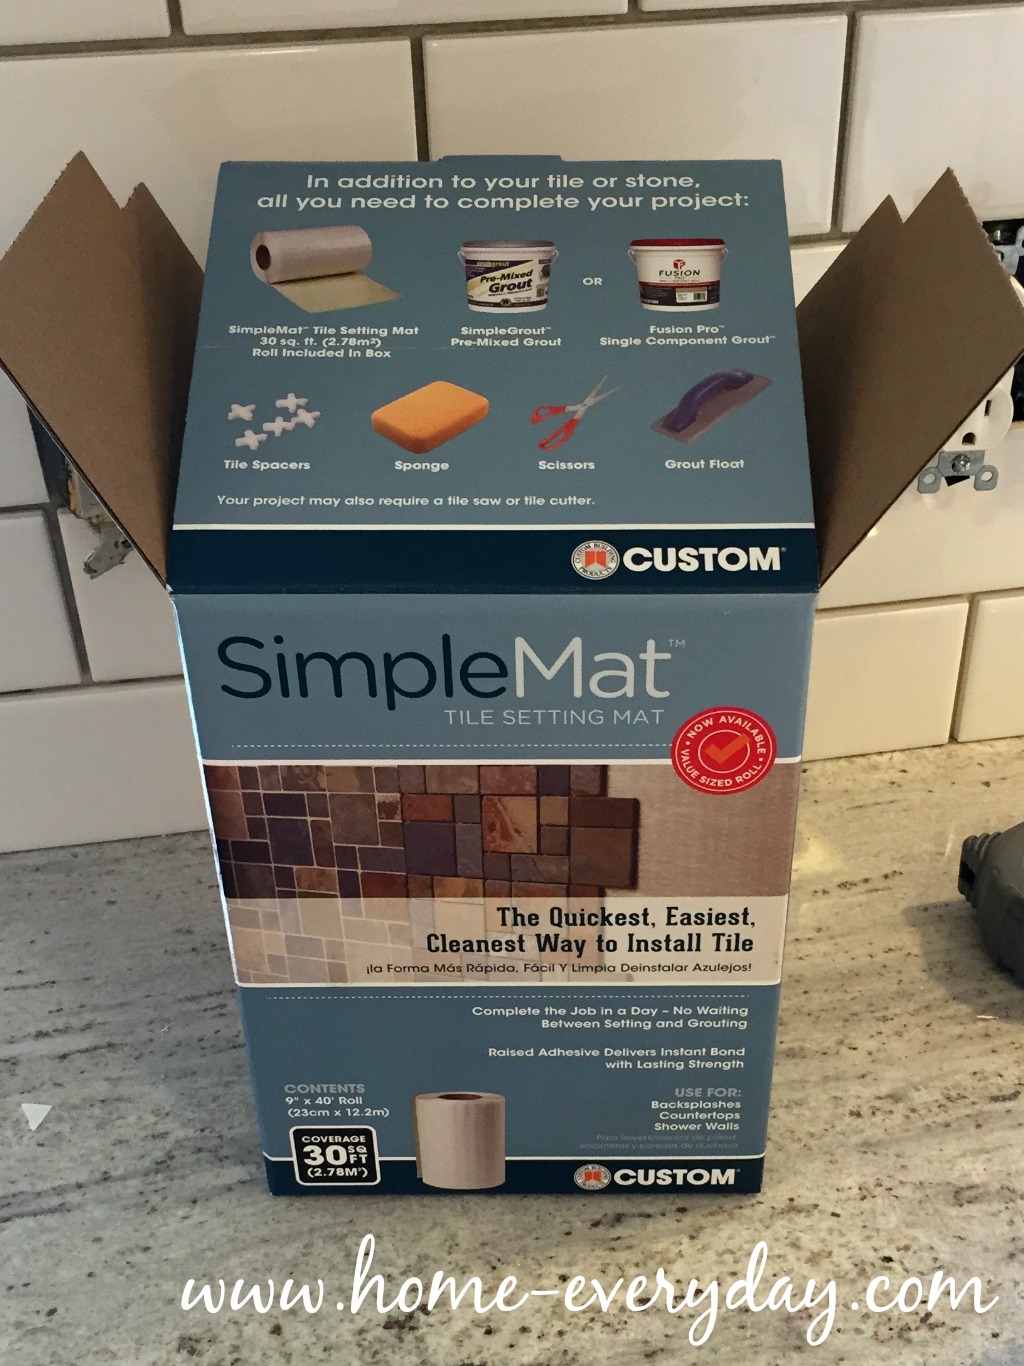
For this project, we were able to do the entire backsplash including grout in one day! I know what you’re thinking. Whoa, whoa, whoa, Erin. You cannot tile anything in one day. You have to wait for the thinset to dry. Nope. We used SimpleMat. It is like double sided tape for tile that is perfect for basksplashes or other tiling projects that won’t get super wet (think a decorative table, countertop, or behind a wet bar or decorative wall). If you follow this easy tutorial, you can have a gorgeous backsplash, in a day too! (I was not paid or perked in anyway, I just adored this product).
Backsplash without Thinset 20


And if you’re worried, I waited three months before sharing this tutorial to make sure we didn’t have any problems. Even through a busy cooking season of Christmas where I wiped down the backsplash almost daily. So far, so good!

Supplies

SimpleMat

Tile

Tile Cutter or Wet Saw (You should talk to a pro about what you’ll need to rent or purchase depending on what kind of tile you’re using and what you think you’ll be using in the future.)

Scissors (good strong utility scissors, don’t skimp, you’ll thank me)

Simple Grout (This is a premixed grout with a sealer already built into the grout. I used this to cut out the steps of having to mix my own grout and to have to seal it later)

Tile Spacers

Float

Sponges

Buckets

Lots and lots of Paper Towel

Drop Clothes

Waterproof caulk

Getting Started

  1. The first thing I did was decide on a tile and a grout color. I chose white ceramic subway tile and a gray grout. I chose this combo for many reasons.
  • I liked how it looked with our new countertops. It was fresh and clean, and with grey grout would be divine.
  • Gray grout would not yellow over time and look new for years to come.
  • Gray grout would also help show off the brick pattern I wanted to do with the subway tile.
  • I knew it this look would stand the test of time. There’s a reason you still see subway tile in houses built forever ago. It never goes out of style.
  • It is easy to work with for a beginner tiler. It is light for those not using thinnest (us), easy to cut with a simple tile cutter or nippers (us).
  • It was cheap and in stock. There was no ordering required in case I miscalculated how much I needed, and everyone has ceramic subway tile. EVERYONE!
  • Did I mention how adorable it looked with our countertops?


Decisions are being made. #HomeEveryday #SkibsSummer

A photo posted by Erin Skibinski (@eskibs) on

2.  I measured, and then I measured again (then again). I wanted to make sure I had enough SimpleMat, tile, grout, and anything else I may need to complete the project. There’s nothing worse that running to Home Depot again in the middle of a project.

3. Buy what you need and a little more. It is recommended that you purchase about 10% more tile than you will actually need for a project to make up for any cuts made, broken tiles, or any mishaps. We did a little more than that. Just in case. Pro Tip: Make sure you factor extra tile, supplies, and any equipment purchase or rentals into your budget for a project. 

3. I turned off the power to the area, and then removed all the all outlet covers, and unscrewed the outlets from the wall. Pro Tip: You want to be able to get tiles as close to the outlets cut outs as possible for a cleaner more professional look, but to also make sure there’s no gaps when doing replacing outlet covers.

4. I also then prepped the surface by  gently sanding the backsplash area with a low grit sandpaper. Then, I wiped the surface down with a wet cloth and let it dry. This helped the SimpleMat adhere better.

Backsplash without Thinset 10

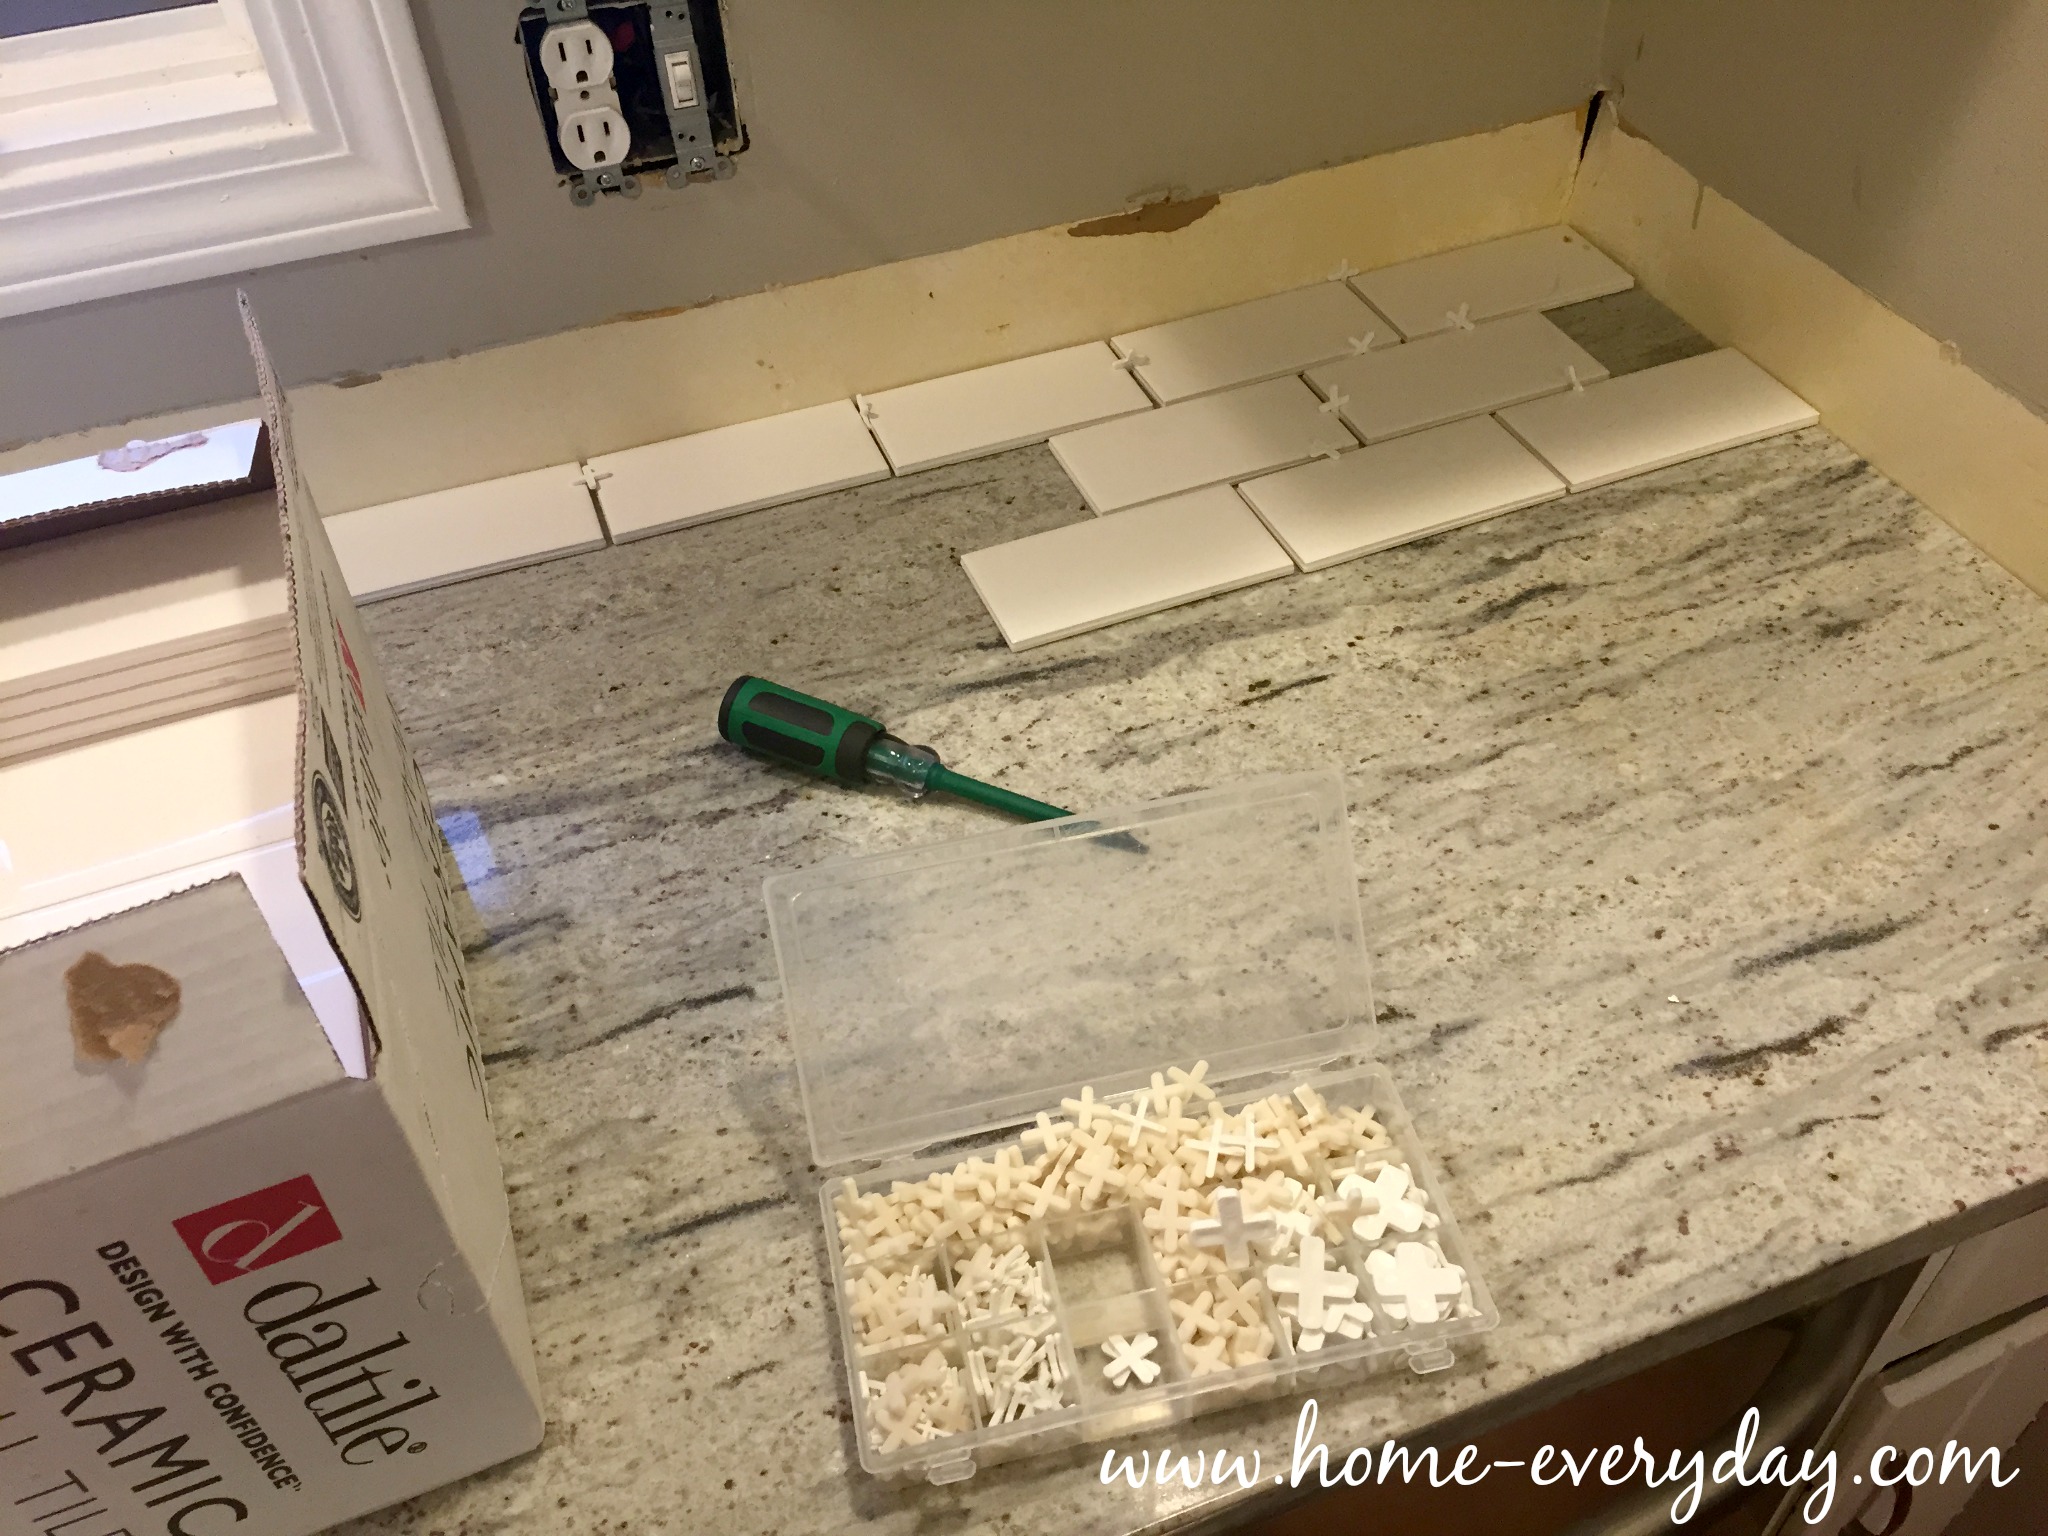
5. We laid out the tile in a dry run on the countertop. ProTip: I know you want to get started, but don’t skip this step. Make sure to use your spacers just as you would on the wall. This will help you predict where cuts will be, how your pattern will work, and how to end the tile in each row. There is nothing worse than a teeny tiny piece of tile at the end of a row, which is a terrible hard cut to make and looks silly, when you could have lined everything up a little bit different and get a whole tile instead. Also, this helps you decide where you want to stop and start your tile. I put tile wherever there was countertop, meaning a had to tile into a corner (I did this for practicality and easy cleaning but love the look too). 
Backsplash without Thinset 8


Tiling

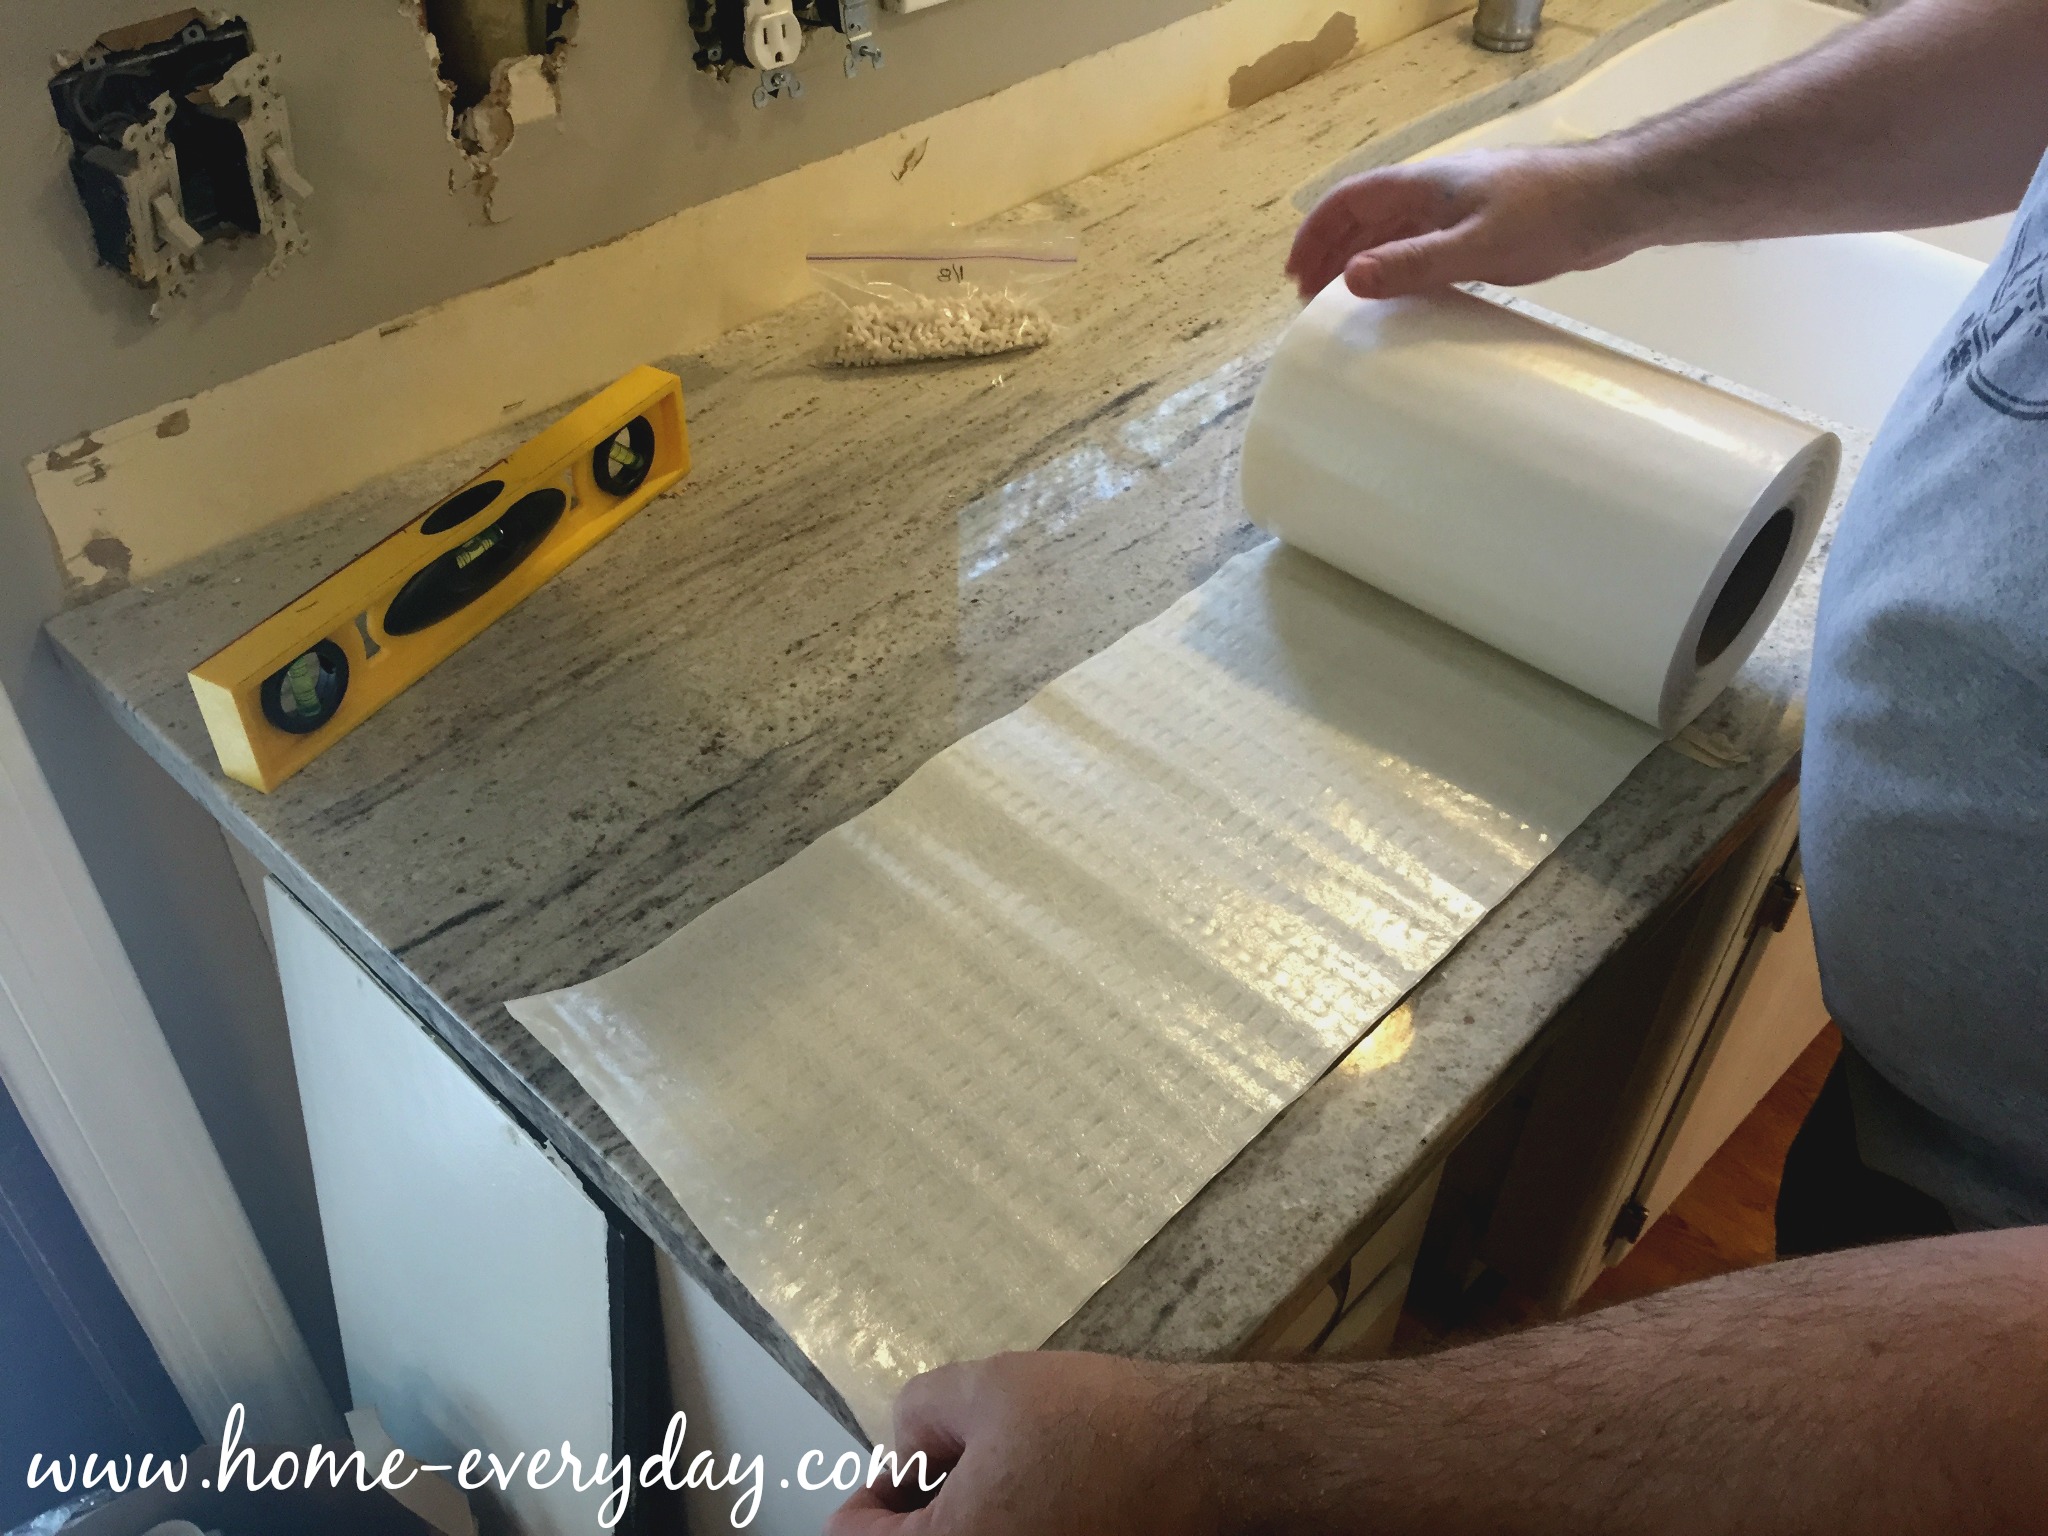
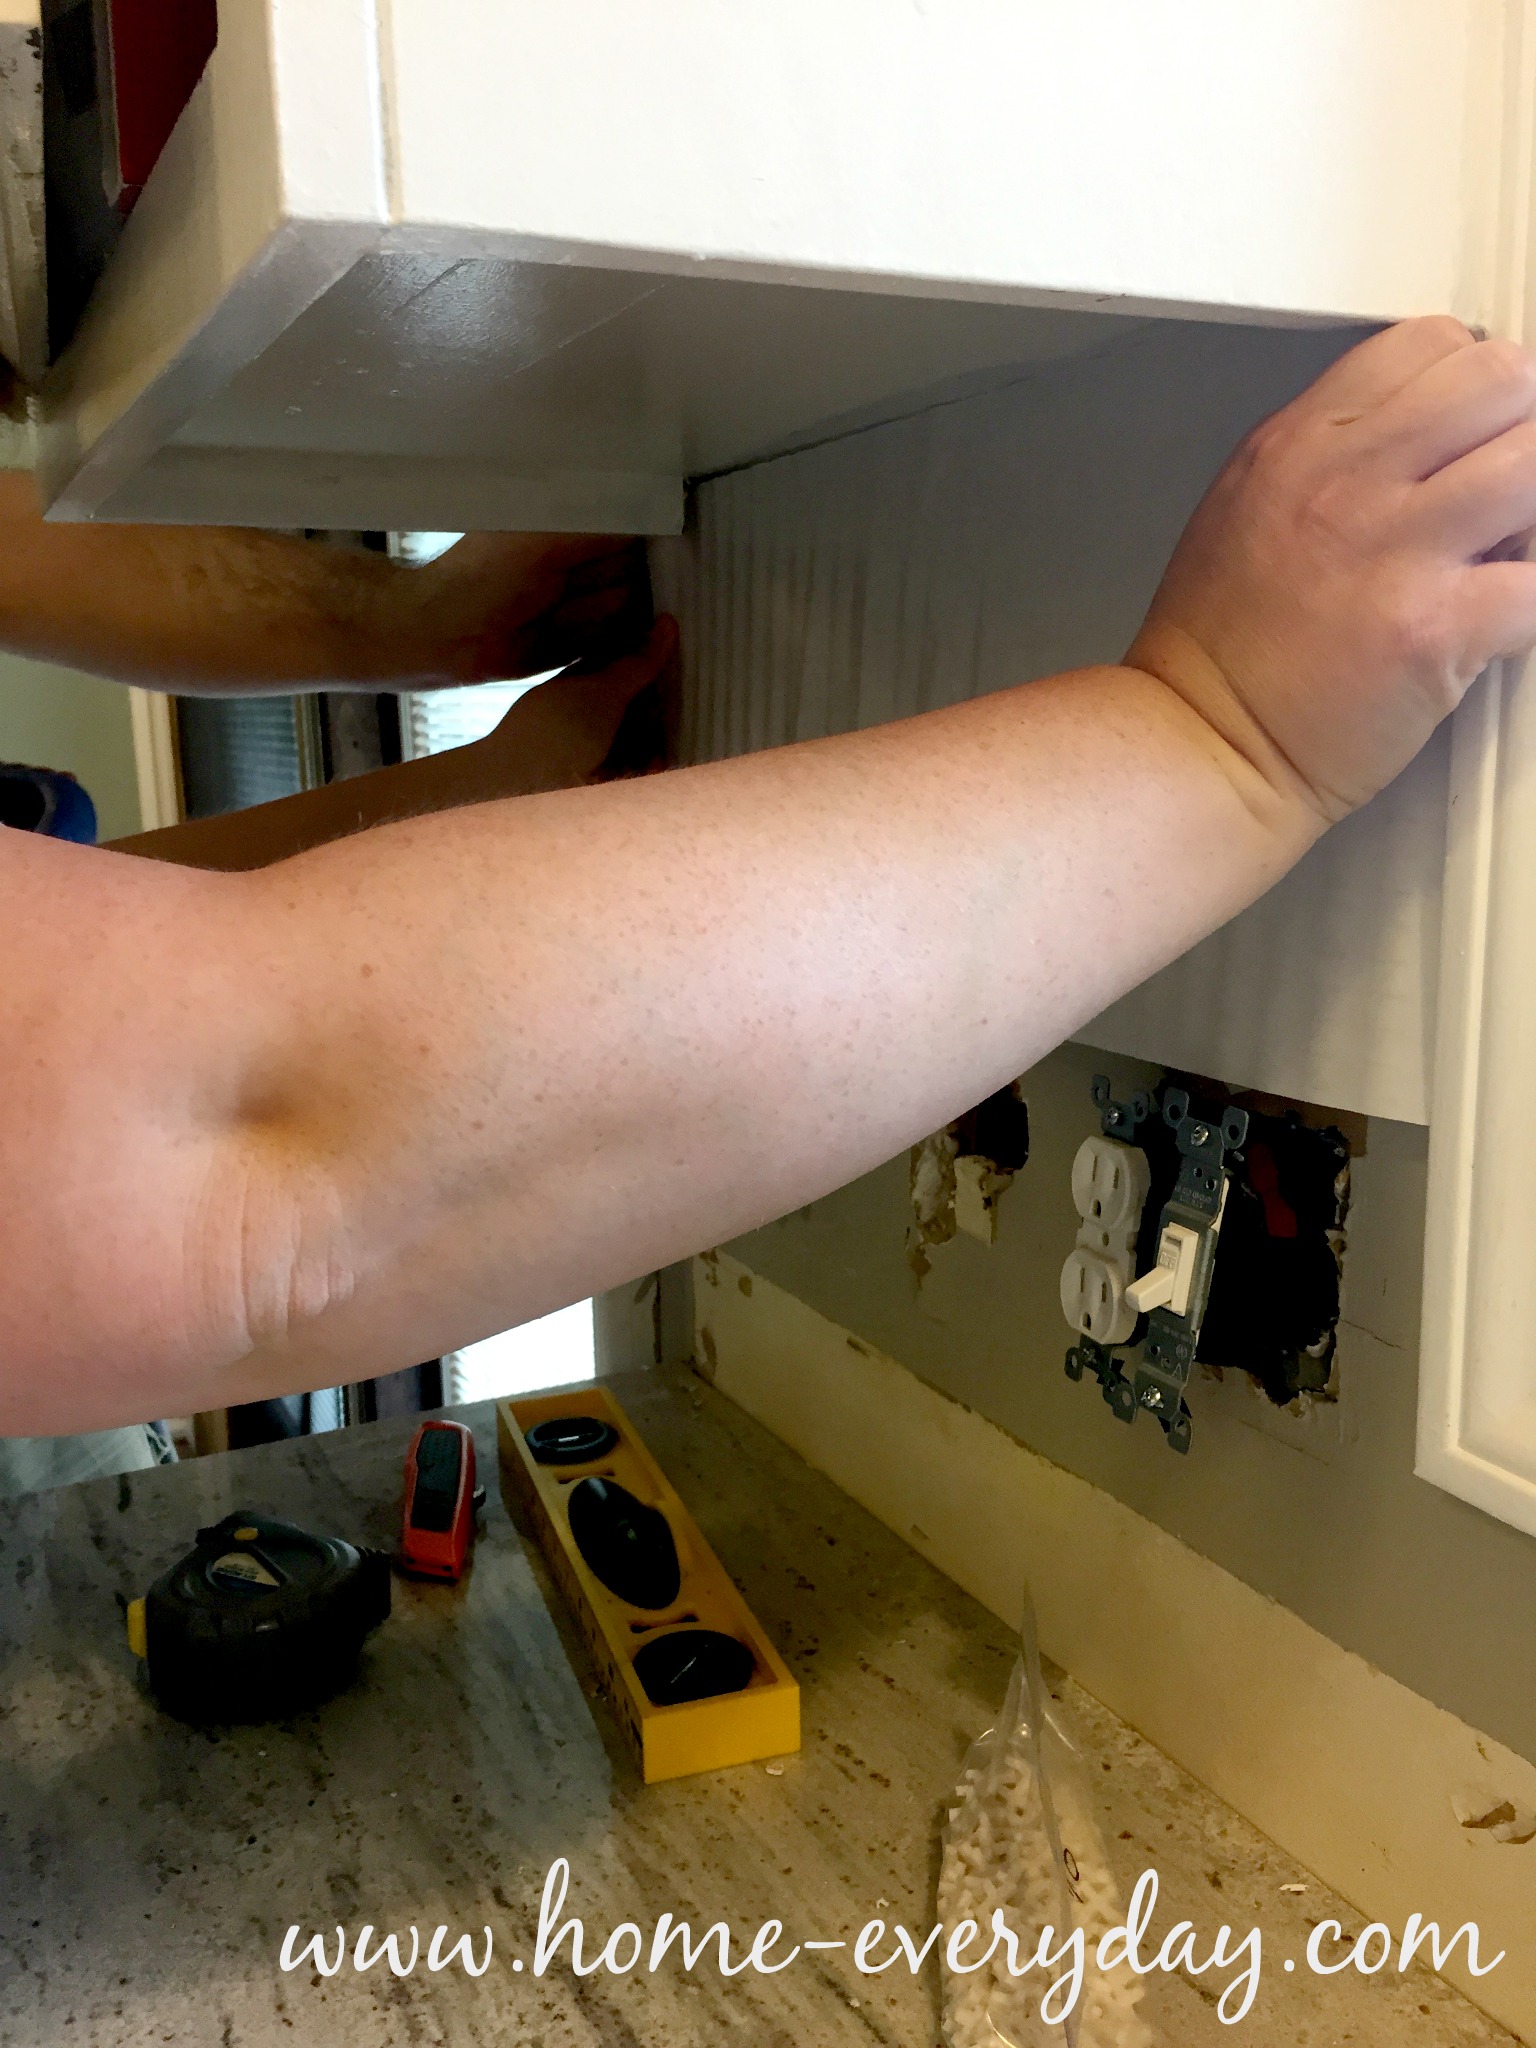
  1. Since I had lots of people helping me, I knew we would be able to get this project done quickly, and we had laid out the tile ahead of time, we cut all of the SimpleMat and adhered it to the wall in one giant step. Pro Tip: We made sure to use the float to press the SimpleMat to the wall to get good adhesion. Also, we made sure to cover every area with Simple Mat where there would be tile.
Backsplash without Thinset 12


Backsplash without Thinset 13

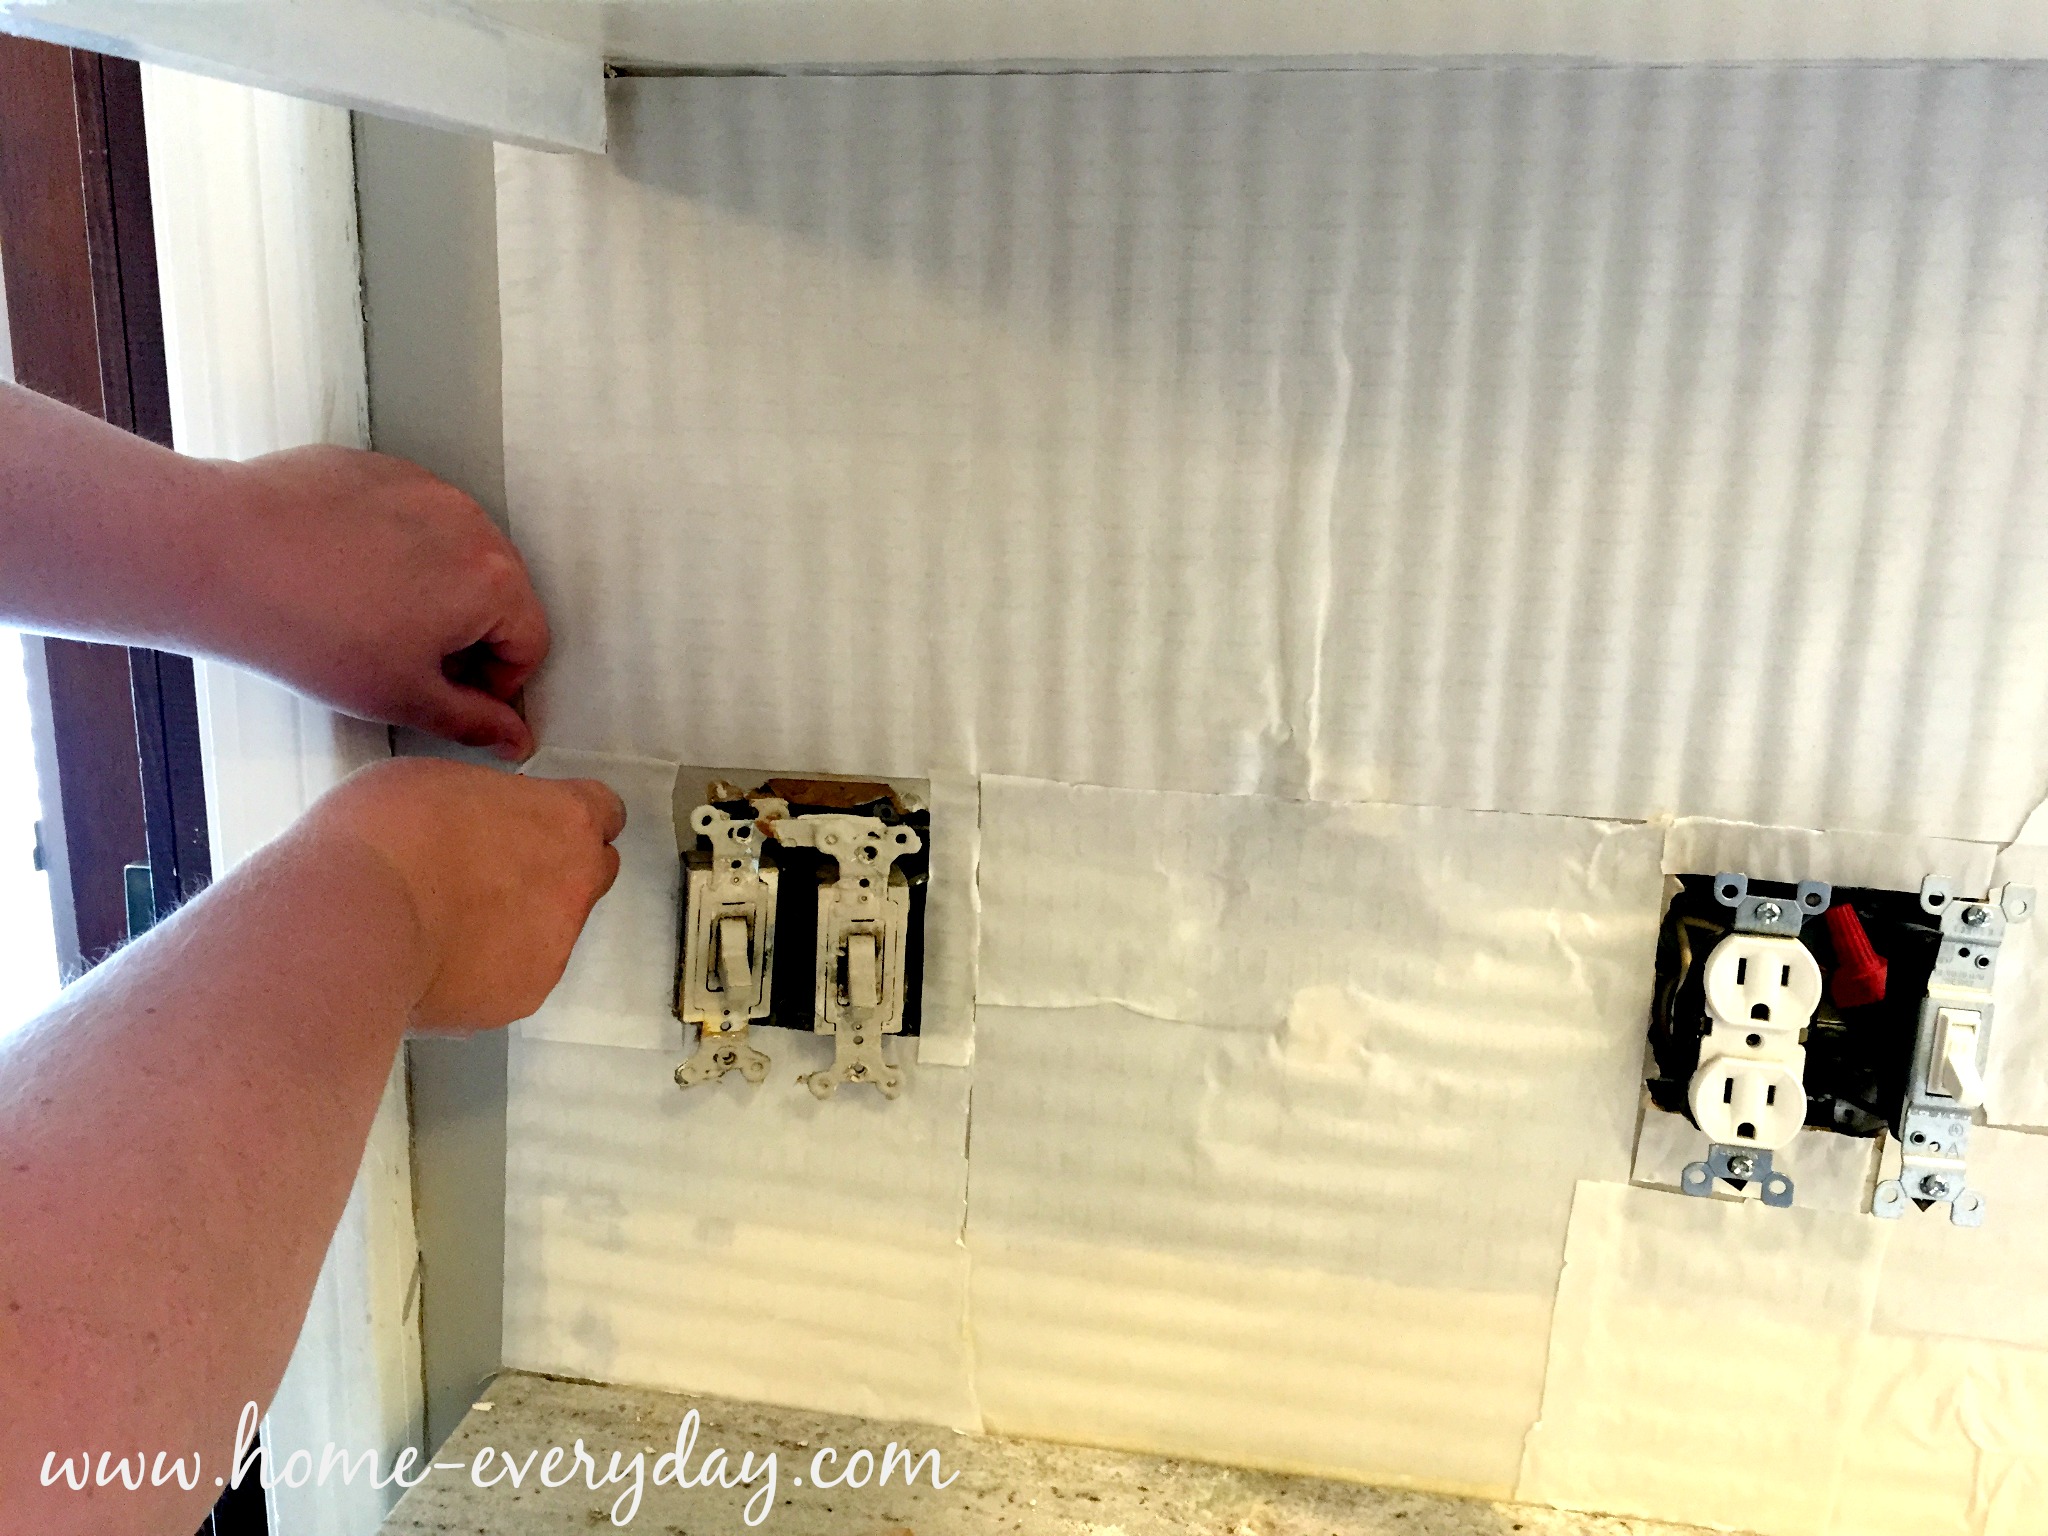
2. Next, we peeled back the paper on the other side. Pro Tip: It should be noted that after you remove the paper, you should start adhering tiles immediately for the best possible security.
Backsplash without Thinset 14

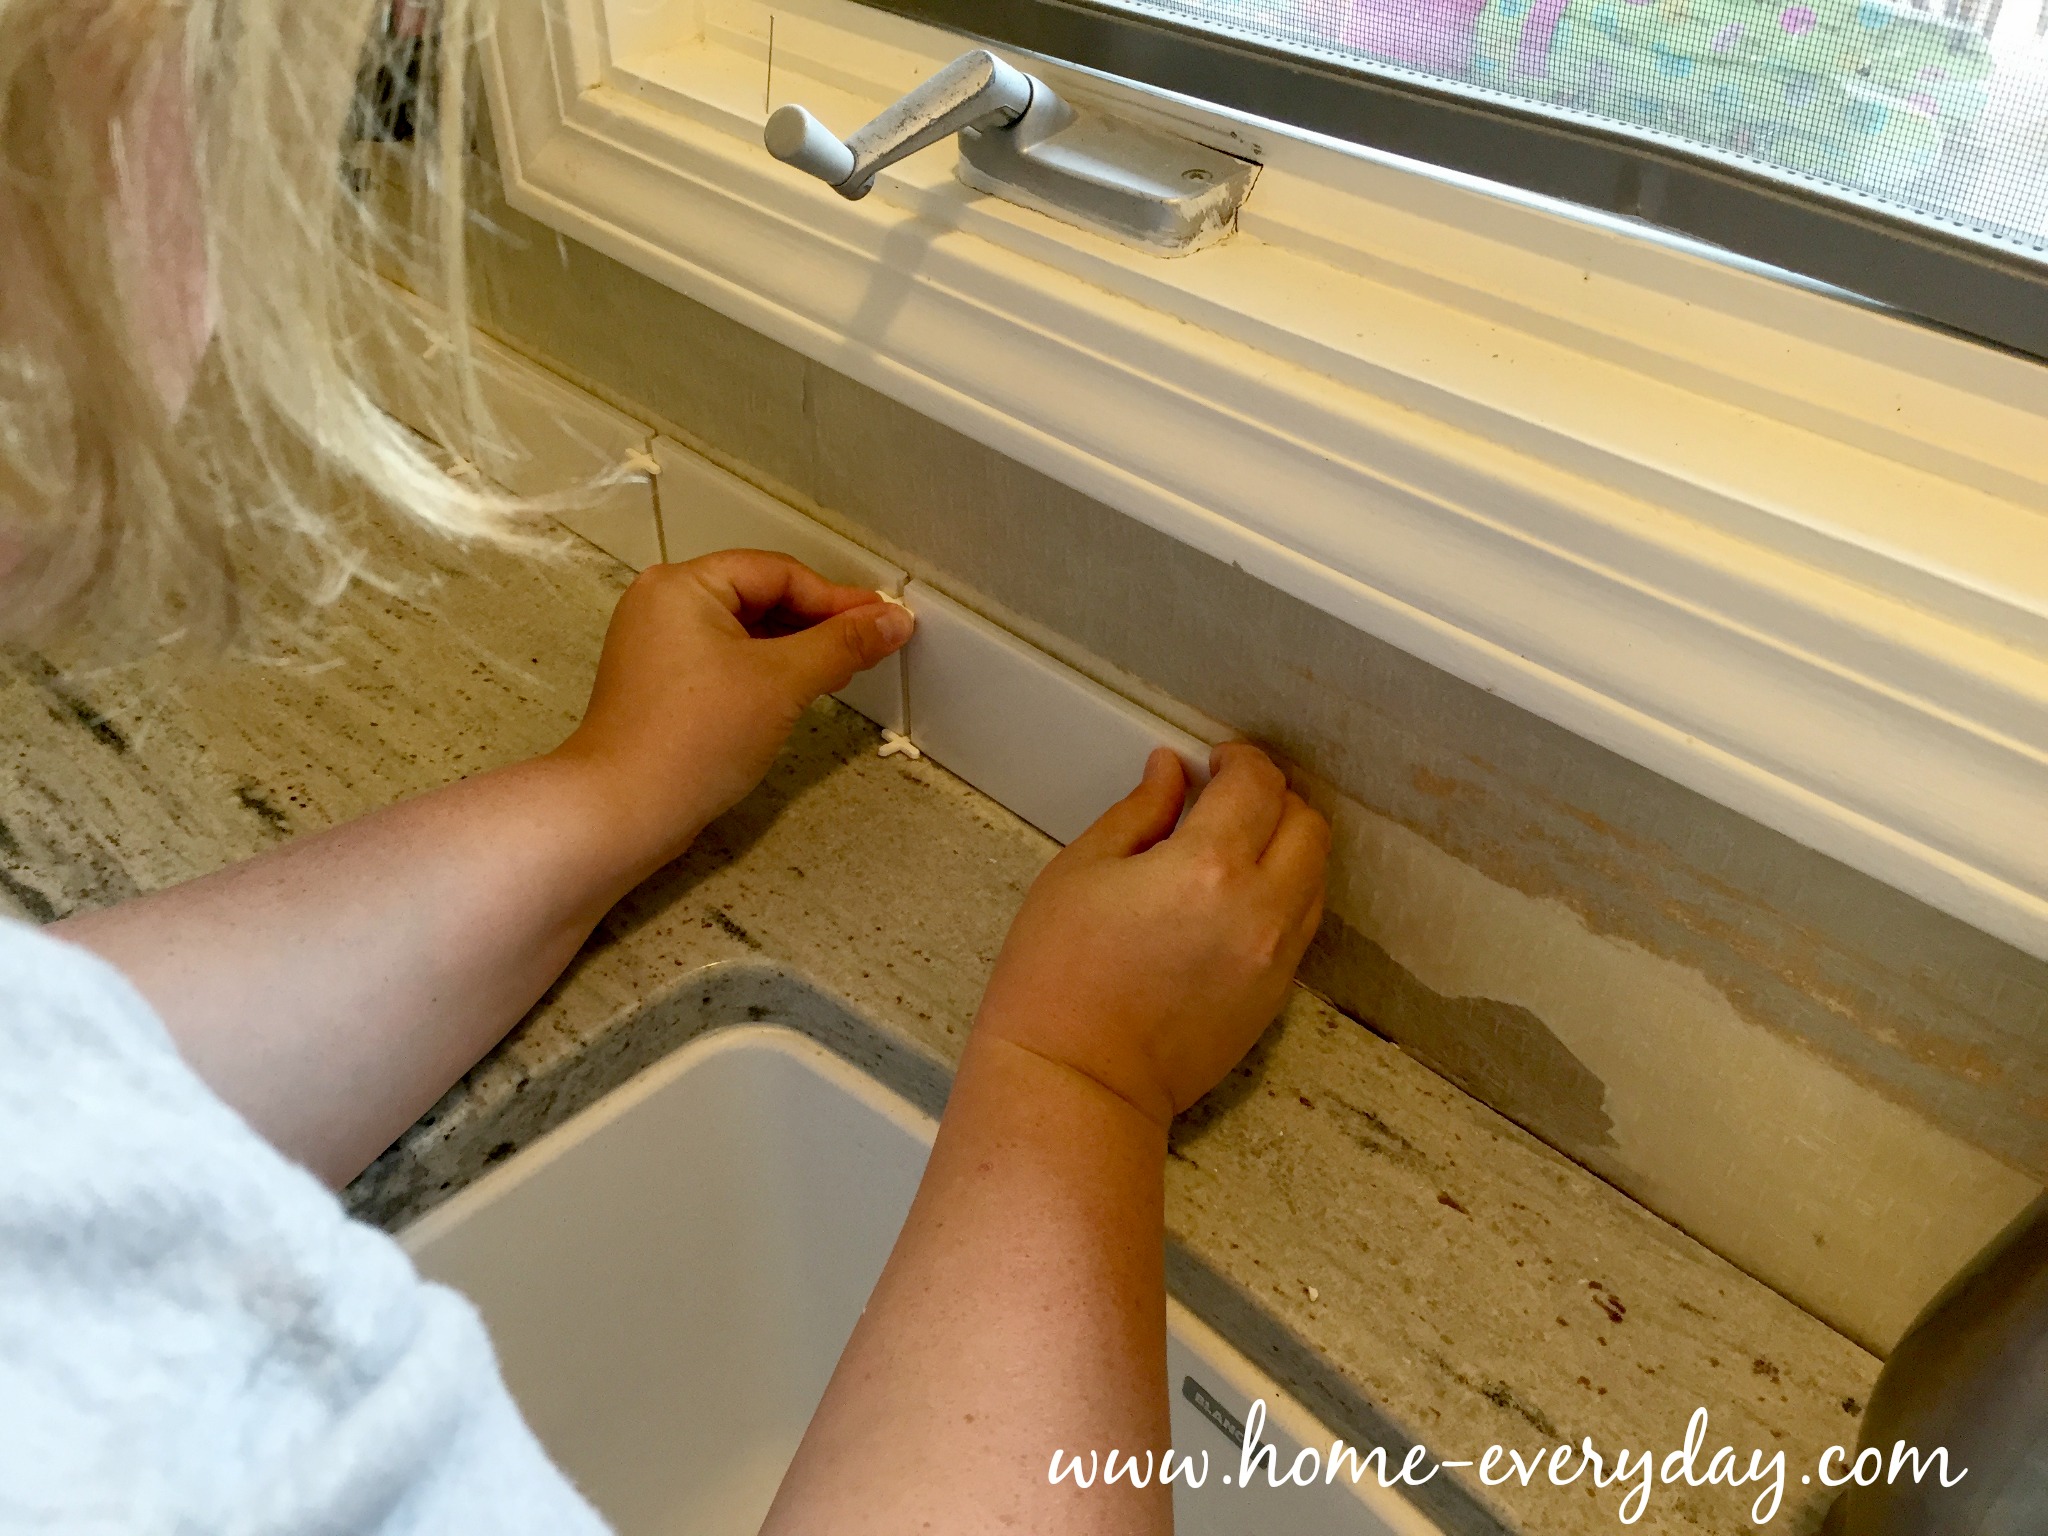
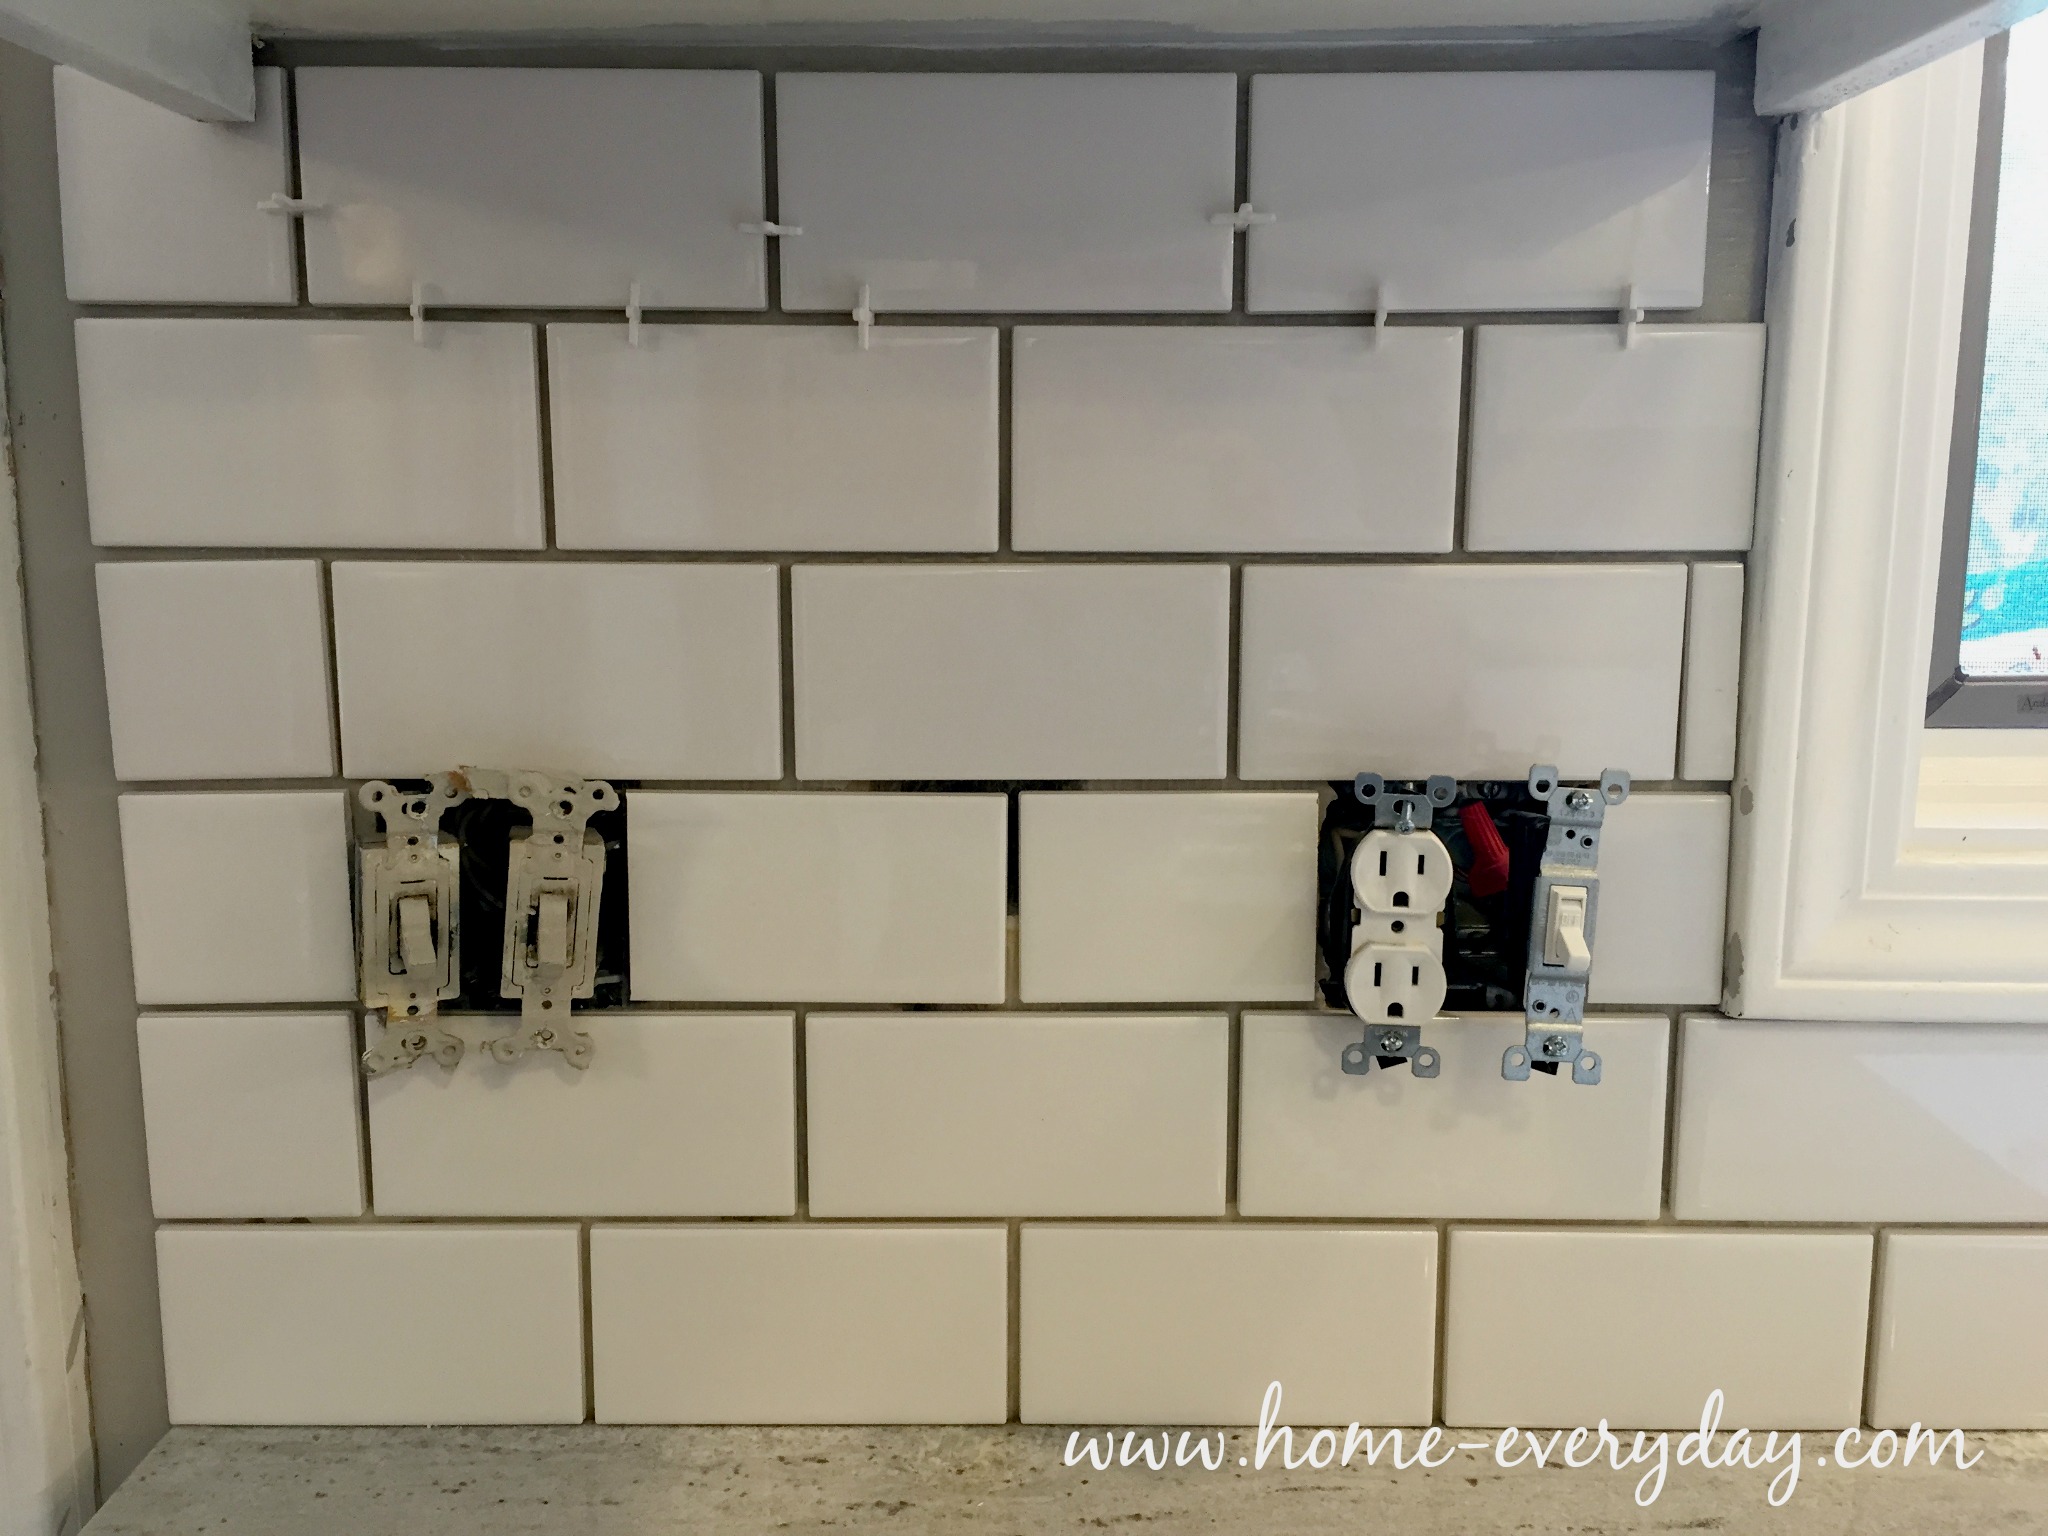
3. Time to tile! Scott would keep laying out tile and show Brian where cuts would need to be made. I would stick the tile to the wall, using tile spacers lay another tile.  Pro Tip: After adhering a few tiles, I would press with a float to make sure the tile was secure.

We had an awesome system going.

Backsplash without Thinset 17

Backsplash without Thinset 15


4. For around the outlets, we would use outlet covers and the previous row as a guide to measuring where to cut the tile to keep the brick pattern going. For corner cuts, we made sure to leave a bit of room in the corner for grout.
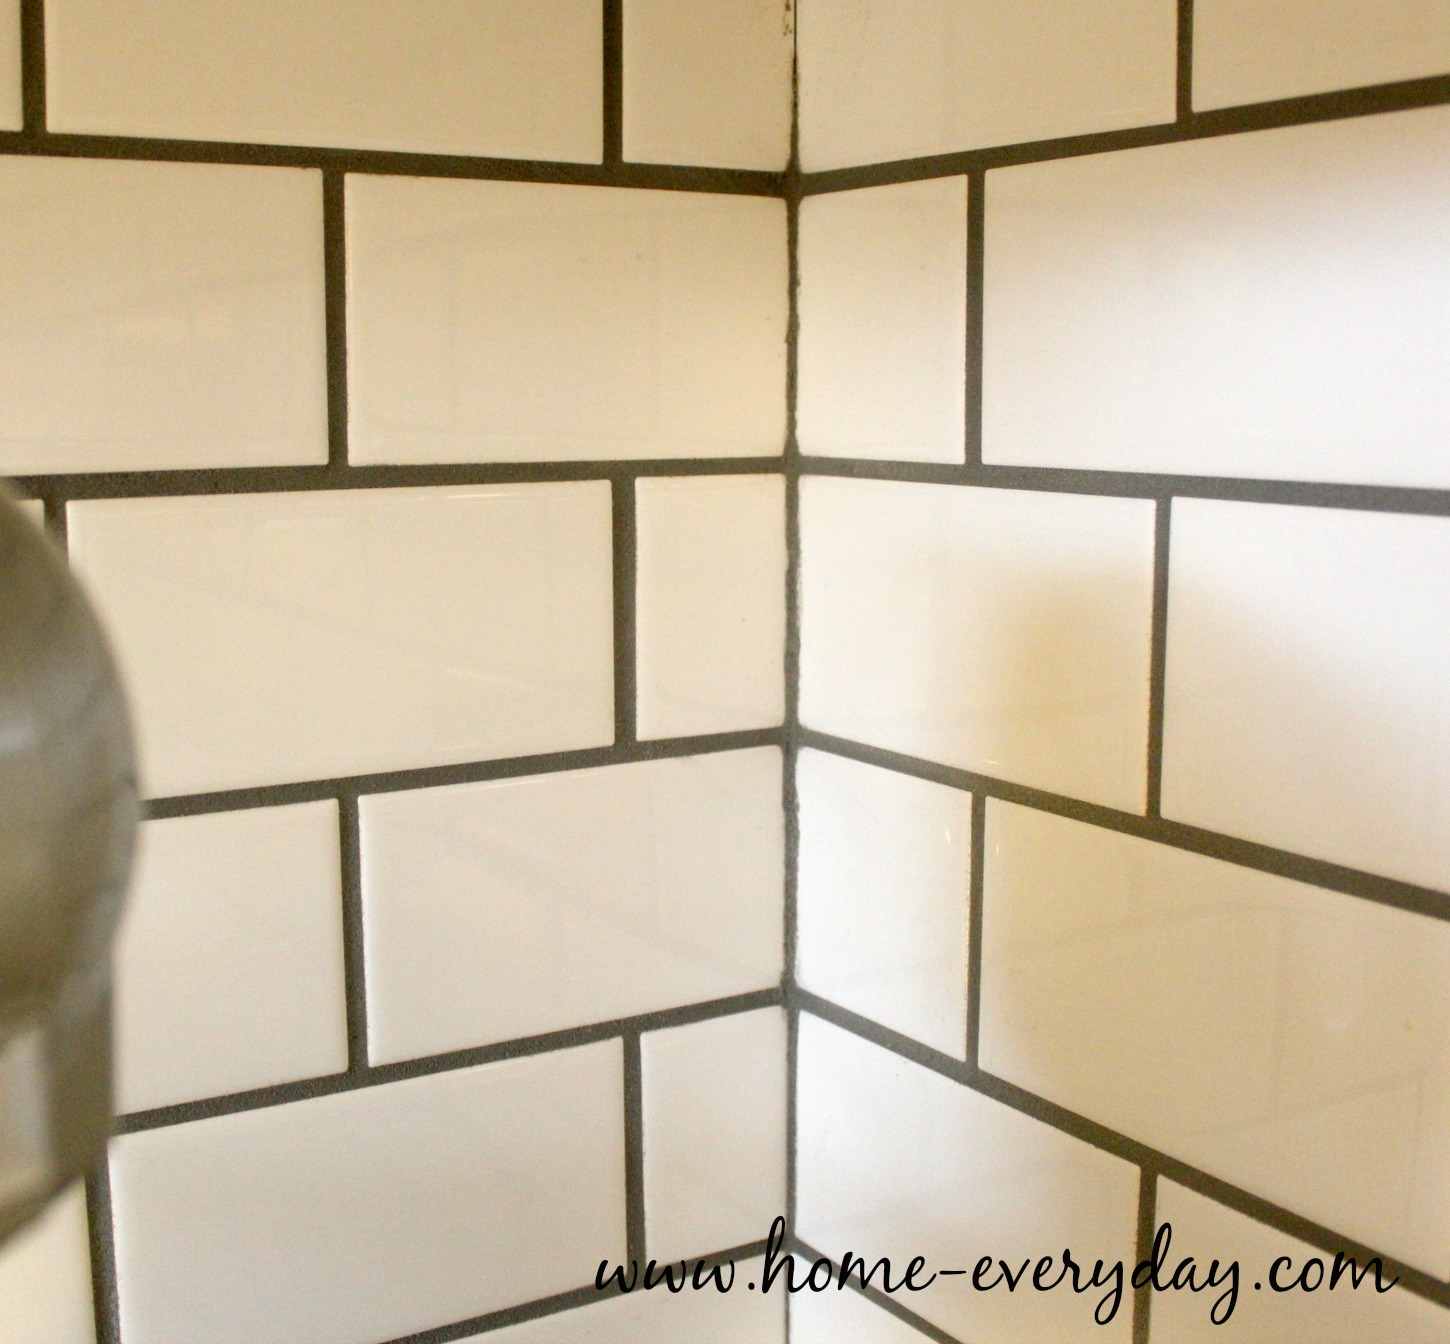
Backsplash without Thinset 19


Backsplash without Thinset 3

Grouting

ProTip: Before you start remember these three things about grout. Work fast but careful. Wetter is better. Paper Towels are your friend. Now, you may begin. (Also, cameras and grouting do not mix, so sorry for so few pictures.)

1. Once every tile was in place, we removed all the spacers, and made sure that all the surfaces were covered with drop clothes.

2. Next, we filled two buckets with warm water and a sponge. One bucket is your yucky bucket, the other bucket is your not so yucky bucket (technical terms, be careful). 

3. Then, in very small sections, using a float we added grout into all the spaces of the tiles. Make sure that you press the grout into the crevices. Pro Tip: Many people like to use a diagonal stroke with the float to fill the spaces with grout. I found using a rainbow like pattern worked best. Using small strokes from the bottom left, working up and around and back down to the bottom right in a small semi-circle pattern seemed to fill the most spaces with grout.

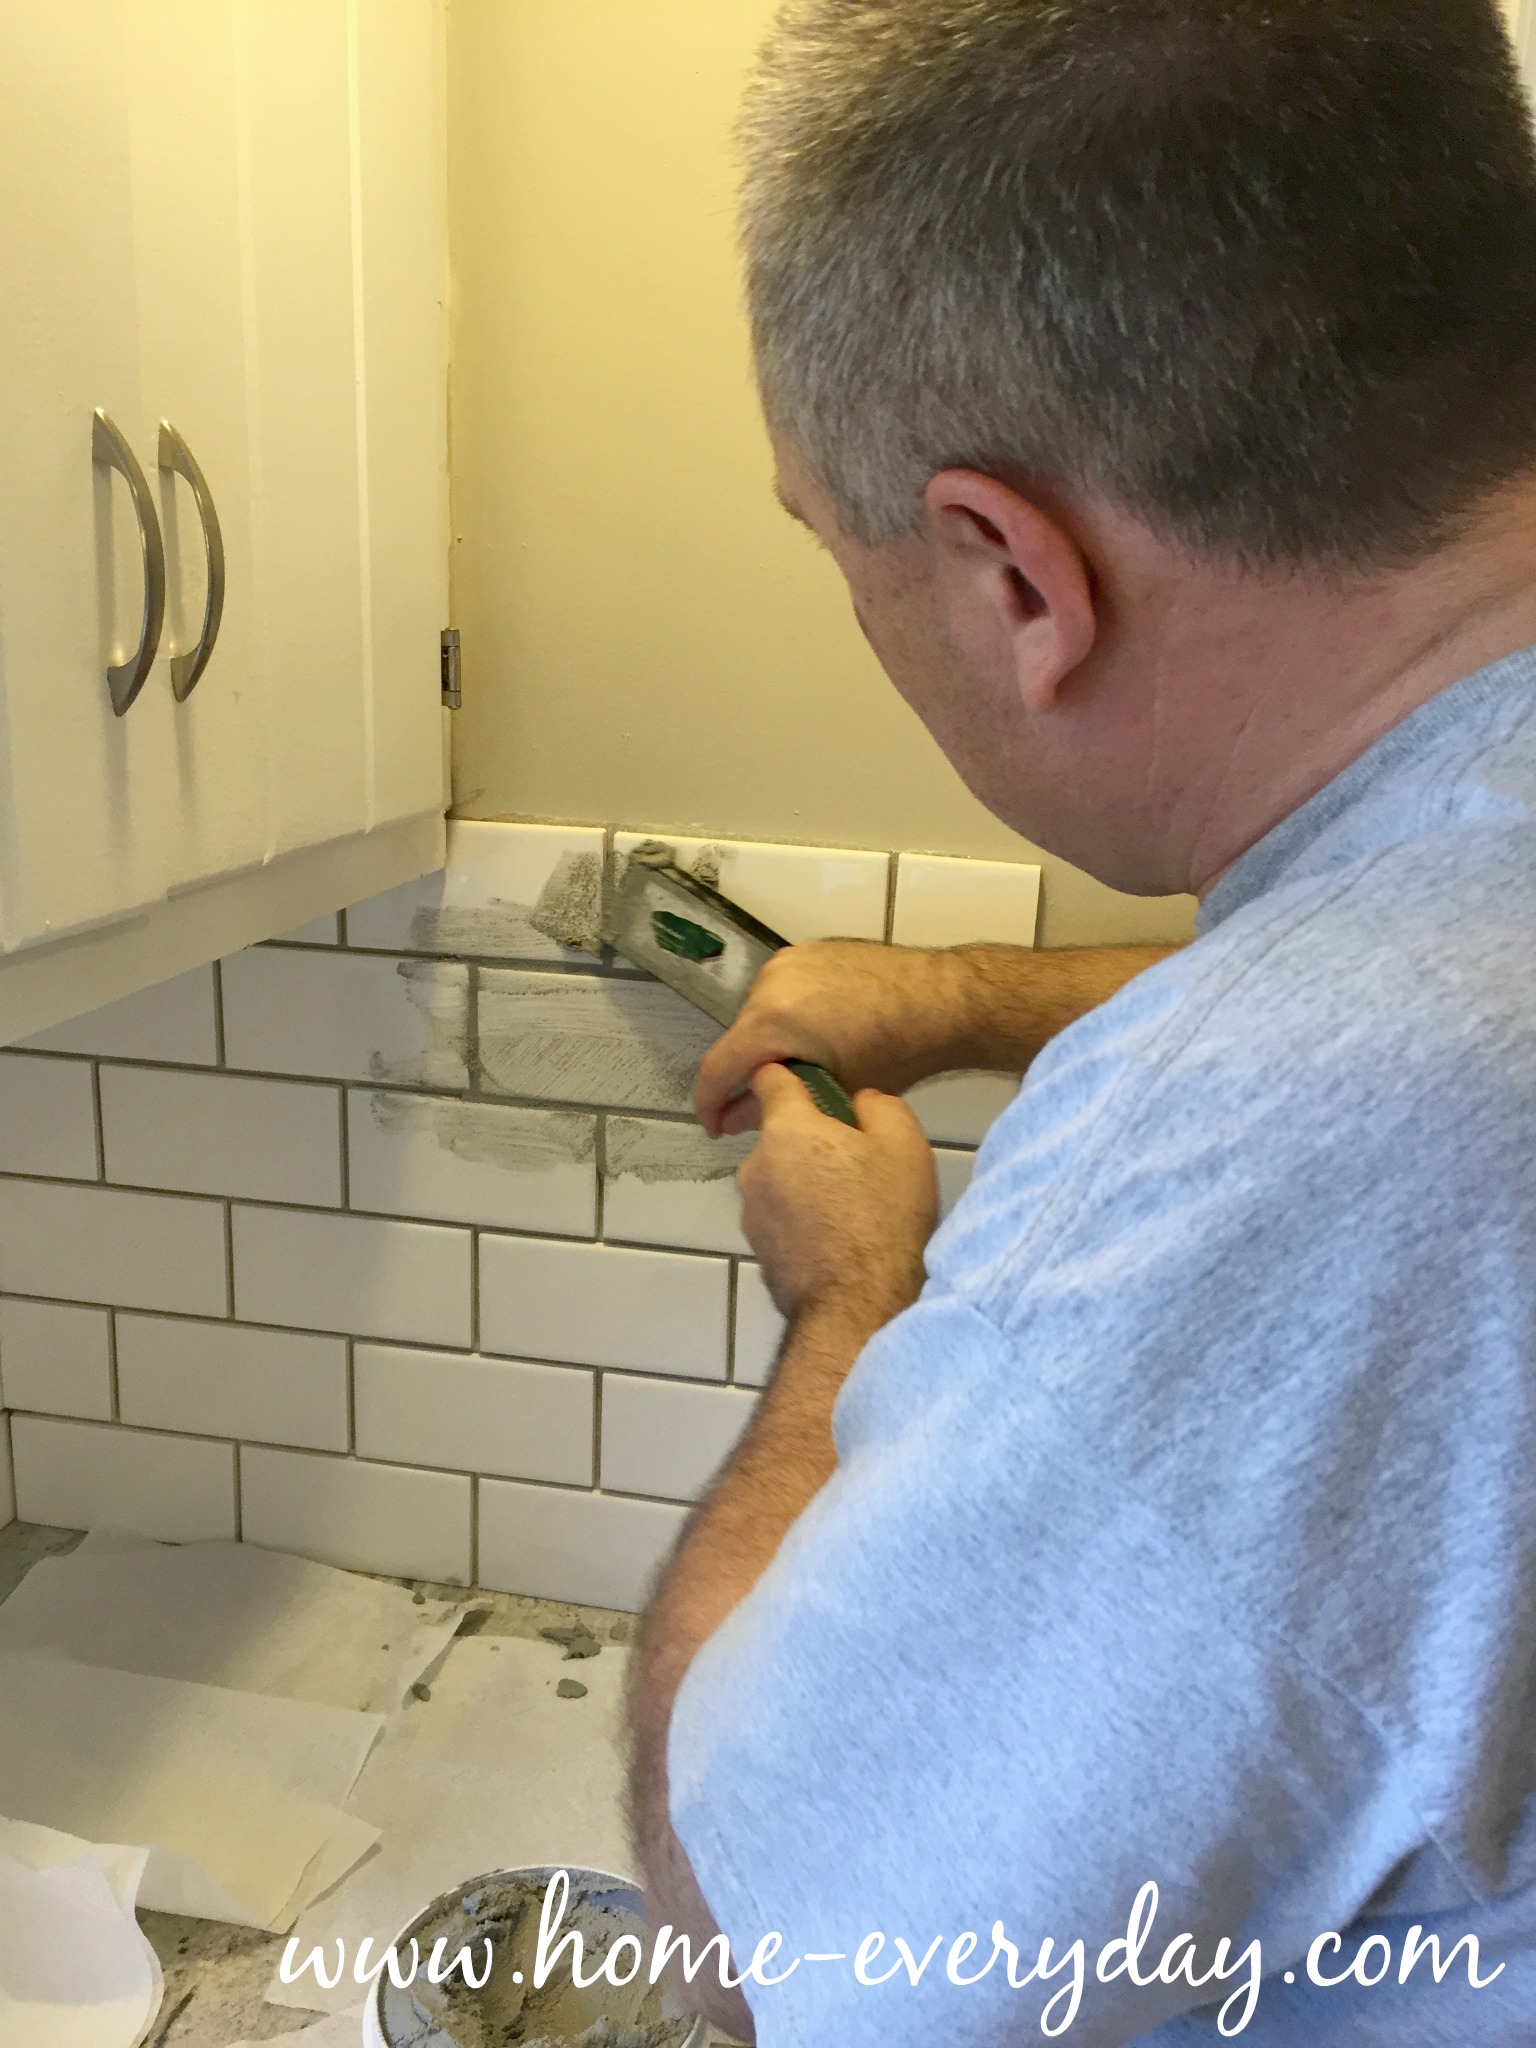
Backsplash without Thinset 22


Backsplash without Thinset 23

4. Even though we only did small sections of grout at a time, we would wash the float between each section, and close the grout container. Remember, grout is easier to work with when it is wet. Then, we would take a sponge from the yucky bucket, wring it out, and wipe the the section we had just grouted with a VERY light touch. Careful not to removed any grout from the crevices or spaces. Do this step again.

5. Then, wringing a sponge from the not so yucky bucket, we lightly wiped the tiles again. You’ll probably notice drips of cloudy water falling on the tiles, this is fine as long as you notice the water get “cleaner” with every pass. Pro Tip: Keep switching the water in the buckets to help keep haze at bay.

6. Finally, using a bunch of paper tiles, again with a light touch we would wipe the section again a few times until we noticed the tiles were starting to shine up, but also not so hard that the grout was starting to be removed from the crevices. Again, this is a very light touch. You may even want to wipe each individual tile. Pro Tip: While you may feel like you are using a lot of paper towel, this may save time and money later from having to use a tile haze remover. 

7. Repeat these steps until everything is grouted.

Finish it up

  1. Each grout has different rules about dry times. I didn’t wipe or do really anything in the kitchen for about 48-72 hours after we finished tiling and grouting, which I realize may be overkill, but oh well.

2. Once everything was dry, we put the outlet covers back on. 

3. Then we caulked the edges for a finished look.


Here are the after photos again. 
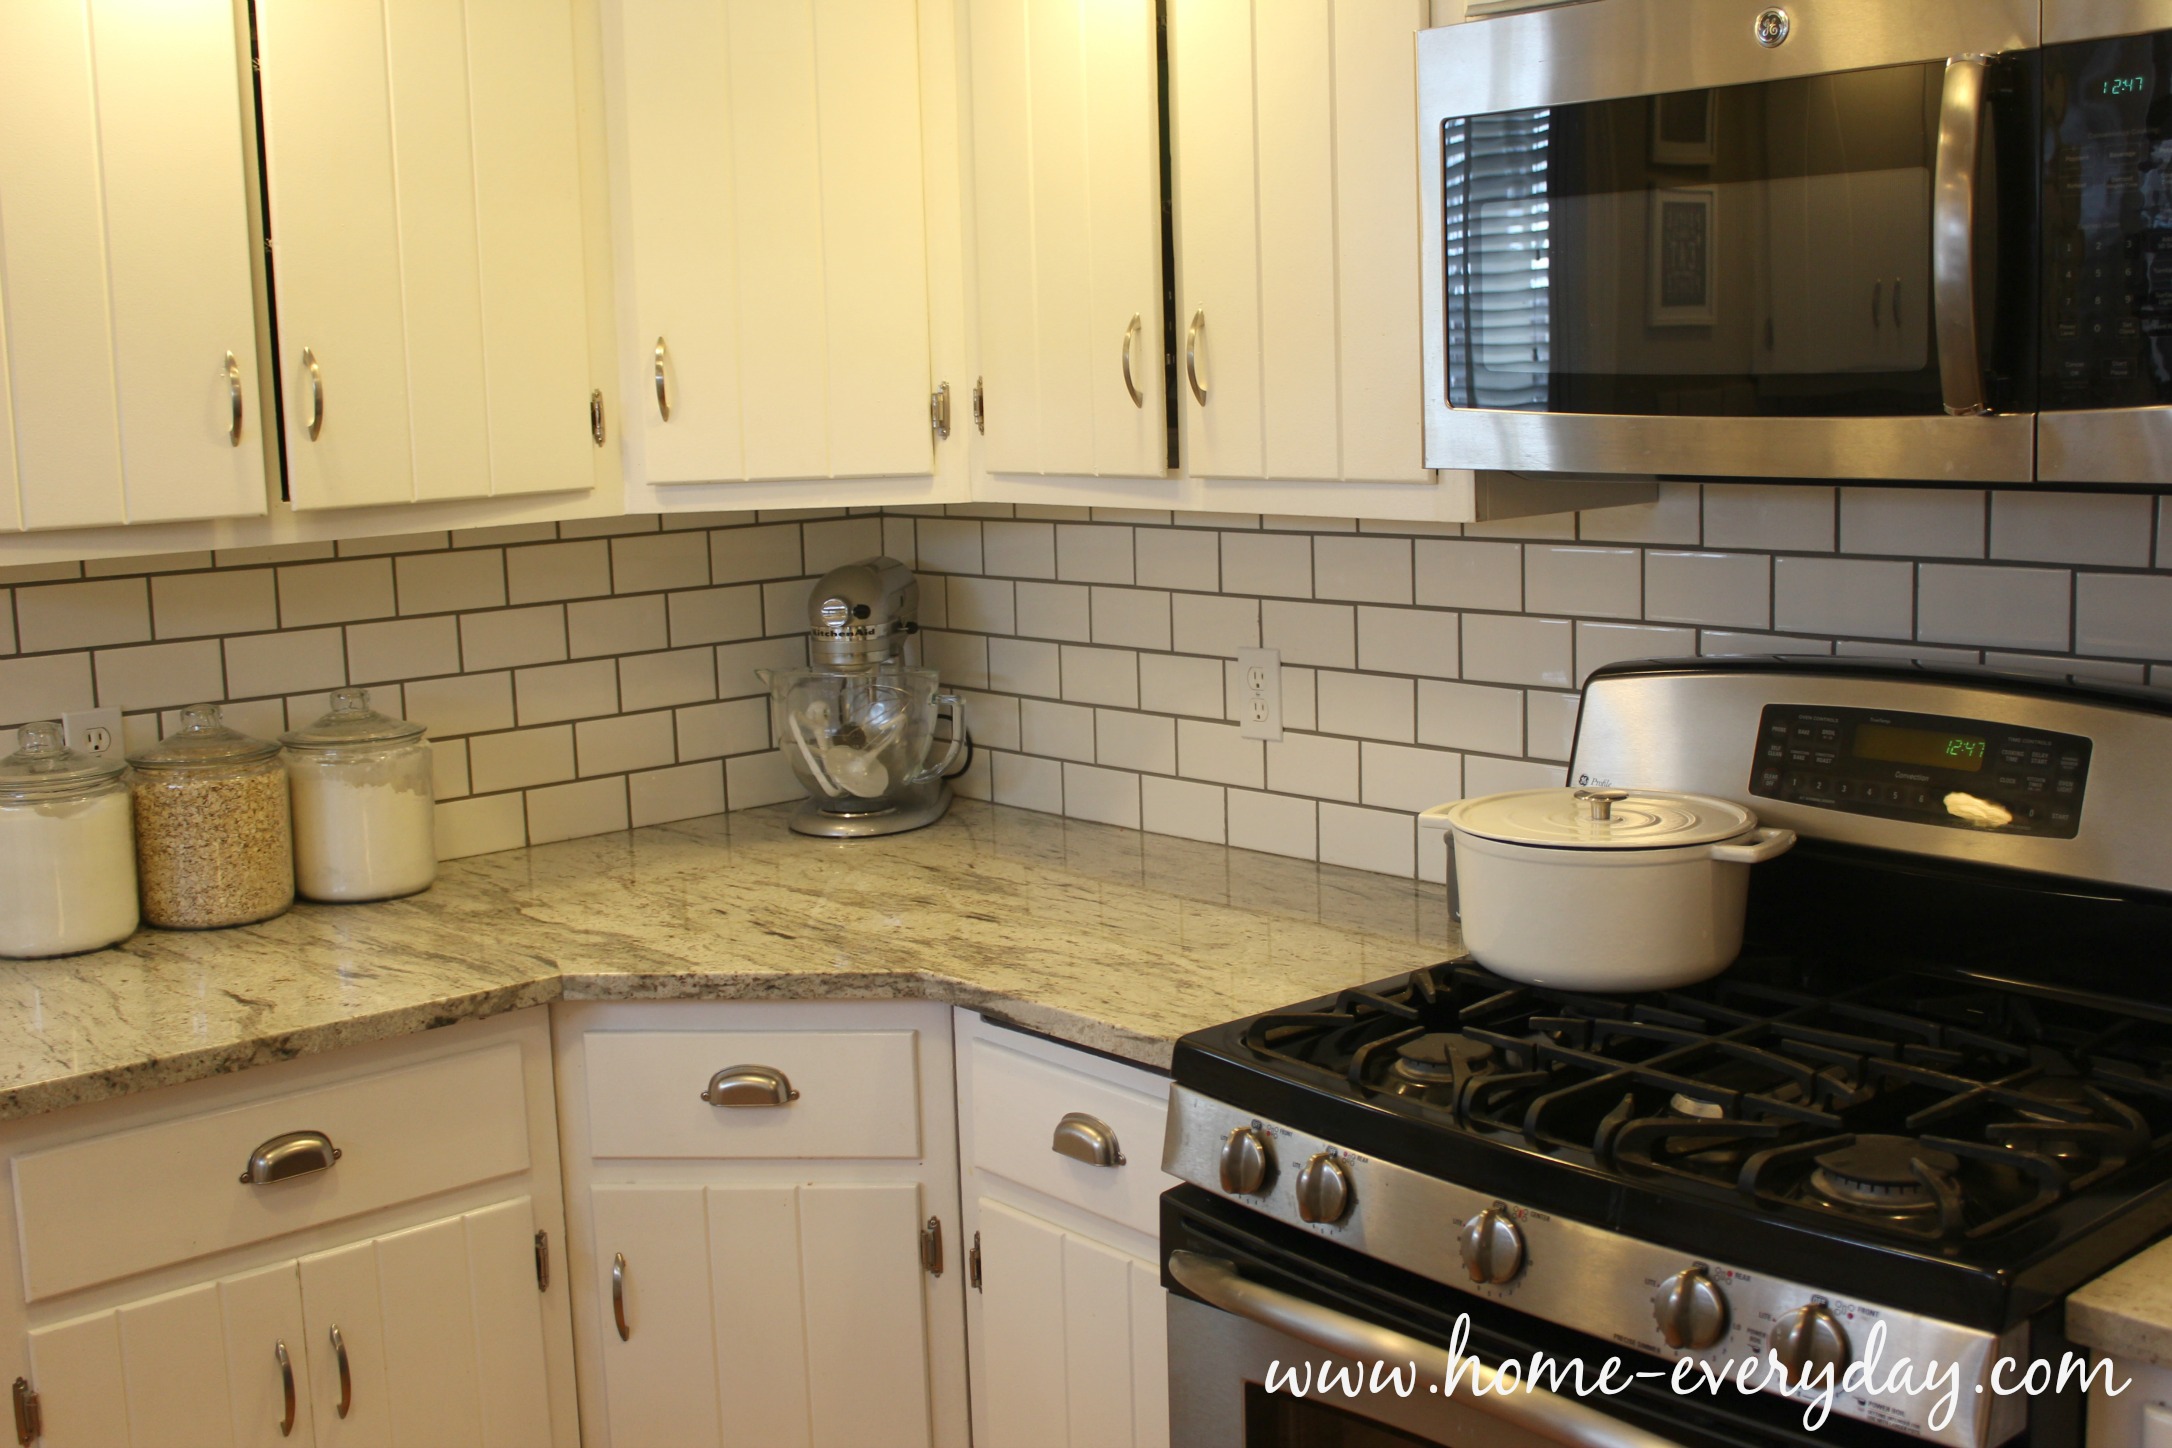
Backsplash without Thinset 2


Backsplash without Thinset 1

I would say for the beginner DIYer this project this project is definitely doable especially if you have the right tools and perhaps you practice grouting at a tile class first. While I realize not everyone has a friend like Scott with all kinds of experience, I would recommend asking  someone who has a little bit of experience using a tile cutter to help out with the first few tile cuts. Even if that means asking the rental facility or someone at your local Home Depot.
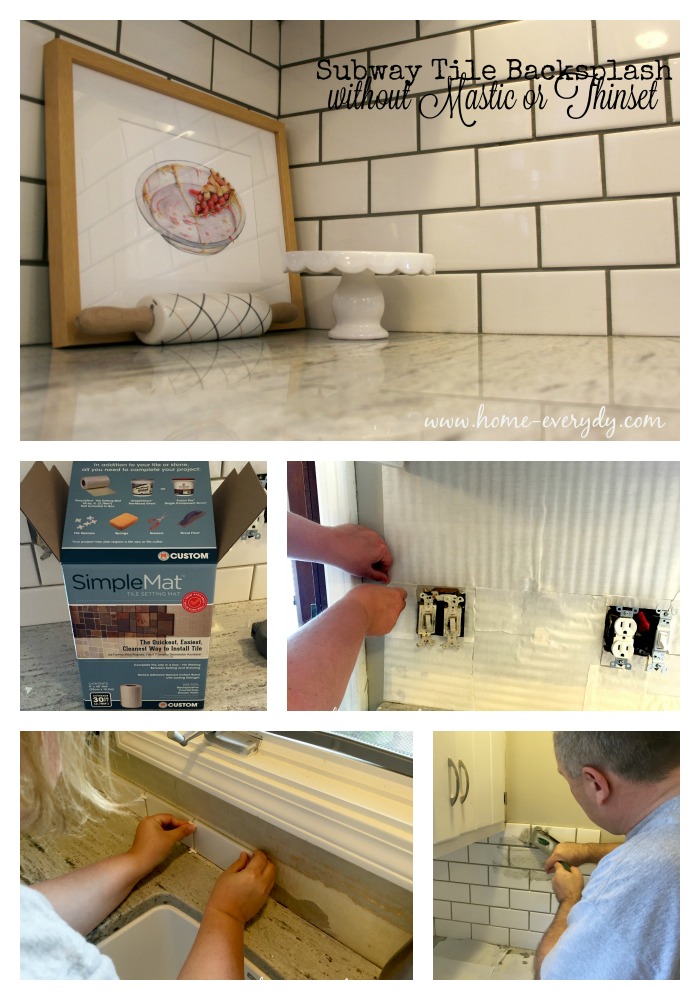
Backsplash without Thinset Pinterest Collage


Thirsty Thursday: Avocado Milkshakes

We are barely a week into the 2016! How are everyone’s workout and weight loss goals coming? Losing weight is a huge challenge, but for some gaining weight is a predicament too. I know it seems like a good problem to have. When I know someone who needs to gain a few pounds (like my middle guy after the worst stomach bug of all time), the answer is usually a few milkshakes. However, there’s only so many chocolate milkshakes one can drink, and it is sometimes more wholesome and gratifying to put in something healthy.

My sister in law, Kate, from Southern California who has a deeper love for avocados than I do for Harry Potter had just the solution for me. She told me about Avocado Milkshakes. I thanked her profusely, and did a little research. There are several ways to make them, and countries like Brazil, Vietnam, and even the U.S. have their own varieties.

Avocado Shakes 6

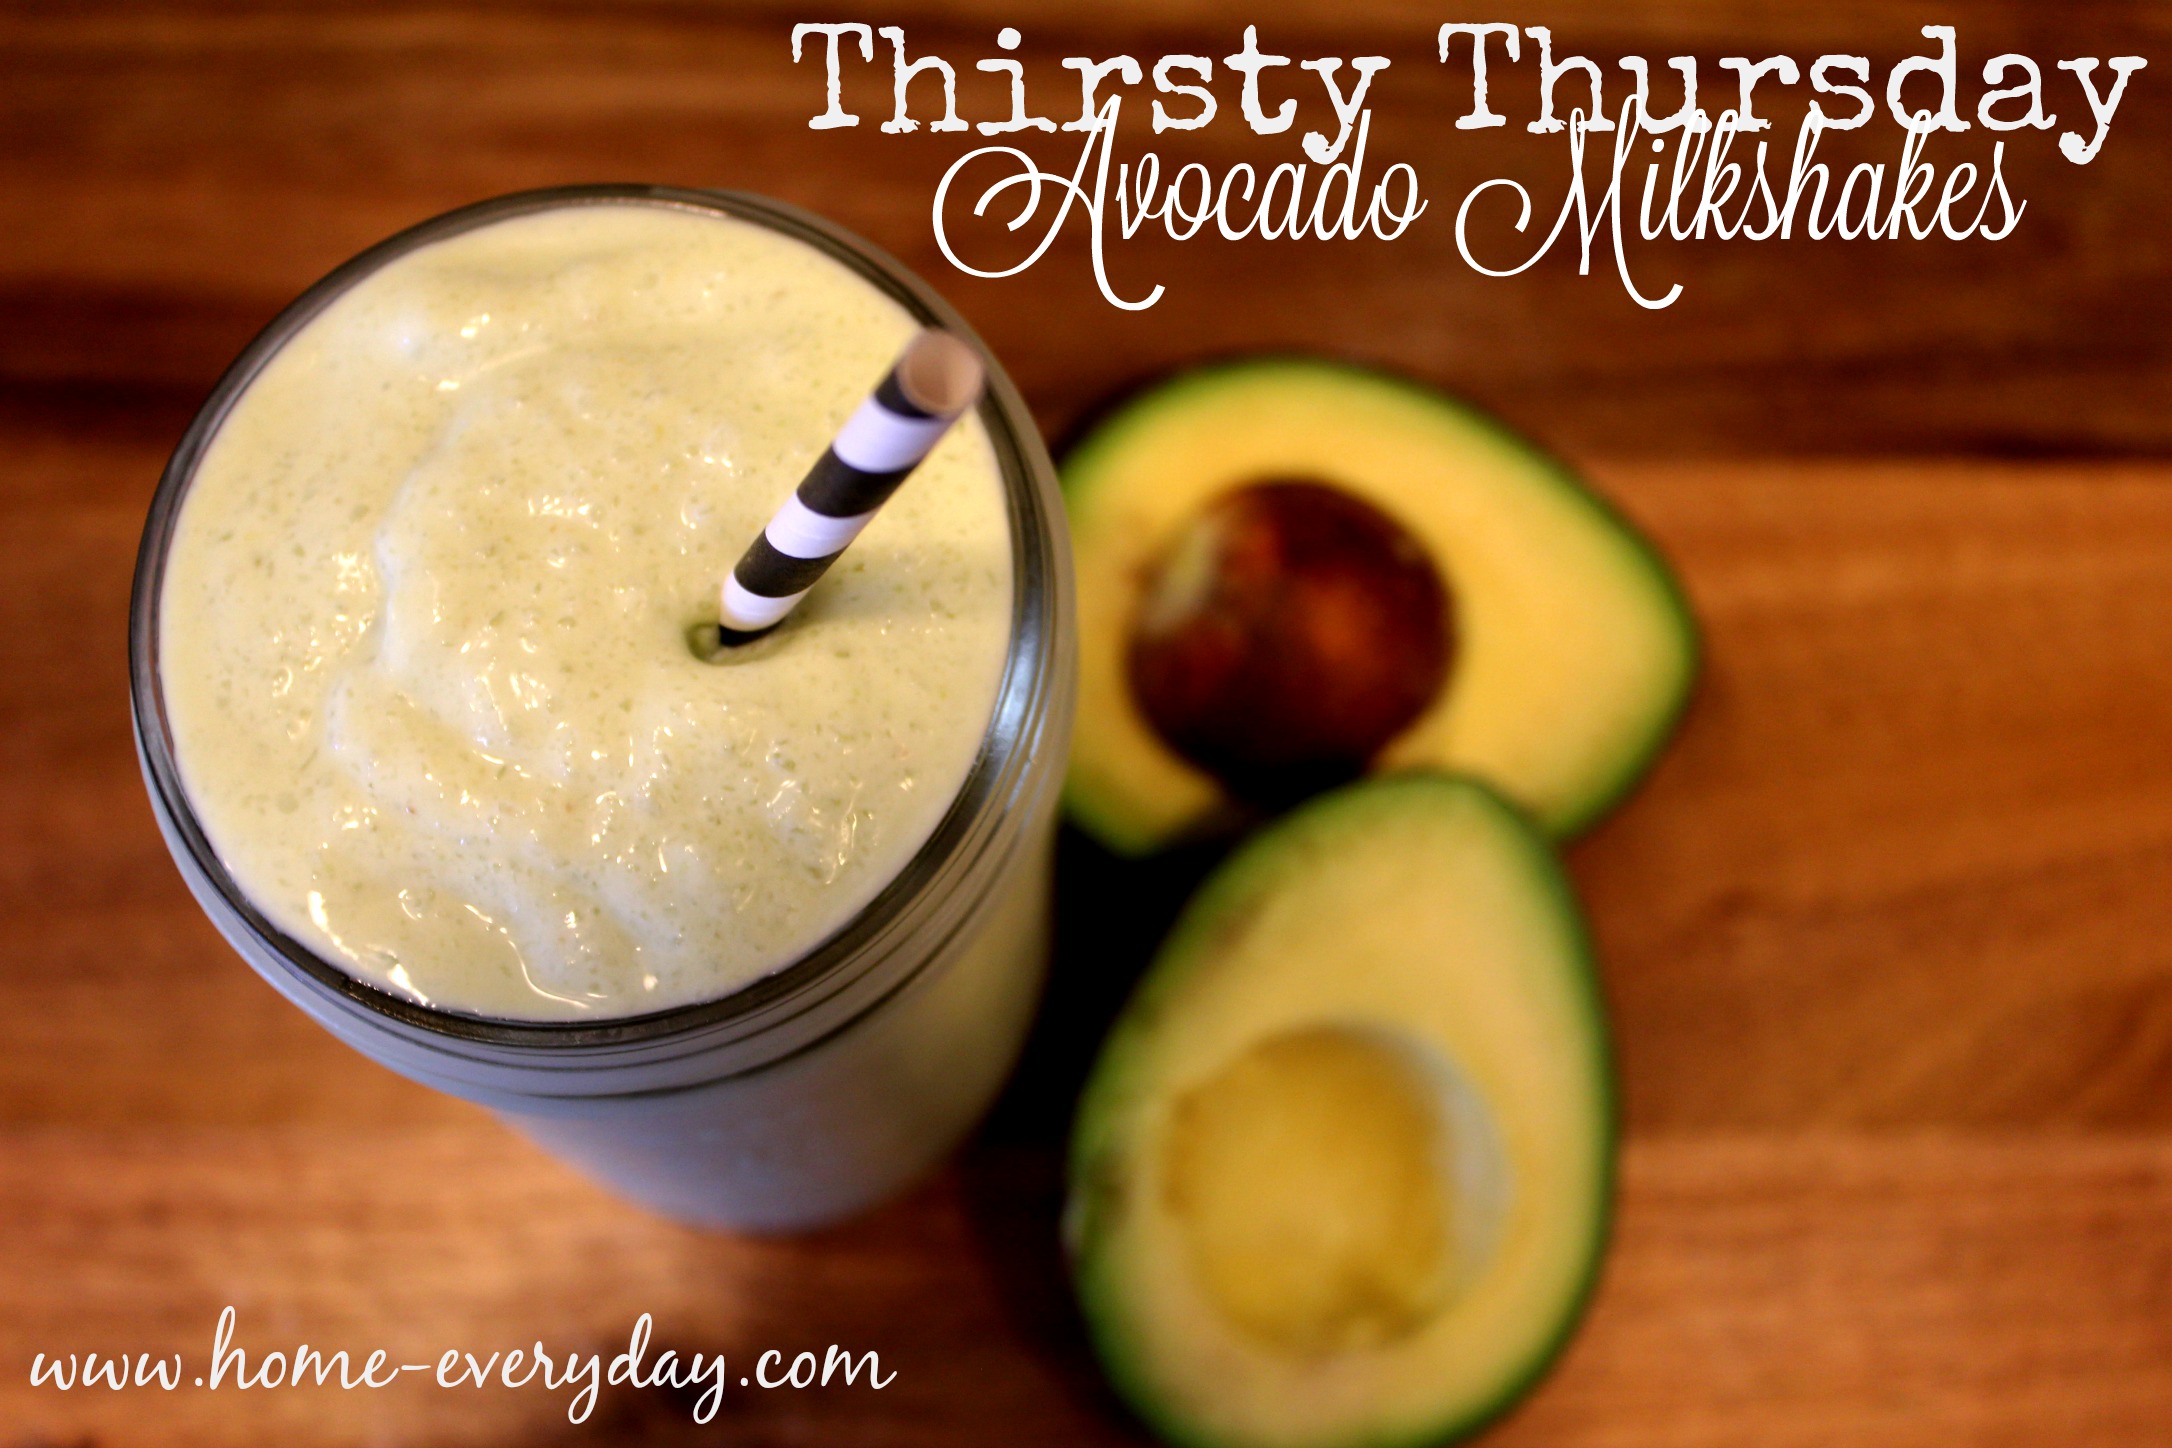
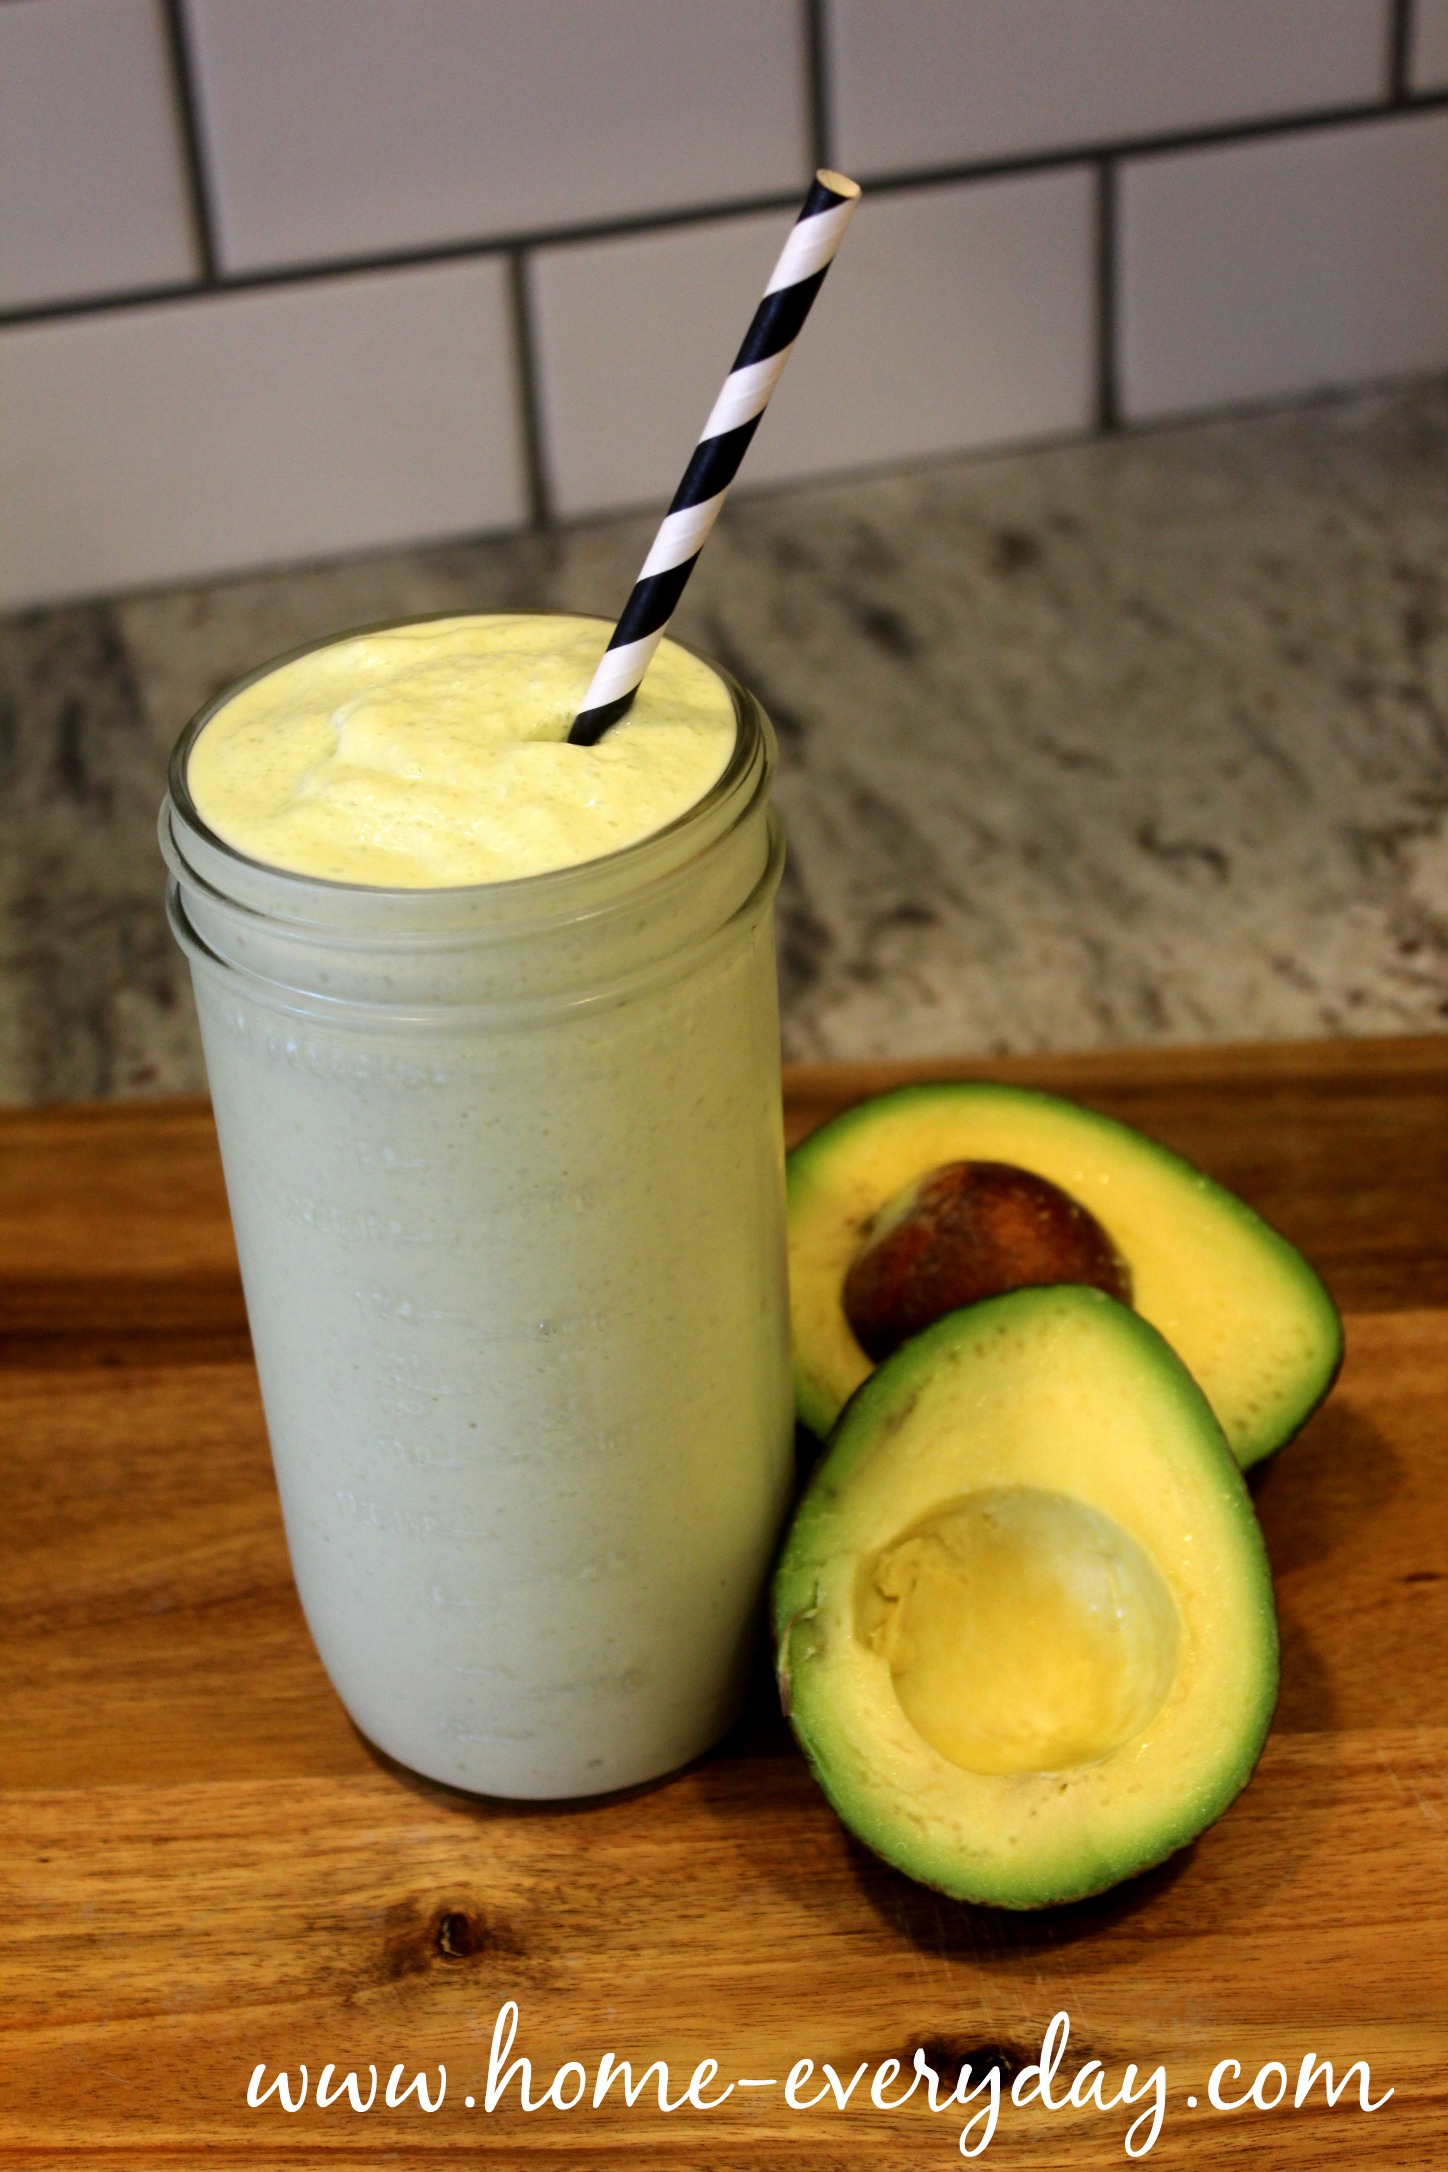
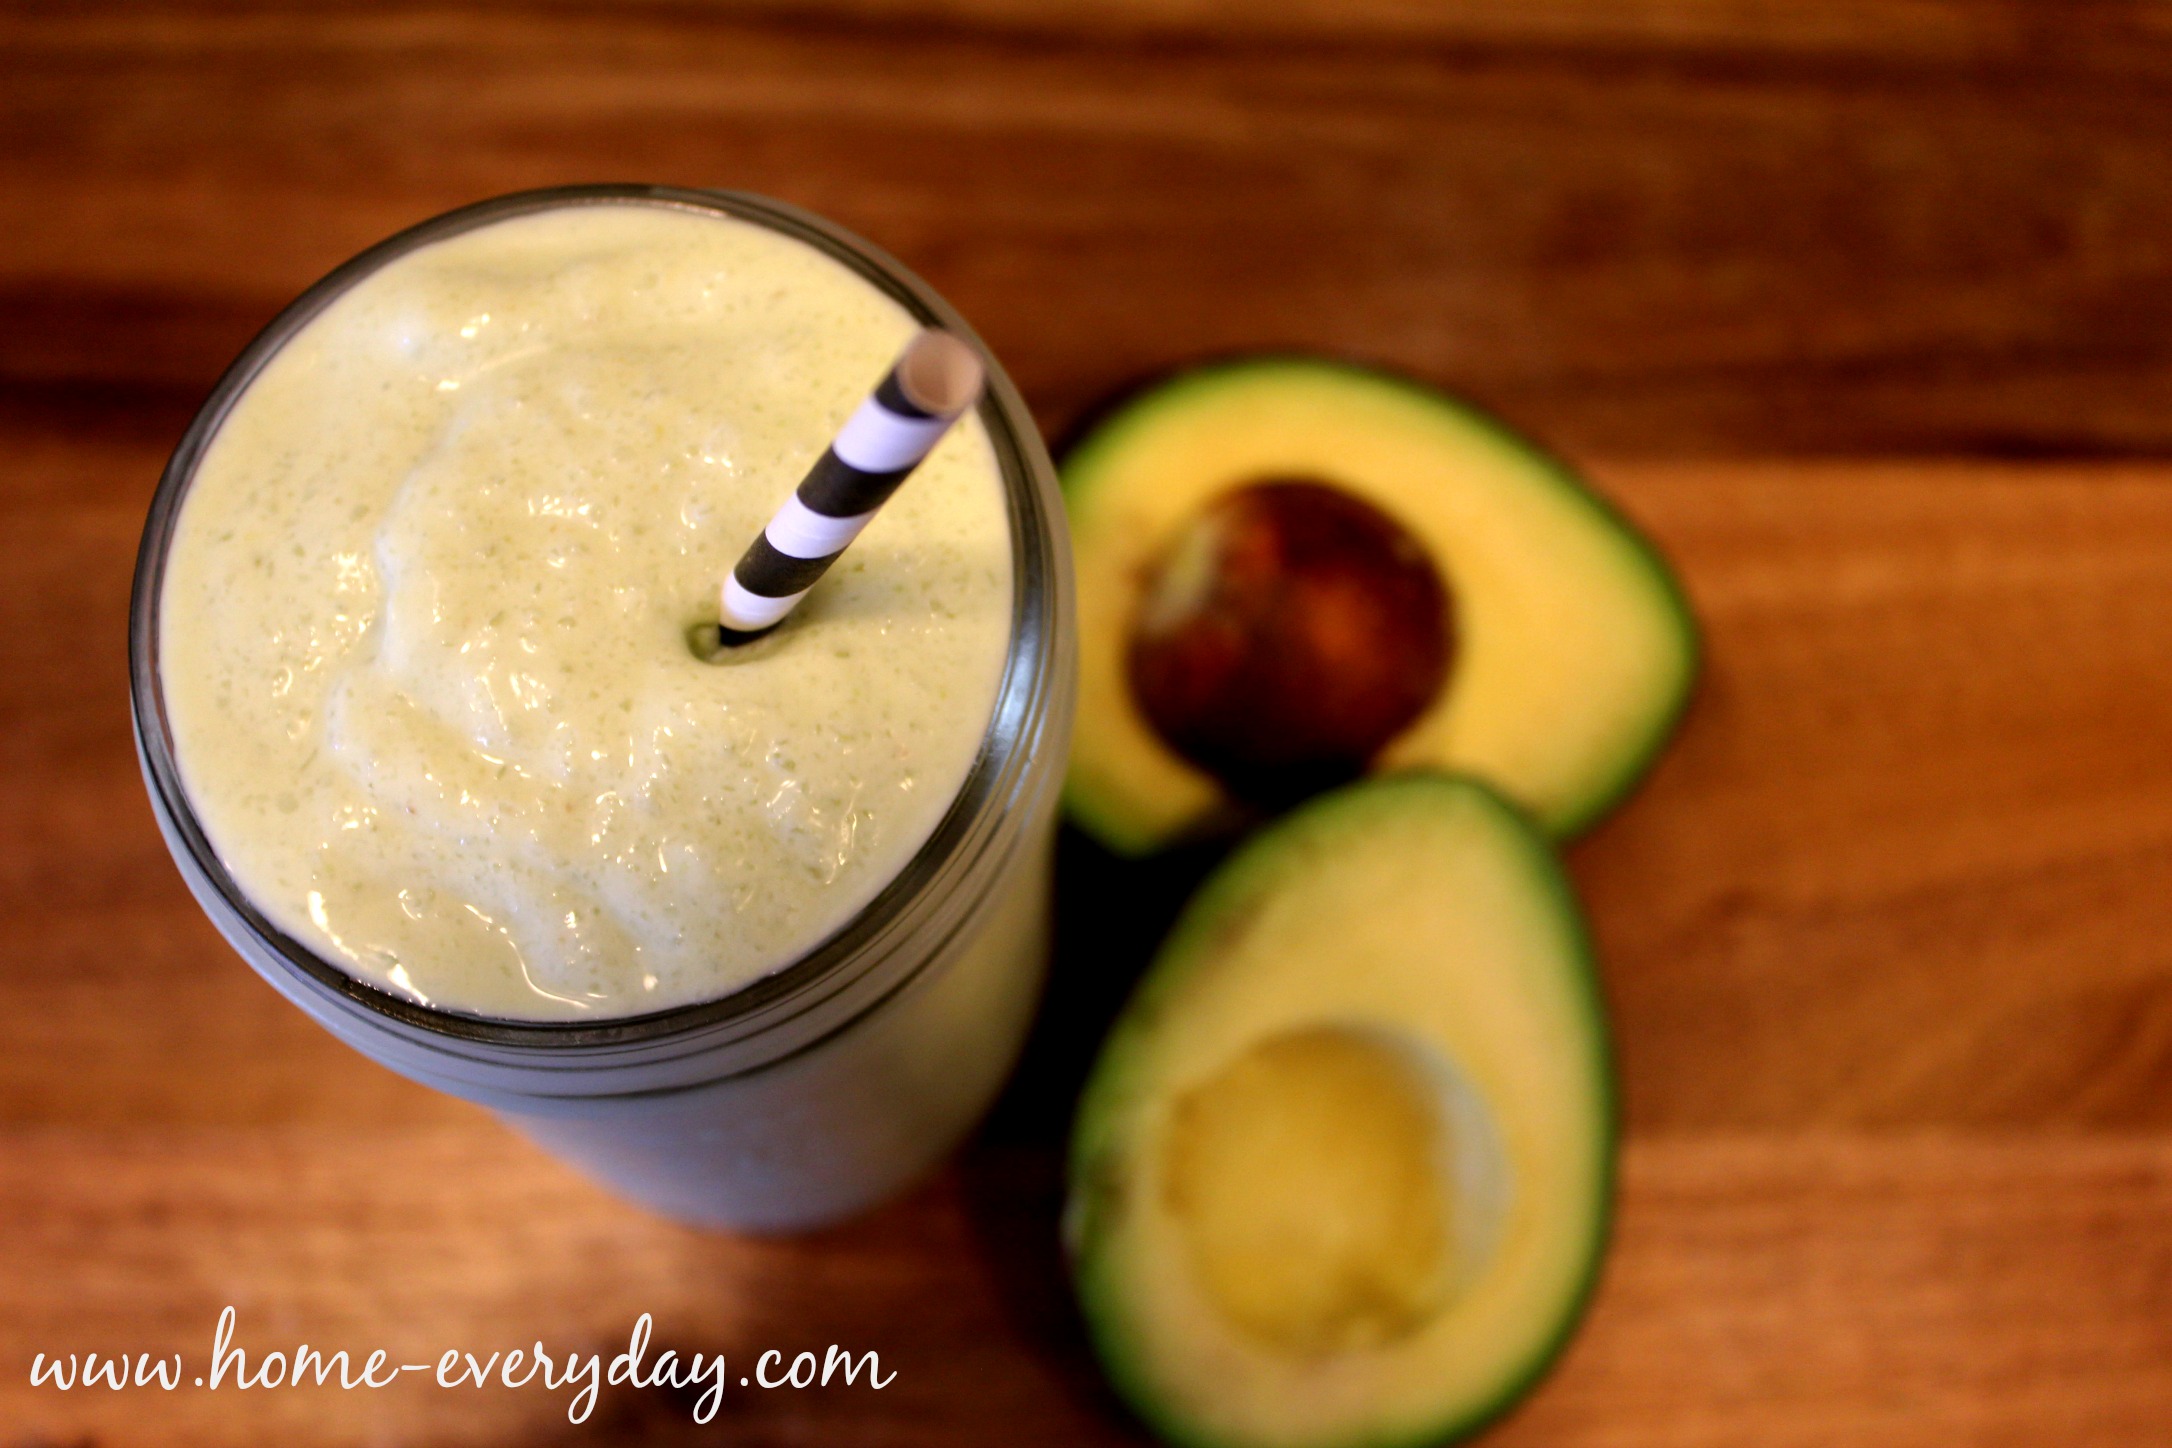
I whipped up one with a little vanilla extract for my vanilla loving son, and everyone else seemed to enjoy it too. This has become a great after school treat!

Avocado Shakes 8


Avocado Milkshake (makes 1 huge shake with three straws or three small)

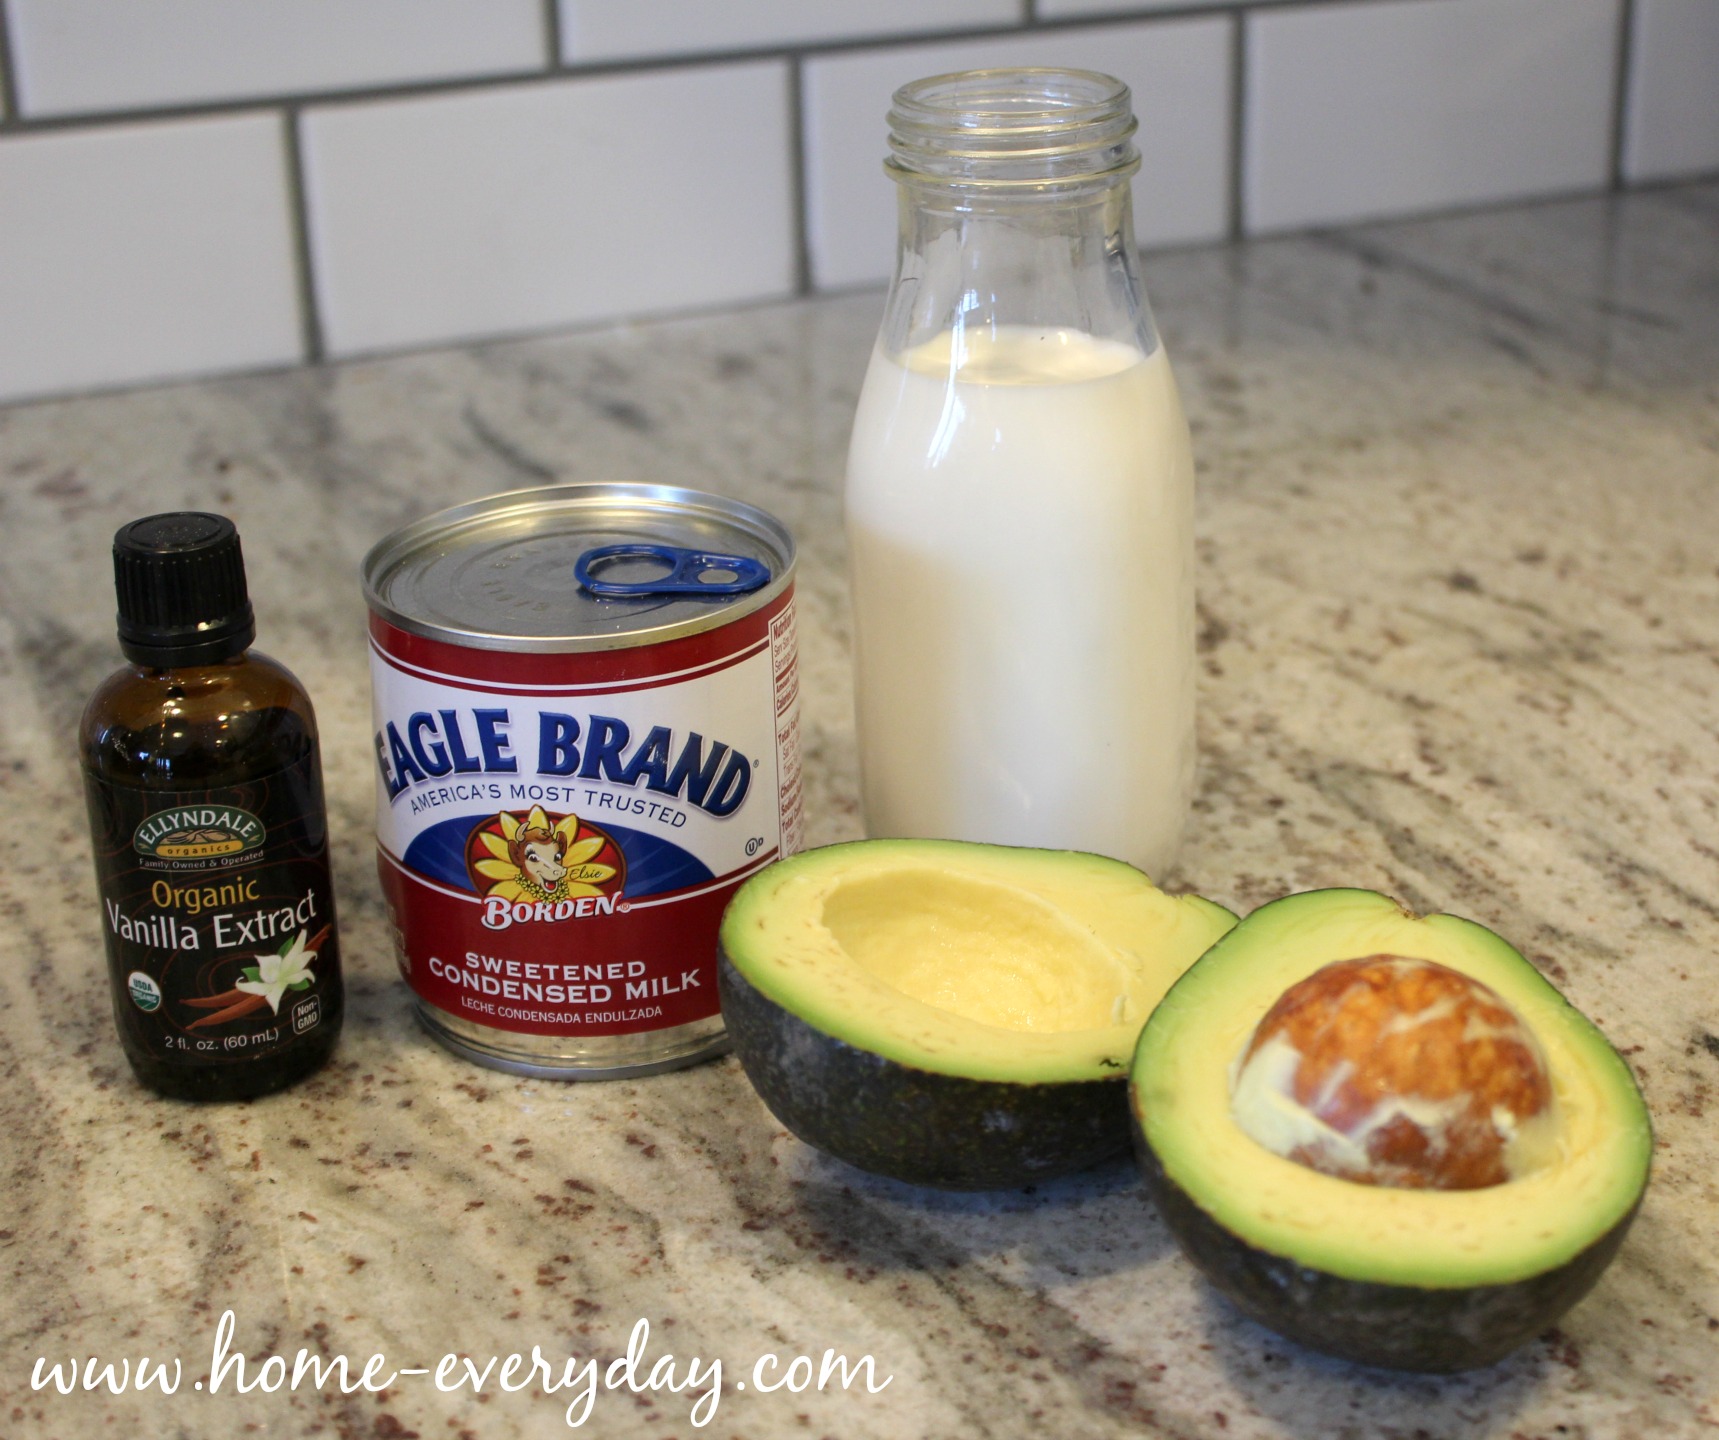
1 large ripe Haas avocado, peeled and seeded

1/3 of a cup sweetened condensed milk

1 cup milk (I used whole milk for my kids)

2 tsp pure vanilla extract

lots of ice

Avocado Shakes 1

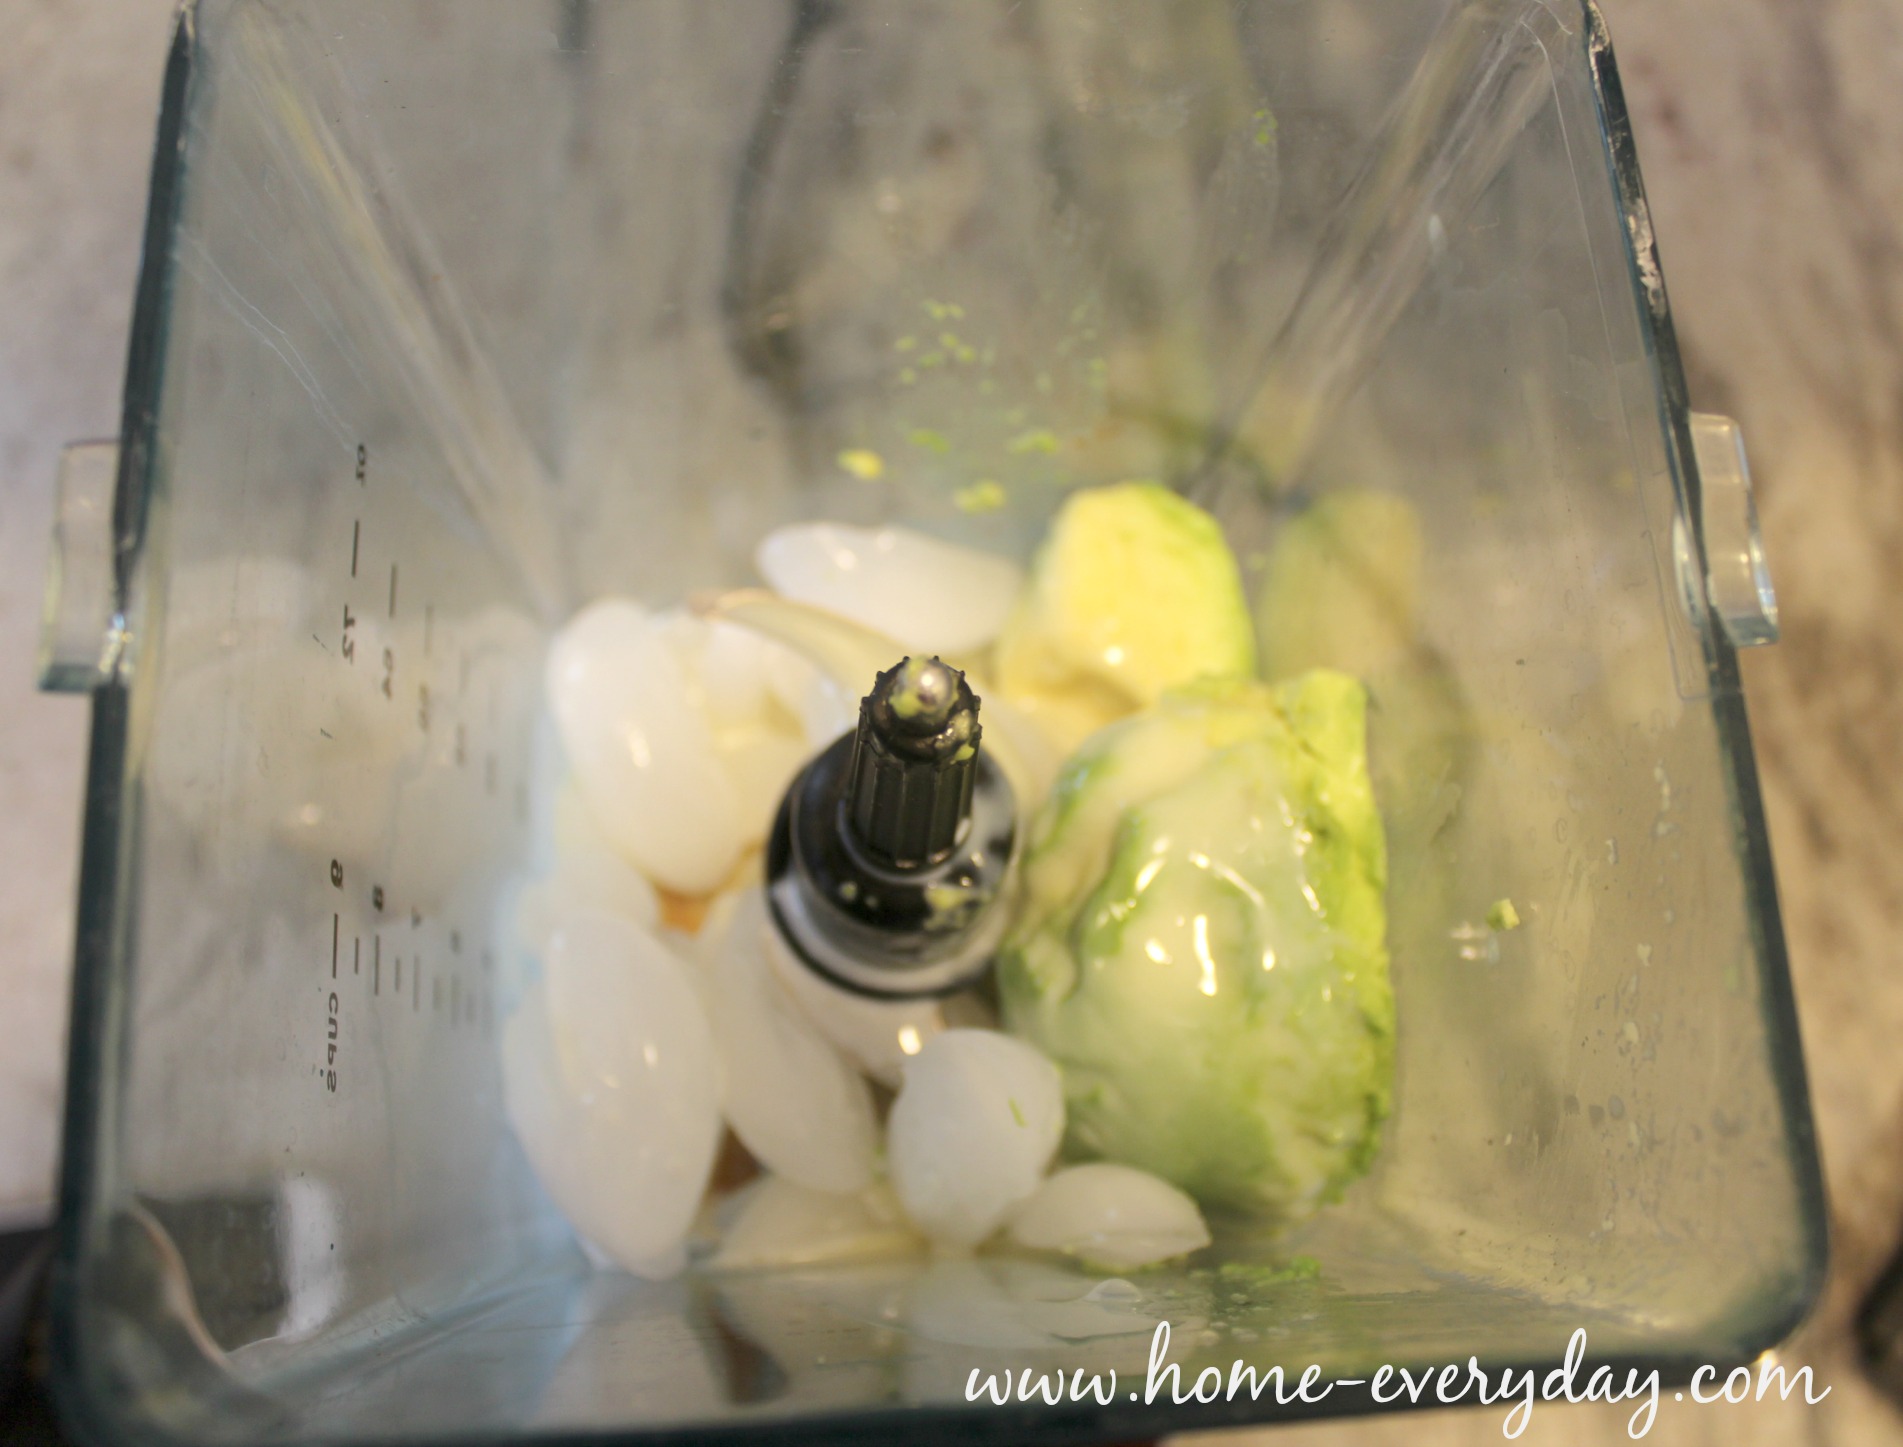
In a blender, add ingredients.

Avocado Shakes 2

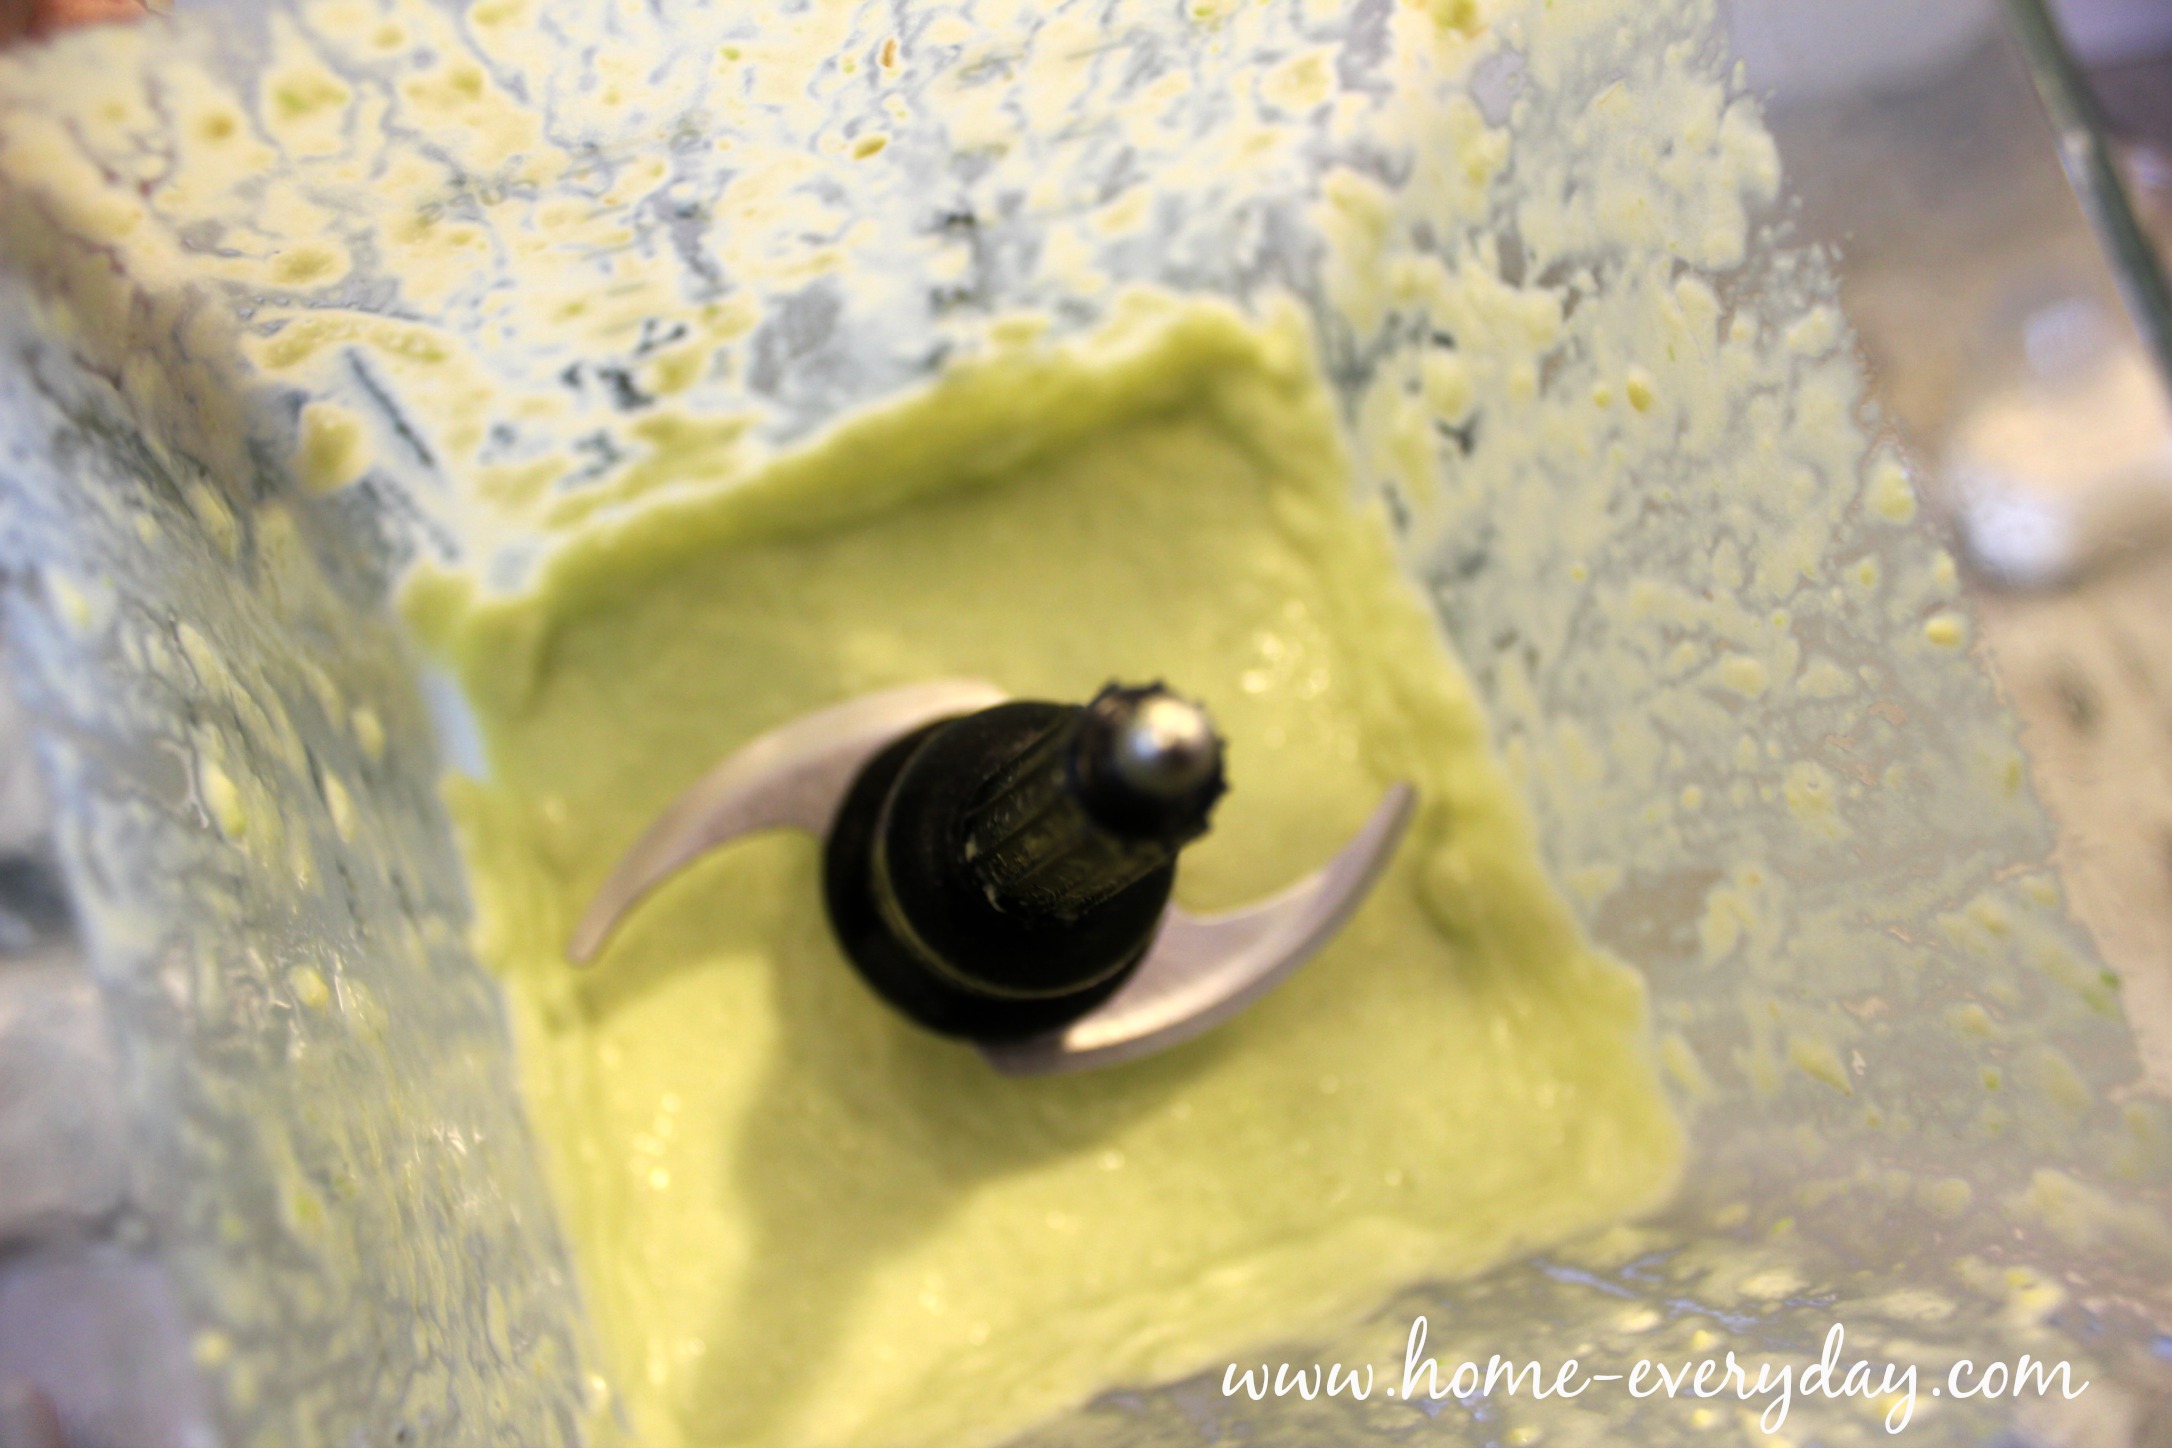
Blend until desired consistency. Pro Tip: For smoother consistency add a bit more milk. For sweeter flavor add a bit more condensed milk.

Avocado Shakes 4

Enjoy immediately!

Avocado Shakes 5

What is your favorite flavor milkshake? Chocolate? Vanilla? Would you consider adding avocado?

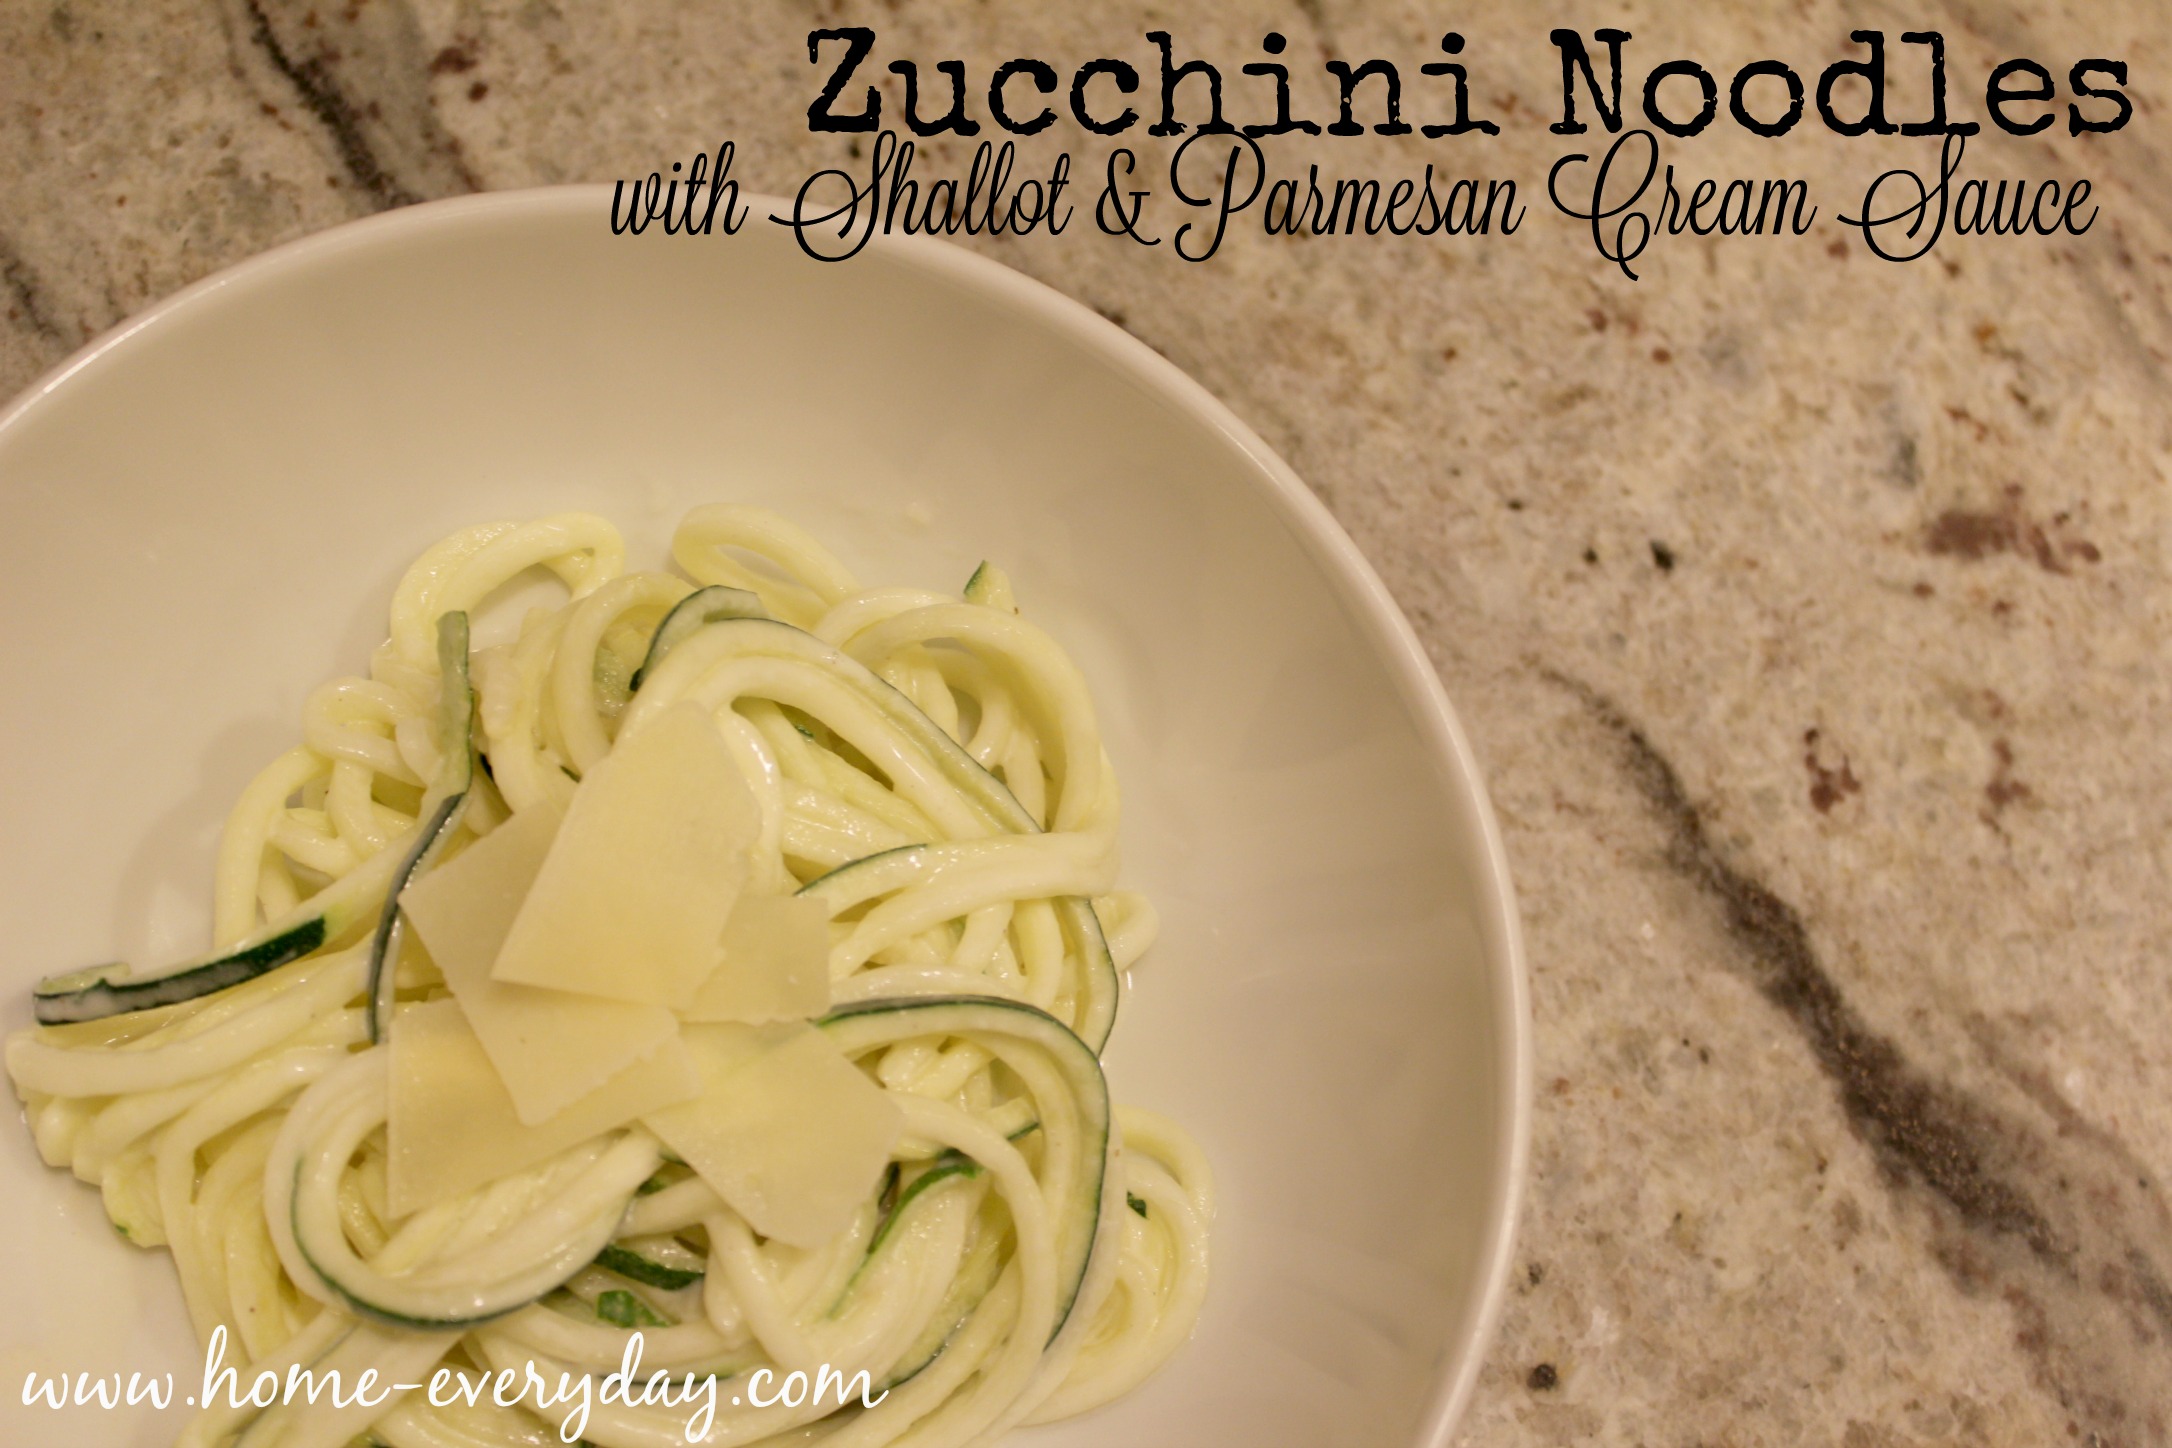
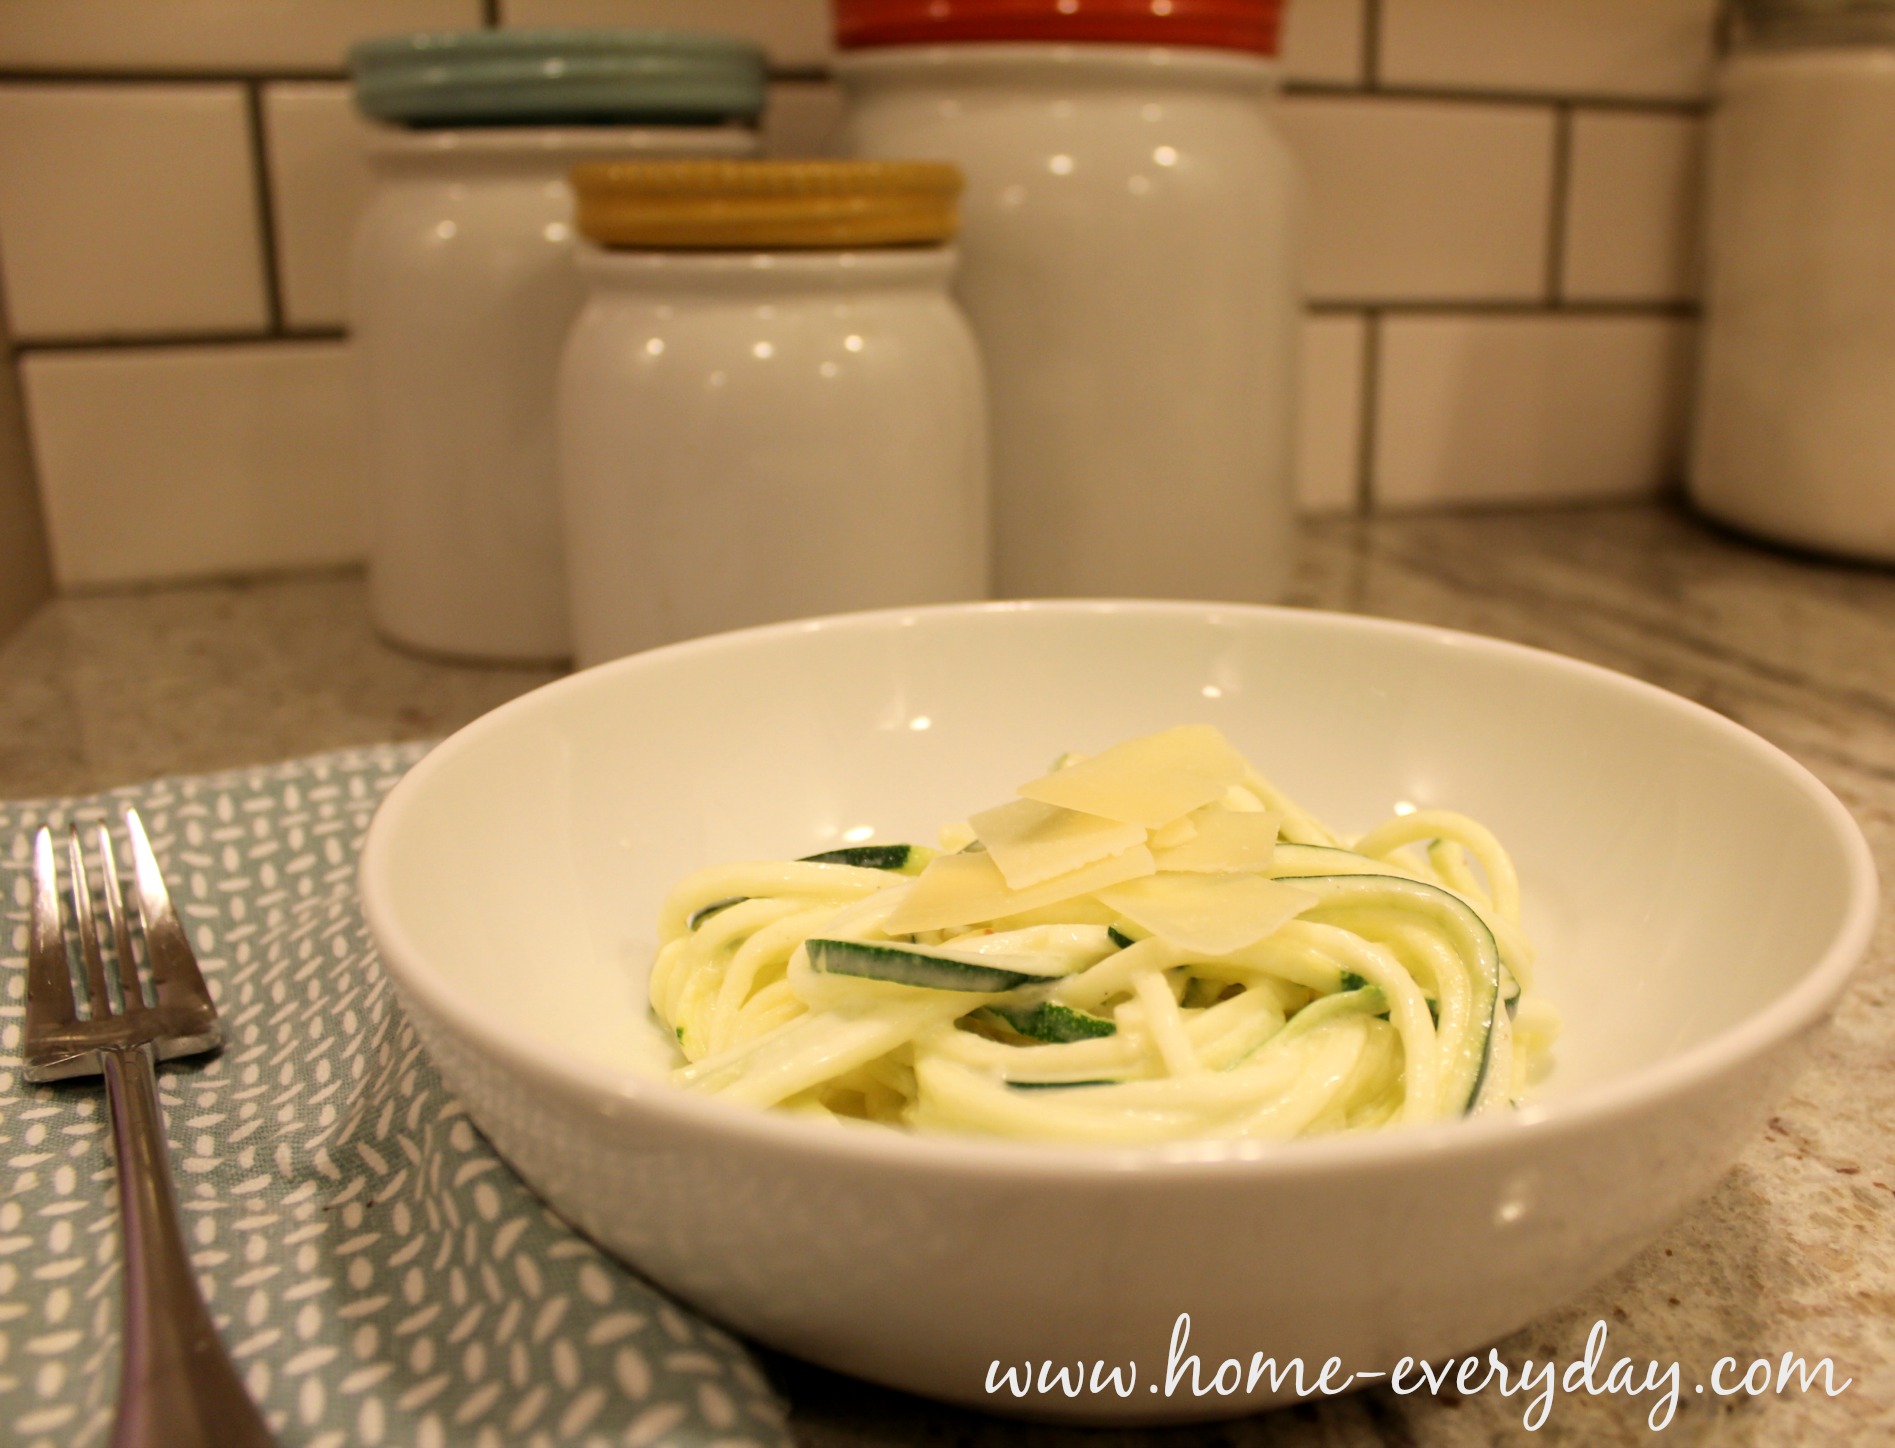
Faux Noodles and Kitchen Gadgets: Zucchini Noodles with Shallot and Parmesan Cream Sauce

A few months ago, sister from another mister, Samantha Schultz of The Peanuts Gang got in a pretty heated exchange. I am a pretty passive person, and even as the presidential primaries edge closer, I still remain pretty even tempered. However, there are two topics on which I will debate fiercely: Food and Television. That’s right. Topics that matter. Samantha and I got into it about kale “chips.” Not whether they tasted ok or not, but whether or not if they were, in fact, chips or not. I was trying to explain to her that while by definition they weren’t “chips” in the American sense of the word, that in the U.K. chips are fries and sometimes fries are baked in the oven. She argued by definition chips are only potatoes deep fried and are delicious. After much heated discussion, eating of various foods, and a discussion about cutesy made up words like “staycation” (which bother me) she swayed me.

Which brings me to vegetable noodles, zucchini noodles, or zoodles (baahhhh!). For those that aren’t on top of their food trends, zucchini noodles by definition is zucchini (or even other veggies like, yellow squash, carrots, eggplant, etc) cut to look like noodles and then covered or cooked in some sort of sauce that might also be used to cover a tradition pasta. As I am a newly converted food purist, I have decided these aren’t “real noodles” they are fancy cut vegetables, but it doesn’t change that they are delicious. So I made my own recipe using one of the many gadgets I received this holiday season. 

Zucchini Noodles Not Really 16

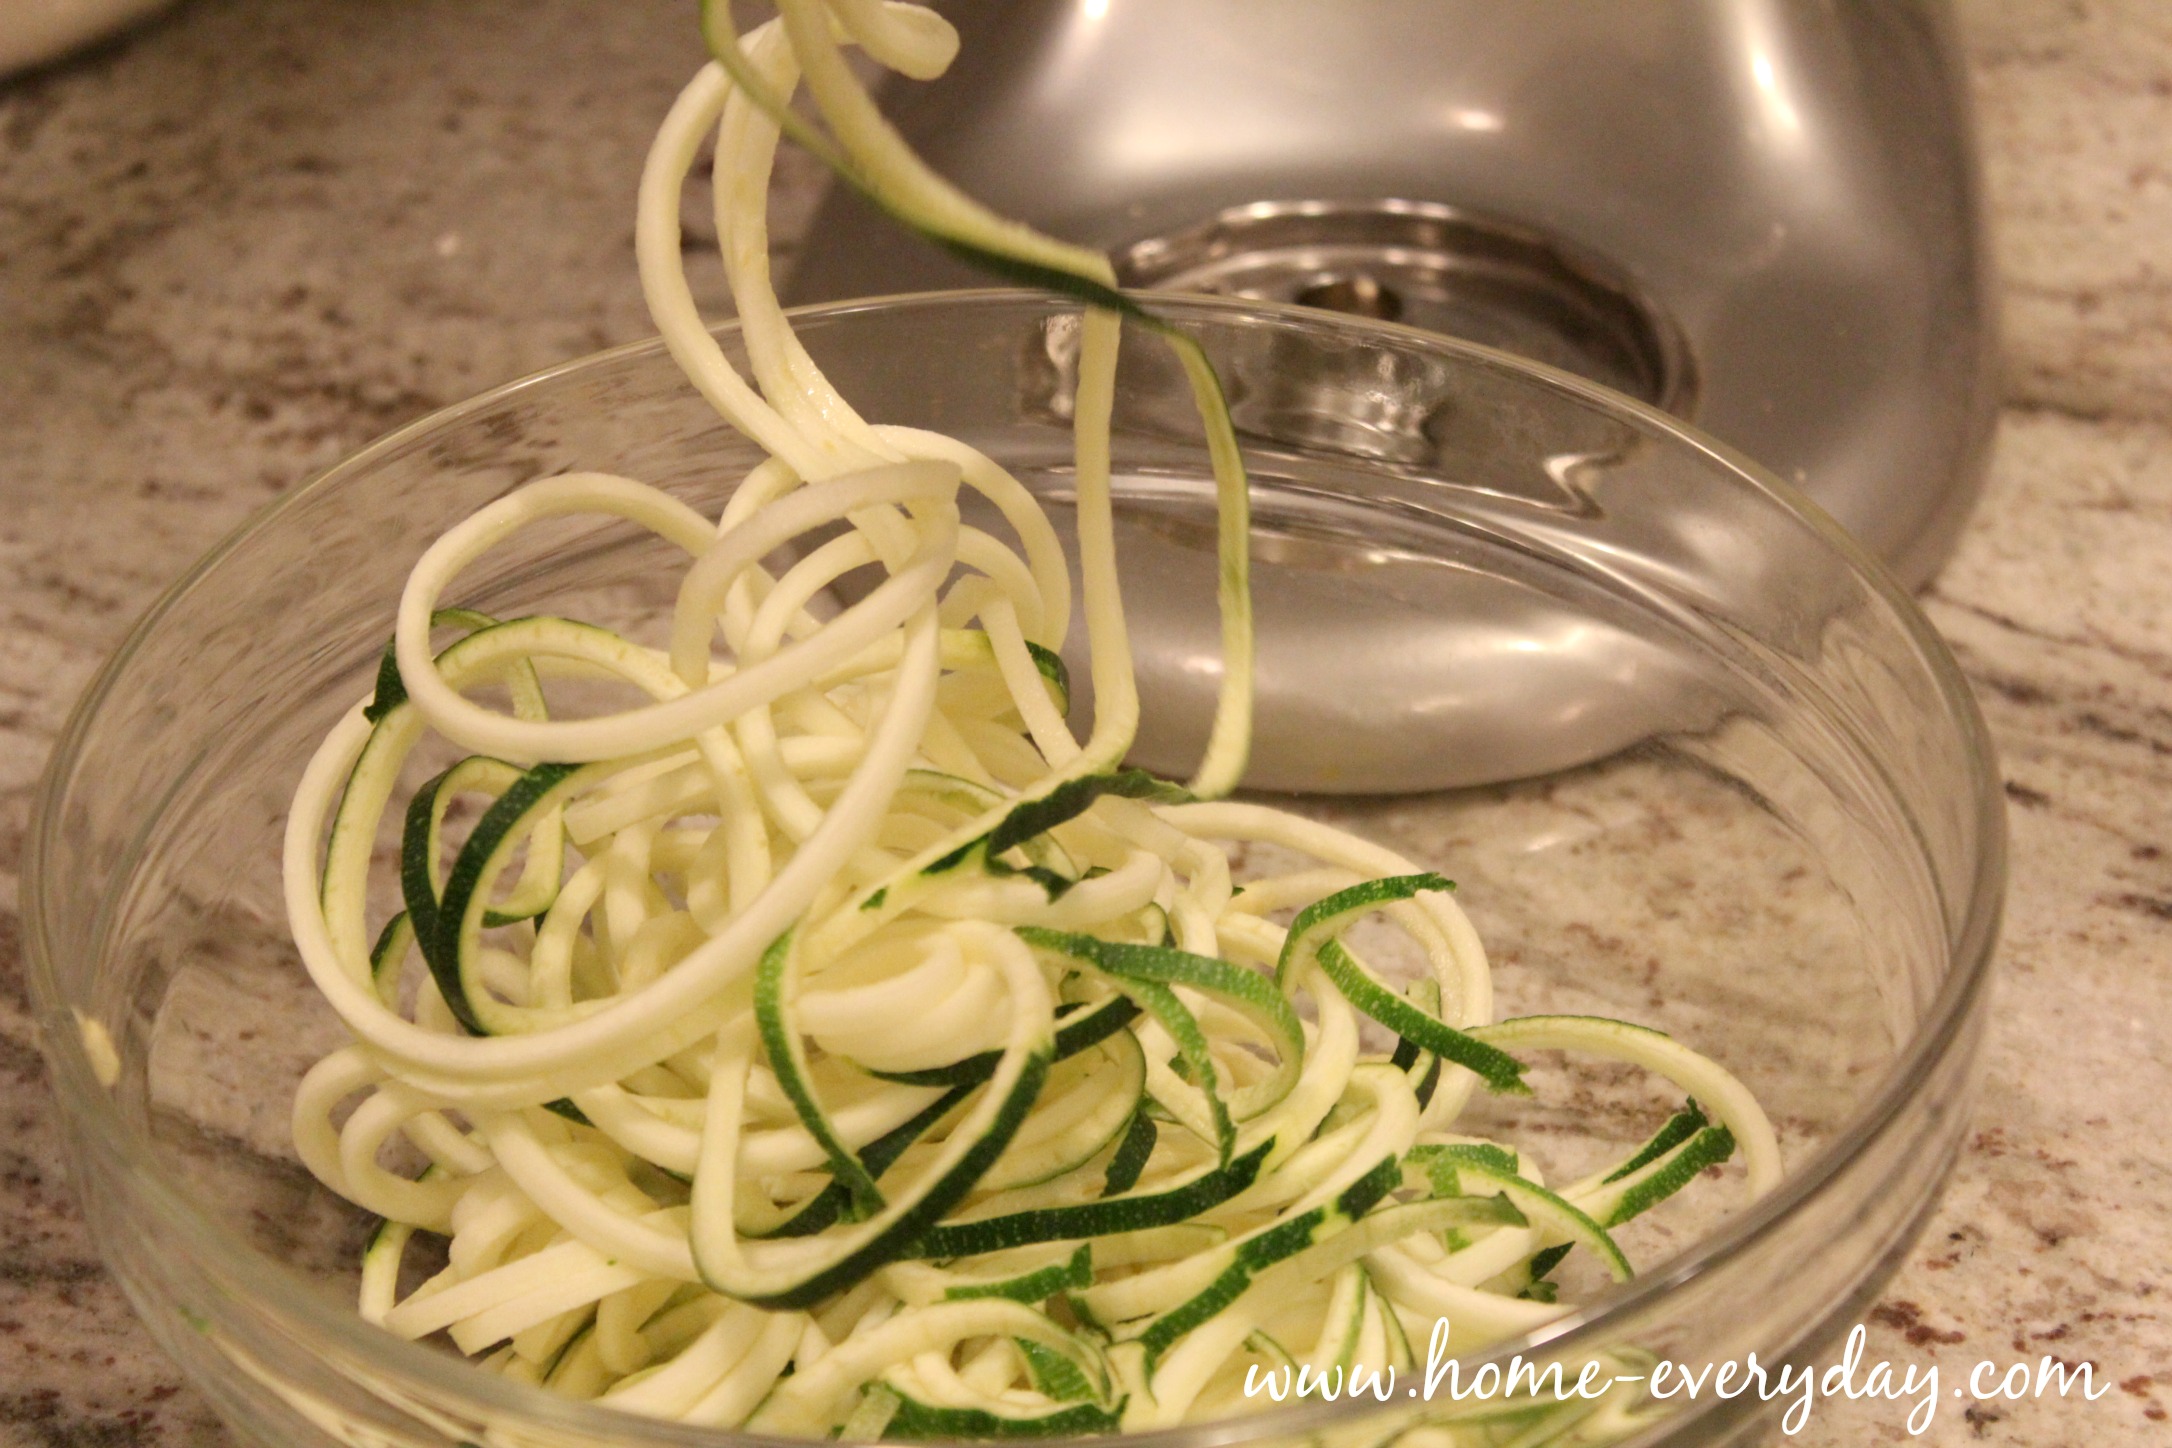
For my birthday and Christmas, I received all things cooking and kitchen. George got me The Pioneer Woman: Dinnertime and my mother-in-law bought me a KitchenAid hand mixer so I can finally make my Grandma Nano’s 7 minute frosting recipe. Brian who loves to be my taste tester, went overboard this year. He decided to purchase for me some new Williams and Sonoma Oven Mitts, a KitchenAid Pasta Press Attachment, and a KitchenAid Spiralizer Attachment.

I have made tons of pasta, peeled lots of potatoes and apples, and have pretty much lived in the kitchen since my birthday. I’m ok with it.
There is one problem, however, someone has to eat all this food I’m cooking and baking. It is the New Year after all, so if I am going to make a cream sauce, perhaps I should give these fake noodles a try. Which is why instead of making another pasta in my pasta maker to go with this Shallot and Parmesan Cream Sauce I made up, I thought I would use my spiralizer to make zucchini “noodles” for something a little lighter (as if you can lighten up a cream sauce containing butter and cream, but I can try dammit).
Zucchini Noodles Not Really 15

Zucchini Noodles (or vegatables) with Shallot and Parmesan Cream Sauce

3 or 4 very large zucchini

1 small shallot minced

1 TBS olive oil

2 TBS unsalted butter

2 TBS all purpose flour

2 cups cream or whole milk

4 oz grated Parmesan cheese 

pinch of nutmeg (1/8 tsp)

Salt and Pepper to taste

Zucchini Noodles Not Really 1

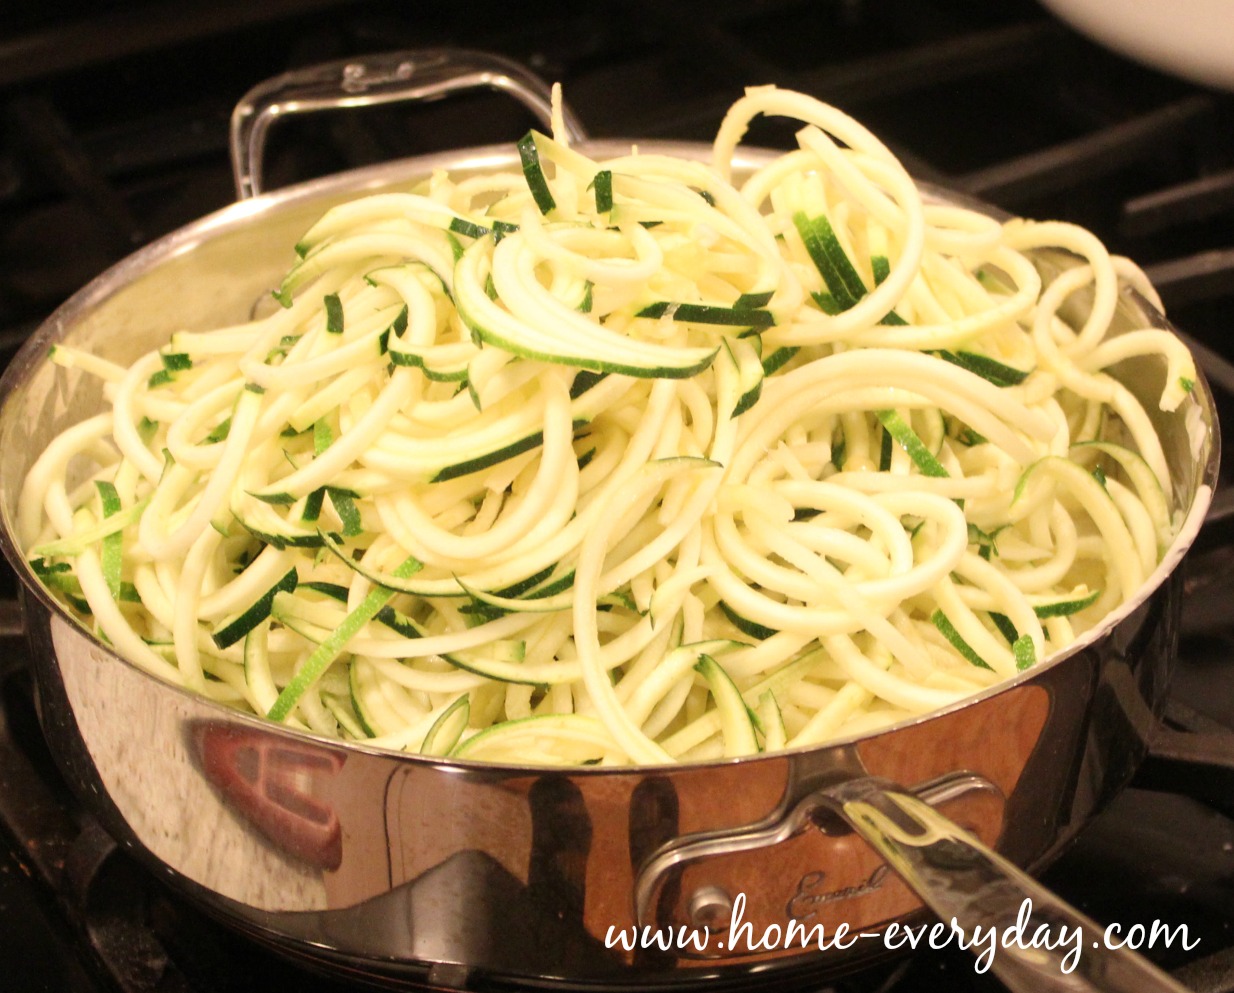
Using your machine of choice (a spiralizer or even a vegetable peeler) cut zucchini into “noodles” and set aside.

Zucchini Noodles Not Really 2

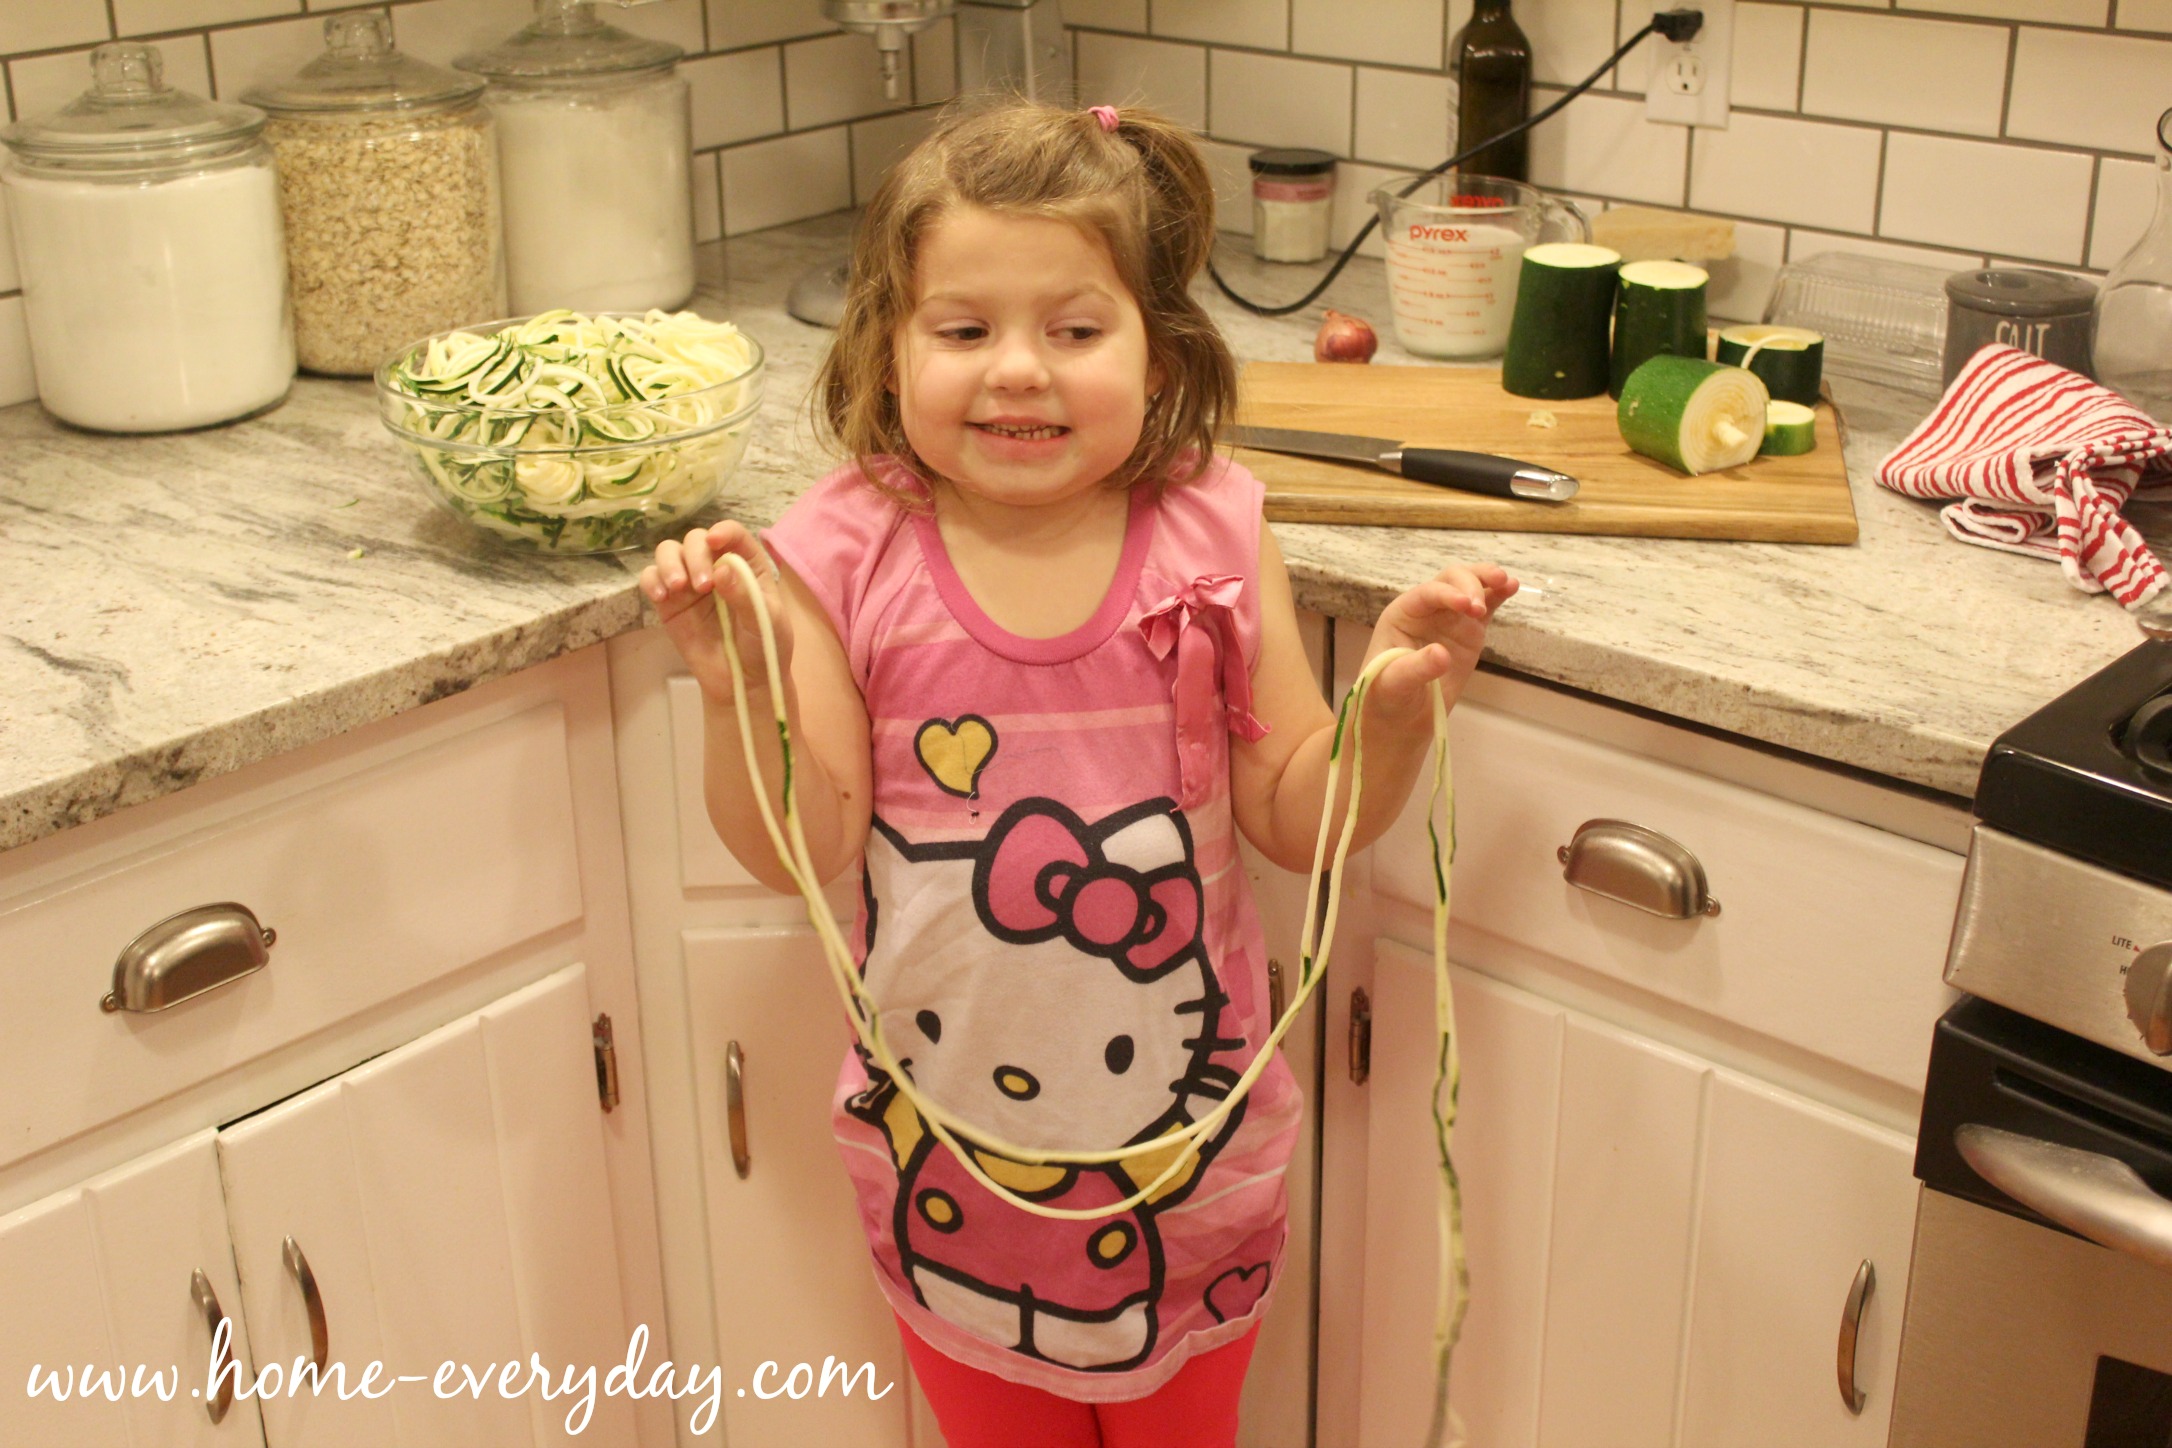
(My sous chef measuring how long the spiralizer can make the zucchini)

Zucchini Noodles Not Really 4

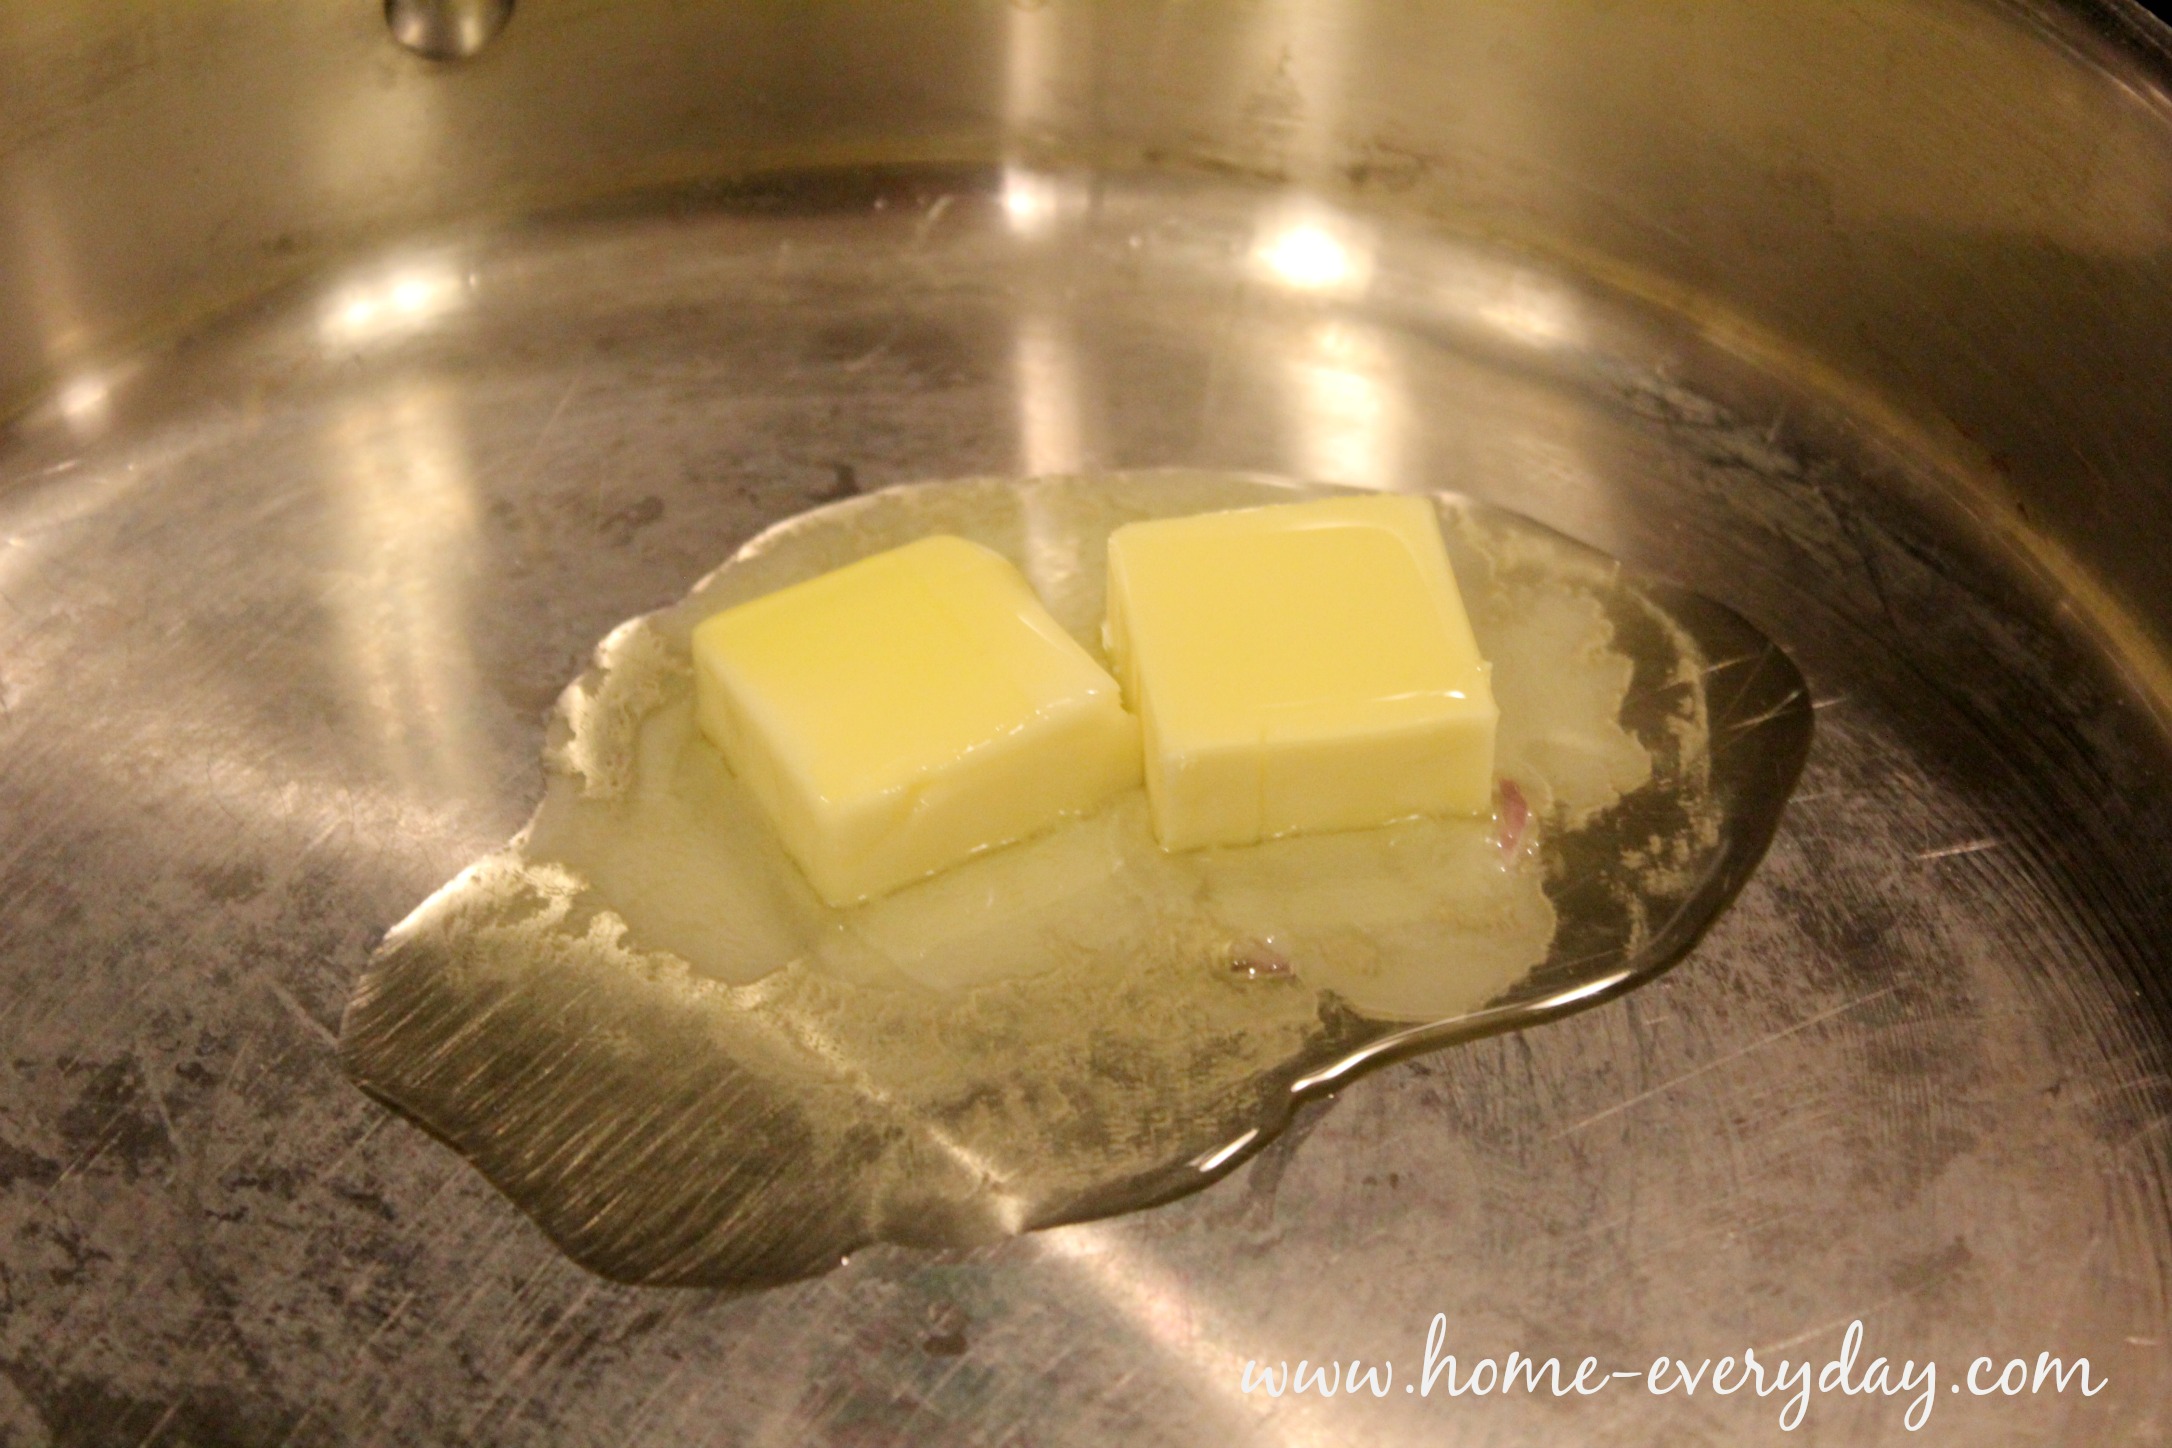
In a large pan over medium low heat, add butter and olive oil.

Zucchini Noodles Not Really 6

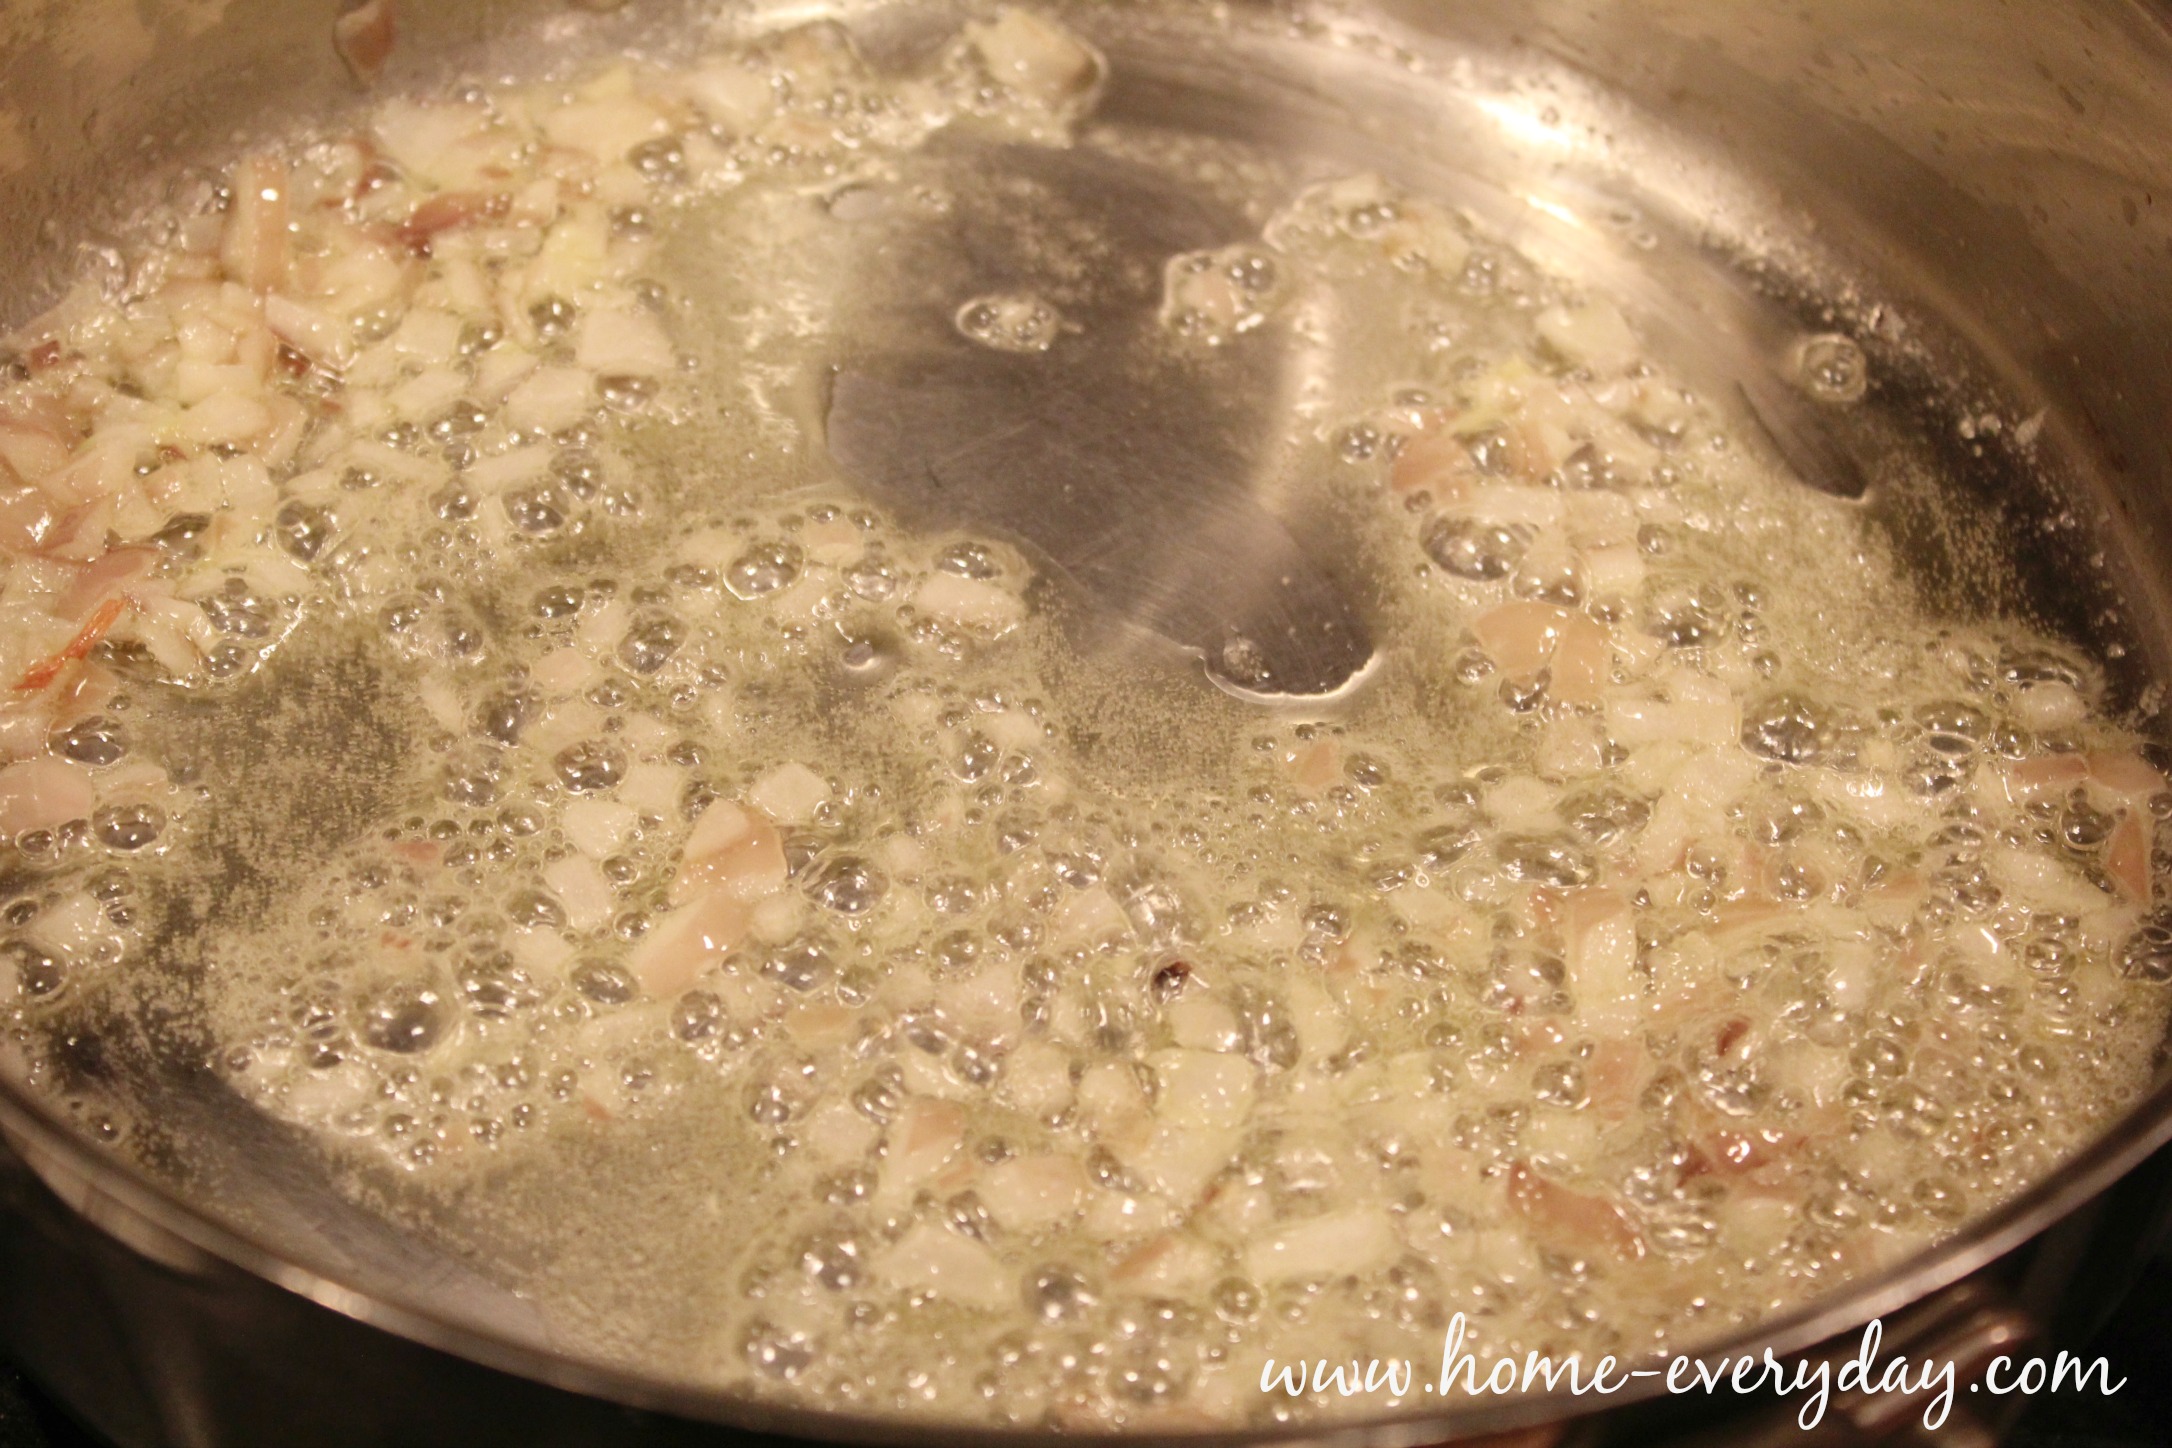
When the butter has melted, add the minced shallot and sauté stirring consistently until the shallot is soft. This should take about 2 or 3 minutes.

Zucchini Noodles Not Really 7

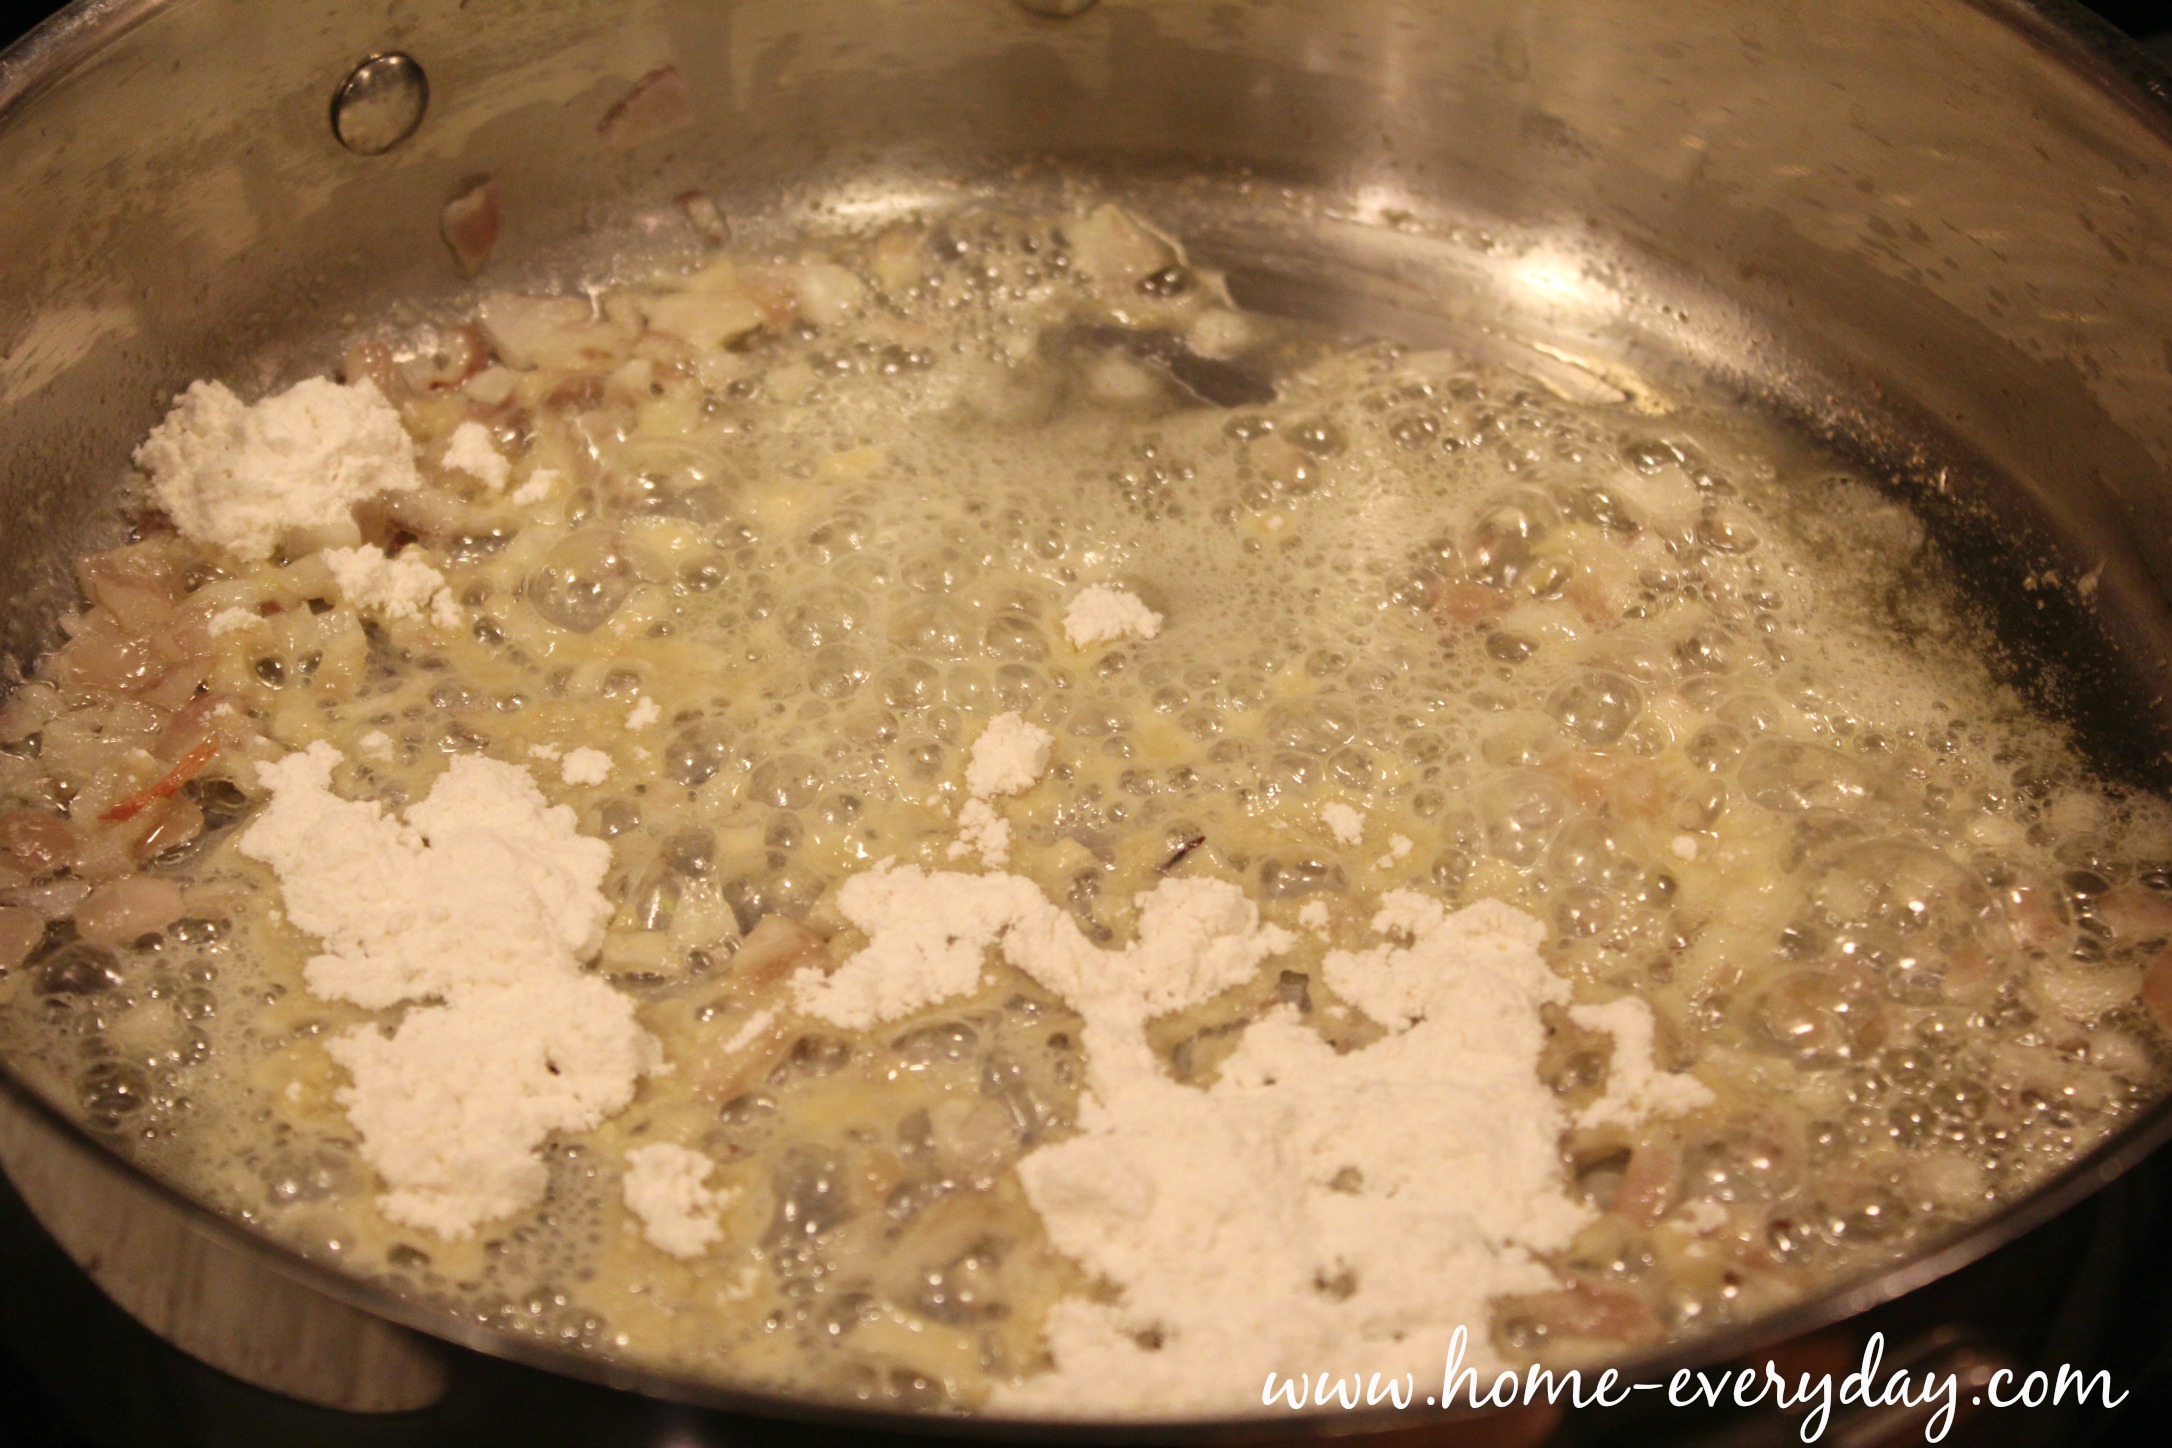
Next, sprinkle the flour into the pan. Stir the mixture for about 1 minute. This helps to create a roux, but also helps to remove the raw flour taste from the flour. 

Zucchini Noodles Not Really 8

Then, slowly stir in the cream. Cook this mixture stirring often until you have a warm sauce that can coat the back of a spoon. This should take about 2 or 3 minutes. 

Zucchini Noodles Not Really 9

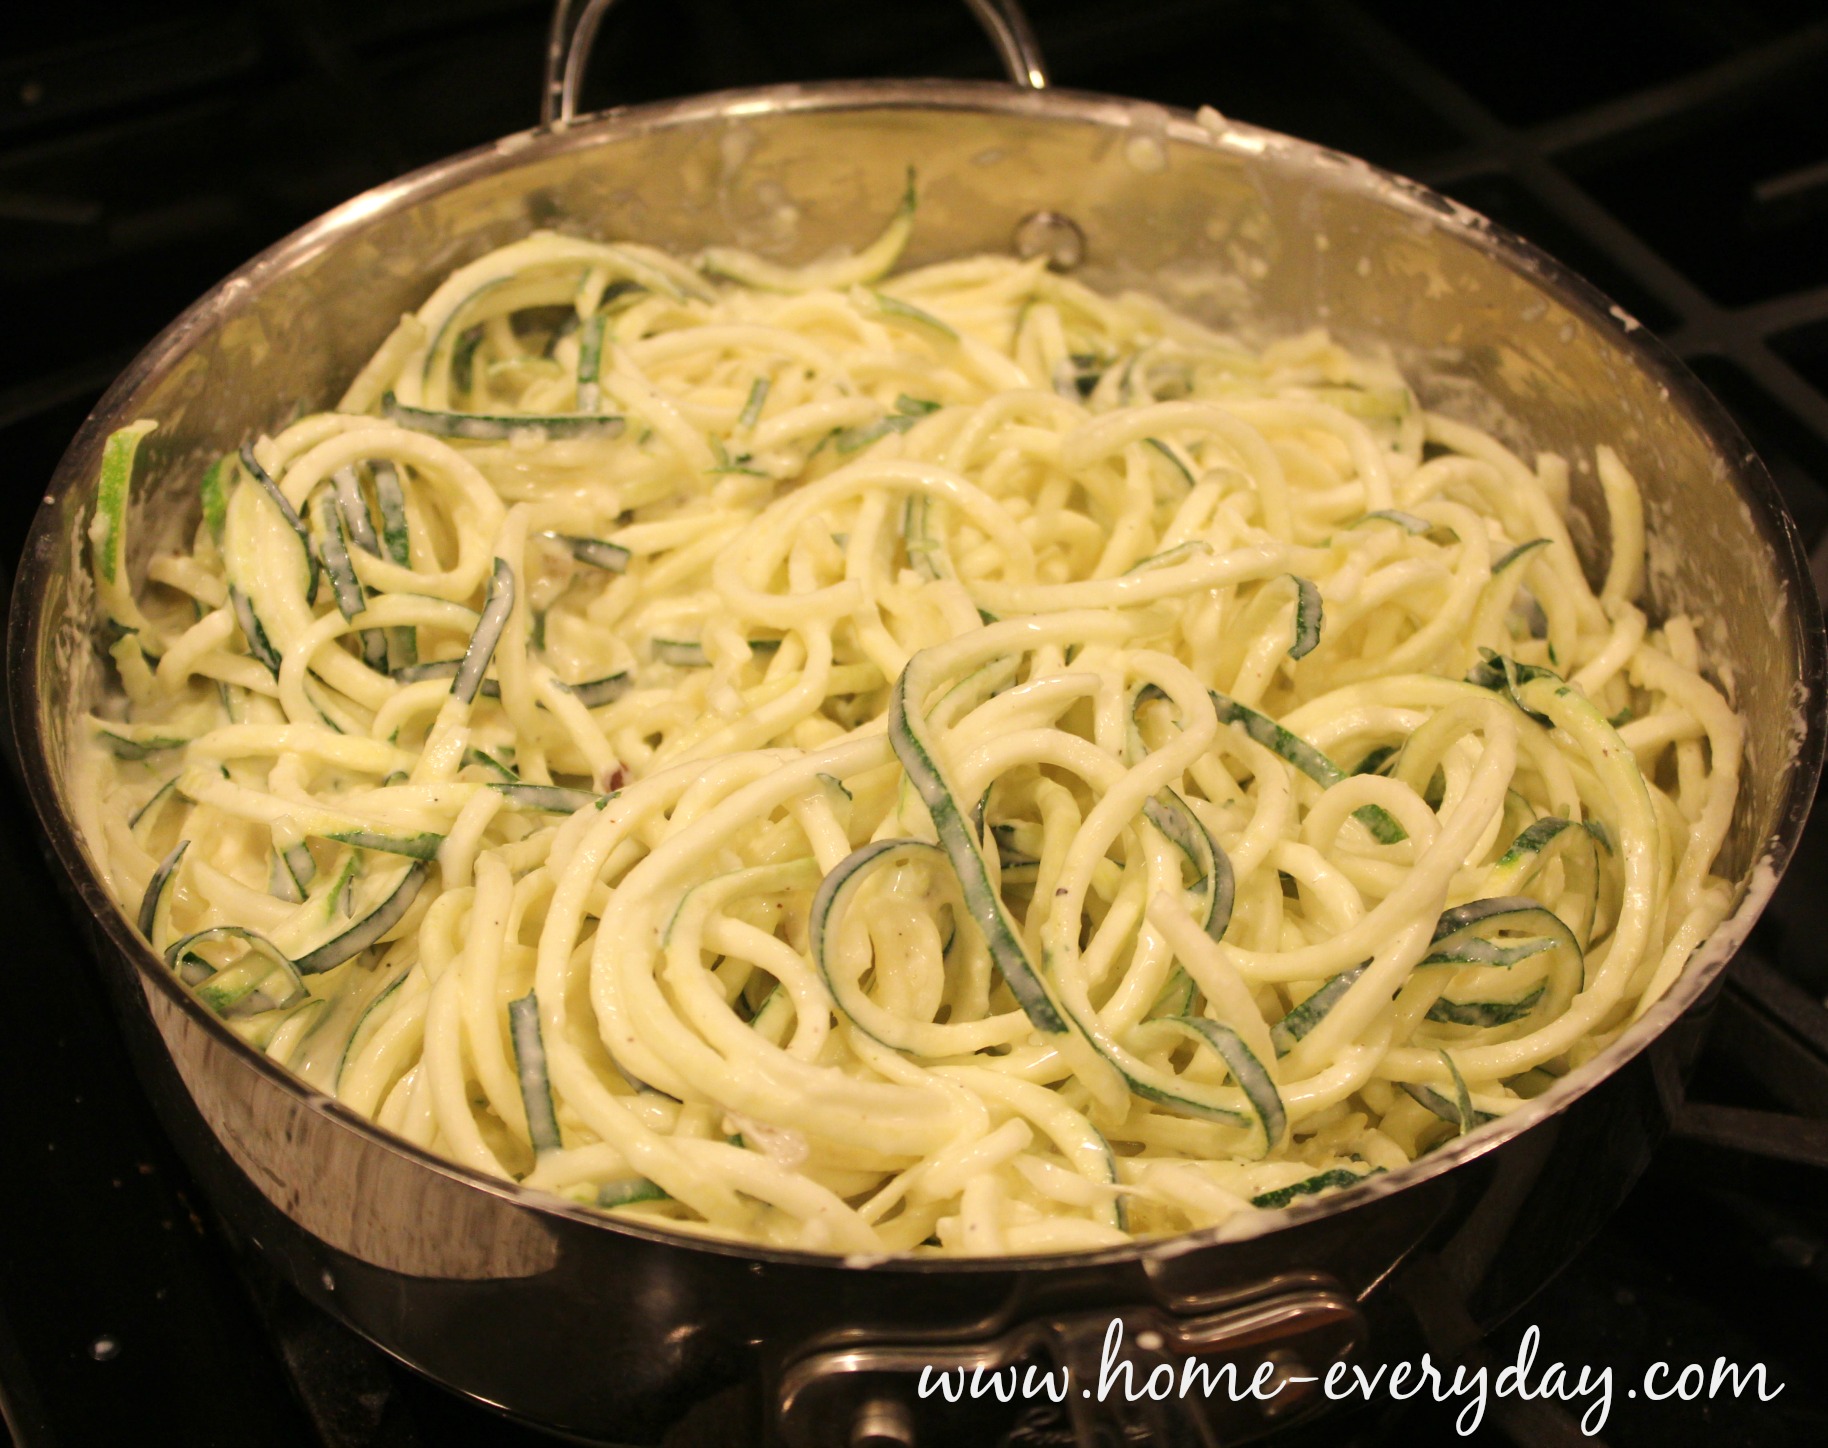
Finally, stir in the Parmesan cheese and toss in the zucchini “noodles”

Zucchini Noodles Not Really 11

Pro Tip: Zucchini is mostly water, so when you toss it in the sauce, don’t leave it in there too long. Just enough to heat through and get coated, otherwise the sauce gets watered down.

Zucchini Noodles Not Really 13

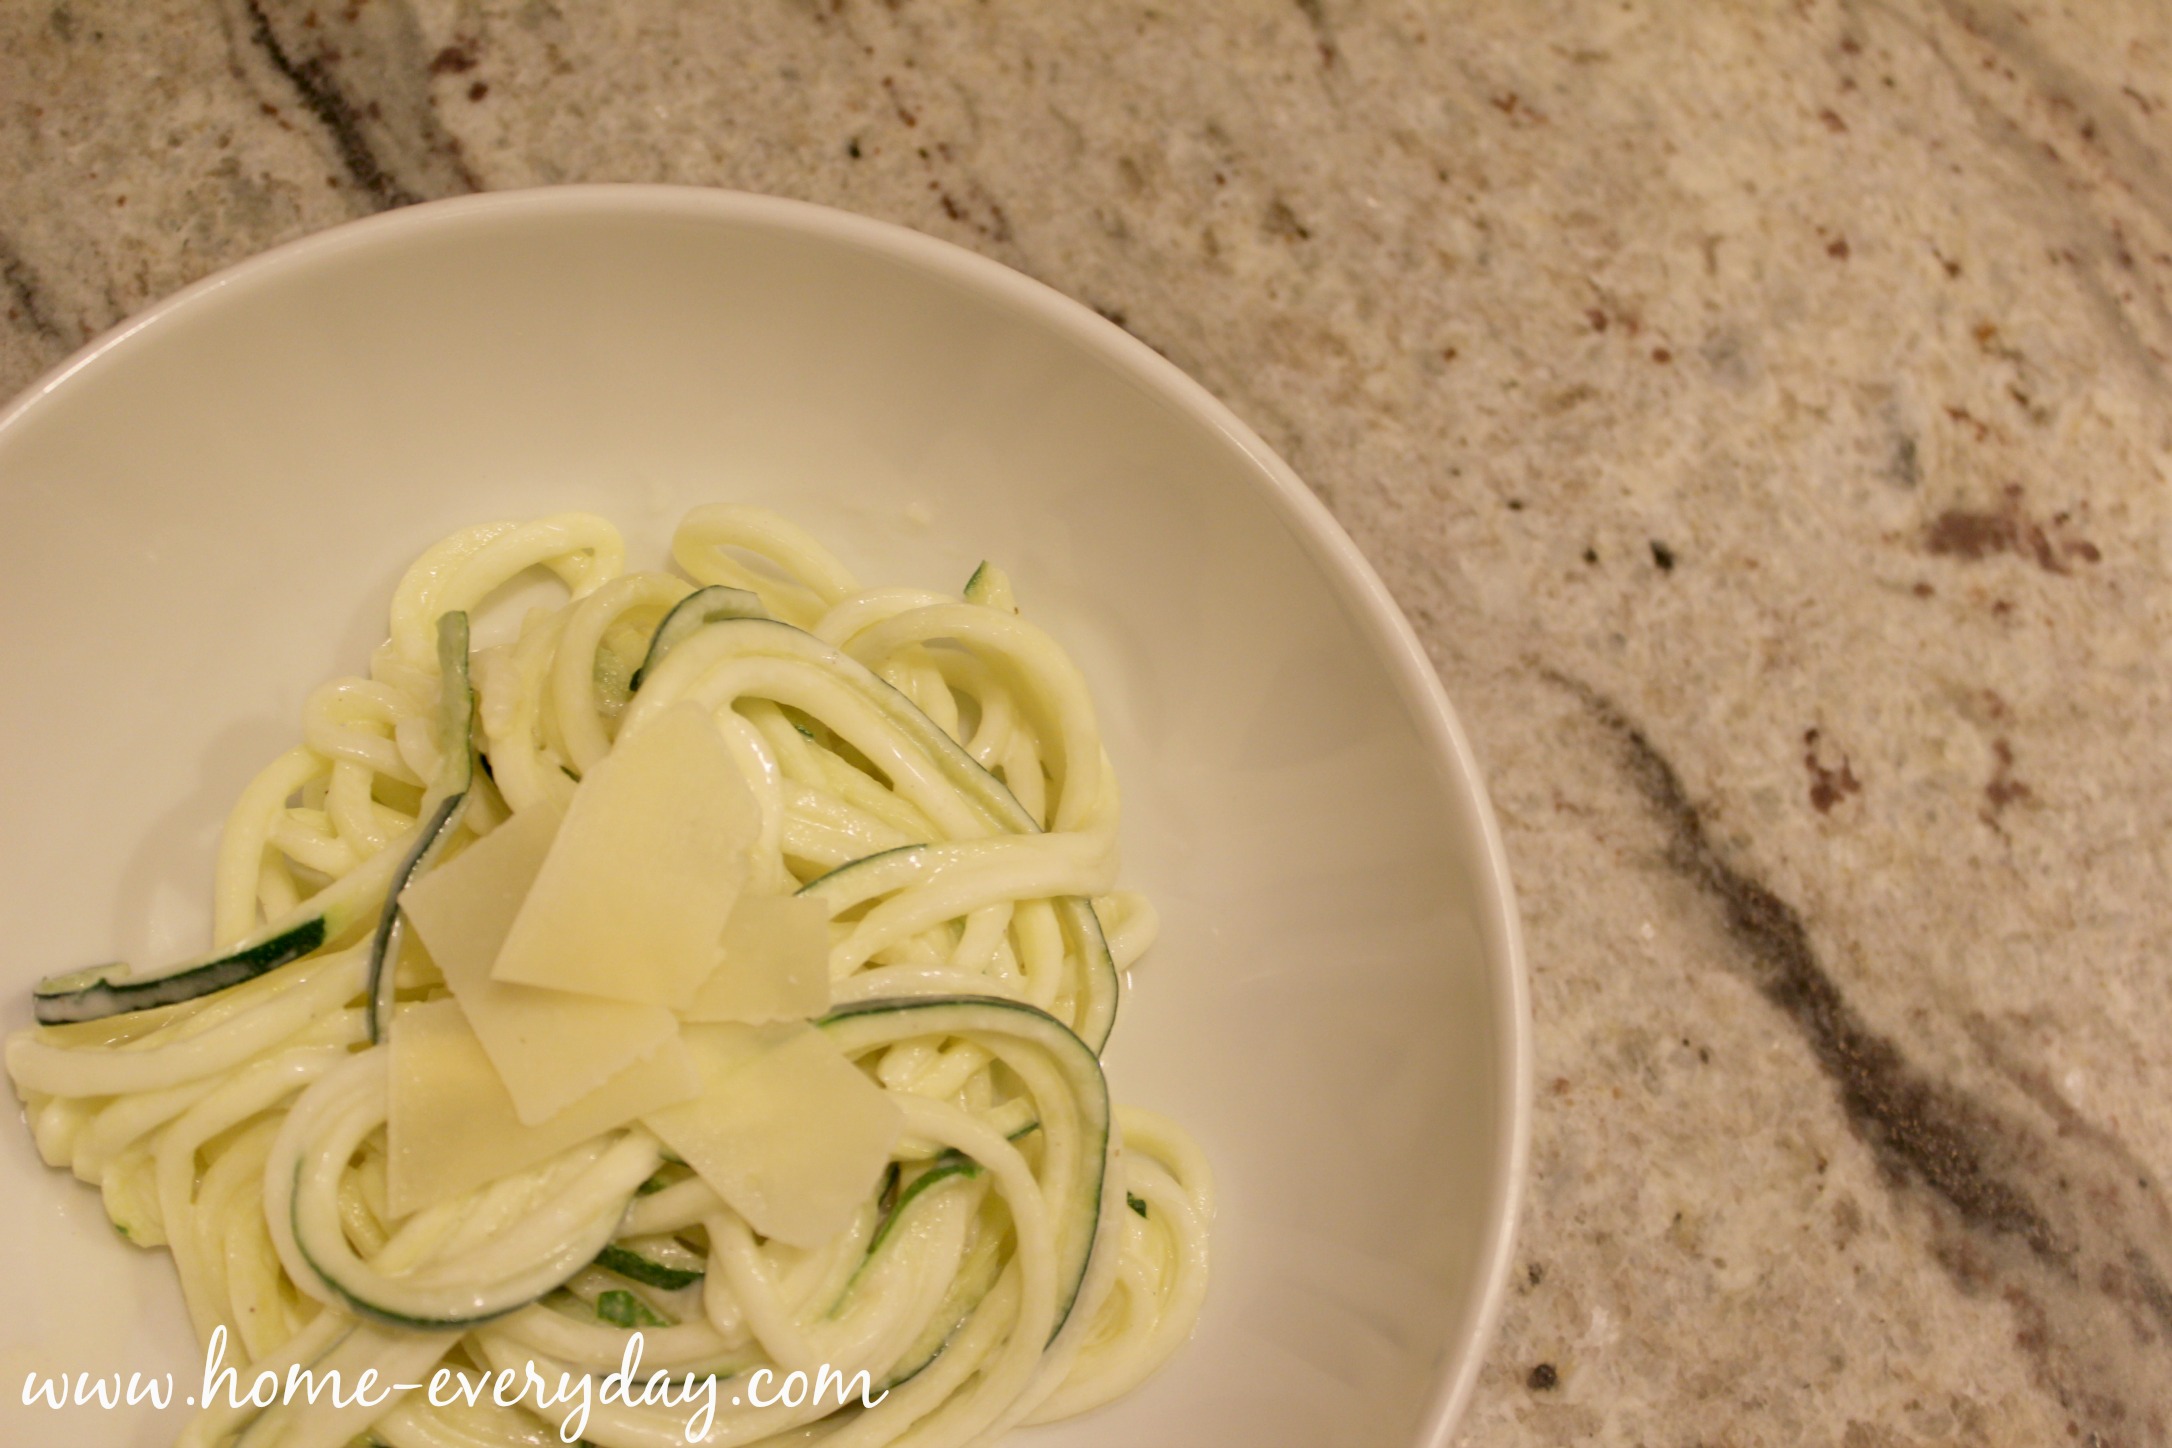
Serve immediately with a few Parmesan shavings for garnish.

Zucchini Noodles Not Really 14

My taste tester, Brian said it was delicious, but he wished it was a bit heartier and suggested next time I add some chicken. I was thinking maybe even a chicken or turkey sausage? What say you? Would you try faux noodles? 


I Kept a New Year’s Resolution: A Good News Jar Recap

I recently told a friend how sometimes I feel like my memory fails me. I can remember obscure Smiths lyrics, or I can remember my grammar school friends old home telephone numbers, and yet, there are things that I cannot recall. For example, every morning when I leave the house, in a hurry, carrying a million things, shouting to someone, “Ok, I’m walking out the door!” I try to plow through the storm door. However, the door is always locked. Then, under my breath, I utter, “What the…?” in complete shock that the door is locked and I cannot just go careening through it at full speed. I am often the one that locked the door the night before. Every. single. morning. this. happens. We will have lived in this house for 5 years in February.

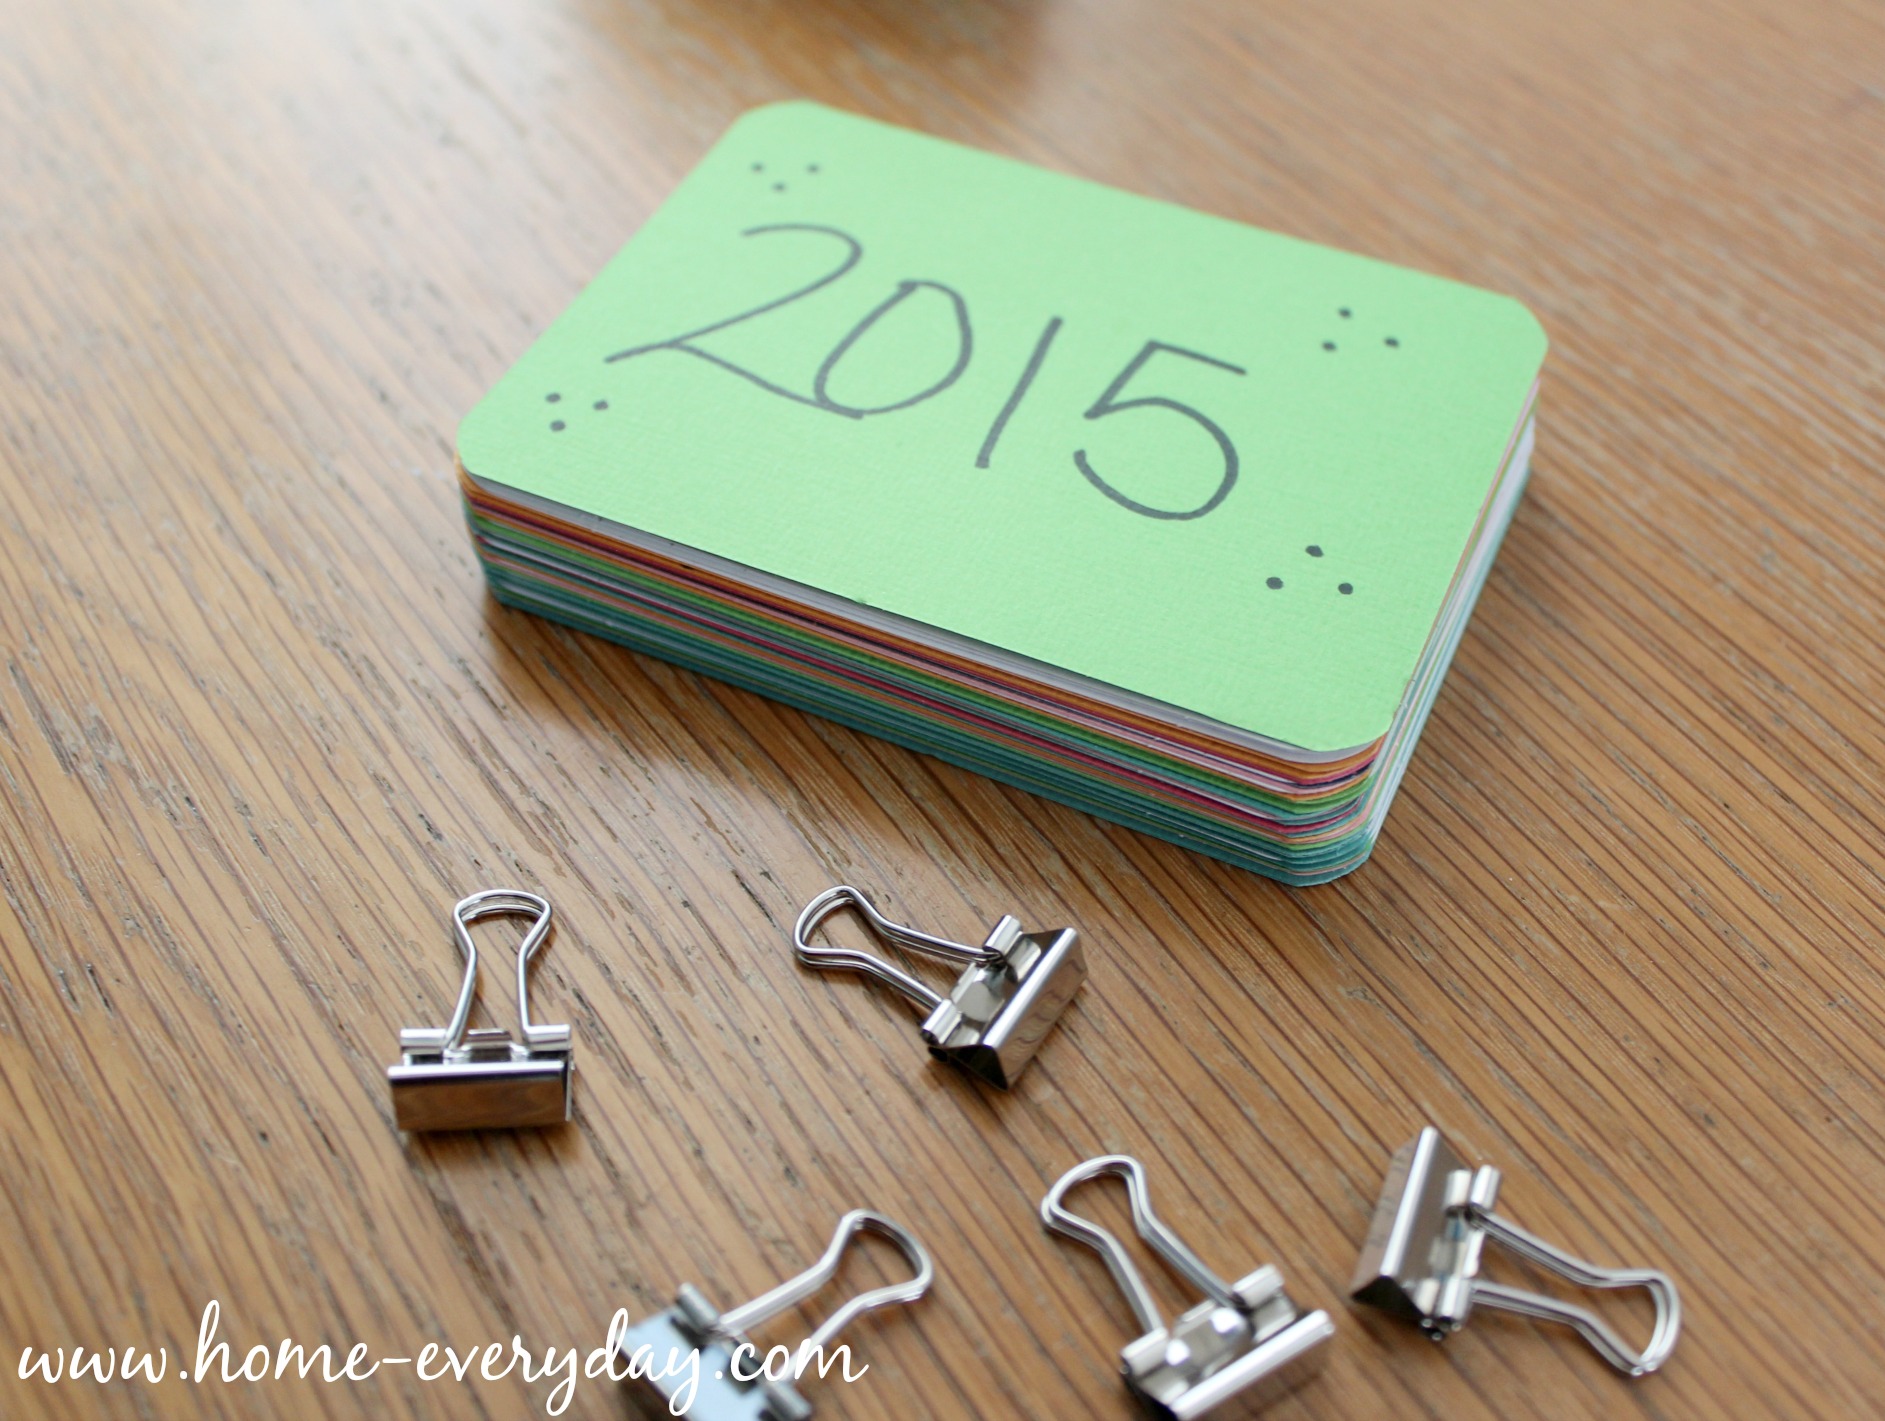
The fact that this happens to me every morning scares me. Which is why, in addition to using my phone, a DSLR, writing kids’ quotes in the notes section of my smart phone, scrapbooking, creating a photo gallery, and keeping both a digital and written calendar to capture events and milestones, I decided to write some memories down when I remembered and placed them in our 2015 Good News Jar.

I have found over the course of the year that writing these things down has served three purposes:

  1. I am infinitely more grateful for what I have.
  2. I am able to recall smaller things.
  3. I have a year’s worth of notes to put in a scrapbook some day.

Good News Jar ReCap 2

Some memories are pretty significant and might have been remembered anyway because of their significance or  the photos we took or because it was something that was all over the news:

Blackhawks win the Stanley Cup! Celebrating with our friends has been our favorite part! WOOHOO!

But most of my favorite memories that were written down were things that I probably would not have remembered otherwise.

It has snowed all last night and today. Sunday School has been cancelled and it looks like school tomorrow will be cancelled too. Time to play in the snow while Daddy snow blows the driveway and Mommy makes snacks for the Super Bowl.

To be honest, I was pretty surprised at how often I found myself writing down little tidbits about our lives. Often times the moments I chose to write down were small every day occurrences that would not have been captured on a camera:

After some hard practice, George moved to the next level of sight words at school. He learned that hard work does indeed pay off. Good boy, Big G. We love you!


Good News Jar 4

And while they might not be captured on digital film or be considered conventional milestones:

Family Date Night: We went and saw Big Hero 6 and we all loved it. Now we have a secret family handshake. Ba la la la la.

These are definitely moments that are worth remembering:

Russell lost a tooth at school.

I am grateful I kept this resolution, because now I have all these memories written down where I can remember them. Memories that might have otherwise been forgotten. I am so grateful I kept this resolution, that I think I will begin calling this our Gratitude Jar as we head into 2016. It has meant so much more to me than a few extra pounds shed or an organized closet. I cannot wait to read all the cards we write in 2016.

Good News Jar 3

Readers, talk to me! What are some events, moments, things you are grateful for in 2015? What are some goals in 2016? Is one of them to just write some memories down on index cards?


We Don’t Have to Sneak Cereal Anymore

This shop has been compensated by Collective Bias, Inc. and its advertiser. All opinions are mine alone. #AwakenYourTastebuds  #CollectiveBias

When I was a kid there were a few things we were obsessed with: playing whiffle ball in the backyard, getting to sleep on the screened in porch in the summer, cereal, and Star Wars™. I think the main reason why we loved cereal so much is because it was a perfect food for before school, after school, and for when we were watching movies like Star Wars™ late at night.

However, my Dad was an extremely frugal man. So frugal, in fact, that he had a brown expandable file folder dubbed the “coupon caddy.” He lived by a few simple rules, one of them being: Never Pay Full Price. When you’re a kid of the 80’s and 90’s and you have a stodgy Dad, this was not cool, and hipstery, and Pinterest worthy like it is now. It was a bummer. Sometimes it meant being deprived of our favorite cereals.

Star Wars Gift Basket and Snack Mix4

When I was about six years old, and my older siblings were teenagers old enough to be left in charge, my parents went out for the night and left us some money for dinner. Rather than order a pizza or grab fast food, the older ones had the genius idea to walk up to the store and get our favorite cereals. You know kids love cereal when they have cash for dinner and a million different options, and they still would rather walk to the store to get whatever cereal they like. Afraid our parents would be upset with our breakfast for supper choice, we hid the leftover cereal in our toy closet. Then, forgot it was there. Months later, Dad found it when cleaning the toy closet, and instead of being in trouble laughed at our cleverness.

Now, that we are adults and don’t have to sneak cereal anymore and the new Star Wars™ movie is days from being released, I had a genius idea!

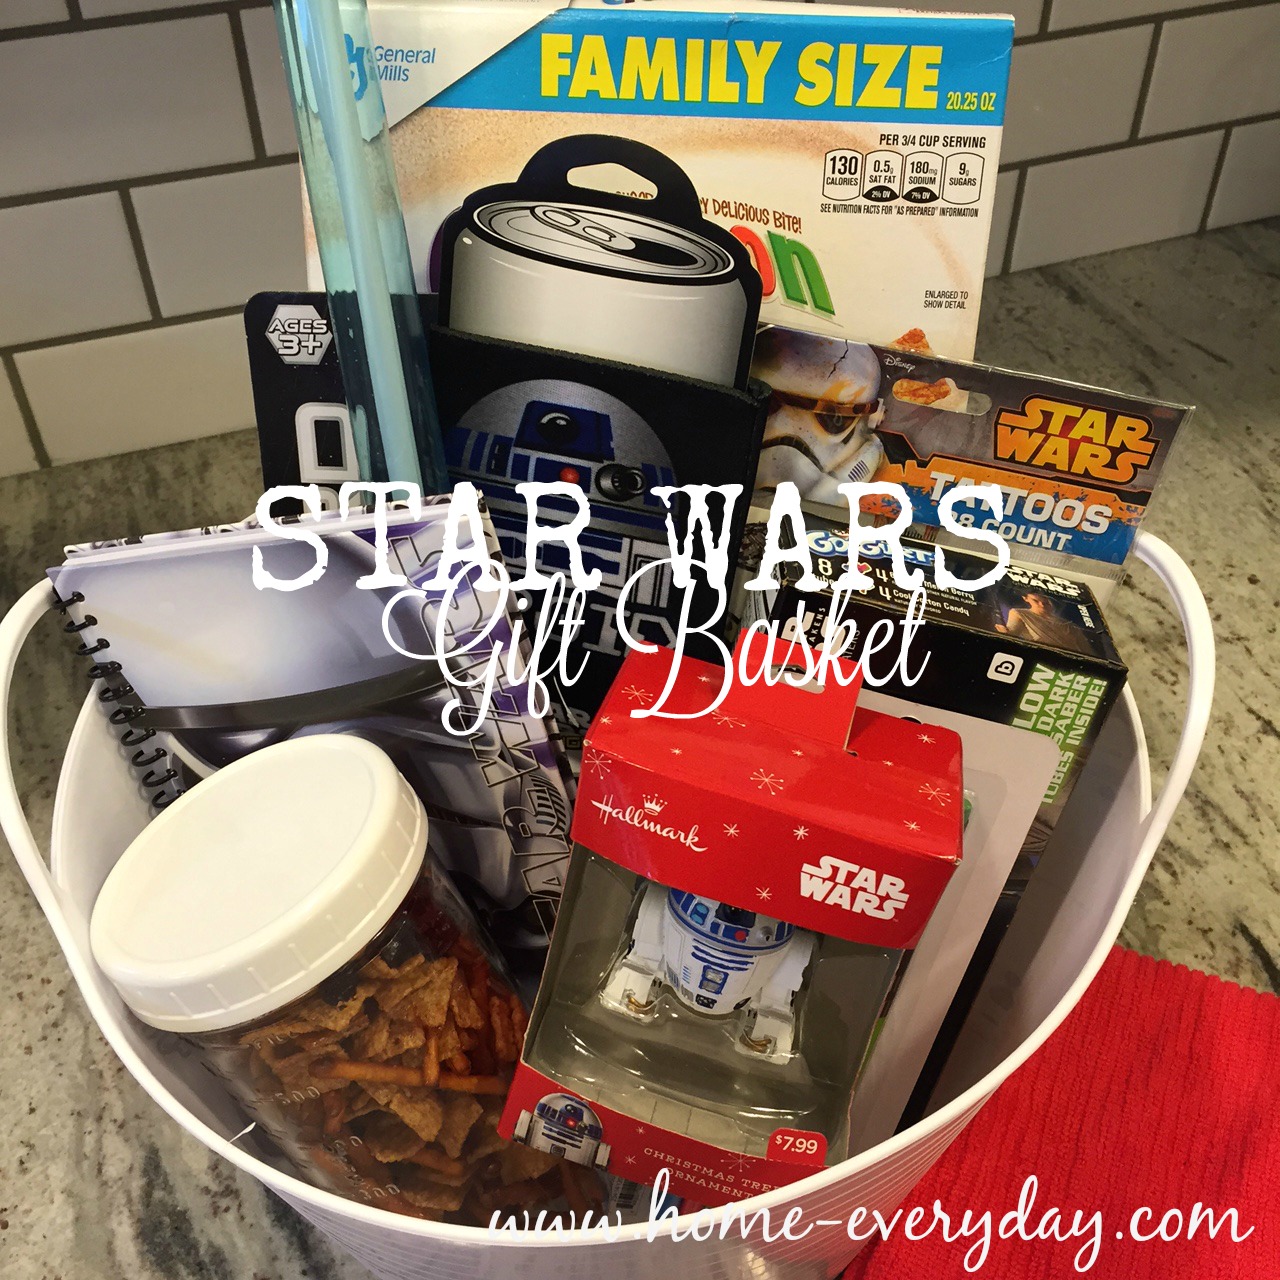
Star Wars Movie Gift Baskets for my Star Wars™ and cereal loving siblings!

Star Wars Gift Basket and Snack Mix 3

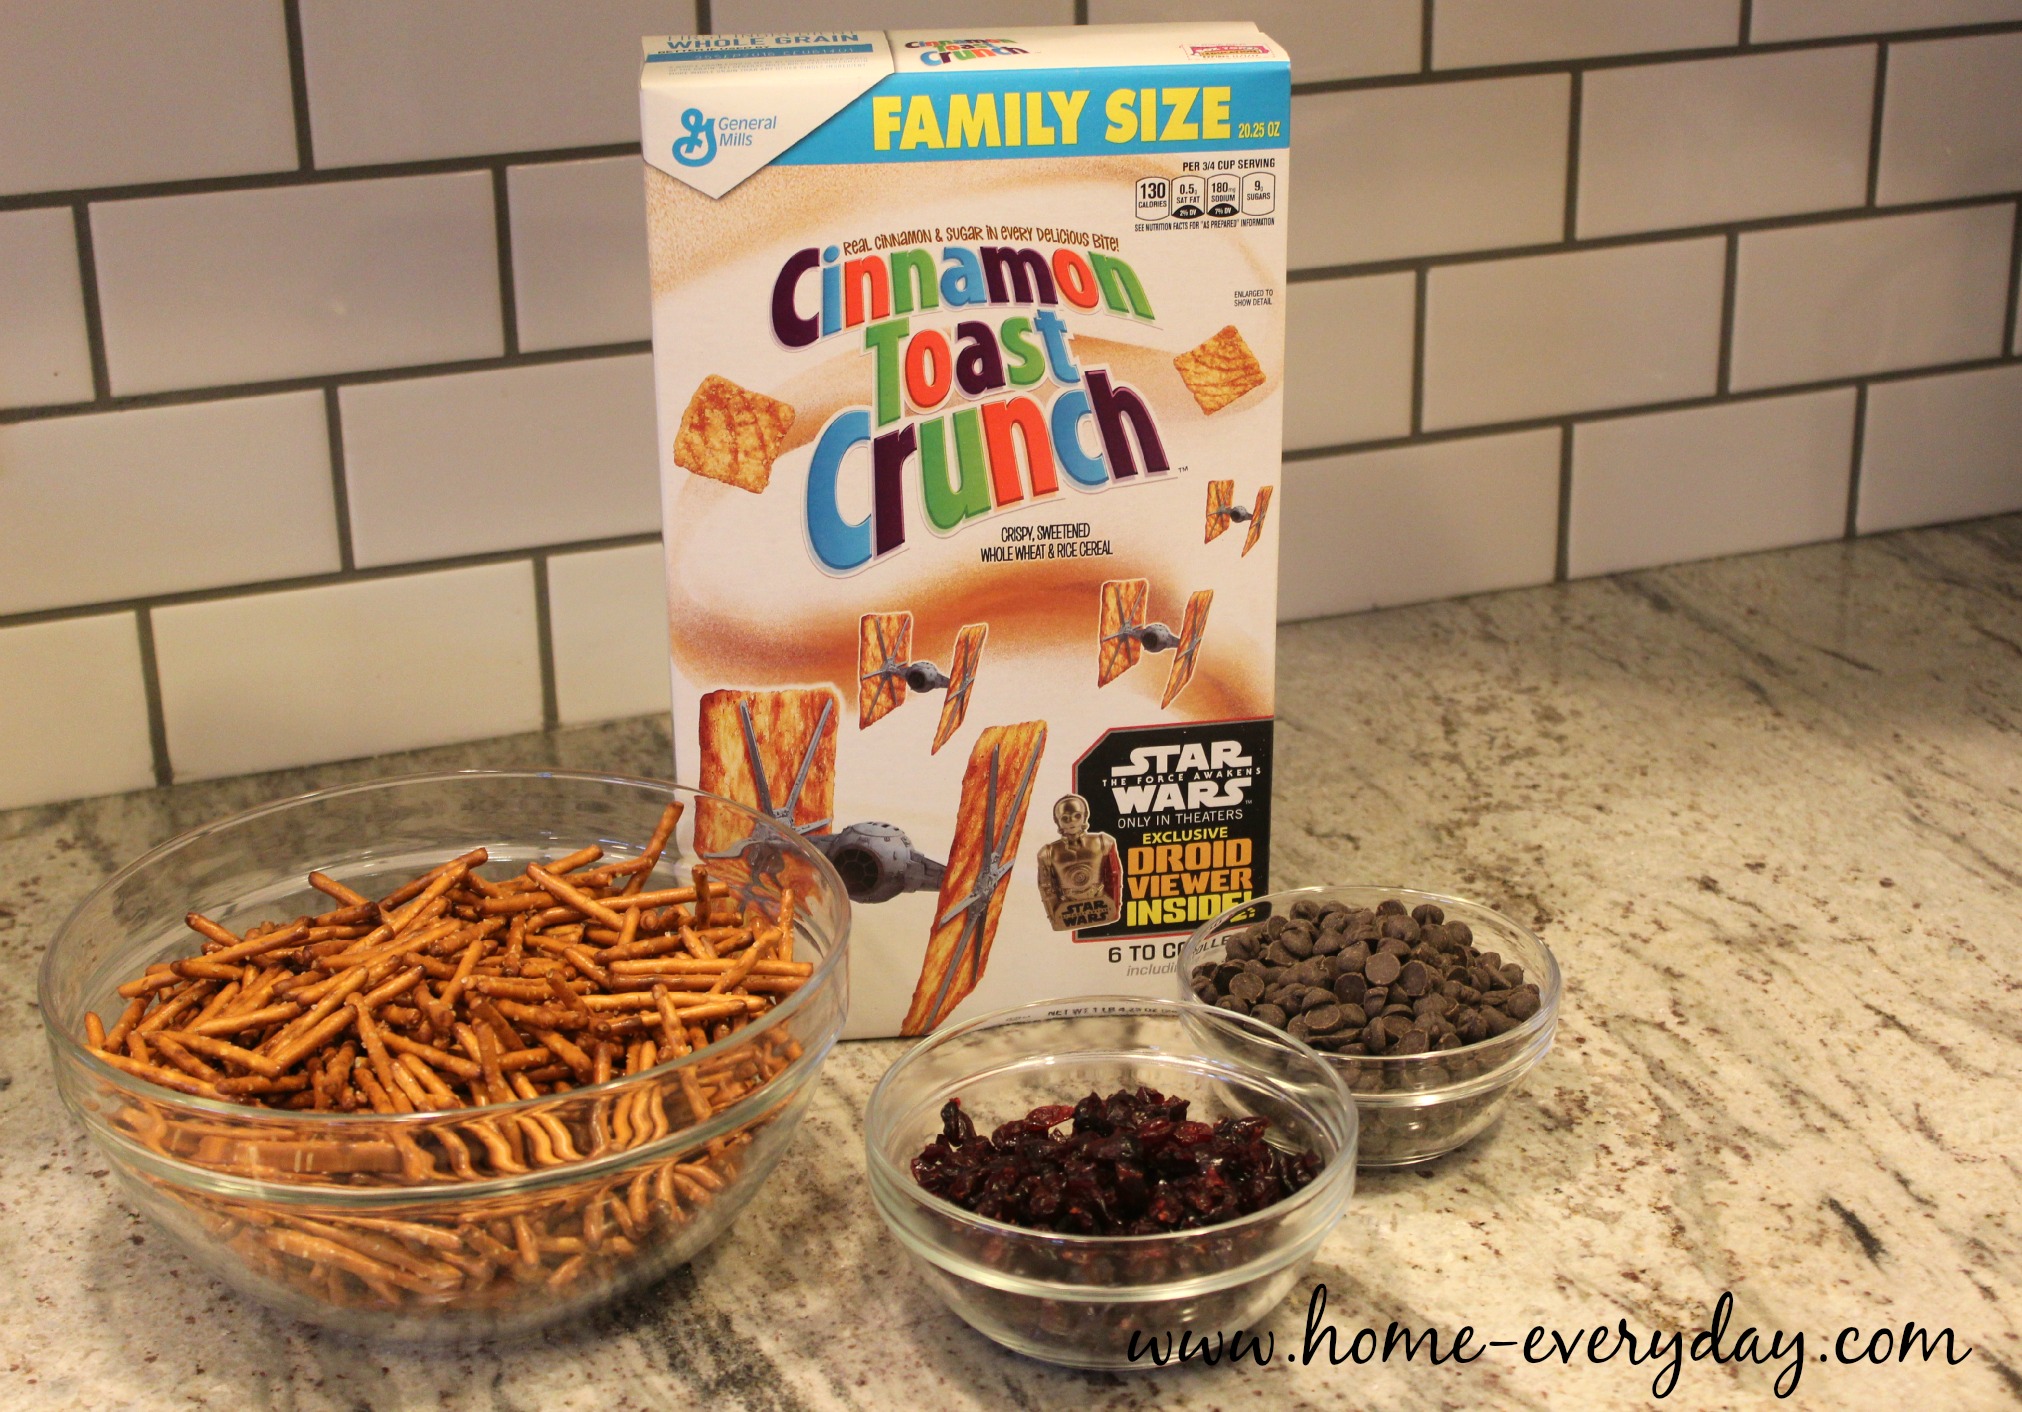
At Walmart, I found Star Wars™ Cinnamon Toast Crunch Cereal®, Star Wars™ Go-Gurt®  along with a bunch of other fun Star Wars™ cereal products and a few other things to surprise my brothers and sister.

Star Wars Gift Baskets and Snack Mix Star Wars Gift Baskets and Snack Mix 1

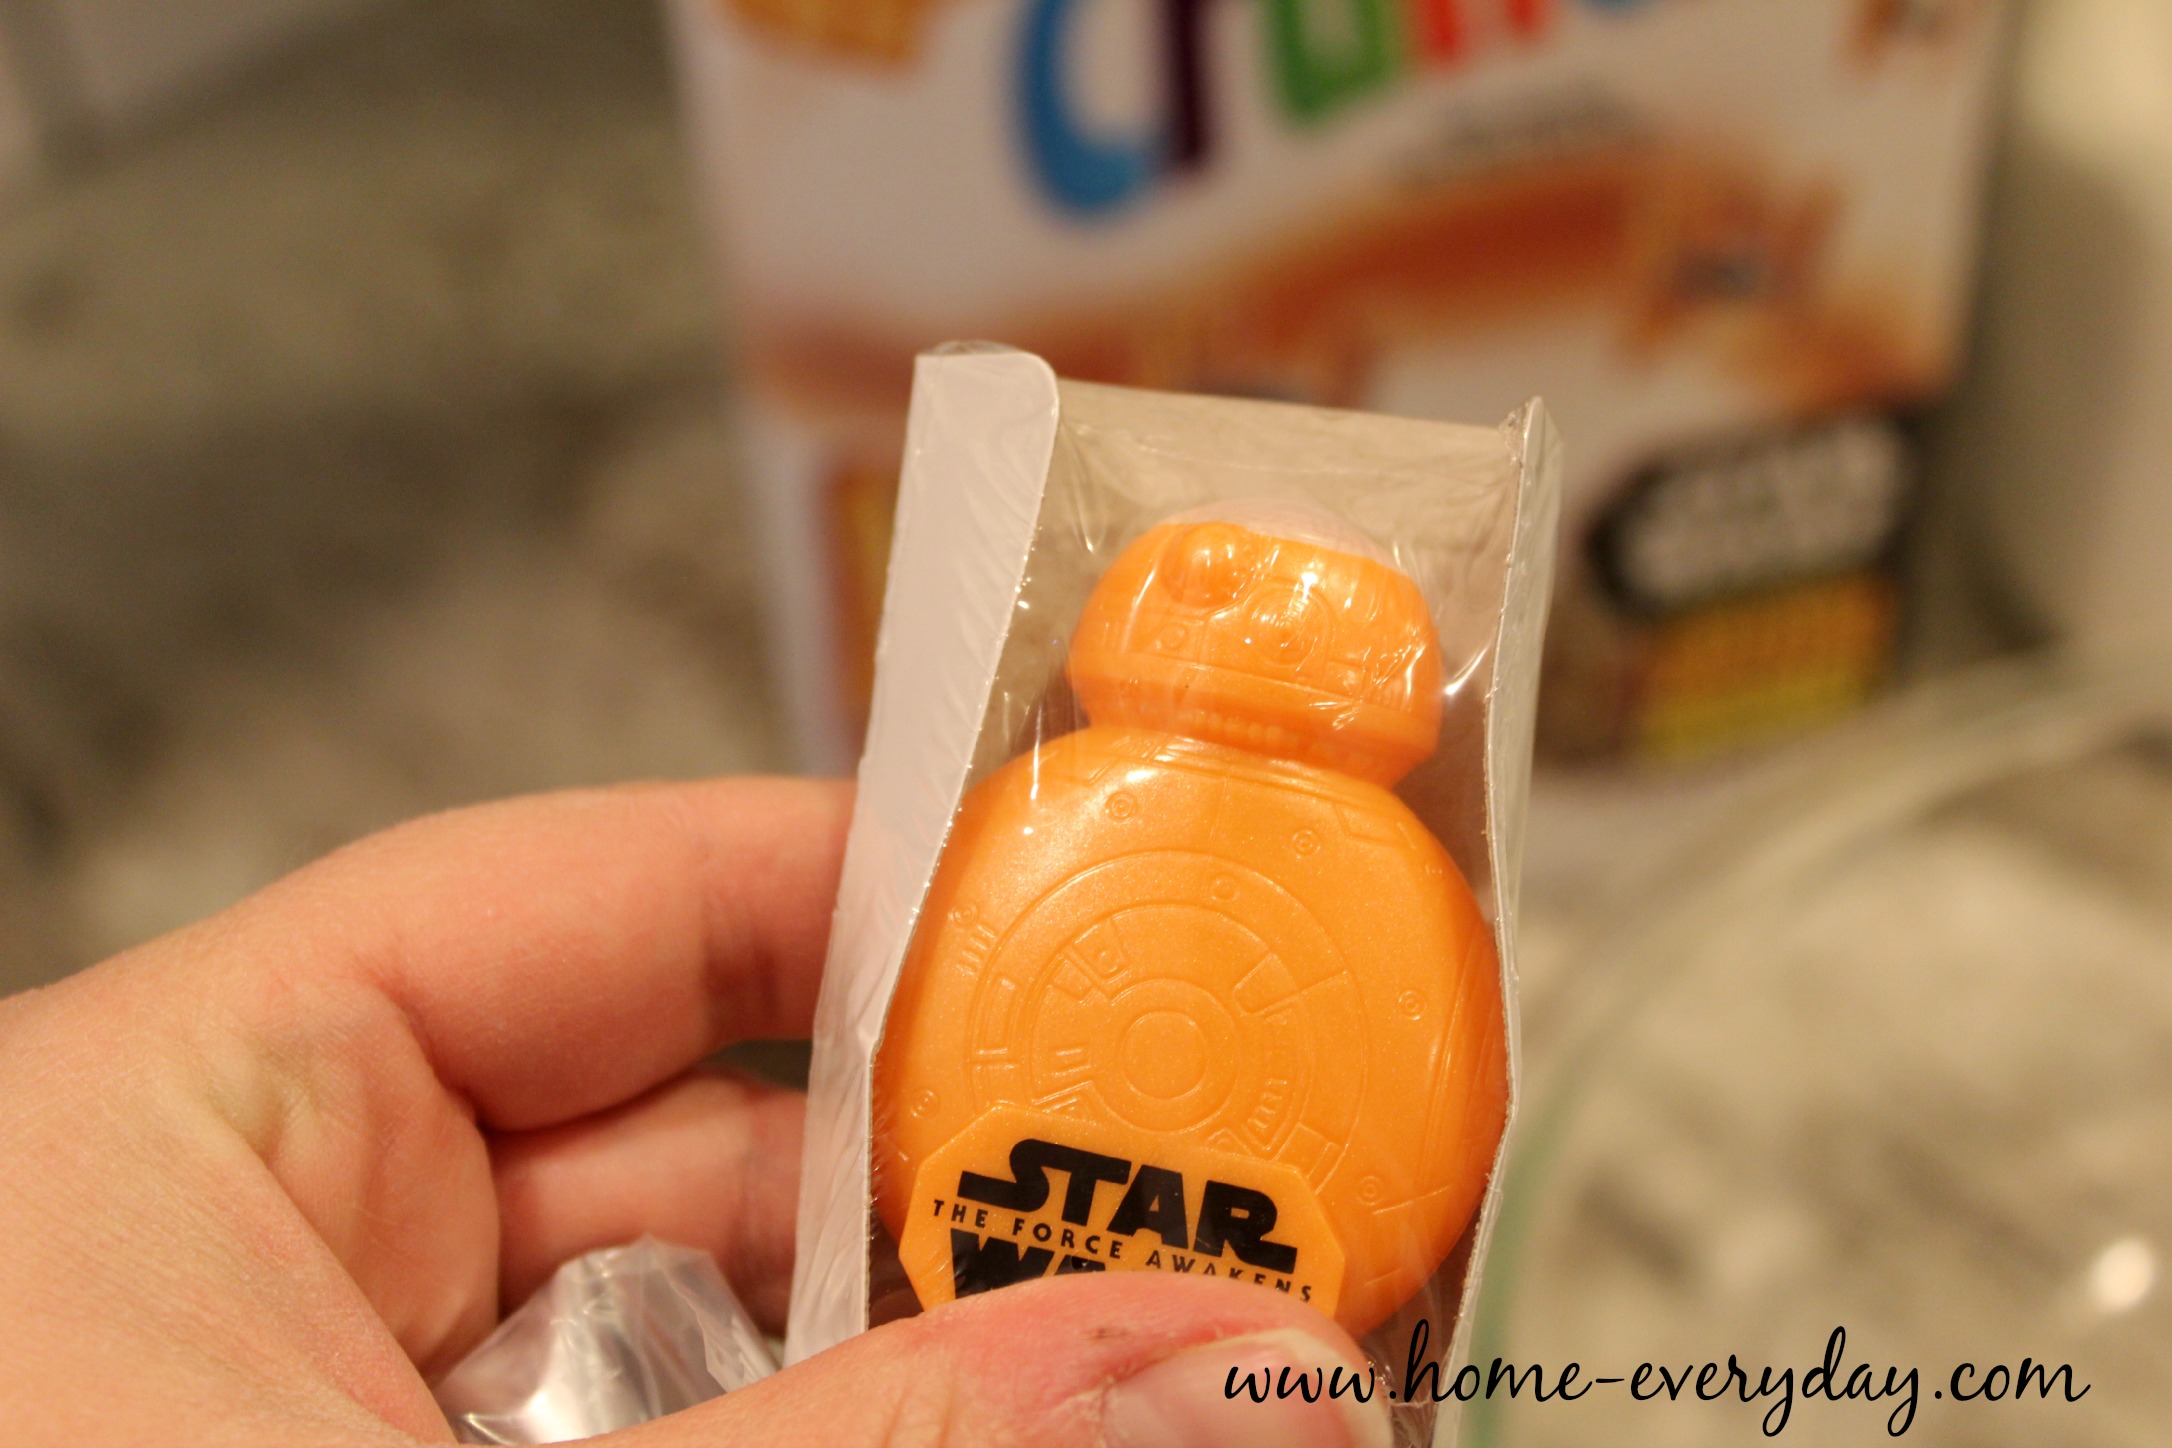
My favorite part of this surprise was that the Star Wars™ Cinnamon Toast Crunch Cereal® came with a droid toy, jus like when we were kids.

Star Wars Gift Basket and Snack Mix 5

While I am sure everyone would be happy to just eat a bowl a cereal while watching a movie, I thought upping the ante and creating a sweet and salty snack mix for this time of year to add to their baskets would add some seasonal flair while sitting by the tree and watching the original trilogy and gearing up for the new movie.

Star Wars Gift Basket and Snack Mix 14

Cinnamon Toast Crunch Snack Mix

5 cups Cinnamon Toast Crunch Cereal®

5 cups any shape pretzels (I used pretzel sticks)

2 cups dried cranberries

1 1/4 cup dark chocolate chips

1 stick of butter melted

Star Wars Gift Basket and Snack Mix 6


Preheat oven to 325 degrees.

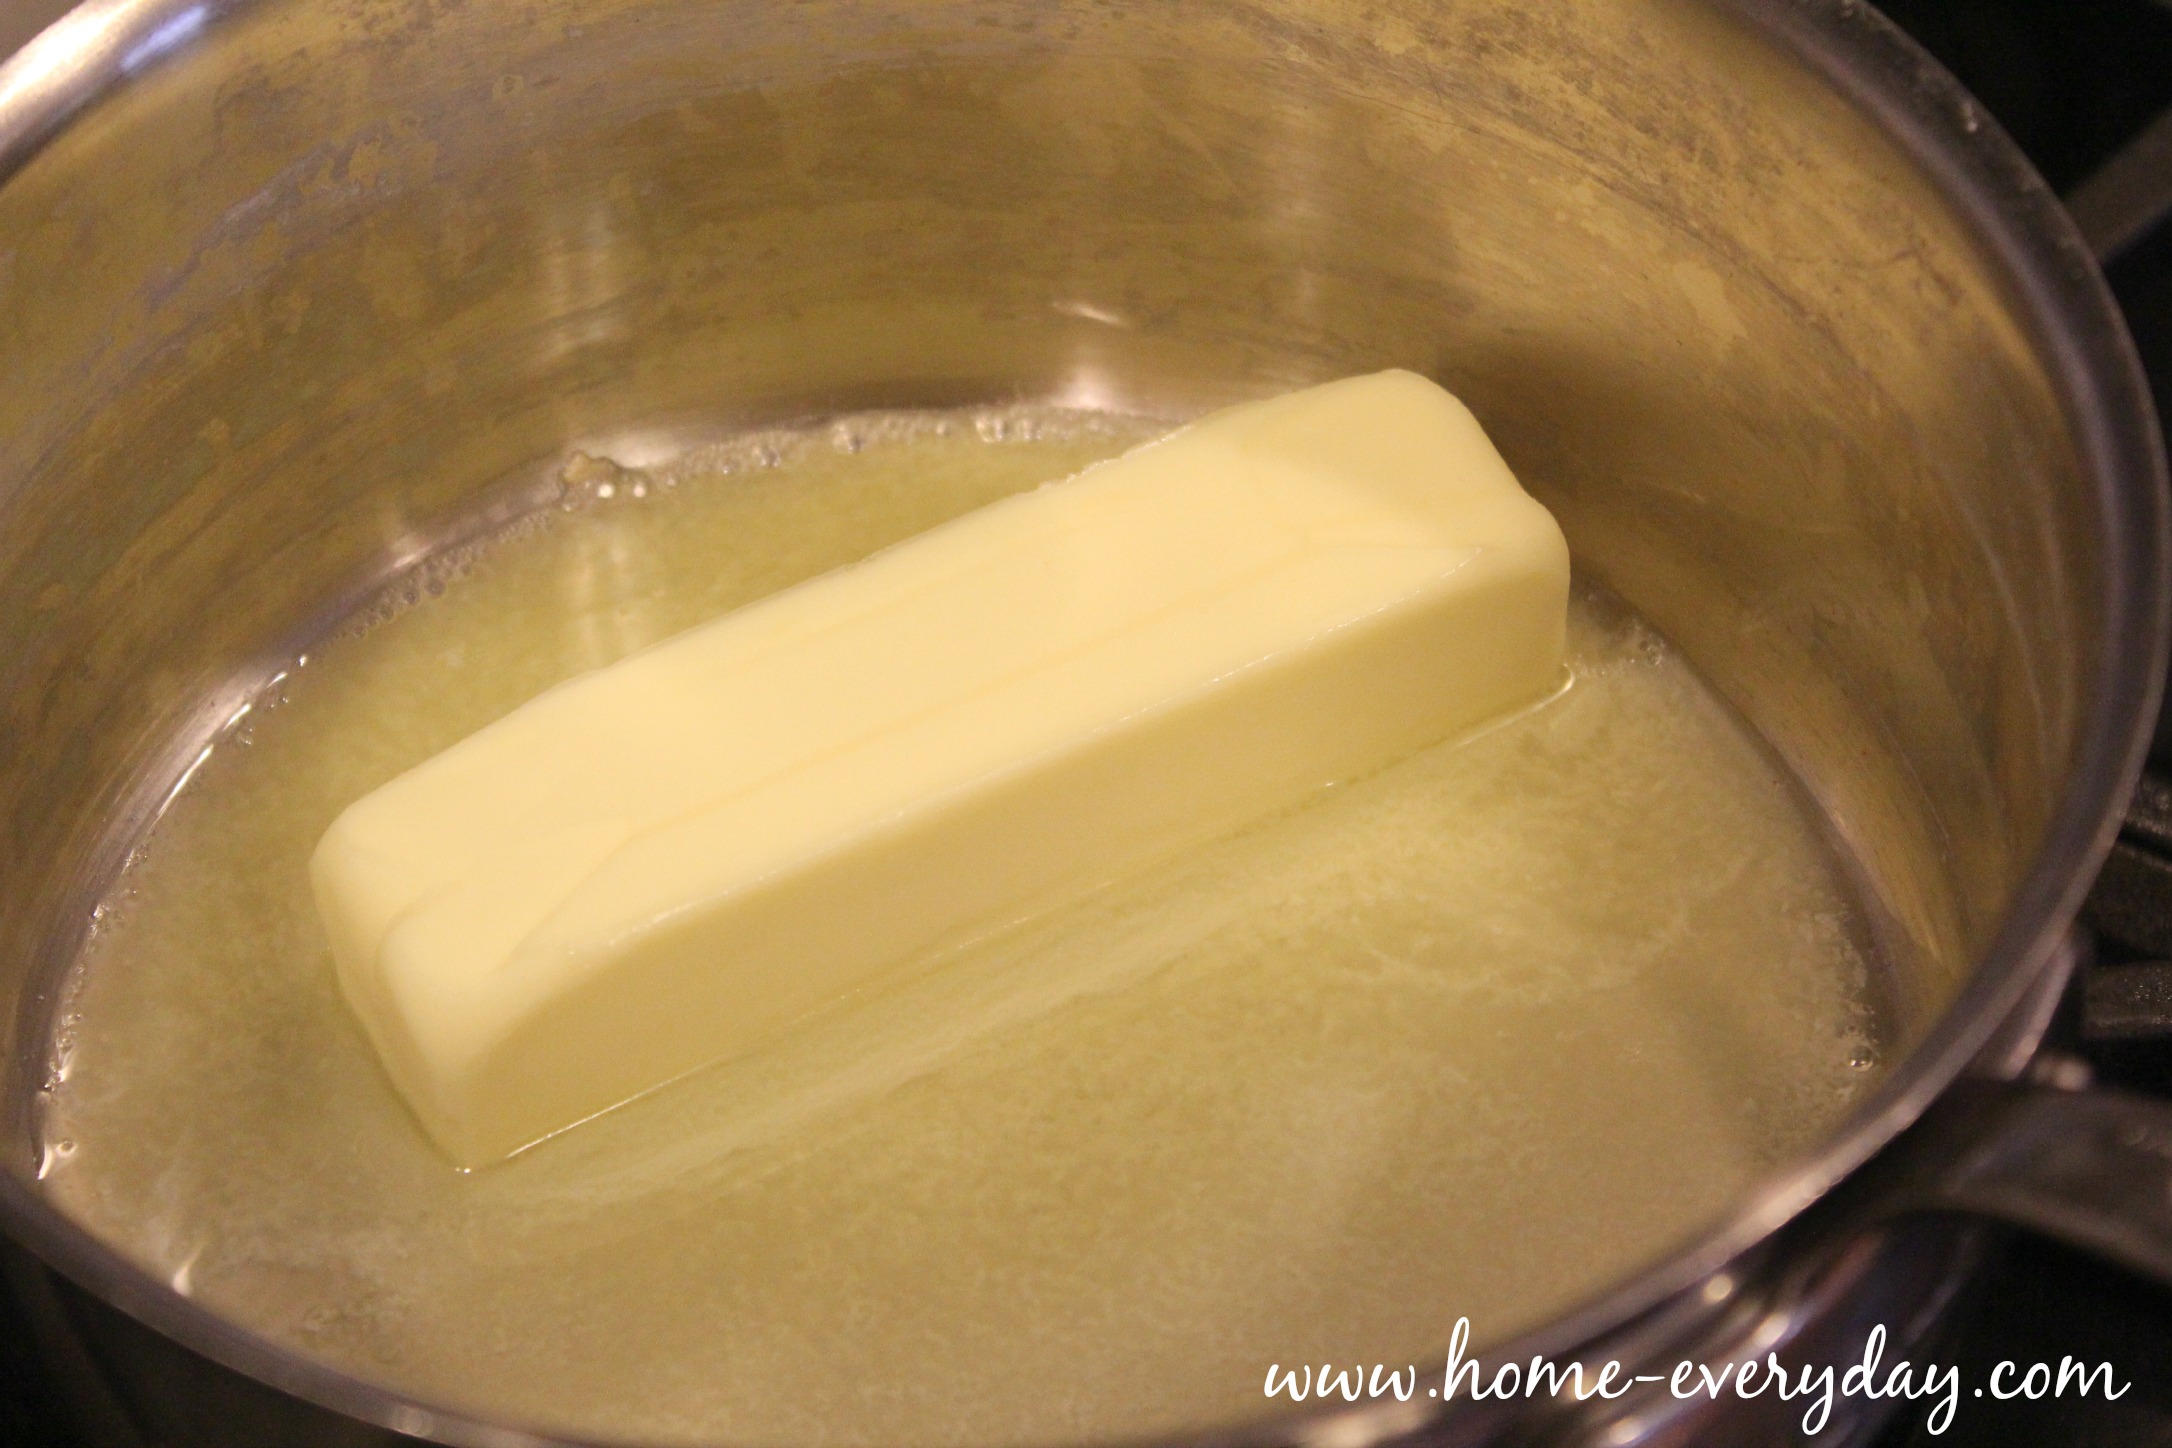
Melt butter.

Star Wars Gift Basket and Snack Mix 8

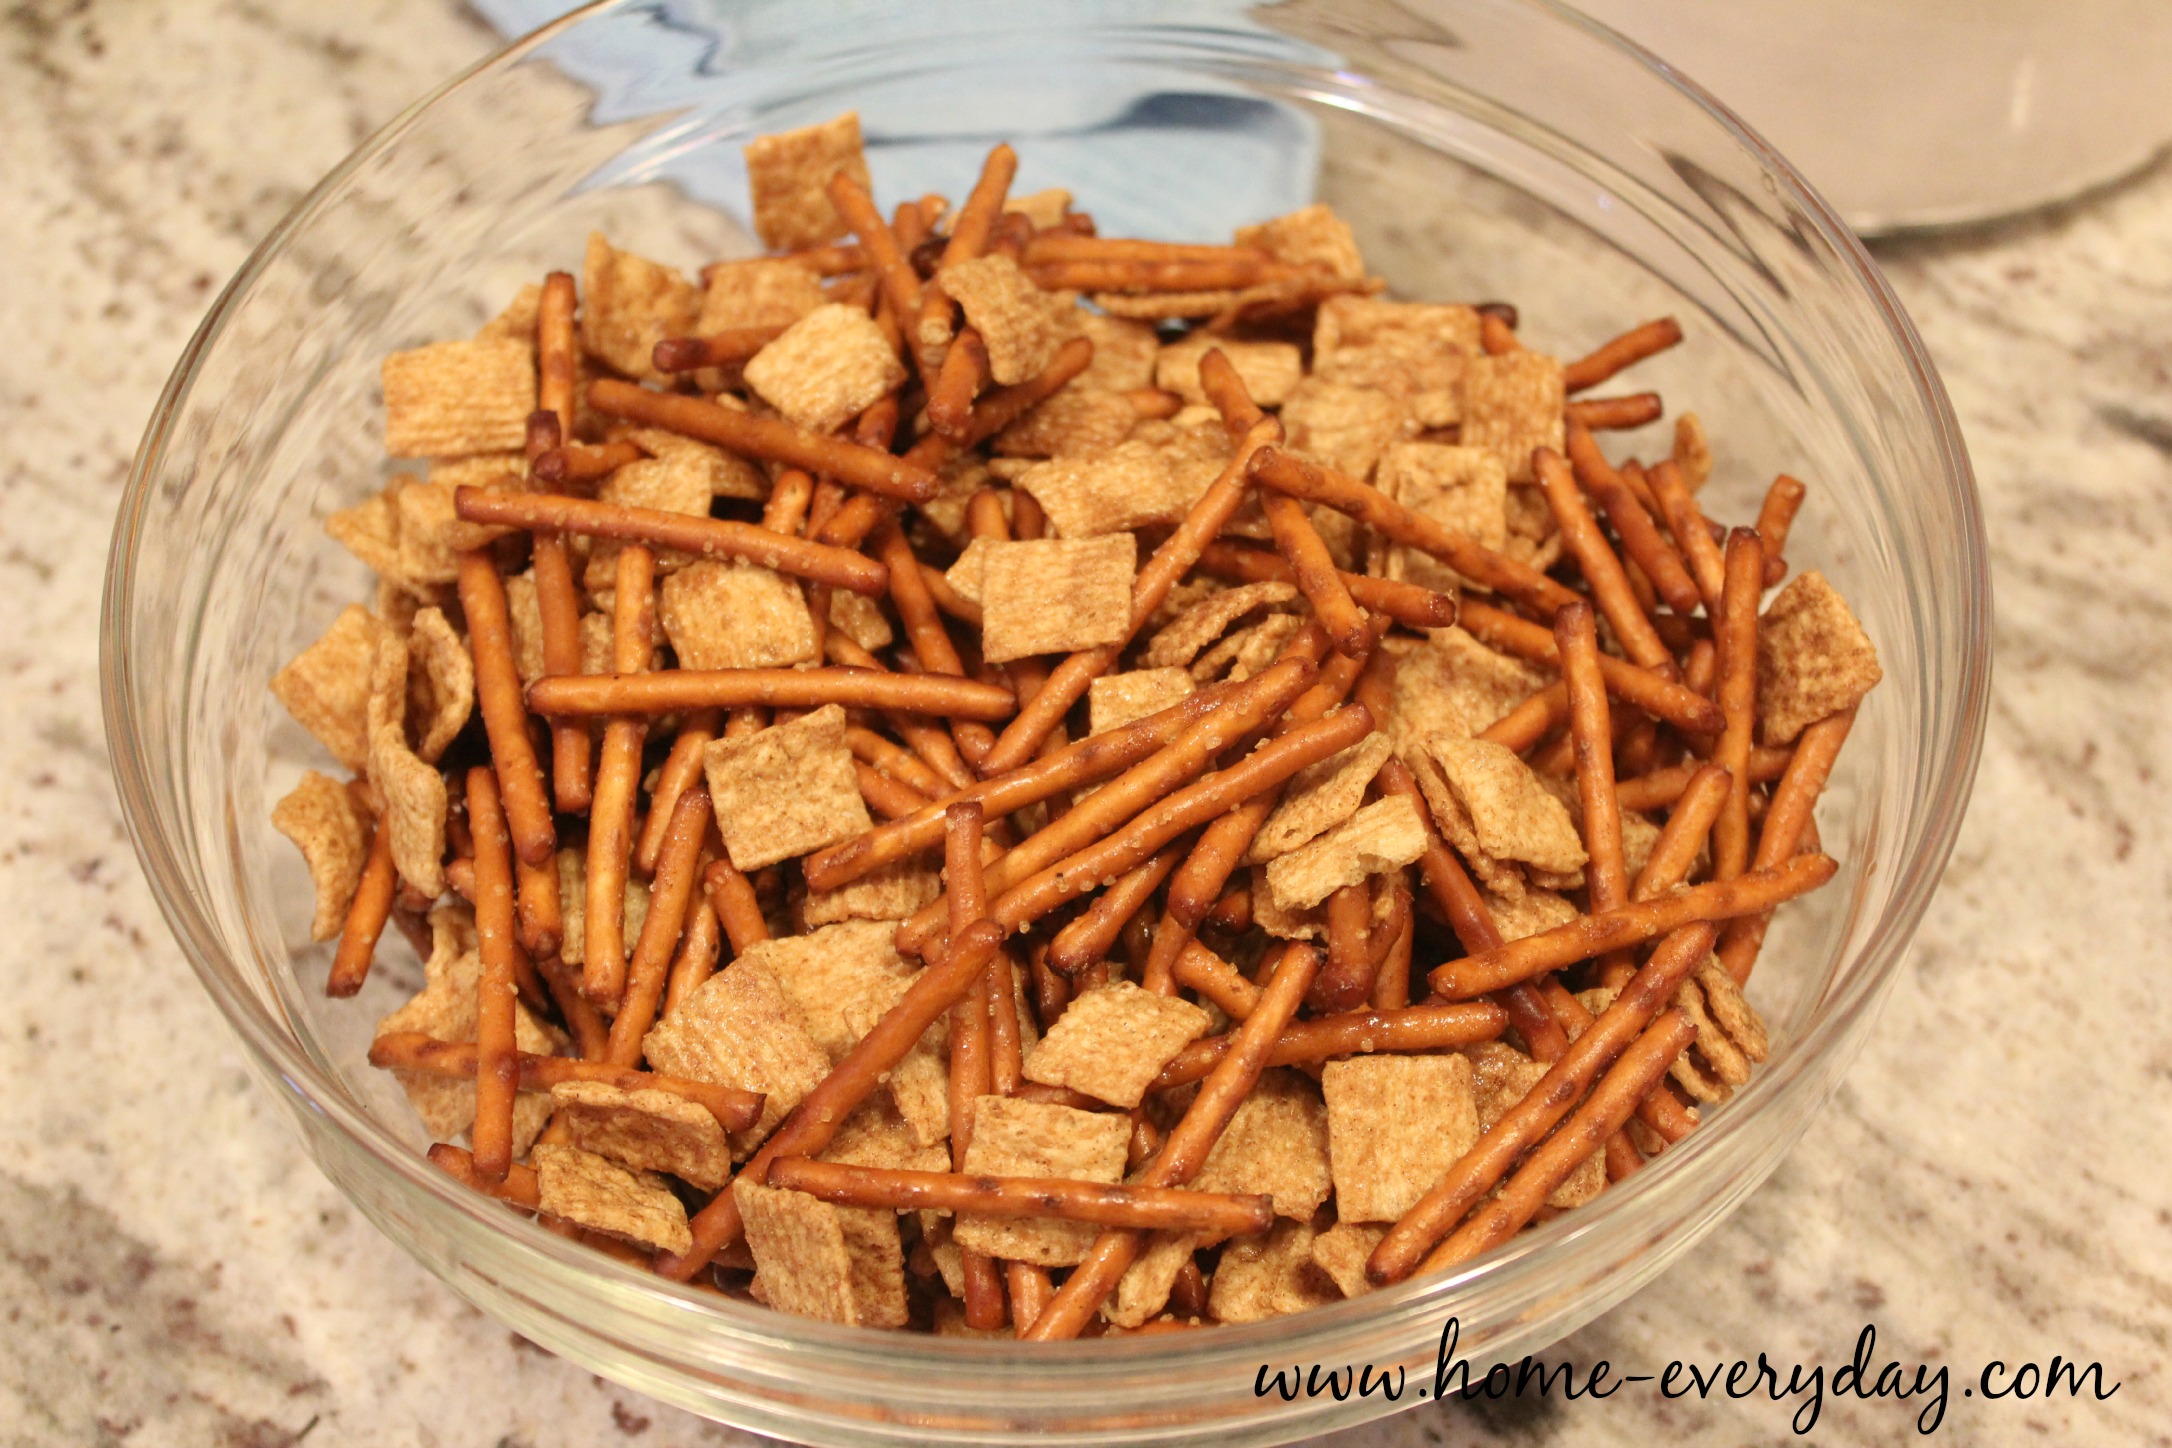
In a large bowl, add Cinnamon Toast Crunch Cereal® and pretzels.

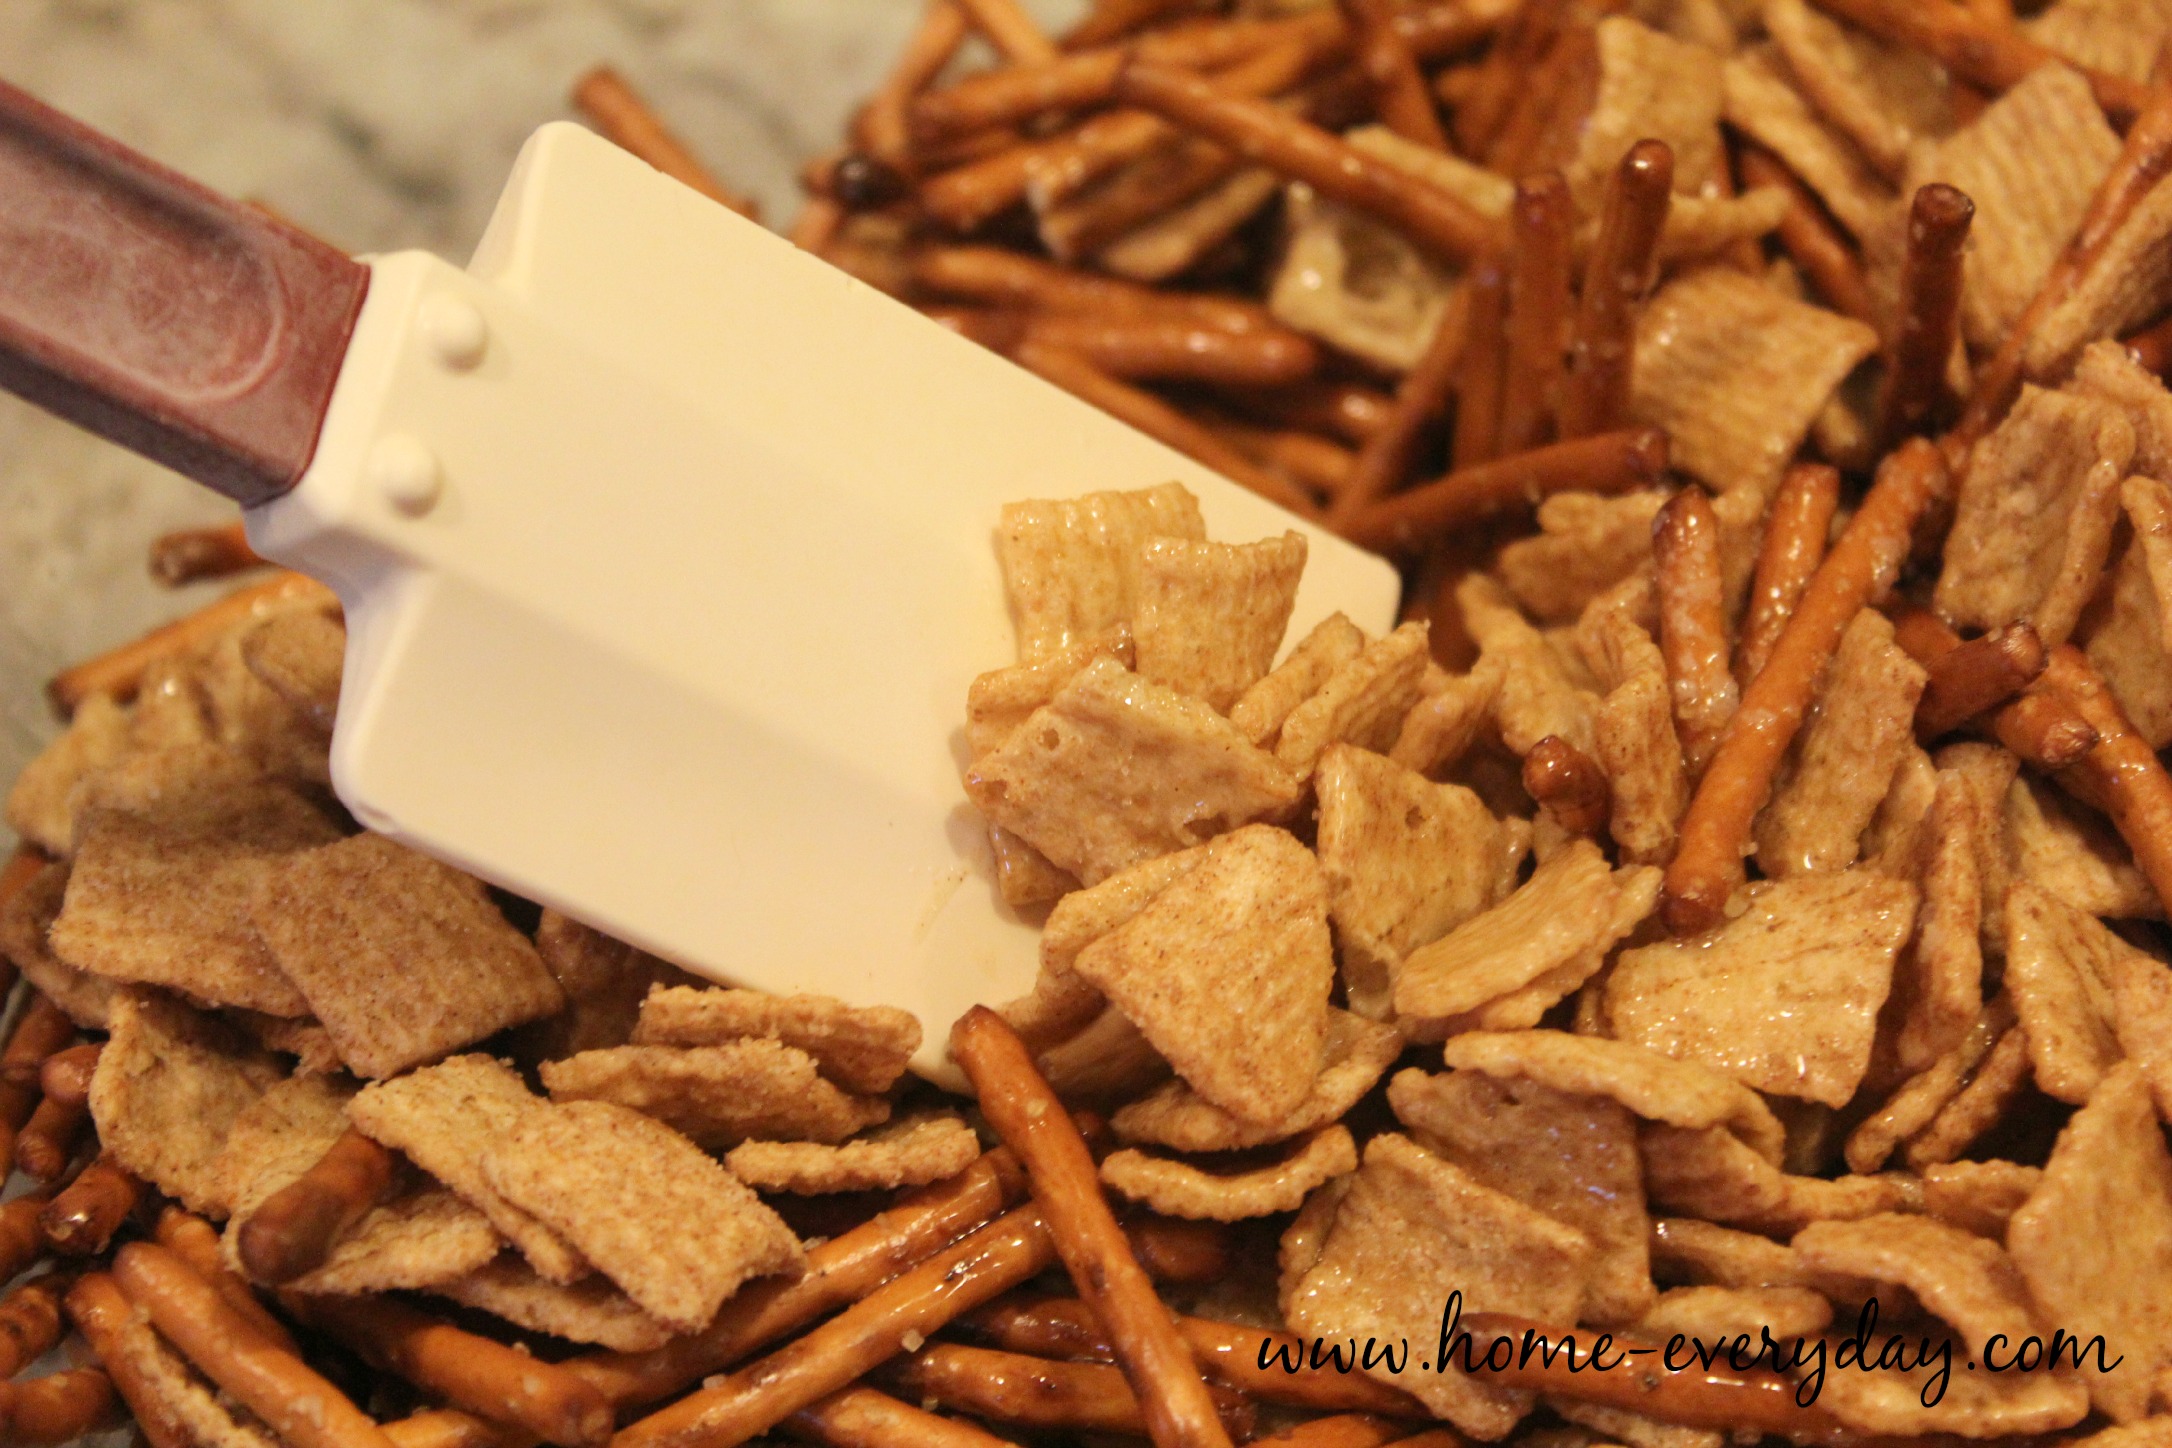
Pour melted butter over the cereal and pretzels and toss gently until all the pieces are coated.

Star Wars Gift Basket and Snack Mix 9

Place the cereal and pretzels on a baking sheet, and place in the oven and bake for 12-17 minutes.

Star Wars Gift Basket and Snack Mix 10

Remove from the oven and place in a clean bowl to cool to room temperature.

Star Wars Gift Basket and Snack Mix 11

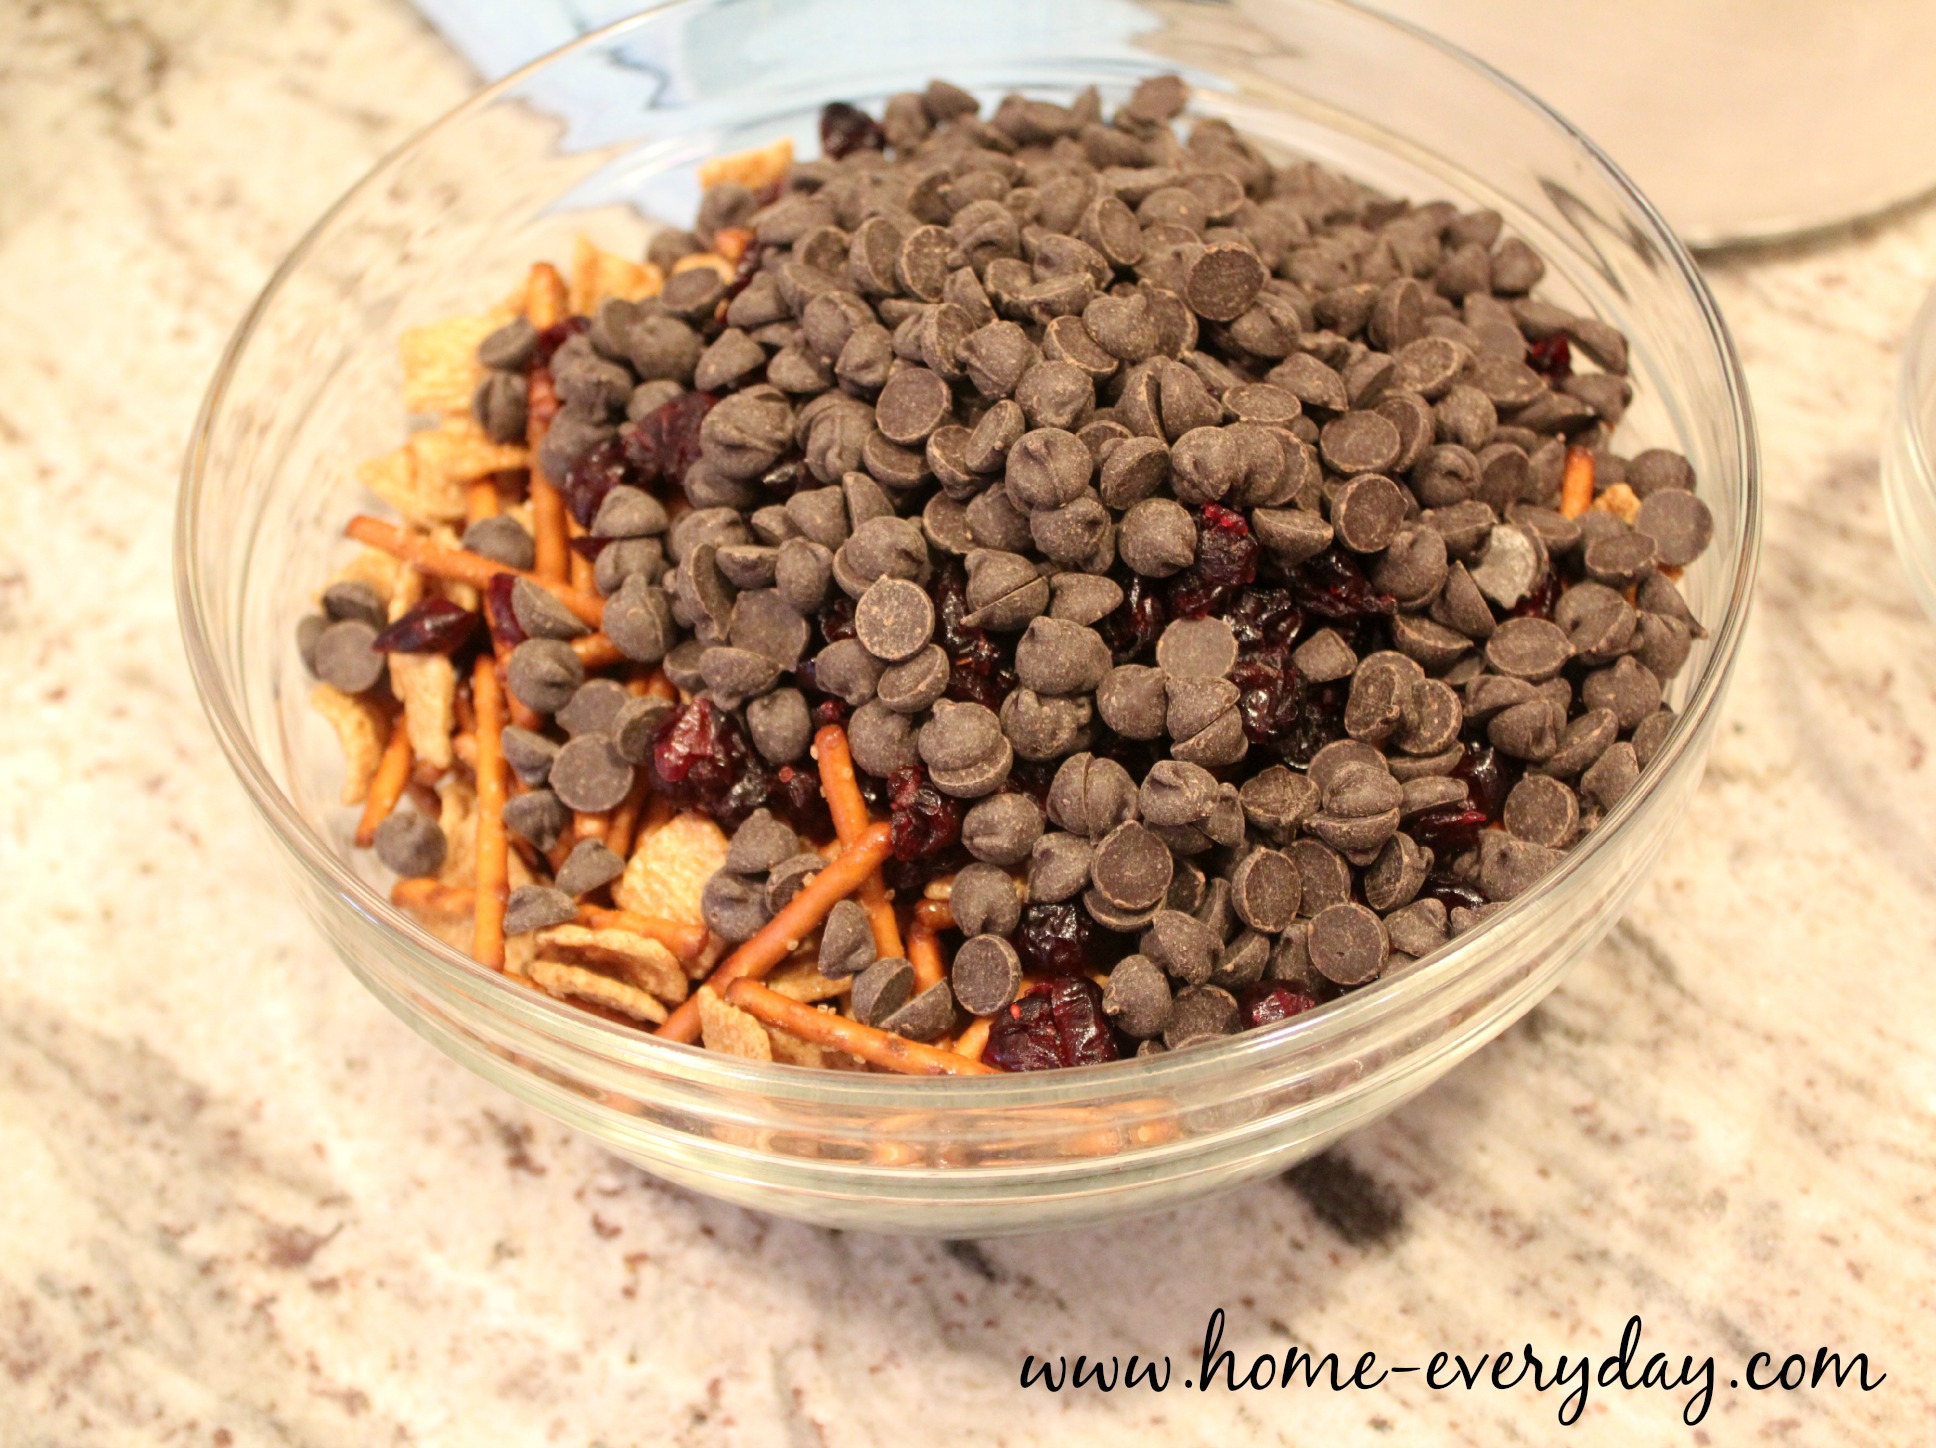
When the mixture is completely cooled, add the dried cranberries and chocolate chips, and then toss it together.

Star Wars Gift Basket and Snack Mix 12

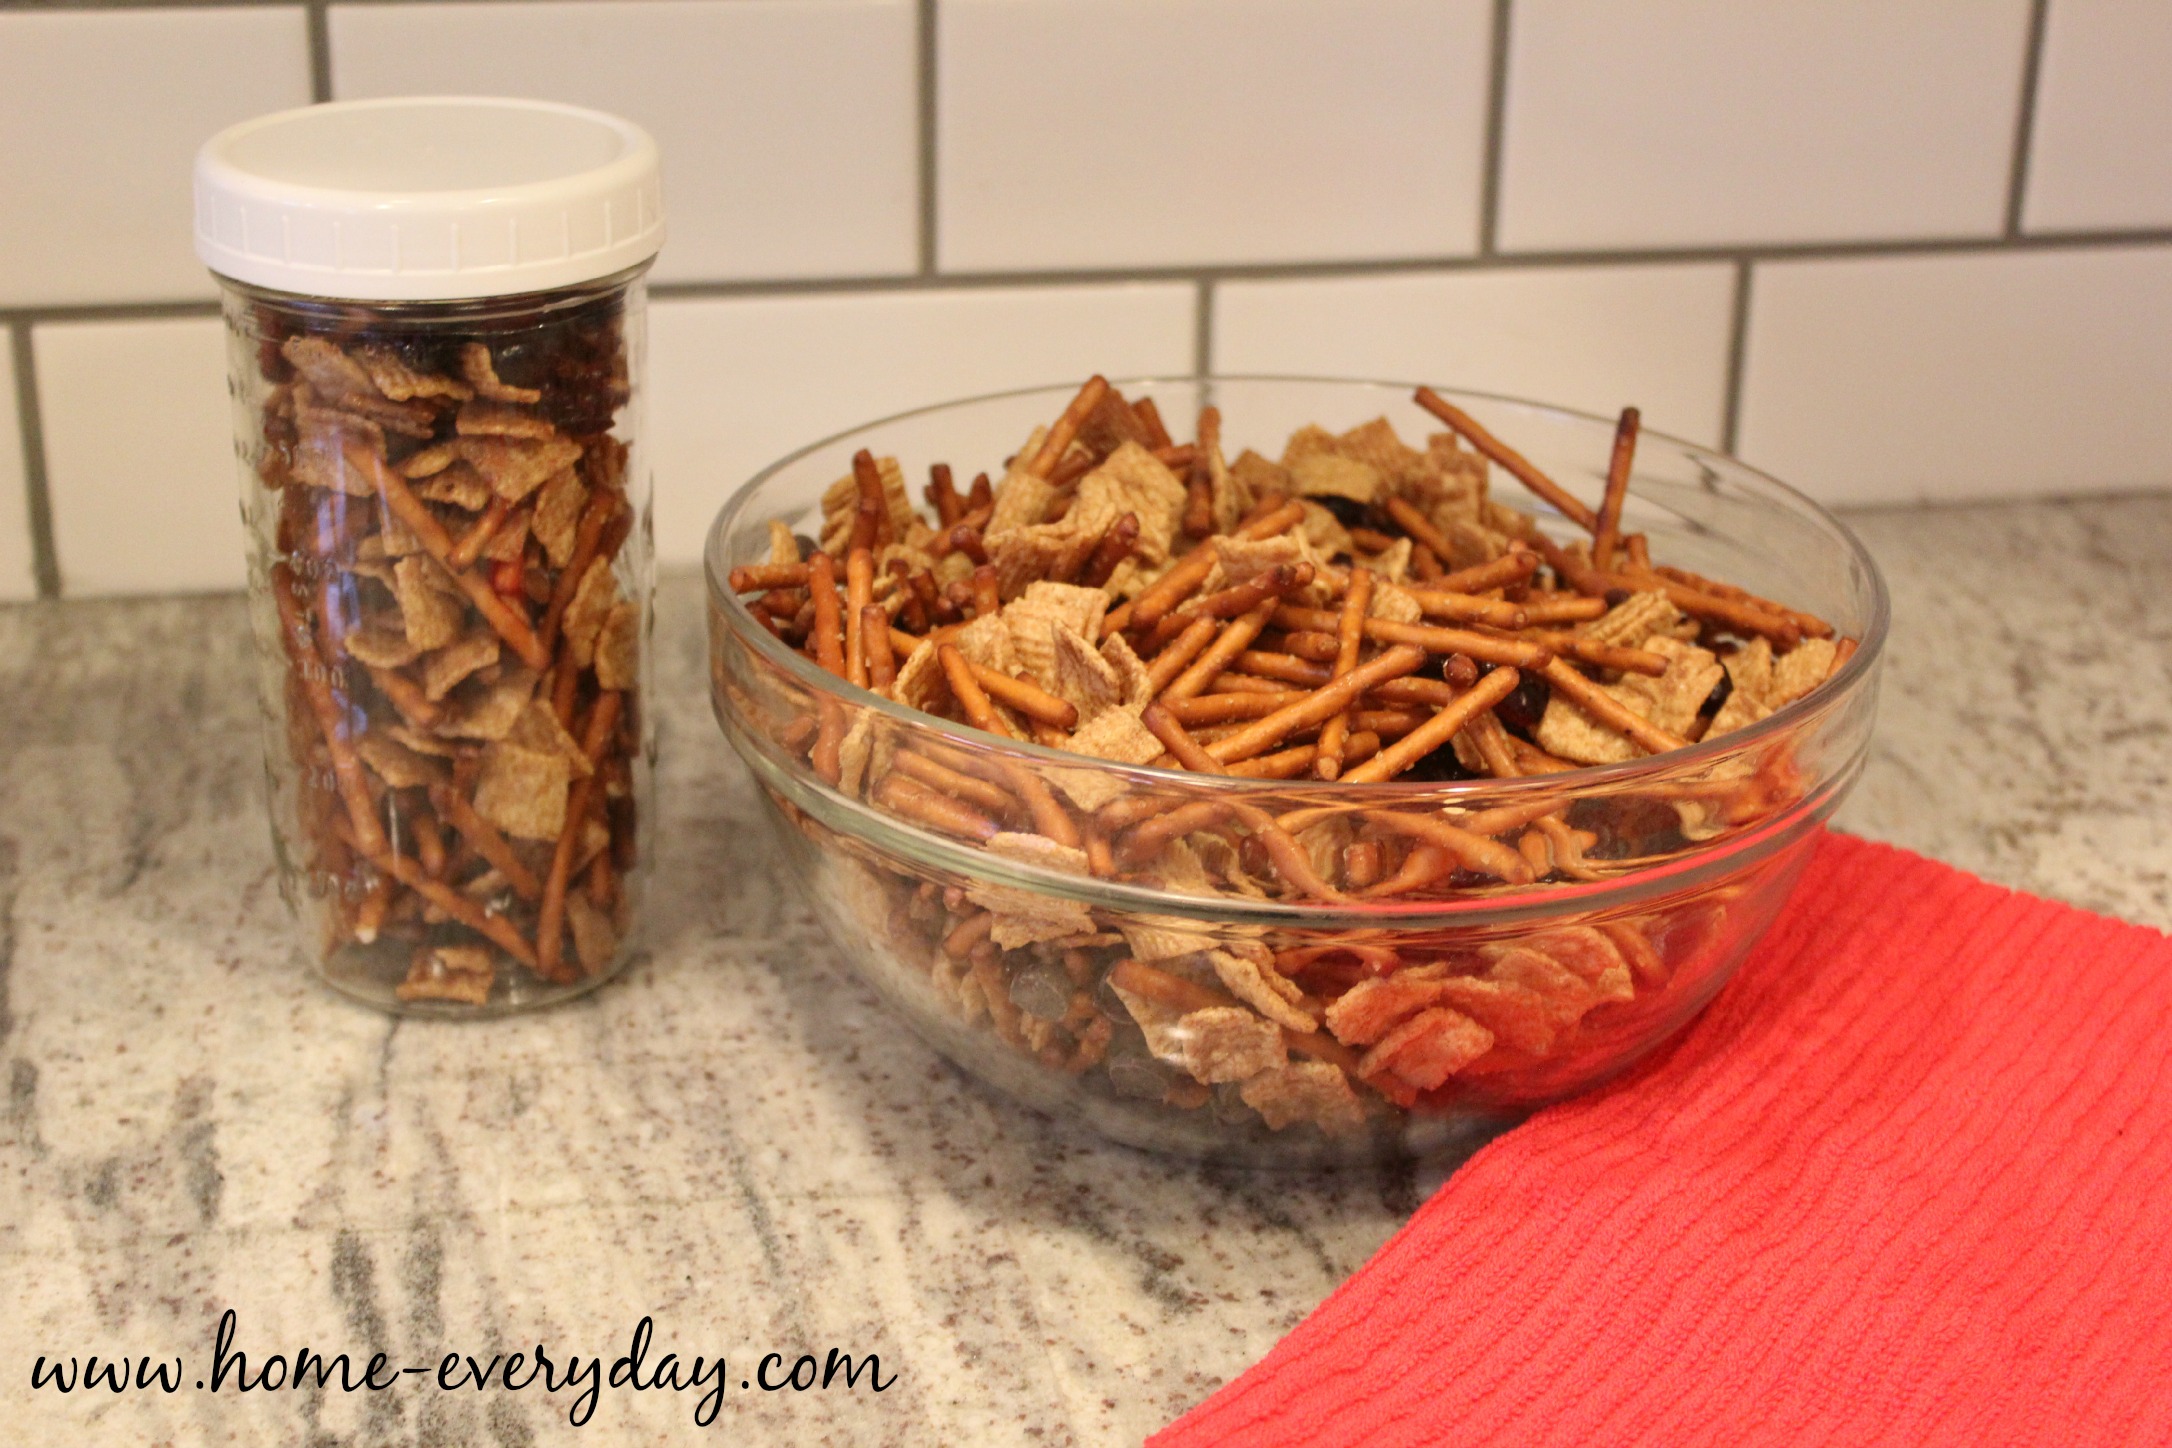
Store in an airtight container (I used a Mason Jar for easy transport) or serve immediately.

Star Wars Gift Basket and Snack Mix 13

Are you going to hunker down the new few nights and watch Star Wars™? Do you have a favorite cereal you can eat any time of day? For more ideas for movie cereal treats, you can visit General Mills.

Advent Calendar: Our Kindness To Do List

If there is one thing you should know about me, it is I adore the Christmas season. Could it be because my birthday happens to fall during this magical time? Maybe. Could it be because I love putting up strings of lights, baking countless amounts of cookies, and writing little notes in cards? Yes. Perhaps it is also because I adore Christmas music, and I can still quote almost every line to It’s a Wonderful Life and Elf. (I have eclectic taste in movies).

Advent Calendar 4

My favorite part of the holiday season though, is “the sparkle” and not just all the glitter ornaments that are adorned everywhere. My youngest and I were talking about Christmas and when I asked her what her favorite part of Christmas was, she said, “My heart feels like warm sparkles at Christmas time.”

While “sparkle” is a very pre-school girl term, I knew exactly what she meant by it. It’s that warm, snuggly, glittery feeling. It’s an almost indescribably warm feeling that exists when you give someone a you love a hug. When you put a letter in a mailbox. When buy someone who is hungry  a cup of coffee and something to eat. When you buy a bag full of groceries at the store and then leave them behind to donate. When you chat with the checker at the grocery store. When you bring cookies for your kids teachers. When you just read a book with your kids even though it is past their bedtime but you just want to soak up some extra time.

Advent Calendar 1

That’s sparkle.

Just like the rest of the year though, December is full of  some “sparkle days” and full some some dull days. Instead of buying stopping and getting a peppermint latte for a friend, some days we are rushing out the door trying to get to soccer and someone forgets a water bottle. Some days I don’t eat until 2 pm because I have too much going on throughout the day, and I end up eating the cookies I planned to give away. Some days instead of wrapping gifts, I fold laundry.

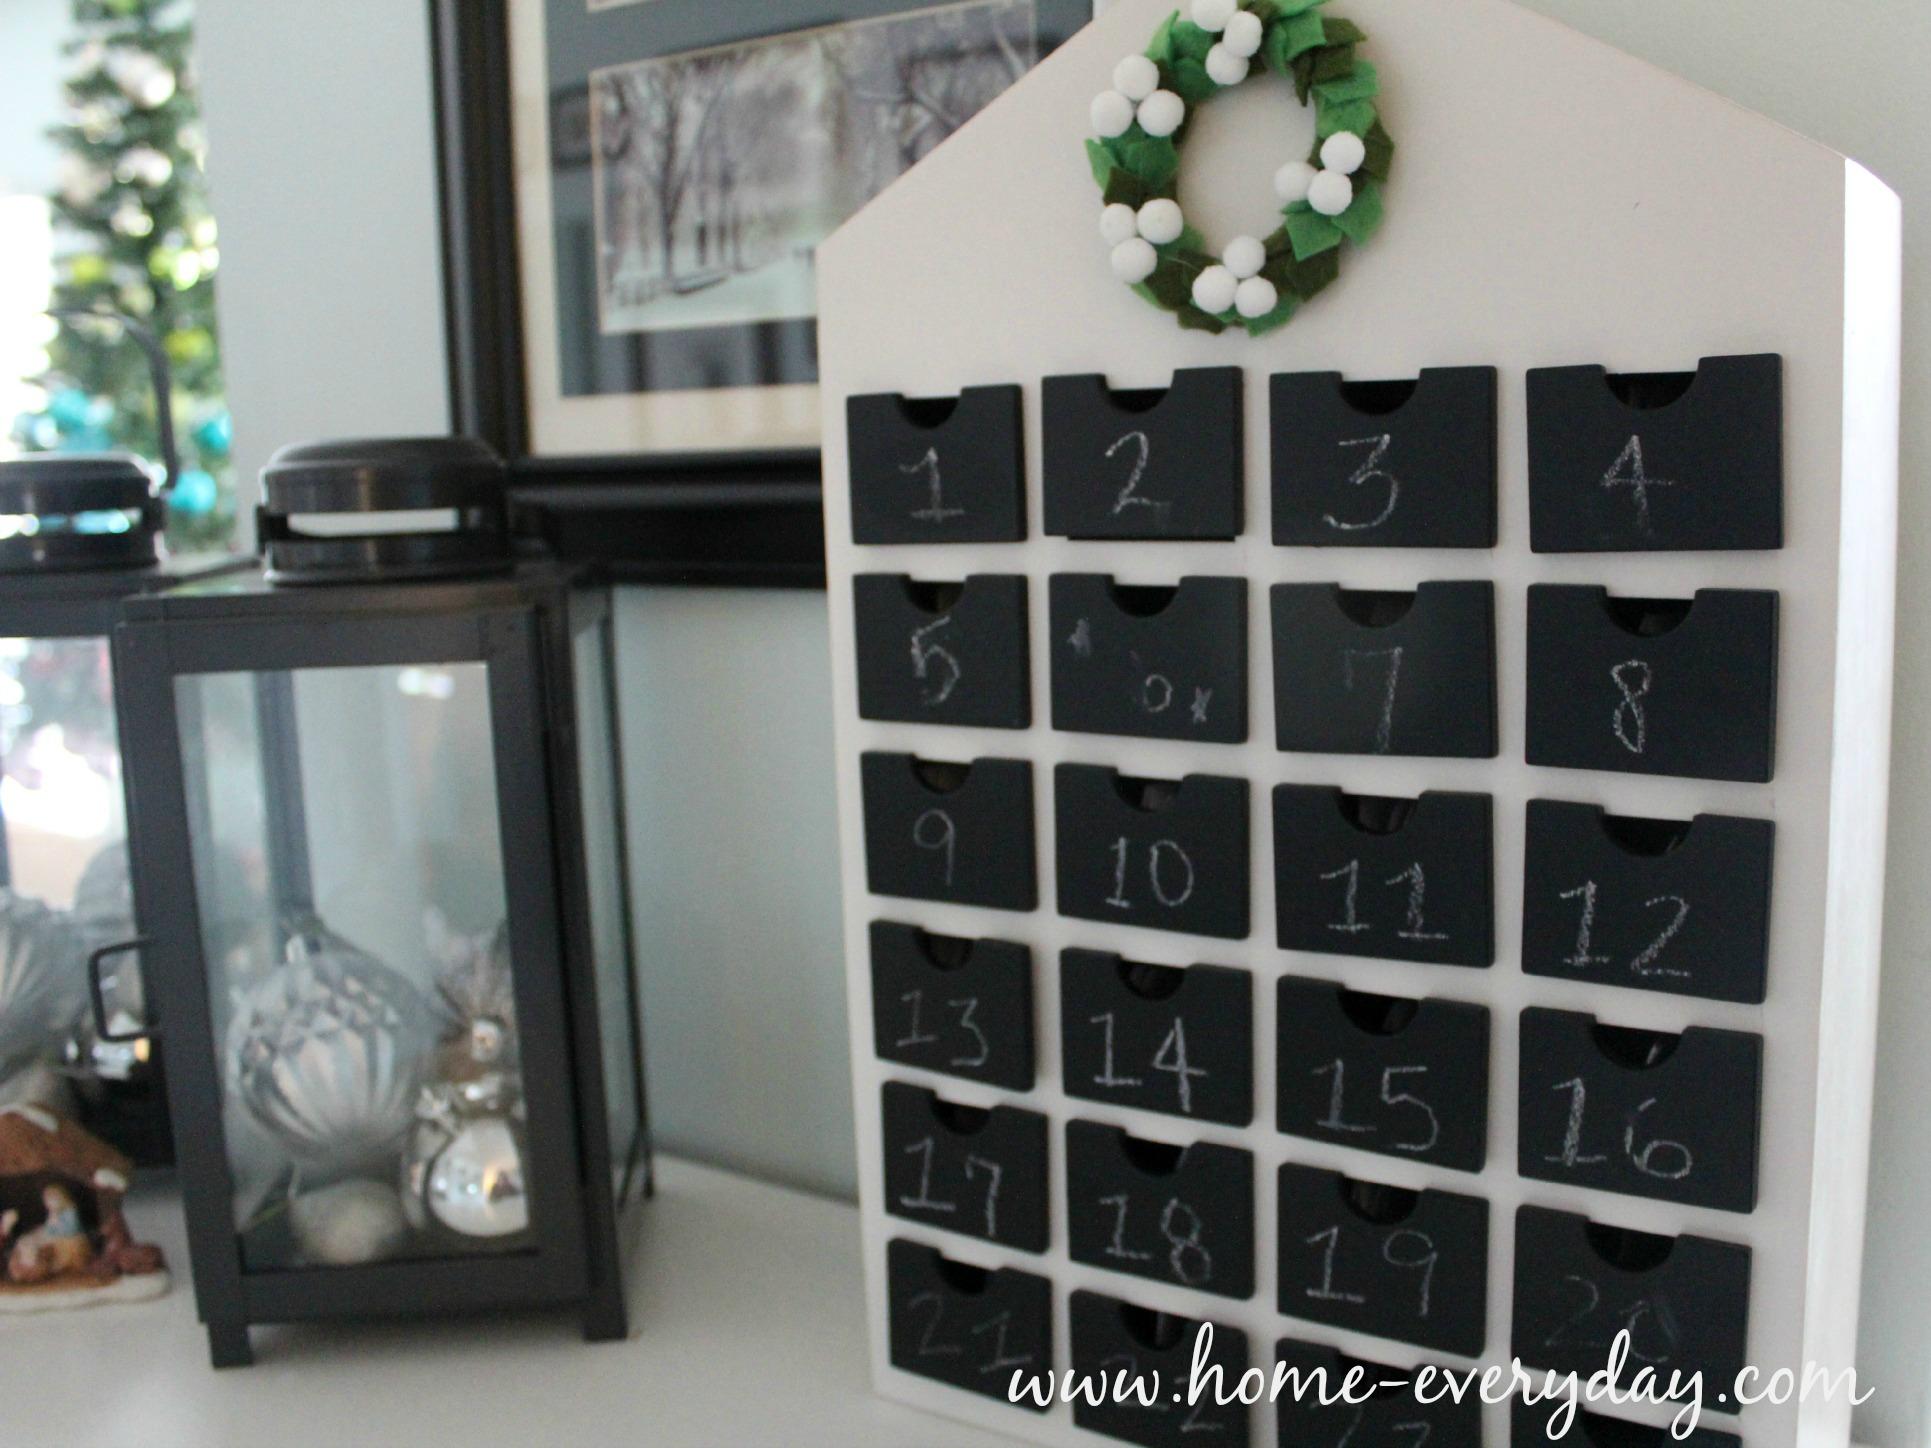
This year though, our Advent calendar, has been keeping us in check. If you follow me on Instagram, you’ll see that every day there is note with a way that we can add some sparkle to our day. Even if it is small, like just smiling at everyone we see because “smiling is our favorite.” I have been looking at it as our Kindness To Do List.

Advent Calendar 3

As this holiday season brings us into the New Year, this “Sparkly To Do List” got me thinking perhaps some of these items should be on my to do list the whole year through. Maybe I should add some of these sparkly acts of kindness to my to do list for the new year too!

Advent Calendar 2

What are some acts of kindness you can add to your daily routine?

More Vanilla Please: Traditional Vanilla Ice Cream Recipe

This shop has been compensated by Collective Bias, Inc. and its advertiser. All opinions are mine alone.  #NestleHolidayBaking  #CollectiveBias

Sometimes, I think it is fun to add some new holiday recipes into my repertoire. Let’s face it, I am a pinning, FacebookingInstagramming and did I mention pinning junkie this time of year. Which is why, with the help of NESTLÉ® and Pinterest I have added a few recipes to my arsenal this year.

All of these wonderful resources are really inspiring me to create some awesome things in the kitchen. These are recipes that I will be nice to have in the house for when friends stop by, or even keep on hand to give to a neighbor when I see them out and about. The only problem with recipes like this, is sometimes they are so delicious it will be hard for the kids me to sneak these awesome treats while staying up late to watch my favorite Christmas movies. Especially, this awesome treat I recently made.

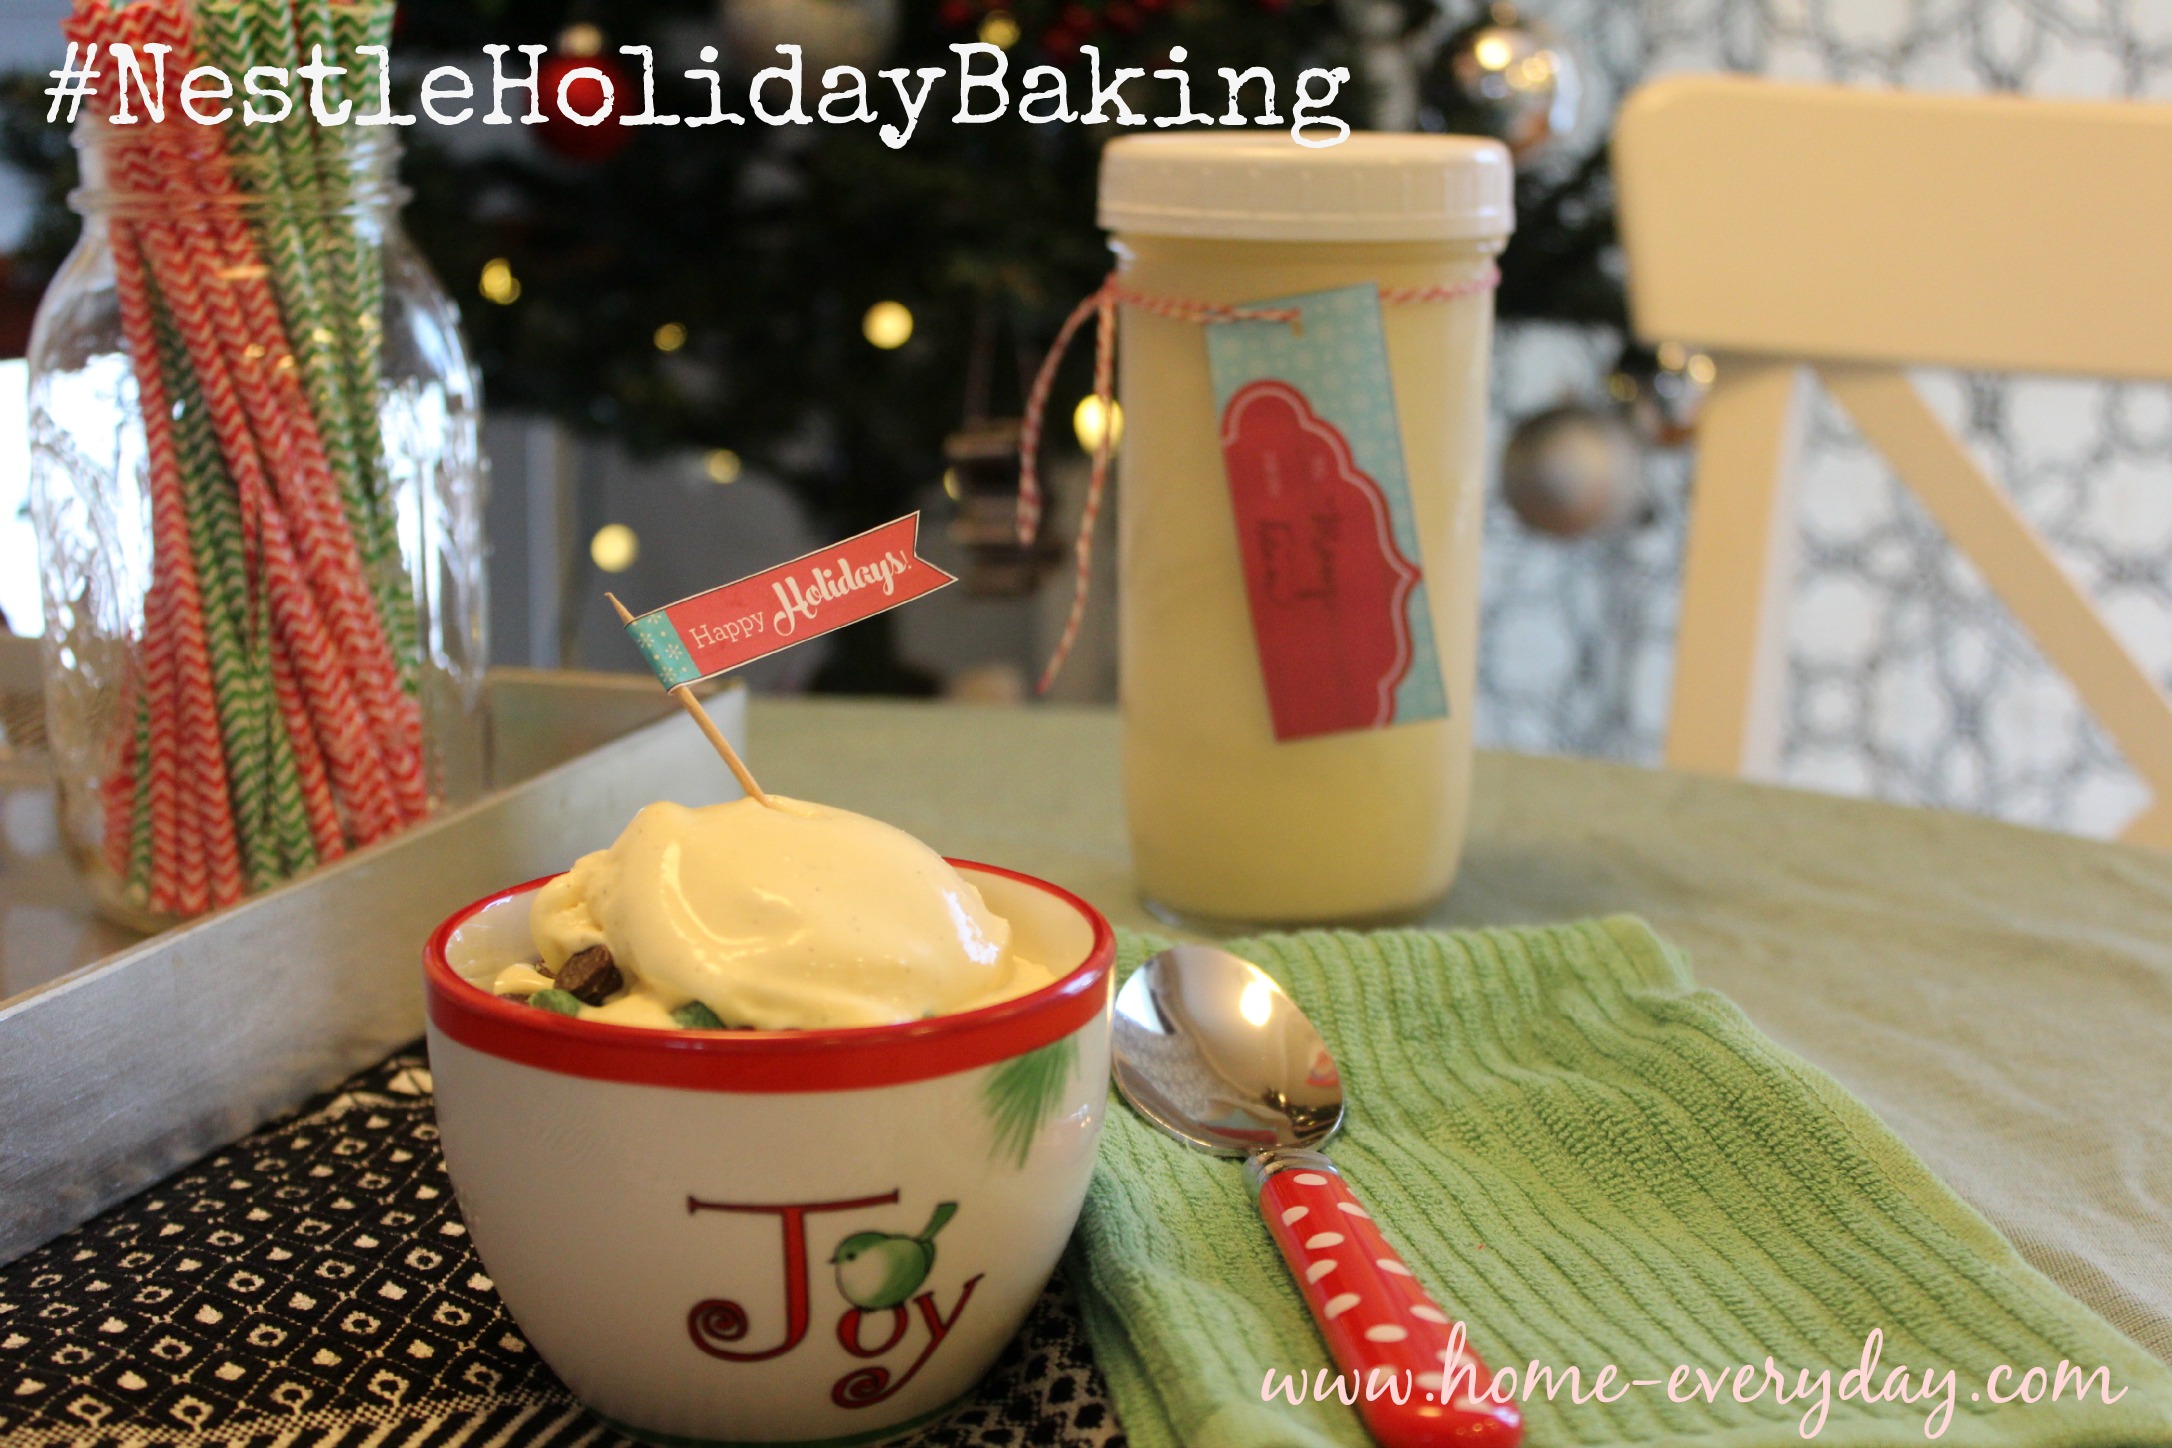
Traditional Vanilla Ice Cream Recipe 13

One of our favorite treats is home made vanilla ice cream. It is a home made staple in our house because we like our vanilla ice cream, very vanilla-y (is that a word?). I have made several different versions. Our two favorites are a Philadelphia style version requiring no eggs, and this more complicated version using NESTLÉ® CARNATION® Evaporated Milk, eggs, and a little cooking. This version has a creamier texture and is perfect for the Holiday season.

Traditional Vanilla Ice Cream Recipe 15

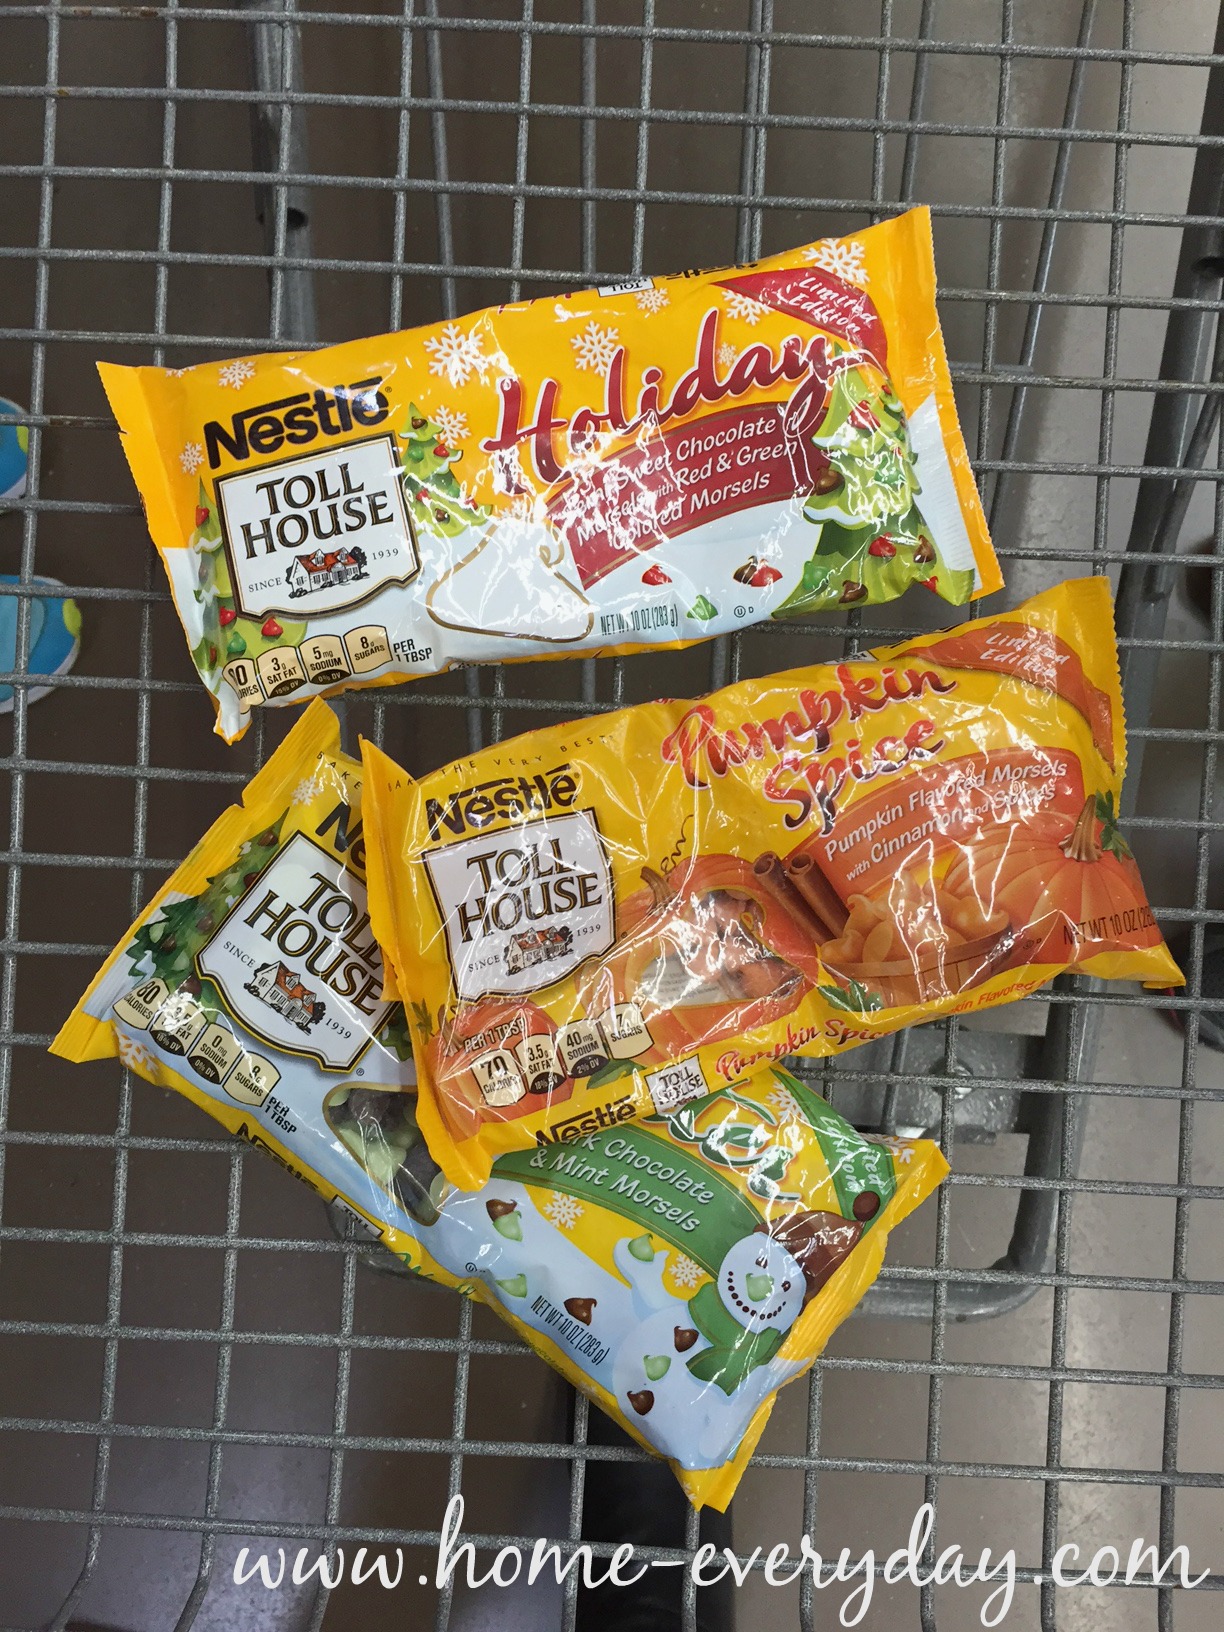
When I was at Walmart to pick up the supplies to make this ice cream, I saw these NESTLÉ® TOLL HOUSE® Red and Green Morsels next to a whole host of awesome NESTLÉ® baking products.

Nestle 1

Nestle 2

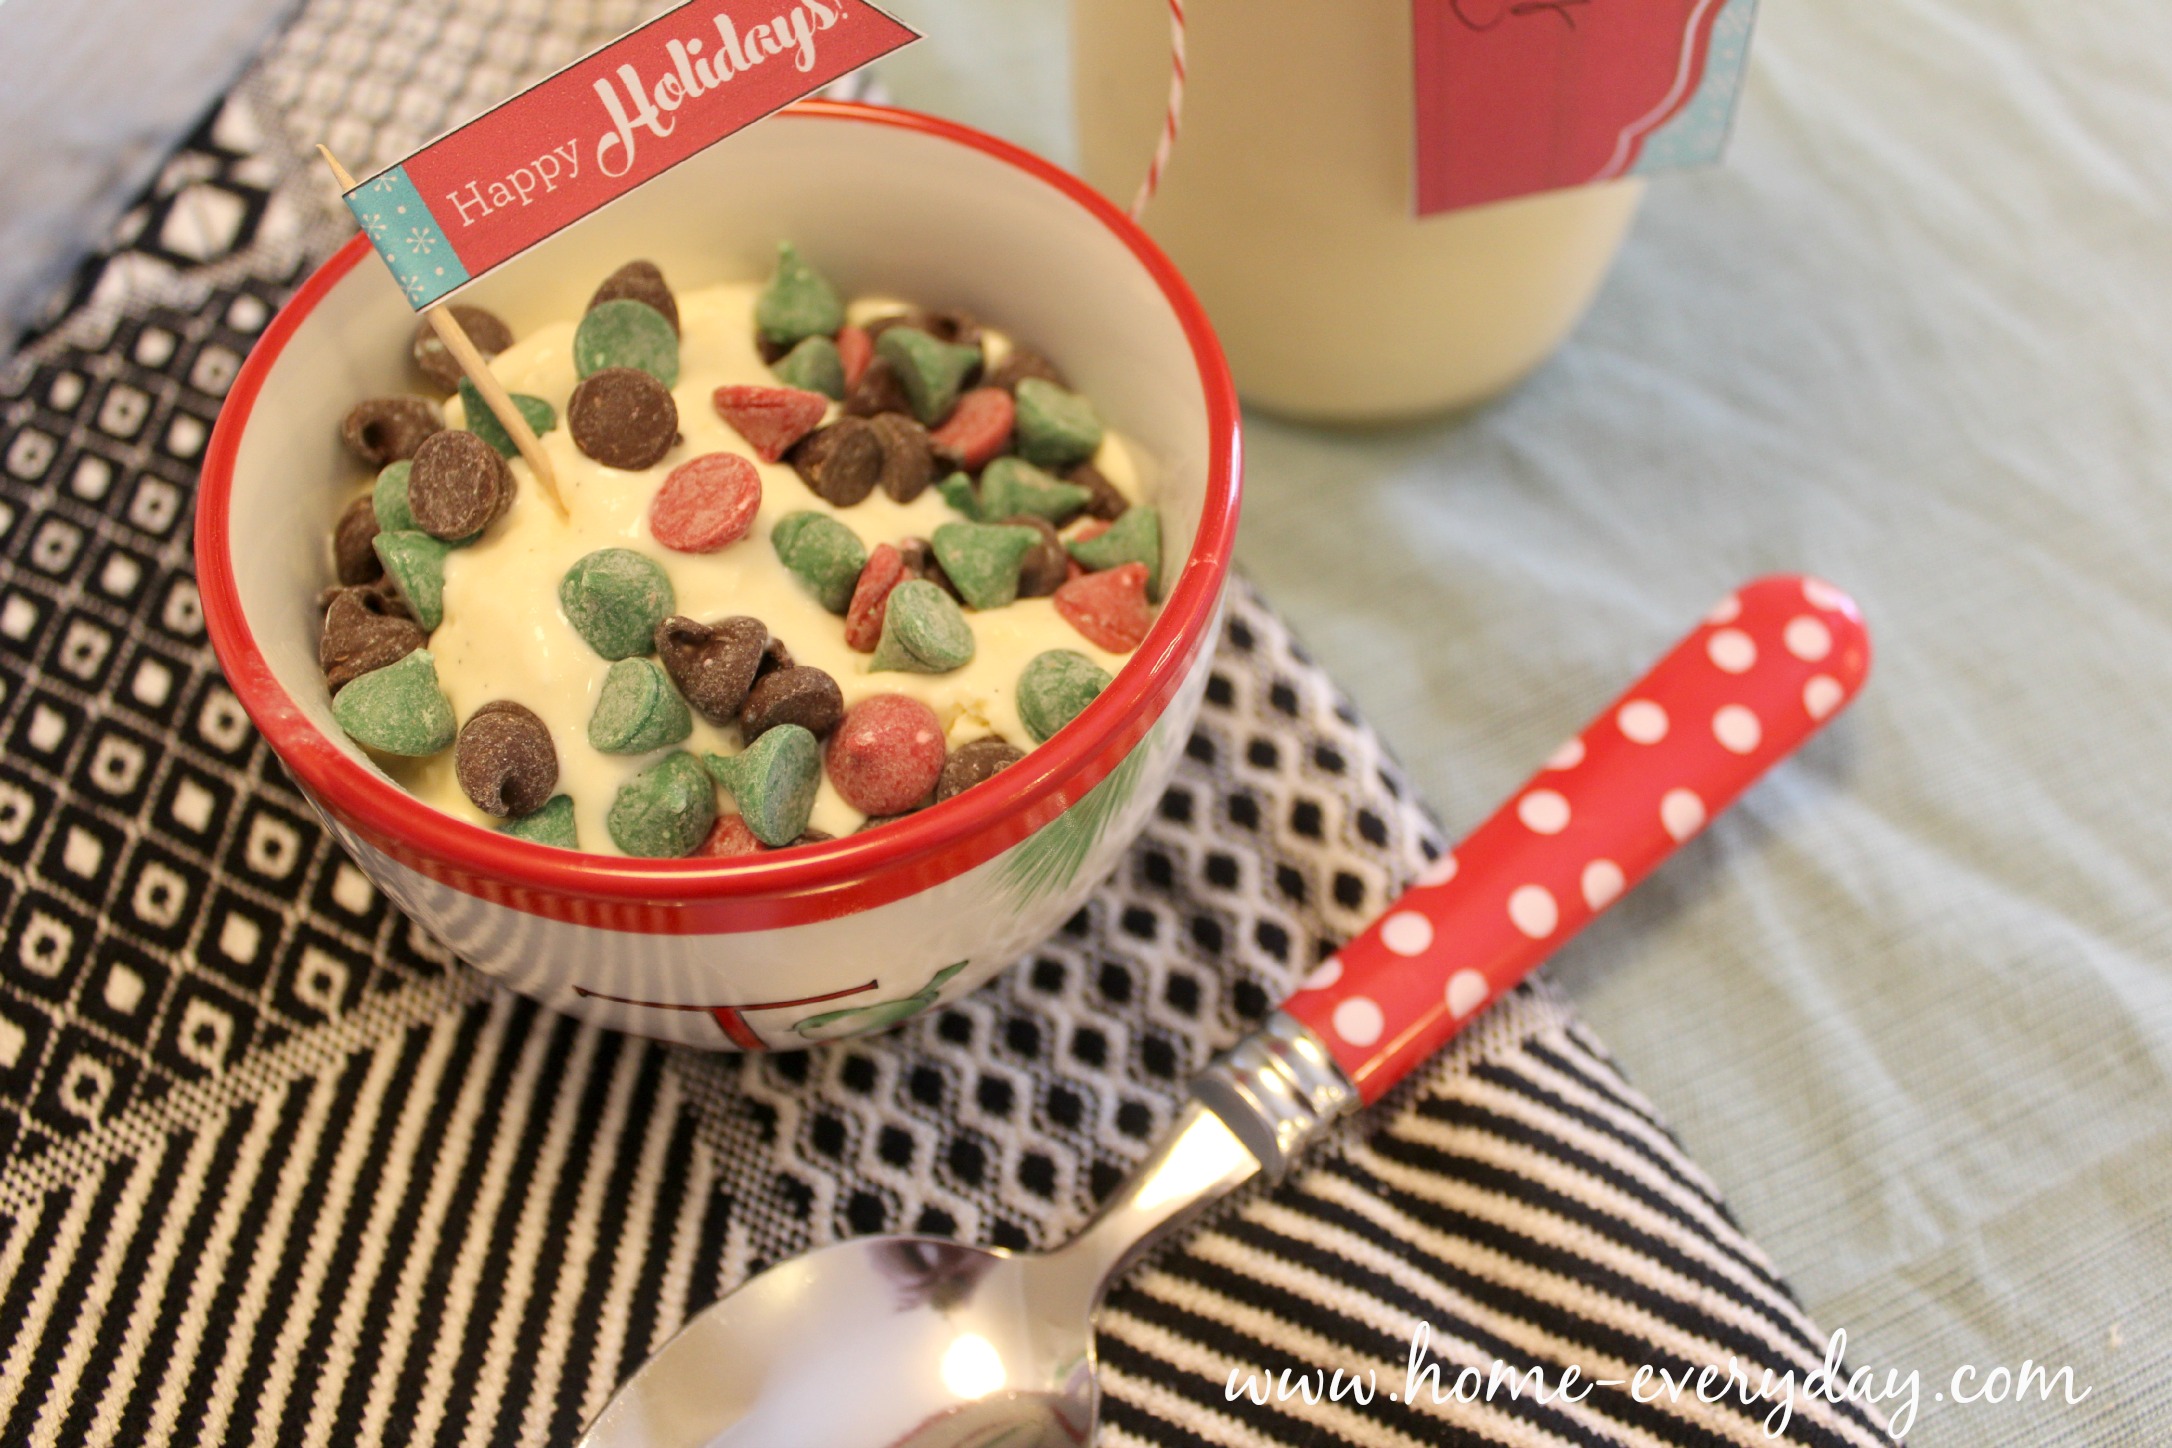
I went a little crazy and bought a bunch of things I needed to get ready for the season. Won’t these Red and Green Morsels be a cute and festive treat for Brian who likes to stir in all kinds of toppings into this classic flavor?

Nestle 3

Traditional Vanilla Ice Cream (makes about 4 cups)

Pro Tip: Before you begin please note this version of ice cream does require an ice cream maker. Please prep your bowl ahead of time in your freezer according your your manufacturer’s instructions. Also, please make sure you have a freezer safe container in which to store ice cream. I used wide mouth freezer safe Mason jars with plastic lids.

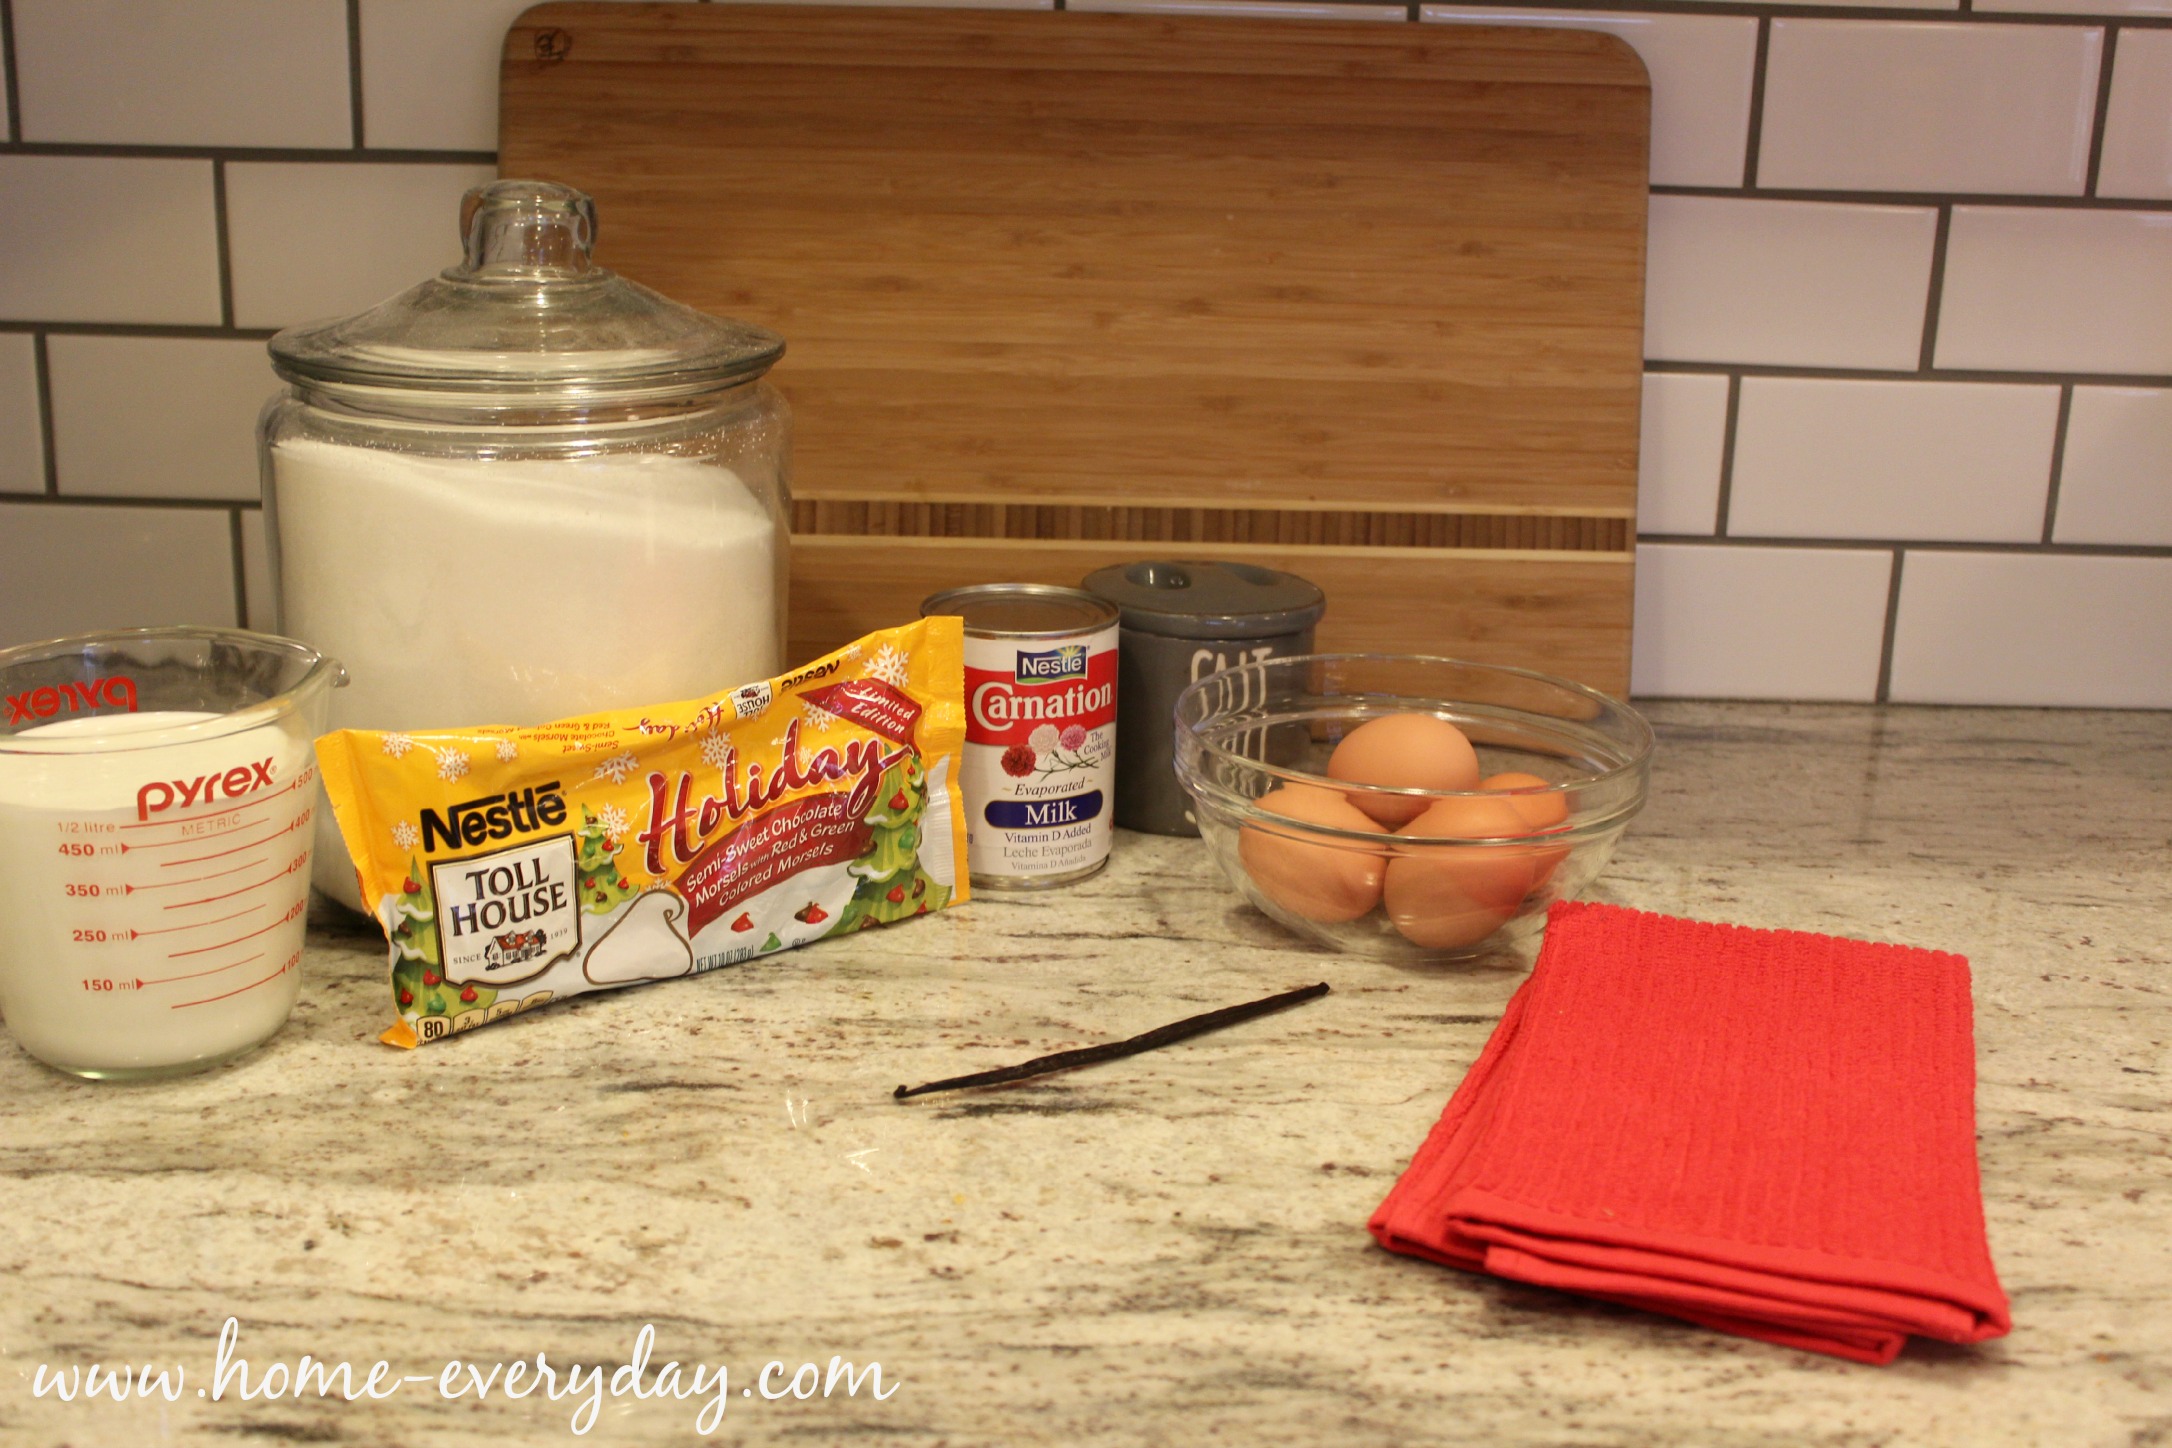
1 12 oz can NESTLÉ® CARNATION® Evaporated Milk

2/3 cup sugar

5 egg yolks

1/8 tsp salt

2 cups heavy cream

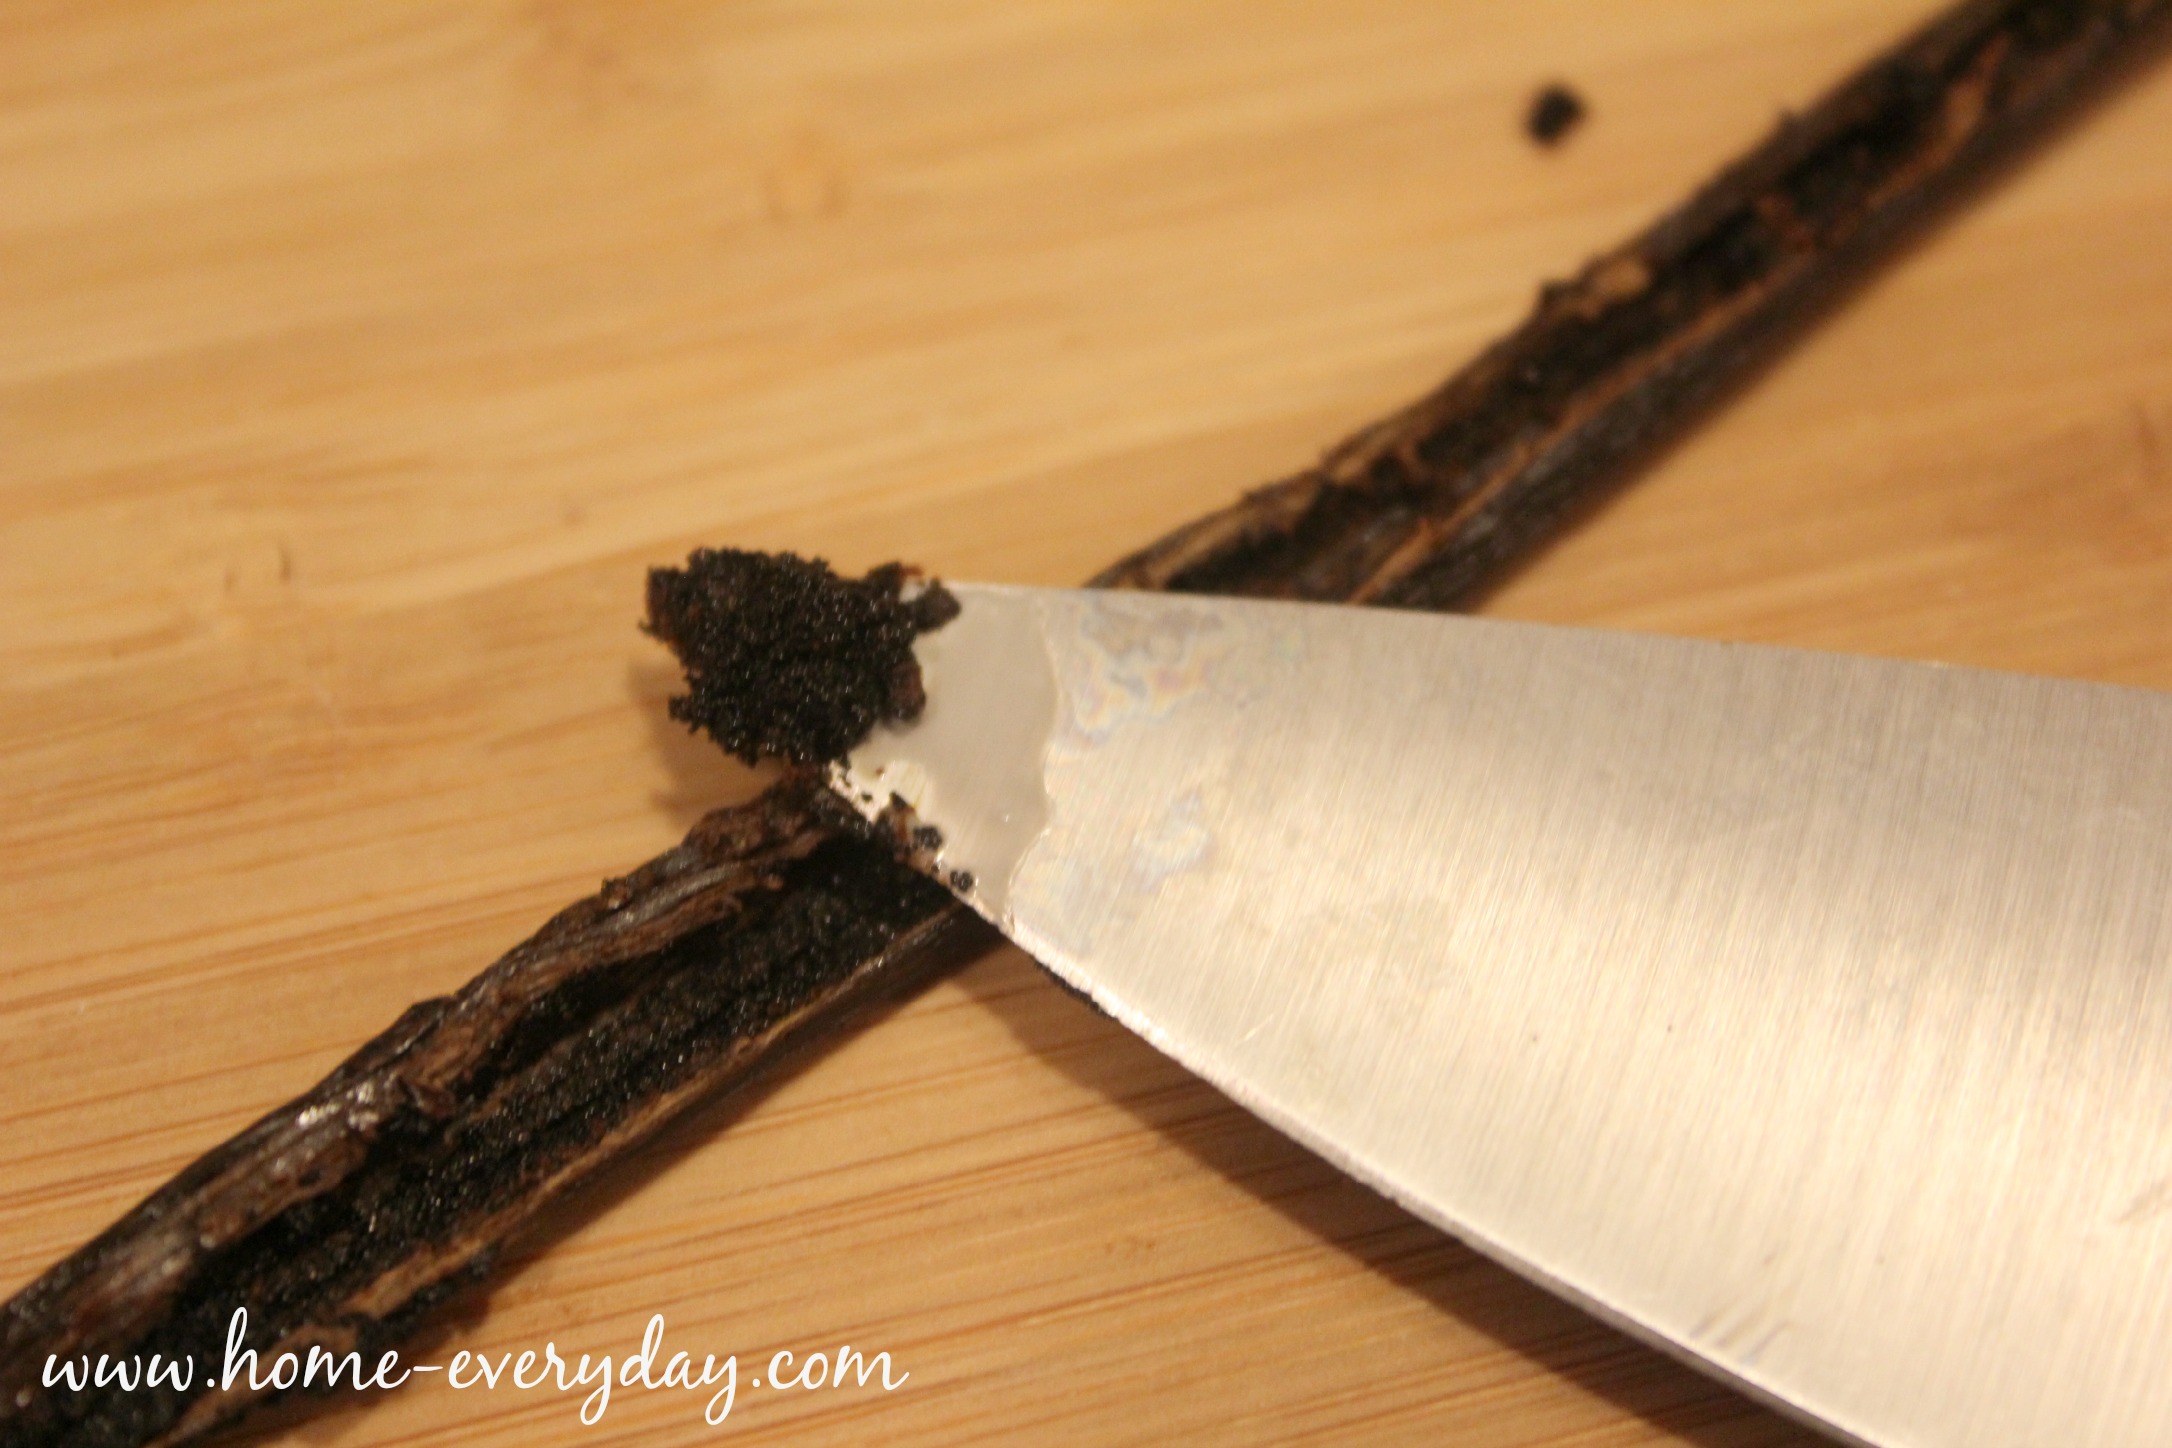
1 vanilla bean split and seeds removed

3 tsp pure vanilla extract

Traditional Vanilla Ice Cream Recipe 1 Traditional Vanilla Ice Cream Recipe 2

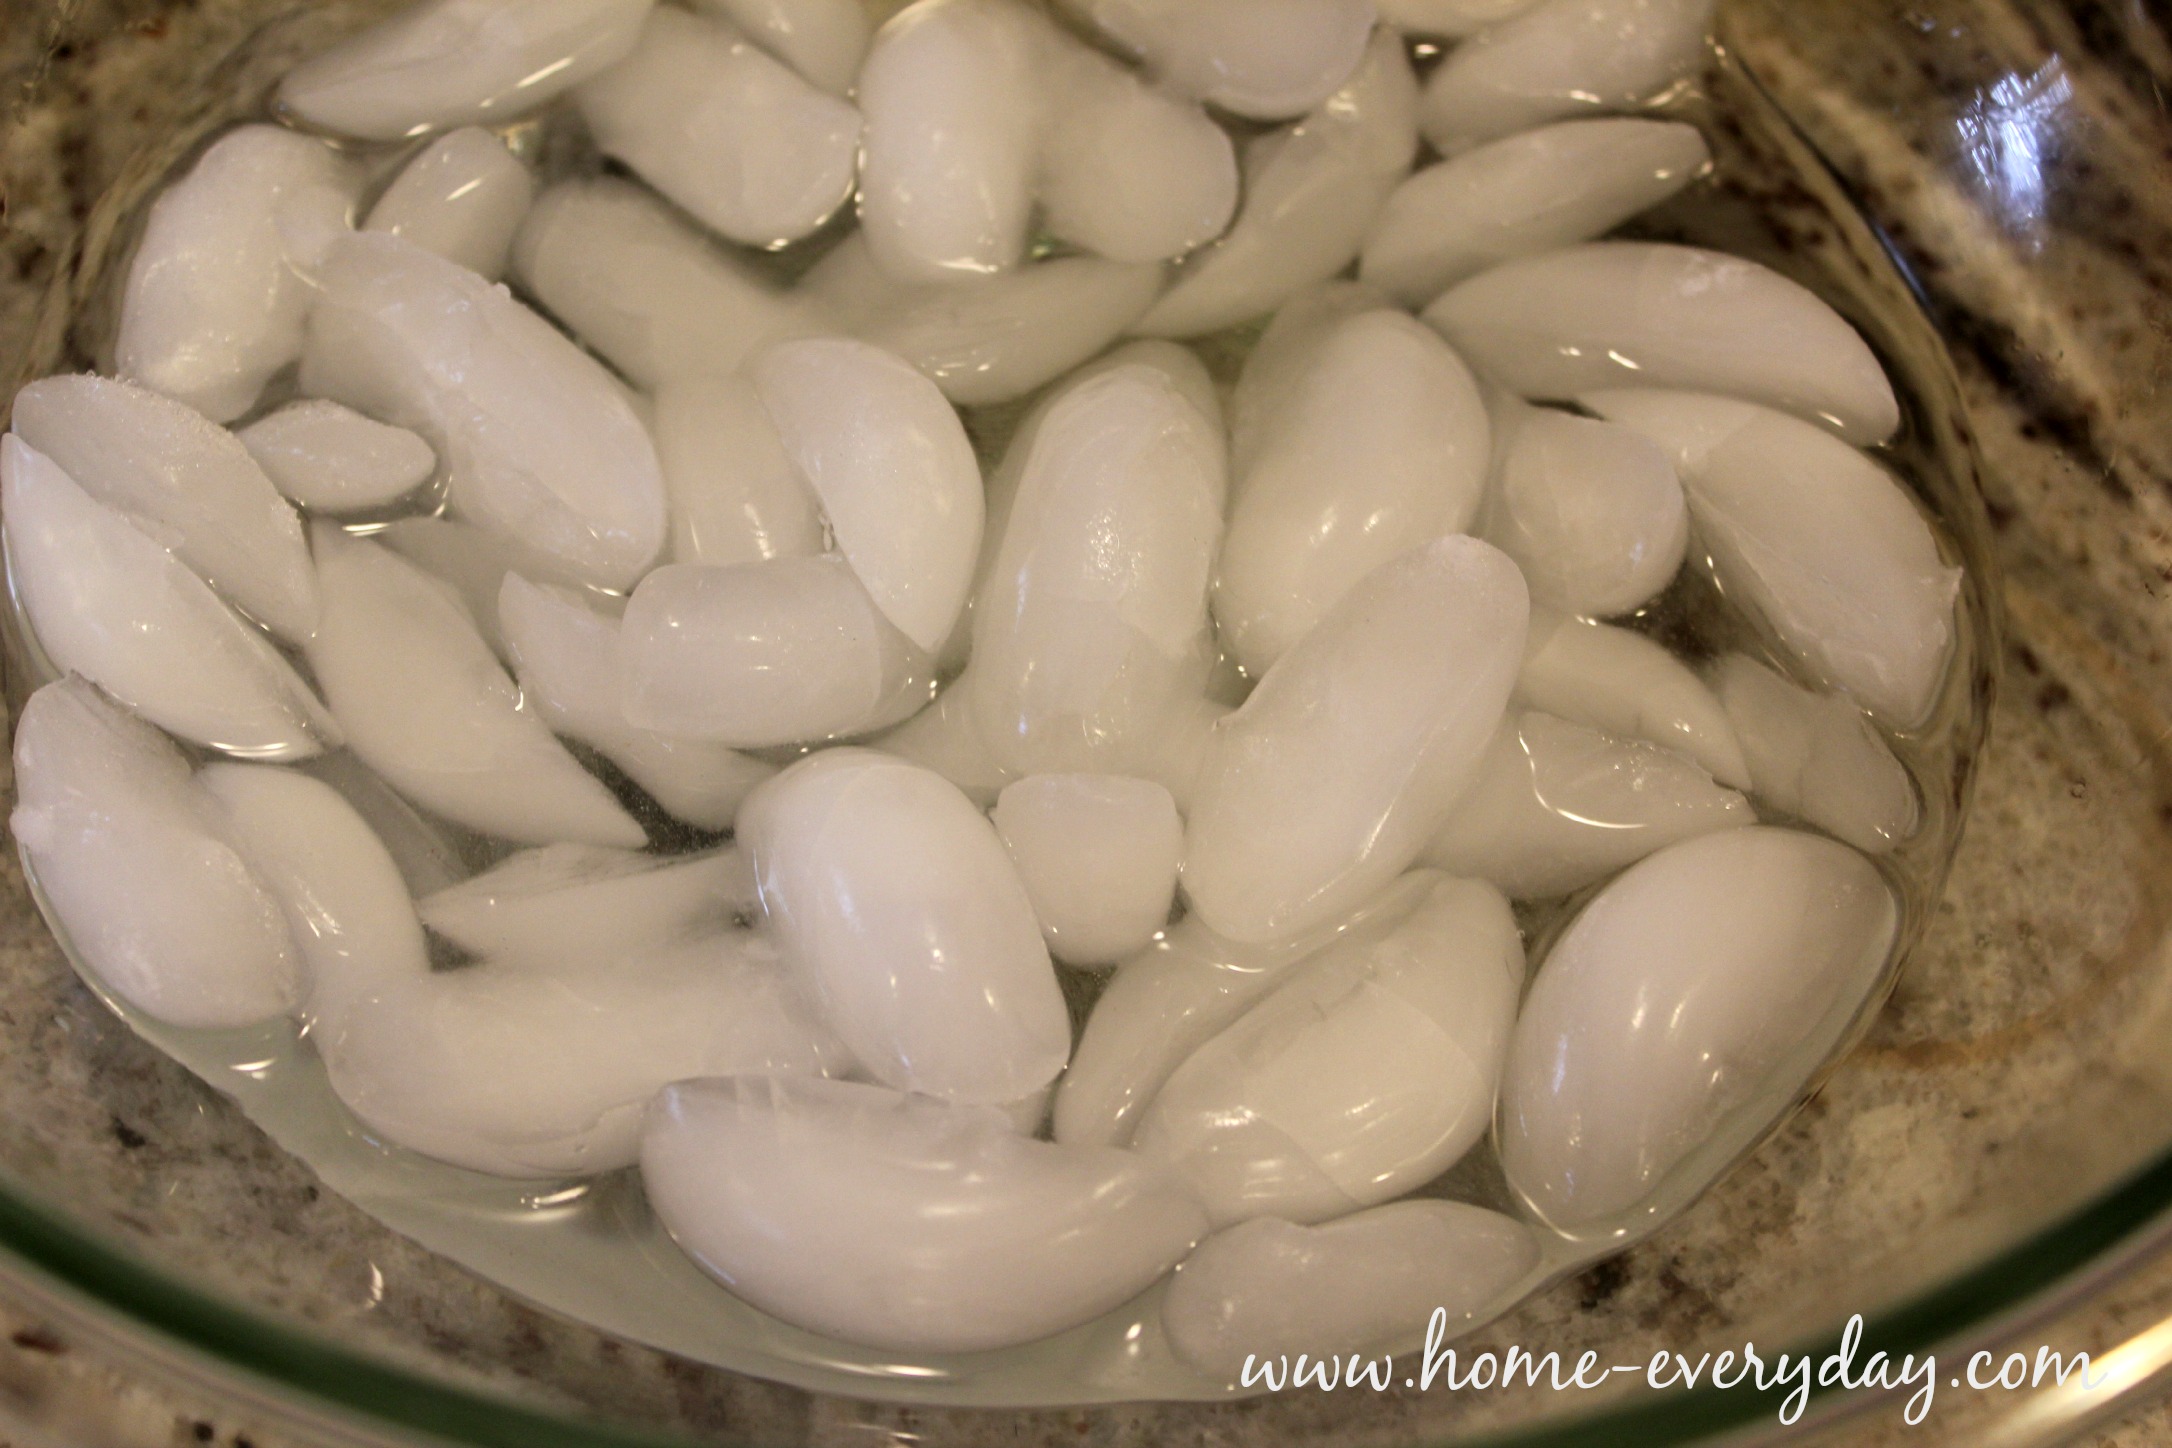
In a large mixing bowl, add ice water. Set a smaller bowl inside this bowl with whipping cream. Set aside.

Traditional Vanilla Ice Cream Recipe 7

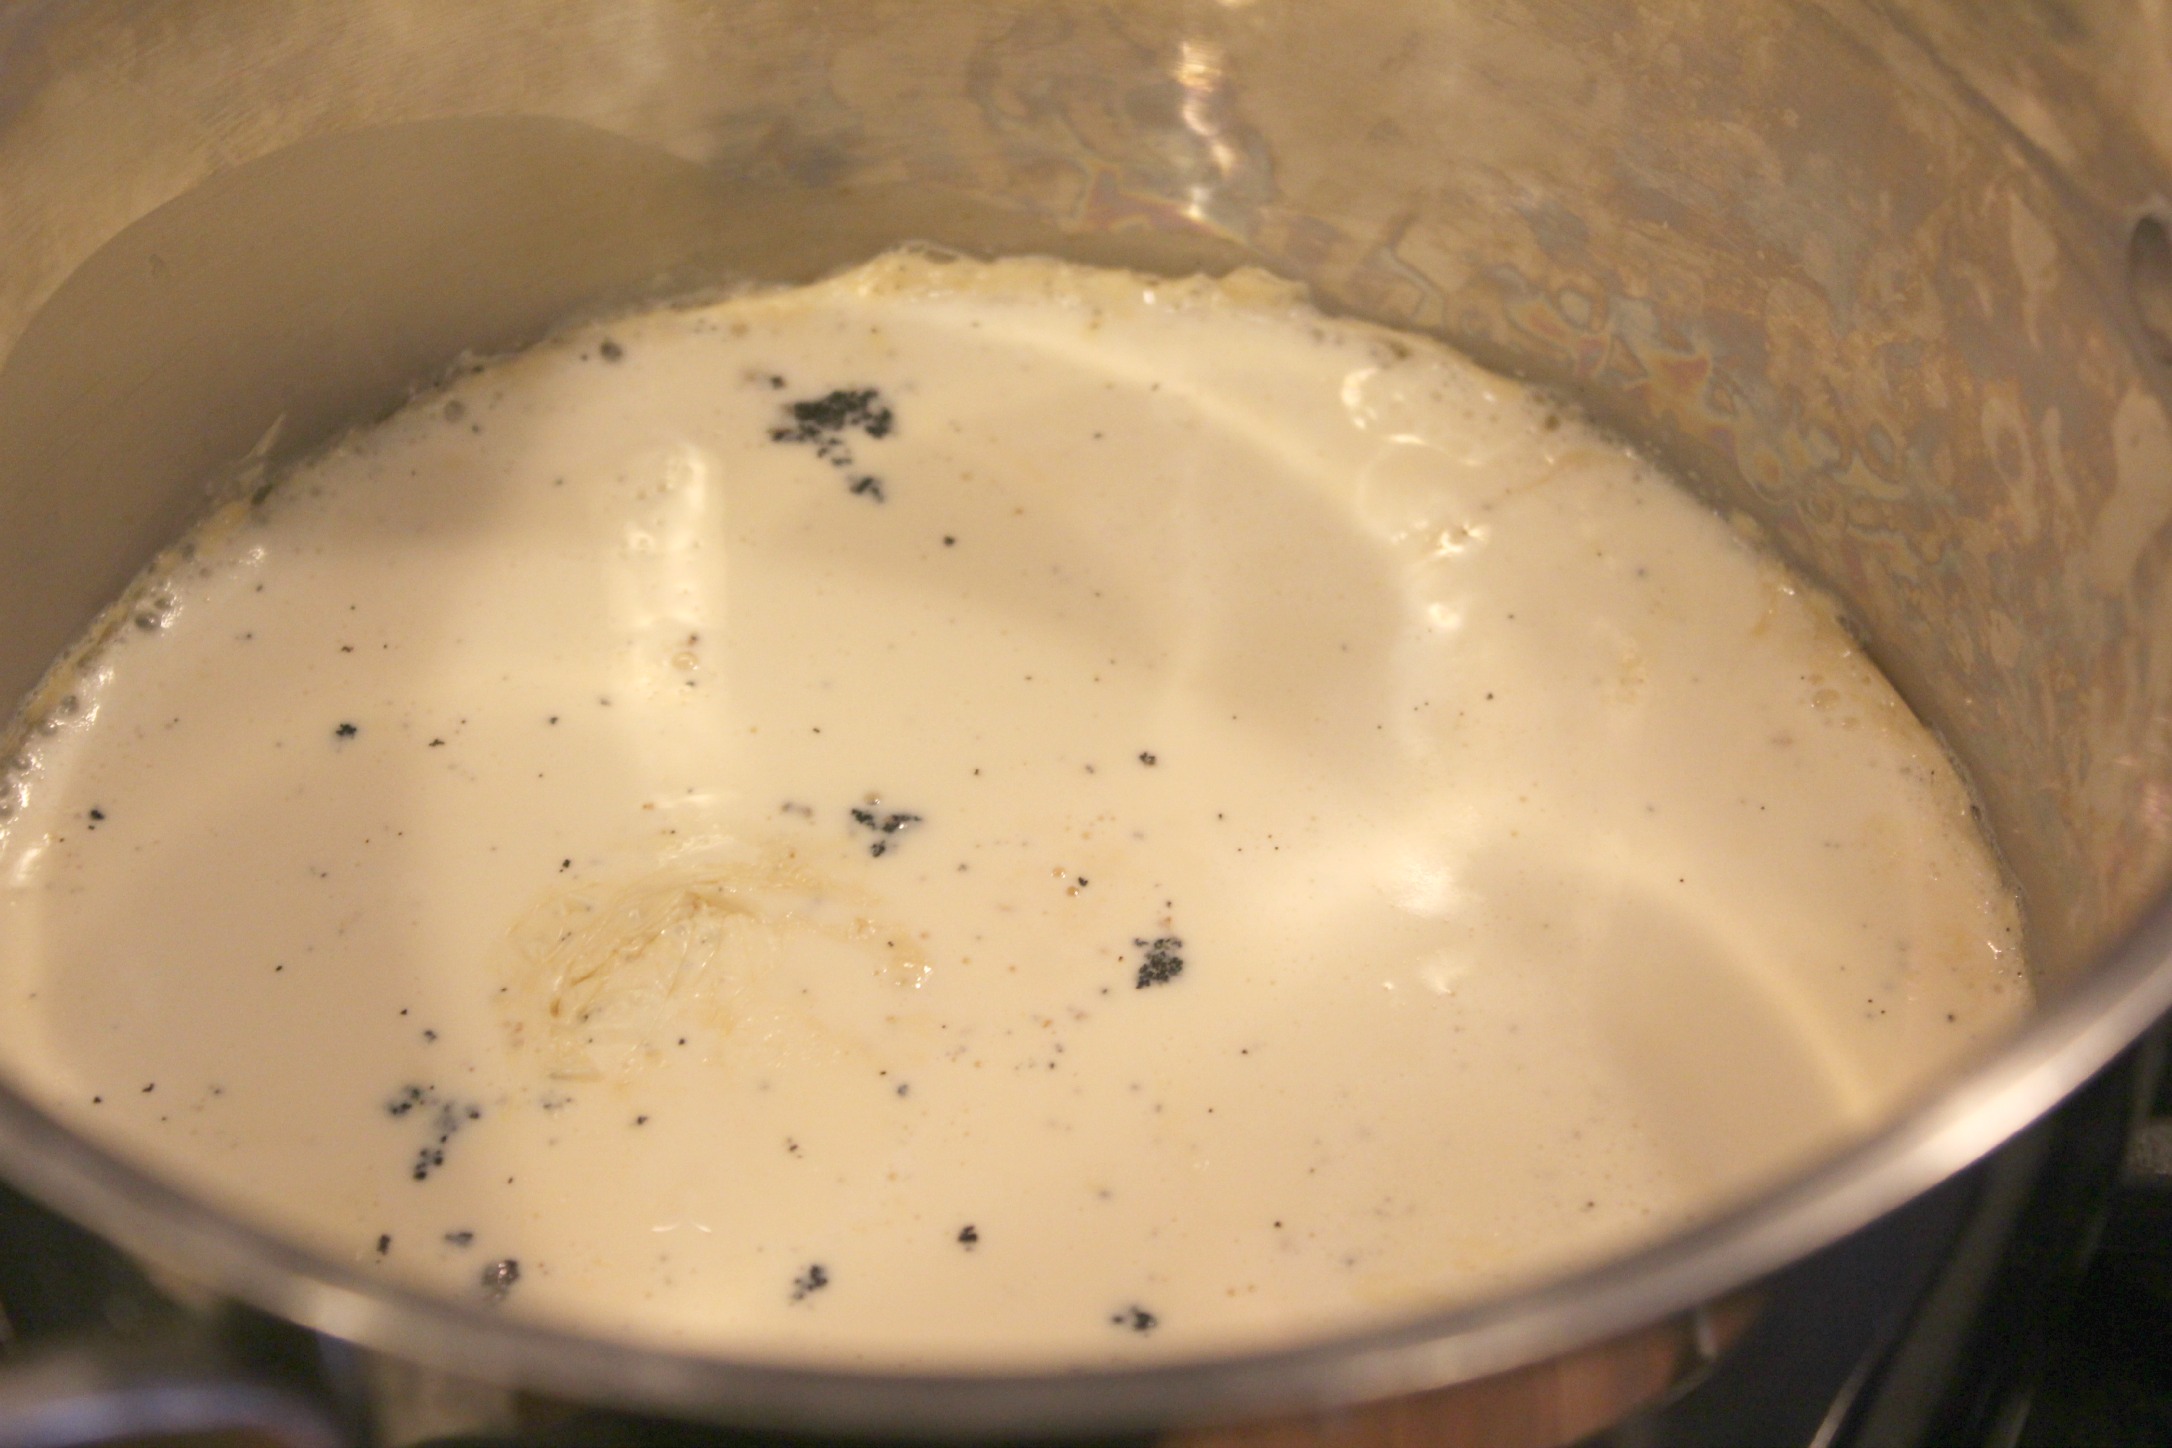
In a sauce pan over medium heat and stirring occasionally, add evaporated milk and vanilla seeds.

Traditional Vanilla Ice Cream Recipe 4

Heat for about 3-5 minutes or until the milk is about 160 degrees with a candy thermometer. You will notice a slight skin form on the top of a the milk.

Traditional Vanilla Ice Cream Recipe 5

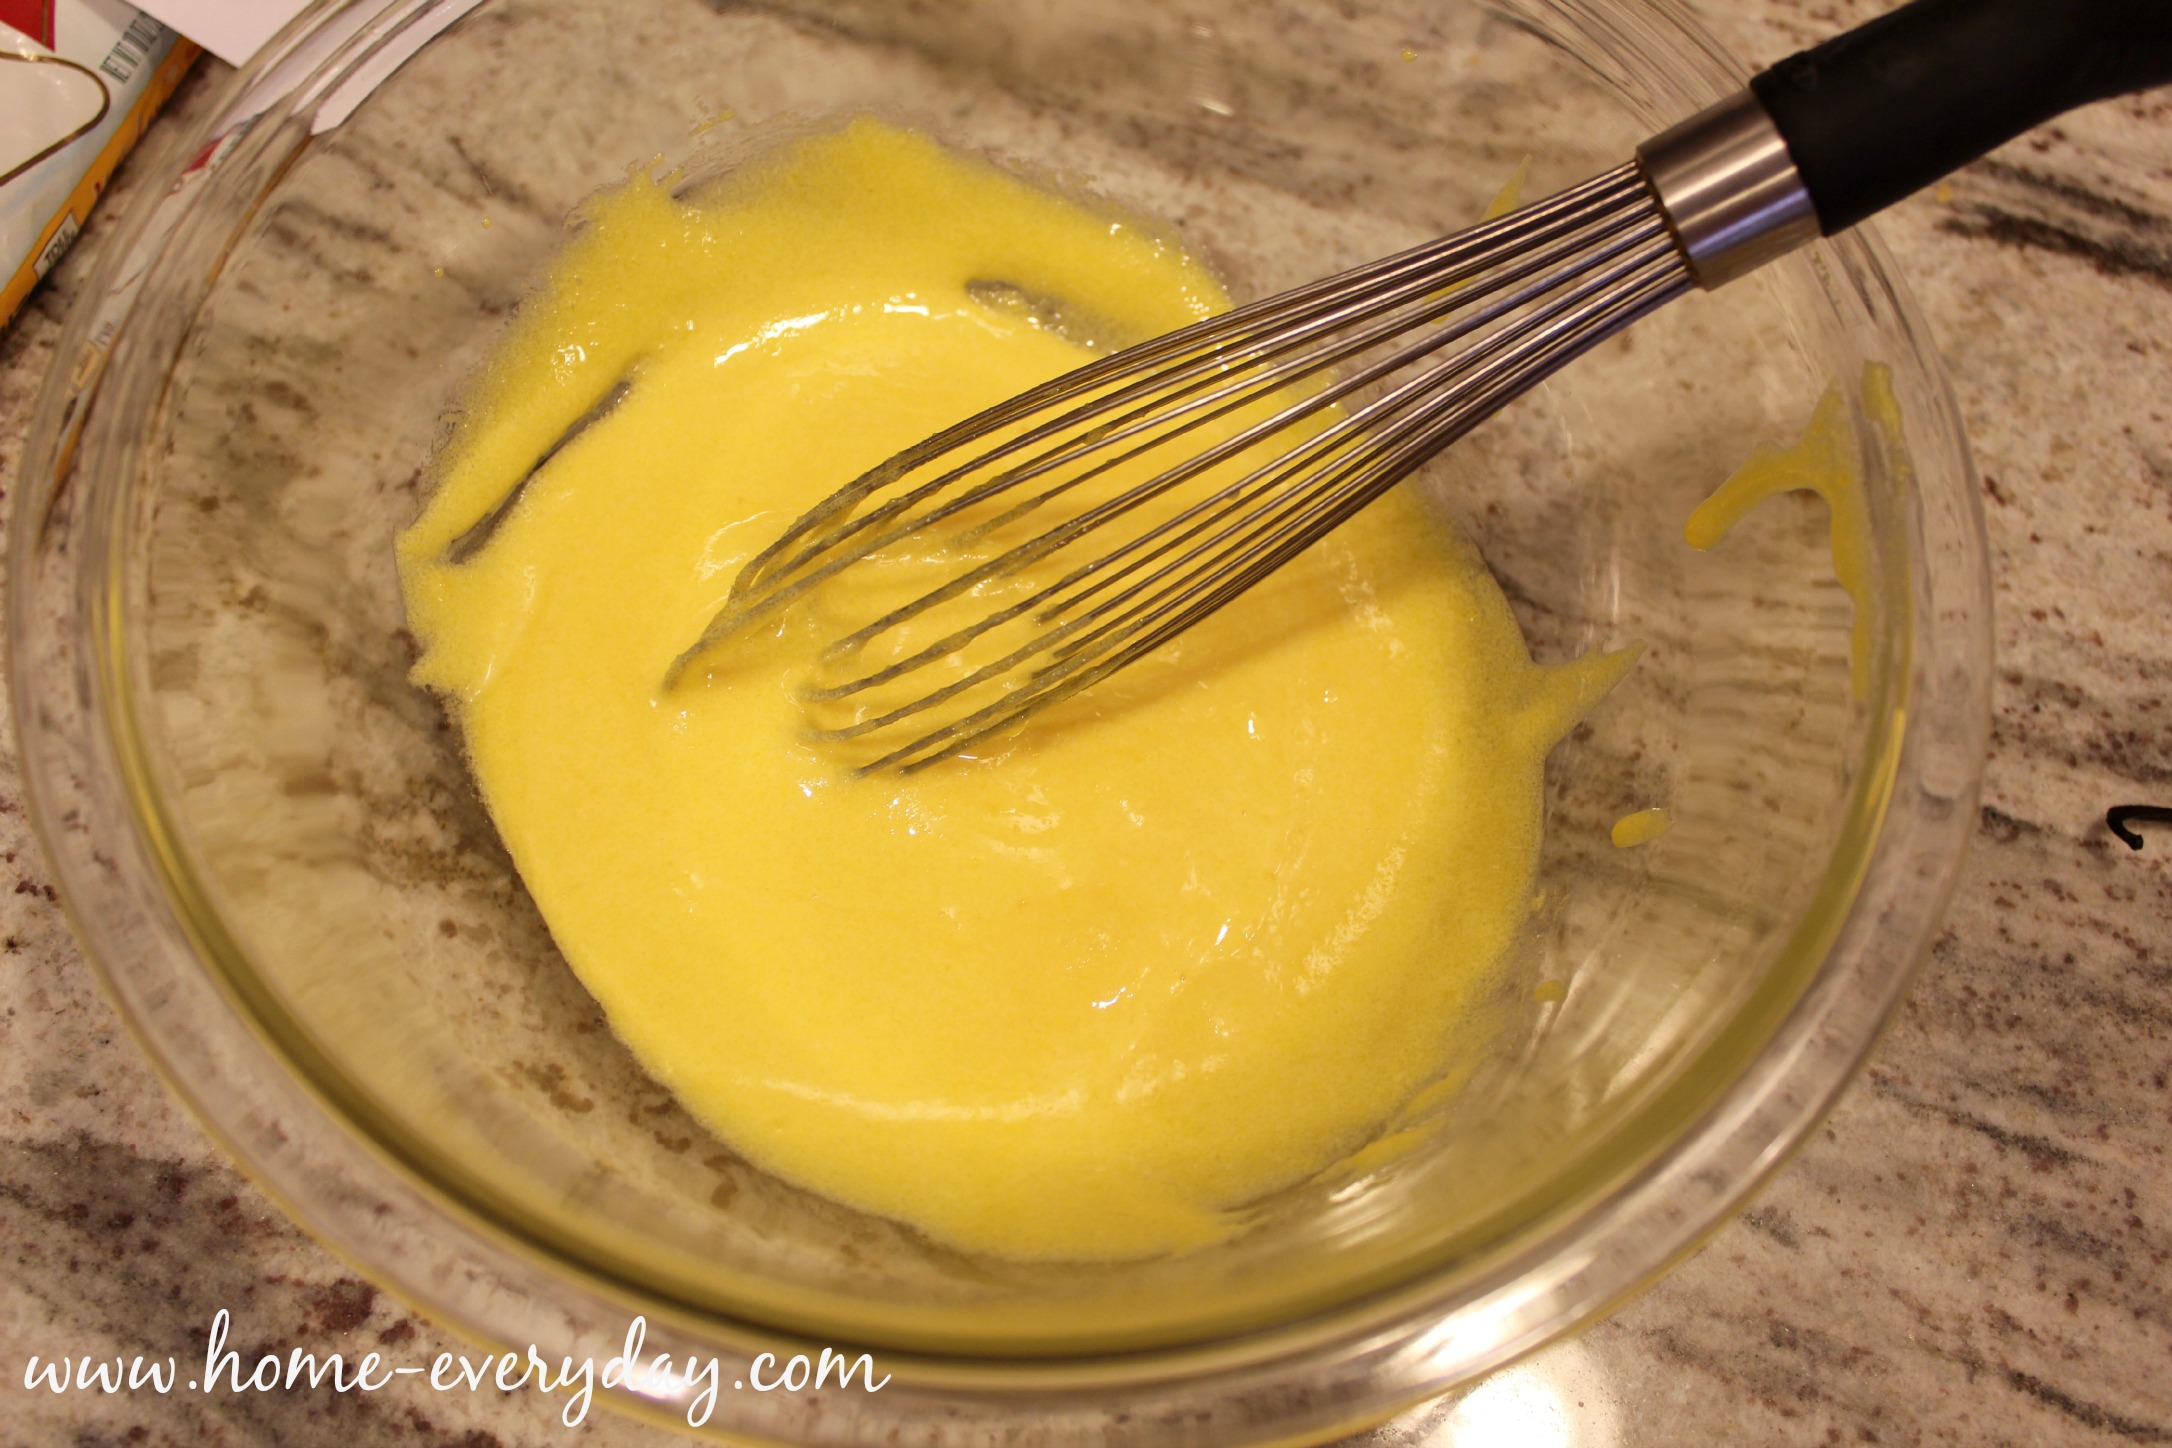
While the milk is heating, in a large bowl whisk together the egg yolks, sugar, and salt for a few minutes until completely combined.

Traditional Vanilla Ice Cream Recipe 3

When the evaporated milk has reached the optimal temperature, lower the heat to low. Then, ladle one spoonful into the egg mixture and whisk vigorously and continuously for about 30 seconds. Repeat this step until about 2/3 of the milk mixture has been added to the egg mixture. Pro Tip: This is called tempering the eggs. If you do not ladle the hot milk mixture into the egg mixture slowly and continue to stir the egg mixture will scramble. 

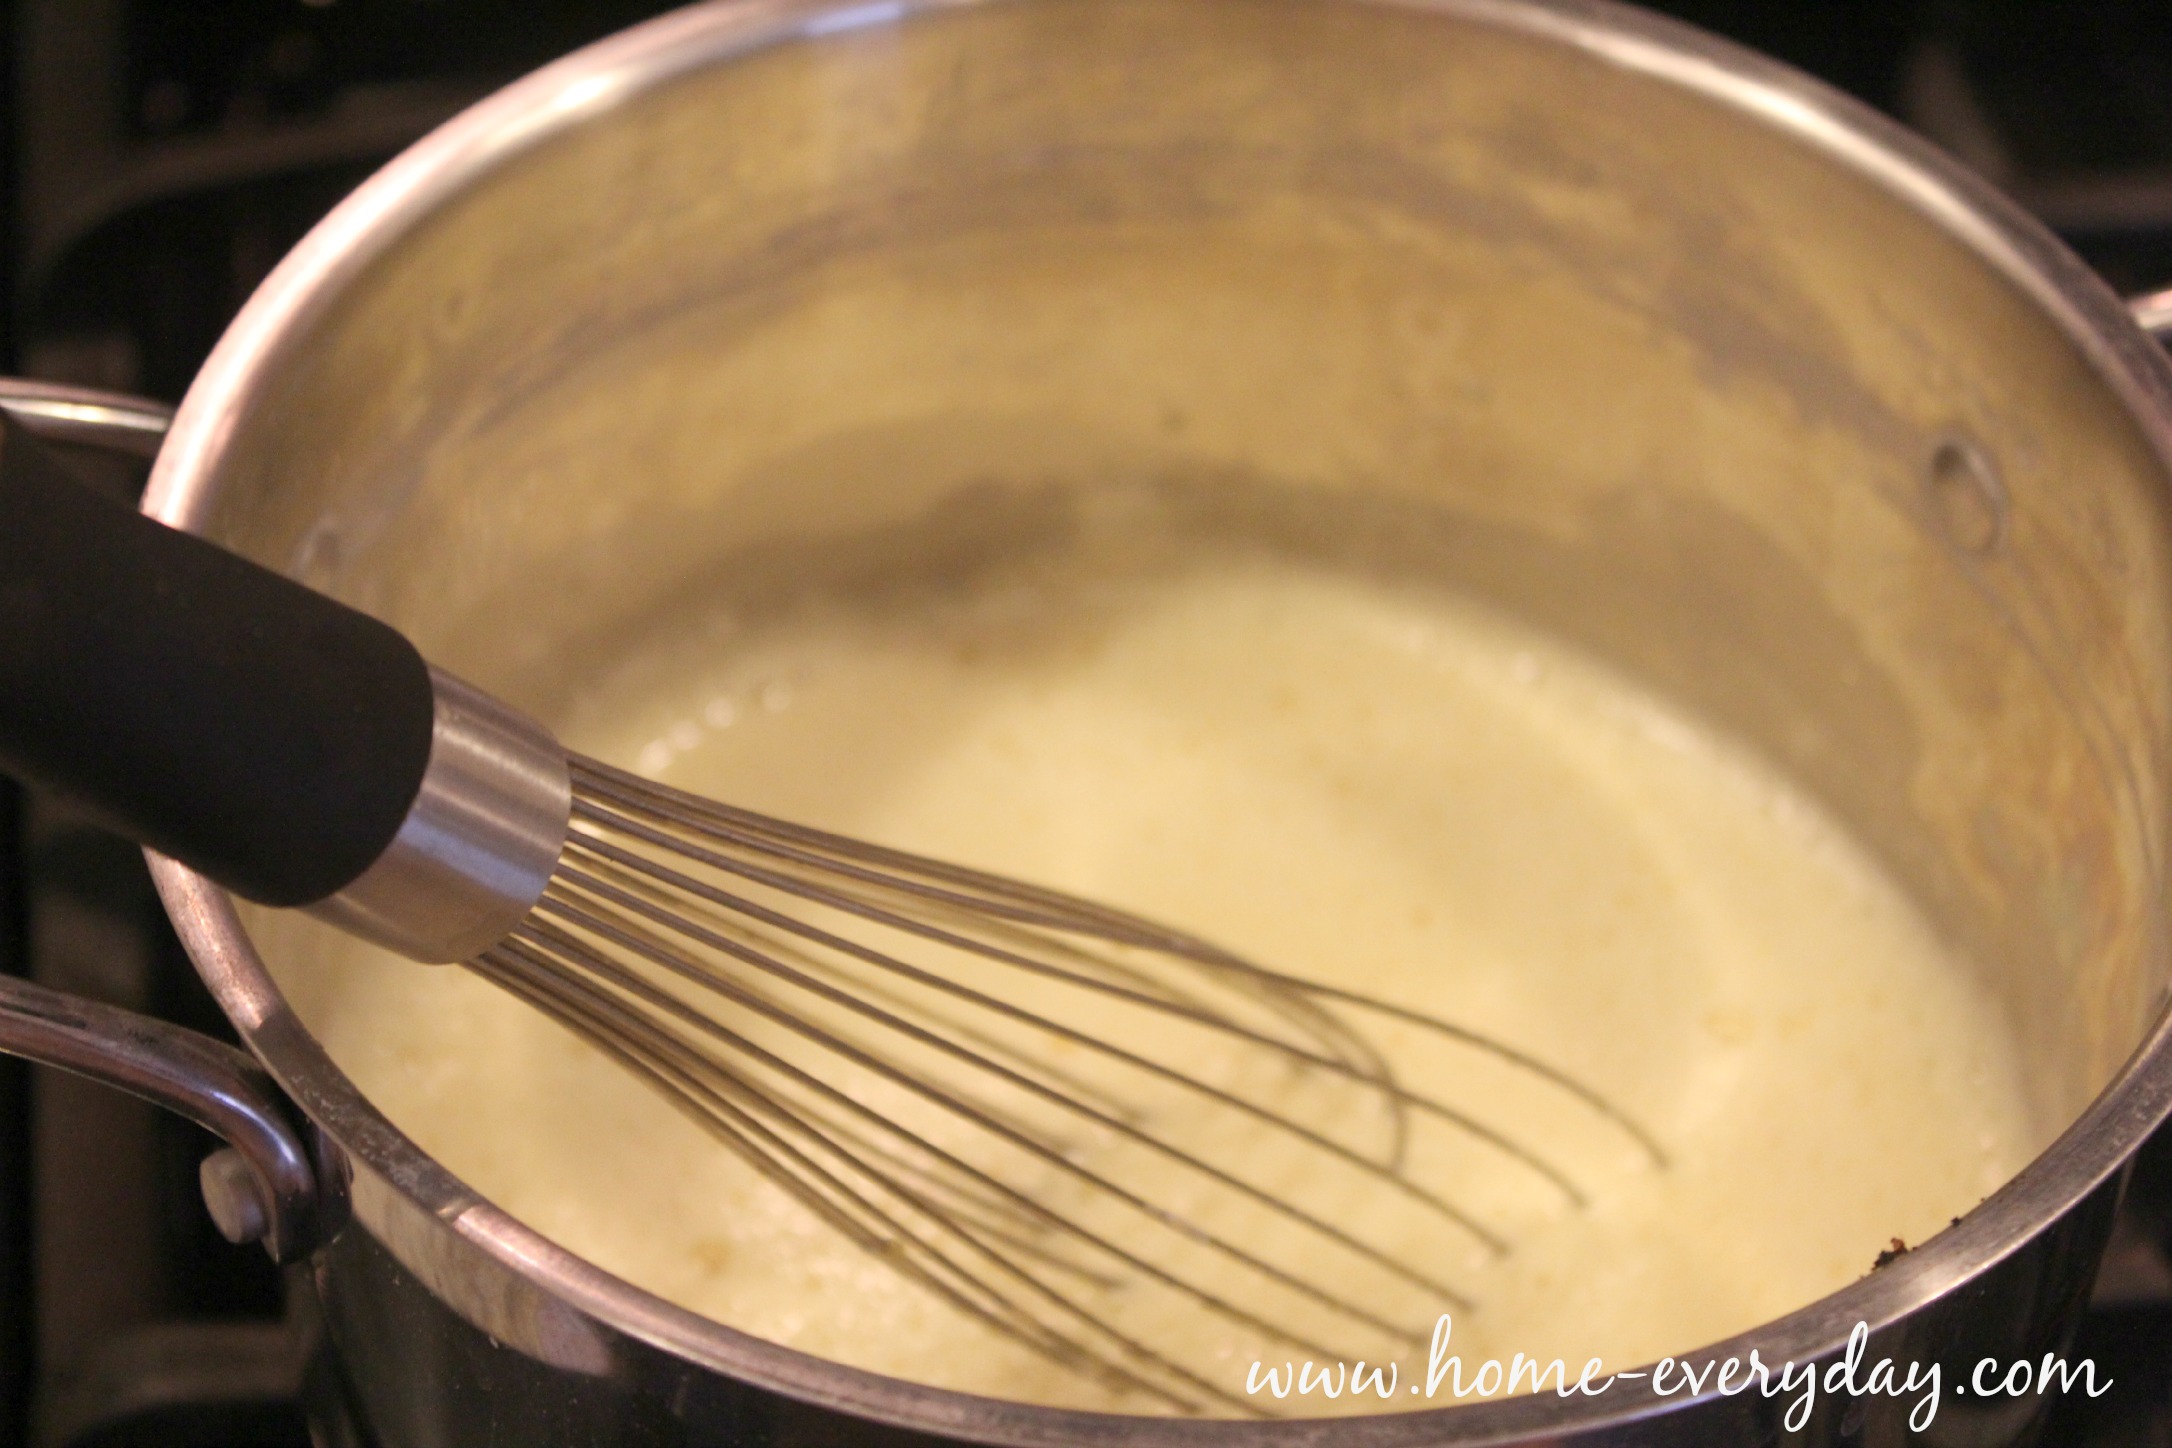
Next, add the tempered egg mixture to remaining milk mixture on the stove on low heat. Stir this mixture continuously for 3-5 minutes over low heat. This mixture will get frothy. You will want this mixture to reach a temperature of 175 degrees in order to cook the eggs.

Traditional Vanilla Ice Cream Recipe 6

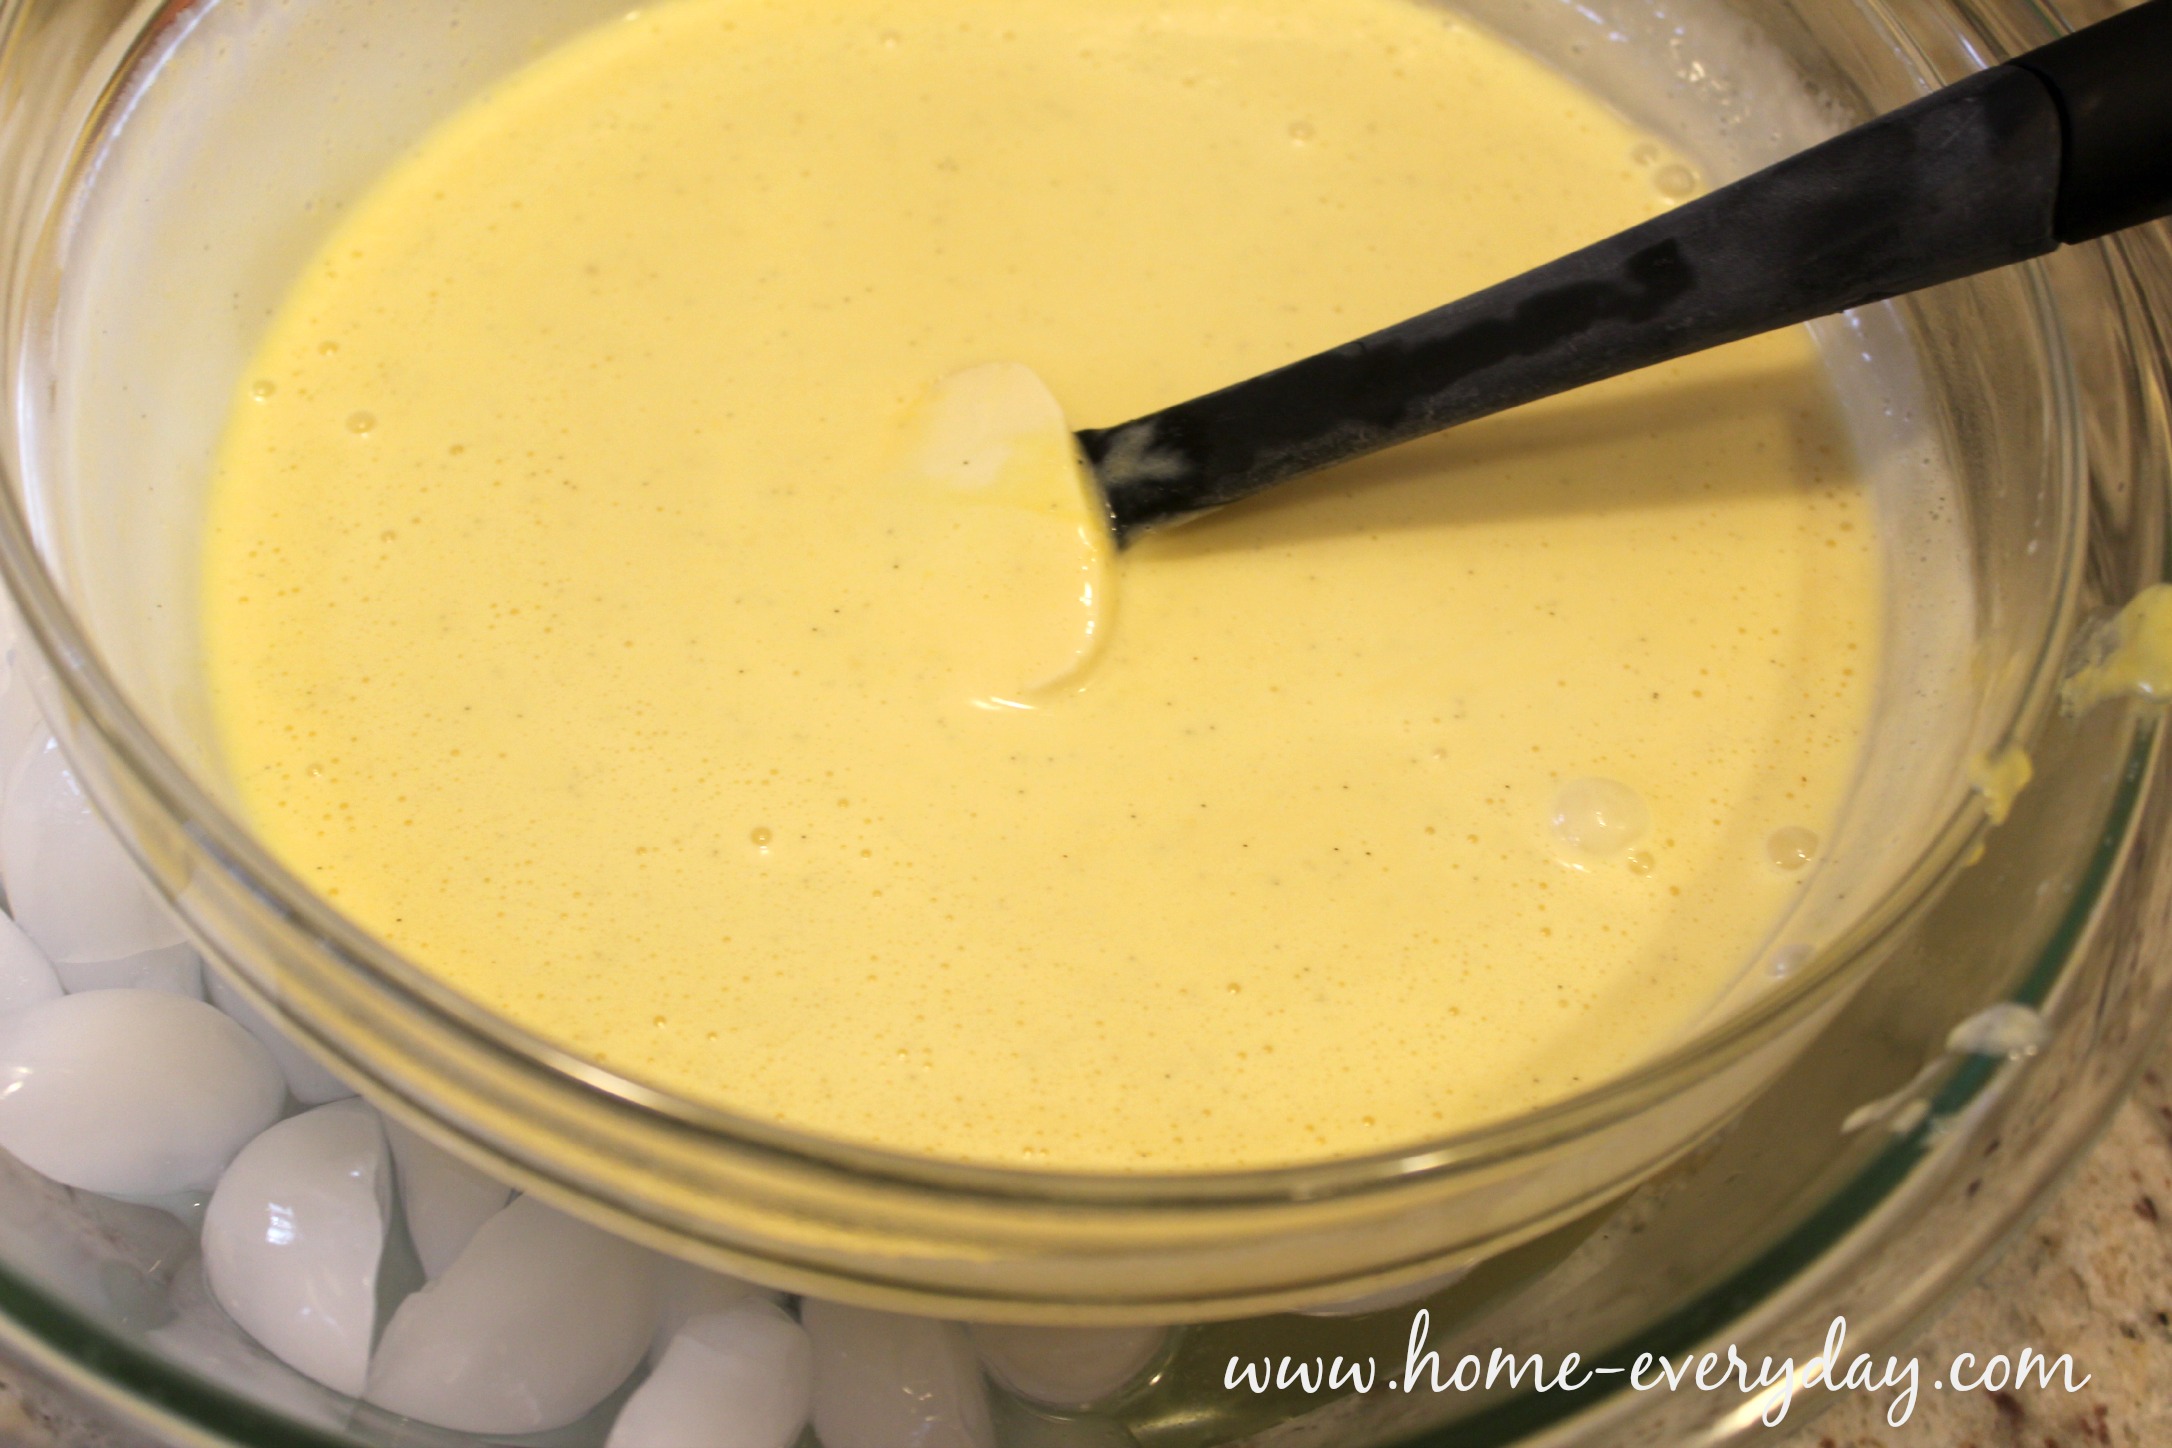
Once the egg mixture has reached optimal temperature, add this mixture to the chilled heavy cream mixture sitting in the ice water bath. Stir with a spatula slowly and continuously for about 5 minutes until the mixture has completely cooled. Pro Tip: If you want, you can pour the egg mixture through a fine sieve into the heavy cream to remove any lumps for an extra smooth texture. 

Traditional Vanilla Ice Cream Recipe 8

Next, add the vanilla extract.

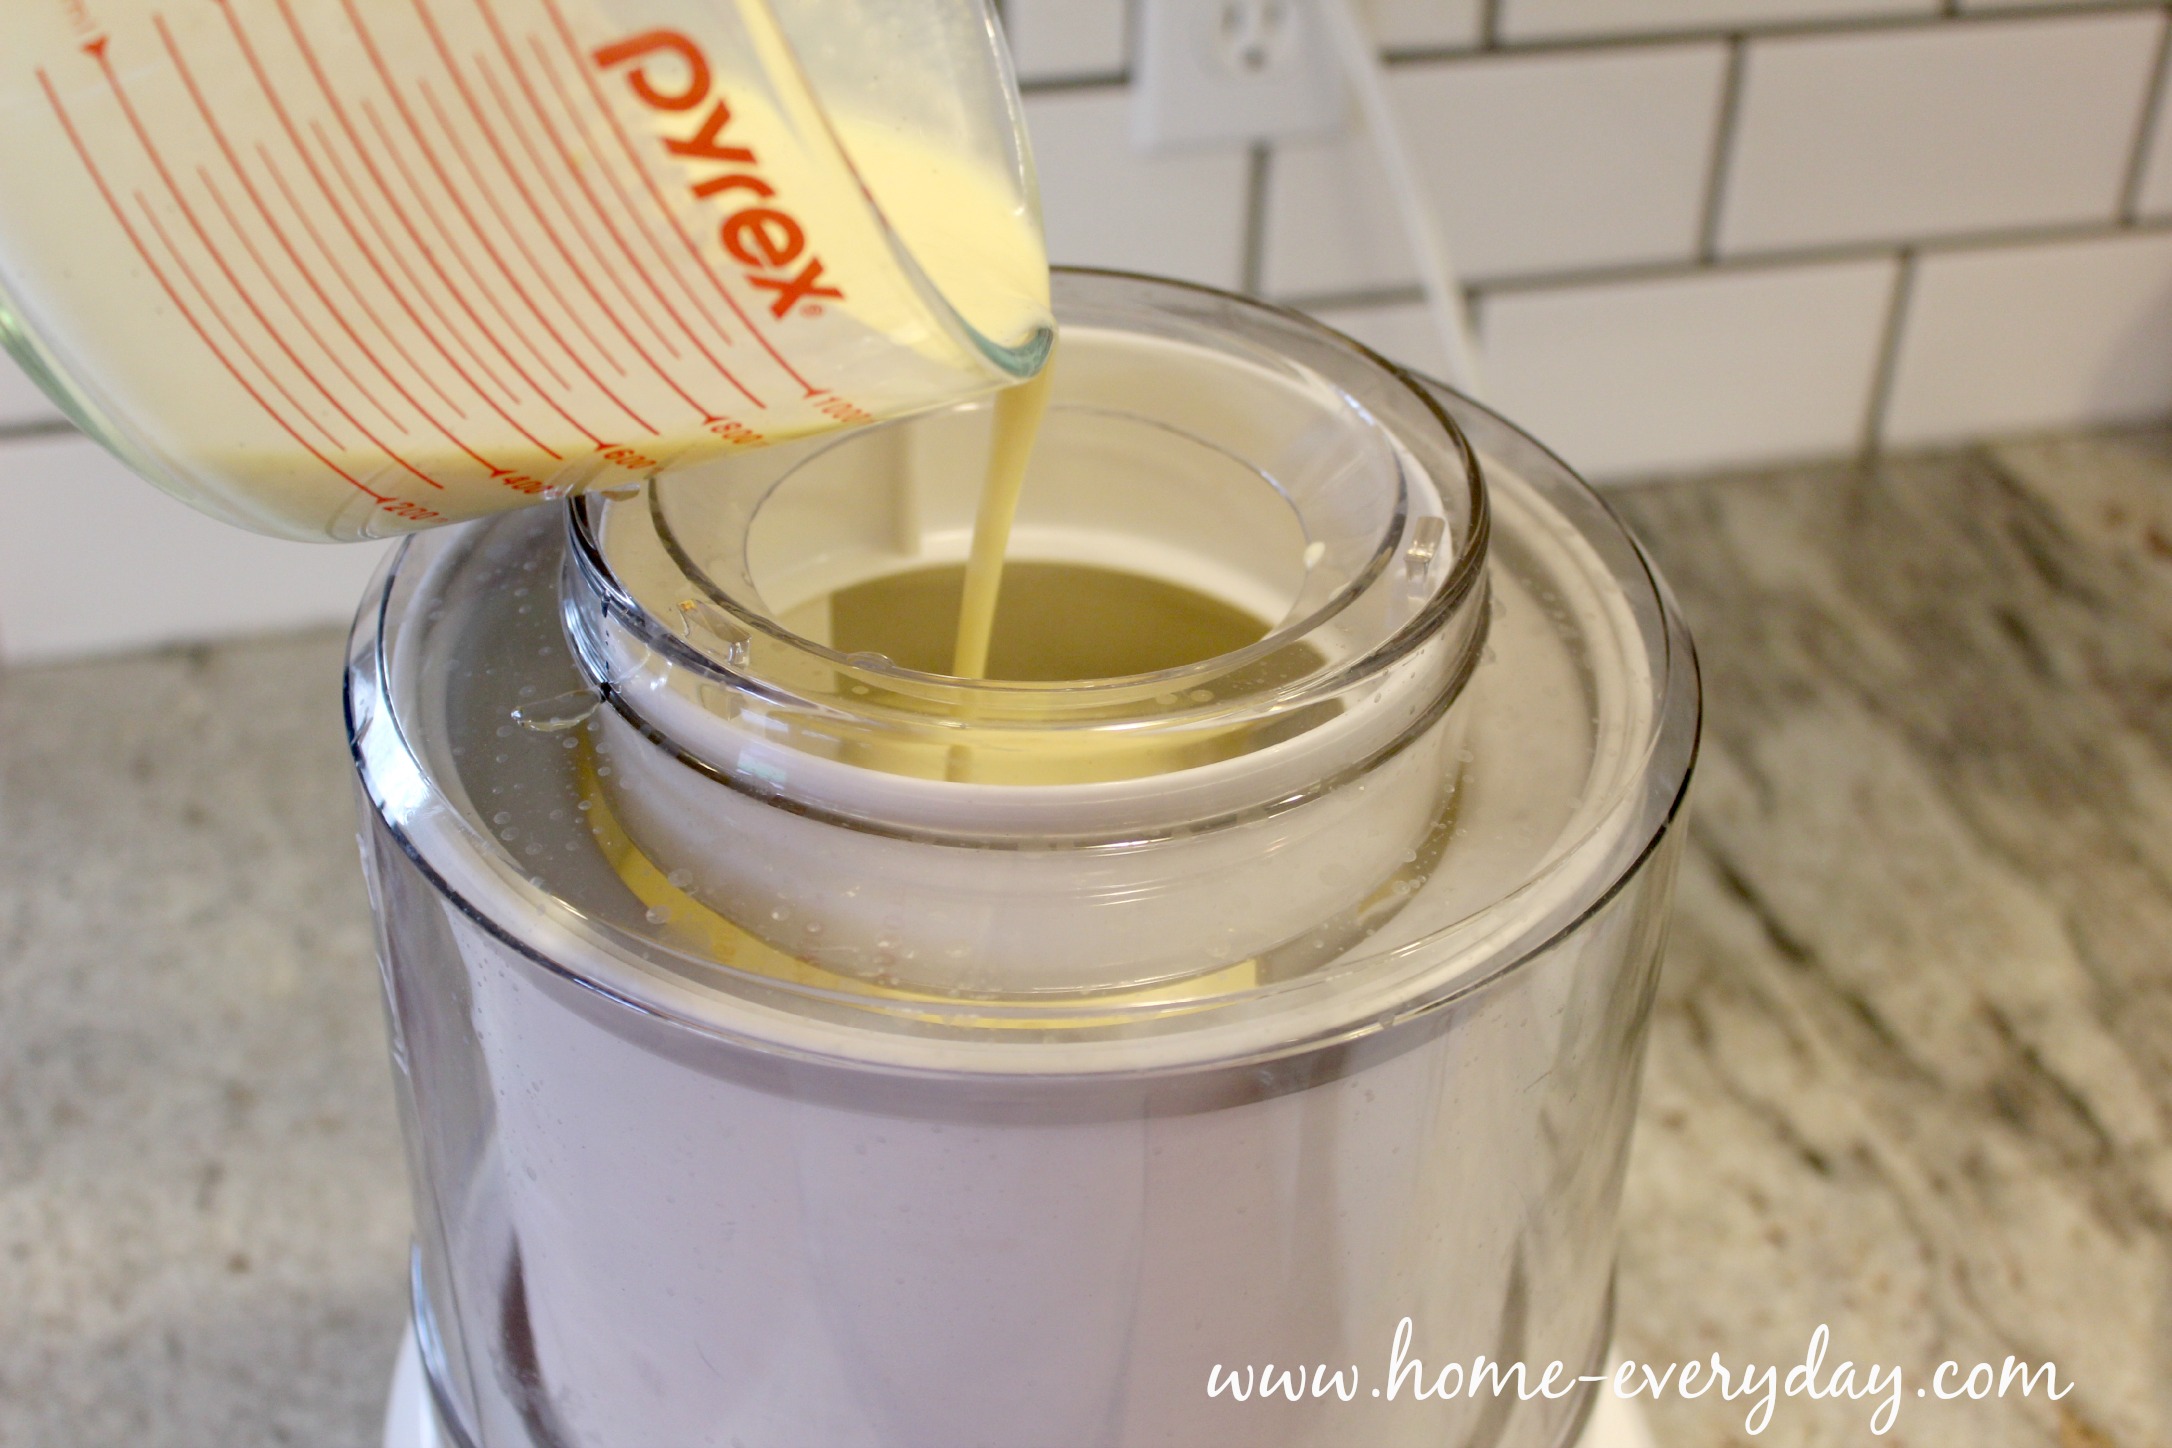
Finally, turn on your ice cream maker, and pour in the final mixture.

Traditional Vanilla Ice Cream Recipe 9

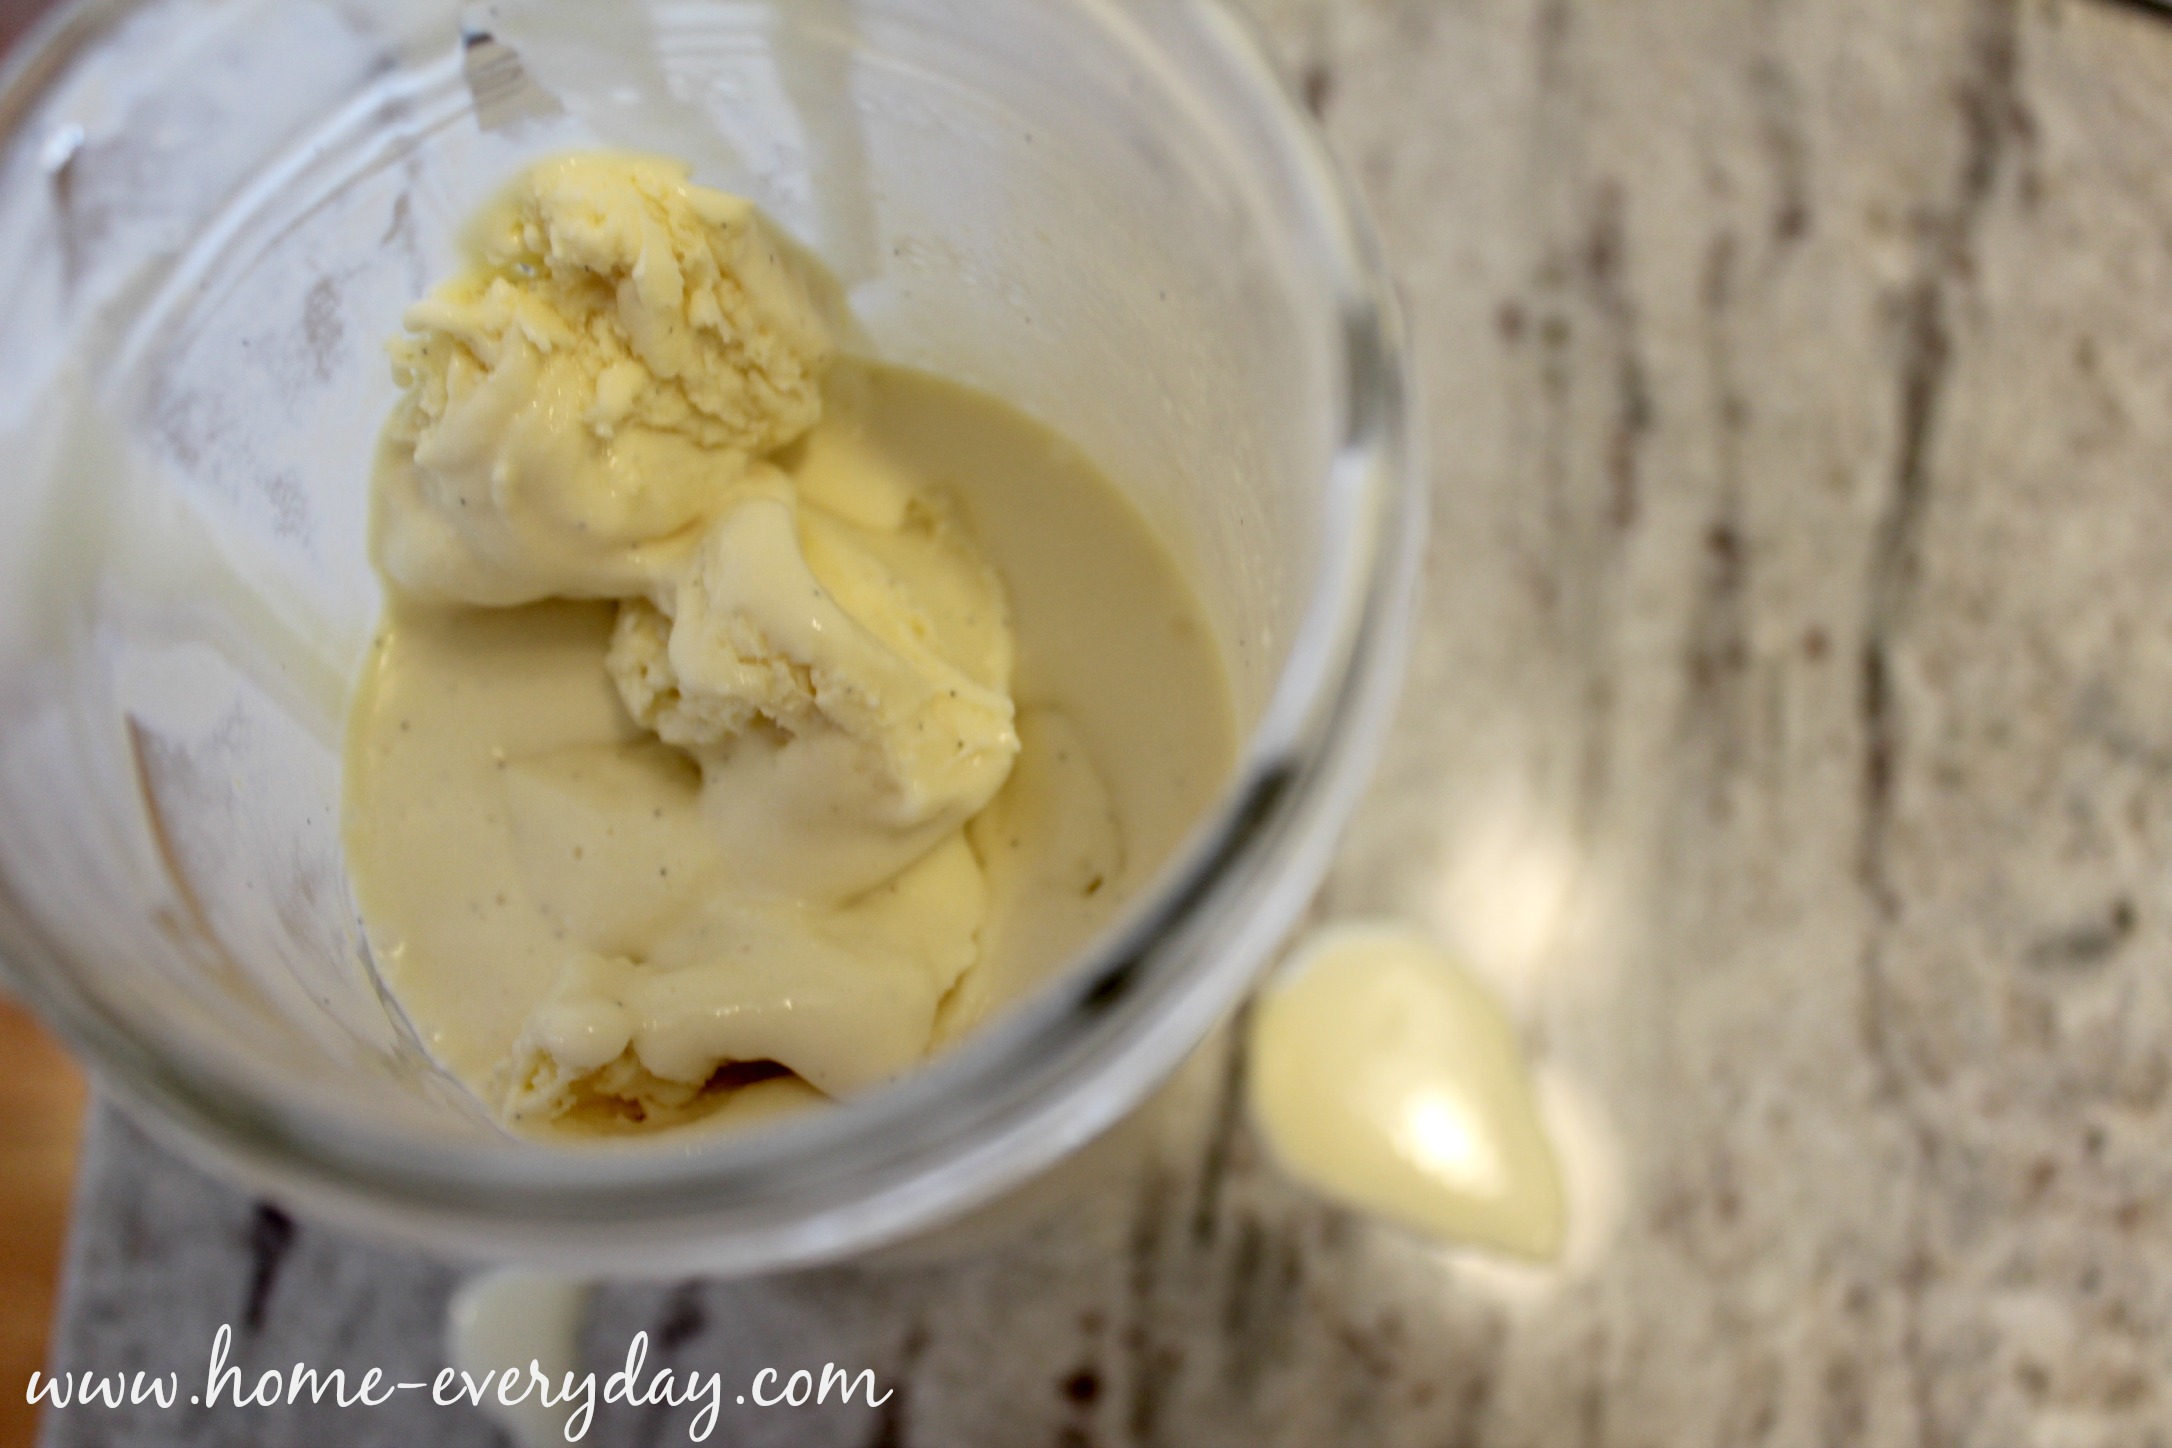
Once, you have churned the ice cream. Put the ice cream into a freezer safe container (I used wide mouth Mason jars with plastic lids).

Traditional Vanilla Ice Cream Recipe 11

Freeze for at least two hours. This will keep in your freezer for about 2 weeks.

Traditional Vanilla Ice Cream Recipe 12

Enjoy with your favorite toppings.

Traditional Vanilla Ice Cream Recipe 16

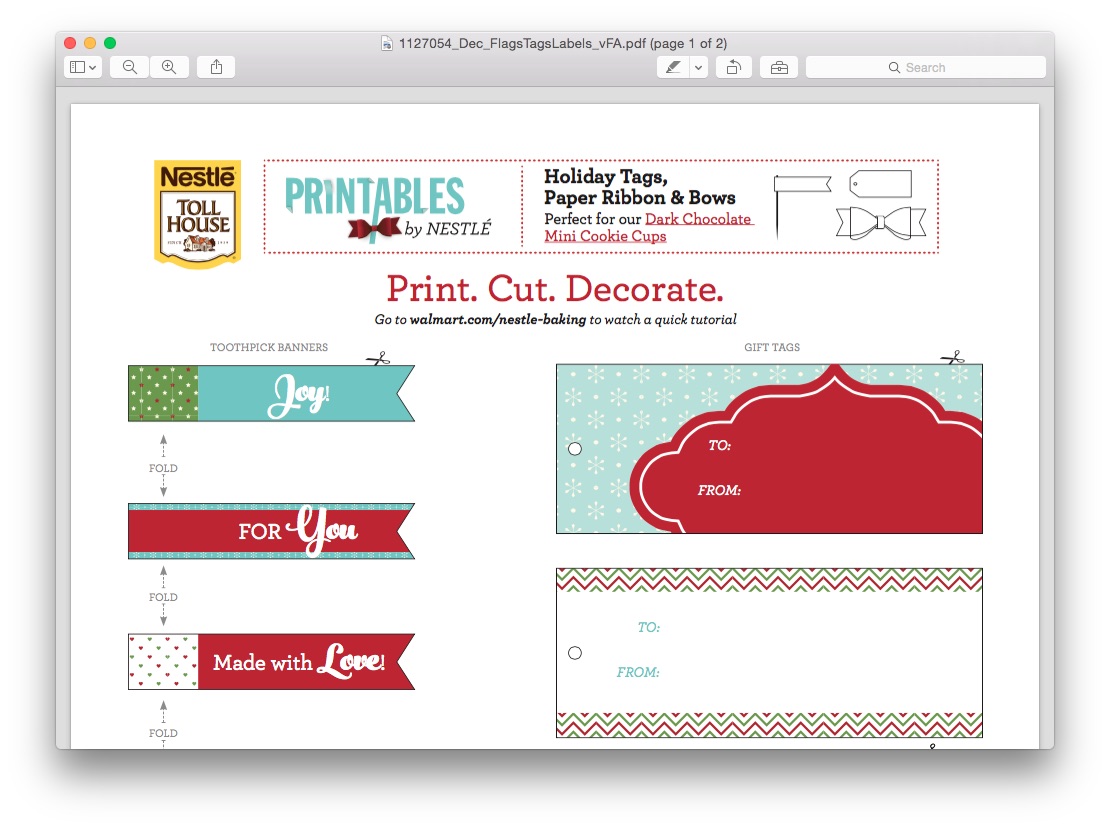
I was able to get enough ice cream to fill two Mason jars, which is perfect! Now, I have one for us and one to share. There is no better gift than something made in the kitchen, and NESTLÉ® has you covered in more ways than one. Not only was I able to get all my ingredients, but check out these adorable gift tags I was able to print out and attach to a jar of Vanilla Ice Cream for my neighbors.

Nestle 4I cannot wait to gift this to my next door neighbors.

Traditional Vanilla Ice Cream Recipe 15

So, after you make the most delicious and vanilla-y ice cream, with some NESTLÉ® morsels stirred in, what else will you be making? Don’t forget you can head over to the Flavorful Moment Pinterest Board for plenty of ideas!