“If I step on one more Lego!!!!!”
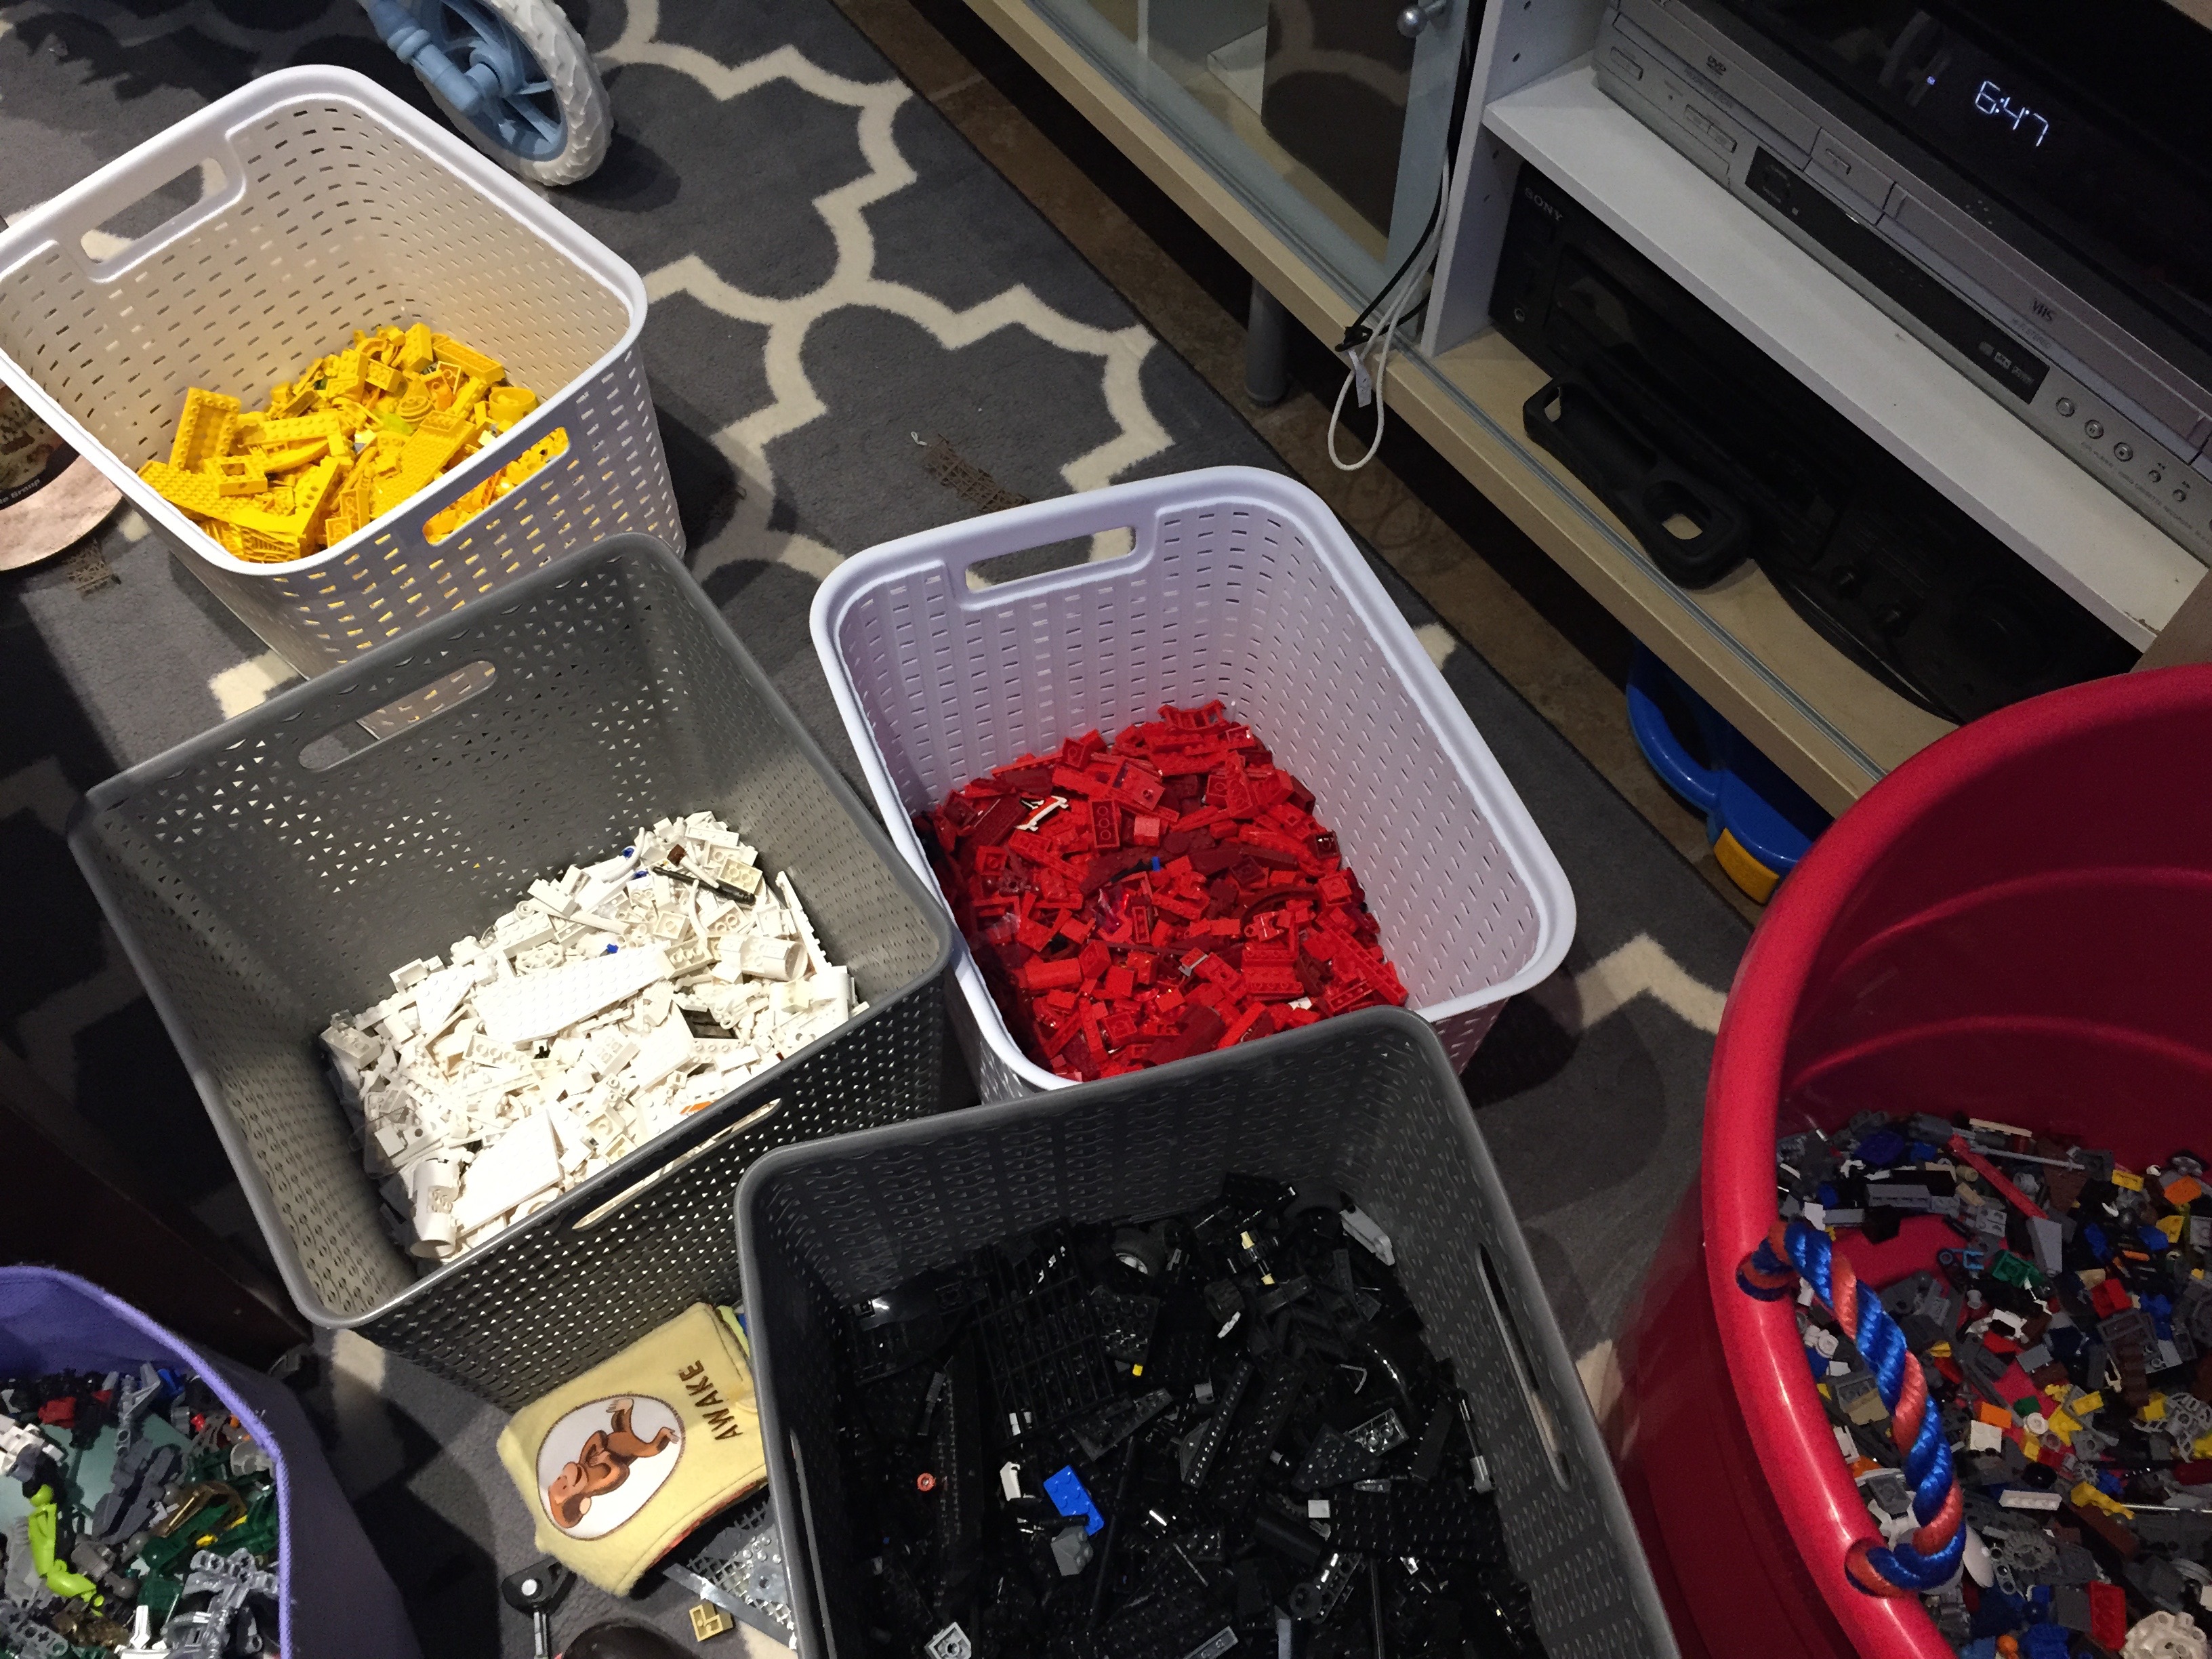
This is a phrase often uttered in my house. The kids have all reached the age when Legos are the primary toy. This of course means they are EVERYWHERE. On the floor. In the couch. On the table. In the kitchen. In the car.
While I love that my kids play with Legos (I mean hello hours of entertainment, education, and did I mention silence), I had to think of a a way to organize this insanity.
The first thing I did was to get some sets of clear plastic drawers, and I sorted all the Legos out by color. I figured this would kind of help with finding certain pieces, and when putting things away, everything would have a place. I even had a couple leftover drawers for instruction booklets, Bionicle pieces, and Lego Figure (known at our house as Lego Guys) pieces and accessories.
After everything was sorted, I thought it might be nice for the kids to have a place to display the things they had built. Normally, they don’t mind displaying something for a few days on the craft table, but then taking it apart to build something else. However, when it comes to their Lego Guys, they really like to keep them together for some reason.
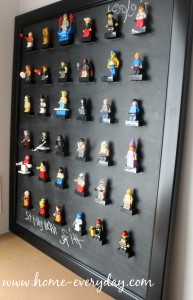
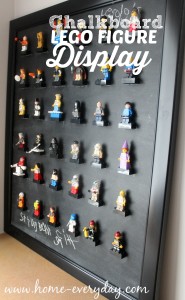
I pinned a few projects, and decided to create a display for their Lego Guys. It was simple and fairly inexpensive as I used up a few things I had on hand.
DIY Chalkboard “Lego Guy” Display
1 picture frame (I chose a large poster size frame)
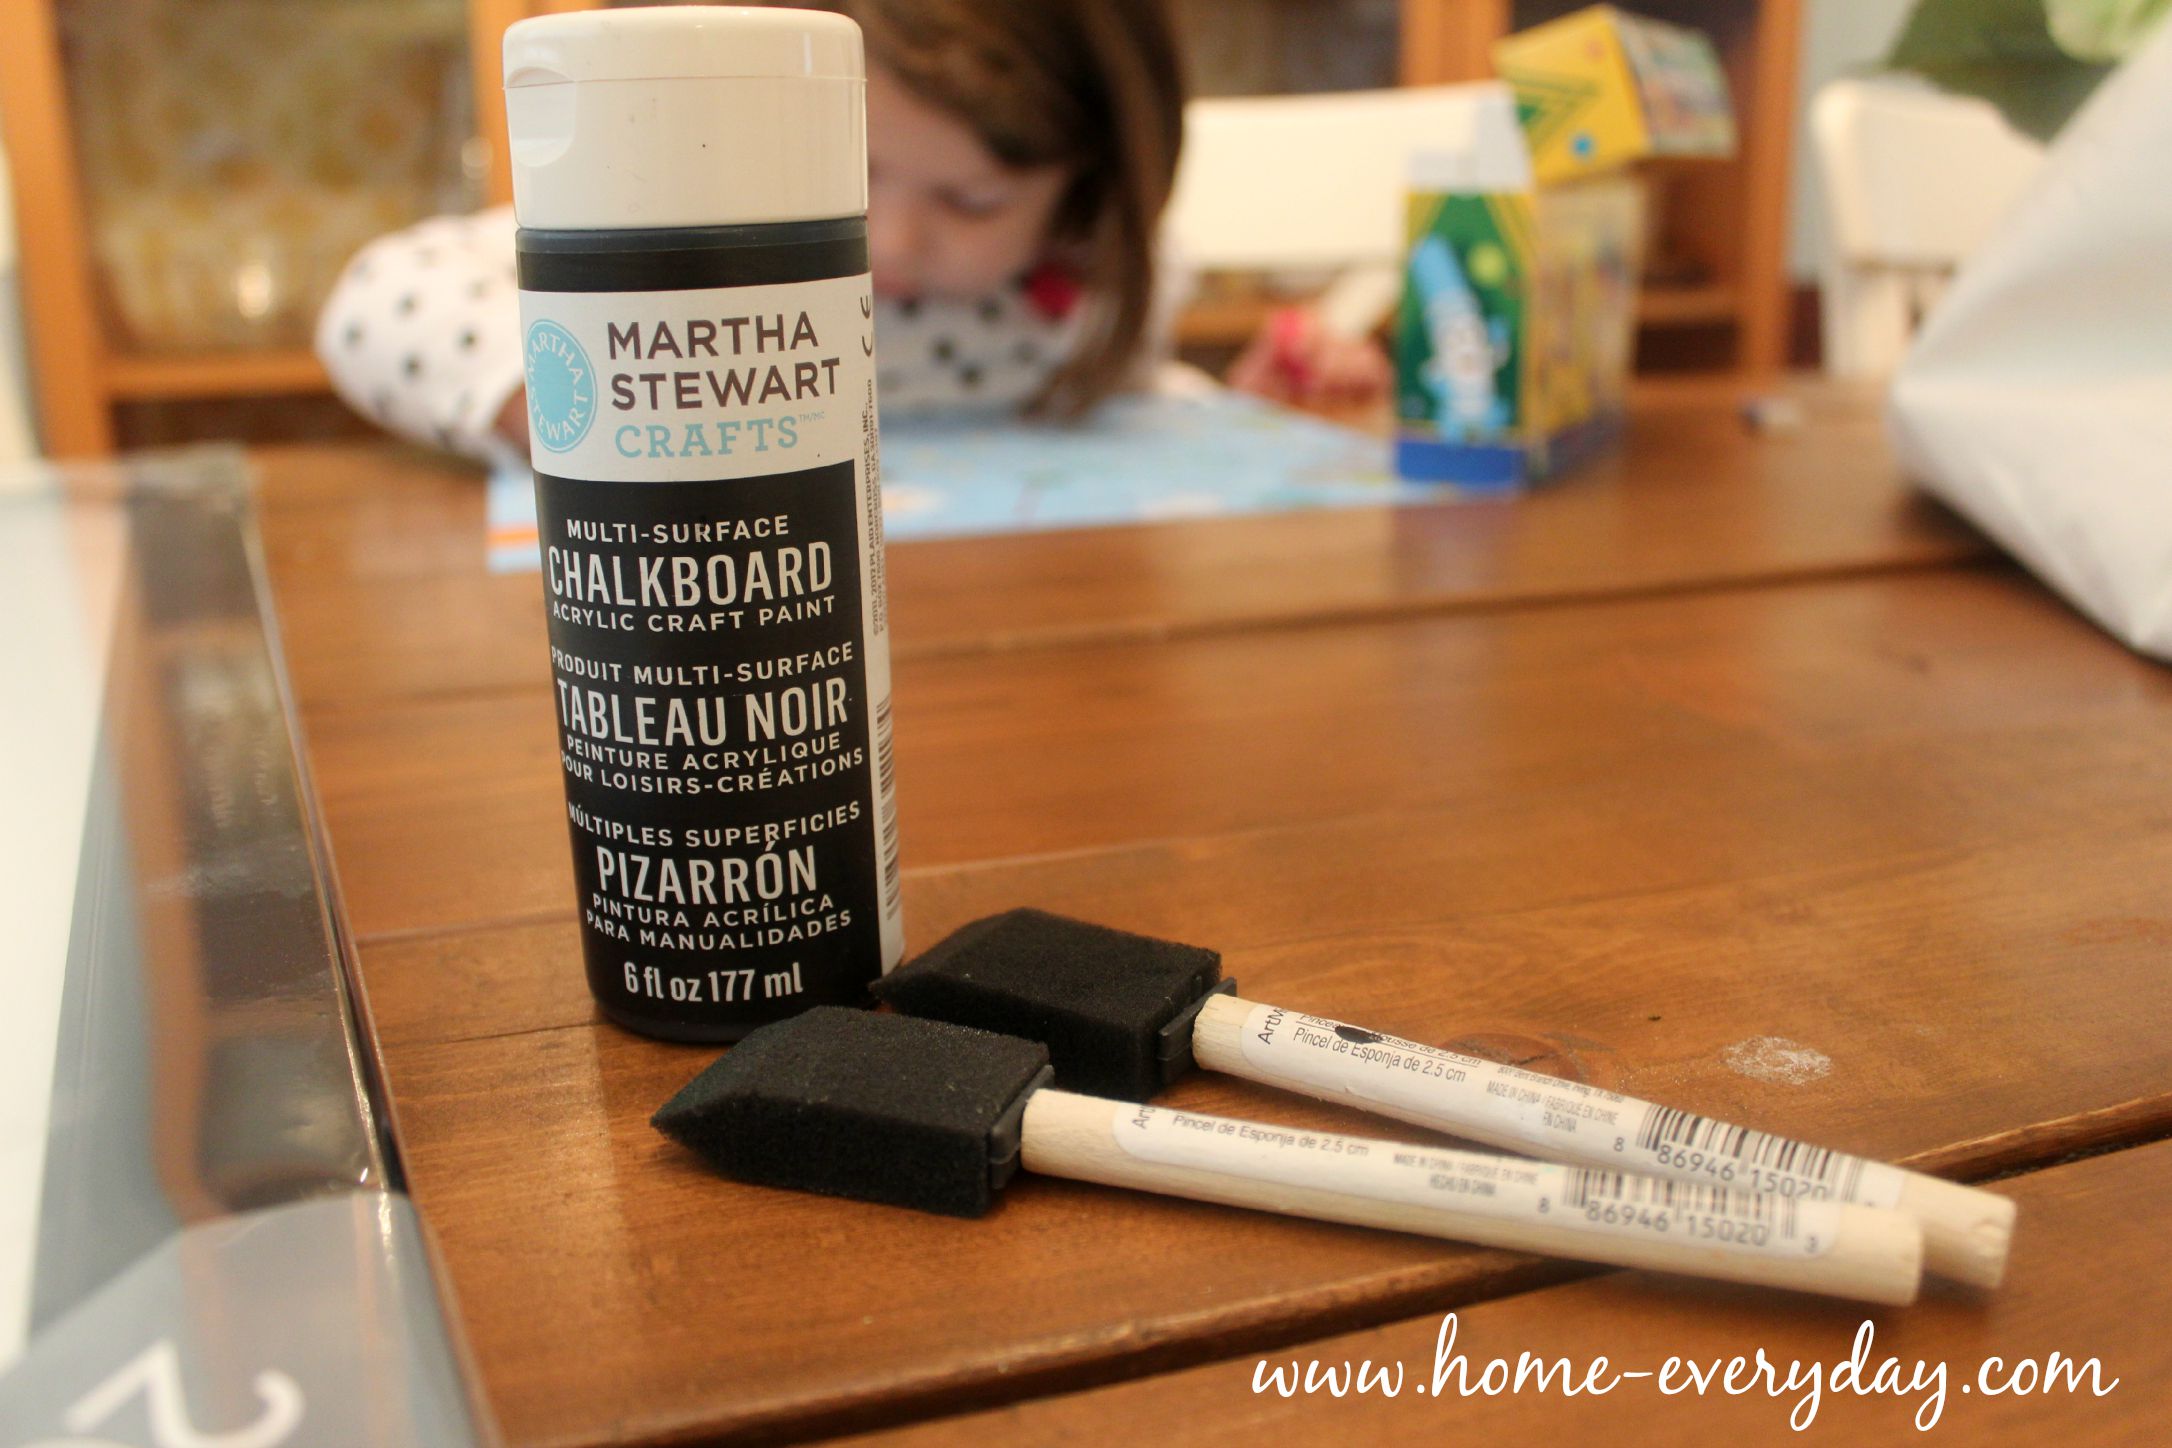
Chalkboard paint (I used Martha Stewart brand found at Michael’s)
12 – 36 (2 x 3) Lego bricks depending on size of display you want to create
super glue (I used Gorilla Glue Super Glue as I know it adheres to plastic)
chalk
Paint brush
drop cloth or trash bags
Step 1: Disassemble Frame. Take apart the frame by removing the glass or plastic, and any paper. Set aside the frame. Then place the cardboard or wooden backing on the drop cloth to prepare to paint.
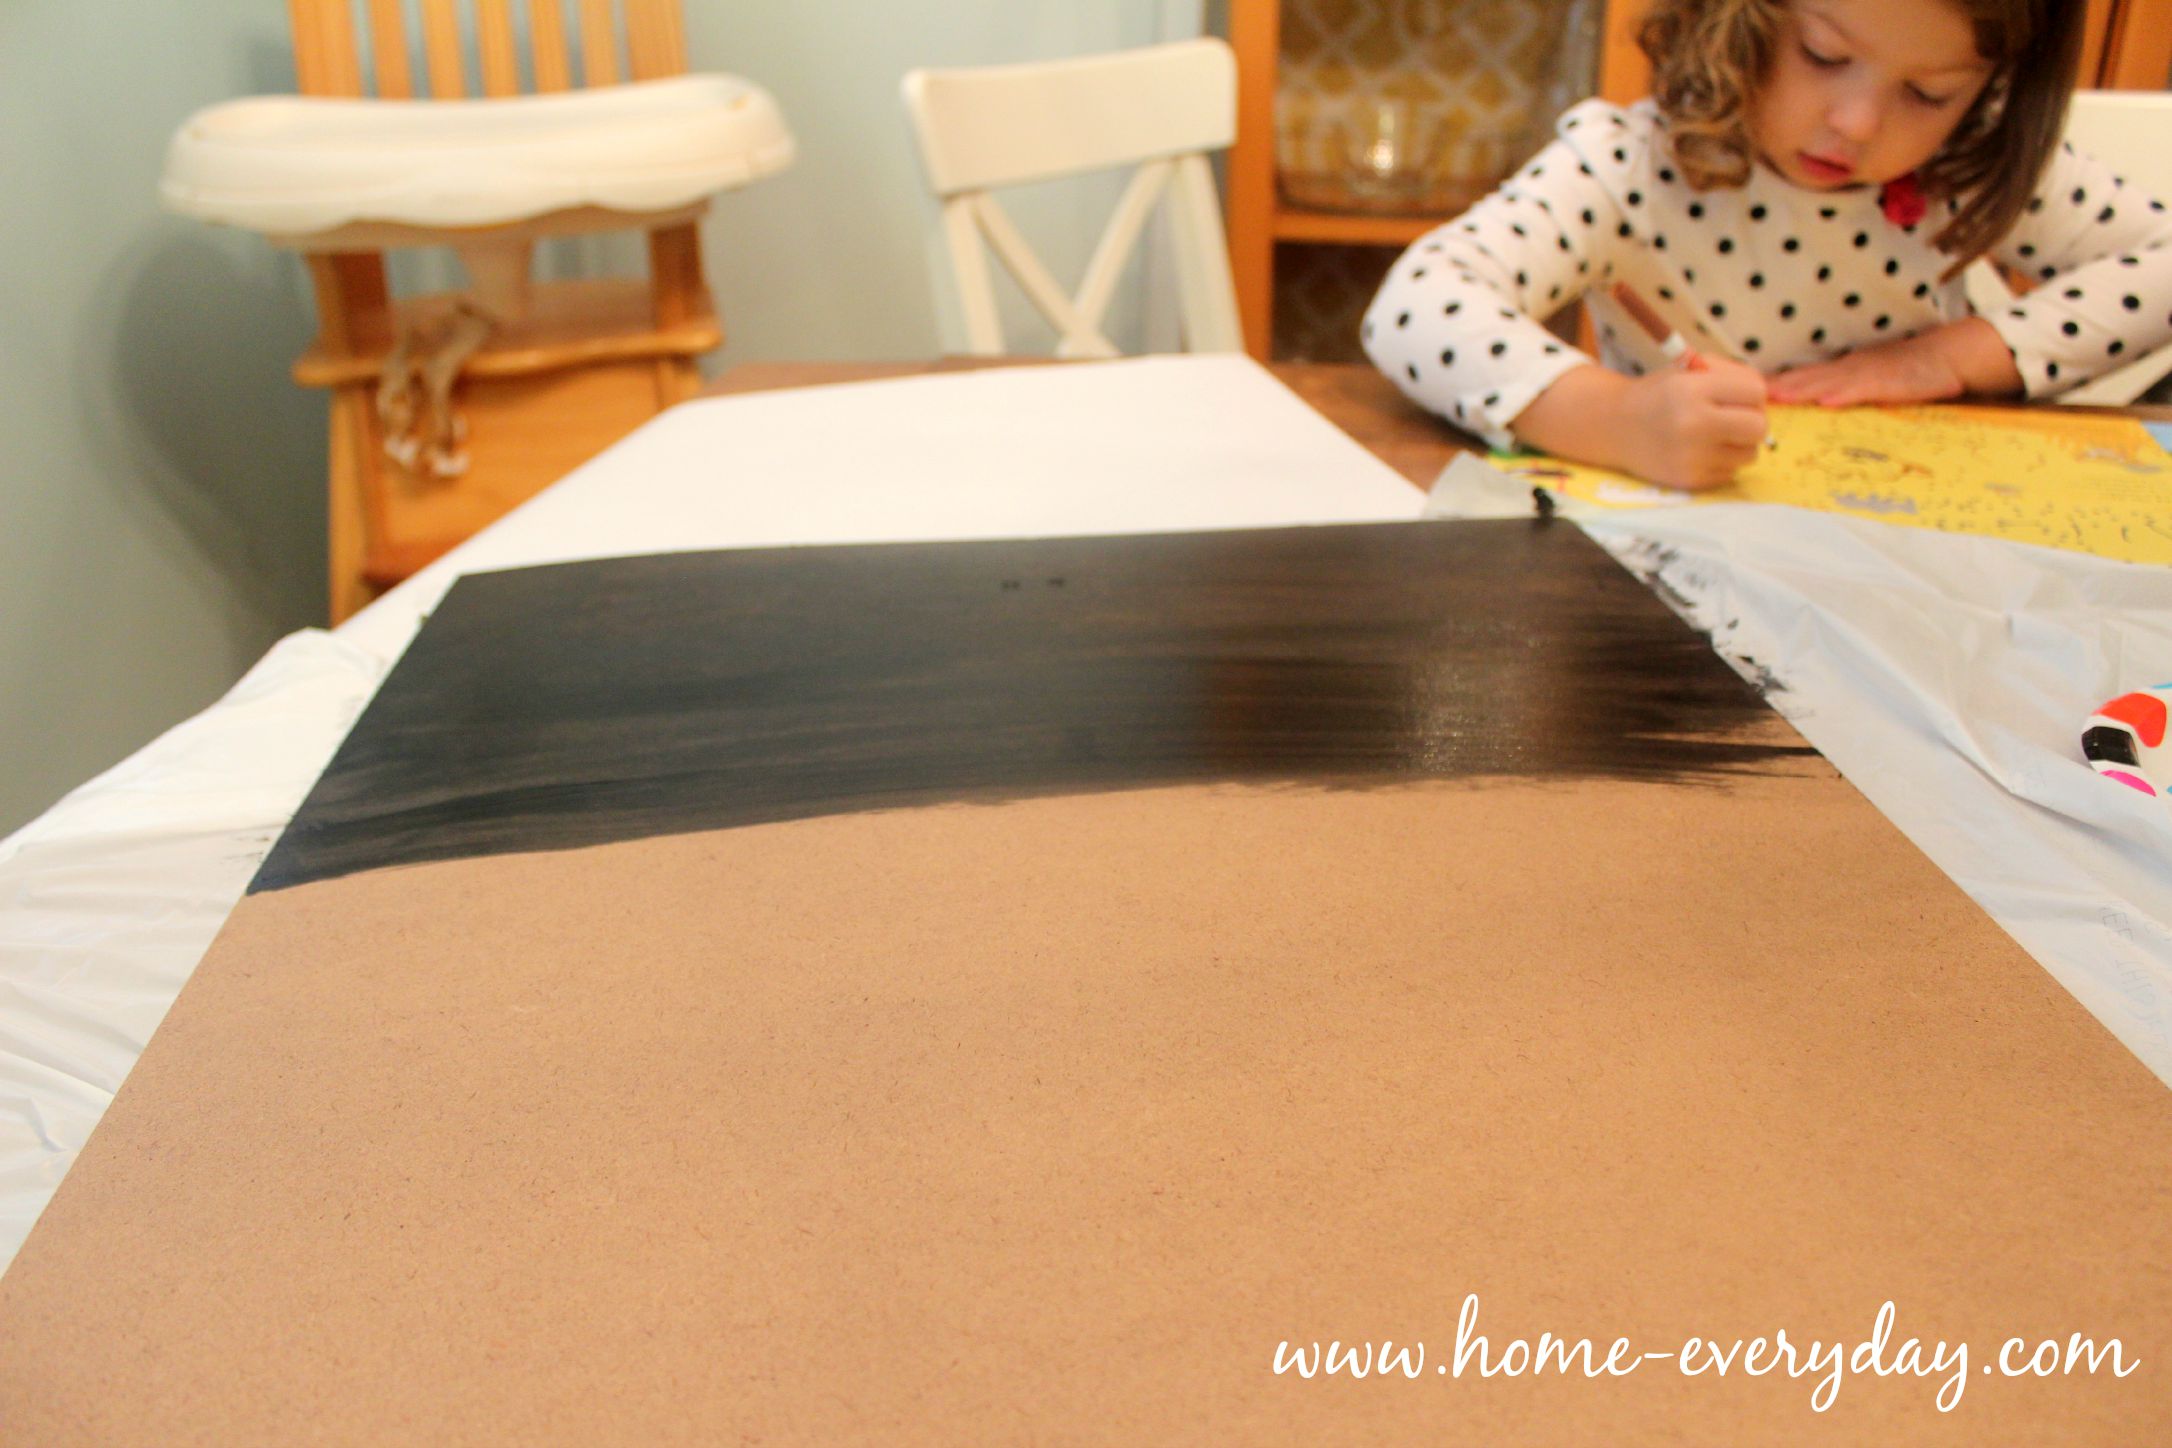
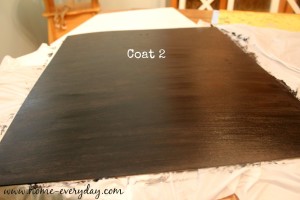
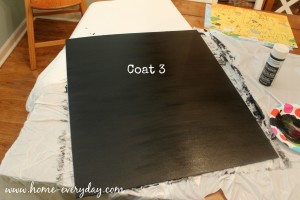
Step 2: Paint. Paint. Paint again. Paint the front side (the part of the frame without the hooks to use for hanging) with chalkboard paint. Be sure to use smooth strokes and watch for drips. I ended up painting three coats of chalkboard paint making sure to wait at least an hour between coats.
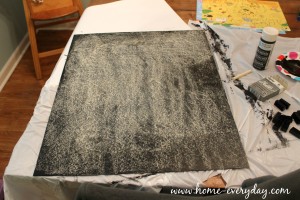
Step 3: Scribble. Most chalkboard paints require you to cure the chalkboard paint with chalk before moving on with anymore steps. To do this you must draw on the chalk paint after it is completely dry (12-24 hours) and wipe clean.
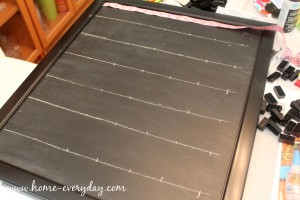
Step 4: Measure. I placed the board back in the frame without the glass. Then, using a measuring tape, a level, and some chalk I marked out some lines to help me determine exactly where I wanted to clue my Lego Bricks.
Step 5: Glue. Using the super glue, carefully put a dab of glue on the side of the Lego brick and placed the brick on the markings on the board. (I didn’t photograph this step as it made me nervous to have my camera or phone around super glue).
Step 6: Wait. It is important to wait a few hours to make sure that all the Lego bricks are secure with the super glue and are completely dry before attaching your Lego Guys.
Now, you and your kids can enjoy an awesome display of Lego Guys (and label them) and you won’t be stepping on them anymore.

