Month

May 2015

Thirsty Thursday: Pineapple Banana Smoothies

My regular readers know, I love television. I have always watched too much. I reference it constantly, and if it is funny, I’ll watch it. One of my favorite shows growing up was The Golden Girls. Maybe I’m an old soul, or maybe it is because the show was hysterical, or maybe because my grandma watched it, or maybe in the 80’s the show was at the height of popularity, but I was so obsessed with these four women in their golden years. When you think about it, The Golden Girls was pretty groundbreaking for its time. Perhaps I knew that even as an eight year old.


Even now, I love that show. (I have passed my love for The Golden Girls onto many. Including my friend Sara.) If you’re lucky, you can still catch re-runs of The Golden Girls in the morning. So, I thought I would create the perfect smoothie to enjoy while watching  The Golden Girls. It is delicious and is the same shade as Rose’s hair.


The Golden Girls Smoothie (makes 2)
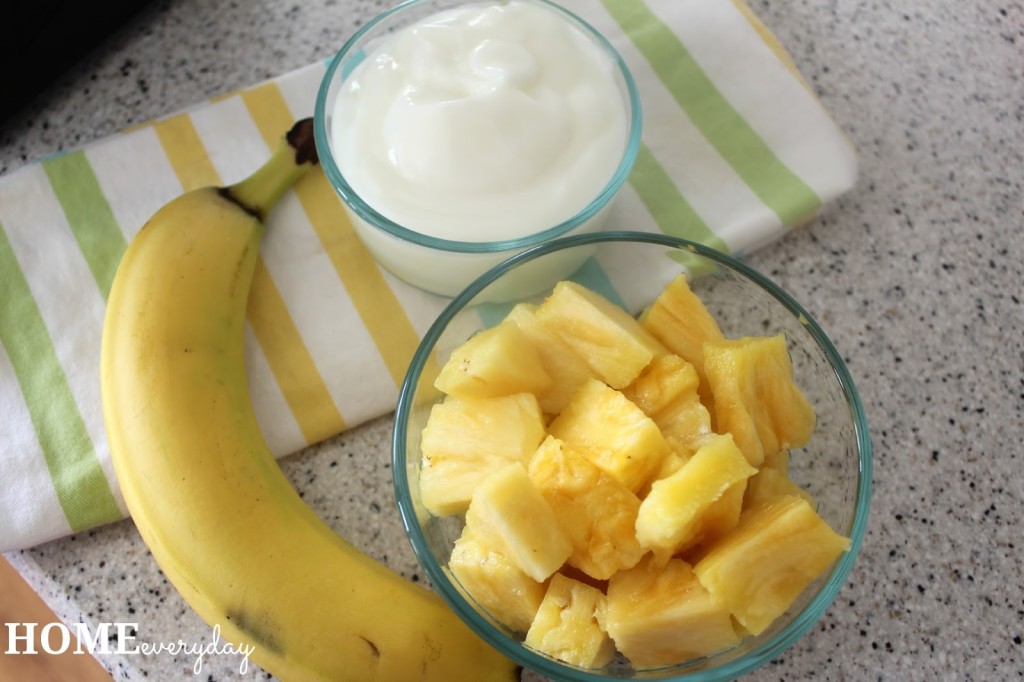
2 cups chopped  fresh pineapple
1 large banana peeled and sliced
1 cup vanilla yogurt
2 tsp honey
2 cups ice
In a blender, put the ingredients and blend until smooth. Pour in glasses, and enjoy while watching re-runs of your favorite show.

For last week’s Thirsty Thursday CLICK HERE. For all things beverage related, check out the THIRSTY THURSDAY page for recipes for all kinds of drinks, cocktails, and all things drinkable!


Want to read more about all things domestic with a touch of humor? Become a Home Everyday follower! For blog updates or to see other places I write such as ChicagoNow or Chicago Parent follow Home Everyday on FacebookTwitter, and Pinterest.
 

Thirsty Thursday: Grown Up Root Beer Floats

I did something crazy and amazing at the same time. I mixed beer and ice cream. I know. Most of you think this is disgusting. However, for some of you, I have made all your dreams come true.


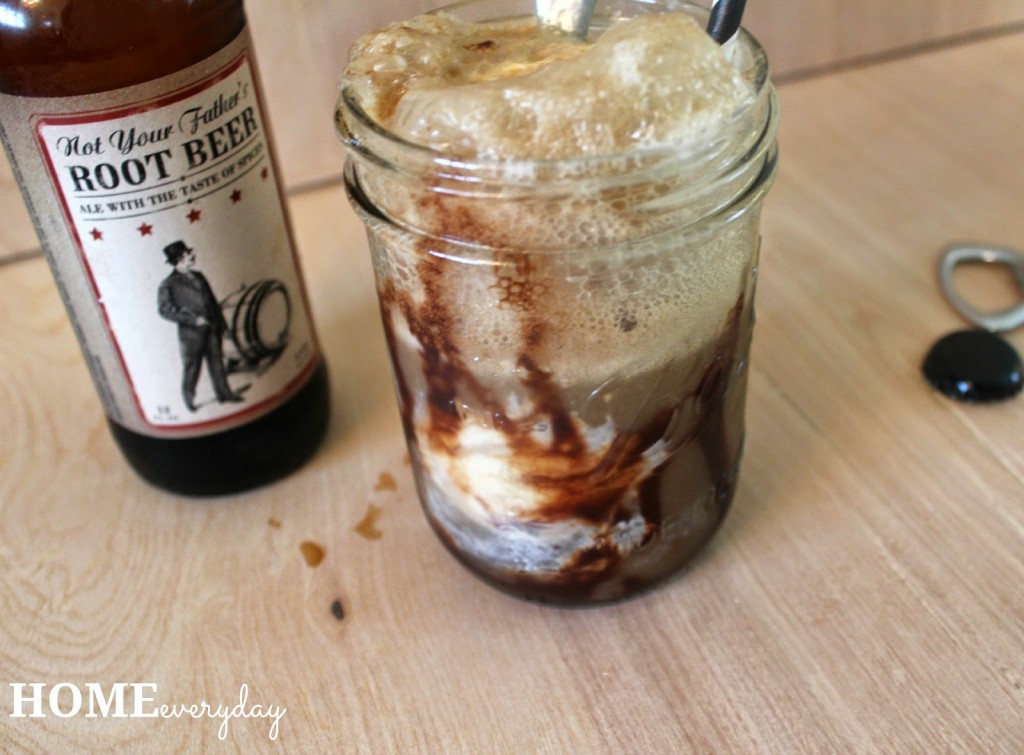
Hear me out first. There is this amazing beer. It is beer, but it tastes like root beer. Like exactly like root beer. Not Your Father’s Root Beer is manufactured by Small Town Brewery and it is a must have for summer! Beer drinkers like it because it has a lot of interest. Non beer drinkers will love it because it tastes like pop!


And if you do what I did, and make an decadent grown up version of an old time favorite with it, you’ll have to keep some on hand at all times because your grown up friends will want you to serve up this treat all summer long!

Grown Up Root Beer Float (makes one)
1 bottle of Not Your Father’s Root Beer (chilled)
chocolate syrup
vanilla ice cream

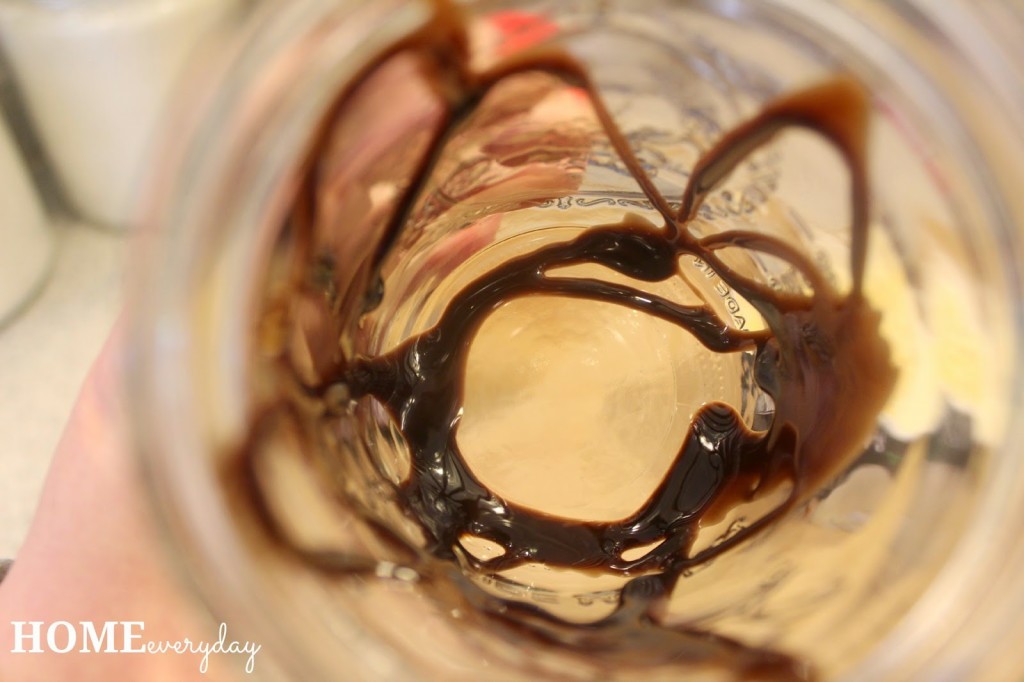
Drizzle the inside of a large glass with about one or two tablespoons of chocolate syrup.


Then, in the same glass, add two scoops of the ice cream.

Finally, carefully pour the chilled beer over the ice cream. The beer will foam like a regular root beer float, so this is where an extra large glass comes in handy.


Serve with a straw for sipping and a spoon for scooping the extra ice cream.

Sit outside and enjoy being a grown up, while having a taste of childhood.


For all things beverage related, check out the THIRSTY THURSDAY page for recipes for all kinds of drinks, cocktails, and all things drinkable!


Want to read more about all things domestic with a touch of humor? Become a Home Everyday follower! For blog updates or to see other places I write such as ChicagoNow or Chicago Parent follow Home Everyday on FacebookTwitter, and Pinterest.
Penny Hockey: A DIY Birthday Surprise

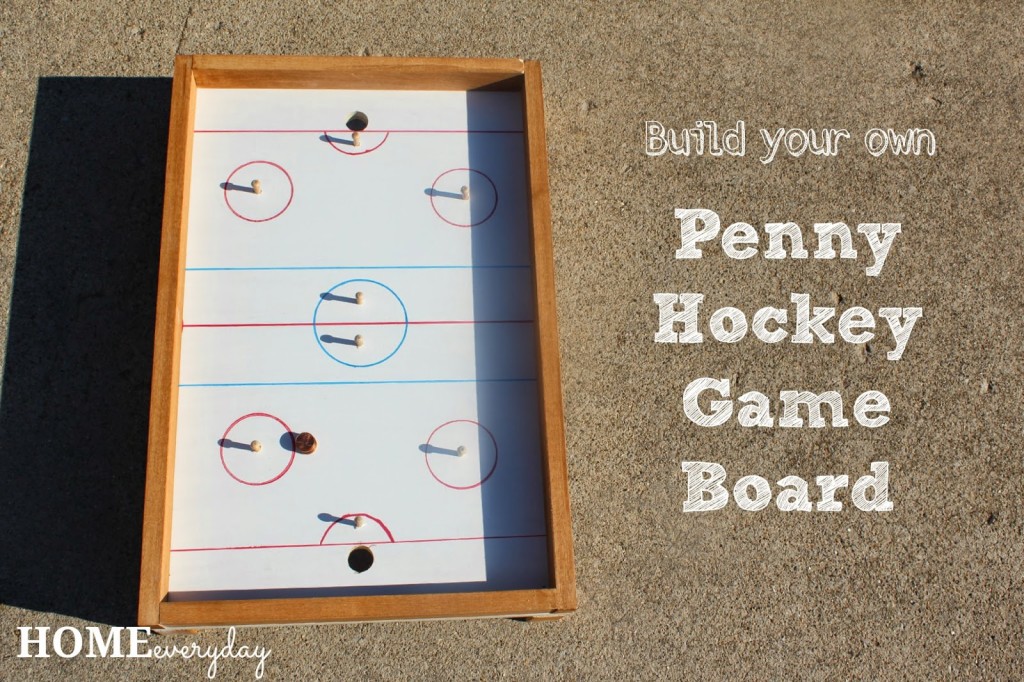
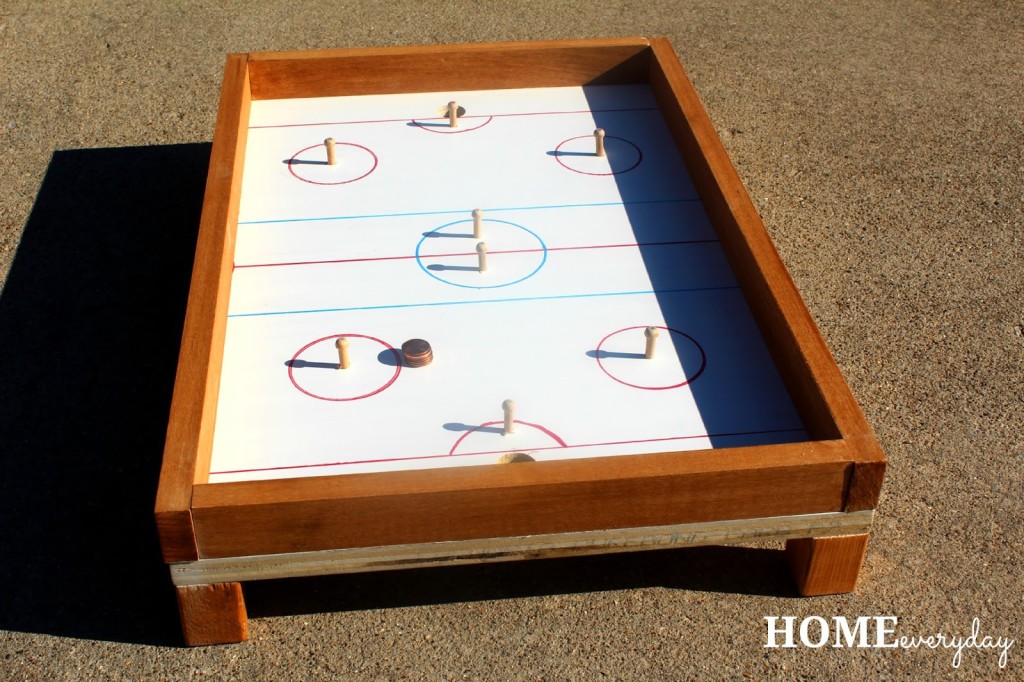
Sometimes creating, or building, or making a gift for a friend is the best way to show how much to care. The kids’ friend, and fellow hockey lover, recently turned 7 and we decided to build him his own Penny Hockey Game Board.


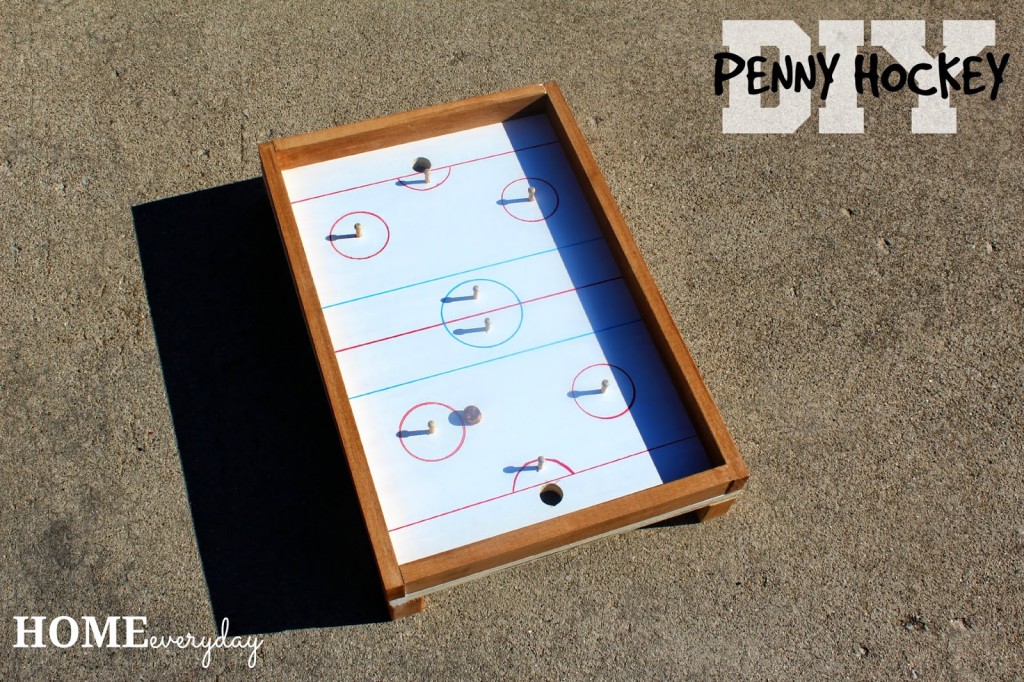
Now, I bet you’re wondering: What is Penny Hockey? (Because I didn’t know either). It is a table top game board similar to a hockey rink with holes (or goals) at either end which you can slide pennies (or pucks). Brian built one when he was in his first junior high shop class. The kids still play with it, and decided to build a larger version for their friend.
This post is long, but by the end you will be able to have an idea of how to build your own Penny Hockey game board. We think we are going to build another soon, but paint it green, with white lines and make it a soccer field.
The first thing we did, we of course go online and look at some photos. We used a few different ideas as a kind of example for how to make it like this one here.
Materials
1/2″ to 3/4″ plywood cut into a 24″ x 16″ rectangle
1″ x 2″ cut into 2 – 24″ chunks and 2 – 16″ chances for rails
Wooden pegs (found at Michael’s, but you could easily cut a thin dowel)
1″ x 1″ cut into 4- 1 1/2″ chunks for feet
Nails
Nail gun (optional)
Screws
White craft paint
Red and blue paint pens
Paint brushes
Stain (optional)
 
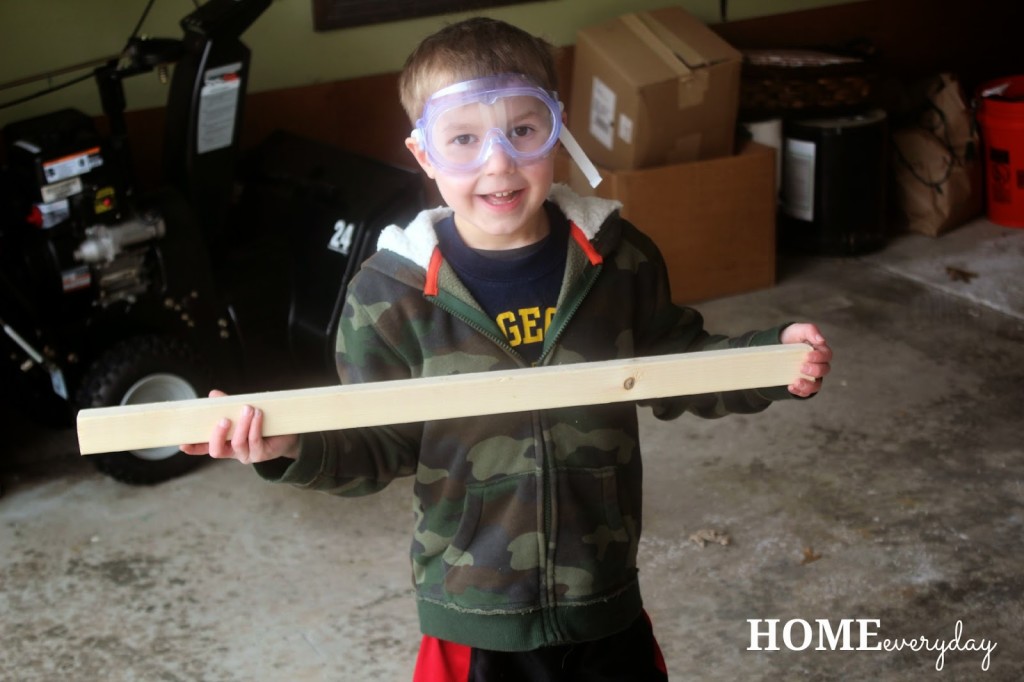
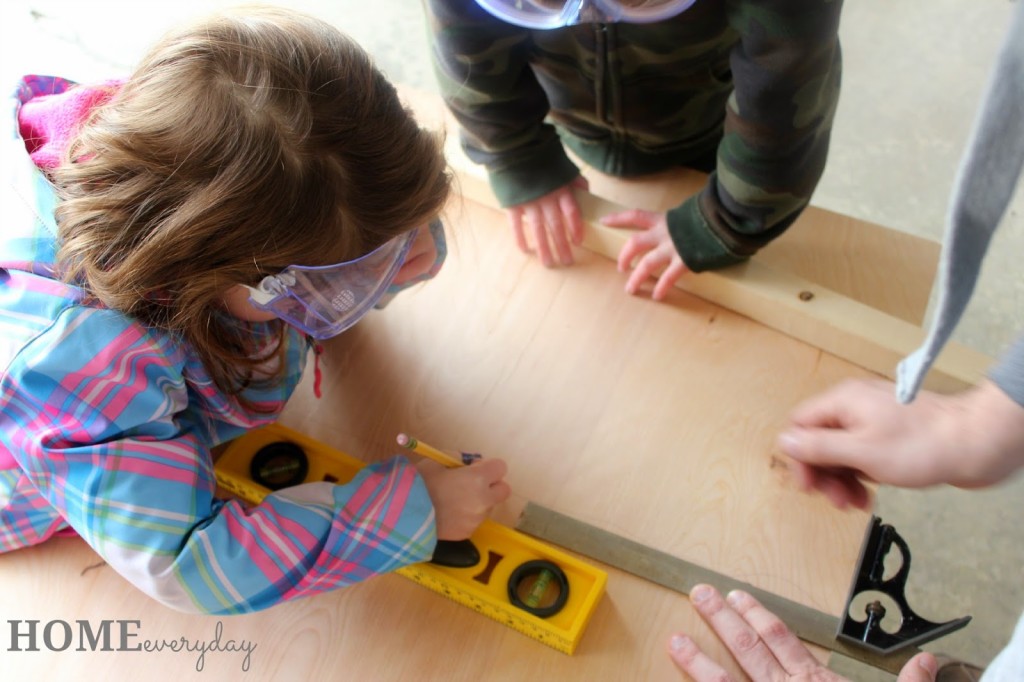
The kids helped us do a bit of measuring.
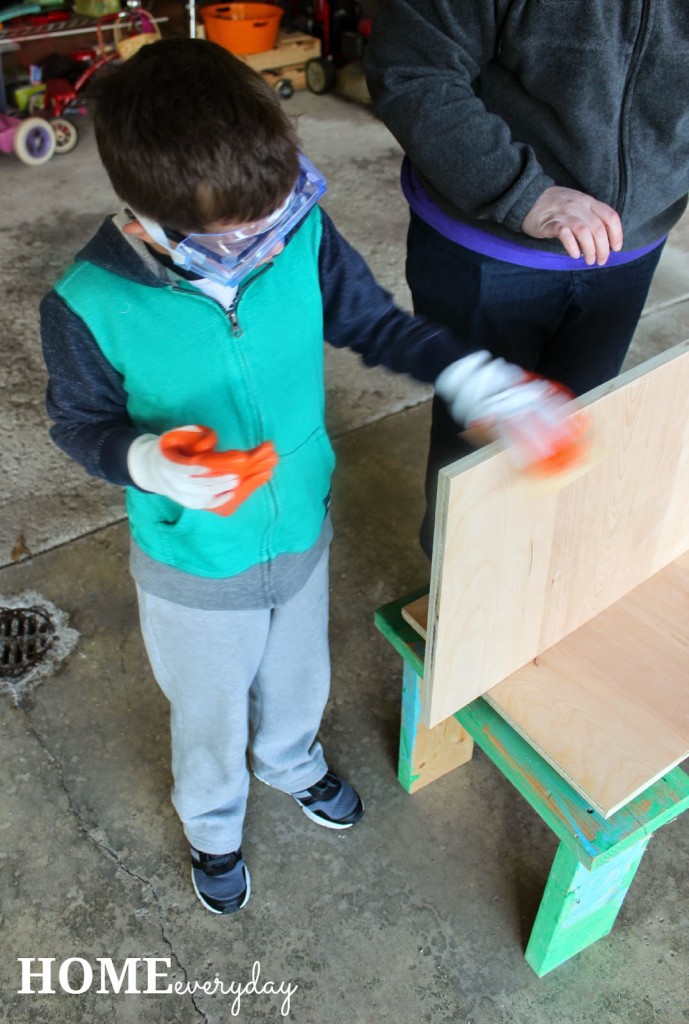
Then, Brian cut the lumber into the desired sizes. This allowed us to begin sanding, painting and staining. Since this is a toy for kids, we wanted to make sure that everything was super smooth to the touch, so we sanded every piece of wood very carefully.
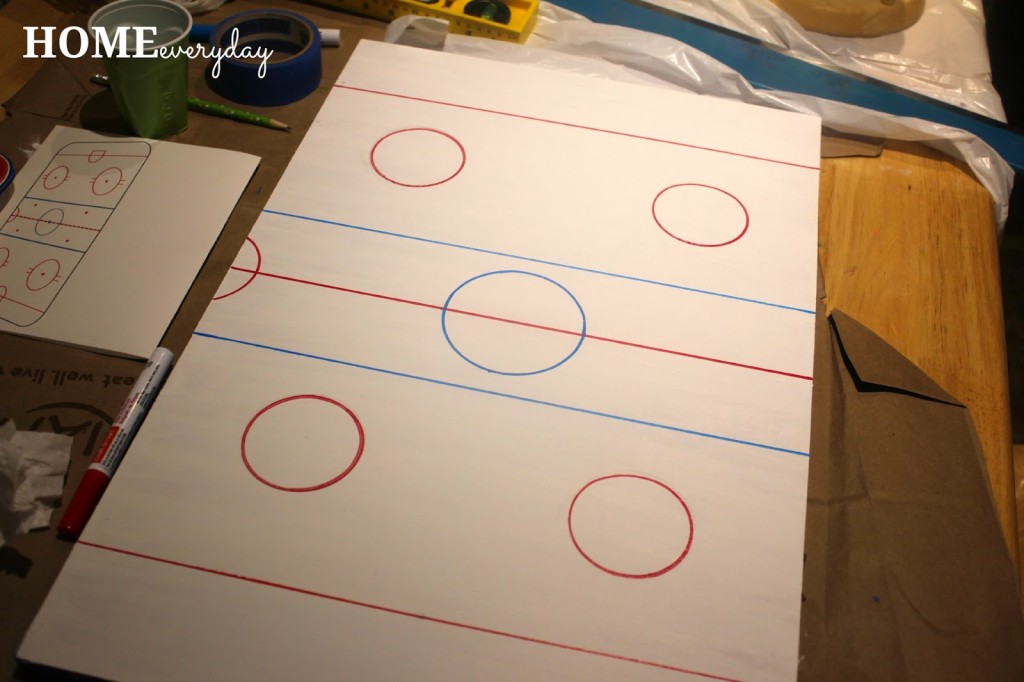
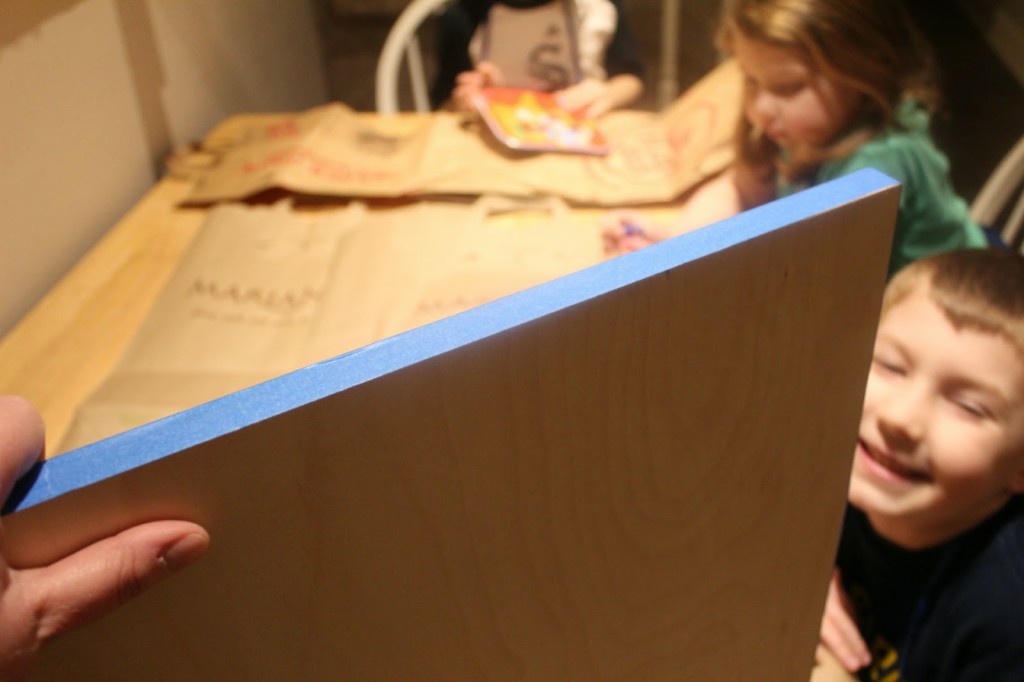
Once that was completed, we started painting the board. I taped the edges to avoid dripping as I had some helpers.
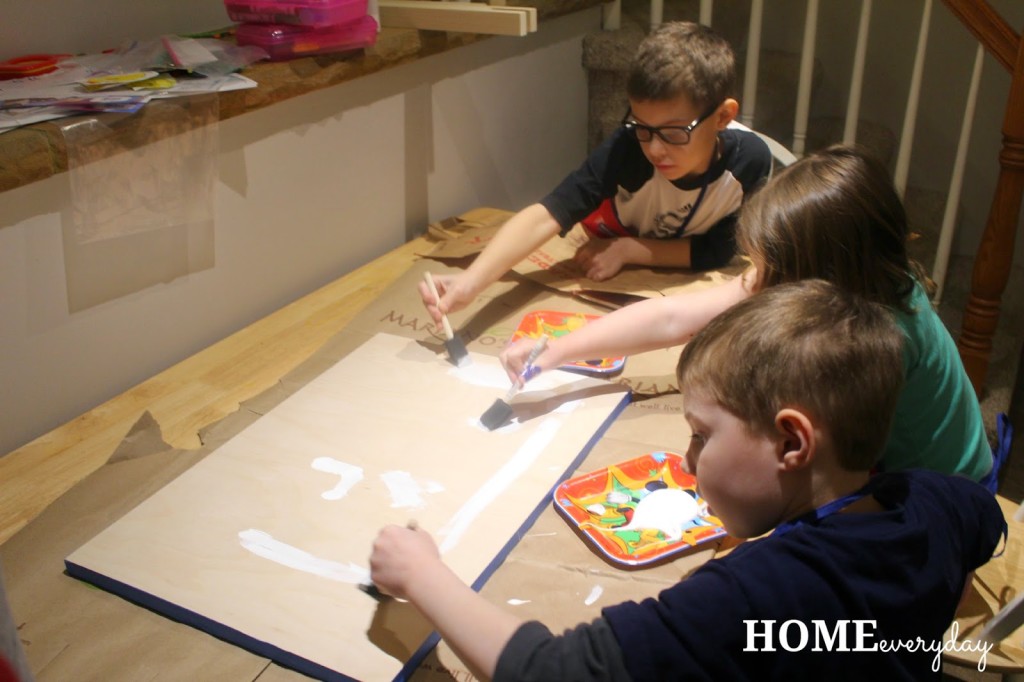
We painted the board with three coats of white craft paint.
Then, carefully measuring and using a photo of a hockey rink, I drew out the regulation lines using red and blue paint pens.
 
NOTE: I did this BEFORE drilling the holes for the pegs (players) and the goals. I thought it would better determine where the pegs and goals would be placed, and would it was easier to paint over a smooth surface rather than over digits created by a drill.
 
Next, we stained the rails and the feet. This step is optional, but we thought it added a nice look to the overall product. We really didn’t let our kids stain, but here is a picture of my middle guy wiping off some dust.
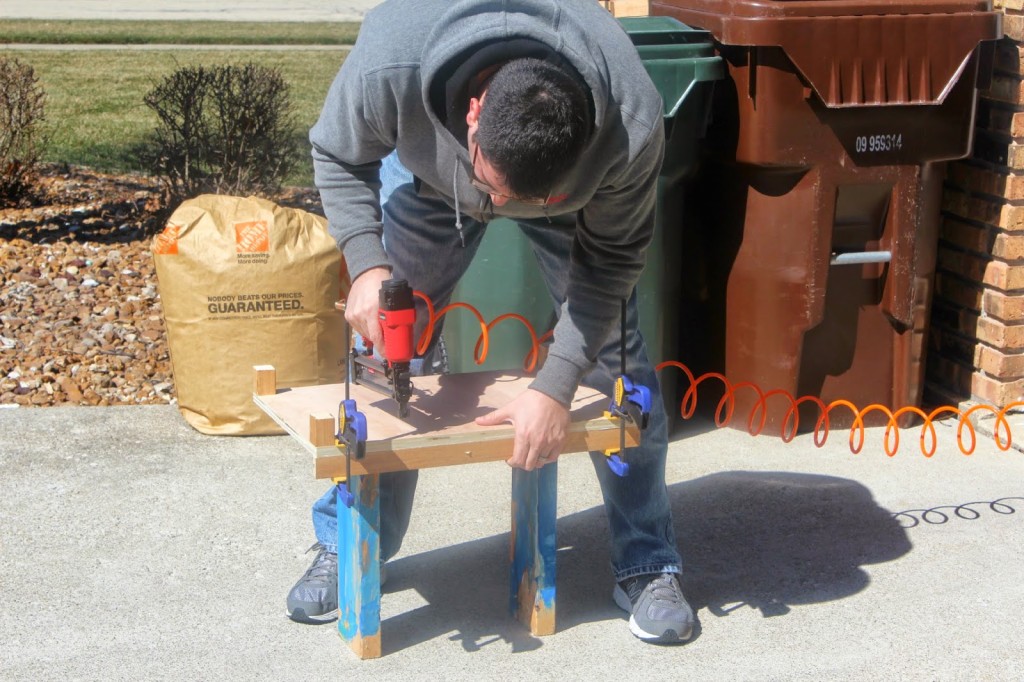
Now, it was time to put everything together. First, using some screws, Brian attached the feet in through the top of the game board. Then, with the help of some clamps and the use of a nail gun, he attached rails through the bottom. This way you didn’t actually see any screws or nails.
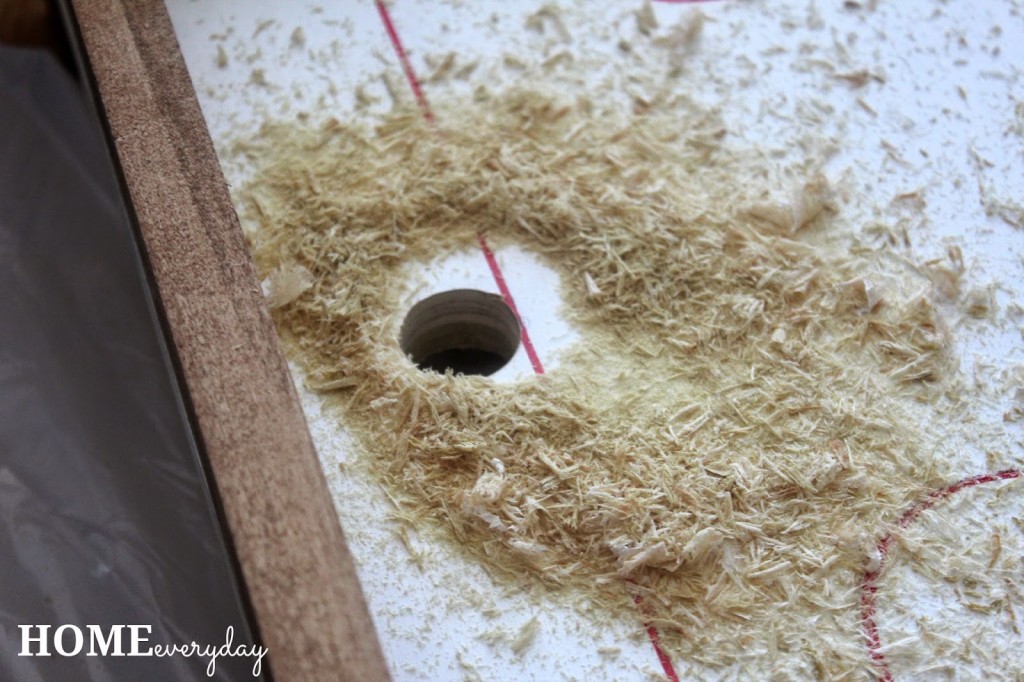
Next, Brian drilled the holes for the pegs and the goals. He used a 1″ spade drill bit for the goals and a standard drill bit for the pegs.
The kids decided where they wanted the pegs to be.
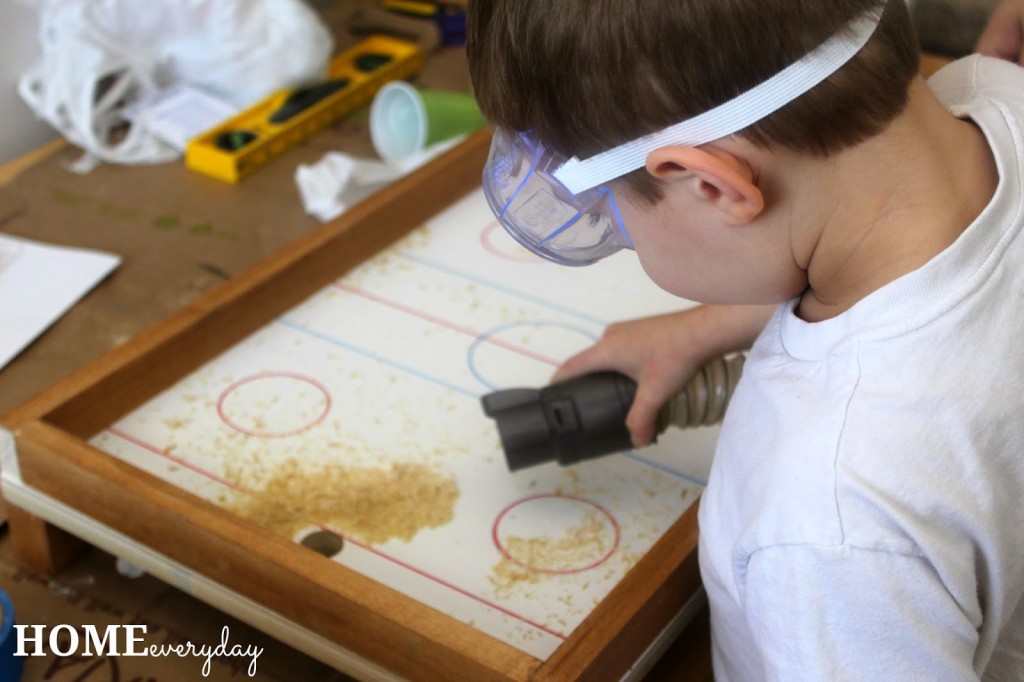
Once we vacuumed up the mess…
Brian gently hammered in the pegs (gently is a relative term).
Then it was time to find some pennies and give our gift to our buddy.

If you like this post and would like to read more about all things domestic with a touch of humor, become a Home Everyday follower! For blog updates or to see other places I write such as ChicagoNow or Chicago Parent follow Home Everyday on FacebookTwitter, and Pinterest.
Pendant Shade Update: Getting Rid of the Gruesome Threesome

When we moved in this house, one of the best features was the family room. We were happy that not EVERY room needed serious updating. This level of our 1970’s quad level house had just been renovated (thank goodness). All we had to do to this was give it was make it our own, so we painted. So far, sitting area and the bathroom. It has served us well, but there has always been something that has bothered me.

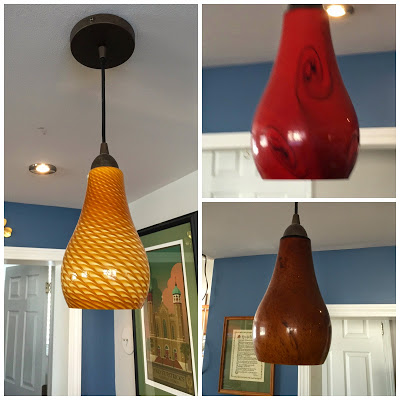
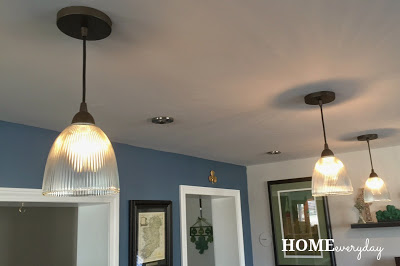
The pendant shades above the bar.


The three different colors of red, brown, and yellow had me wondering if the previous owners of our house has a thing for bodily fluids or if they were just trying to be whimsical.

So, for the past four years I have been searching. Unfortunately, while I liked the idea of something cute and trendy, I knew that it was very possible in about a year I wouldn’t like them. So I wanted to stick with something a bit more neutral, and could stand up when I changed the accent wall behind the bar for the fourth time (yes, I have painted it three times, and this is why I don’t have a tattoo).

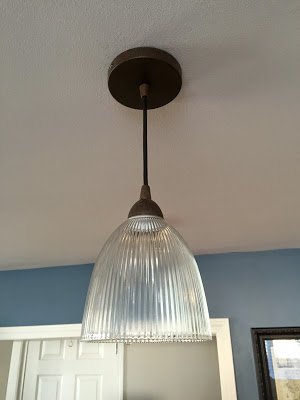
I finally found these:


They are clear which helps give off considerably more light than the previous three, they match, and they fit the pendants.

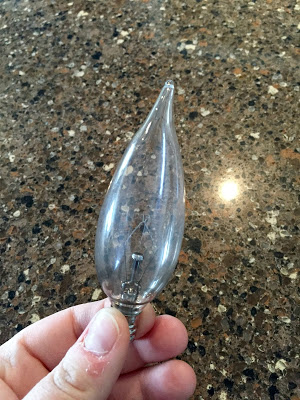
These particular pendant lights are part of a kit whose shades can be changed out by turning off the lights and removing the bulb.


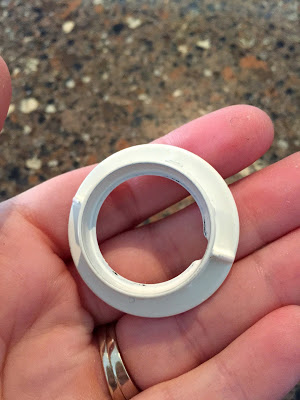
Then, unscrewing a small threaded flange.


This is so much more cost effective and timely than replacing the entire pendant. Pendant sets like this can be found at Home Depot and Loews, and are awesome for situations when you know you might be switching the shades later when tastes or decor change.

The new shades came with their own flanges, so I simply screwed the new flanges with the shades back into the fixture, put the bulbs back in and voila.


Isn’t that so much better that the gruesome threesome?

This DIY project cost me about $11 (each pendant shade was about $12 and I had a $25 Loews gift card and about 30 minutes of time). If only all projects could be this easy.

If you like this post and would like to read more about all things domestic with a touch of humor, become a Home Everyday follower! For blog updates or to see other places I write such as ChicagoNow or Chicago Parent follow Home Everyday on FacebookTwitter, and Pinterest.
 

Being Prepared: I Wish I Would Have Known About UnderJams Sooner

I have been compensated for this post, however the thoughts and opinions are completely my own.


I guess you could say I like to be prepared. I like to have things on hand for those “just in case” situations. I have always felt that even being spontaneous takes a little bit of planning so I always have some snacks in my purse, some hand wipes with me, some sunscreen in the car because you just never know when you might want to take a little day trip.

This is why I was so glad when the kids were potty trained. There was less I needed to keep on hand, and less I needed to lug around. No diapers, no diaper cream, no extra clothes. It was amazing. When my kids were all potty trained, I loved the freedom of just being able to use a bathroom when we were out.

I was still prepared, I mean everywhere you go there’s a bathroom right?

Then, a few months ago, I had a moment when I wish I was a little more prepared, and had a flashback of when I had three little ones in diapers at the same time.

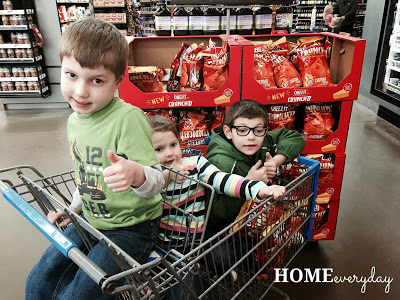
I had to make a quick run to our local Big Box to pick up a few things. I had all three kids with me, and my middle son asked to sit in the cart. This never happens, but because I wanted to get in and out of there in a hurry, I was grateful to have one less dawdler. My other two chimed in, “can we ride, too?”

I furrowed my brow wondering why these kids wouldn’t want to walk around and touch everything in sight, but I didn’t question it. Oh well, I thought to myself, and quickly found a cart big enough to hold my three growing kids.

As I made my way through the store, I zigged and zagged the cart through each aisle trying to get my mopey kids to laugh, but also trying to get through the store as quickly as possible (which upon further reflection was not a good idea). This is when my middle guy spoke up again: “Mommy, my tummy hurts.”

As I was asking my sweet little angel if he needed to use the bathroom, he yelled, “Mommy, you better hurry!”

I sprinted the cart toward a family bathroom just in time for him to spew his breakfast.

We made it just in time, but that was much too close for my liking.

As I was helping him get cleaned up, my other two children clutching their stomachs said, “Mommy, we are not feeling well either.”

OH NO! I thought, I am going to be trapped in this bathroom with three kids who are ill. One more child threw up, and all of them had diarrhea.

That is when one of my sweet sick darlings with tears said to me, “Mommy, I went in my pants.”

I told my little one not to be embarrassed, and Mommy would fix it right away.

I looked in my purse out of habit and luckily found some wipes. I used an extra grocery bag with the help of a clerk to store the soiled clothes, and bought some underwear and a pair of pants to get my little one home.

When we got home, I got everyone showered up, put on a movie, and called our pediatrician. She said that a bad stomach flu was going around, and to do my best to keep them hydrated.

In the time that the kids were sick, we only had one more accident. However, I felt terrible.

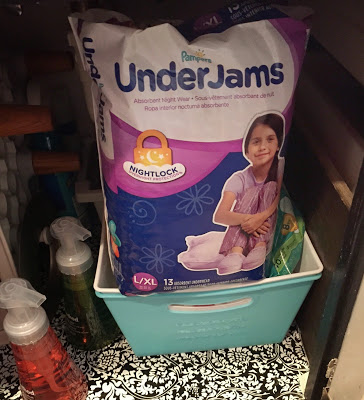
When Acorn Influence and Pampers UnderJams asked me to participate in this campaign, I was eager to share this story because NOW when my kids are sick, there won’t be any more embarrassment over an accident. I have already bought a pack of Pampers UnderJams at WalMart and are keeping them on hand just in case the need arises again because honestly you never know when they will come in handy and save a little kid from an embarrassing situation.


Pampers UnderJams are discreet due to the ComfortWear quiet material that is like cloth, are super absorbent due to the NightLock core which is perfect if you are trying to #ConquerBedwetting, and they even have a lower waistband so no one has to know your child is wearing them except your child. I also liked that they come in a good range of sizes.

I have added Pampers UnderJams to my being prepared kit.

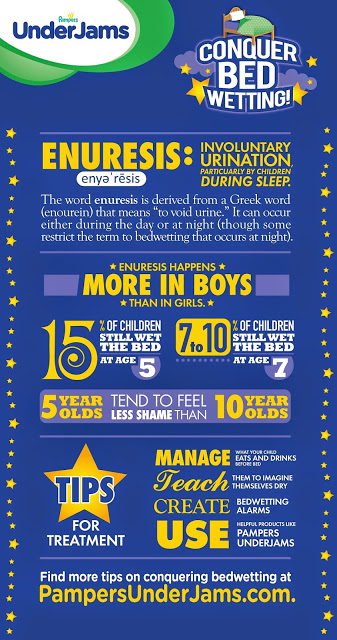
For more information about staying prepared when it comes to enuresis (bedwetting) check out the information below.

What do you do to stay prepared with your littles ones?

If you like this post and would like to read more about all things domestic with a touch of humor, become a Home Everyday follower! For blog updates or to see other places I write such as ChicagoNow or Chicago Parent follow Home Everyday on FacebookTwitter, and Pinterest.