Today is National Tequila Day! When most people think tequila they think of their salt and lime shooter days in college (just me? ok then.) or blended up in a margarita. However, whether you decide to sip over ice or mix it up in a cocktail, tequila can be enjoyed in a number of ways.

There are several different kinds of tequila, and when shopping for tequila it can be hard to know what you want for your mixology bar. Tequila is made from agave and like most liquors has a very unique and distinctive taste. For me, I typically use silver tequilas which is tequila that is clear and is extremely pure in taste and has no additives. It is great for mixing in cocktails. If you are a tequila sipper you can try tequilas that have been aged anywhere from 2 months to more than three years. These tequilas are like whiskey and have been aged in barrels where the flavor has been enriched and become much more complex and even more smooth.
While I have always been a fan of margaritas both on the rocks and blended, made with every fruit under the sun including mangos. I wanted something a little different for today. When looking for a cocktail recipe for today, I wanted something where I could really taste the tequila, use some herbs in my garden, and have a nonalcoholic option for my non drinking friends. Thanks to Martha Stewart, I found this recipe and doctored it up a bit.
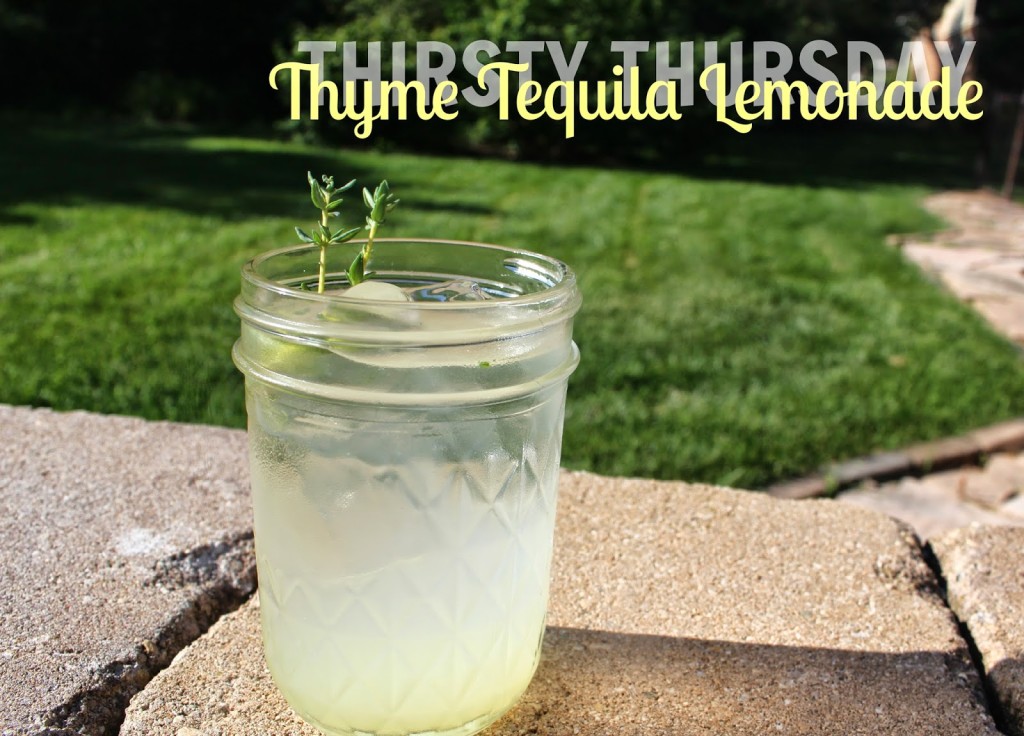
Thyme & Tequila Lemonade (makes one cocktail)
3 lemon wedges
3 sprigs of thyme
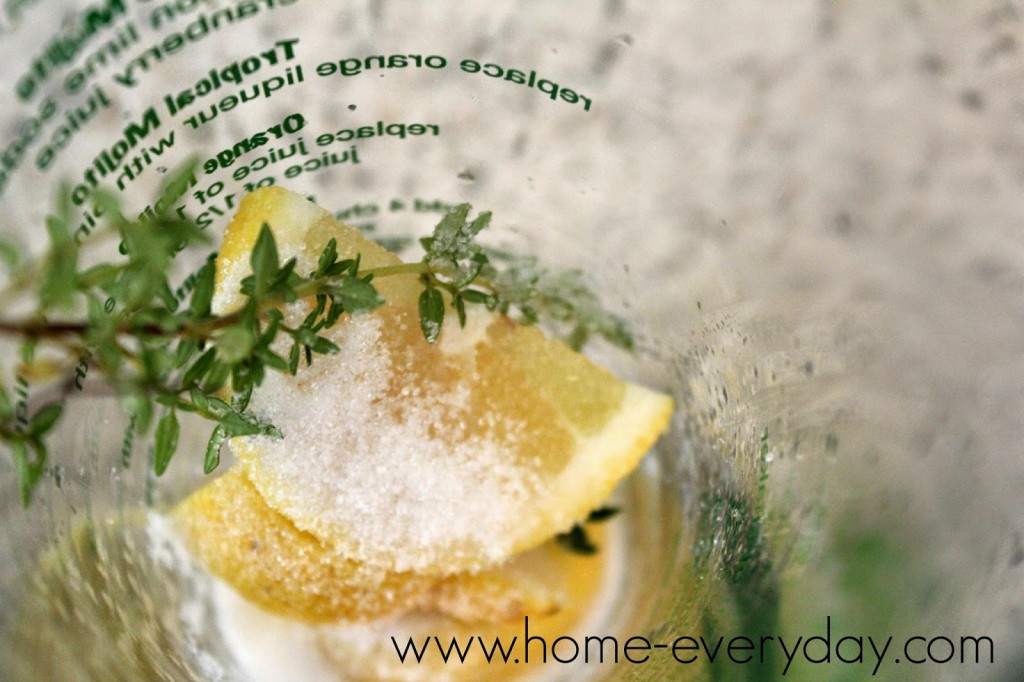
2 tsp granulated sugar
2 oz tequila (optional)
3 or 4 oz sparkling water or club soda
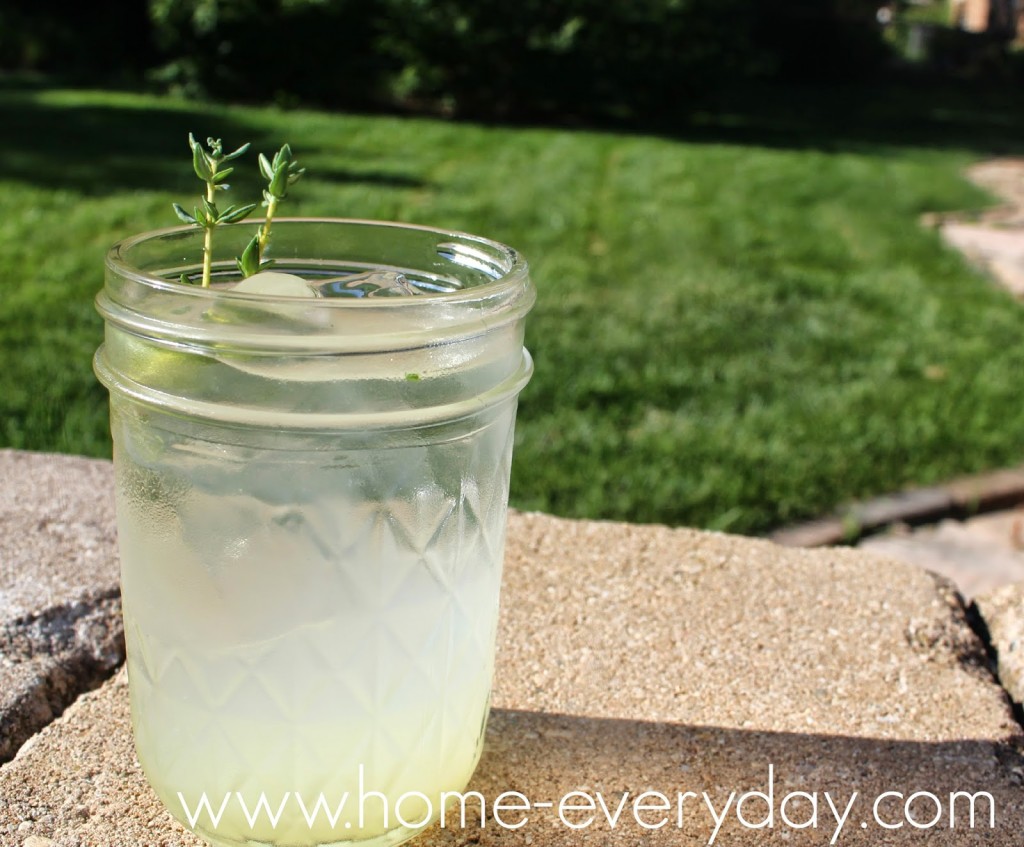
extra thyme for garnish
1/2 cup ice
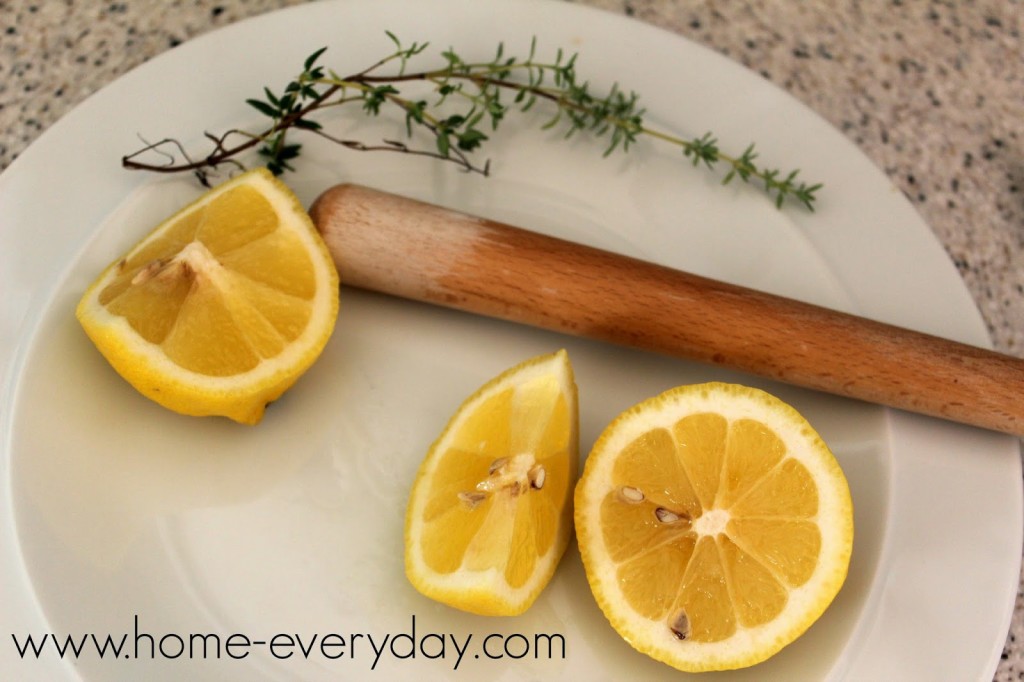
In a small cocktail glass add ice, and let the glass chill. In a large cocktail shaker or glass, muddle together lemon wedges, thyme and sugar until thyme leaves have fallen off and sugar is almost dissolved in lemon juice.
Strain mixture over ice into cocktail glass. Top with tequila and sparkling water. Add thyme sprigs and give a little stir. Enjoy immediately.

Be ready for good times, because let’s face it, where there’s tequila or lemonade, there’s fun!
If you like summertime drinks that can be virgin or alcoholic check out this peach iced tea or these watermelon slushies or these two version of mint juleps. For all things beverage related, check out the THIRSTY THURSDAY page for recipes for all kinds of drinks, cocktails, and all things drinkable!

Want to read more about all things domestic with a touch of humor? Become a Home Everyday follower! For blog updates or to see other places I write such as ChicagoNow or Chicago Parent follow Home Everyday on Facebook, Twitter, and Pinterest.