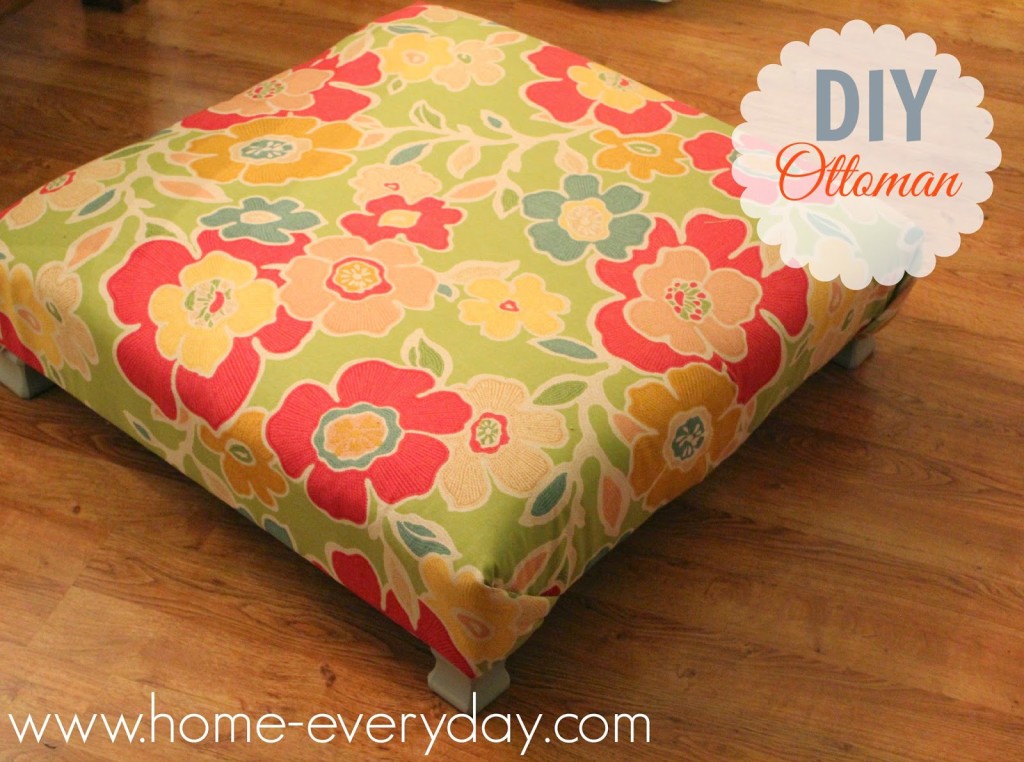
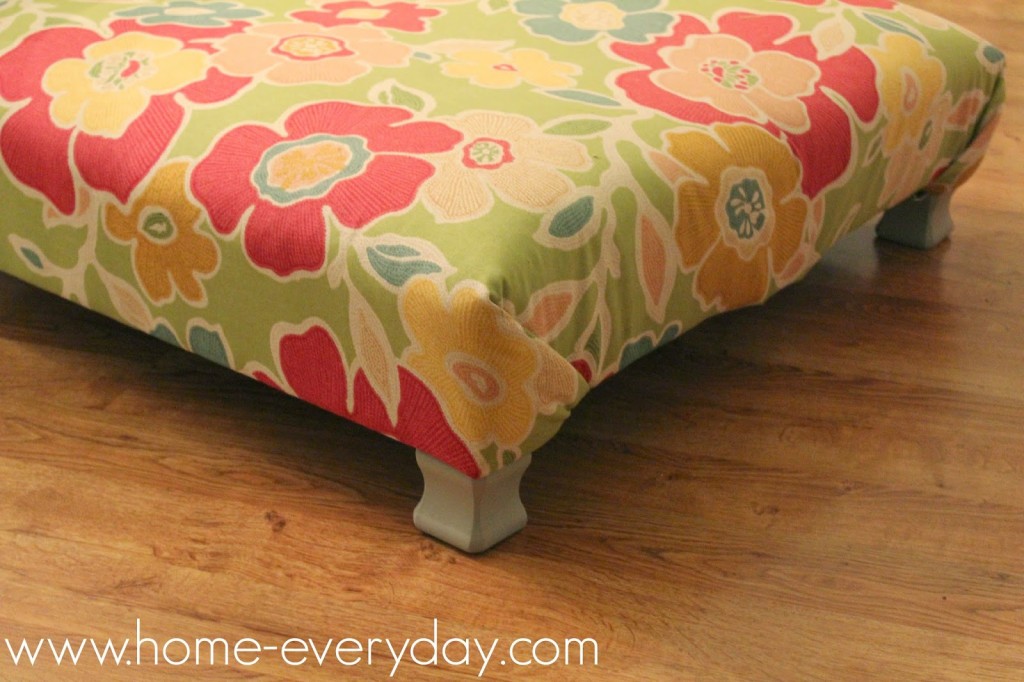
I recently decided that Mr. Home-Everyday and I needed a comfy place to rest our feet other than our coffee table. While I know there are lots of ottomans out there, I was pretty sure that I could make one myself for a pretty reasonable cost. Mr. Home-Everyday had given me some pallets to use for some projects around the house, so I had a base. Now, to find some fabric to upholster it.
When JoAnn Fabric and Crafts asked me to participate in National Craft Month, I knew I would be able to find the perfect fabric. There are so many great trends to take advantage of this season, but my favorite lately are all the great floral fabrics available.
I found this great floral fabric by KAS from Australia, that I love. The colors are saturated, which will match all the color going on in our family room, and it seemed durable enough for us to rest our feet.
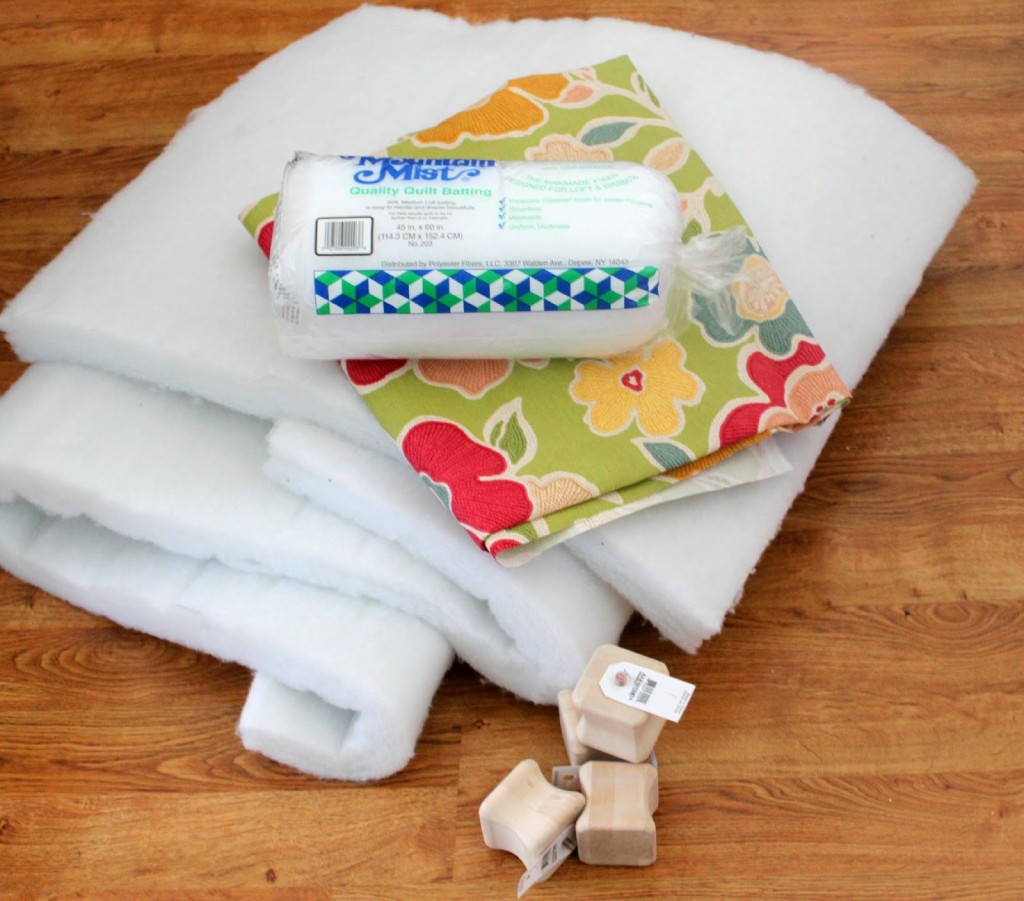
Supplies:
1 pallet
4 table feet
4 feet attachment brackets
white foam cut to size (same size as top of pallet)
batting cut to size (able to be wrapped around pallet on all sides with 2 inch allowance)
fabric cut to size (able to be wrapped around pallet on all sides with 2 inch allowance)
staple gun with heavy duty staples
fabric scissors
paint
paintbrush
drill
Paint and Dry: First, I painted the feet of the ottoman. I thought it best to get this step out of the way as then I could let the feet dry while I completed the other steps.
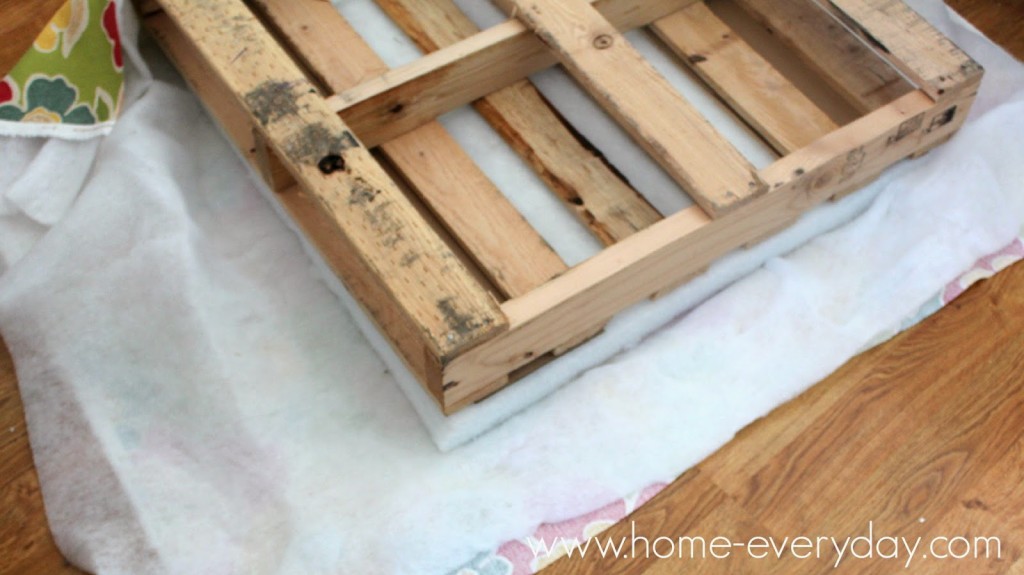
Stack It Up: After the foam, batting and fabric are cut to the correct size, place the fabric face down on a flat clean surface. Then place the batting on top of that. In the center of the batting, add the foam. Finally, place the pallet on top of the foam.
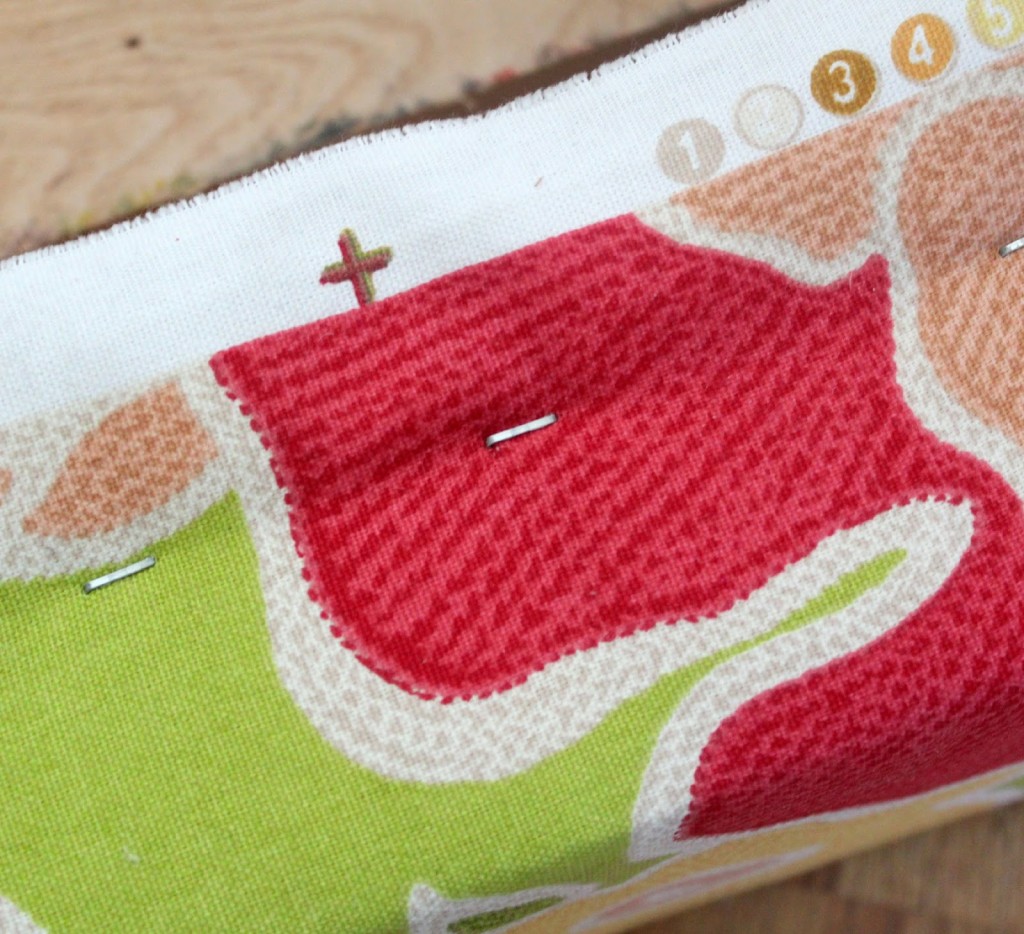
Staple, Staple, Staple: Starting in the center of one of the sides of the pallet, pull the fabric and batting tight and staple. Continue to staple from the center toward the corner, (about every 3 or 4 inches apart) but DO NOT staple the corner. Do this on each side. Finally, fold the corners in as if you are wrapping a package, hold them tightly and staple them.
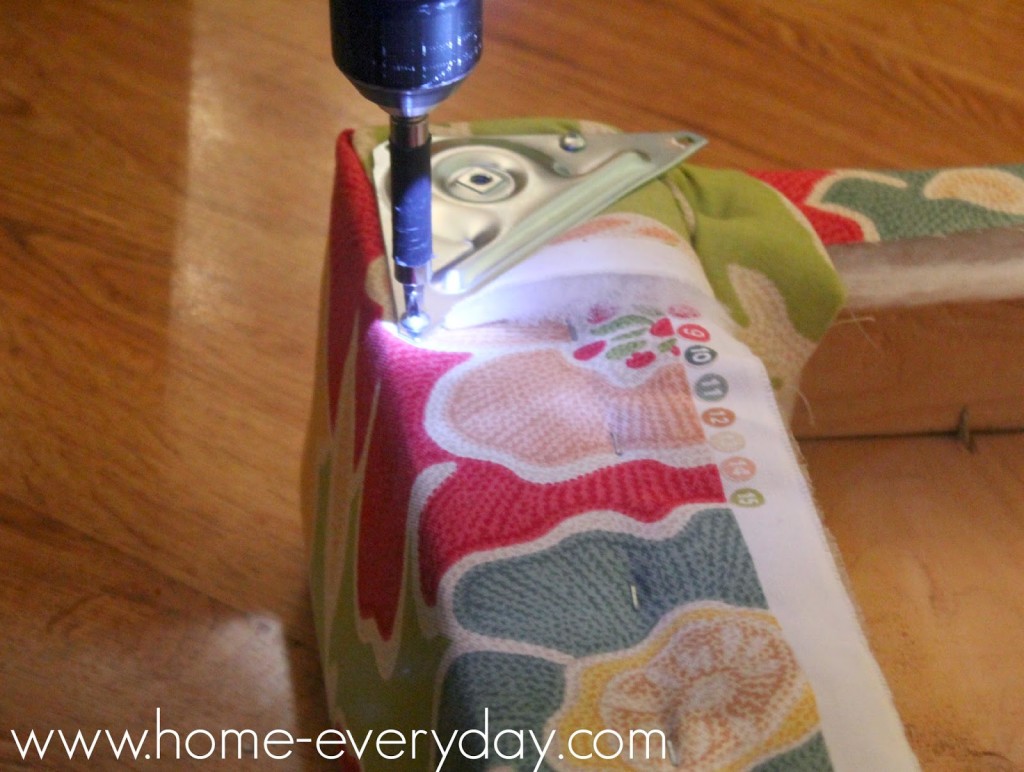
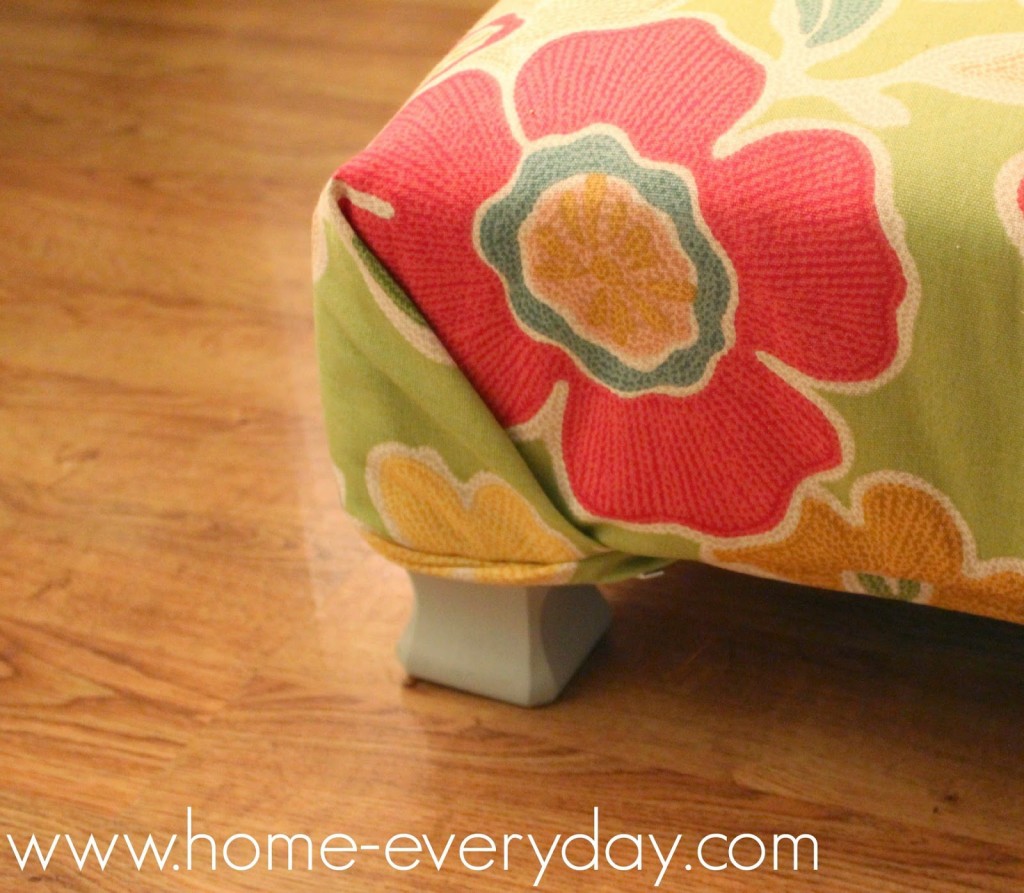
Give It a Leg Up: Finally, using a drill, screw the attachment brackets to the underside corners of the pallet. Screw in the feet to the attachment brackets.
Finally, put your feet up and relax.
Unless, of course, some little people get there to relax before you do!
If you like this post and would like to read more about DIY, gardening, cooking, baking or all other things domestic, become a Home Everyday follower! For blog updates or to see other places I write follow Home Everyday on Facebook here.

