Month

March 2014

Resting My Feet: A National Craft Month Craft

While I was compensated for this post by JoAnn Fabric and Craft Stores the ideas, thoughts, and opinions in this post are my own.

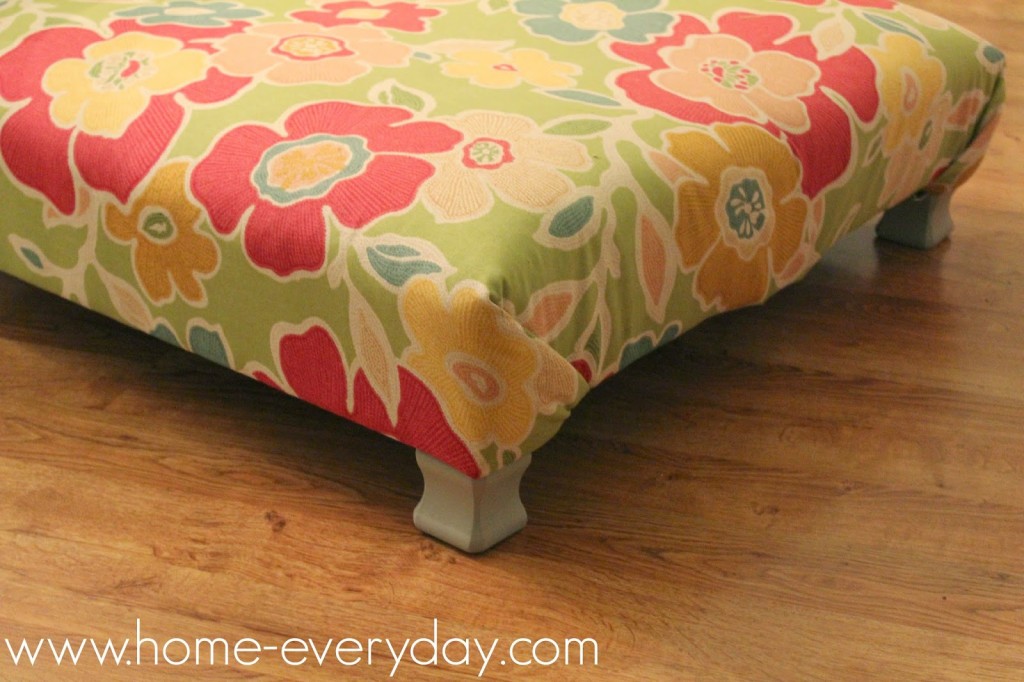
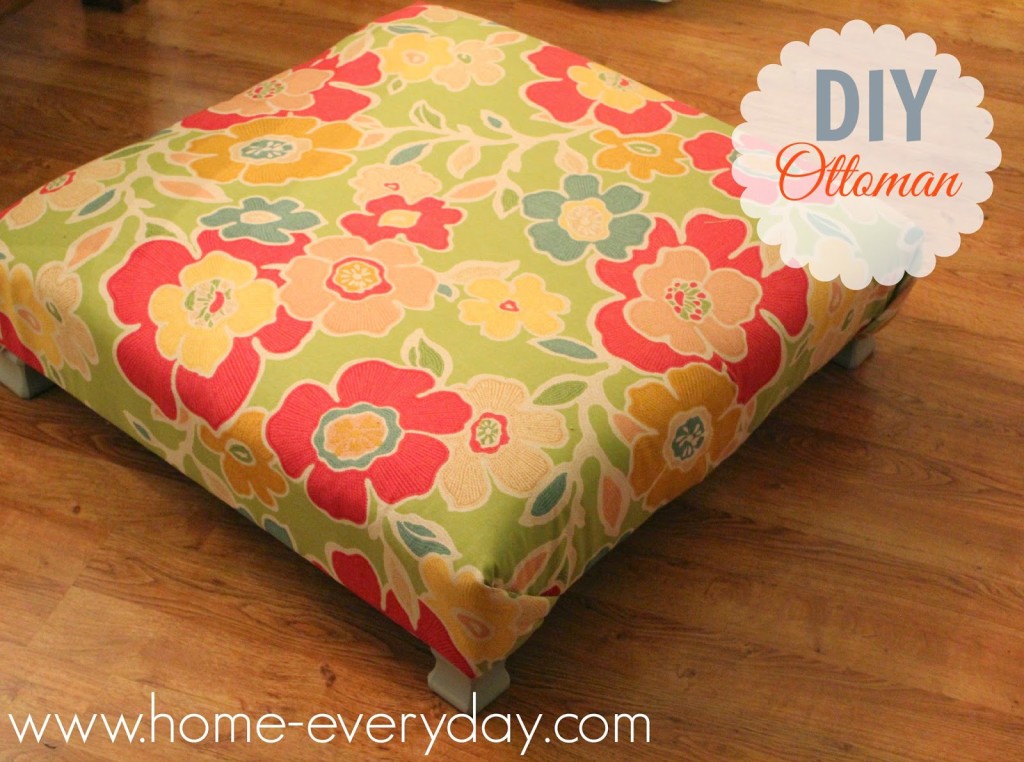
I recently decided that Mr. Home-Everyday and I needed a comfy place to rest our feet other than our coffee table. While I know there are lots of ottomans out there, I was pretty sure that I could make one myself for a pretty reasonable cost. Mr. Home-Everyday had given me some pallets to use for some projects around the house, so I had a base. Now, to find some fabric to upholster it.


When JoAnn Fabric and Crafts asked me to participate in National Craft Month, I knew I would be able to find the perfect fabric. There are so many great trends to take advantage of this season, but my favorite lately are all the great floral fabrics available.

I found this great floral fabric by KAS from Australia, that I love. The colors are saturated, which will match all the color going on in our family room, and it seemed durable enough for us to rest our feet.


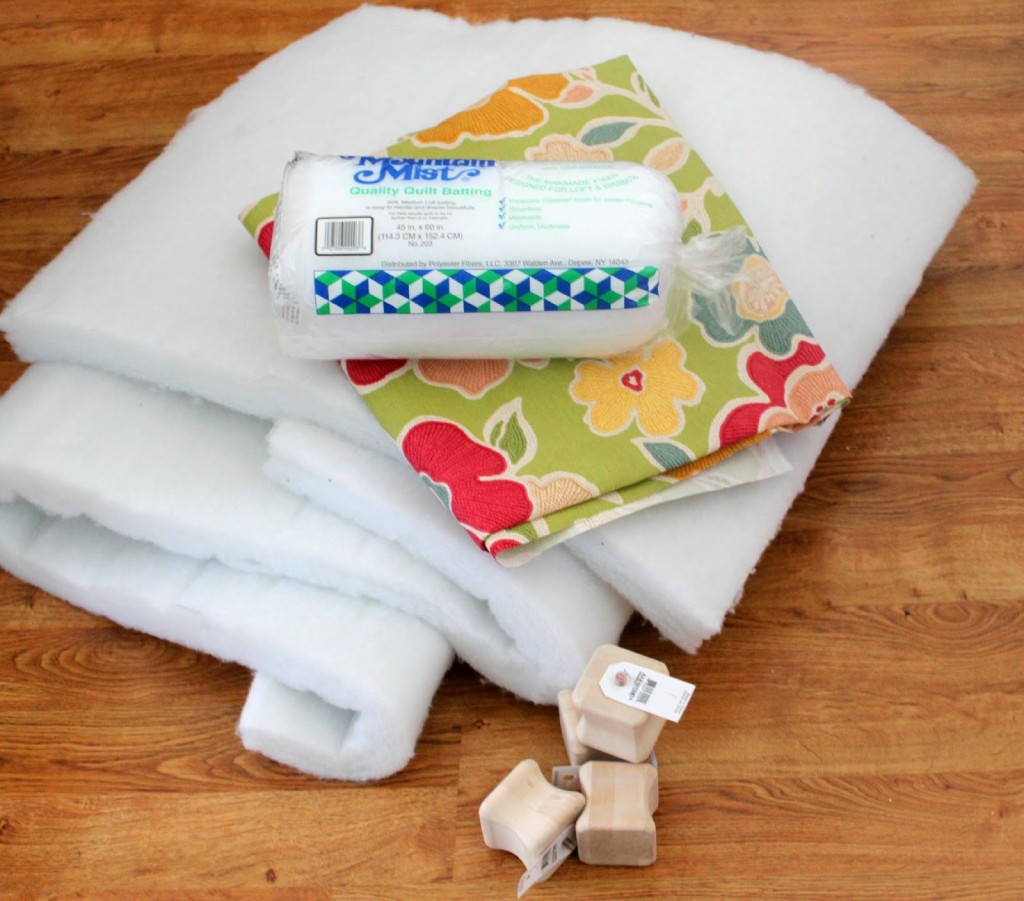
Supplies:
1 pallet
4 table feet
4 feet attachment brackets
white foam cut to size (same size as top of pallet)
batting cut to size (able to be wrapped around pallet on all sides with 2 inch allowance)
fabric cut to size (able to be wrapped around pallet on all sides with 2 inch allowance)
staple gun with heavy duty staples
fabric scissors
paint
paintbrush
drill

Paint and Dry: First, I painted the feet of the ottoman. I thought it best to get this step out of the way as then I could let the feet dry while I completed the other steps.

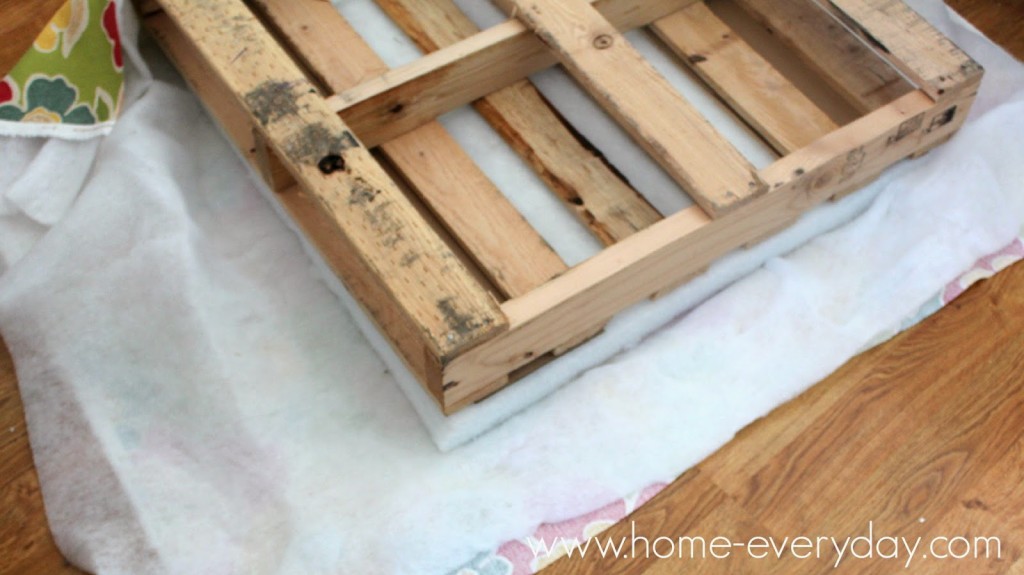
Stack It Up: After the foam, batting and fabric are cut to the correct size, place the fabric face down on a flat clean surface. Then place the batting on top of that. In the center of the batting, add the foam. Finally, place the pallet on top of the foam.


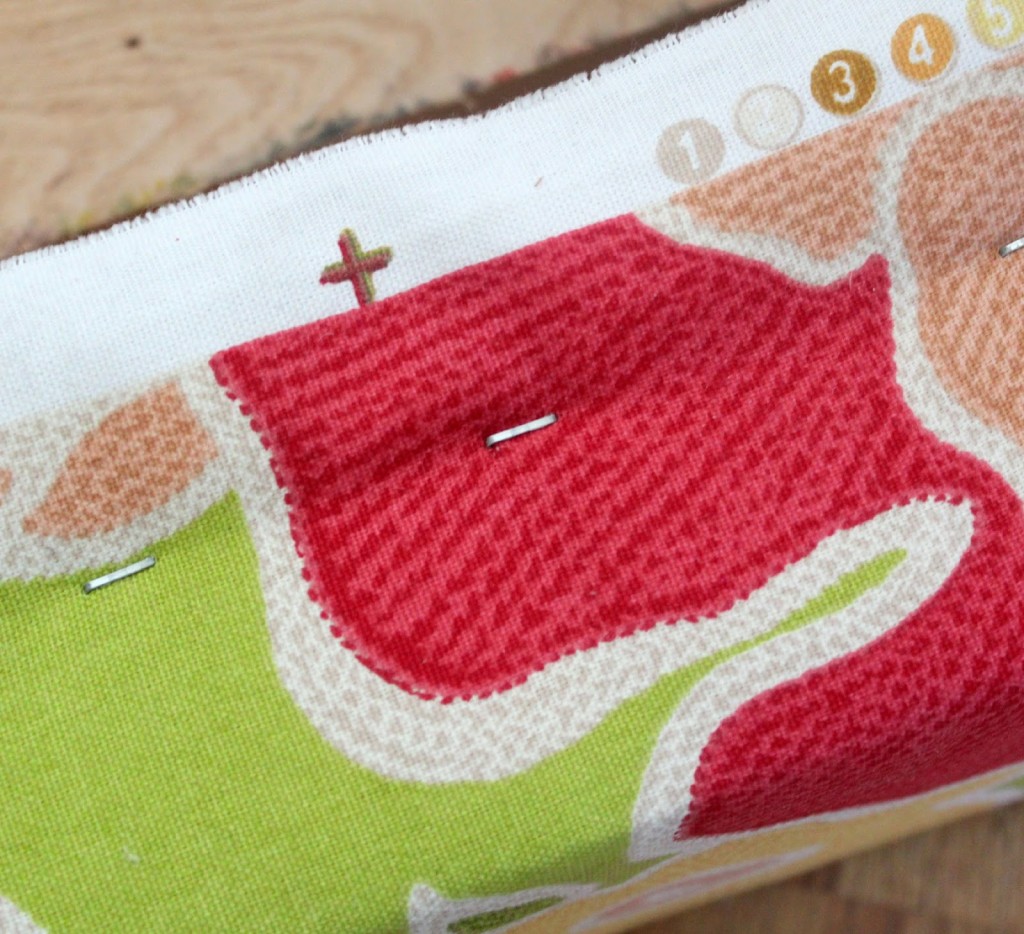
Staple, Staple, Staple: Starting in the center of one of the sides of the pallet, pull the fabric and batting tight and staple. Continue to staple from the center toward the corner, (about every 3 or 4 inches apart)  but DO NOT staple the corner. Do this on each side. Finally, fold the corners in as if you are wrapping a package, hold them tightly and staple them.


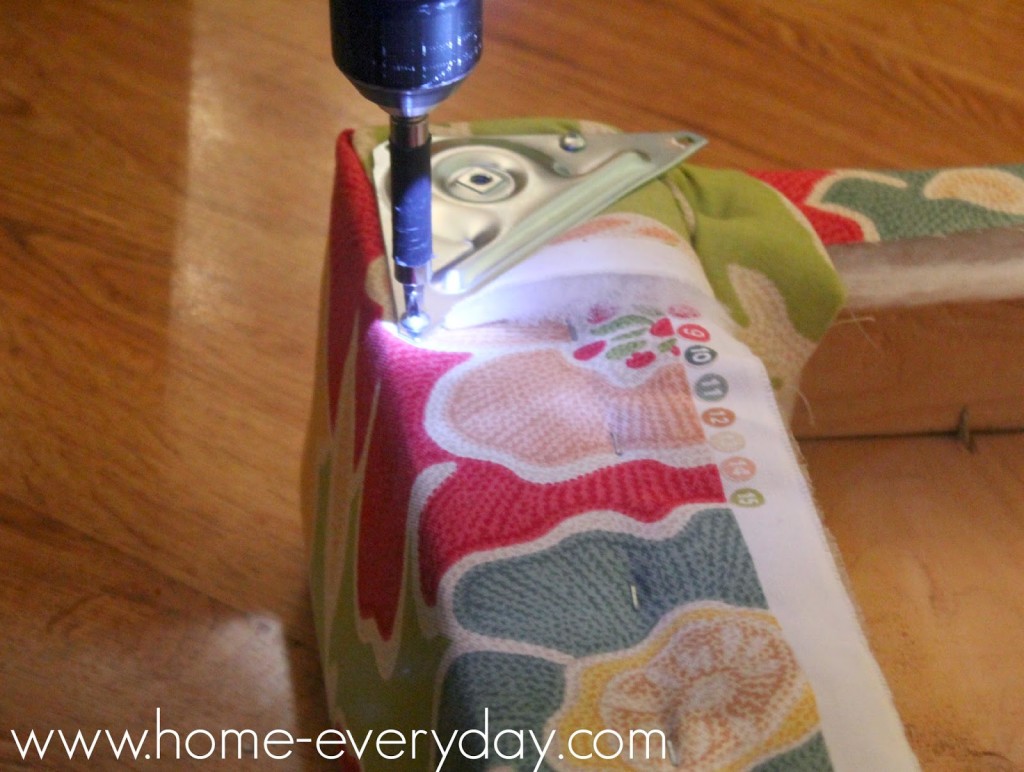
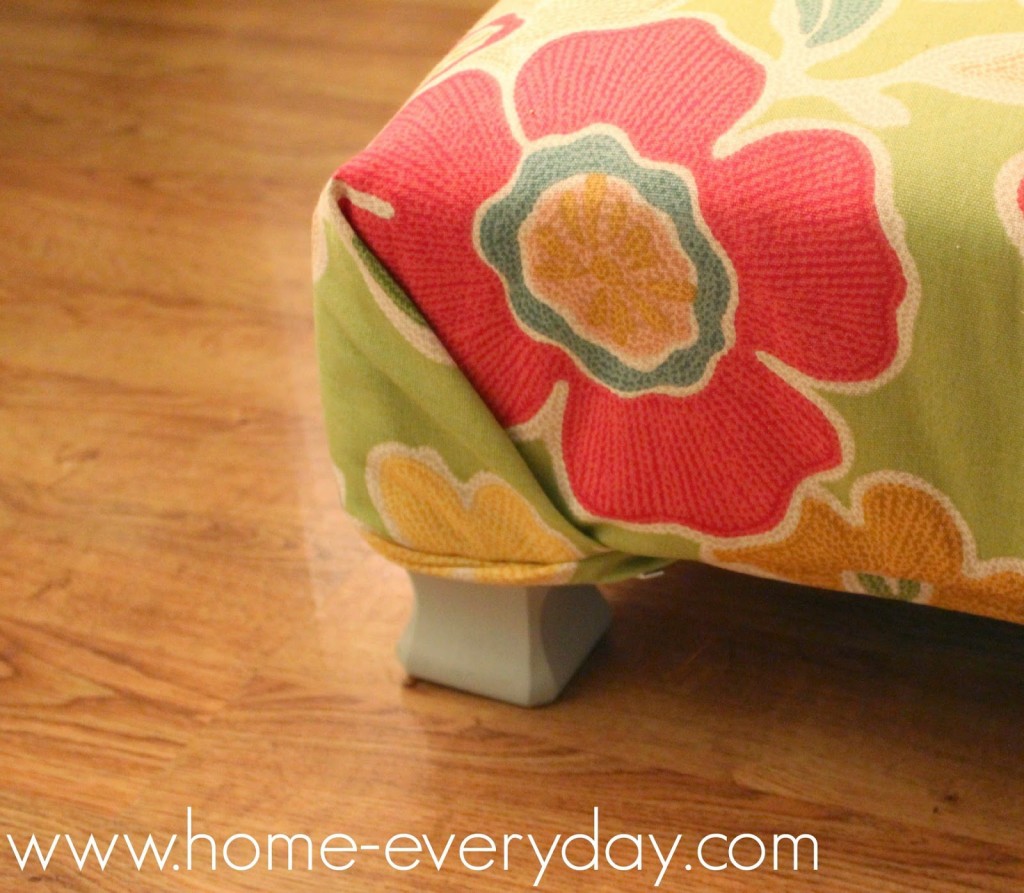
Give It a Leg Up: Finally, using a drill, screw the attachment brackets to the underside corners of the pallet. Screw in the feet to the attachment brackets.


Finally, put your feet up and relax.


Unless, of course, some little people get there to relax before you do!


Linking up at Serenity Now


If you like this post and would like to read more about DIY, gardening, cooking, baking or all other things domestic, become a Home Everyday follower! For blog updates or to see other places I write follow Home Everyday on Facebook here.

Follow on Bloglovin

Thirsty Thursday: Black Velvet

This month’s Thirsty Thursday recipes are an homage to beer. Not just as a beverage in general, but also used as a mixer. Last time we talked about the Lemonade Shandy. This week, I thought we would get a little fancier with a Black Velvet.


Today kicks of the NCAA March Madness Tournament (which by the way my bracket has a tendency toward the Big 10 and Catholic Schools, oh well). While most people who I know will be glued to the television with pizza and a cold brew, I have a few friends that would much rather serve fancy hors d’oeuvre and cocktails for events such as this. Ok, ok, when I say some people I mean… me. I love sporting events, but sometimes it is also fun to class it up a bit.


So, to celebrate the first day of March Madness, I thought it might be fun to fancy things up a bit.

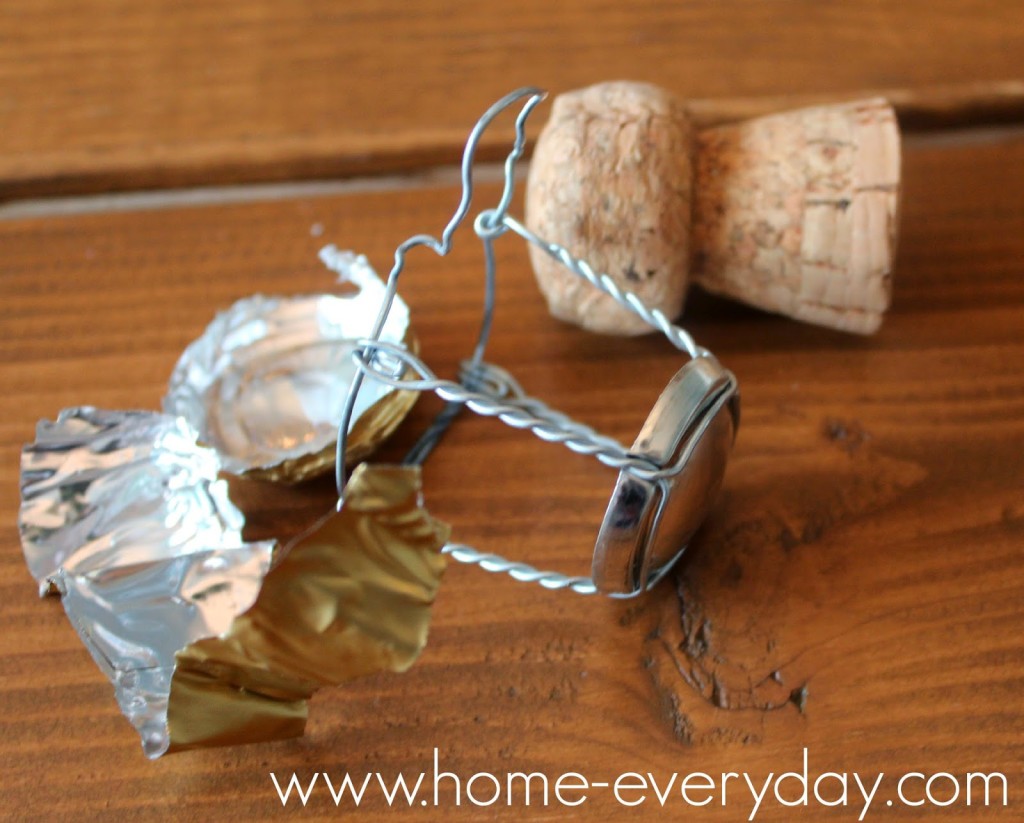
Nothing says fancy to me like a chilled bottle of bubbly. I am mixing it with a cold bottle of stout or Guiness. The mix of flavors seems strange, but the light and bubbly mix of sparkling wine with the heavy stout it an awesome combination. It is called a Black Velvet, and I guarantee you will love it!


Black Velvet (makes 2 cocktails)
1 bottle of Guinesss Stout chilled
1 Split of sparkling wine chilled

Divide the Guiness evenly between two glasses. Top the beer with the chilled sparkling wine. Enjoy immediately.


If you liked this cocktail you might also like some others with sparkling wine like this recipe for Champagne Punch.

Check out other ThirstyThursday recipes HERE!  And if you would like to read more about DIY, gardening, cooking, baking or all other things domestic, become a Home Everyday follower! For blog updates or to see other places I write follow Home Everyday on Facebook here.
Follow on Bloglovin

Guest Post: Tropical Granola

This is a guest post by friend and fellow blogger, Shannan Younger of Tween Us. With the help of her daughter they created a Tropical Granola perfect for the impending warm weather.


Tropical Granola by Shannan Younger


The winter weather has us wishing we lived somewhere warm
and sunny. Our wishful thinking led us to take a granola recipe from a summer
cooking camp for kids and give it a tropical twist with mango and adding more
coconut.
This is fun to have for lunch or a snack. It’s also fun to
make a tropical breakfast parfait by layering granola with fruit like mandarin
oranges or pineapples and yogurt. You can even use some coconut milk and honey
to sweet plain or vanilla yogurt. Arranging mandarin orange slices on top to
look like a sun help us pretend we’re on vacation at the beach, or that the
temperature is at least above freezing.
Tropical Granola
3 cups rolled oats
1 cup macadamia nuts (optional)
1 cup shredded coconut
¼ cup dark brown sugar
¼ cup plus 1 Tablespoon maple syrup
¼ cup oil (vegetable or coconut)
2 pinches salt
1 ½ cups dried mango
Preheat the oven to 300 F. 
In a large bowl, combine the oats, nuts, coconut and dark brown sugar.
In a separate bowl, combine the maple syrup, oil and salt.  Combine both mixtures and pour onto 2 sheet
pans. Cook for 30-40 minutes, stirring every 15 minutes to achieve an even
color.  Remove from the oven and transfer
to a large bowl.  Add the dried mango and
mix until evenly distributed.

The nice thing about granola is that it’s really flexible. Have
a nut allergy or just don’t like macadamia nuts? No worries. Leave them out.
Want to add in another dried fruit instead of, or in addition to mango? Go for
it. Have fun and let’s hope that spring gets here soon.

For a printable version of this recipe CLICK HERE!

If you like this post and would like to read more about DIY, gardening, cooking, baking or all other things domestic, become a Home Everyday follower! For blog updates or to see other places I write follow Home Everyday on Facebook here.


Follow on Bloglovin

One Kid’s Trash…

My kids are still fairly young, but I cannot believe the things that we have accumulated over that time. Every once in awhile, I step on one too many Legos while barefoot decide it is time for some decluttering, and the kids and I go through their toys and get rid of what they don’t play with anymore.

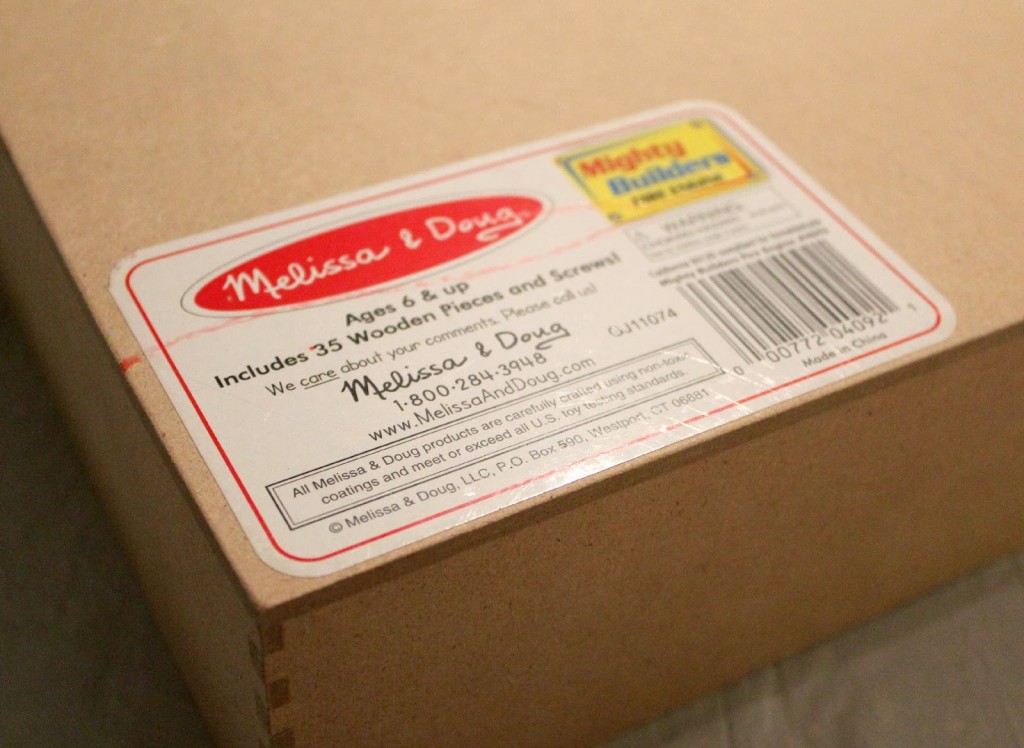
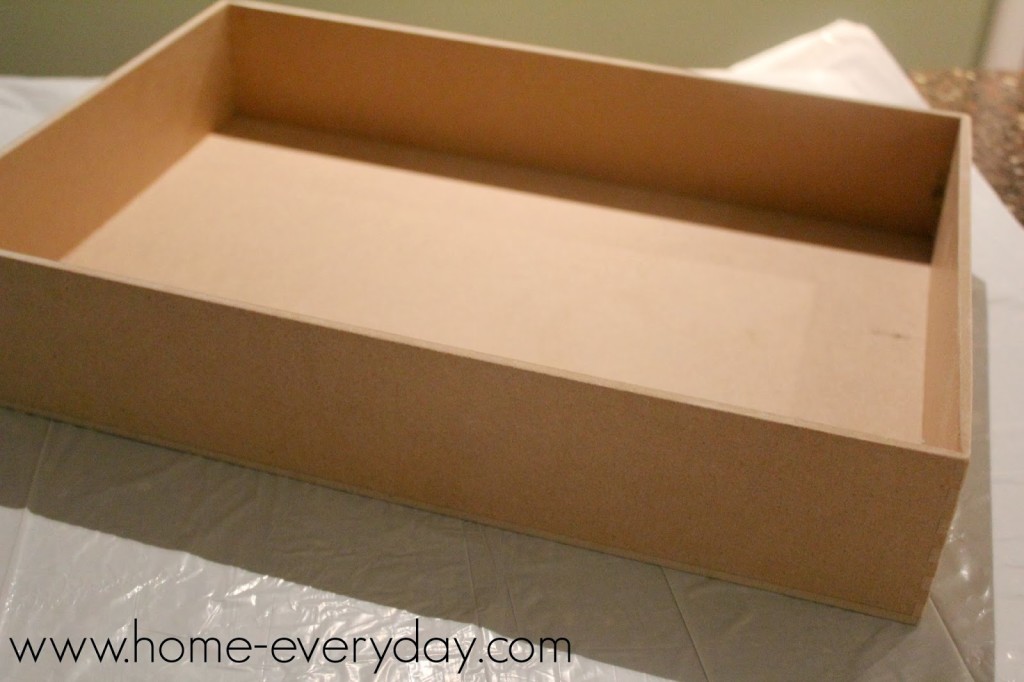
One day, when declutttering, I found this amazing box that used to house some sort of puzzle. The puzzle got moved to a more appropriate container with a lid (who would give a kid a puzzle box with no lid, don’t they know how frustrating it would be to lose a puzzle piece?).

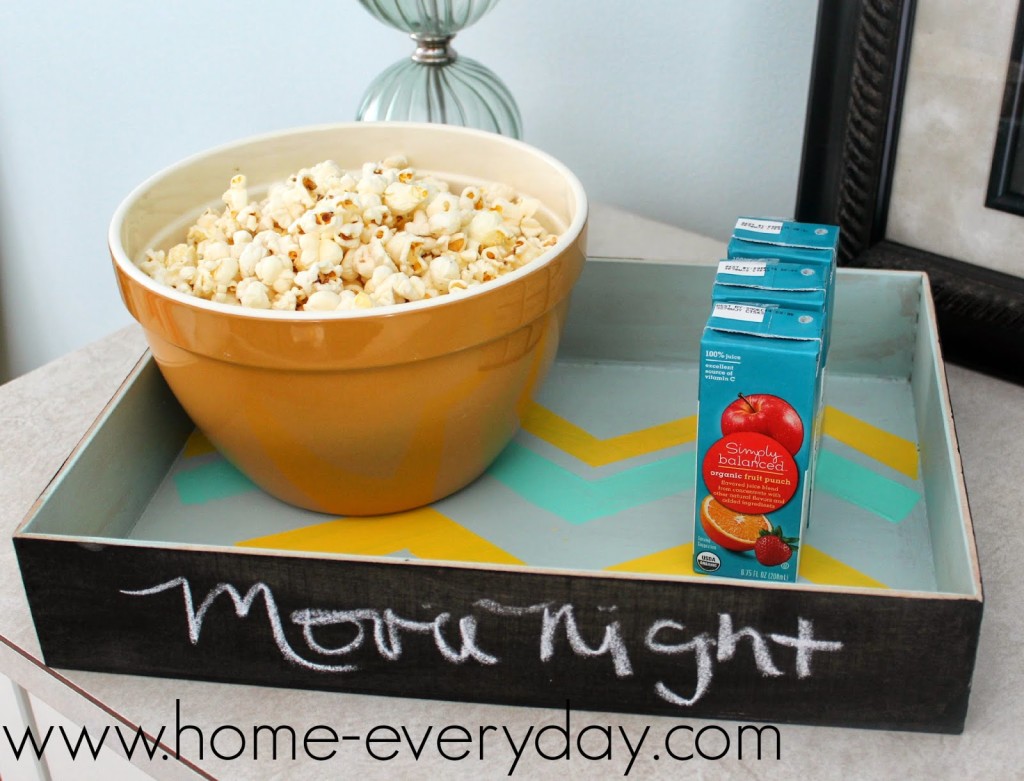
I immediately decided that this box, would make an awesome tray for storing all kinds of things around the house. One kid’s trash is this mom’s treasure. So, using some paints, I already had on hand, I had a free craft project.


The sides of the tray I painted with chalkboard paint to indicate what I would be using the tray for at any given time. The inside of the tray, I thought it would be fun to use several different colors and possibly a pattern.


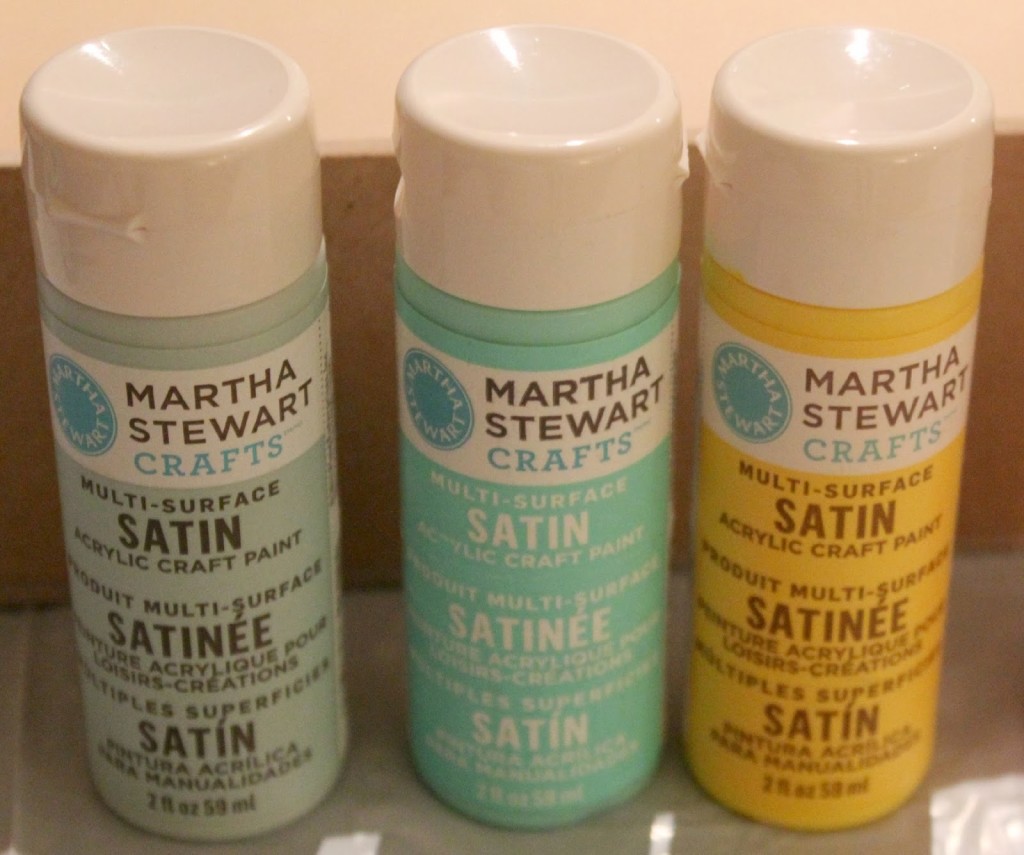
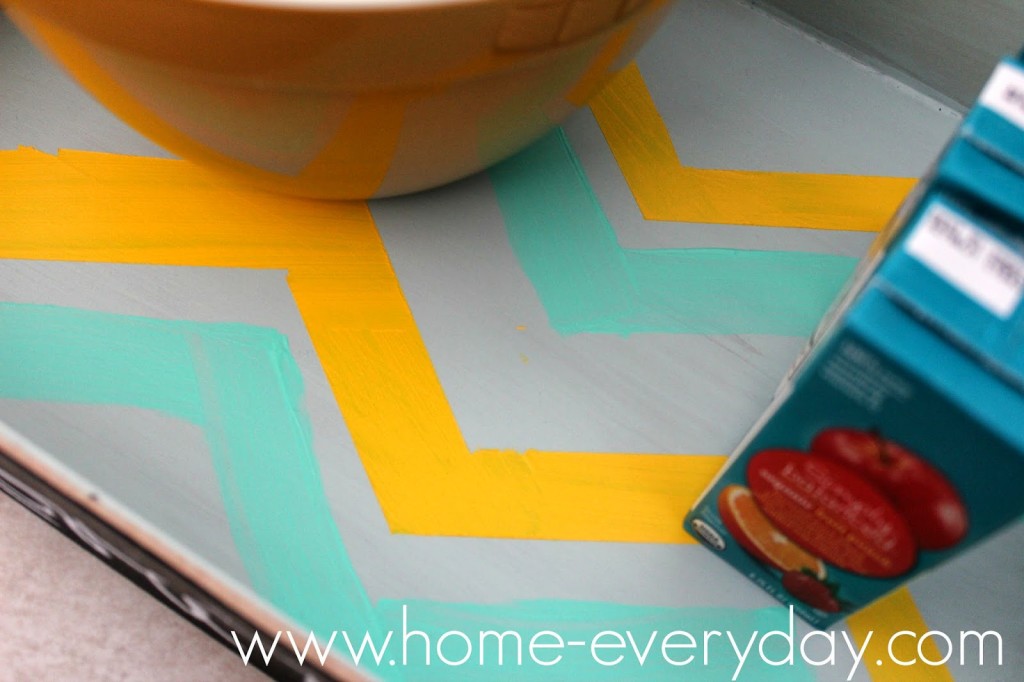
Using the light blue paint, I painted the entire inside of the tray with two thin coats. Then, when it was completely dry, I used Frog Tape, and taped a chevron pattern. I thought about using directions like this, but ended up eyeballing it myself.


Next, using the yellow and turquoise colors, I painted in between the taped off sections.


I let the paint dry over night, and removed the tape.


Now, I have a fun little storage box or tray I can use for all kinds of fun things, and I can label it for whatever I happen to be using it for at the time.


And it didn’t cost me anything but some time.


Linking up at Serenity Now


If you like this post and would like to read more about DIY, gardening, cooking, baking or all other things domestic, become a Home Everyday follower! For blog updates or to see other places I write follow Home Everyday on Facebook here.


Follow on Bloglovin

Thirsty Thursday: Lemonade Shandy

March is here! This means St. Patrick’s Day, soda bread, parades, shepherd’s pie, bag pipes, and beer.

In honor of St. Patrick’s Day, Thirsty Thursday’s in March we will be discussing beer, and making cocktails with beer. We will be starting with a Lemonade Shandy.
(For those that are less likely to drink beer and more likely to drink tea, another popular Irish drink, check out these alcohol free tea drinks here and here.)

I like all kinds of beer, so for this month of Thirsty Thursdays we will be discussing all kinds of beer. From ales to stouts, I have tried all kinds, and I have my favorites, and while I do enjoy an icey cold beer out of the bottle while I am making burger on the grill or while I am enjoying a bon fire or enjoying good conversation, I also enjoy beer as a mixer for a cocktail.

The beer I will be using today is a wheat beer, which is light and is often times citrusy on its own. My favorite for mixing up my own Lemonade Shandy is Goose Island 312.

Lemonade Shandy (makes one drink)
1 – 12 oz bottle of wheat beer chilled
4 oz lemonade

In a tall glass very carefully pour beer, add lemonade and gently stir.

This is the perfect cocktail for those that are learning to like beer. It is also a nice accompaniment to a weekend lunch or casual dinner.

If you like this recipe, check out other ThirstyThursday recipes HERE!  And if you would like to read more about DIY, gardening, cooking, baking or all other things domestic, become a Home Everyday follower! For blog updates or to see other places I write follow Home Everyday on Facebook here.

Follow on Bloglovin


Jammie Days

Sometimes when my kids come struggling out of bed, carrying their lovies, still in their footie jammies and bleary eyed, I can already tell it is going to be a jammie day.

We are a busy family. Between school and activities, church school, and other commitments, our kids are already pretty involved at young ages. While we are scheduled, there are many days where we only leave the house for school. I have tried hard to maintain some sort of balance, and even still there are days I can tell it is going to be a jammie day.

The kids climb in our bed, and it is tight, but Brian and I gladly make room for them to all tuck in under the covers. Sometimes we chat, sometimes we doze back to sleep. The chores, and the errands can wait. I mentalIy start pairing down the “to do” list and Brian does a little work from bed on his phone, because we can both already tell it is going to be a jammie day.


“Thank goodness I bought doughnuts, popcorn, and stuff for homemade pizzas.” I whisper to Brian as we pad down the stairs to eat sweet treats and cocoa and prepare for a day of lounging, dozing, Legos, movies, and throwing our dishes in the sink. “I had a feeling it was going to be a jammie day.”

This is one of those spontaneous traditions for which I am so incredibly grateful. It is a day for togetherness, unplugging, and making memories. It is one of those traditions that is timeless, even as our family grows we will always need a day to unwind together. While the they might not be wearing footie jammies for much longer or be carrying their loves around the house, I can tell we will always need a jammie day.

If you like this post and would like to read more about DIY, gardening, cooking, baking or all other things domestic, become a Home Everyday follower! For blog updates or to see other places I write follow Home Everyday on Facebook here.


Follow on Bloglovin