Month

November 2013

Thirsty Thursday: Raspberry Amaretto Kiss

I was counting the minutes to Thirsty Thursday this week! I dubbed myself the mixologist this week, and concocted a little twist on a cocktail I have had in the past.

One of the signs you’re an old lady an adult is you have “a drink.” I was always told that it is a sign of maturity to be able to walk into a cocktail party, wedding, or any gathering and order your signature drink. I have always thought it was so vintagely cool to order an Old Fashioned or a Sidecar or a Manhattan.

Turns out, I’m not a fan of any of those cocktails.

My two favorite cocktails are an Amaretto Sour and a Vodka Tonic with raspberry flavored vodka. They are a bit girly but still contain some pretty standard liquors that you can order them anywhere.

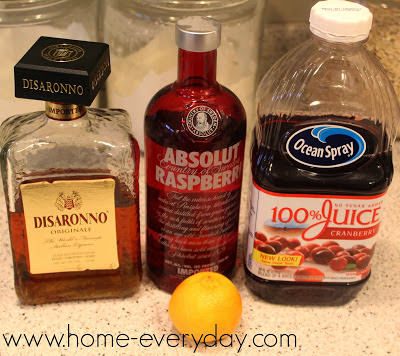
A few weeks ago I was browsing the internet and saw a recipe for an Amaretto Kiss. It had amaretto, vodka, and cranberry, and looked delicious. I decided to experiment a bit, and I came up with my own version containing raspberry vodka, and I have to say it is better than the original.

Erin’s Raspberry Amaretto Kiss (makes one cocktail
1.5 oz  (one shot) raspberry vodka
1.5 oz  (on shot) amaretto
3 oz (two shots) cranberry juice
2 tbs fresh orange juice
Orange peel for garnish

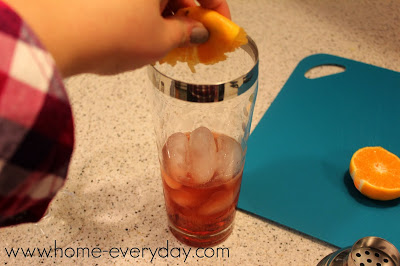
In a shaker filled with ice, add vodka, amaretto, cranberry juice, and orange juice.

Shake vigorously for 30 seconds. Pour into a martini glass and garnish with orange peel.

I have decided this would be the perfect cocktail to have before Thanksgiving dinner or to celebrate this holiday season.

(NOTE: I know you’re probably disgusted I have my tree up before Thanksgiving. However, let me explain, we had a pre lit tree that had all the lights out, so to get ready for AFTER Thanksgiving decorating, I had to remove all the old lights from our pre-lit tree because I am cheap frugal and didn’t want to buy a whole new tree. Then I was experimenting with other different lights. There are no ornaments on the tree, but rather than take it all down and put it up again next weekend, I just left it up for a little extra glow. No judgement please.)


For more about DIY, gardening, cooking, baking or all other things domestic, become a Home Everyday follower! For blog updates or to see other places I write follow Home Everyday on FacebookTwitter, or Pinterest.
Follow on Bloglovin

Smart Cookies: Ok, They are Muffins… or Are They Doughnuts

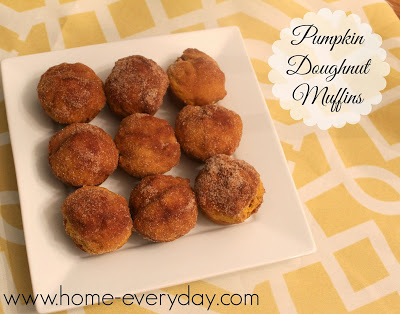
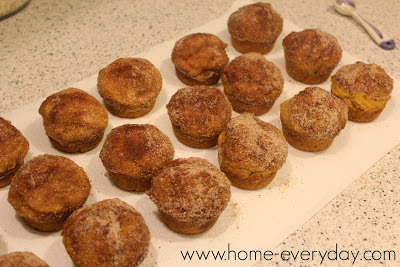
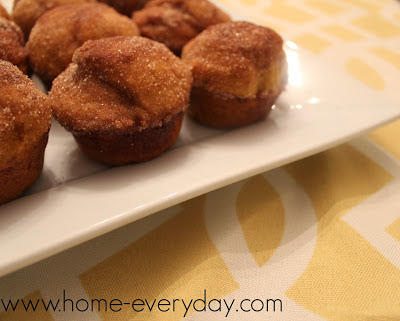
To be honest, I’m not really sure what this month’s Smart Cookies recipe could be classified as. They are made like muffins, but are kind of dense like a cake doughnut. Hmmm… Doughins? Muffuts? Doesn’t matter, they are delicious!

Since we all have pumpkin on the brain with Thanksgiving on the way, I was thinking what do people eat for breakfast the morning of Thanksgiving? You don’t want to eat too much, and since the whole day is a celebration (totally justifying eating this much sugar in the morning) I thought it might be nice to have a little treat. I found a few recipes online for Pumpkin Doughnut Muffins, and I combined what I liked about all of them and made my own.

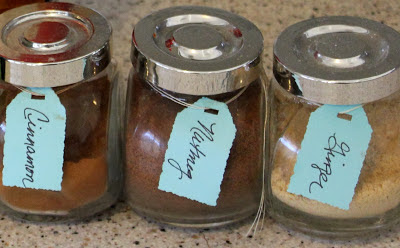
When it comes to Pumpkin flavored things, I like that pumpkin lends itself to being a little spicy. However, I am not a cloves or allspice person. For whatever reason, cloves, which is a very traditional pumpkin pie ingredient, sometimes overtake the taste of the pumpkin for me. I always say, “I’m here for the pumpkin, not for the cloves.” So, I have been substituting with ground ginger, nutmeg, and cinnamon. So far I love that it is warm and autumn like, but not too spicy.

Pumpkin Doughnut Muffins
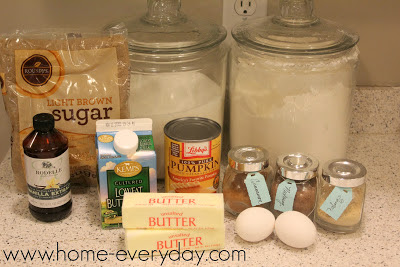
4 cups all purpose flour
3 tsp baking powder
1 tsp baking soda
1 tsp salt
2 tsp cinnamon
1/2 tsp ground nutmeg
1/2 tsp ground ginger
2 sticks of unsalted butter softened
1 cup light brown sugar
1/2 cup buttermilk
1 15oz can of pumpkin puree
2 extra large eggs

Sugar Coating
1 cup granulated sugar
2 tsp ground cinnamon
1/2 stick of melted unsalted butter

Preheat oven to 350 degrees.

Spray 2 muffin thoroughly with cooking spray and set aside.

In a large bowl, sift together flour, baking powder, baking soda, salt, cinnamon, nutmeg, and ginger, and set aside.

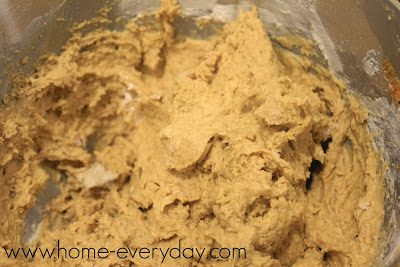
In a mixer with paddle attachment or large bowl with beaters, beat butter and brown sugar until creamed together. Then, slowly add eggs one at a time. With the mixer on very low speed, then add buttermilk, and mix until well incorporated. Finally, with mixer still on low, add 1/3 of the flour mixture, and half of the pumpkin. Mix until just barely combined. Then, add 1/3 more of the flour mixture and the rest of the pumpkin, followed by the remaining flour mixture. Mix until just combined. (NOTE: Do not over mix)


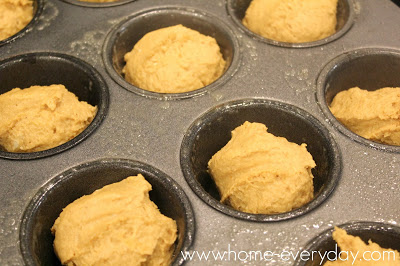
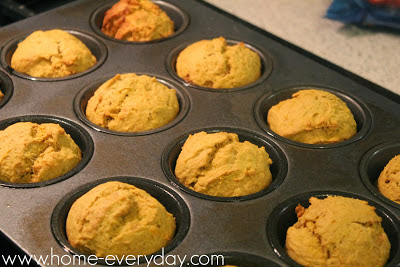
Using an ice cream scoop, scoop the batter into the muffin tins, and bake for 25 – 30 minutes.

Remove from the oven and let cool for 10 minutes.

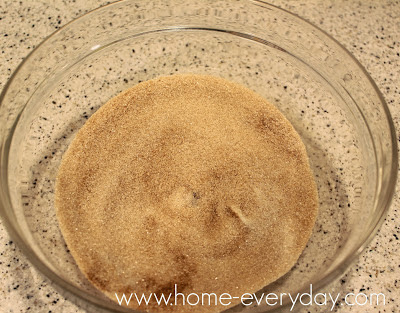
While the muffins cool, melt butter in a small bowl and set aside. Then, mix together sugar and cinnamon for sugar coating.

When muffins are cool, dip the top of each muffin into the melted butter and then into the sugar coating mix.

The perfect breakfast for Thanksgiving morning!


For past Smart Cookie recipes, check out the links below:
Oatmeal Dark Chocolate and Dried Cherry CookiesLucy CookiesWhite Chocolate and Cranberry BlondiesChocolate Dipped Vanilla Biscotti Italian Butter Cookies with Lemon Glaze, and Salted Carmel and Dark Chocolate TrufflesIrish Creme DelightsErin’s Light Lemon SquaresSalted Caramel BrowniesCran Apple Cookies, Pumpkin Cookies with Cinnamon Glaze.

If you like this recipe and would like to read more about DIY, gardening, cooking, baking or all other things domestic, become a Home Everyday follower! For blog updates or to see other places I write follow Home Everyday on Facebook here.

Follow on Bloglovin

Pretty Storage: Painted Baskets

As the holiday season approaches, I encourage the kids to take an inventory of their toys. We donate what they do not play with anymore, recycle what is broken, and try and make room for anything that Santa brings.

This yearly toy overhaul helps teach the kids how blessed they are, encourages them to help others who have less, and I think helps them make decisions. However, when we are doing the yearly toy overhaul, I get a little organizationally crazy and being thinking about different storage solutions for all of these things.

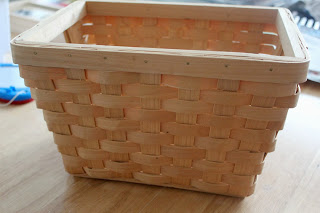
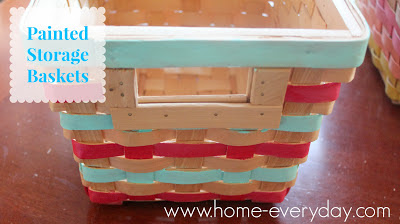
Some of our storage baskets were a bit, well, boring.


These baskets have been around since before Brian and I were married and have been rotated for all kind of use, but are currently in the family room housing doll house furniture and people and some other smaller toys.

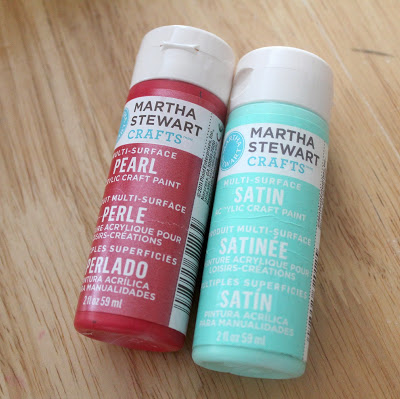
As I try to add more color to the family room, I thought of a great idea. I decided to paint these boring baskets. I got out my acrylic paints, a paint brush and turned on the movie Rushmore during nap time.


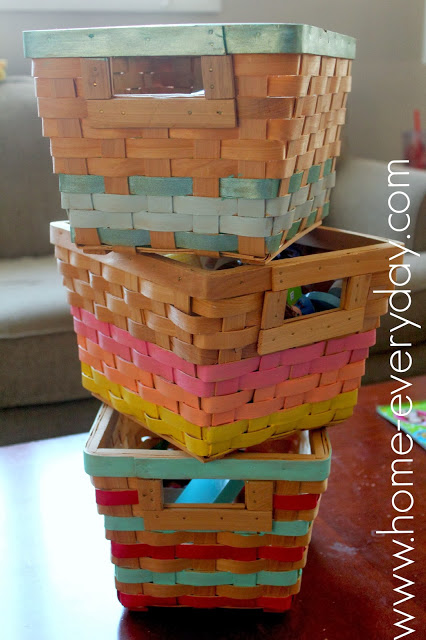
VOILA!

After two hours of some creative painting, and a night of letting them dry, they were a more colorful way to store some of the kids’ favorite toys.


Seeing how adorable these baskets turned out has me itching to paint some more things.

For more about DIY, gardening, cooking, baking or all other things domestic, become a Home Everyday follower! For blog updates or to see other places I write follow Home Everyday on FacebookTwitter, or Pinterest.
Follow on Bloglovin


Thirsty Thursday: Pumpkin Pie Shake

Oh yeah! It’s Thirsty Thursday! We are all on antibiotics this week due to some illnesses that have been going around our house, so as much as I would love a cocktail at the end of this stressful week of sick kids and sick husband, that will have to wait until next week.

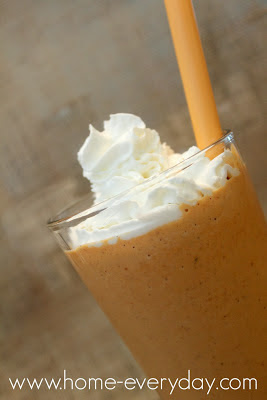
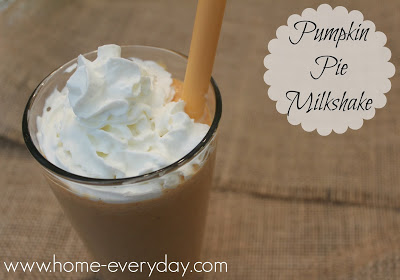
I have been craving a milkshake and the kids will never turn down an ice cream treat. However, rather than my my old standby, an old fashioned chocolate malt, I decided to put a nice fall twist on a milkshake and make a Pumpkin Pie Shake. Let’s face it, I am getting antsy for pumpkin pie, and I needed something to tie me over.


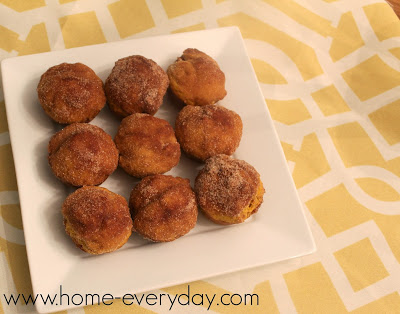
This time of year I have pumpkin in the house and I had a little bit leftover from some pumpkin donut holes I made (sharing the recipe soon).

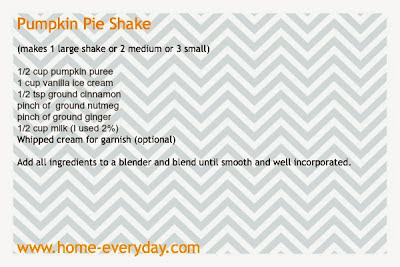
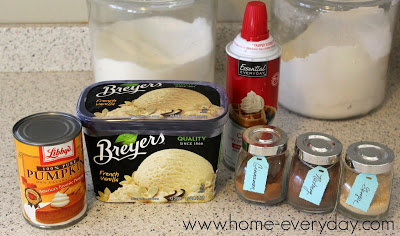
Pumpkin Pie Shake (makes 1 large shake or 2 medium or 3 small)
1/2 cup pumpkin puree
1 cup vanilla ice cream
1/2 tsp ground cinnamon
pinch of  ground nutmeg
pinch of ground ginger
1/2 cup milk (I used 2%)
Whipped cream for garnish (optional)


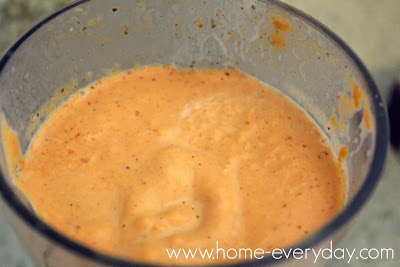
Add all ingredients to a blender and blend until smooth and well incorporated.


So creamy and delicious! It will get you in the mood for Thanksgiving.


For a printable version of this recipe CLICK HERE!

For more about DIY, gardening, cooking, baking or all other things domestic, become a Home Everyday follower! For blog updates or to see other places I write follow Home Everyday on FacebookTwitter, or Pinterest.
Follow on Bloglovin


Thirsty Thursday: Warm Vanilla Spiced Cider

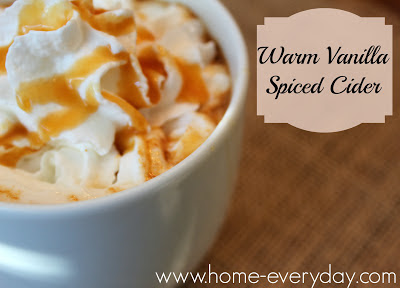
For this installment of Thirsty Thursday, I am continuing a week of Thanksgiving preparedness with what has now become my absolute favorite Warm Cider Recipe. It is so simple, it is delicious, and I think it would be the perfect way to cap off Thanksgiving or an awesome way to begin a day of cooking.


This is a recipe that can easily be altered to your taste and can be made alcoholic or non alcoholic. With a garnish or without. However, no matter how you make it up or garnish it, this drink fastest like Autumn in a cup! I originally found this recipe from the Martha Stewart website, but I have adapted parts of it to make it more tasty.

Warm Vanilla Spiced Cider (serves 2)
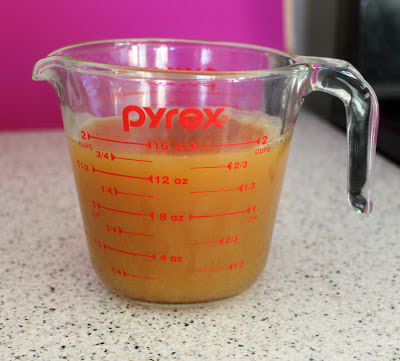
2 cups fresh apple cider
1 Tbs brown sugar
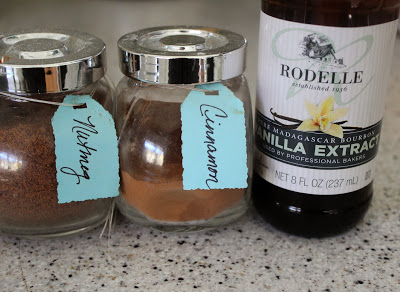
1 pinch cinnamon
1 pinch nutmeg
1 tsp pure vanilla extract
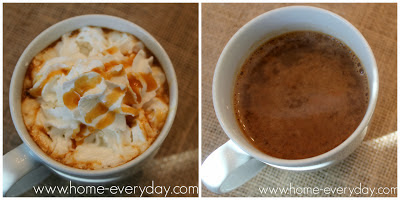
whipped cream and caramel syrup for garnish


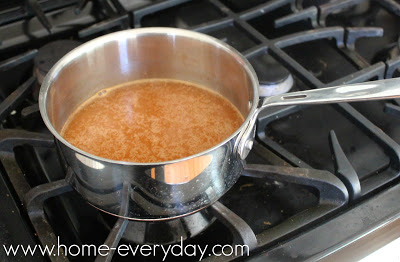
In a small sauce pan over medium heat, add apple cider. Then slowly whisk in brown sugar, cinnamon, nutmeg, and vanilla.


Stir occasionally until the cider is heated through. This takes about 2 minutes.


Pour into two mugs and garnish with whipped cream and caramel syrup or leave plain.


I hope you enjoy this treat as much as we do.


Print the recipe card and bring the ingredients for this amazing cider as a gift for the host of your Thanksgiving Celebration.


For a printable version of this recipe CLICK HERE!

For more about DIY, gardening, cooking, baking or all other things domestic, become a Home Everyday follower! For blog updates or to see other places I write follow Home Everyday on FacebookTwitter, or Pinterest.
Follow on Bloglovin


Apple & Onion Stuffing: Technically It’s Dressing

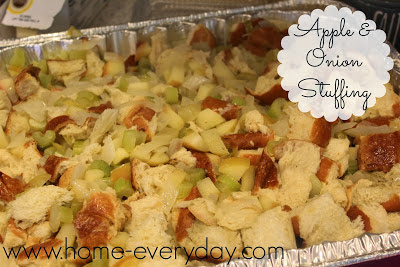
I am continuing my week of Thanksgiving preparedness by sharing one of my all time favorite recipes. The first time I saw it was probably seven years ago on Rachael Ray’s Thanksgiving in 60 Special. The original is Apple and Onion Stuffin’ Muffins, but after making it over and over and over again, I have made a few alterations.

I made it this past weekend and doubled the recipe up for a little Autumn party I was having. I think everyone enjoyed it. While it isn’t real stuffing, it is technically dressing, I am pretty sure that this stuffed inside a turkey would be delicious!


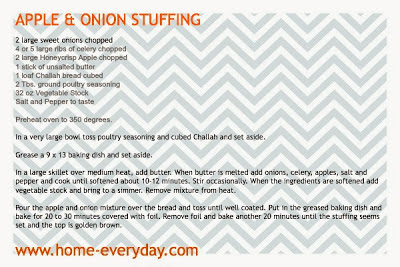
Apple and Onion Stuffing
2 large sweet onions chopped
4 or 5 large ribs of celery chopped
2 large Honeycrisp Apple chopped
1 stick of unsalted butter
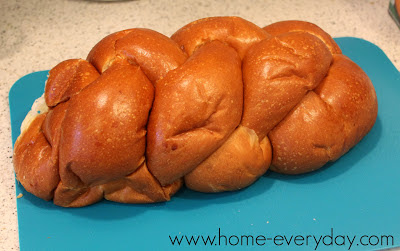
1 loaf Challah bread cubed
2 Tbs. ground poultry seasoning
32 oz Vegetable Stock
Salt and Pepper to taste

Preheat oven to 350 degrees.

In a very large bowl toss poultry seasoning and cubed Challah and set aside.

Grease a 9 x 13 baking dish and set aside.

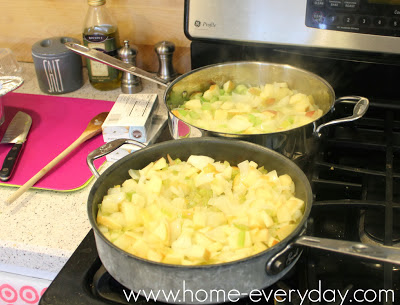
In a large skillet over medium heat, add butter. When butter is melted add onions, celery, apples, salt and pepper and cook until softened about 10-12 minutes. Stir occasionally. When the ingredients are softened add vegetable stock and bring to a simmer. Remove mixture from heat.

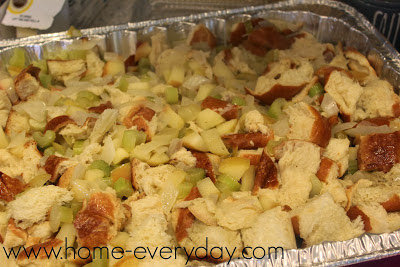
Pour the apple and onion mixture over the bread and toss until well coated. Put in the greased baking dish and bake for 20 to 30 minutes covered with foil. Remove foil and bake another 20 minutes until the stuffing seems set and the top is golden brown.

Enjoy!

For a printable version of this recipe Download HERE!

If you liked this recipe or for more Thanksgiving fun, here is last year’s recipe for Corn Bread Stuffing, my Williams and Sonoma Roast Turkey, or yesterday’s Thanksgiving placemats. Can you tell I like Thanksgiving?

For more about DIY, gardening, cooking, baking or all other things domestic, become a Home Everyday follower! For blog updates or to see other places I write follow Home Everyday on FacebookTwitter, or Pinterest.
Follow on Bloglovin


Give Thanks Place Mats: A JoAnn Fabric Celebrate the Season Craft

While I have been compensated for this post by Jo-Ann 
Fabrics and Crafts, the thoughts and opinions are my own.
 

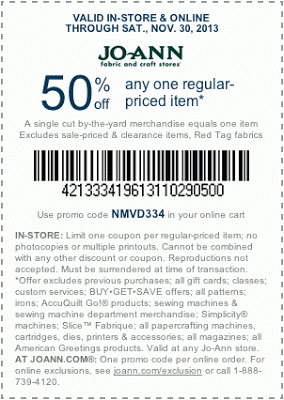
Thanksgiving is right around the corner and I thought it might be fun to have a week of preparing for one of my favorite days of the year. I know that there has already been a lot of talk about that holiday in the winter with the trees, wreaths, and cards and such, but around here I do like to celebrate Thanksgiving with a little something (speaking of a little something, at the bottom of the post is a coupon to Jo-Ann Fabrics and Crafts just for you).


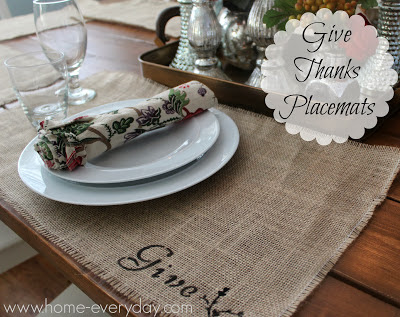
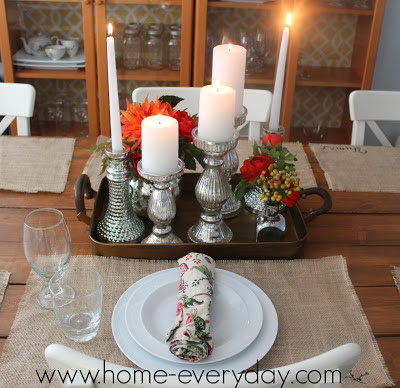
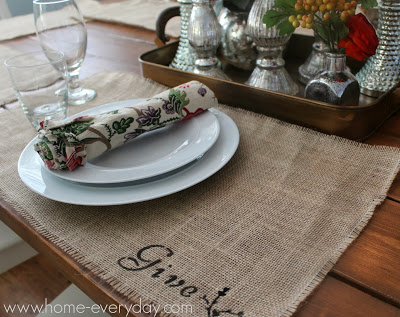
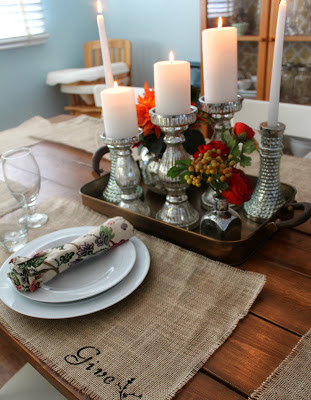
Since so much time will be spend in the dining room for Thanksgiving, I decided to make some Thanksgiving placemats using some supplies from my favorite craft store Jo-Ann Fabrics and Crafts. These were extremely inexpensive and simple to make. They only took me about an hour to create.

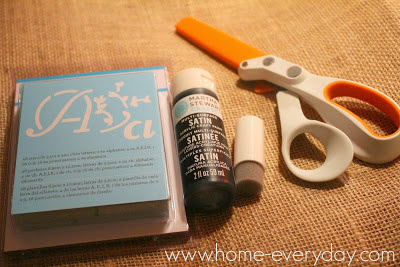
Supplies.
2 yards of burlap
Stencils
Black Acrylic Paint
Pain Brush or Paint Sponge
Scissors
Measuring Tape
Scrap Paper


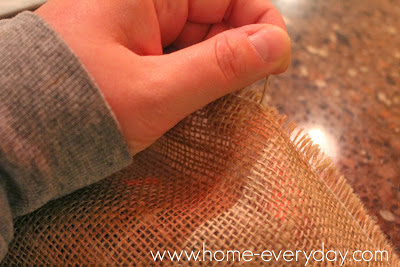
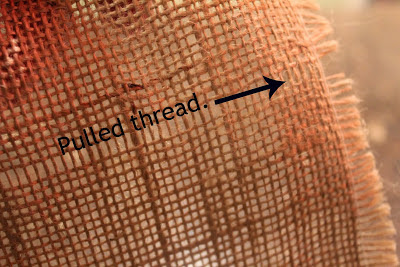
Tricky Measuring: Burlap is a fabric that frays very easily, so in order to cut down on having a huge mess of threads, it is important to cut it in a straight line. To do that, I measured my fabric and marked on the fabric how big I wanted each placemat. Then, at the edge of the fabric, I very carefully tugged the thread closest to my mark and gently pulled it all the way through to the end of the fabric.


You will notice a gap in the fabric where there used to be a thread. I did this wherever I had marked my fabric and then I was ready to cut.

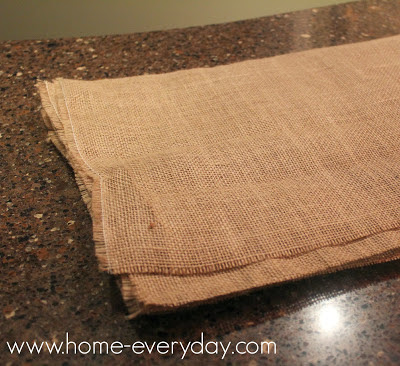
Careful Cutting: When all the threads had been pulled, I cut in all the places where there was a gap in the thread. I was very careful to stay within the gap as I was cutting. When I was finished, I had eight placemats.


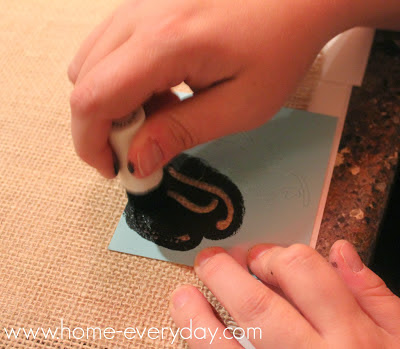
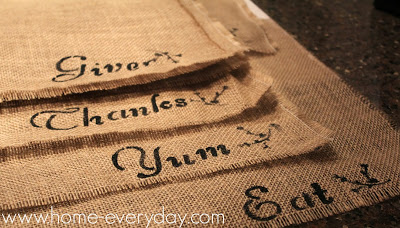
Clever Stenciling: I thought of a few of my favorite words when it comes to Thanksgiving, and using a paint sponge, black paint and some letter stencils I carefully painted the words in the bottom right hand corner of the placemats (NOTE: Make sure to place scrap paper or cardboard underneath your placemat as you paint as you don’t want to paint on your table or flat surface).


Let the placemats dry over night or for a few hours before using them.


I am so happy how they turned out. They are the perfect addition to our table for Thanksgiving.


To see this craft or to browse other Thanksgiving craft ideas visit the Jo-Ann Fabrics and  Crafts catalogue HERE.

Also, as a THANK YOU, Jo-Ann Fabrics and Crafts is offering my readers a coupon to create your own #TurkeyTablescape.


Happy Thanksgiving, and stay tuned the rest of this week for other Thanksgiving ideas and recipes.

If you like this post and would like to read more about DIY, gardening, cooking, baking or all other things domestic, become a Home Everyday follower! For blog updates or to see other places I write follow Home Everyday on FacebookTwitter, or Pinterest.
Follow on Bloglovin