
When JoAnn Fabrics asked if I would like to participate in their Celebrate the Season Campaign, I jumped on this opportunity in a heart beat. I have always been a JoAnn shopper when it comes to crafts and DIY projects around the house.
For Halloween, the theme is Spooky Spaces. Nothing says spooky to me more than some creepy night time forest creatures. With all the windows we have in the front of our house I thought it would be spooky to have some creepy creature silhouettes hiding in the windows.

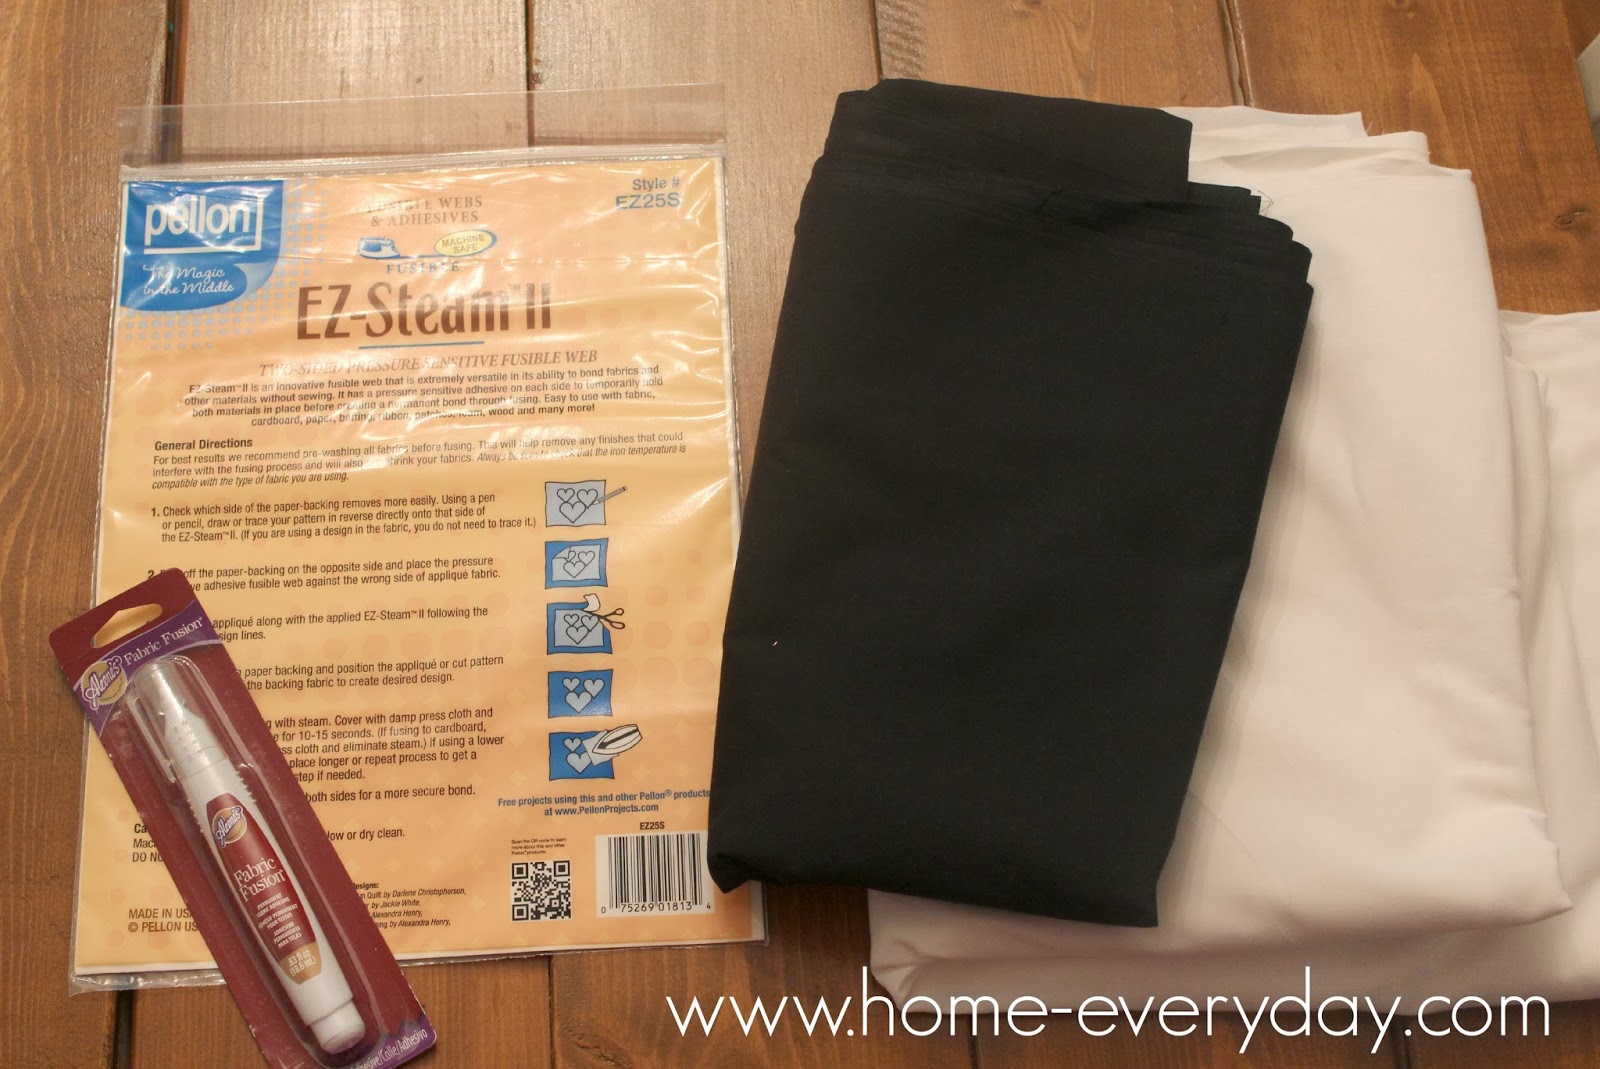
While I could have cut some shapes or painted some silhouettes onto some plain white paper, I really wanted these decorations to last from year to year. I decided to make them out of fabric and then I can hang them every year for Halloween as well as give them a quick wash in the washing machine if they happen to get a little dusty. We all know, that I don’t sew, so I had to think of another solution. When I was walking around JoAnn, I found sheets of iron on fabric adhesive. PERFECT!
Supplies:
White Muslin Fabric
Black Muslin Fabric
EZ Steam Fusible Web Adhesive Sheets
Stencils or Silhouette Pictures
Measure, then Measure Again (and then Maybe one more time for luck): I carefully measured each of the windows. In my case, I wanted to make sure that the white fabric completely covered the glass portion of the window. I, then, cut all my white fabric to size.
Create Some Stencils: While I can do some things free hand, I thought it would be better to trace out the creatures. I searched via Google Images and found a bat, a crow, an owl and a spider. I enlarged the photos and printed them on card stock, and then carefully cut them out. (The tree was too large to print, so I did draw that myself).
 |
| Stencil printed and cut out on card stock |
Trace and Cut: Using my stencil, I traced my spooky creatures onto the paper side of the EZ Steam sheets in PENCIL. I did not want there to be any chance of marker on the fabric or blending through onto anything, so I thought that pencil was the safest way to go. (Note: Since I was doing silhouettes I did not really worry to much about which way they were facing, but keep in mind you want to trace your stencils right side down so that when you iron them on your fabric they are facing the correct way.) Next, I peeled the wax like backing off the EZ Steam sheets, and carefully pressed them onto my black fabric. Using the tracings as a guide, I carefully cut out the shapes.
 |
| Adhesive webbing with traced creatures affixed black fabric. |
Heat it Up: Once all the shapes were cut out of the black fabric with webbing still affixed, I carefully arranged the shapes onto the white fabric. Once I was happy with their placement, I began ironing. I laid a cloth napkin over the black fabric cut out, and using a medium setting on my iron, I pressed the creature onto the white fabric for a few seconds. (Note: Different brands adhesive webbing have different instructions, please make sure to read carefully.)

Hang Them Up: There are several ways to hang these curtains in the window, but because the fabric is so light, I just used a bit of duct tape in the corners of the windows to hold the fabric in place.

Here are my creepy creatures hanging in the window. I think they are pretty spooky, and I am thrilled that I can use the decorations from year to year.
To see this craft again or more spooky spaces from other awesome bloggers, check out the JoAnn Fabric Creativity Made Simple site HERE!
If you like this post and would like to read more about DIY, gardening, cooking, baking or all other things domestic, become a Home Everyday follower! For blog updates or to see other places I write follow Home Everyday on Facebook here.

Linking up at Hope Studios for Tutorial Tuesday.
Don’t forget, you can check out more creative inspiration here: http://bit.ly/creativitymadesimple


8 comments
What a great idea! They look fantastic!
Thanks, Sarah! They were so easy and cheap too, that fabric is like $1.99 a yard.
Now I'm spooked! Great job.
Such a great job that they spooked me!
I wanted to let you know I shared this on my FB page. I am fresh out of Halloween ideas myself!
Thanks, Kathy! I hope your readers like it!!
It is amazing. A little effort and some creativity can make our home into a better one. Nice idea thanks for sharing with us.
So glad you enjoyed!