Month

March 2013

Smart Cookies: Irish Creme Delights

It is Smart Cookie time again! As you have probably noticed, I try to keep up with some kind of theme or think about what college kids might be doing this time of year. Which is why this month has a very Irish theme. I am more than half Irish, so this time of year my family and I get together for some some traditional Irish fare, which I will be sharing with you all month long.

I had some trouble finding actual Irish cookies. Don’t get me wrong, there were lots of baked goods to choose from, but very little on the cookie front. Then, I found these.


First off, if a cookie has frosting I don’t think you can go wrong. Second of all, they are so soft and flavorful and unique. Thirdly, they are easy to make.

I found the original recipe here on Recipe.com. There are two variations to this cookie. With alcohol and without. I made non-alcholic for me, but planning to make some with coffee liquor for my Mom.

Irish Creme Delights

1/4 cup butter softened to room temperature
1/4 cup vegetable shortening
1 cup granulated sugar
1 Tbs coffe liqueur (or 1 tsp espresso powder)
1/4 tsp baking soda
1/4 tsp cream of tarter
1/4 tsp salt
1 large egg
1 tsp pure vanilla extract
1 3/4 cups all purpose flour

Rolling Sugar
1/4 cup granulated sugar
2 tsp ground cinnamon

Irish Creme Frosting
3 Tbs butter softened to room temperature
1 Tbs coffee liqueur (or 1 tsp pure vanilla extract)
3 cups powdered sugar
1 – 2 Tbs cream or half and half

Preheat oven to 375 degrees.

Line cookie sheets with parchment paper.

In a small bowl, mix together 1/4 cup granulated sugar and cinnamon until well combined and set aside.

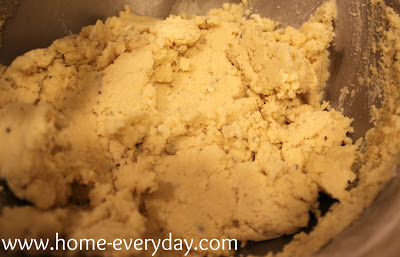
In a large mixing bowl, beat together butter, shortening and sugar until creamy. While mixing add coffee liqueur (or espresso powder), baking soda, cream of tartar, and salt. Once that is well combined, slowly add flour in small batches until just combined. The dough is a dry consistency but comes together well when forming balls.


Using a cookie scoop or a tablespoon scoop dough and roll into about one inch sized balls, then roll in sugar and cinnamon mixture. Place on cookie sheet about 2 inches apart.

Bake for 8-10 minutes. Remove from oven and cool on a wire rack.


While cookies cool, make frosting by beating together butter, coffee liqueur (or vanilla) until well combined. Slowly beat in powdered sugar about one cup at a time. Finally, add cream or half and half until frosting is a good consistency.

Finally, once the cookies are cooled, frost them generously and enjoy.


NOTE: To store or mail these cookies, I would recommend putting wax paper between each layer of cookies to help from getting frosting everywhere.

To learn more about Smart Cookies, click hereYou can also see past Smart Cookie recipes below: Oatmeal Dark Chocolate and Dried Cherry CookiesLucy CookiesWhite Chocolate and Cranberry BlondiesChocolate Dipped Vanilla Biscotti,  Italian Butter Cookies with Lemon Glaze, and Salted Carmel and Dark Chocolate Truffles.

Linking up at Serenity Now for Weekend Bloggy Reading. Come check out everyone’s amazing recipes and projects!

Love Was In the Air: February Wrap Up

I know February has fewer days than the rest of the month of the year, but you’d never know it around here. We were able to tackle a lot of projects as well as start thinking ahead toward Spring.

Around the house, I painted the upstairs bathroom and spruced it up with some homemade artwork and a crafty storage solution. Then Brian and I started working on the family room. We are currently in the middle of painting it as well as swapping some furniture. My shoulder is a little achey from the painting. Finally, I did what I think is my favorite craft project so far for the kids. As a part of Young House Love’s Pinterest Challenge, I made DIY growth charts for each of them.

In the kitchen, I was so happy to try a few new things like salted carmel and dark chocolate truffles. They were delicious! Another new recipe, and one that I think is one of Brian’s new favorites is the Jambalaya I made for Fat Tuesday. I also shared a great recipe for homemade pizza. Finally, I loved the Greek Pasta Salad I put together, and have already made it twice. It is perfect for a quick grab and go lunch.

So far, I have been keeping up with one of my New Year’s resolutions to take care of my writing. I first was able to finally finish my redesign with some help of Kevin West. I then, shared my quick and simple tricks for editing pictures using PicMonkey to help make my photos a little more clear. I also shared what I am currently reading, and many of the books have been very helpful with my writing especially, The Happiness Project and Julia Child’s Mastering the Art of French Cooking.

The kids were busy helping me with a lot of these projects, but I think their two favorites were putting together their Valentines and making Snow Cream.

While there were a lot of accomplishments this month, but I was honored to know only be a part of the 2013 Homie Awards, but the highlight was getting chosen to be a part of the Chicago cast of the 2013 Listen To Your Mother Show (tickets are still available). I still cannot believe I have to stand up on a stage! What am I going to wear?!?!

March is going to be full of fun. I cannot wait to make the kids some Irish Soda Bread for St. Patrick’s Day and start planning the vegetable garden!

Baby, It’s Finally Cold Outside: Snow Cream

In my neck of the woods, we have had kind of a mild winter (which I’ve been thankful for) However, there hasn’t been much of an opportunity for the munchkins to play in piles of snow as most of the time our yard just looks like a muddy mess.

This past week, we got a few inches of good, heavy, packing snow. The kids were thrilled.

By the time the snow stopped falling, it was dark outside, and too late to play in the snow. However, I remembered I had seen recipes all over the internet for how to make snow cream, and thought it might be a good way to hold them over until we could play in the snow the next day. When they heard the words snow cream, they forgot all about playing in the snow before bed.

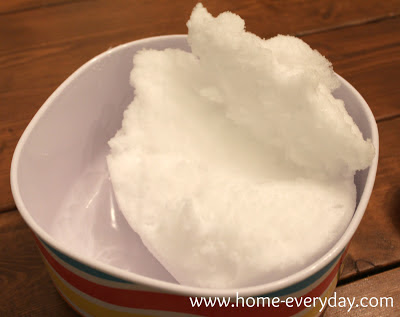
The first order of business was for Brian to bring in a huge container of snow.

Hold ’em over til tomorrow Snow Cream

2 zip lock bags (one large and one small I used a 1 quart bag and a snack size)
1/2 cup cream
1 Tbs sugar
1/2 tsp vanilla extract
3 cups snow
2 Tbs Kosher salt

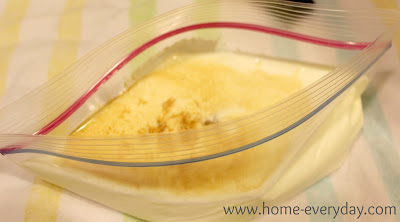
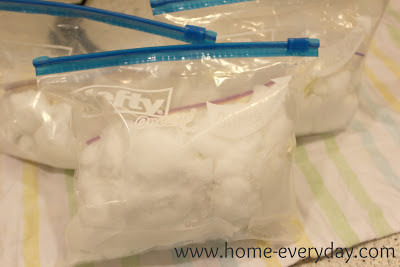
In the larger bag, put snow and salt. In the smaller bag, mix cream, sugar, and vanilla and seal as tightly.

Place the smaller bag in the larger bag filled with snow and seal tightly.

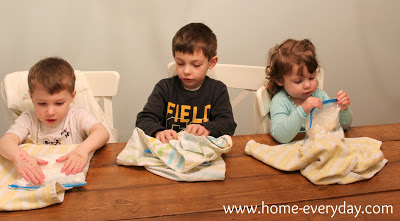
Finally, squish the bags all around for 20 minutes or until an soft ice cream consistency is formed. *NOTE: You may want to wrap towels around the bags so little fingers don’t get too cold while squishing.


Finally, enjoy!

Ours was a little liquidy, the kids used spoons and straws. But there were no complaints.