Last week when John and Sherry of Young House Love, Katie of Bower Power , Megan of The Remodeled Life, and Michelle of Decor and the Dog announced their quarterly Pinterest Challenge Link Up, I knew exactly what project I was going to tackle.
These giant rulers to measure the kids are something I have seen all over Pinterest. Also, it is something that I have been meaning to do for awhile, and actually had bought the lumber a few weeks ago.
After reading a few tutorials online, I thought I could handle it, but I had two concerns. The first, I didn’t want to use a standard 1″ x 6″ or 2″ x 4″ boards. I didn’t want anything that heavy hanging from the wall. Especially something that the kids would be touching or wanting to be near often. The second problem I had was that I wanted three. One for each kid. I thought it might be fun for them to have their own measuring stick to take with them someday as a memento.
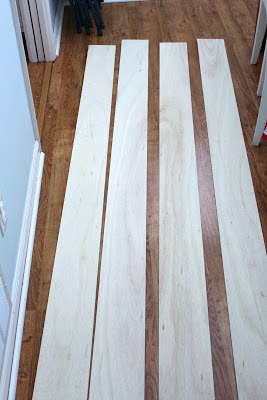
The planning began. The first thing I did, was walk around Home Depot (aka my second favorite store) with Brian and take a look at trim and other types of thin woods. We then looked at plywood. We saw 1/4″ plywood and realized that instead of buying three different planks of wood, we could just ask, someone to cut this in 6″ wide pieces right in the store. This was perfect, and much cheaper than buying three pieces of trim.
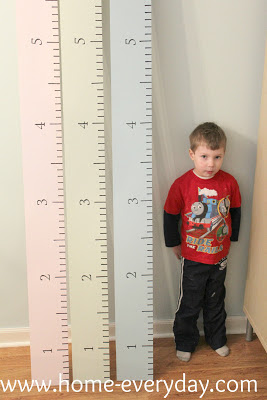
The next thing I did, was decide how to personalize their measuring sticks. Each of my kids has been kind of assigned a color. We color coordinate a lot in this house, toothbrushes, sippy cups, water bottles, etc. It keeps everything straight, and the kids picked their own colors to represent them. So, I decided to color coordinate their sticks too with some leftover paint I had from painting bedrooms.
Now, that I had figured out my concerns it was time to get to work.
Supplies:
3 1/4″ x 6″ x 7′ boards cut from 1/4 inch plywood at Home Depot
Paintbrushes
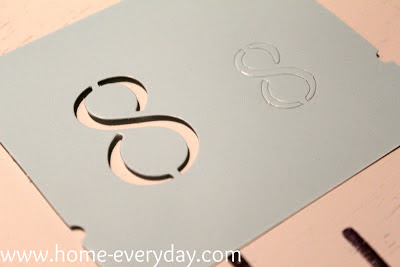
Letter and Number Stencils
Paints (I used Behr’s Pink Reverie, Behr’s Palm Breeze, and Behr’s Rainwashed)
Tape Measure
Pencil
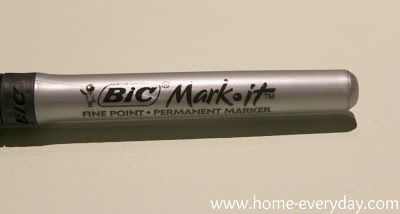
3 or 4 Permanent Markers
Process:
1.) First, I gave the boards a light sand. Then, I painted each board a different color and let it dry for about 6 hours. After a quick inspection, I thought it best to give them another coat of paint, and I let it dry overnight.
2.) Once the paint was dry, I then grabbed my tape measure and pencil I marked inch by inch the length of each board.
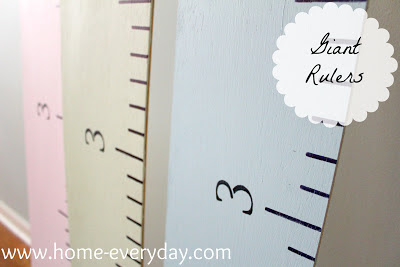
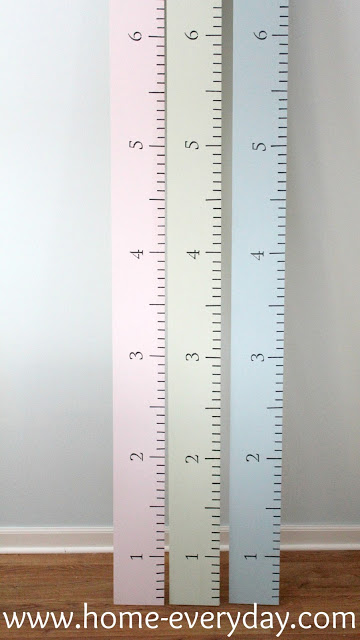
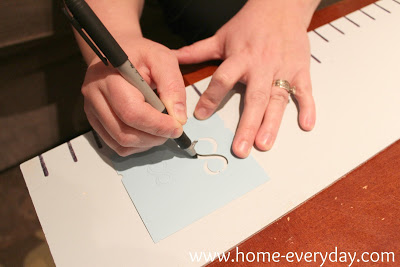
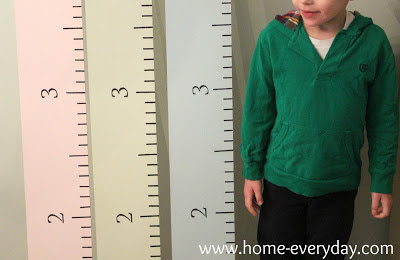
3.) Then using my stencils and permanent markers, I created a ruler line for each inch on the board. To make the board look more like a ruler, I created a one and half inch (1 1/2″) mark for every six inches and then drew 3/4″ lines for all the other inch marks. Basically, every six inches the mark to indicate an inch is longer (here is a picture).
4.) Then, I grabbed my number stencils and traced some numbers to mark each foot on the board. TIP: I knew that I would have to hang these boards a few inches from the floor, so I marked the first foot, at the six inch mark. When I hang them, I will make sure they are six inches off the floor to allow for the trim on the wall. (If you are planning to hang your ruler right next to the floor, you can skip this tip). Once that was done, I stenciled the rest of the numbers 12″ or 1′ apart.
I still have to hang them, and I might have to trim a little off the top to allow for ceiling height. Also, I have all their measurements since birth in their baby books, so I thought it would be cool to mark the boards with their birth length, and each year until now so they can see how much they have grown.
I am thrilled with how they turned out.
The kids like them too.
PS If you liked this post and would like to see more projects from Home Everday, BECOME A MEMBER HERE!





14 comments
Those turned out great! The numbering looks professional :). I should do something like this; at our old house we kept just marking one wall and then of course we lost it all when we moved (I wrote it down, but I don't have the marks anymore). At the new house, we're at least being smart enough to use a door, so that if we ever move we can replace the door and take that one with us.
That is a great idea with the door! When my sister moved she copied everything onto wax paper and then transferred it to her new house. These sticks were so easy and inexpensive to make. Thanks for stopping by!
Take care,
Erin
I love your color coded growth charts! I would have never thought to have one for each kid, but that is a great idea!
Thank you so much! They were so fun to make. My kids are all 16 months apart, so I have gotten used to doing things in triplicate. 🙂
Take care,
Erin
Very cute! I've been wanting to make one of these also. I like the idea of doing one for each of your children.
Thank you so much for stopping by! It took a little more time to make three, but I did it while watching my shows (Downtown Abbey)! So the time flew by.
Take care,
Erin
What an amazing and cute project!
Thank you so much for stopping by!
Take care,
Erin
I love how you did an individual one for each kid.
With my kids all being so close in age, there are a lot of things we do to keep things "fair" in triplicate. It didn't take much more time to do. Thanks for stopping by!
Take care,
Erin
I love how you did these! And I think it is great that there is one for each kid.
I did it a while back too and I've always wondered who will get it someday and if they'll fight over it!
http://29ruehouse.blogspot.com/2012/11/stain-and-sharpie.html
Thanks, Crystal! The kids are always fighting over Legos, cars, and what show to watch. I thought making three would avoid more disagreeing 😉 Also, I love your growth ruler. I was hesitant to use a Sharpie, but I am glad to see you did too and it is holding up well.
Take care,
Erin
I will have to tell Emily about this. By the way, I just learned, over on the Chicago Now page, how to add a follow me on Pinterest widget to my blog. You might want to do the same!
So cute!! Love it!
Jenny
http://www.simcoestreet.blogpot.com