
On Tuesday, I told you I started striping the bathroom. Well, I think I have a problem. Now that I am finished, and it is functional again, I am already thinking of other places I can paint stripes. So far… it is everywhere. I know I cannot/should not do that, but the technique was so easy and it created such an awesome effect. Let’s get to the pictures shall we?
Before:


I also repainted the trim in Behr’s ultra white in semi-gloss since the previous paint job wasn’t so good. Now everything looks crisp and clean.

As I said on Monday, I used these directions for measuring and painting from Skinny Boppy’s tutorial which can be found here. She took a lot of the guesswork out of painting the stripes.
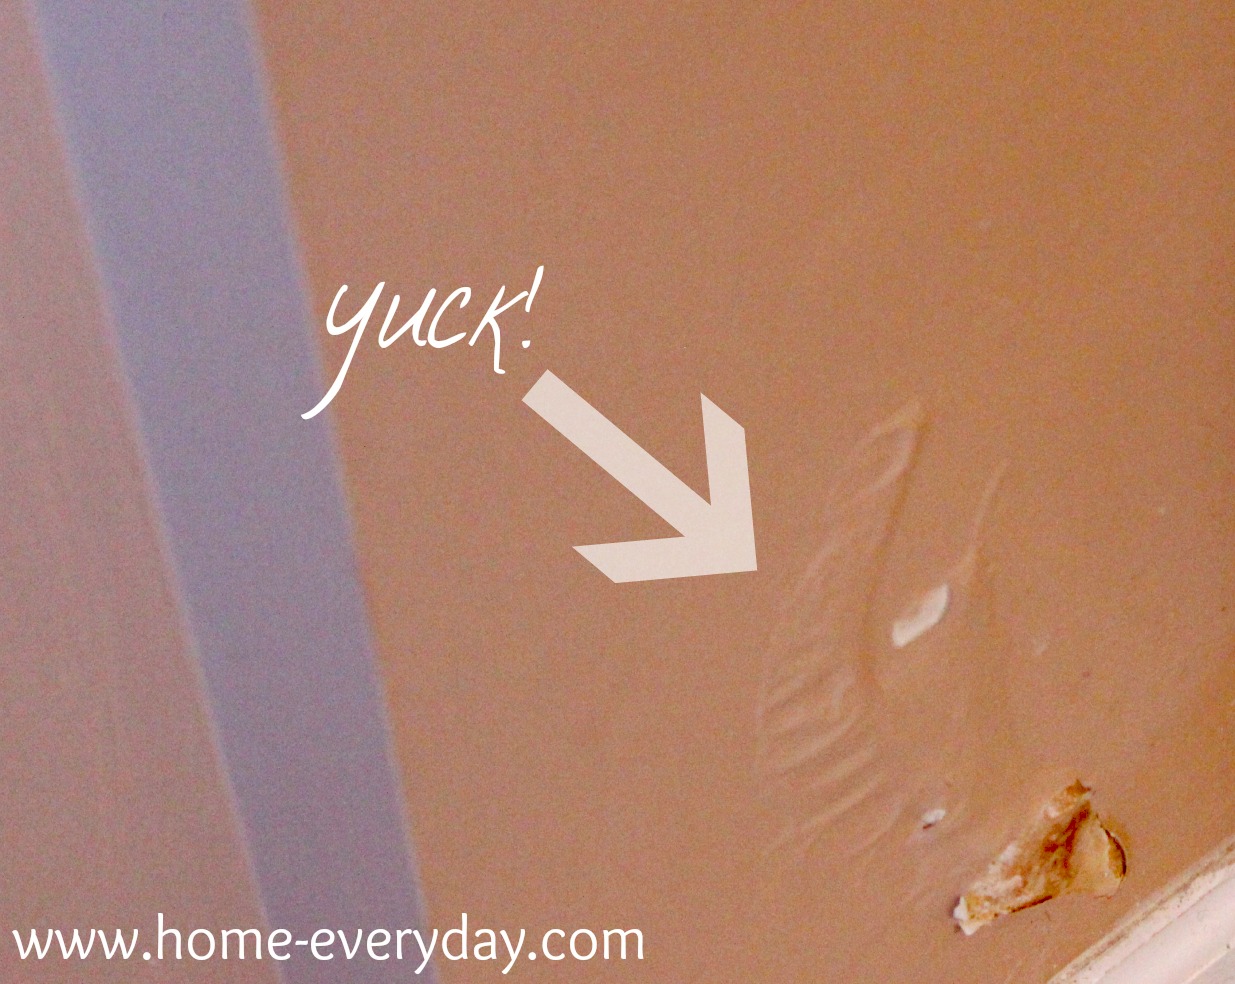
I first, patched up any holes left behind from the water damage we had. Then I sanded any uneven parts, and painted the entire bathroom a base coat of Behr’s Barnished Clay in satin (I typically love flat paint with glossy trim, but in the bathroom is just makes sense to use satin). I actually did two coats of this color to help fully cover the peachy tan that was in the bathroom before.

Once I was sure that was dry, I began measuring. When you paint stripes, you want to keep cutting in again at a minimum. Therefore your bottom stripe and top stripe should be your base coat color. In order to make sure this happens, I measured from where the top of the wall meets the ceiling to the top of the baseboards. Then, I took that measurement and divided by an ODD number. Most people when painting stripes divide by seven, but that is typically for a larger room. This bathroom is so small that stripes that wide I thought would be a bit much, so I divided by nine. For example: 83″/9 = 9.222222 inches. That is not an even number of inches, but I started from the top of wall and measured 9″ from the ceiling and using a laser level I began taping. Then I repeated the process for each stripe measuring 9″ from the previous stripe. This causes the bottom stripe to be a little larger than the other, but it is barely noticeable with the toilet, vanity, shower, and door in the way. When taping I also made sure that I noted which stripes would be the base color and which stripes would be the darker color. This helped me determine in which side of the level line I would put the tape. You always put the tape on the BASE COAT side of the stripe. Also, I put tiny pieces of tape on the base color stripes to remind me not to paint there.

After everything was all taped up, I cut in around windows, doors, shower, and corners, and then rolled on on the stripes with Behr’s Perfect Taupe also in satin. Finally, I carefully peeled the painter’s tape right away (while the paint is still a little wet) to get a perfectly clean line.

TA DA! I love it! Now to convince Brian we need stripes in the family room.
P.S. Today, I am Linking up at Serenity Now for Weekend Bloggy Reading! Check out all the awesome recipes and projects. It is a Pinner’s paradise.


15 comments
It looks FANTASTIC, Erin! I am completely in love with your bathroom. Ok, that probably sounded weird, but you know what I mean. 🙂
Thanks, Maria! I totally know what you mean too. I'm in love too 😉 Seriously, I'm thinking of starting a campaign for stripes. They.should.be.everywhere!
Take care,
Erin
Ok, Erin, this is crazy!!! Not only can I not believe what kind of transformation a "color" change did for the room; but how you also give me the "how to" of doing it w/mistakes and corrections made thru the process. NOW, when…and I seriously mean…WHEN are we going to see "erin at home everyday" on a daily TV show? You have that kind of spirit going right now. An every day, how to, can't figure out where to stare…neither did I, but I tried…something. I LOVE IT!!! Erin, I'm no-one when it comes to people in the world, street educated (no degrees of any sort), but I feel that this IS your calling, or at least where you should be right now. It allows for what you want, which is time with your children. And, freedom, time to be you. (At least this is my interpretation in a simple form.) Rambling, but still..don't stop, I enjoy.
Thank you so much for the wonderful compliments, Angela. I am really loving all the writing, and maybe someday someone with some connections will help me produce a show with a Martha Stewart/Tina Fey feel. I don't know if that is possible, but a gal can dream. Thanks again, and please keep reading and commenting 🙂 Tell your friends!
Take care,
Erin
It looks awesome Erin!! I love those stripes.
These stripes look amazing…and your tutorial on the math of it is great…totally featuring this Friday!
Thank you so much, Cassie! Once your readers see this, maybe my goal of striping everything can come to fruition!
Take care,
Erin
Love this! I just put stripes in my master bath Sunday! It's so fun to walk into. I did just do one wall though!
Thanks for stopping by Home Everyday! What a coincidence: stripes and bathrooms. I see a theme! So glad you like them! Weren't they so easy?
Take care,
Erin
This looks so GREAT! I'm so glad my tutorial helped you! I'm going to send some traffic your way since you have actual paint colors! I don't know my paint colors at all and people always ask me for them. 🙂
Beth, your tutorial was by far the easiest to follow. Thank you so much!
Take care,
Erin
Your striped bathroom looks amazing Erin! Great job!!
Thanks, Becky! I find myself walking in there just to admire how straight the lines are! It was such and easy and inexpensive, but such impactful upgrade. Thanks for stopping by!
Take care,
Erin
Your stripes look wonderful! I remember you commenting on my site a while back that you were always thinking about doing stripes in your bathroom..so happy you went for it! They look wonderful! Aren't they addicting! I have them in my upstairs guest room and I'm always debating if it would be overkill to have them in another room in my house. I'm just IN LOVE with the look of them..and yours are no exception..gorgeous!
SO addicting, Christina! This bathroom is right off the family room, so I'm thinking of maybe tying the rooms together a bit, and doing an accent wall of stripes there. But after that, i know I'm going to have to stop…. maybe.
Take care,
Erin